Embed Size (px)
Citation preview

Low Impact Development Training
Module 3: Bioretention System Construction
Dennis Chestnut
2
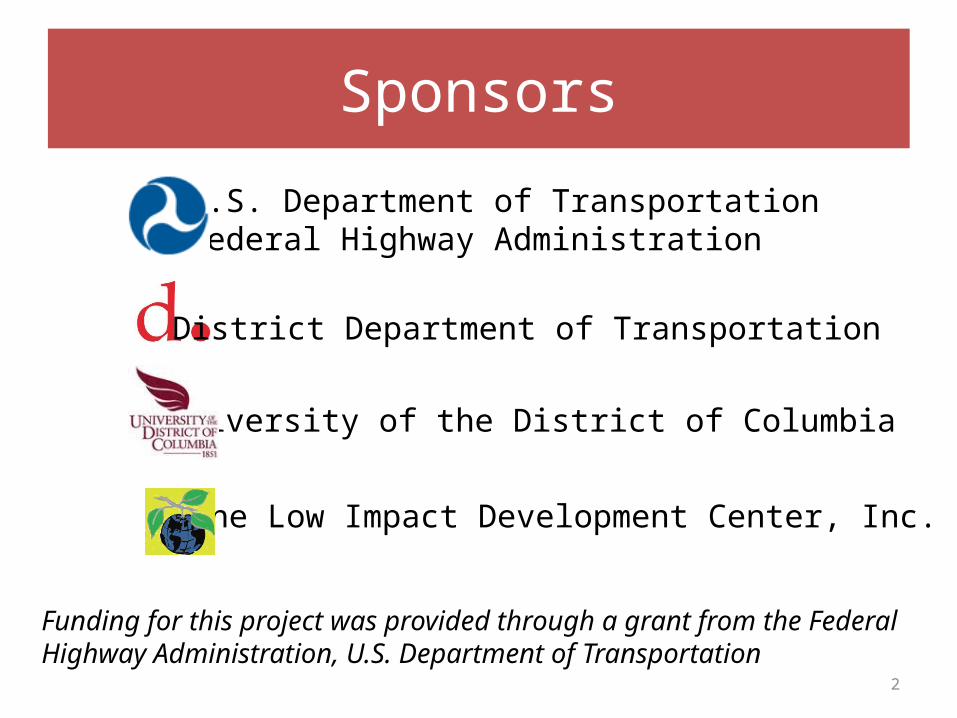
Sponsors
District Department of Transportation
U.S. Department of Transportation Federal Highway Administration
The Low Impact Development Center, Inc.
University of the District of Columbia
Funding for this project was provided through a grant from the Federal Highway Administration, U.S. Department of Transportation
3
Contributors
The Low Impact Development Center, Inc.
John Shorb Landscaping, Inc.Logo
Groundwork Anacostia River, D.C.

4
Copyright
Unless otherwise noted, Low Impact Development Training, funded by DDOT & DDOE, is licensed under a Creative Commons Attribution-NonCommerical-ShareAlike 3.0 Unported License.
Content provided by cited entities remains the property of those entities and may not be used without their explicit permission.
5
Outline
• Doing Business in The District• Preparing bids for bioretention
construction• Estimating construction costs• Bioretention construction sequencing• Common construction errors
6
Expected Outcomes
• Know what licenses and certifications are required to do business in The District
• Be able to prepare bids for construction of bioretention cells
• Know the proper construction sequence for bioretention cells
• Be able to anticipate and avoid common construction mistakes
7
Doing Business in the District
• 30-minute lecture to be given by a guest speaker from DCRA
• Licenses• Certifications• Training
8
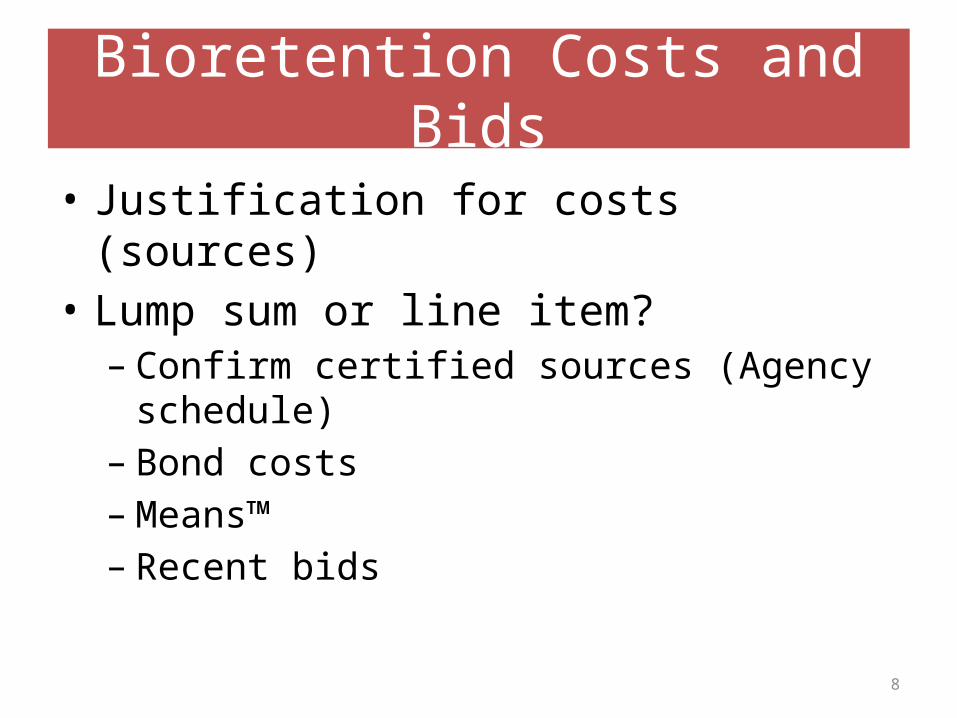
Bioretention Costs and Bids
• Justification for costs (sources)• Lump sum or line item?
– Confirm certified sources (Agency schedule)– Bond costs– Means™– Recent bids

9
Estimating Materials Costs
• Local sourced credits?• Seasonal• Availability and multiple sources• Damage/breakage/theft?• FOB?• Labor for handling• Access
10
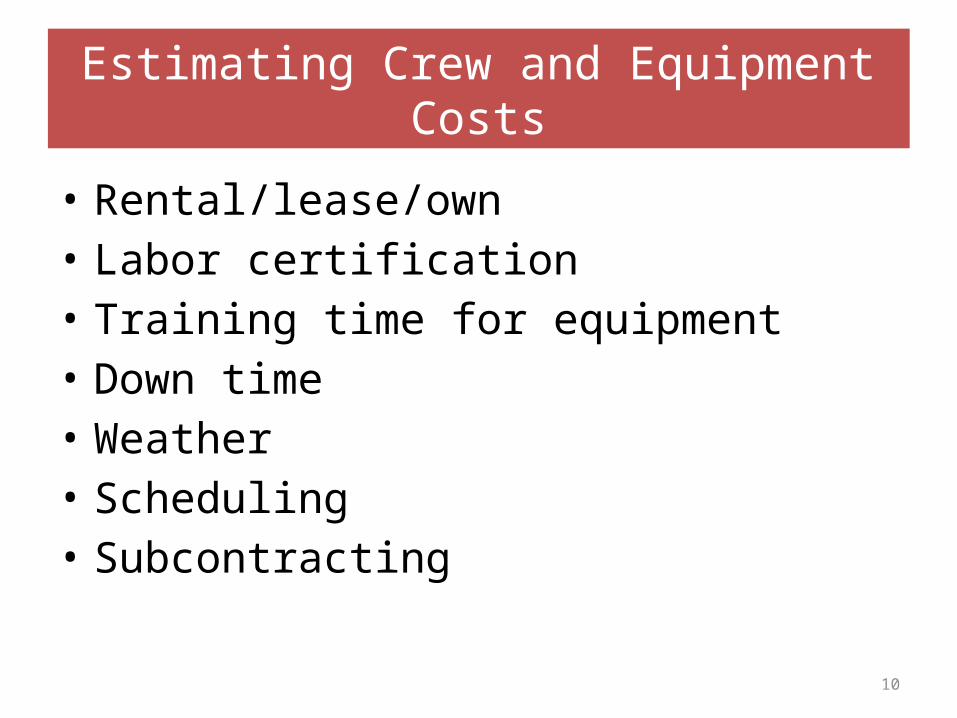
Estimating Crew and Equipment Costs
• Rental/lease/own• Labor certification• Training time for equipment• Down time• Weather • Scheduling• Subcontracting

11
Preparing Contract Documents
• Terms • Work times• Location of contract disputes• Termination• Weather• Unknown/Unexpected conditions• Subcontracting and transferability• Liability• Punchlist• Closeout• Errors• Negotiations of extras
12
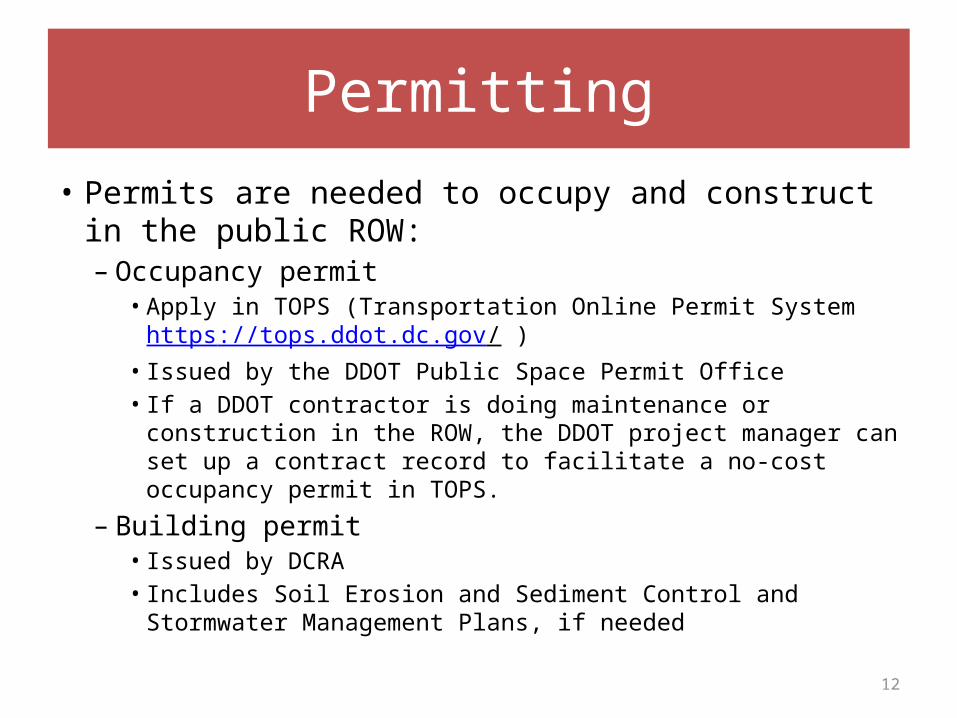
Permitting
• Permits are needed to occupy and construct in the public ROW:– Occupancy permit
• Apply in TOPS (Transportation Online Permit System https://tops.ddot.dc.gov/ )
• Issued by the DDOT Public Space Permit Office • If a DDOT contractor is doing maintenance or construction in
the ROW, the DDOT project manager can set up a contract record to facilitate a no-cost occupancy permit in TOPS.
– Building permit• Issued by DCRA• Includes Soil Erosion and Sediment Control and Stormwater
Management Plans, if needed
13
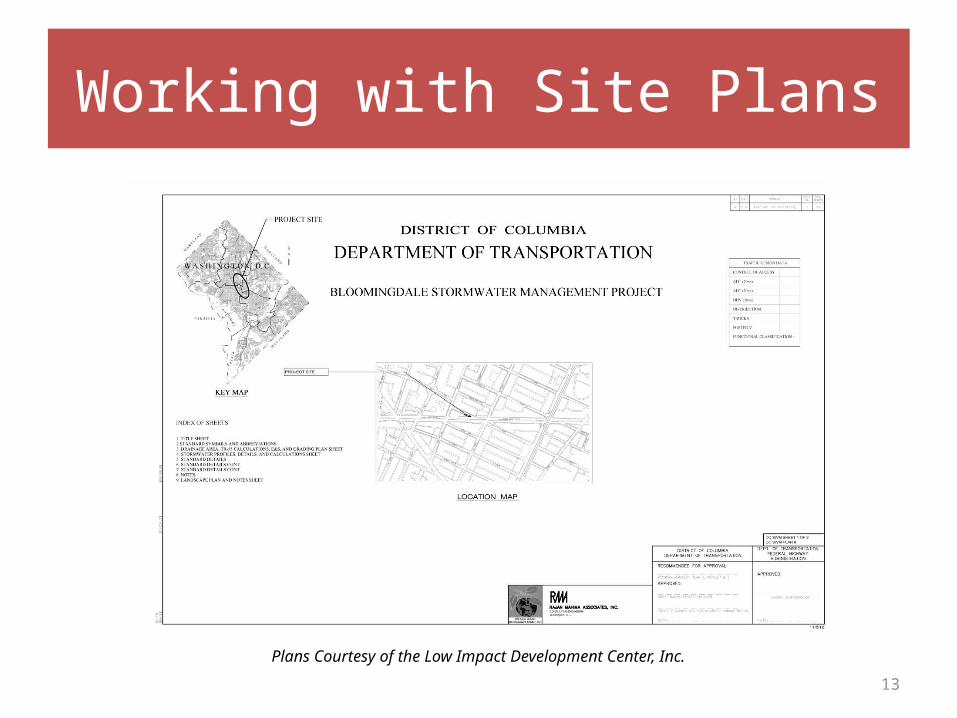
Working with Site Plans
Plans Courtesy of the Low Impact Development Center, Inc.
14
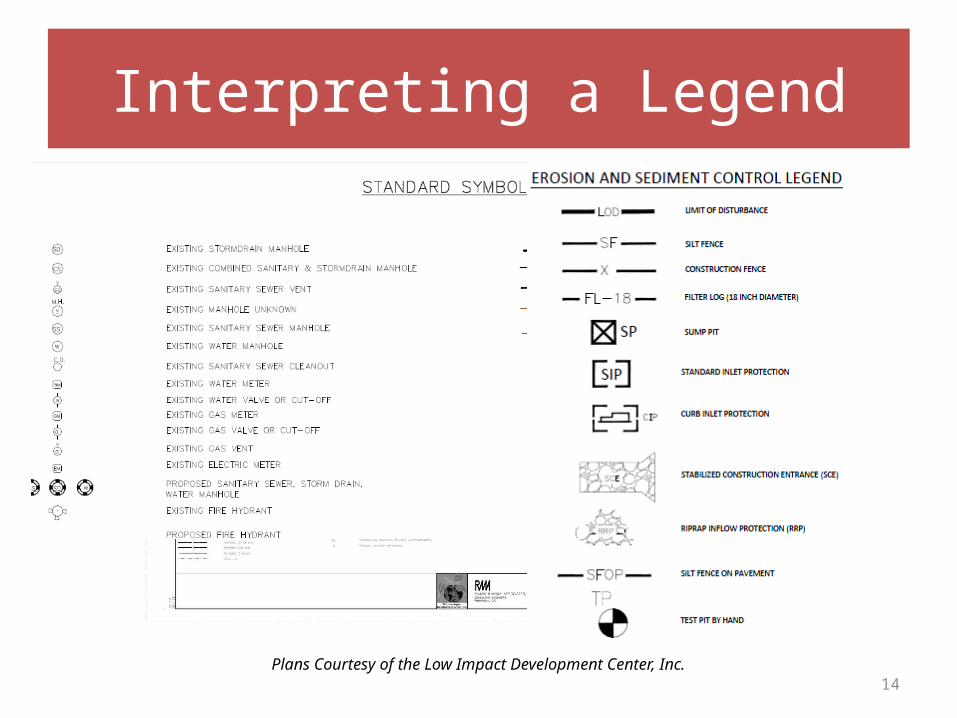
Interpreting a Legend
Plans Courtesy of the Low Impact Development Center, Inc.
15
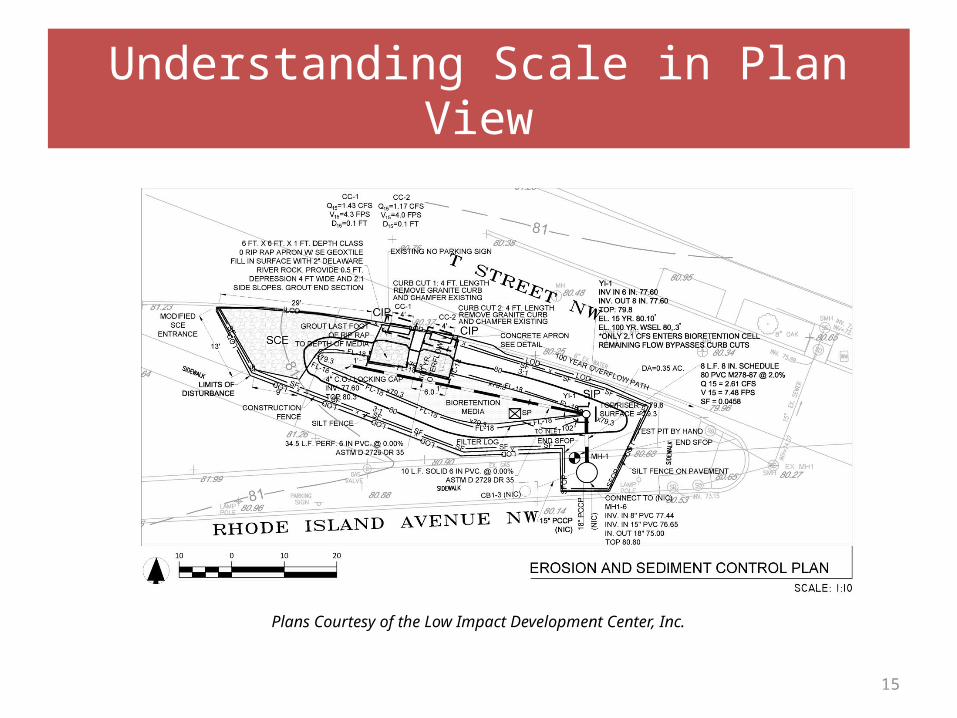
Understanding Scale in Plan View
Plans Courtesy of the Low Impact Development Center, Inc.
16
Using an Engineering Scale
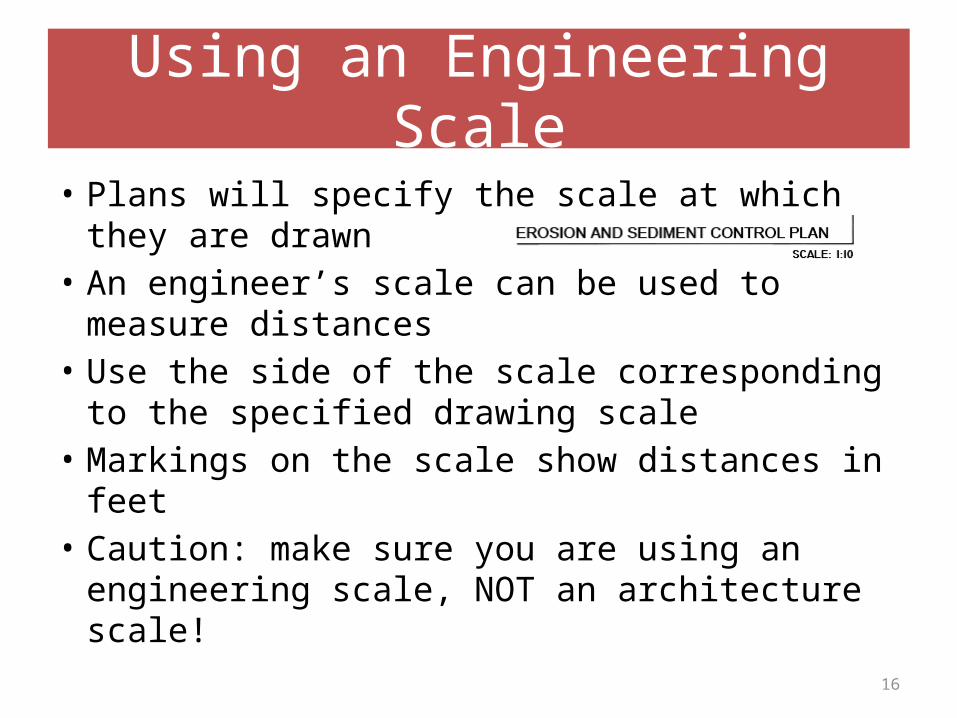
• Plans will specify the scale at which they are drawn
• An engineer’s scale can be used to measure distances
• Use the side of the scale corresponding to the specified drawing scale
• Markings on the scale show distances in feet• Caution: make sure you are using an
engineering scale, NOT an architecture scale!
17
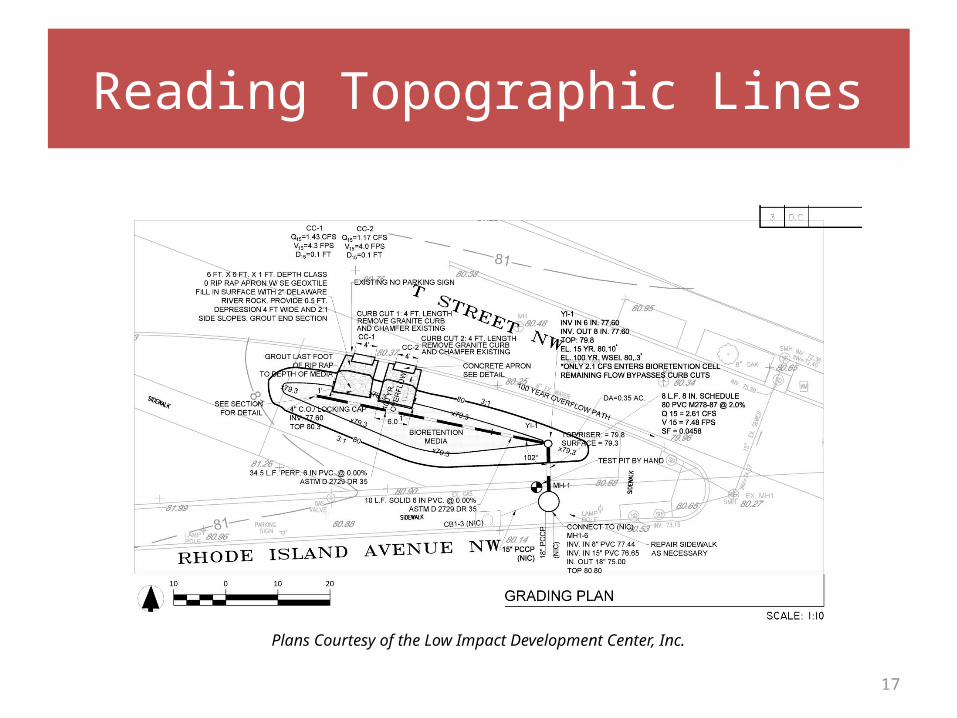
Reading Topographic Lines
Plans Courtesy of the Low Impact Development Center, Inc.
18
Reading Topographic Markings
• Grading plans will show both existing and planned topography
• Elevations of contour lines are printed on the lines and are given in feet above sea level
• Elevations between contour lines remain between the elevations of the bounding contour lines
19
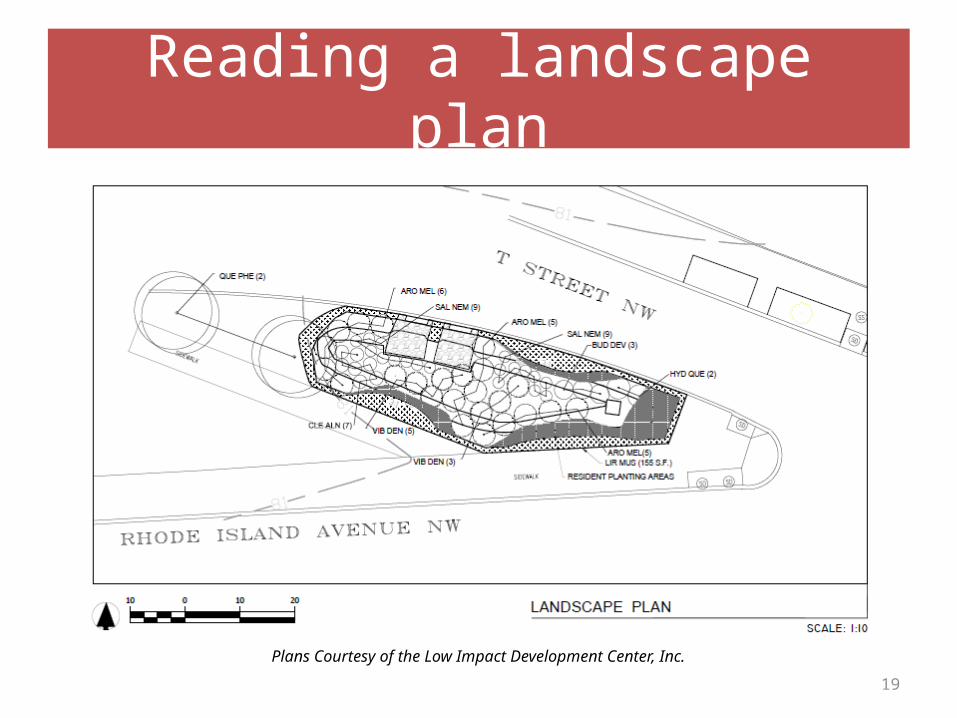
Reading a landscape plan
Plans Courtesy of the Low Impact Development Center, Inc.

20
Understanding plant schedules
Plans Courtesy of the Low Impact Development Center, Inc.
21
Working with Specifications
• Material specifications for bioretention cells are specific and detailed
• They must be adhered to as closely as possible
• If substitutions are necessary, they should be cleared by an engineer
• Unapproved material substitutions are a common cause of bioretention failure
22
Bioretention media
• Bioretention media used in DDOT projects should be mixed offsite by the soil supplier, NOT by the contractor
23
Construction
• Notifications• Maintenance of Traffic• Coordination with Prime or other subs• Briefings and reporting• Inspection• Documentation• Closeout/Punchlist
24
Notifications
• DDOE• Miss Utility / District One Call• DDOT if working in the right-of-way
25
Inspections
• The approved SWMP will contain a construction inspection schedule, which specifies the stages of construction at which DDOE will conduct inspections
• Work cannot proceed past the stage of construction triggering an inspection until DDOE has inspected and approved the work done
• Section 5.2 of the Guidebook contains detailed instructions for scheduling and conducting inspections
26
Inspections
• In general, inspections are usually required:– Before construction begins– During infiltration tests– After construction of temporary sediment
controls and drainage– After excavation to subgrade– During installation of underdrains and
standpipes– After construction is completed

27
Crew and Equipment Selection
• Level of supervision• Skillset and overlap of skills• Equipment malfunctions/substitutes• Location and availability of equipment• Mobilization
28
Crew Training
• Safety• Reporting and documentation• Sequencing• Observation/inspection• Interaction with public and client
29
Mobilization and Storage
• Hazardous materials• Storage requirements and location (e.g.
watering, covering..)• Mobilization area• Work times• Coordination with other contractors• Utility notification
30
Construction Sequencing
• Pre-construction inspection and documentation
• Utility coordination• Notifications• Mobilization• Construction and inspection• Punch list• Closeout

Slide 31Photos Courtesy of The Low Impact Development Center
32
Step 1
• Stabilize the entire contributing drainage area, preferably with vegetation
• Have utilities mark locations of existing lines
33
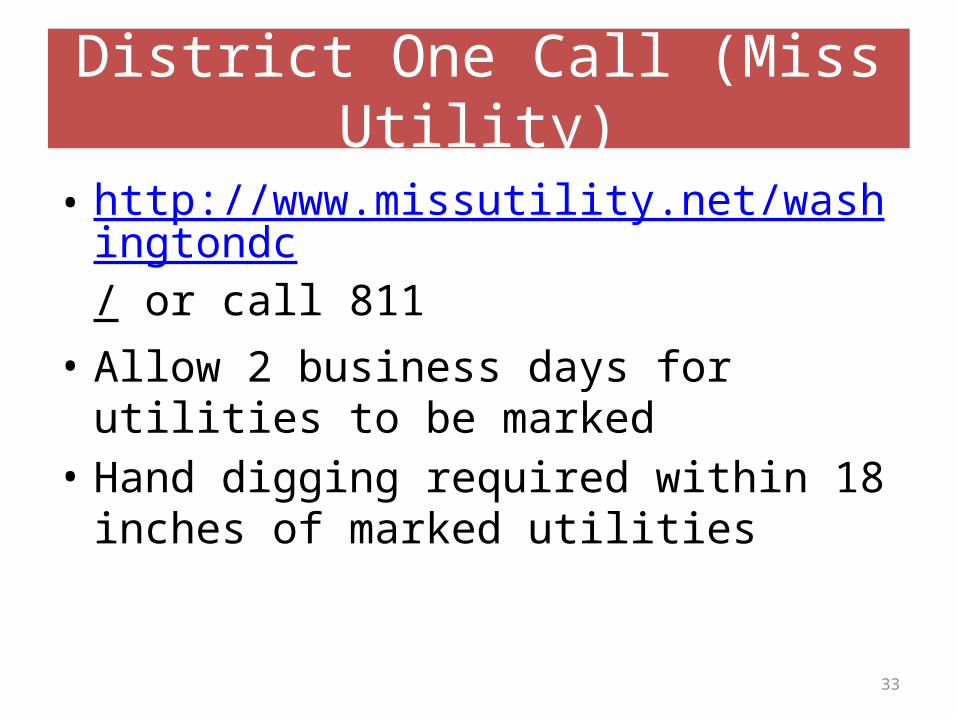
District One Call (Miss Utility)
• http://www.missutility.net/washingtondc/ or call 811
• Allow 2 business days for utilities to be marked
• Hand digging required within 18 inches of marked utilities
34
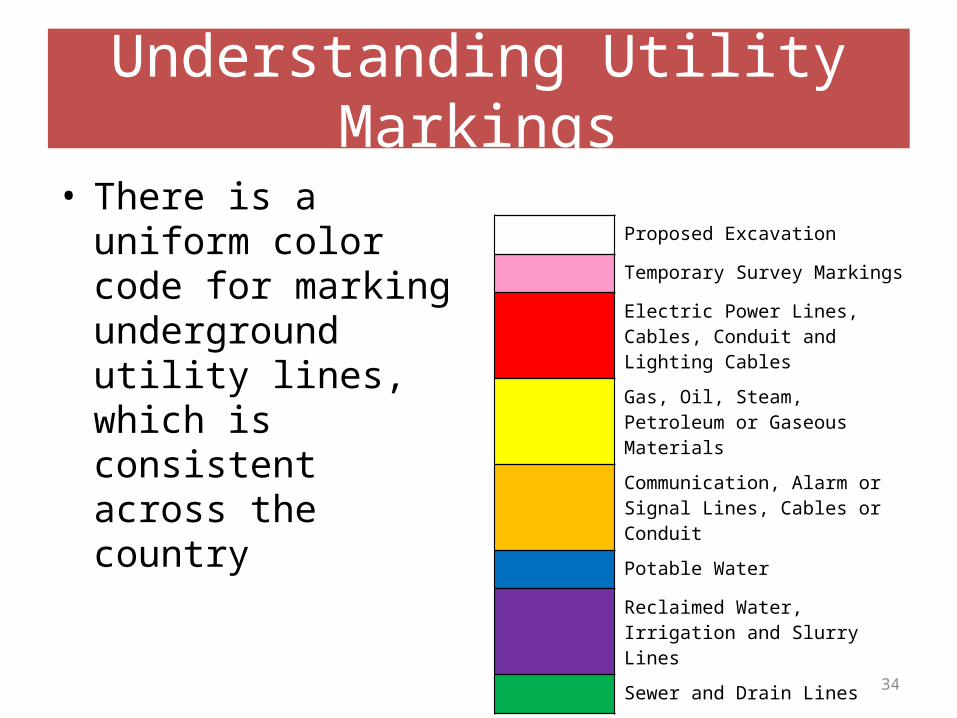
Understanding Utility Markings
• There is a uniform color code for marking underground utility lines, which is consistent across the country
Proposed Excavation
Temporary Survey Markings
Electric Power Lines, Cables, Conduit and Lighting Cables
Gas, Oil, Steam, Petroleum or Gaseous Materials
Communication, Alarm or Signal Lines, Cables or Conduit
Potable Water
Reclaimed Water, Irrigation and Slurry Lines
Sewer and Drain Lines
35
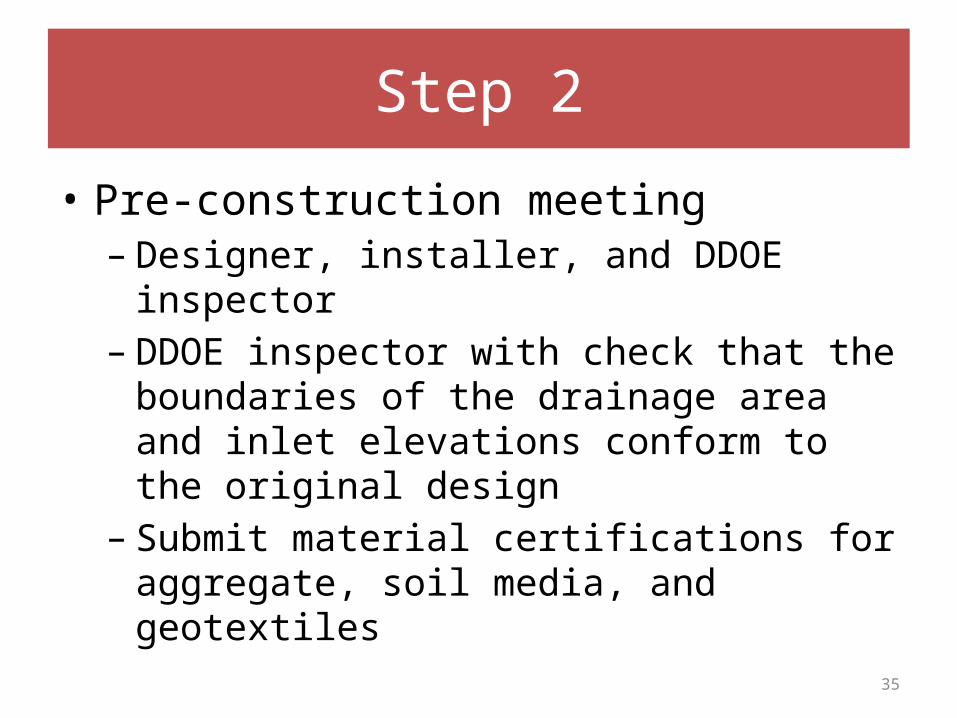
Step 2
• Pre-construction meeting– Designer, installer, and DDOE inspector– DDOE inspector with check that the
boundaries of the drainage area and inlet elevations conform to the original design
– Submit material certifications for aggregate, soil media, and geotextiles
36
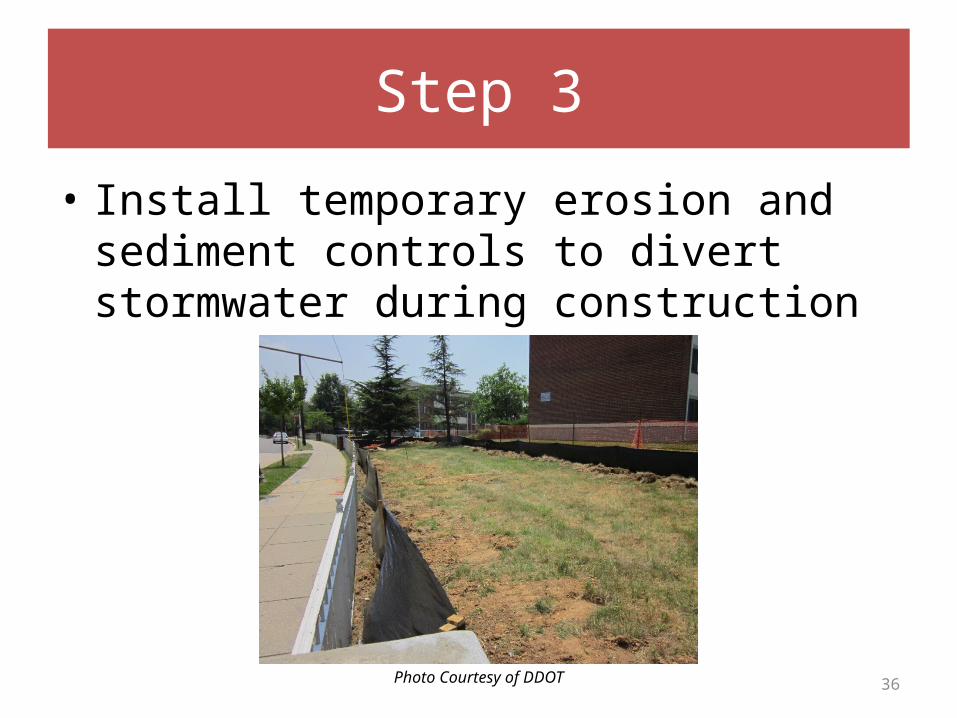
Step 3
• Install temporary erosion and sediment controls to divert stormwater during construction
Photo Courtesy of DDOT

37
Maintenance of Traffic
• Identify a qualified safety officer• Determine need for permits• Traffic Control Devices• Personnel needs – trained Flagger• Call Miss Utility• Notify DDOT 48 hours before work is to
begin
38
Maintenance of Traffic
• Notify neighbors of parking restrictions• Repair any damage that occurs during
operations at the site• Refer to the DDOT Work Zone Temporary
Traffic Control Manual for detailed information
39
Maintenance of Traffic
• Traffic is to be guided clearly and safely around the work zone
• Traffic includes vehicles, bicycles and pedestrians
• Review the “Daily Checklist for Temporary Traffic Control” found in the DDOT manual
40
Maintenance of Traffic
• The safety officer is responsible for ensuring the safety of the area
• The safety officer is authorized to halt work should a problem or deficiency occur
• All traffic control devices must be removed once work is complete
41
Maintenance of Traffic
• Pedestrian safety includes:– Signs and other devices to guide pedestrians
around the work area– Notify neighboring properties in advance– Maintain access to businesses– Maintain access for handicapped individuals– Pedestrians are to be protected
42
Step 4
• Excavate pretreatment cells, if applicable

43
Step 5
• Excavate the bioretention cell• Work from the sides; do not allow heavy
equipment within the bioretention cell
44
Step 6
• Rip bottom soils to 6-12 inch depth if necessary
45
Step 7
• Place filter fabric, if specified, on sides of bioretention cell. Overlap sides by 6 inches.
• Place stone for storage layer, perforated underdrain pipe, stone diaphragm, choking layer, and permeable geotextile layers as specified.
46
Step 8
• Place approved bioretention media• Apply in 12-inch lifts to desired top
elevation• Allow media to settle for a few days, then
add media as needed
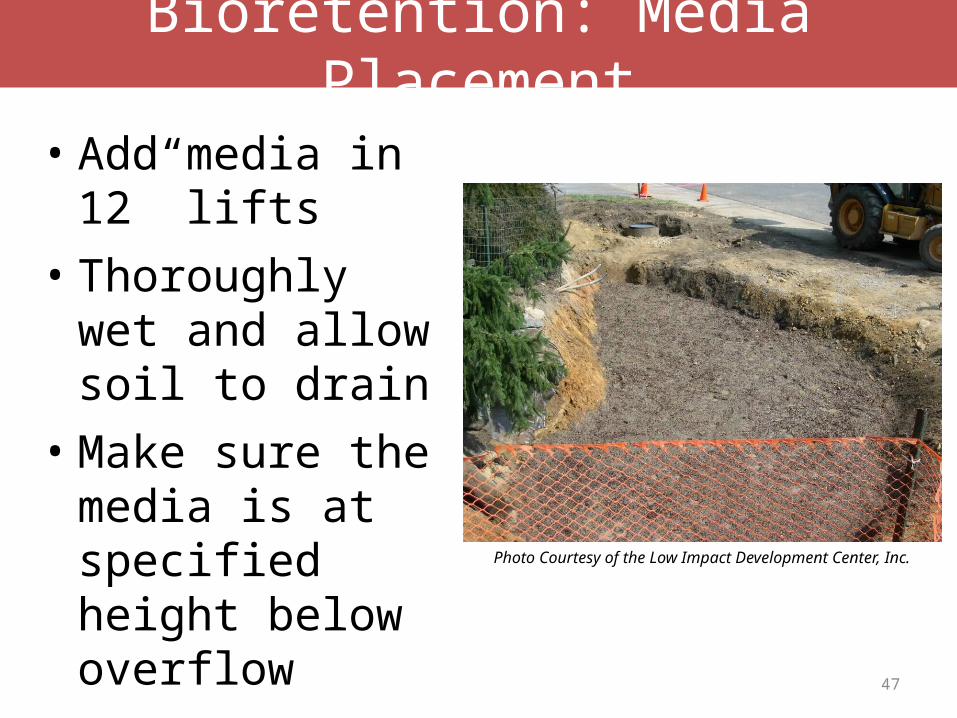
• Add media in 12” lifts
• Thoroughly wet and allow soil to drain
• Make sure the media is at specified height below overflow
Bioretention: Media Placement
Photo Courtesy of the Low Impact Development Center, Inc.
47
48
Step 9
• Install trees and shrubs• Follow the planting plan!• Install temporary irrigation, if used

Slide 49
• Follow the landscaping plan
• Incorporate the plan into maintenance
• Modify plan when plants are added, replaced, or removed
Landscaping Plan
Graphic Courtesy of the Low Impact Development Center, Inc.
50
Step 10
• Install surface cover– Mulch to 3” depth– River stone at inlet, if specified
51
Step 11
• Install herbaceous plant materials• Follow the planting plan!• Water as needed for the first two months
of establishment

52
Step 12
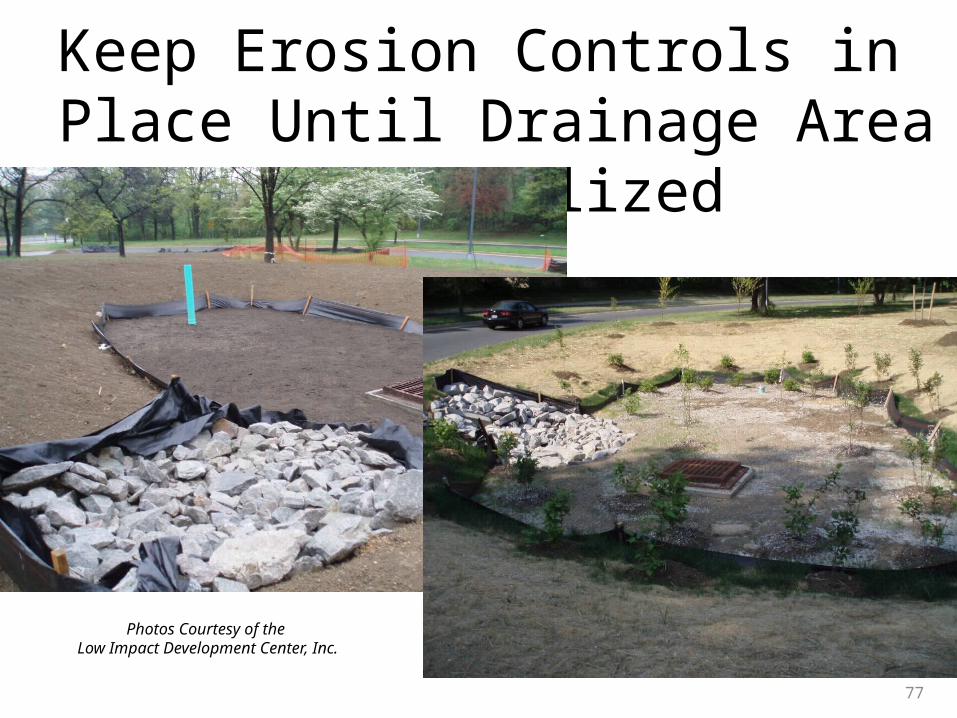
• Once drainage area and side slopes have good vegetative cover, unblock any blocked curb cuts or inlets, and remove erosion controls
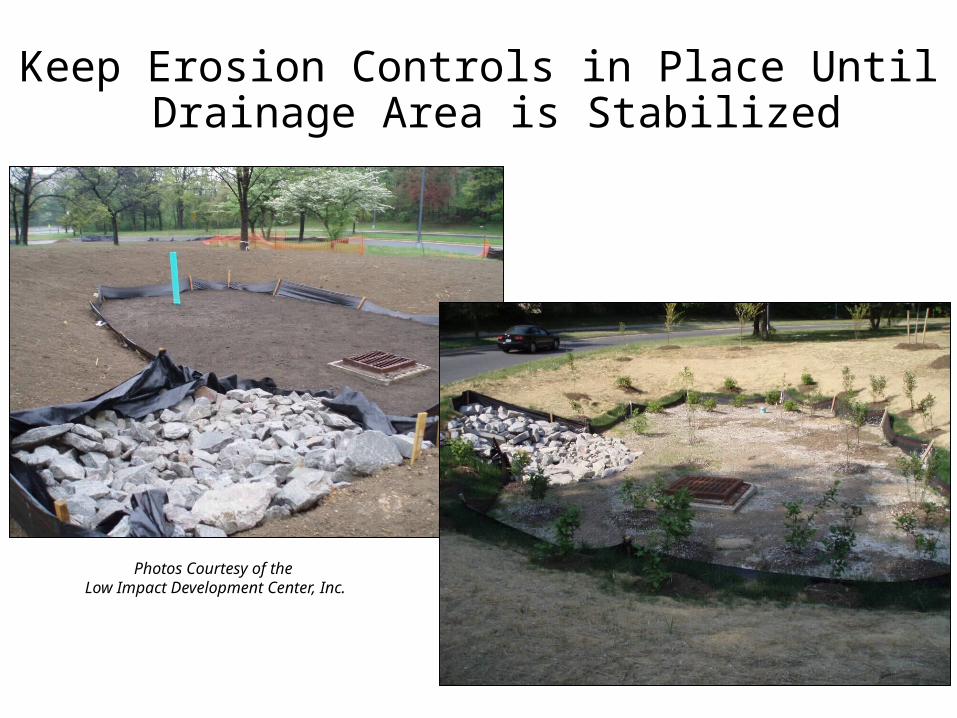
Keep Erosion Controls in Place Until Drainage Area is Stabilized
Irving St Images
P5240081 &
P4260061
Photos Courtesy of the Low Impact Development Center, Inc.
54
Step 13
• Conduct final construction inspection• Provide as-built certification to DDOE• Submit GPS coordinates for each
bioretention facility to DDOE for entry into their maintenance tracking database
55
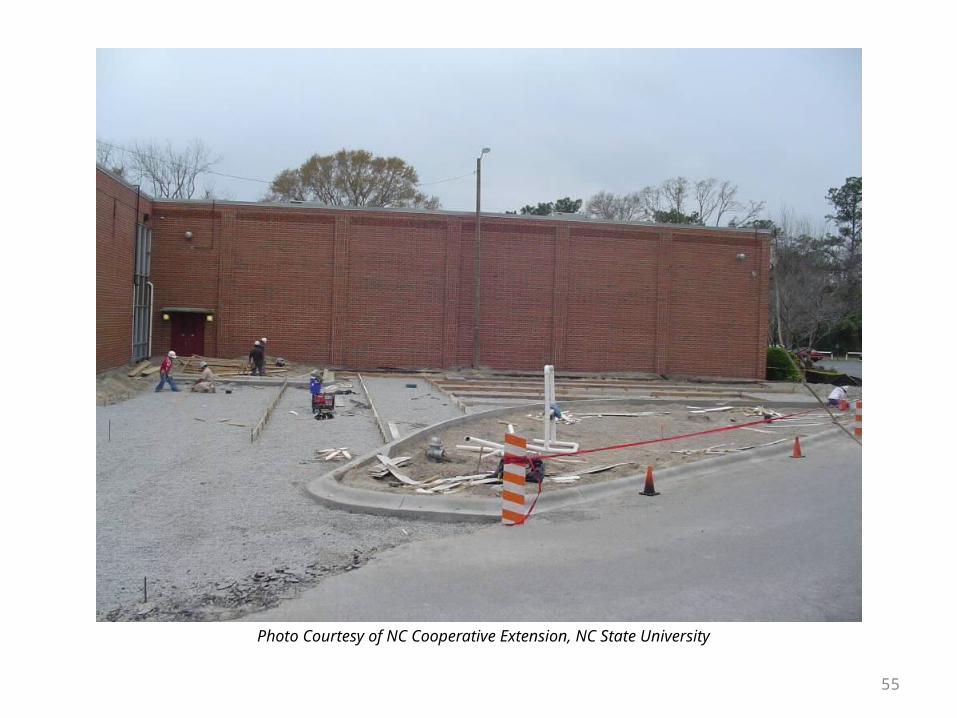
Photo Courtesy of NC Cooperative Extension, NC State University
56
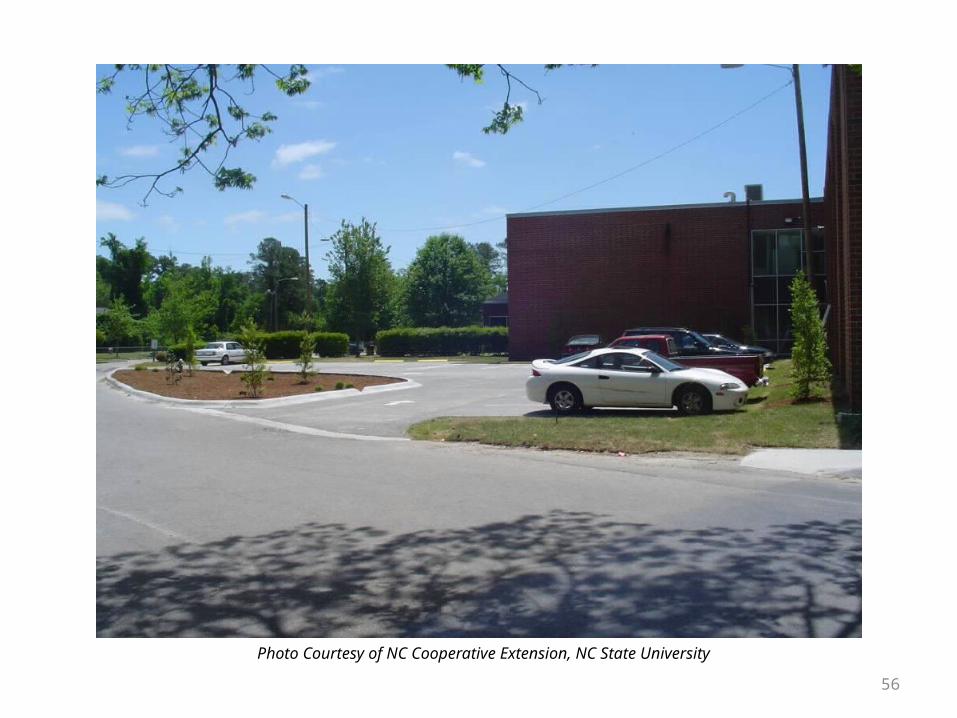
Photo Courtesy of NC Cooperative Extension, NC State University

57Photo Courtesy of NC Cooperative Extension, NC State University
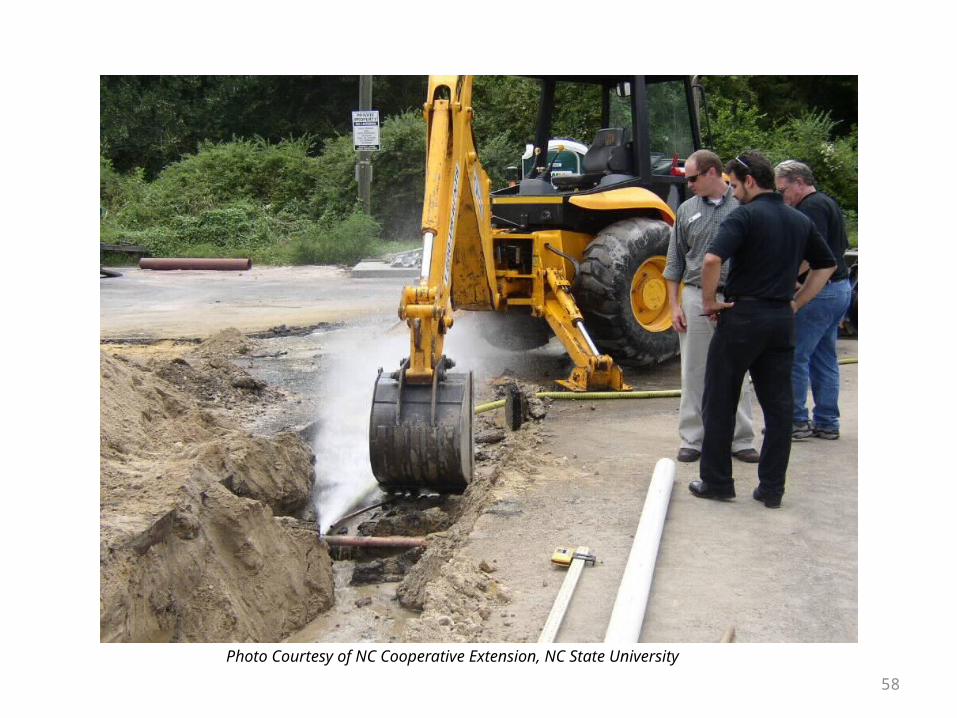
58
Photo Courtesy of NC Cooperative Extension, NC State University
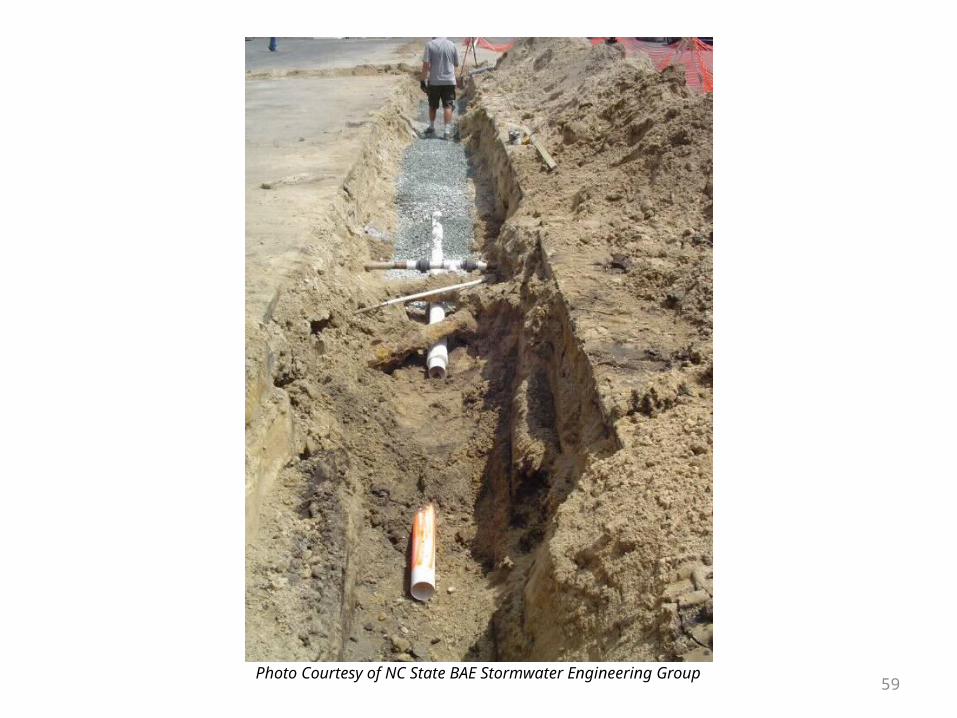
59Photo Courtesy of NC State BAE Stormwater Engineering Group
60
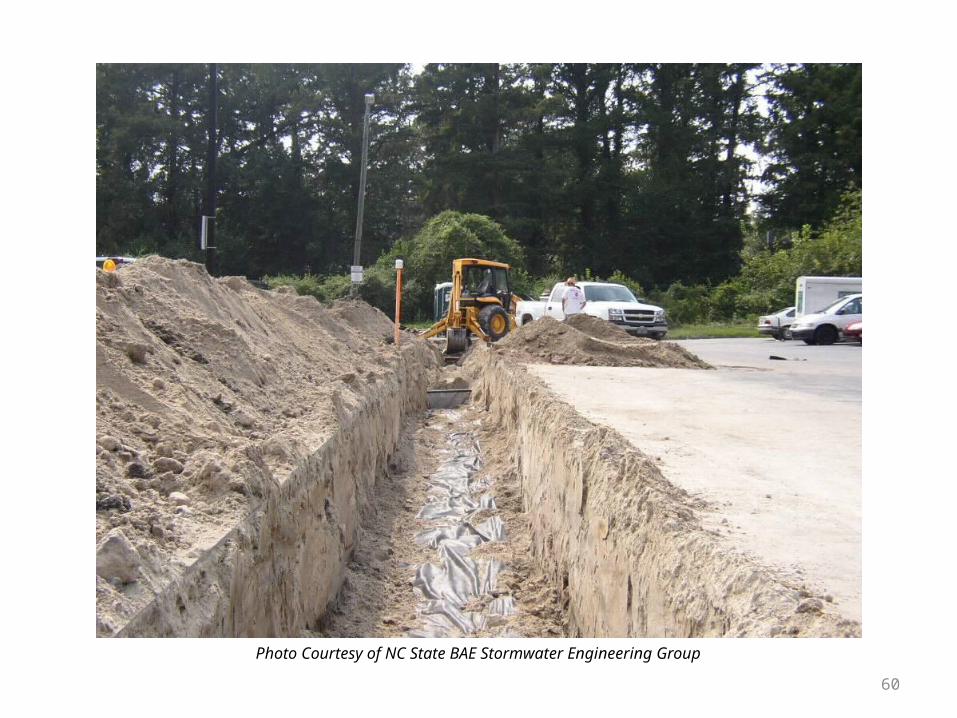
Photo Courtesy of NC State BAE Stormwater Engineering Group
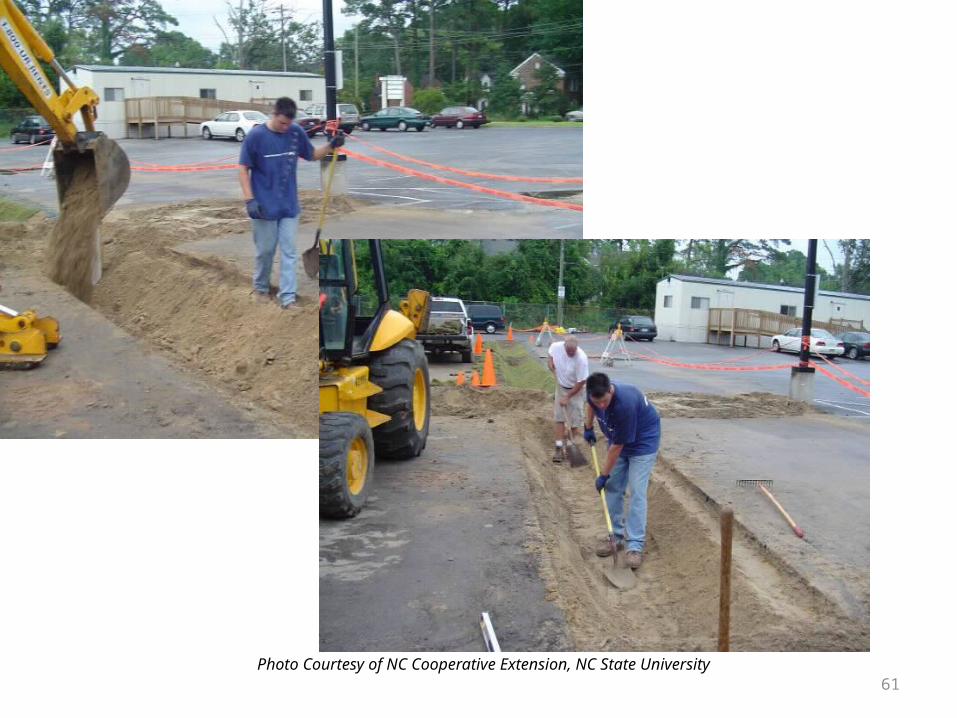
61Photo Courtesy of NC Cooperative Extension, NC State University
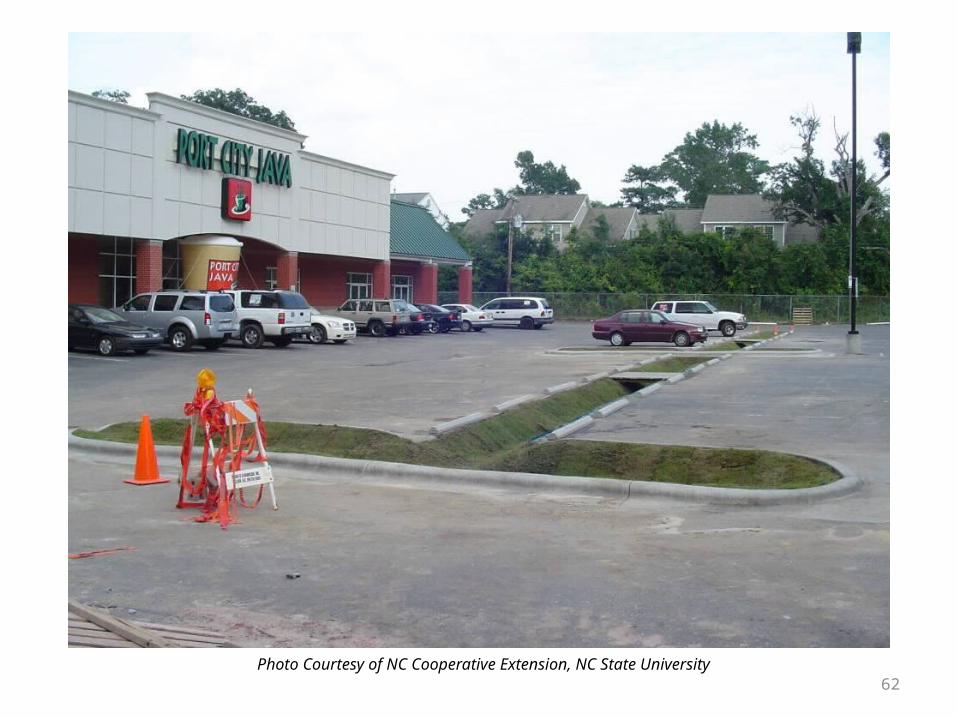
62Photo Courtesy of NC Cooperative Extension, NC State University
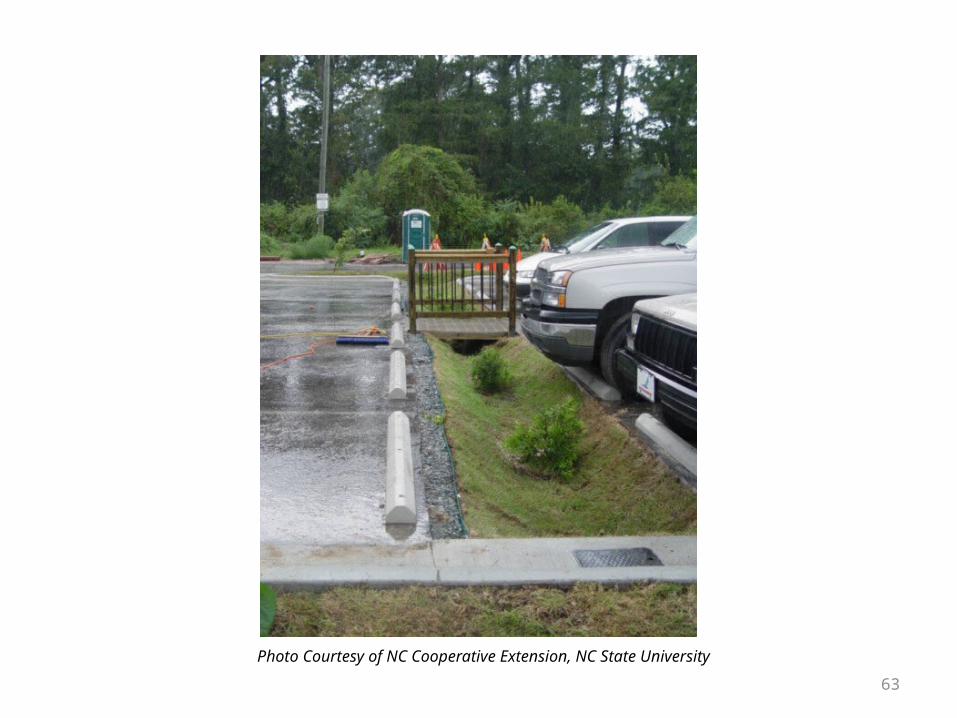
63
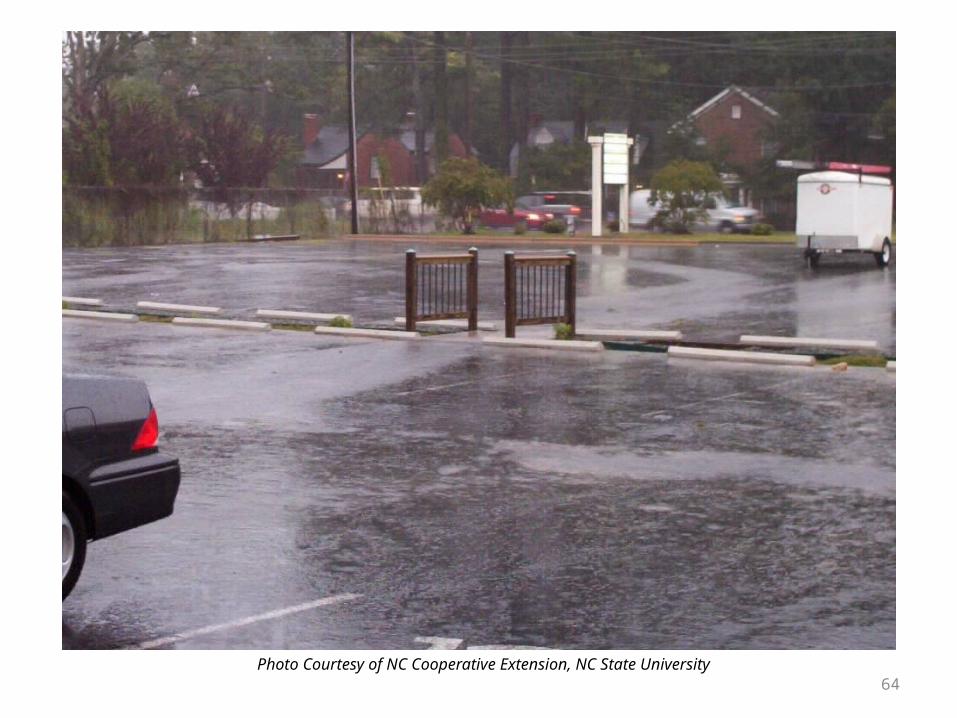
Photo Courtesy of NC Cooperative Extension, NC State University
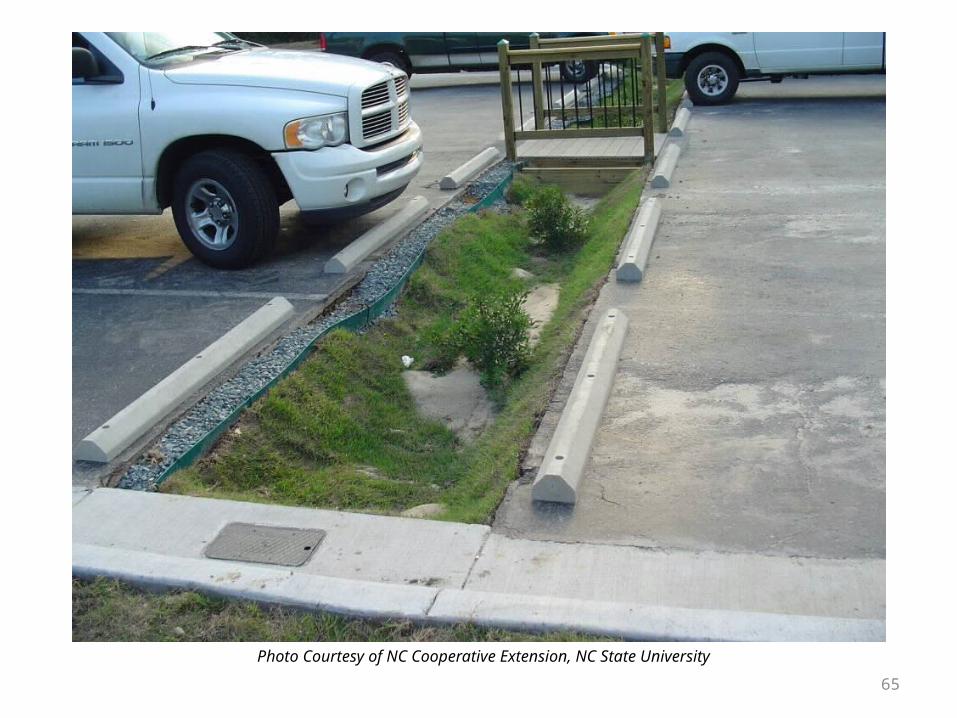
64Photo Courtesy of NC Cooperative Extension, NC State University
65
Photo Courtesy of NC Cooperative Extension, NC State University
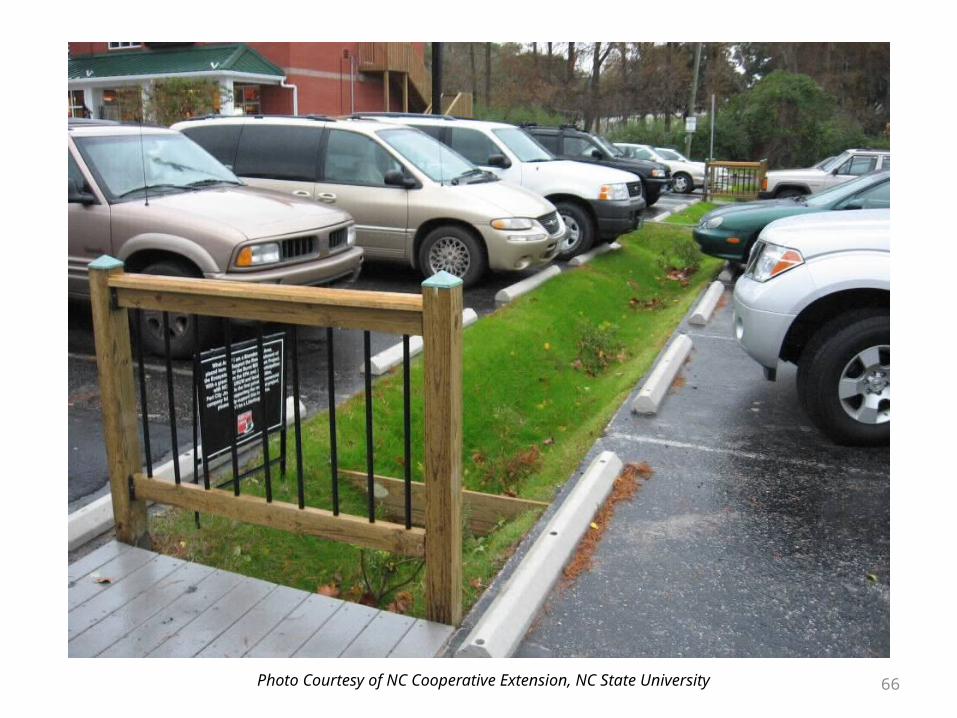
66Photo Courtesy of NC Cooperative Extension, NC State University
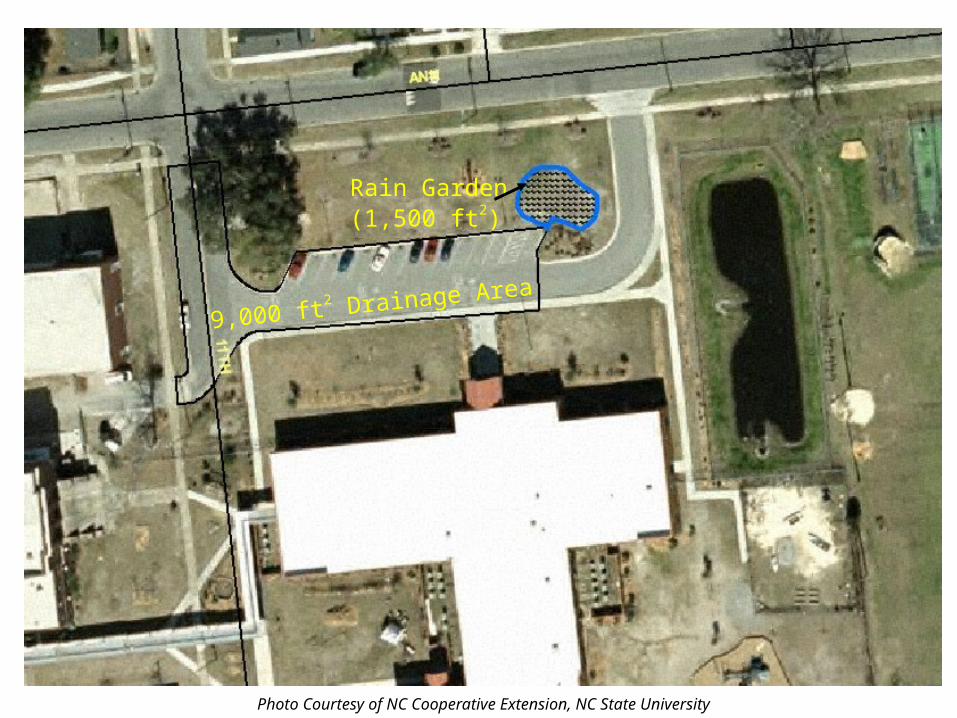
9,000 ft2 Drainage Area
Rain Garden(1,500 ft2)
Photo Courtesy of NC Cooperative Extension, NC State University
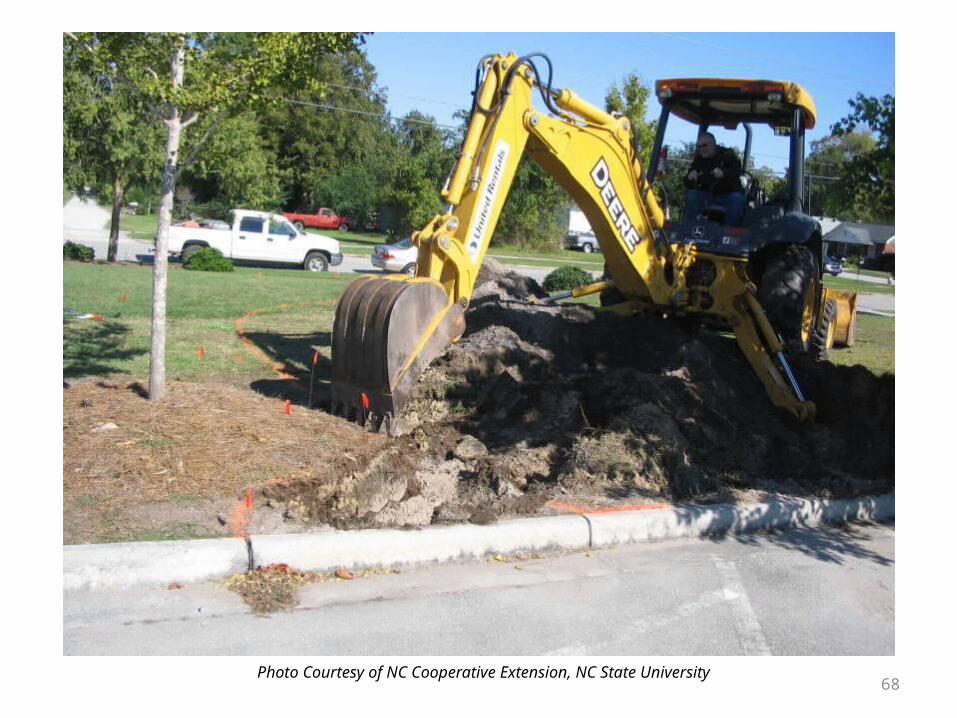
68Photo Courtesy of NC Cooperative Extension, NC State University
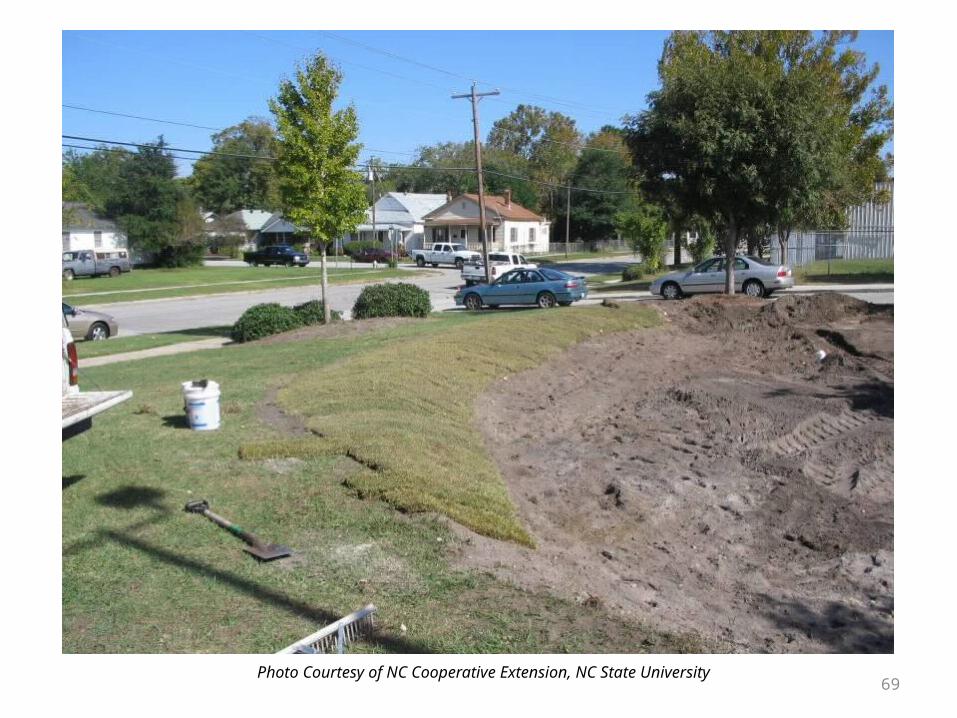
69Photo Courtesy of NC Cooperative Extension, NC State University
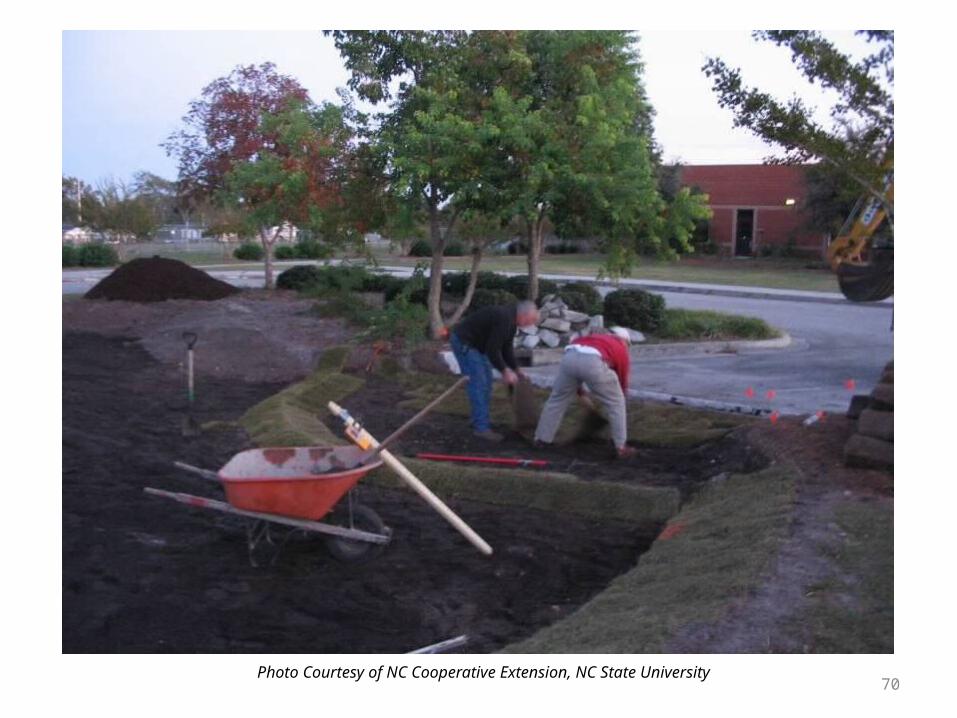
70Photo Courtesy of NC Cooperative Extension, NC State University
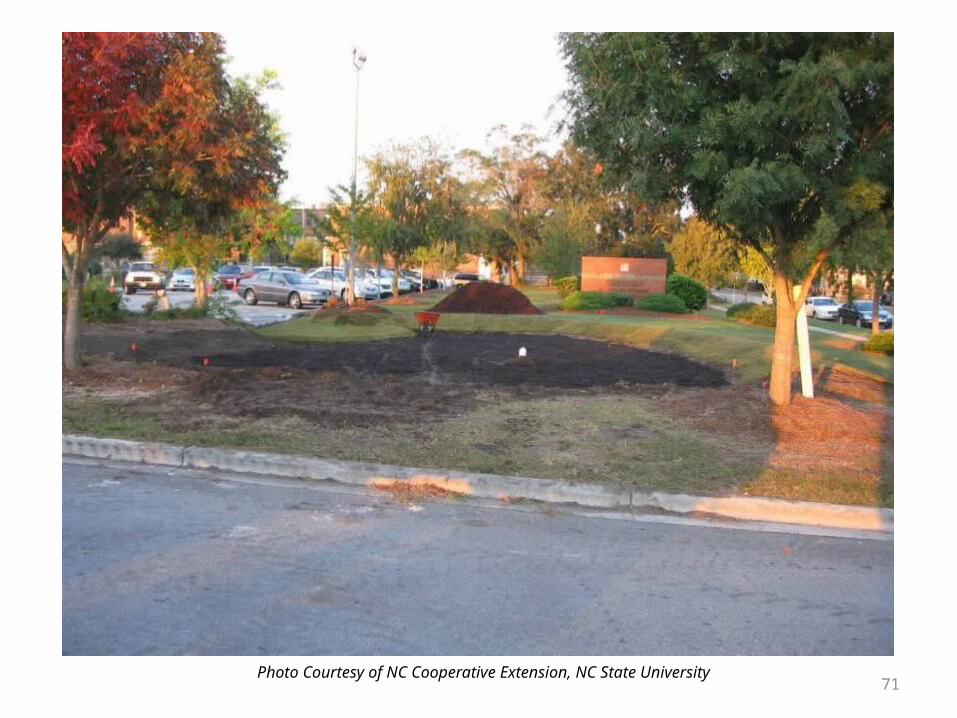
71Photo Courtesy of NC Cooperative Extension, NC State University
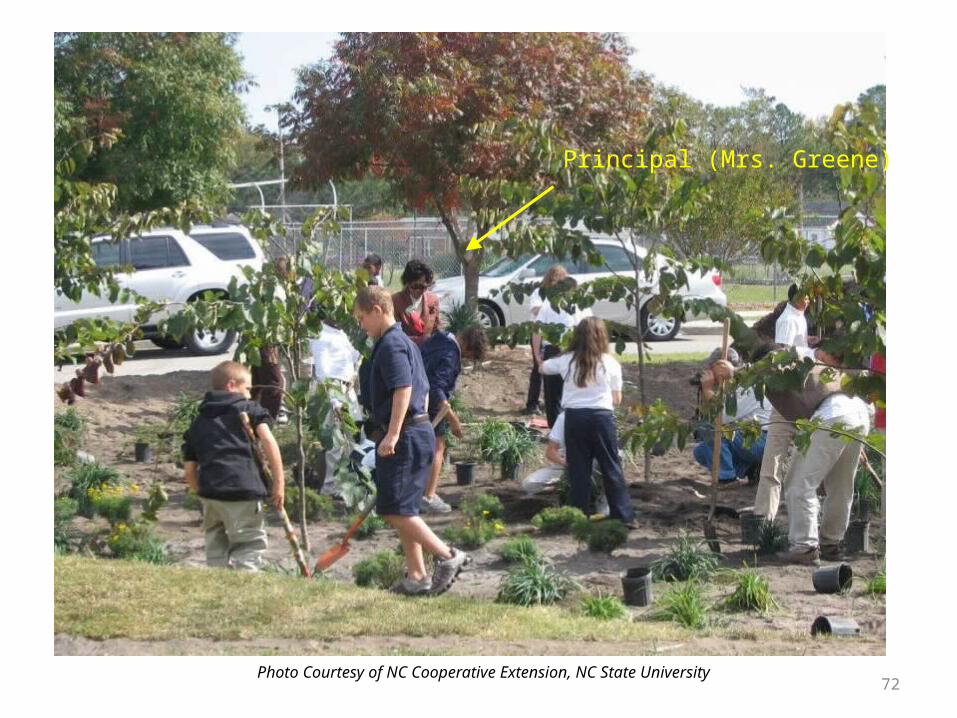
72
Principal (Mrs. Greene)
Photo Courtesy of NC Cooperative Extension, NC State University
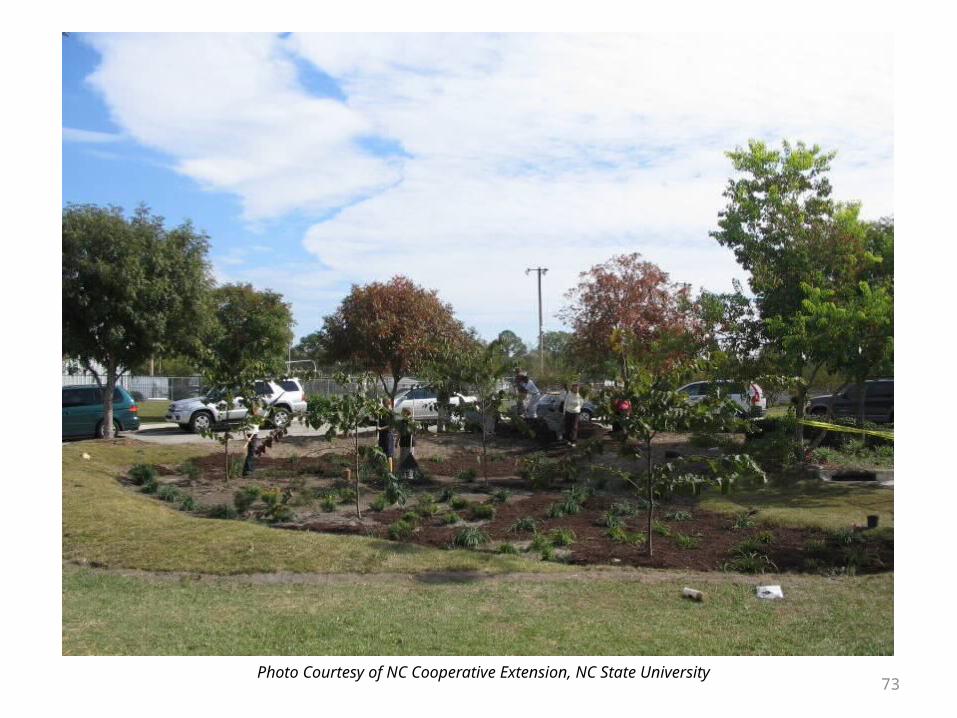
73Photo Courtesy of NC Cooperative Extension, NC State University
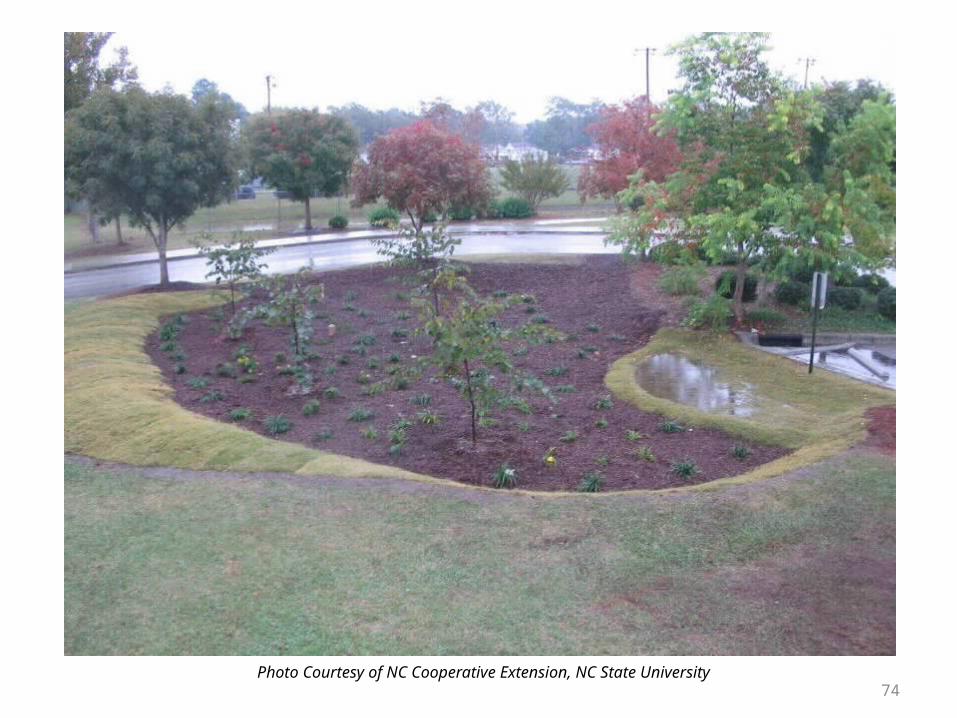
74Photo Courtesy of NC Cooperative Extension, NC State University
Common Construction Errors
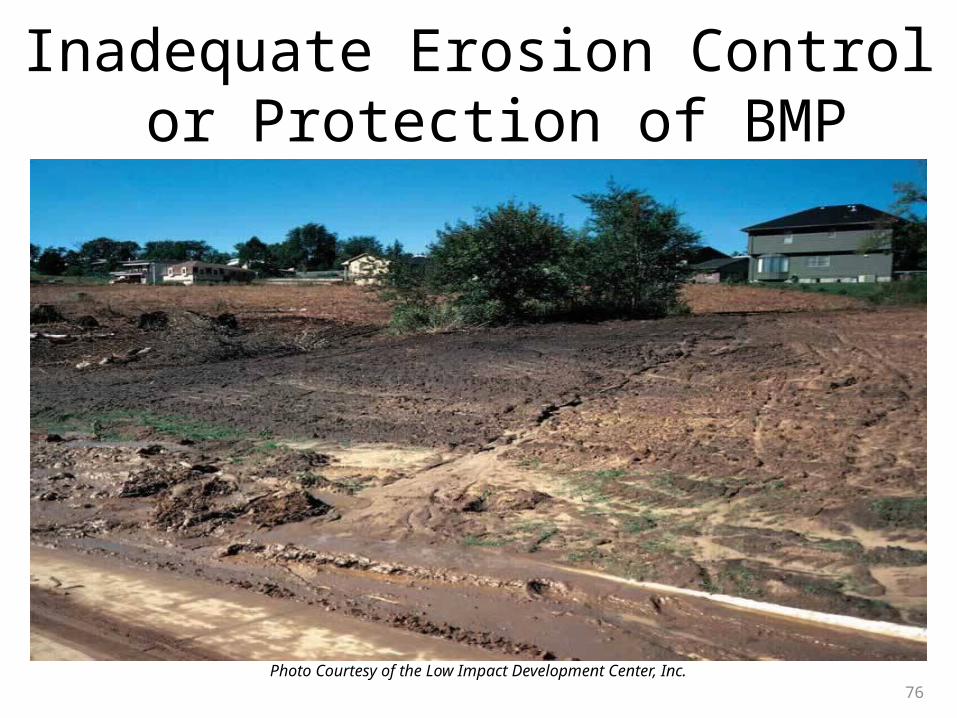
Inadequate Erosion Control or Protection of BMP Areas
Photo Courtesy of the Low Impact Development Center, Inc.
76
77
Keep Erosion Controls in Place Until Drainage Area is Stabilized
Irving St Images
P5240081 &
P4260061
Photos Courtesy of the Low Impact Development Center, Inc.
78
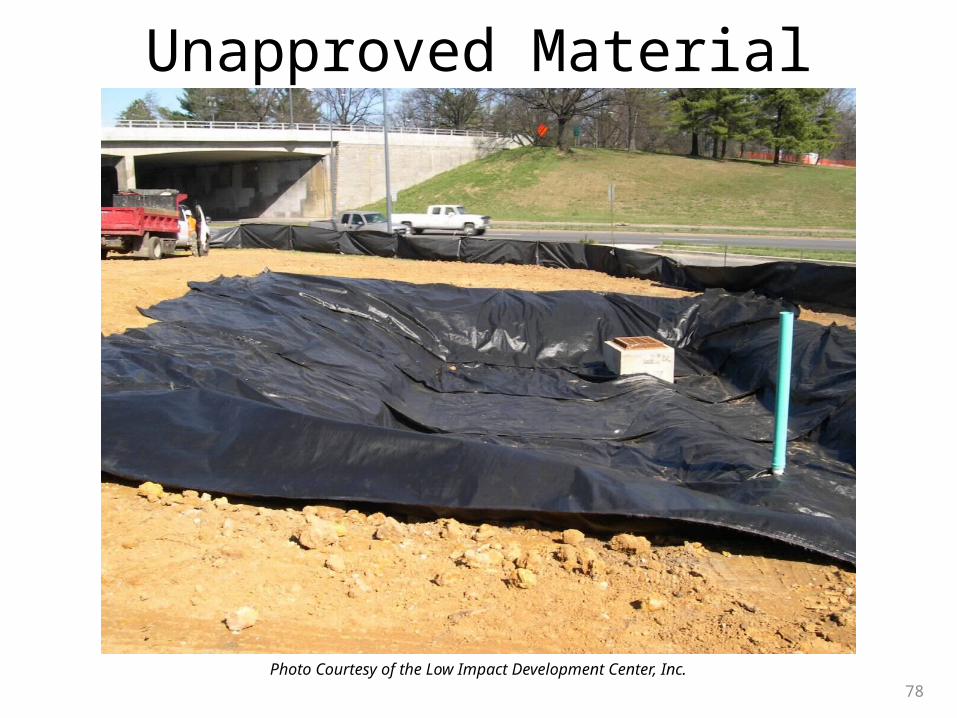
Unapproved Material Substitutions
Photo Courtesy of the Low Impact Development Center, Inc.
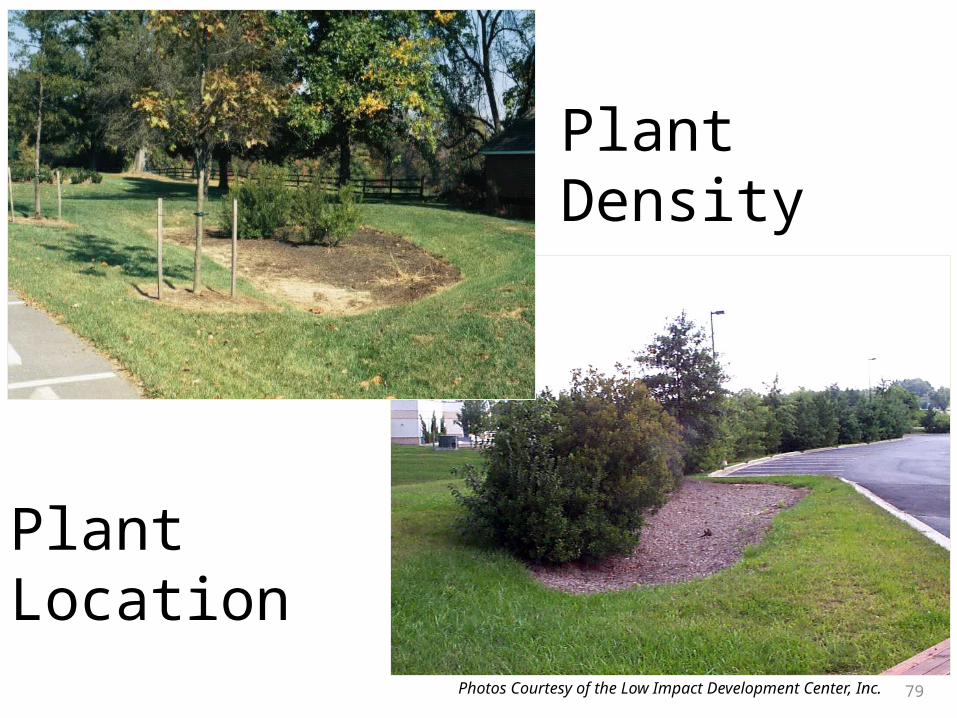
Plant Density
Plant Location
Photos Courtesy of the Low Impact Development Center, Inc. 79
80Photo Courtesy of the Low Impact Development Center, Inc.
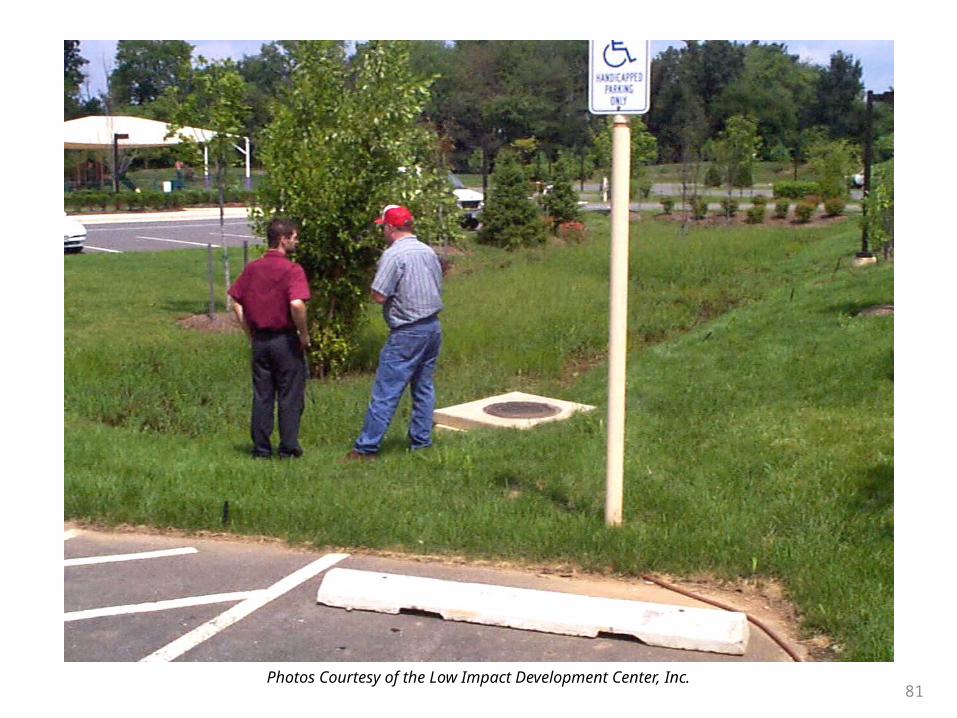
81Photos Courtesy of the Low Impact Development Center, Inc.
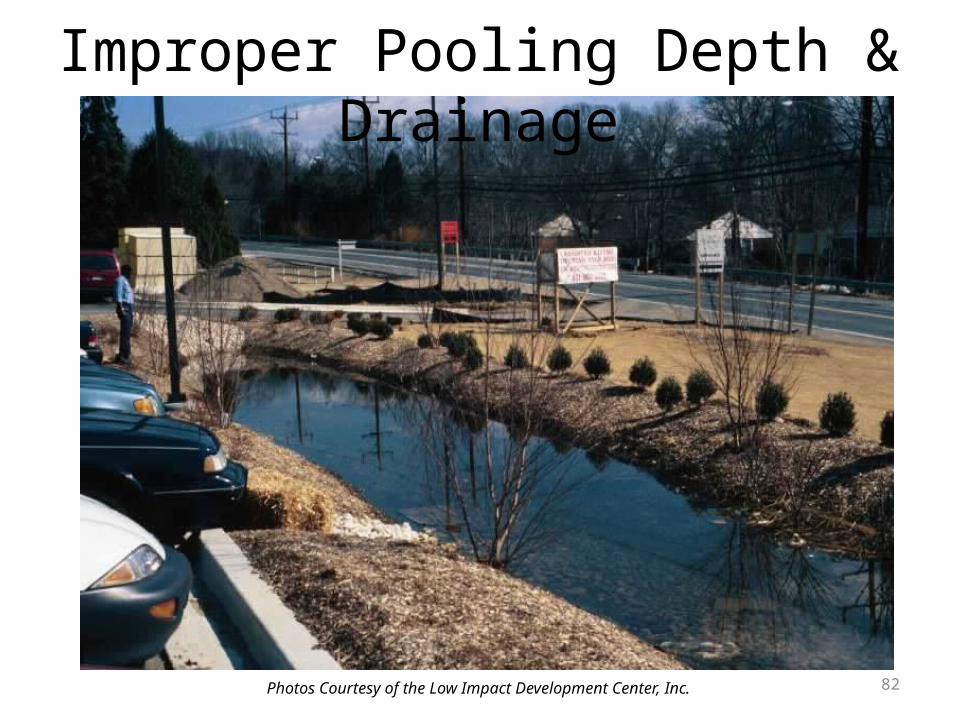
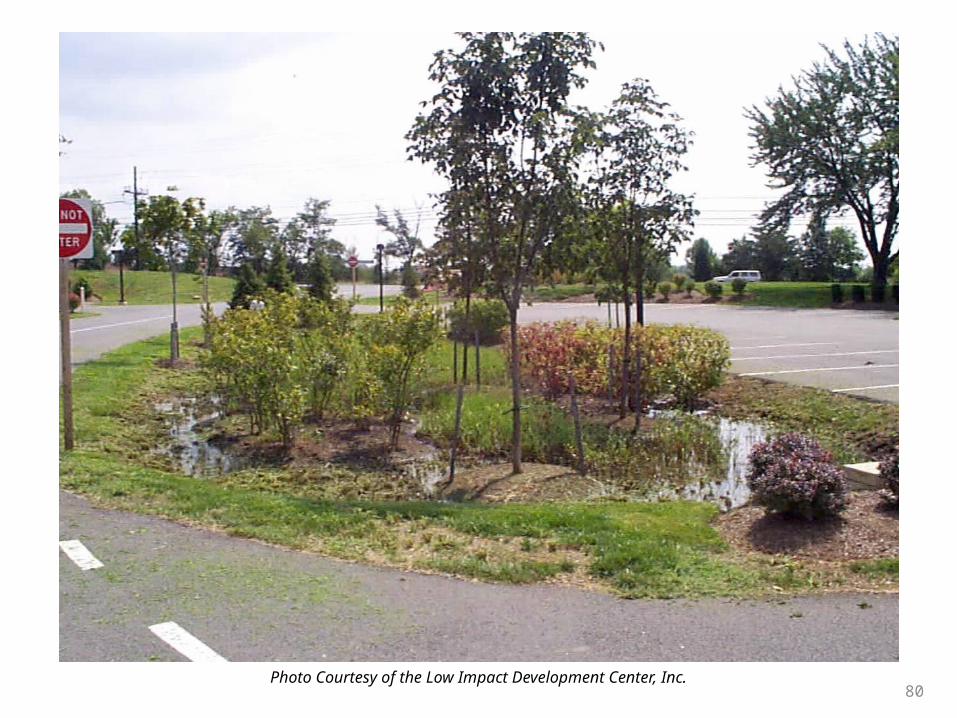
Improper Pooling Depth & Drainage
Photos Courtesy of the Low Impact Development Center, Inc. 82
83
Incorrect grading
• Lack of curb cuts• Compaction sequencing and
documentation• “Rogue” materials• Incorrect slopes• Incorrect equiptment
84
Resolving Issues and Challenges
• Contract terms• Document, Document, Document• Scheduling Impacts• Adjustments
85
Demobilization
• Timing of equipment removal and labor• Punch lists• Documentation• Closeout procedures• Suggest follow up visit and notification

86
Reporting and Records
• Materials receipts and certifications• Procedures for omissions and
substitutions• Organization of pictures, as-builts, and
logs• Labor use and timesheets• Subcontractors
87
Review
• There is no such thing as to much documentation
• Create a checklist for each project• Conduct basic training project overview for
each crew• Document any potential conflict or problem• Follow up with client and make
recommendations on how to improve projects
88
Resources
• Miss Utility Damage Prevention Guide http://www.missutility.net/pdfs/2011DamagePreventionGuide.pdf
• Low Impact Development (LID) Construction and Maintenance Guidance Manual, Version 1.0. DDOE. 2009. (http://ddoe.dc.gov/riversmarthomes)
• 2013 District of Columbia Stormwater Management Guidebook (http://ddoe.dc.gov/swregs)