Embed Size (px)
Citation preview

M275
Arab Open University
Faculty of computer Studies
M275 - Web Development
using PHP and MySQL
1
By : Haifaa Elayyan KSA Branch

Interacting with MySQL
Using PHP
CHAPTER 18
2
By : Haifaa Elayyan KSA Branch
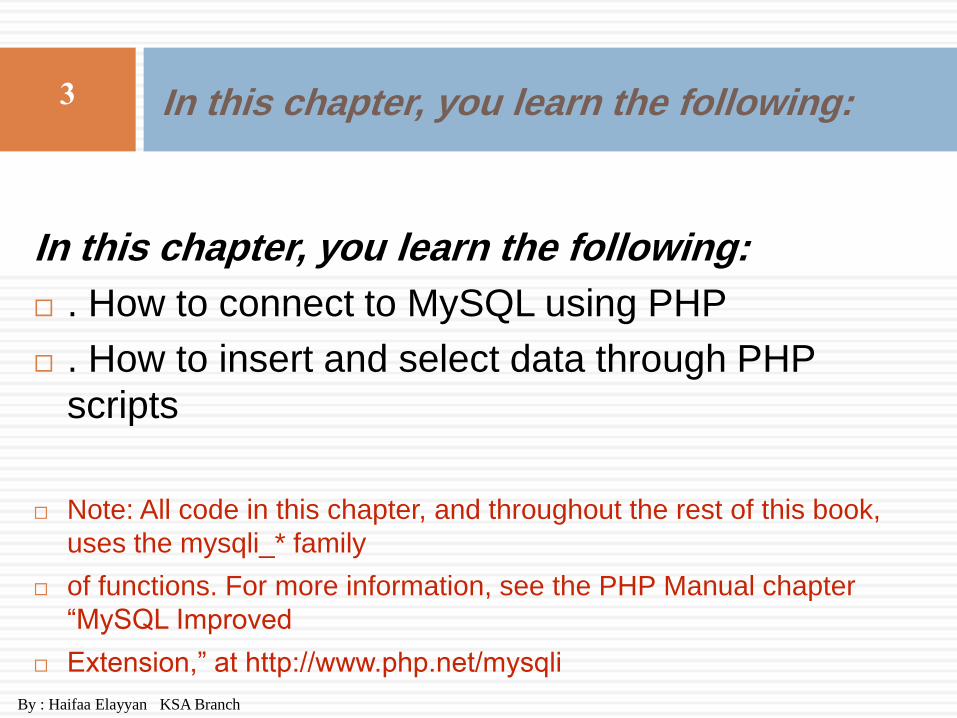
In this chapter, you learn the following:
. How to connect to MySQL using PHP
. How to insert and select data through PHP
scripts
Note: All code in this chapter, and throughout the rest of this book,
uses the mysqli_* family
of functions. For more information, see the PHP Manual chapter
“MySQL Improved
Extension,” at http://www.php.net/mysqli
In this chapter, you learn the following:
3
By : Haifaa Elayyan KSA Branch
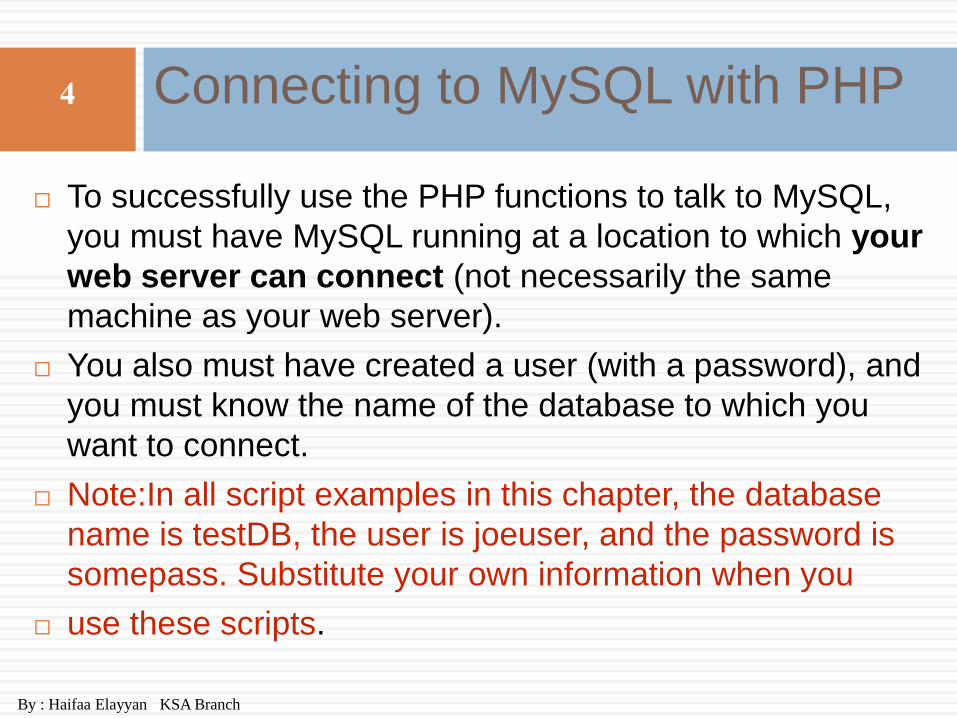
To successfully use the PHP functions to talk to MySQL,
you must have MySQL running at a location to which your
web server can connect (not necessarily the same
machine as your web server).
You also must have created a user (with a password), and
you must know the name of the database to which you
want to connect.
Note:In all script examples in this chapter, the database
name is testDB, the user is joeuser, and the password is
somepass. Substitute your own information when you
use these scripts.
Connecting to MySQL with PHP
4
By : Haifaa Elayyan KSA Branch
Making a Connection
5
By : Haifaa Elayyan KSA Branch
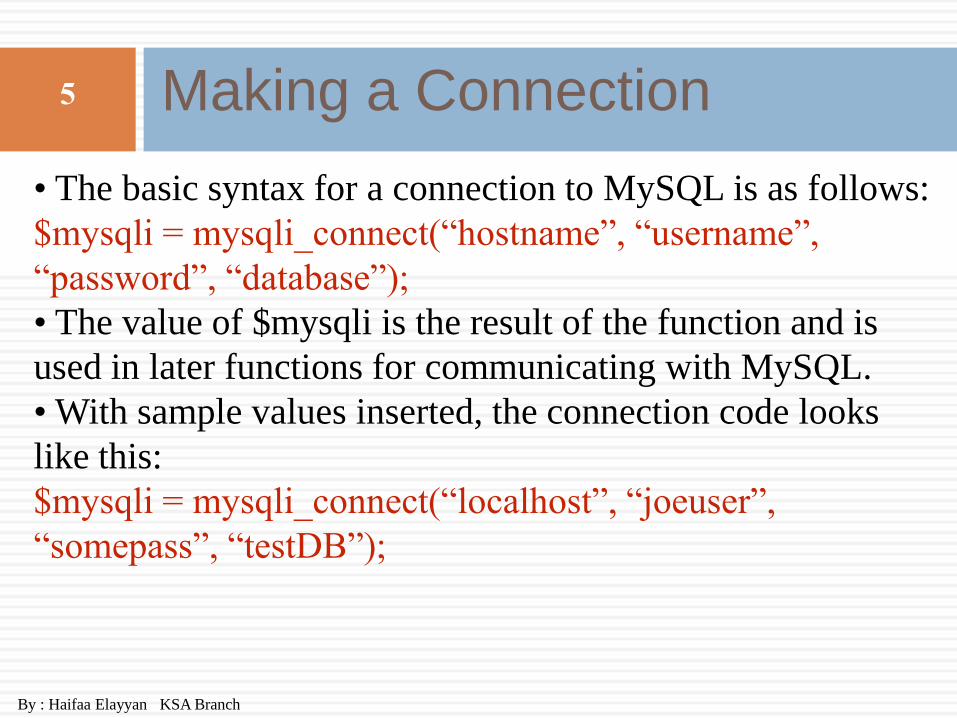
• The basic syntax for a connection to MySQL is as follows:
$mysqli = mysqli_connect(“hostname”, “username”,
“password”, “database”);
• The value of $mysqli is the result of the function and is
used in later functions for communicating with MySQL.
• With sample values inserted, the connection code looks
like this:
$mysqli = mysqli_connect(“localhost”, “joeuser”,
“somepass”, “testDB”);
A Simple Connection Script
6
By : Haifaa Elayyan KSA Branch
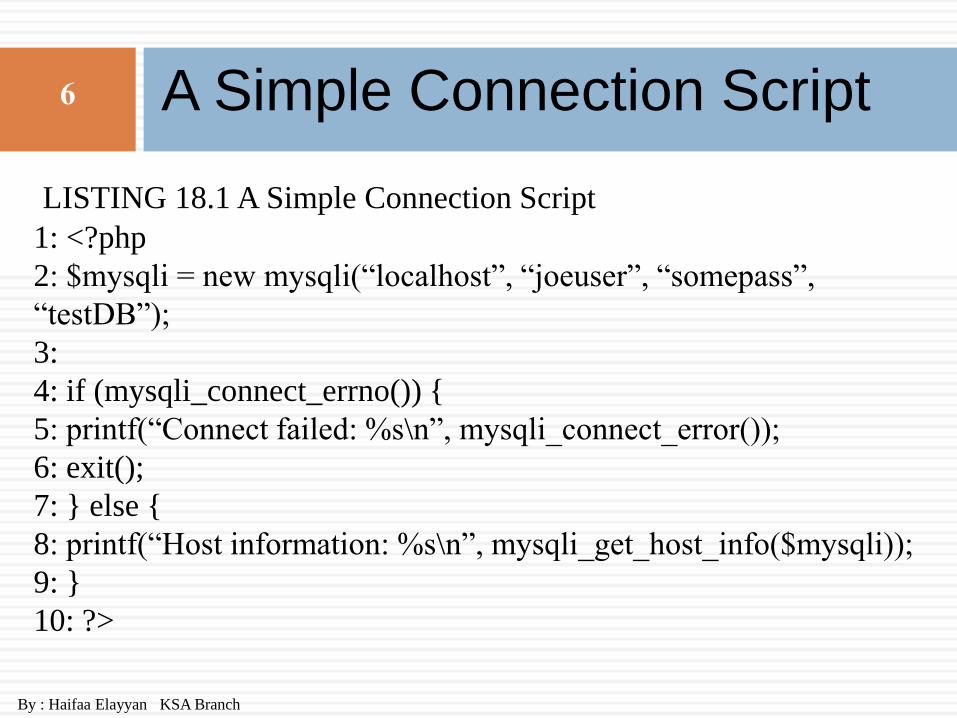
LISTING 18.1 A Simple Connection Script
1: <?php
2: $mysqli = new mysqli(“localhost”, “joeuser”, “somepass”,
“testDB”);
3:
4: if (mysqli_connect_errno()) {
5: printf(“Connect failed: %s\n”, mysqli_connect_error());
6: exit();
7: } else {
8: printf(“Host information: %s\n”, mysqli_get_host_info($mysqli));
9: }
10: ?>

The Modified Simple Connection Script
7
By : Haifaa Elayyan KSA Branch
• If the connection fails, an error message is printed. Line 5
generates an error via the mysqli_connect_error()
function. An example is shown here:
Connect failed: Access denied for user
‘joeuser’@’localhost’ (using password: YES)
• However, if the connection is successful, line 8 prints the
output of
mysqli_get_host_info(), such as examples above.
The Modified Simple Connection Script
8
By : Haifaa Elayyan KSA Branch
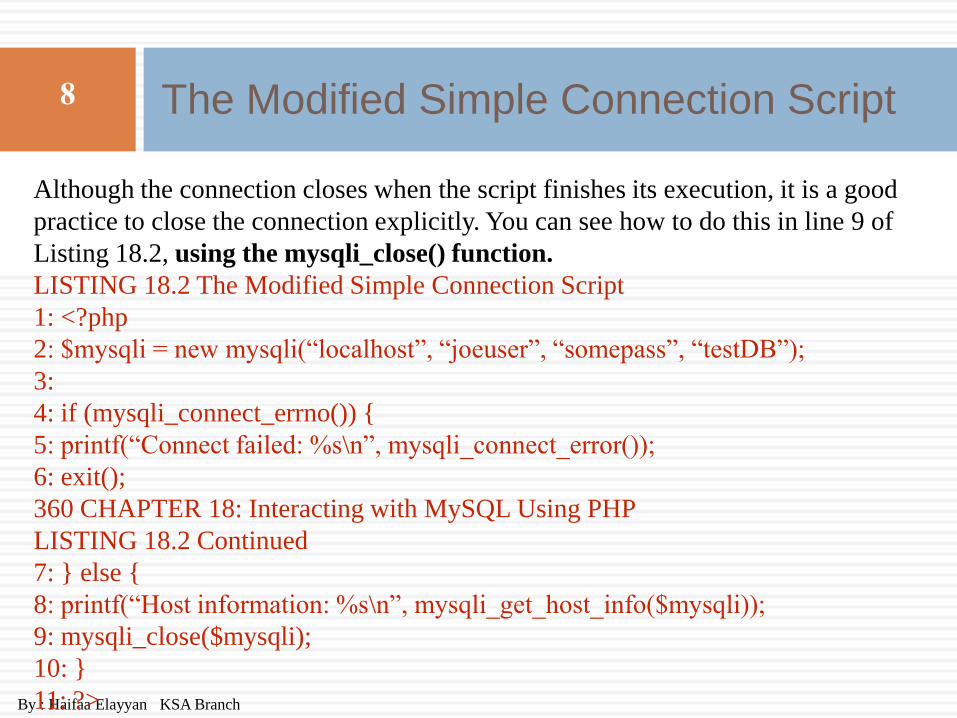
Although the connection closes when the script finishes its execution, it is a good
practice to close the connection explicitly. You can see how to do this in line 9 of
Listing 18.2, using the mysqli_close() function.
LISTING 18.2 The Modified Simple Connection Script
1: <?php
2: $mysqli = new mysqli(“localhost”, “joeuser”, “somepass”, “testDB”);
3:
4: if (mysqli_connect_errno()) {
5: printf(“Connect failed: %s\n”, mysqli_connect_error());
6: exit();
360 CHAPTER 18: Interacting with MySQL Using PHP
LISTING 18.2 Continued
7: } else {
8: printf(“Host information: %s\n”, mysqli_get_host_info($mysqli));
9: mysqli_close($mysqli);
10: }
11: ?>
Executing Queries
9
By : Haifaa Elayyan KSA Branch
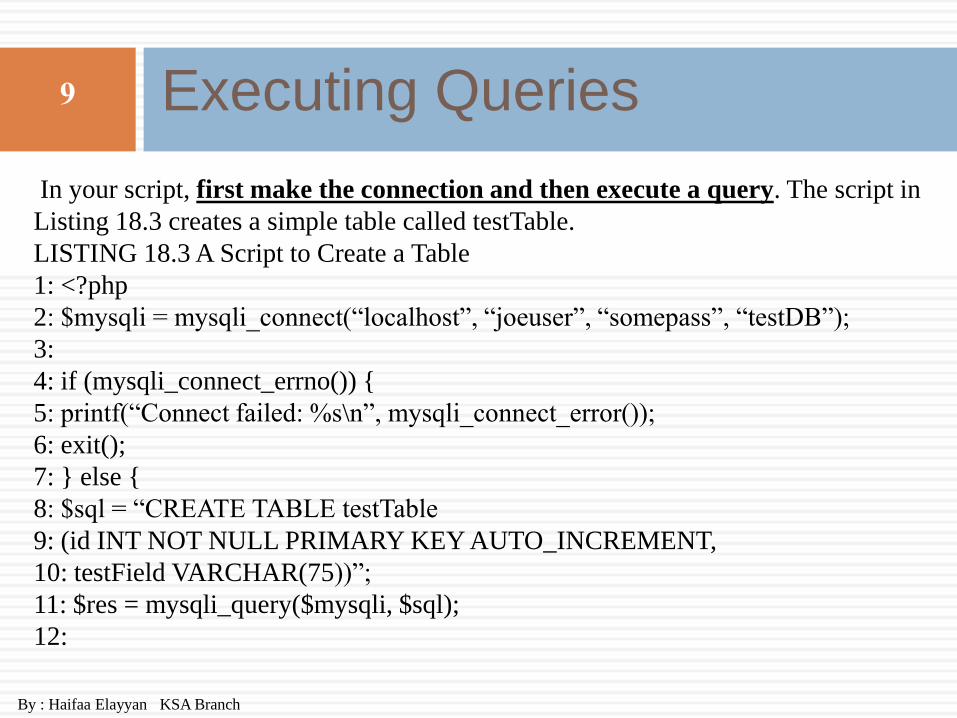
In your script, first make the connection and then execute a query. The script in
Listing 18.3 creates a simple table called testTable.
LISTING 18.3 A Script to Create a Table
1: <?php
2: $mysqli = mysqli_connect(“localhost”, “joeuser”, “somepass”, “testDB”);
3:
4: if (mysqli_connect_errno()) {
5: printf(“Connect failed: %s\n”, mysqli_connect_error());
6: exit();
7: } else {
8: $sql = “CREATE TABLE testTable
9: (id INT NOT NULL PRIMARY KEY AUTO_INCREMENT,
10: testField VARCHAR(75))”;
11: $res = mysqli_query($mysqli, $sql);
12:

Executing Queries
10
By : Haifaa Elayyan KSA Branch
13: if ($res === TRUE) {
14: echo “Table testTable successfully created.”;
15: } else {
16: printf(“Could not create table: %s\n”, mysqli_error($mysqli));
17: }
19: mysqli_close($mysqli);
20: }
21: ?>
If you access MySQL through the command-line interface to verify the creation of
the testTable table, you will see the following output of DESCRIBE testTable:
+-----------+-------------+------+-----+---------+----------------+
| Field | Type | Null | Key | Default | Extra |
+-----------+-------------+------+-----+---------+----------------+
| id | int(11) | | PRI | NULL | auto_increment |
| testField | varchar(75) | YES | | NULL | |
+-----------+-------------+------+-----+---------+----------------+
if the value of $res is not
true and the table was not
created, an error
message appears,
generated by the
mysqli_error() function.
Retrieving Error Messages
11
By : Haifaa Elayyan KSA Branch
• Familiarize yourself with the mysqli_error() function;
When used in conjunction with the PHP die() function,
which simply exits the script at the point at which it appears,
the mysqli_error() function returns a helpful error message
when you make a mistake.
• For example, now that you have created a table called
testTable, you cannot execute that script again without an
error. Try to execute the script again; when you execute the
script, you should see something like the following in your
web browser:
Could not create table: Table ‘testtable’ already exists
Avoiding SQL Injection
12
By : Haifaa Elayyan KSA Branch
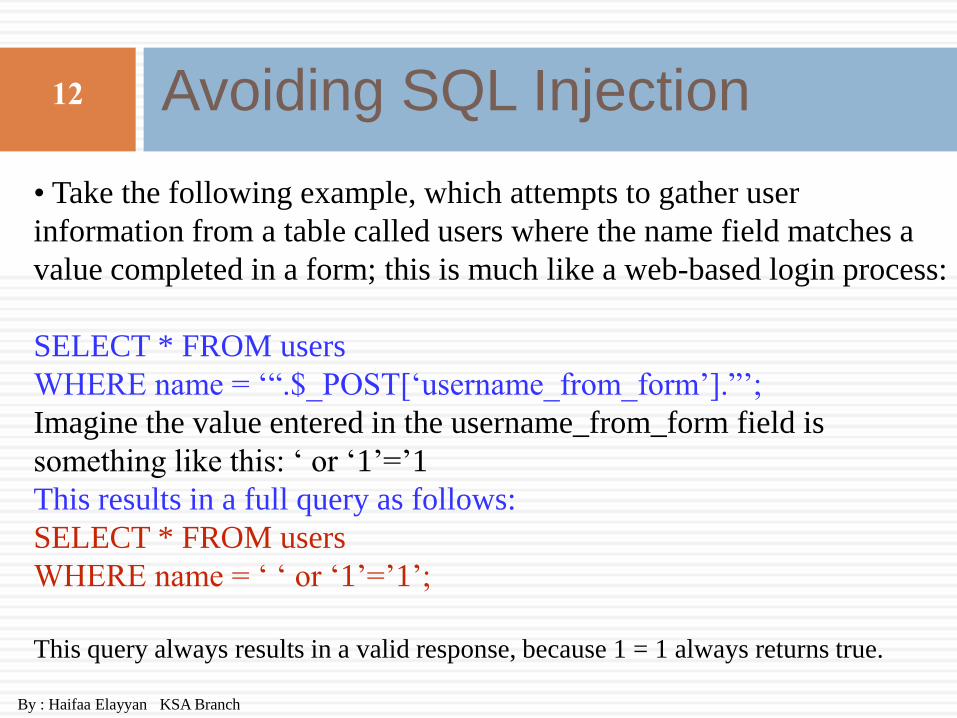
• Take the following example, which attempts to gather user
information from a table called users where the name field matches a
value completed in a form; this is much like a web-based login process:
SELECT * FROM users
WHERE name = ‘“.$_POST[‘username_from_form’].”’;
Imagine the value entered in the username_from_form field is
something like this: ‘ or ‘1’=’1
This results in a full query as follows:
SELECT * FROM users
WHERE name = ‘ ‘ or ‘1’=’1’;
This query always results in a valid response, because 1 = 1 always returns true.

Inserting Data with PHP
13
By : Haifaa Elayyan KSA Branch
The easiest (and safest) method for inserting data at this stage in the game is to
simply hard-code the INSERT statement, as shown in Listing 18.4.
LISTING 18.4 A Script to Insert a Record
1: <?php
2: $mysqli = mysqli_connect(“localhost”, “joeuser”, “somepass”, “testDB”);
4: if (mysqli_connect_errno()) {
5: printf(“Connect failed: %s\n”, mysqli_connect_error());
6: exit();
7: } else {
8: $sql = “INSERT INTO testTable (testField) VALUES (‘some value’)”;
9: $res = mysqli_query($mysqli, $sql);
11: if ($res === TRUE) {
Inserting Data with PHP
14
By : Haifaa Elayyan KSA Branch
12: echo “A record has been inserted.”;
13: } else {
14: printf(“Could not insert record: %s\n”, mysqli_error($mysqli));
15: }
17: mysqli_close($mysqli);
18: }
19: ?>
The only change between
Inserting Data with PHP
15
By : Haifaa Elayyan KSA Branch
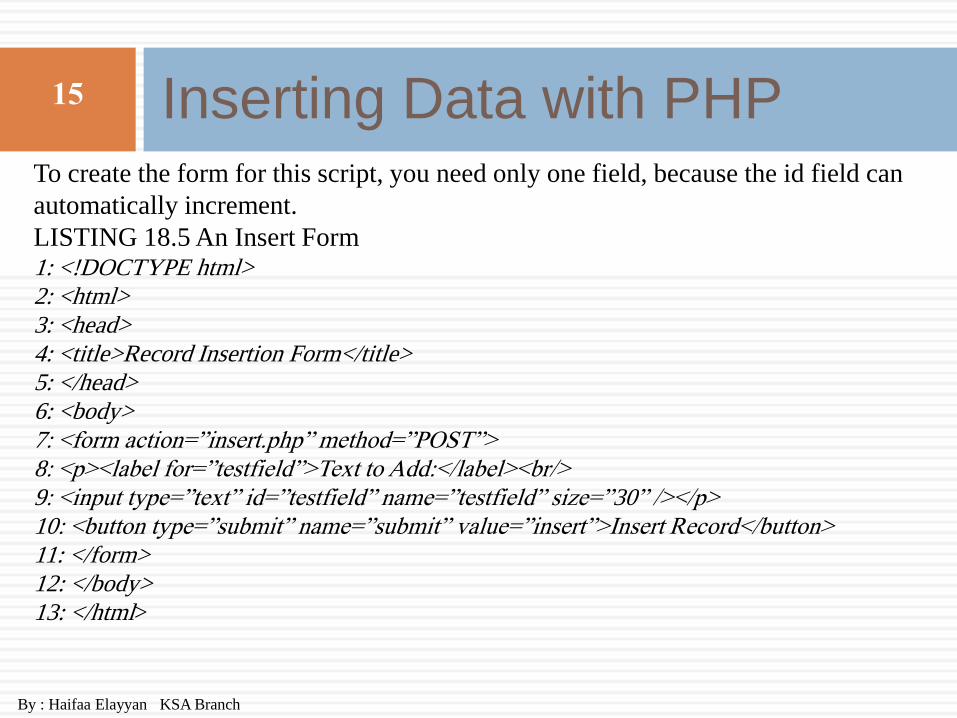
To create the form for this script, you need only one field, because the id field can
automatically increment.
LISTING 18.5 An Insert Form 1: <!DOCTYPE html>
2: <html>
3: <head>
4: <title>Record Insertion Form</title>
5: </head>
6: <body>
7: <form action=”insert.php” method=”POST”>
8: <p><label for=”testfield”>Text to Add:</label><br/>
9: <input type=”text” id=”testfield” name=”testfield” size=”30” /></p>
10: <button type=”submit” name=”submit” value=”insert”>Insert Record</button>
11: </form>
12: </body>
13: </html>
Inserting Data with PHP
16
By : Haifaa Elayyan KSA Branch
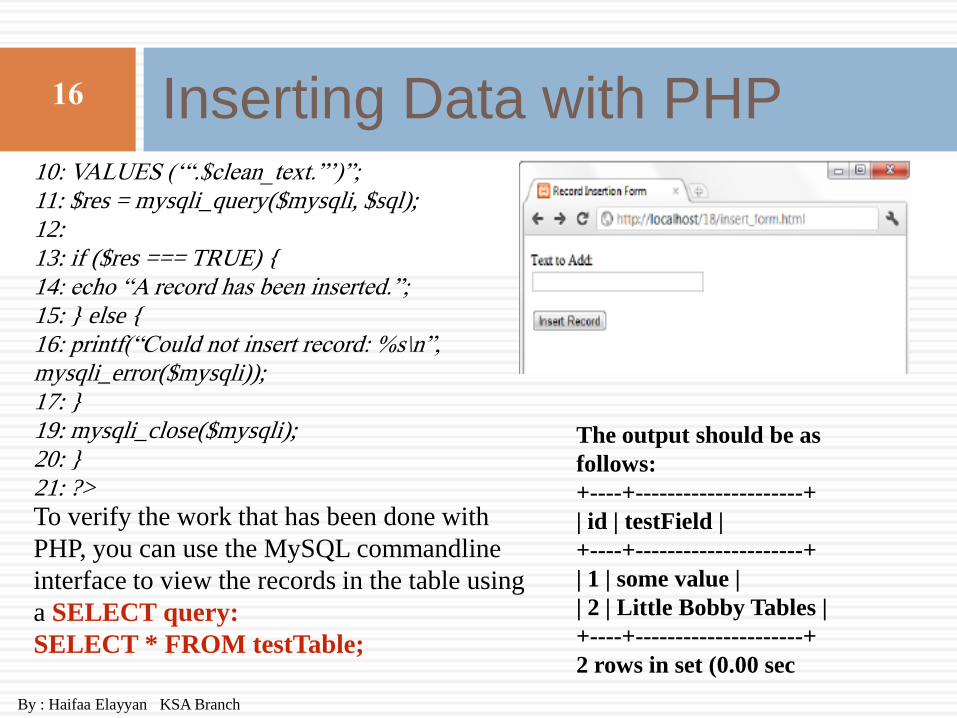
10: VALUES (‘“.$clean_text.”’)”;
11: $res = mysqli_query($mysqli, $sql);
12:
13: if ($res === TRUE) {
14: echo “A record has been inserted.”;
15: } else {
16: printf(“Could not insert record: %s\n”,
mysqli_error($mysqli));
17: }
19: mysqli_close($mysqli);
20: }
21: ?>
To verify the work that has been done with
PHP, you can use the MySQL commandline
interface to view the records in the table using
a SELECT query:
SELECT * FROM testTable;
The output should be as
follows:
+----+---------------------+
| id | testField |
+----+---------------------+
| 1 | some value |
| 2 | Little Bobby Tables |
+----+---------------------+
2 rows in set (0.00 sec
Retrieving Data with PHP
17
By : Haifaa Elayyan KSA Branch
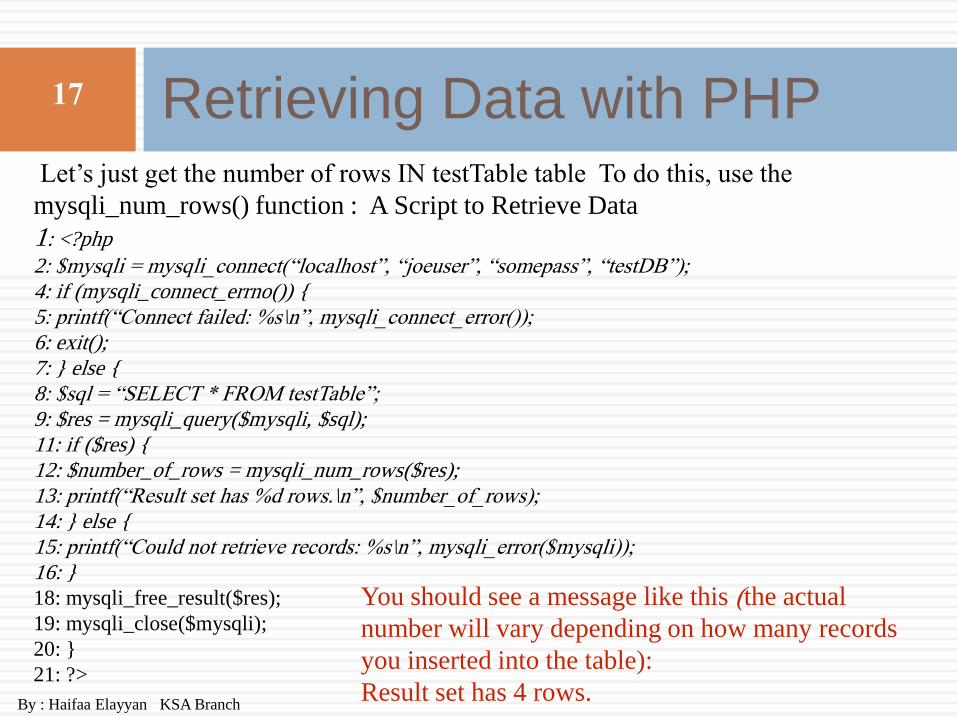
Let’s just get the number of rows IN testTable table To do this, use the
mysqli_num_rows() function : A Script to Retrieve Data
1: <?php
2: $mysqli = mysqli_connect(“localhost”, “joeuser”, “somepass”, “testDB”);
4: if (mysqli_connect_errno()) {
5: printf(“Connect failed: %s\n”, mysqli_connect_error());
6: exit();
7: } else {
8: $sql = “SELECT * FROM testTable”;
9: $res = mysqli_query($mysqli, $sql);
11: if ($res) {
12: $number_of_rows = mysqli_num_rows($res);
13: printf(“Result set has %d rows.\n”, $number_of_rows);
14: } else {
15: printf(“Could not retrieve records: %s\n”, mysqli_error($mysqli));
16: }
18: mysqli_free_result($res);
19: mysqli_close($mysqli);
20: }
21: ?>
You should see a message like this (the actual
number will vary depending on how many records
you inserted into the table):
Result set has 4 rows.

A Script to Retrieve Data and Display Results )
18
By : Haifaa Elayyan KSA Branch
• Note following : mysqli_free_result() function.
Using mysqli_free_result() before closing the connection with
mysqli_close() ensures that all memory associated with the query and
result is freed for use by other scripts.
• Now that you know there are some records in the table (four,
according to the output),you can get fancy and fetch the actual contents
of those records.
• You can do this in a few ways, but the easiest method is to retrieve
each row from the table as an array.
• You use a while statement to go through each record in the resultset,
placing the values of each field into a specific variable and then
displaying the results onscreen. The syntax of mysqli_fetch_array() is
as follow:

19
By : Haifaa Elayyan KSA Branch
LISTING 18.8 A Script to Retrieve Data and Display Results
1: <?php
2: $mysqli = mysqli_connect(“localhost”, “joeuser”, “somepass”, “testDB”);
4: if (mysqli_connect_errno()) {
5: printf(“Connect failed: %s\n”, mysqli_connect_error());
6: exit();
7: } else {
8: $sql = “SELECT * FROM testTable”;
9: $res = mysqli_query($mysqli, $sql);
11: if ($res) {
12: while ($newArray = mysqli_fetch_array($res, MYSQLI_ASSOC)) {
13: $id = $newArray[‘id’];
14: $testField = $newArray[‘testField’];
15: echo “The ID is “.$id.” and the text is: “.$testField.”<br/>”;
A Script to Retrieve Data and Display Results
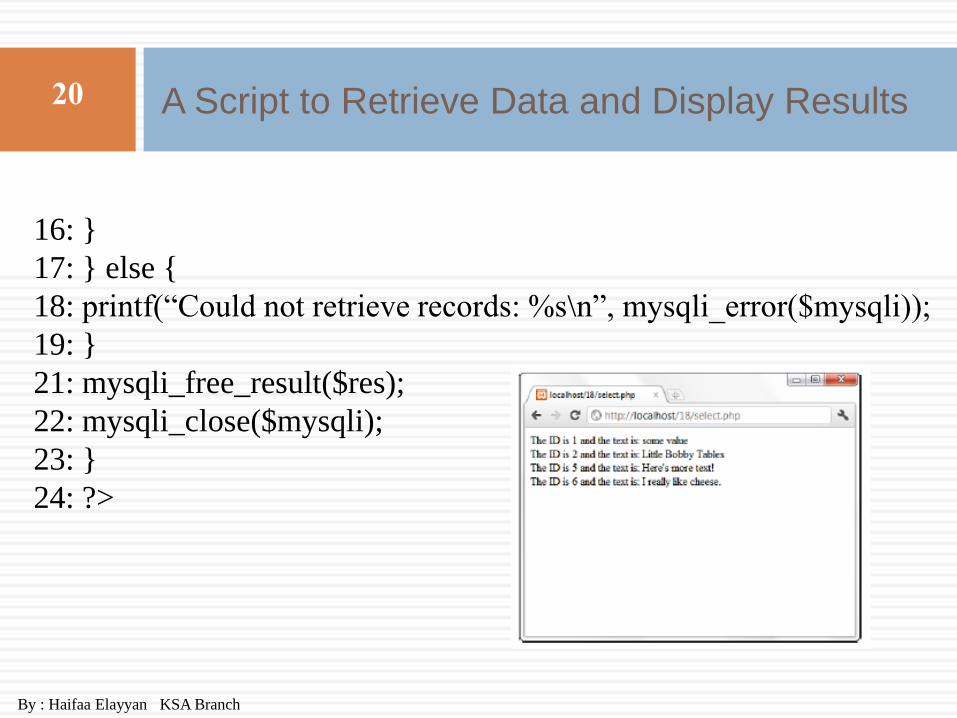
20
By : Haifaa Elayyan KSA Branch
16: }
17: } else {
18: printf(“Could not retrieve records: %s\n”, mysqli_error($mysqli));
19: }
21: mysqli_free_result($res);
22: mysqli_close($mysqli);
23: }
24: ?>
A Script to Retrieve Data and Display Results
21
By : Haifaa Elayyan KSA Branch
1- Using an HTML form and PHP script, create a table that
contains fields for a person’s first and last names. Create
another script that adds records to the table.
2. Once you have records in your table, create a PHP script
that retrieves and displays these records in alphabetical order
by last name.
Activities