Embed Size (px)
Citation preview
Make a Pattern for In-Seam PocketsBy: BurdaStyle
http://www.burdastyle.com/techniques/make-a-pattern-for-in-seam-pockets
This How To illustrates how to make a pattern for inseam pockets, which you can add to almostany garments!!
Step 1
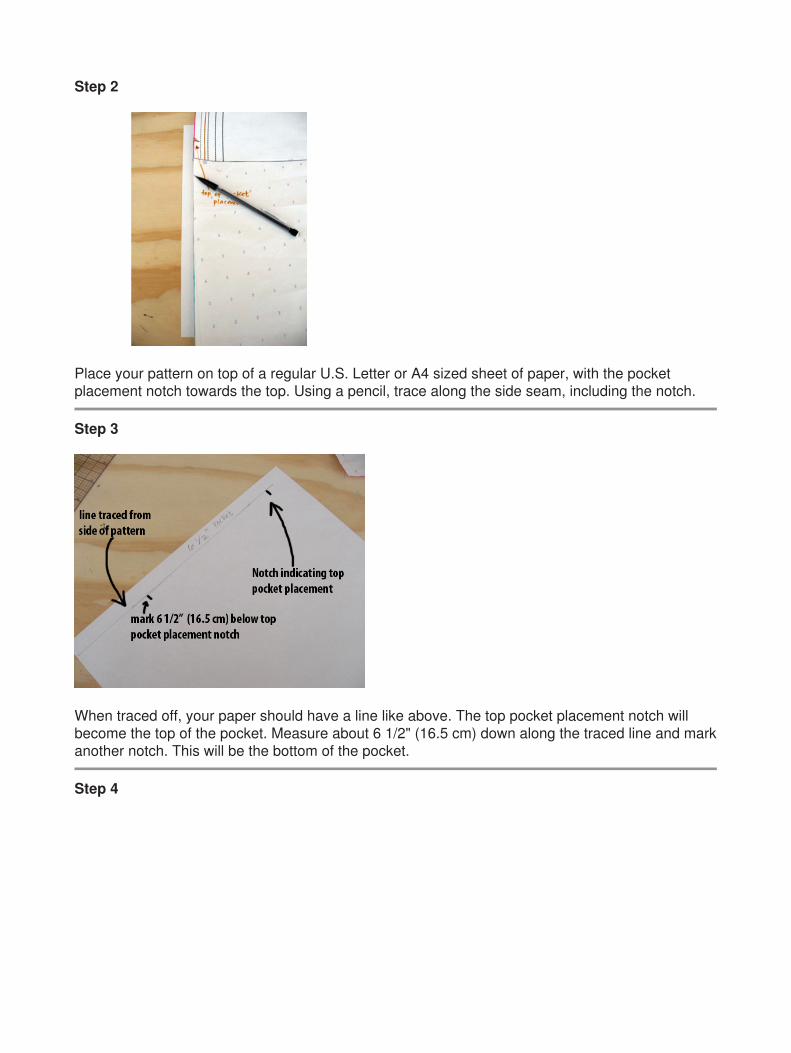
This How To illustrates how to make a pattern for inseam pockets, that you can add to almost anygarments!! These pockets are stylish, barely visibly, and extremely handy! Start with your pattern. Iam illustrating this with a t-shirt pattern which I changed into a dress (which you will all see soon!).Mark a notch where you want the top of your pocket to be. Here I have added a low pocket, whichis about 6" (15 cm) from the waist. A standard pocket is a bit higher- about 3 to 4" (8 to 10 cm)below the waist. Make the same marking on both the front and back of the pieces. When you cutout these pieces, be sure to mark these points with a notch.Make a Pattern for In-Seam Pockets1
Step 2
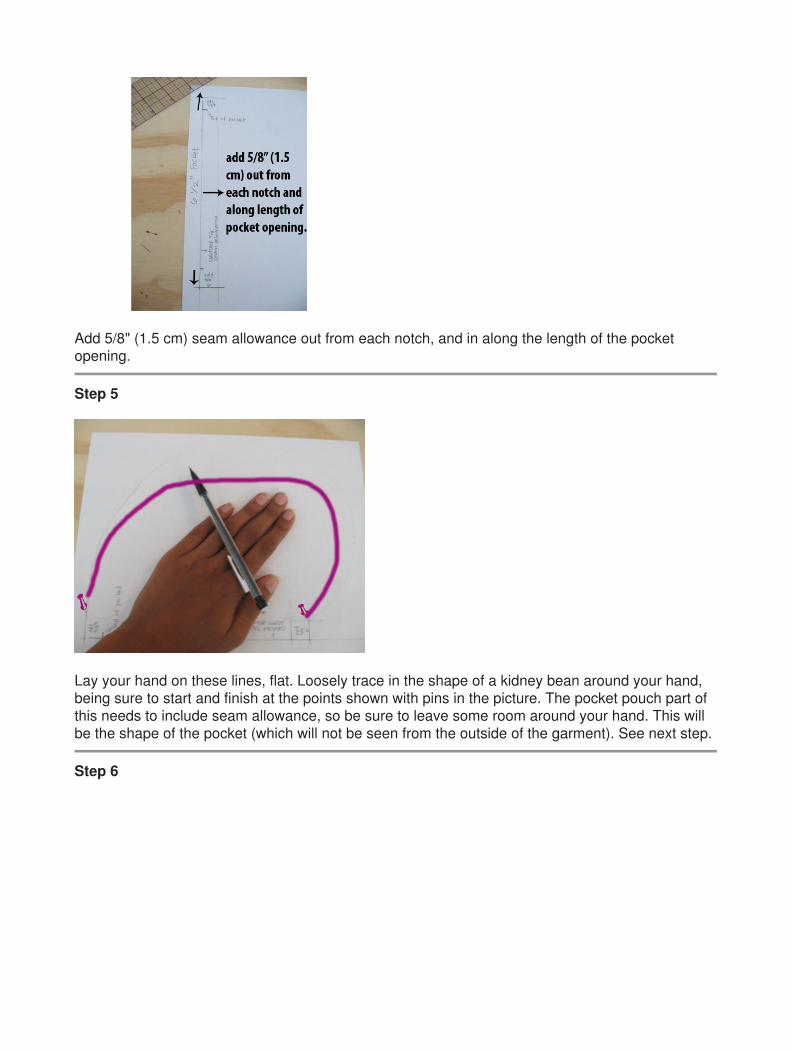
Place your pattern on top of a regular U.S. Letter or A4 sized sheet of paper, with the pocketplacement notch towards the top. Using a pencil, trace along the side seam, including the notch.
Step 3
When traced off, your paper should have a line like above. The top pocket placement notch willbecome the top of the pocket. Measure about 6 1/2" (16.5 cm) down along the traced line and markanother notch. This will be the bottom of the pocket.
Step 4 Step 22
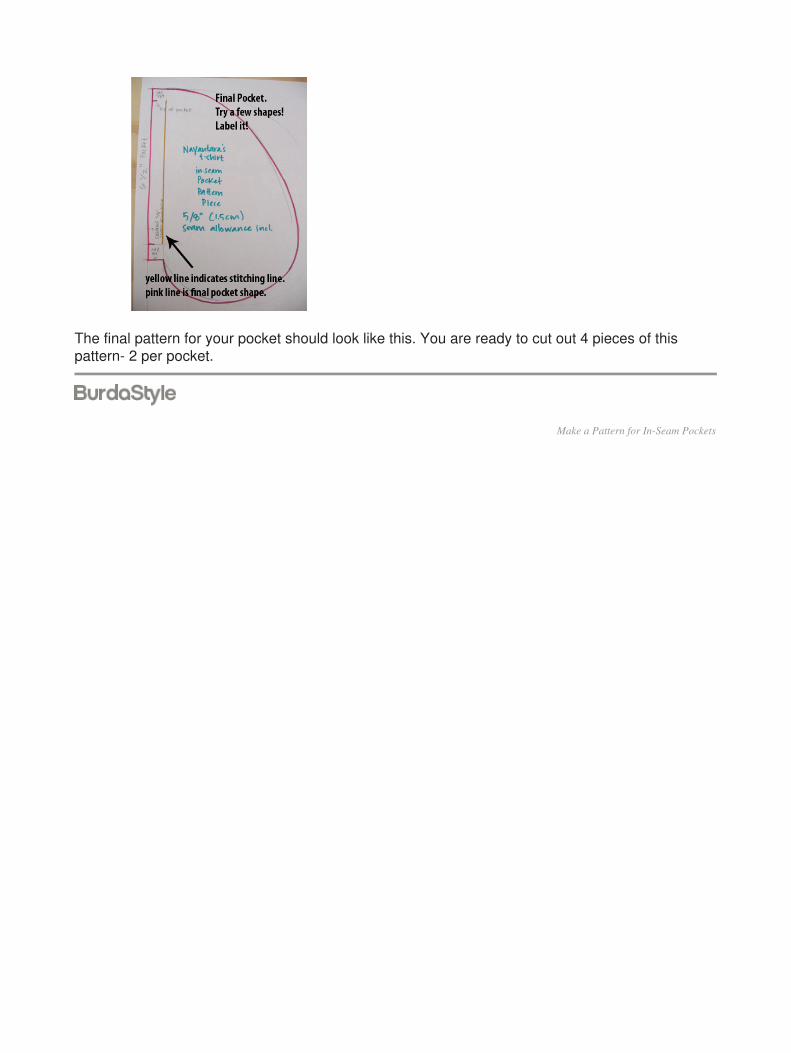
Add 5/8" (1.5 cm) seam allowance out from each notch, and in along the length of the pocketopening.
Step 5
Lay your hand on these lines, flat. Loosely trace in the shape of a kidney bean around your hand,being sure to start and finish at the points shown with pins in the picture. The pocket pouch part ofthis needs to include seam allowance, so be sure to leave some room around your hand. This willbe the shape of the pocket (which will not be seen from the outside of the garment). See next step.
Step 6Step 43
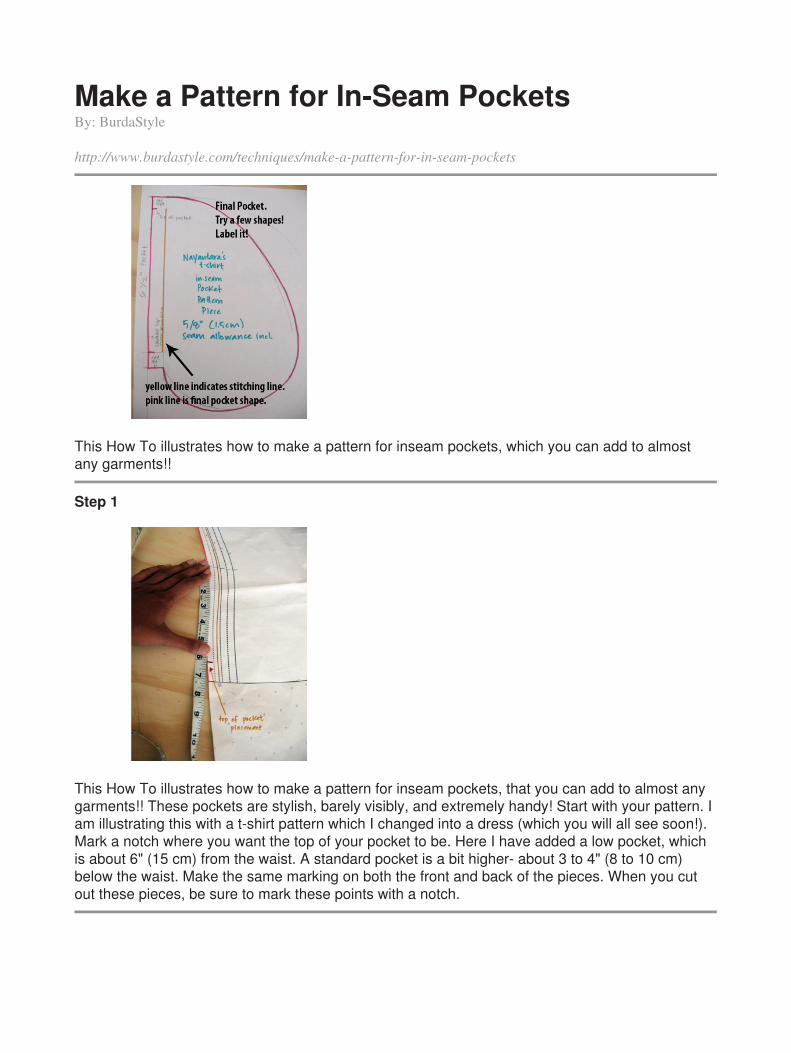
The final pattern for your pocket should look like this. You are ready to cut out 4 pieces of thispattern- 2 per pocket.
Make a Pattern for In-Seam PocketsStep 64