Embed Size (px)
Citation preview

Making A Multi-SidedSlab Box
presents:
Students constructed a slab pot with only 90-degree angles. Now the goal is to construct a slab pot without 90-degree angles.

Creating The Template
Making A Multi-Sided Slab Box
Create a paper form.
Cut strips of heavy weight paper for students. Cardboard or tag board works well. The strips should be as tall as the completed project and long enough to fold into 5 to 7 sides.
The goal is to learn to cut a variety or angles for their project, not just 90-degree angles. Encourage students to plan shapes that are not symmetrical because symmetrical forms are difficult to construct.

Trace & Cut The Template
Making A Multi-Sided Slab Box
Number each side of the paper form, then place it on a sheet of copy paper. Gently hold it down and trace around the base of the shape. This will become a map to help students remember how to reassemble their form. Once complete, cut on the folds. There are 5 pieces that can be used as a template to cut clay slabs.

Roll & Cut The Slabs
Making A Multi-Sided Slab Box
Place the 5 cardboard pieces on a smooth slab of clay and cut them out. Place each piece of clay on a sheet of newspaper, then store in a plastic bag to stiffen for the next class. It is important that only one sheet of newspaper and one layer of clay is in each plastic bag. If necessary use more newspaper and plastic bags. Do not stack slabs on each other inside the bag or they won’t dry properly. It is very important that slabs are wrapped correctly. The more or less paper placed under the slabs will speed or slow the clay drying.
Check slabs to make sure they are firm and ready for construction. Slabs that are too wet can be put in front of a fan or hairdryer. Slabs that are too dry can be placed between sheets of wet newspaper or paper towels. If students need to moisten their slabs, make sure they keep an eye on them because the process is fairly quick.

Bevel The Edges
Making A Multi-Sided Slab Box
Use the map and cut the angles.
Using the map traced earlier, students will place two walls together. Check to make sure the slabs are placed tall and not wide because this will make their pot too short and wide. For the first angle, place a fettling knife as if cutting the angle in half and mark the slab. Mark a parallel line on the joining slab. Use the table as a guide to cut the edge of the slab. If this is difficult for students, purchase angle cutters. Students don’t need one each; 4 or more students can share. Cutting angles to fit together without caps can be tricky for beginners. If students have difficulty, they can aggressively score the edge and press the slabs together to form the angle.

Score & Slip To Attach
Making A Multi-Sided Slab Box
It is important that students score and slip well so seams don’t come apart later. Some potters use vinegar instead of slip because it’s a mild acid and will break down the clay quickly, making a secure bond. Vinegar can be added to existing slip. If students don't like the smell of vinegar, the slabs will bond without it as long as they are well attached.

Add A Coil To Seams
Making A Multi-Sided Slab Box
Add a coil to the inside of each seam.
Roll a coil from soft clay no thicker than a yellow pencil. A common mistake is rolling coils too large which makes clean up difficult. Score the inside of the angle, add slip, and place the coil in the seam. Holding the exterior, press the coil into the seam with your finger. Smooth out the interior, then clean because it’s difficult to do later.

Assemble Remaining Walls
Making A Multi-Sided Slab Box
Mark and cut the next angles.
Angles can be cut with the slab pot sitting upright. This is tricky but as long as students take a little off the angle and score well they can make it fit. If students have difficulty piecing their project together to fit the original map, think about giving them the option to deviate as long as they meet the criteria for the project.
If the inside of the angle is on the outside of pot, the reinforcing coil is attached to the outside. Students need to keep their project upright as they work because laying it on its side will weaken and tear the seams.

Wrap Project
Making A Multi-Sided Slab Box
Wrap the project so it won’t dry.
It is important that students wrap their project well so it doesn't dry out. They can lightly mist it or include a moist sponge in the plastic bag to maintain a moist environment.
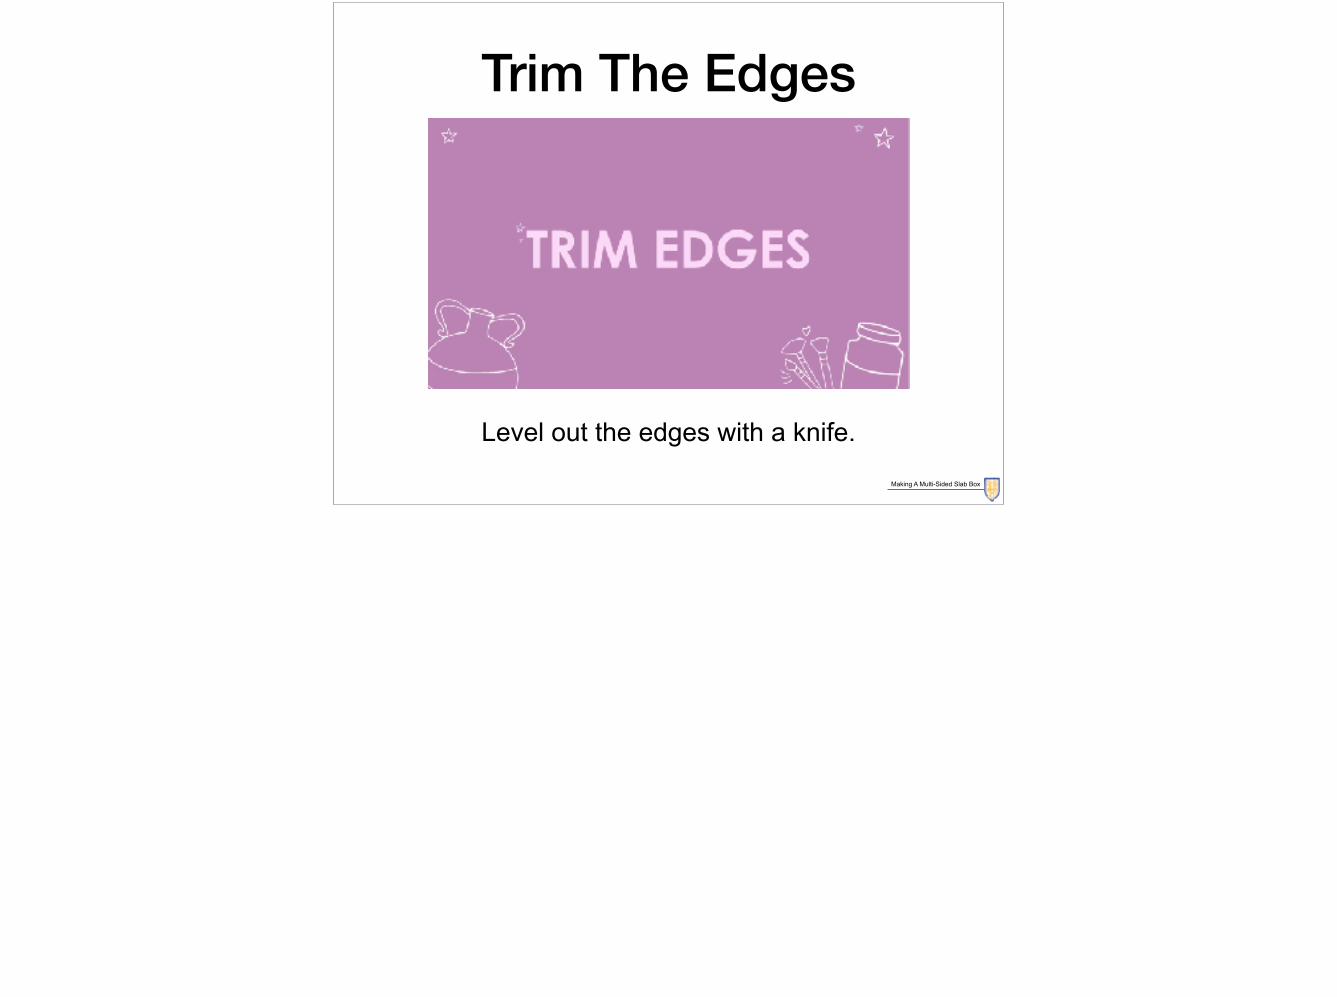
Trim The Edges
Making A Multi-Sided Slab Box
Level out the edges with a knife.

Cut The Bottom Slab
Making A Multi-Sided Slab Box
Cut the bottom slab to fit.
Roll slabs and smooth both sides. Place the project on the slab and trace around it. Remove the project from the slab and cut the slab slightly larger. Cutting the top and bottom slightly larger allows for a leftover clay to attach to the sides.
Important: Don't cut the slab while the pot is on it. Take the time to trace it, remove it, and then cut it out.

Score And Slip Bottom Slab
Making A Multi-Sided Slab Box
Score, add slip, and score again for a good bond.

Attach To The Sides
Making A Multi-Sided Slab Box
Use a popsicle stick to attach the bottom slab.
Make sure students use a wooden tool or popsicle stick to pull the clay from the bottom slab up onto the sides. If the bottom is cut too large, leaving too much clay, it can make a mess. If that happens, remove some of the clay.

Cut & Attach Top Slab
Making A Multi-Sided Slab Box
Cut the top slab to fit.
Roll slabs and smooth both sides. Place the project on the slab and trace around it. Remove the project from the slab and cut the slab slightly larger. By cutting the top and bottom slightly larger, there will be a small amount of clay to attach to the sides.
Important: Don't cut the slab while the pot is on it. Take the time to trace it, remove it, and then cut it out.
Score, add slip, and score again for a good bond.
Make sure students use a wooden tool or popsicle stick to pull the clay from the bottom slab up onto the sides. If the bottom is cut too large leaving too much clay it can make a mess. If that happens, remove some of the clay.
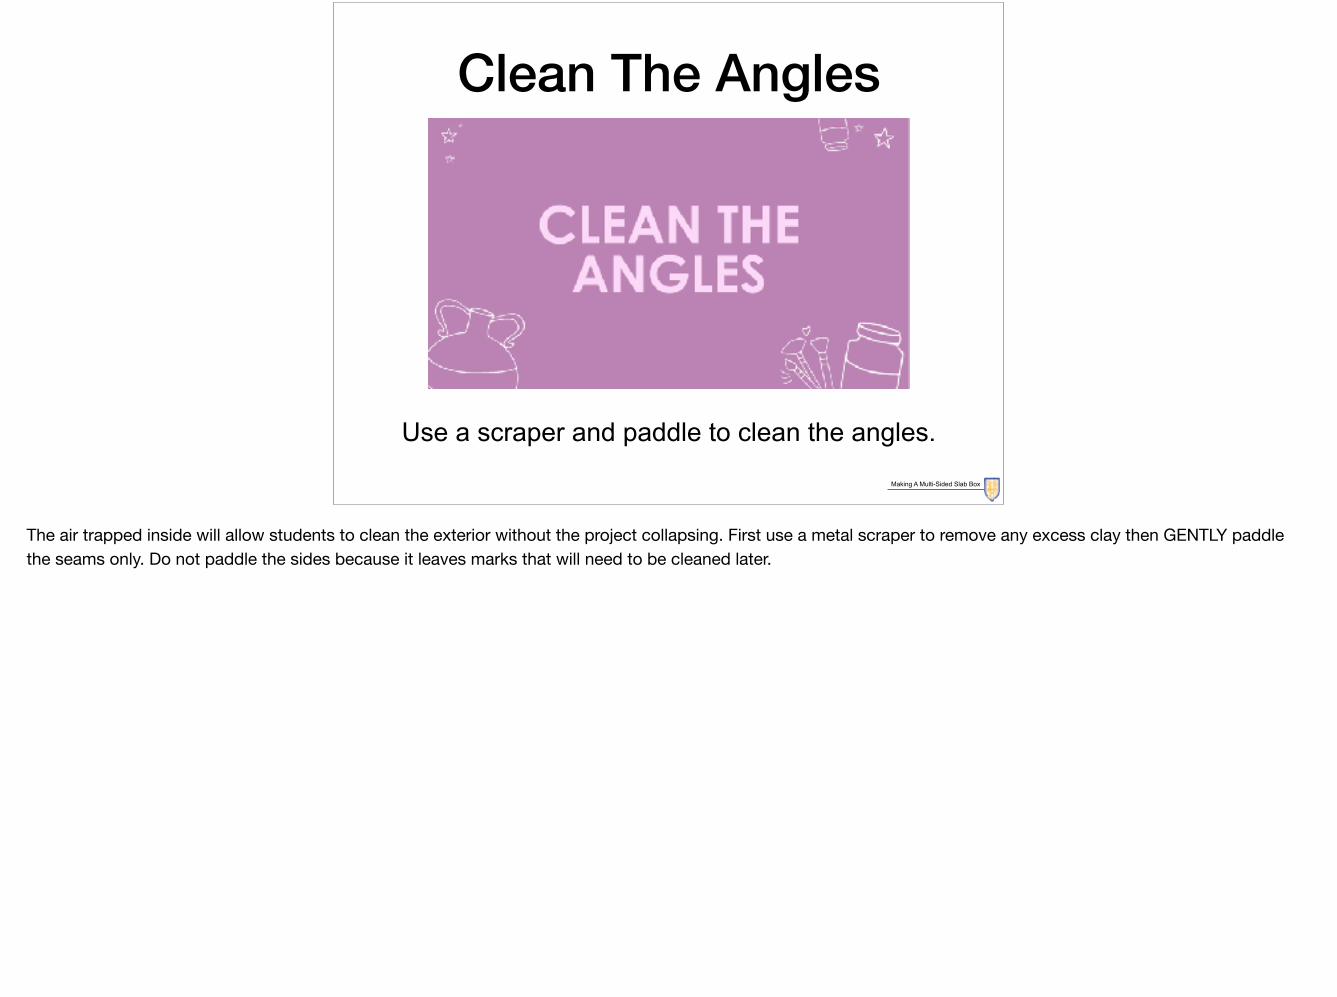
Clean The Angles
Making A Multi-Sided Slab Box
Use a scraper and paddle to clean the angles.
The air trapped inside will allow students to clean the exterior without the project collapsing. First use a metal scraper to remove any excess clay then GENTLY paddle the seams only. Do not paddle the sides because it leaves marks that will need to be cleaned later.

Choose A Side
Making A Multi-Sided Slab Box
Turn the form different ways to get the best look. Think about putting the worst side down.

Cut The Lid
Making A Multi-Sided Slab Box
Mark a line and cut the lid.
Draw a line before cutting to make a lid for the project. Avoid marking angles that were previously attached.
Using the line as a guide, push the fettling knife into the pot and drag it around on the line. When cutting, don't make a sawing motion. The choppy cuts are difficult to smooth enough so that the lid fits.

Clean The Lid
Making A Multi-Sided Slab Box
Add coils to any angles that were missed.
When the lid is removed, add a coil to any angle that is missing one.
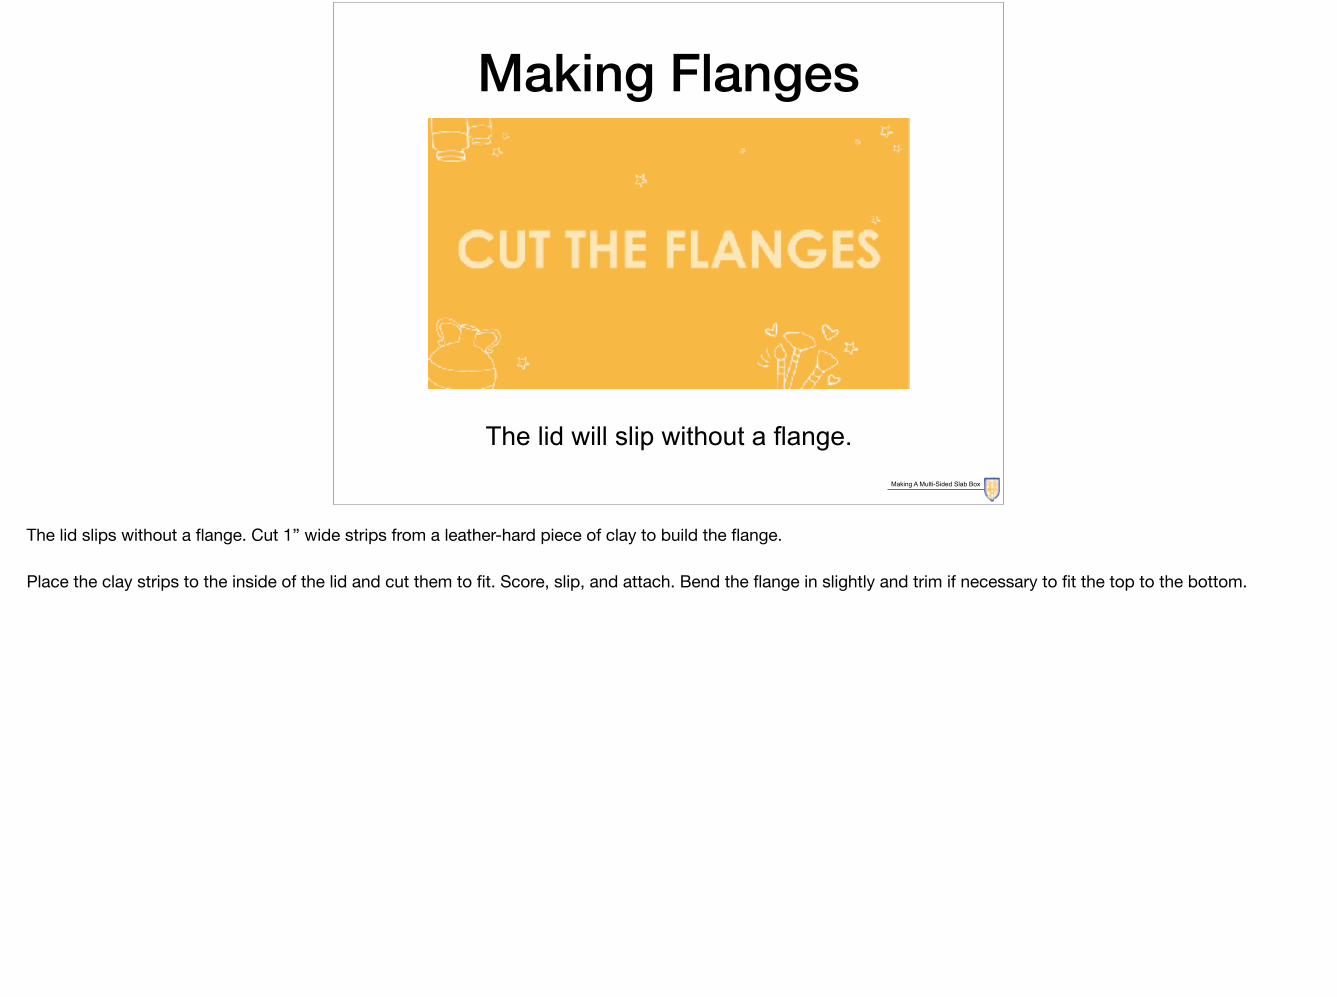
Making Flanges
Making A Multi-Sided Slab Box
The lid will slip without a flange.
The lid slips without a flange. Cut 1” wide strips from a leather-hard piece of clay to build the flange.
Place the clay strips to the inside of the lid and cut them to fit. Score, slip, and attach. Bend the flange in slightly and trim if necessary to fit the top to the bottom.

Apply Underglazes
Making A Multi-Sided Slab Box
Sponge on one or two colors of underglaze.
Use a sponge to apply underglaze to one or two sides of the leather-hard slab pot.
Velvet Underglazes used: V-332 Teal Blue, V-391 Intense Yellow
Learn more about Velvet Underglazes here: https://www.amaco.com/t/glazes-and-underglazes/underglaze/velvet-underglaze/velvet-underglazes

Image Transfer
Making A Multi-Sided Slab Box
Draw underglaze designs onto newsprint.
Fill underglaze applicators with black underglaze. If applicator bottles are not available, use small paint brushes. Draw lines onto the newsprint or newspaper. Let the lines dry completely.
Velvet Underglazes used: V-361 Jet Black
Learn more about Velvet Underglazes here: https://www.amaco.com/t/glazes-and-underglazes/underglaze/velvet-underglaze/velvet-underglazes

Transfer Design
Making A Multi-Sided Slab Box
Lightly spray the dry designs with water.
Use a fine mist squirt bottle to spray the back, then the front of the newsprint design. The newsprint should be completely wet without puddles. Place the underglaze side of the newsprint onto the pot. Once in place, it can’t be repositioned.
Use a moist, but not wet sponge to press the design onto the surface. Peel back the corner of the newsprint to see if the design transferred. If it is not transferred, use the sponge to press again. Remove the newsprint after the image transfers. Do not leave the newsprint on the pottery to dry.

Glazing
Making A Multi-Sided Slab Box
Once the slab pot is fired, it’s time to glaze.
Use a clear glaze over the underglaze transfer. Use Teacher’s Palette glaze for the sides without a design.
Remember to have students wipe the bottoms of their pots to remove any excess glaze.
Glazes used: F-10 Clear, TP-21 Midnight Blue
Learn more about Teacher’s Palette glazes here: https://www.amaco.com/t/glazes-and-underglazes/low-fire/teachers-choice-and-palette
Learn more about the F-Series glazes here: https://www.amaco.com/t/glazes-and-underglazes/low-fire/f-series

Final Piece
Making A Multi-Sided Slab Box