Embed Size (px)
Citation preview

™
© 2009 Patrick Lose
14 x 30” appliqué door banner or wall hanging
April 2011“A monthly dose of Patrick Lose!”
May Flowers
Online 1.0
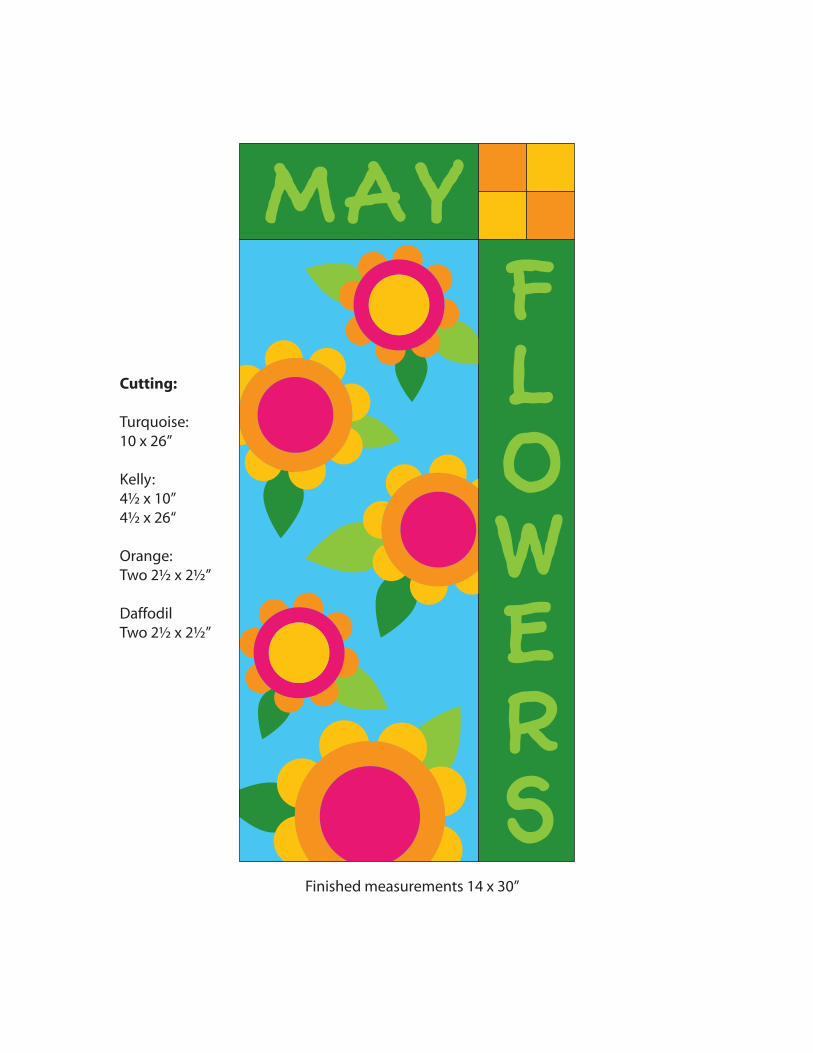
Cutting:
Turquoise:10 x 26”
Kelly:4½ x 10”4½ x 26“
Orange:Two 2½ x 2½”
DaffodilTwo 2½ x 2½”
Finished measurements 14 x 30”
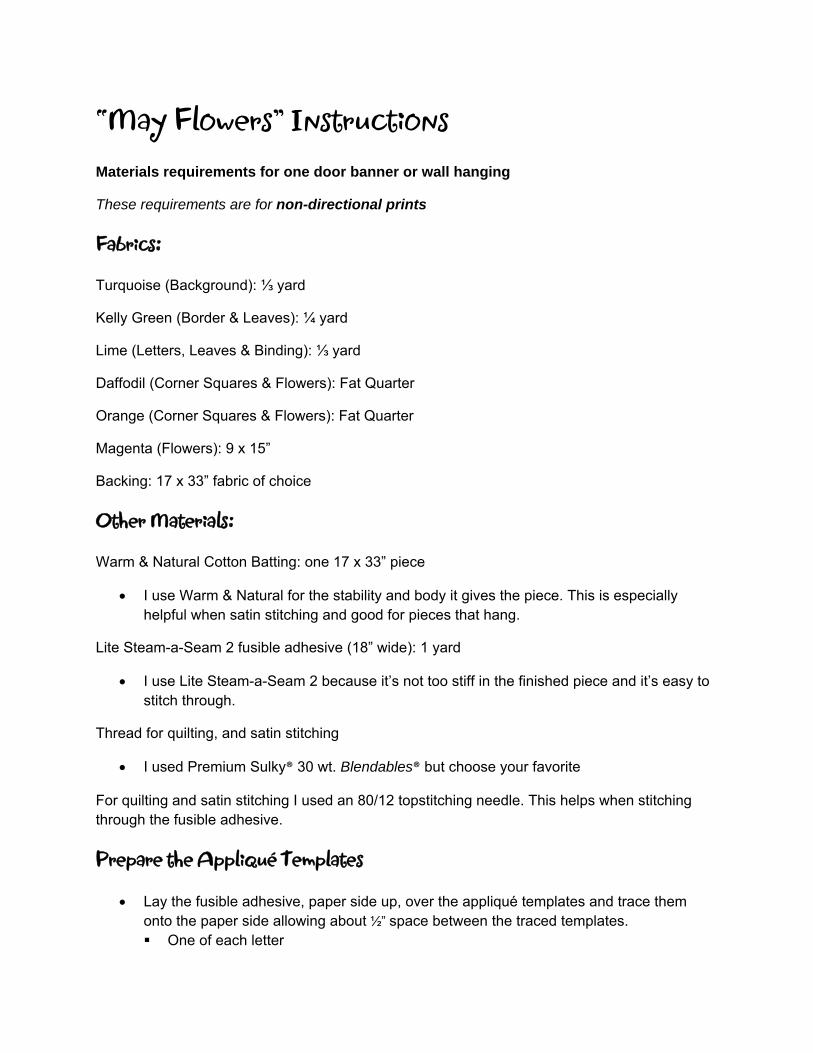
“May Flowers” Instructions Materials requirements for one door banner or wall hanging
These requirements are for non-directional prints
Fabrics:
Turquoise (Background): ⅓ yard
Kelly Green (Border & Leaves): ¼ yard
Lime (Letters, Leaves & Binding): ⅓ yard
Daffodil (Corner Squares & Flowers): Fat Quarter
Orange (Corner Squares & Flowers): Fat Quarter
Magenta (Flowers): 9 x 15”
Backing: 17 x 33” fabric of choice
Other Materials:
Warm & Natural Cotton Batting: one 17 x 33” piece
• I use Warm & Natural for the stability and body it gives the piece. This is especially helpful when satin stitching and good for pieces that hang.
Lite Steam-a-Seam 2 fusible adhesive (18” wide): 1 yard
• I use Lite Steam-a-Seam 2 because it’s not too stiff in the finished piece and it’s easy to stitch through.
Thread for quilting, and satin stitching
• I used Premium Sulky® 30 wt. Blendables® but choose your favorite
For quilting and satin stitching I used an 80/12 topstitching needle. This helps when stitching through the fusible adhesive.
Prepare the Appliqué Templates
• Lay the fusible adhesive, paper side up, over the appliqué templates and trace them onto the paper side allowing about ½” space between the traced templates. One of each letter
One of each of the Large Flower Pieces (Petals, Center Ring, & Center) Two of each of the Medium Flower pieces (Petals, Center Ring, & Center) Two of each of the Small Flower pieces (Petals, Center Ring, & Center)
• Roughly cut the templates out about ¼” outside of the traced line.
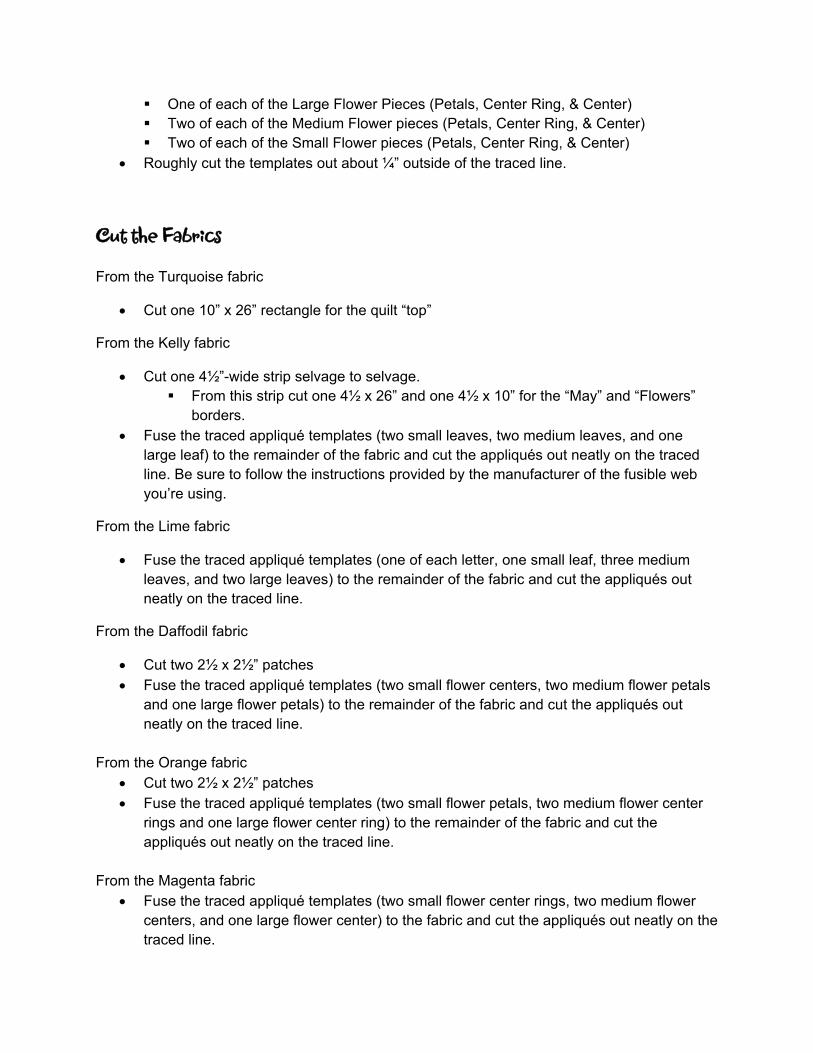
Cut the Fabrics
From the Turquoise fabric
• Cut one 10” x 26” rectangle for the quilt “top”
From the Kelly fabric
• Cut one 4½”-wide strip selvage to selvage. From this strip cut one 4½ x 26” and one 4½ x 10” for the “May” and “Flowers”
borders. • Fuse the traced appliqué templates (two small leaves, two medium leaves, and one
large leaf) to the remainder of the fabric and cut the appliqués out neatly on the traced line. Be sure to follow the instructions provided by the manufacturer of the fusible web you’re using.
From the Lime fabric
• Fuse the traced appliqué templates (one of each letter, one small leaf, three medium leaves, and two large leaves) to the remainder of the fabric and cut the appliqués out neatly on the traced line.
From the Daffodil fabric
• Cut two 2½ x 2½” patches • Fuse the traced appliqué templates (two small flower centers, two medium flower petals
and one large flower petals) to the remainder of the fabric and cut the appliqués out neatly on the traced line.
From the Orange fabric • Cut two 2½ x 2½” patches • Fuse the traced appliqué templates (two small flower petals, two medium flower center
rings and one large flower center ring) to the remainder of the fabric and cut the appliqués out neatly on the traced line.
From the Magenta fabric • Fuse the traced appliqué templates (two small flower center rings, two medium flower
centers, and one large flower center) to the fabric and cut the appliqués out neatly on the traced line.
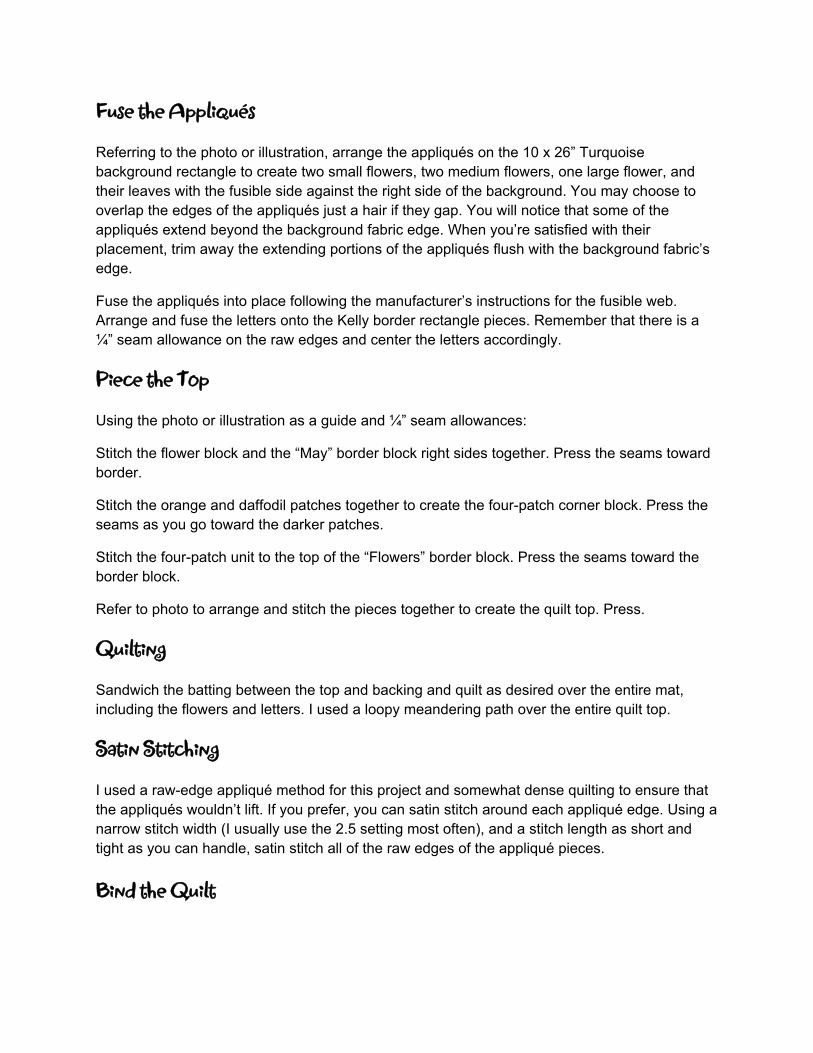
Fuse the Appliqués
Referring to the photo or illustration, arrange the appliqués on the 10 x 26” Turquoise background rectangle to create two small flowers, two medium flowers, one large flower, and their leaves with the fusible side against the right side of the background. You may choose to overlap the edges of the appliqués just a hair if they gap. You will notice that some of the appliqués extend beyond the background fabric edge. When you’re satisfied with their placement, trim away the extending portions of the appliqués flush with the background fabric’s edge.
Fuse the appliqués into place following the manufacturer’s instructions for the fusible web. Arrange and fuse the letters onto the Kelly border rectangle pieces. Remember that there is a ¼” seam allowance on the raw edges and center the letters accordingly.
Piece the Top
Using the photo or illustration as a guide and ¼” seam allowances:
Stitch the flower block and the “May” border block right sides together. Press the seams toward border.
Stitch the orange and daffodil patches together to create the four-patch corner block. Press the seams as you go toward the darker patches.
Stitch the four-patch unit to the top of the “Flowers” border block. Press the seams toward the border block.
Refer to photo to arrange and stitch the pieces together to create the quilt top. Press.
Quilting
Sandwich the batting between the top and backing and quilt as desired over the entire mat, including the flowers and letters. I used a loopy meandering path over the entire quilt top.
Satin Stitching
I used a raw-edge appliqué method for this project and somewhat dense quilting to ensure that the appliqués wouldn’t lift. If you prefer, you can satin stitch around each appliqué edge. Using a narrow stitch width (I usually use the 2.5 setting most often), and a stitch length as short and tight as you can handle, satin stitch all of the raw edges of the appliqué pieces.
Bind the Quilt
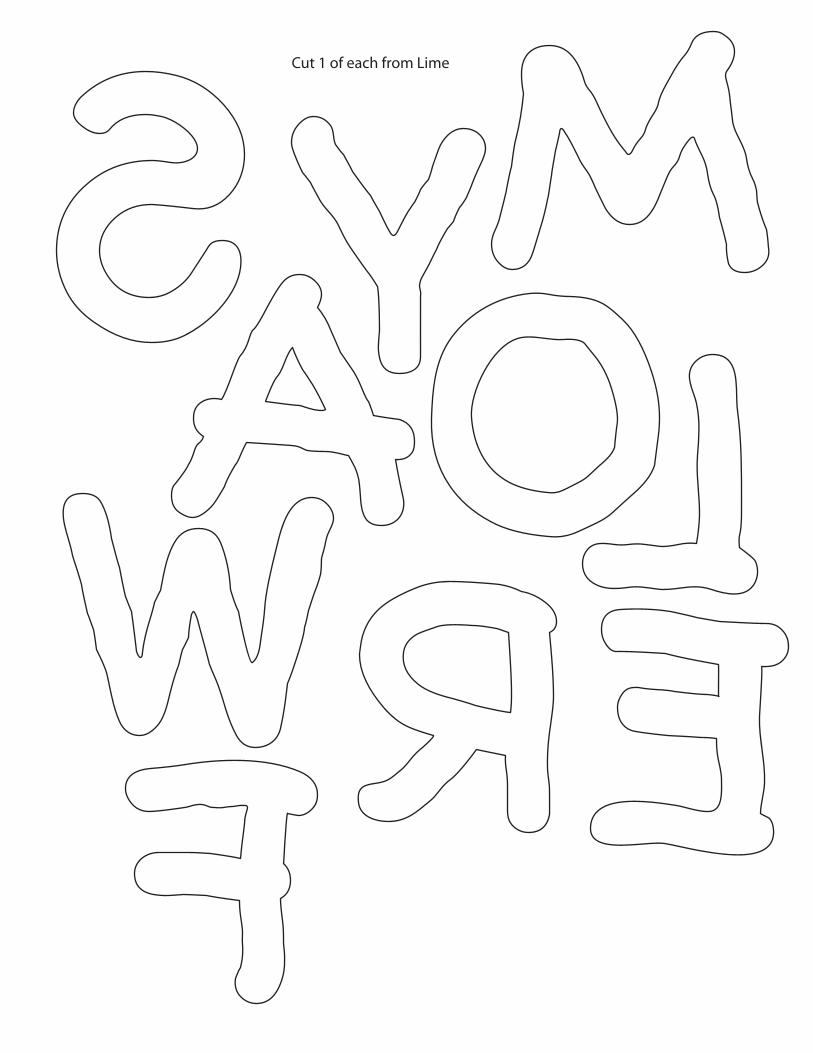
Cut 1 of each from Lime
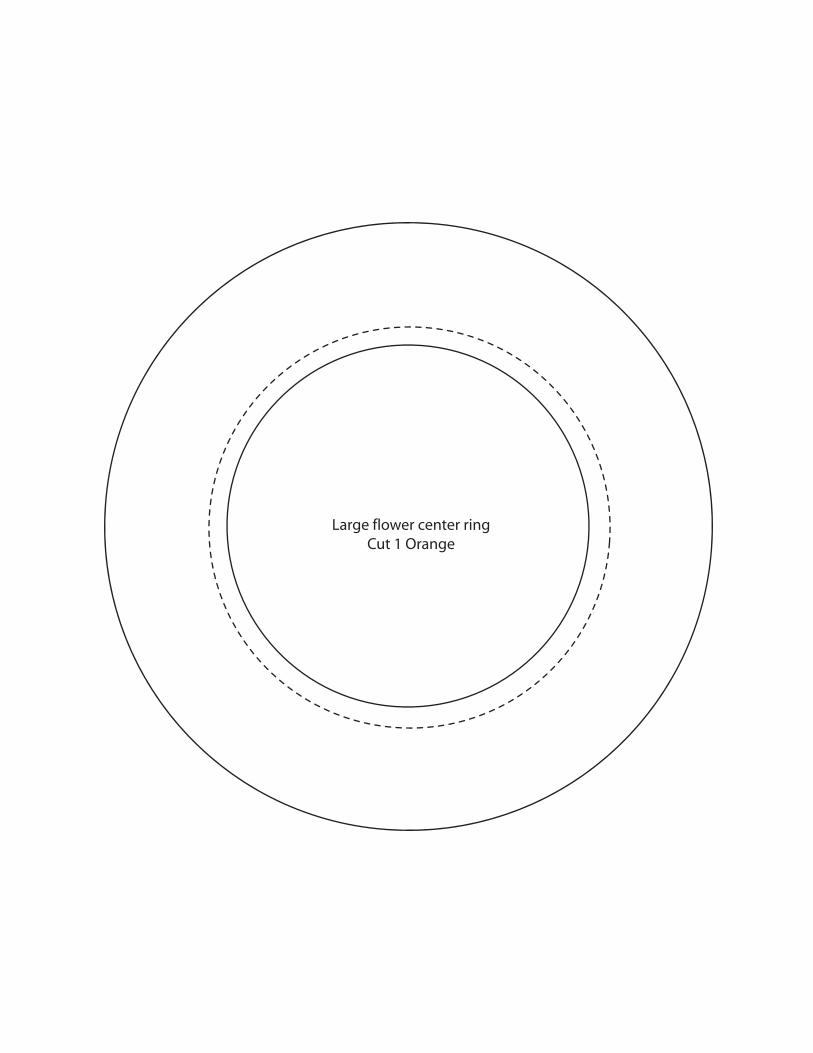
Large flower center ringCut 1 Orange
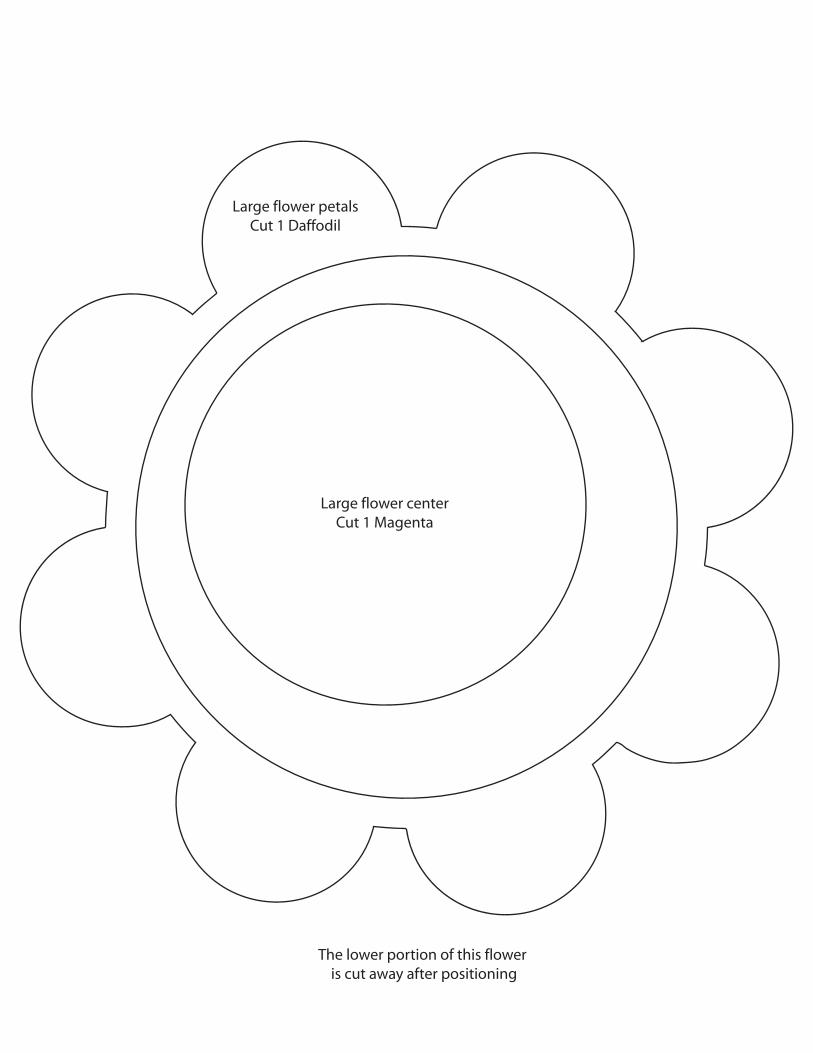
Large flower centerCut 1 Magenta
Large flower petalsCut 1 Daffodil
The lower portion of this flower is cut away after positioning
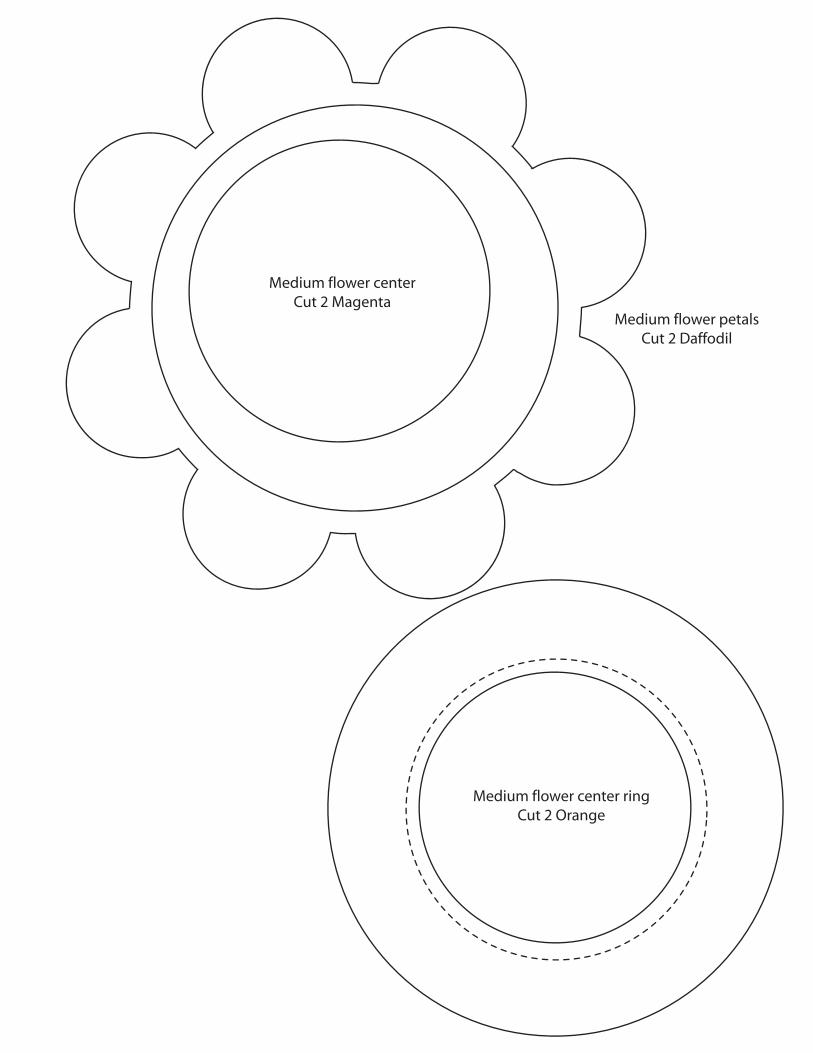
Medium flower centerCut 2 Magenta
Medium flower petalsCut 2 Daffodil
Medium flower center ringCut 2 Orange
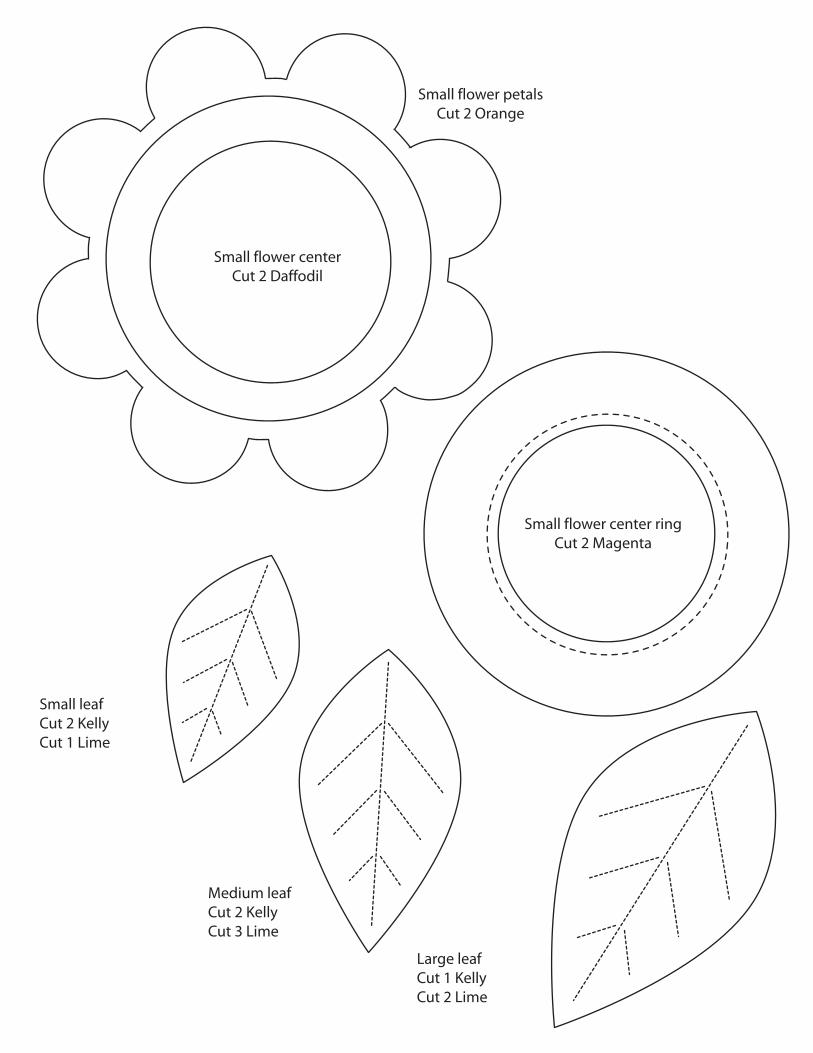
Small flower centerCut 2 Daffodil
Small flower petalsCut 2 Orange
Small flower center ringCut 2 Magenta
Large leafCut 1 KellyCut 2 Lime
Medium leafCut 2 KellyCut 3 Lime
Small leafCut 2 KellyCut 1 Lime
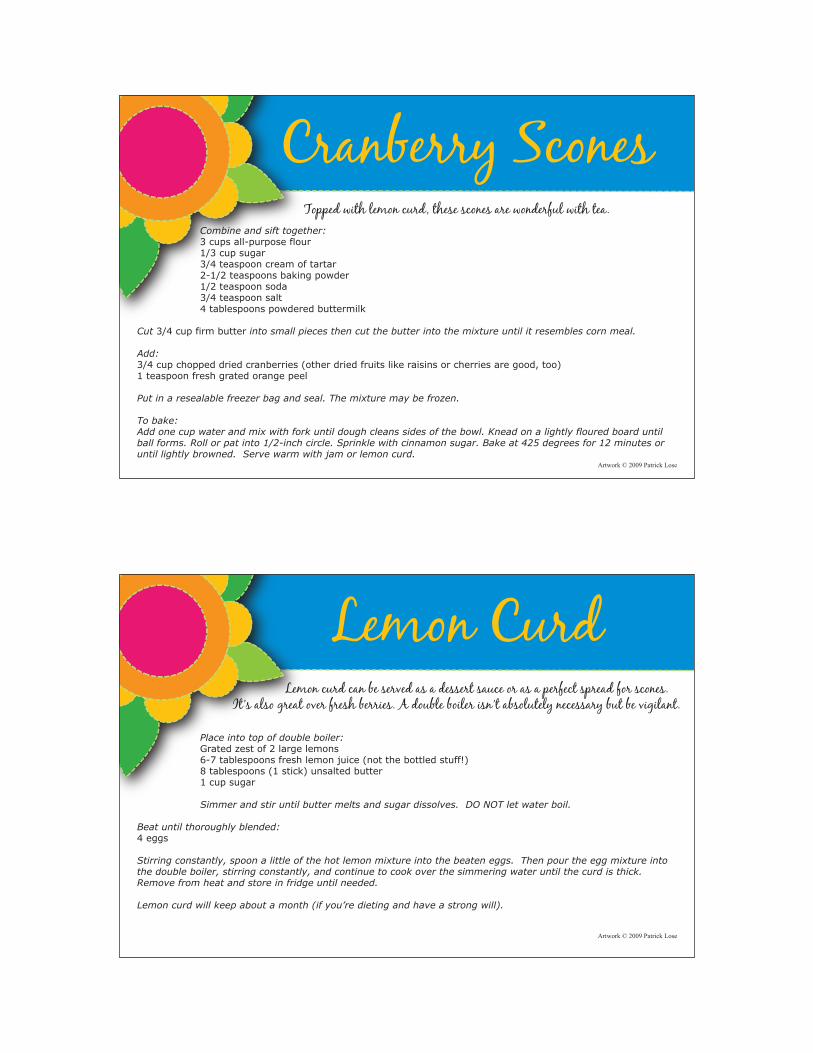
Place into top of double boiler:Grated zest of 2 large lemons6-7 tablespoons fresh lemon juice (not the bottled stuff!)8 tablespoons (1 stick) unsalted butter1 cup sugar
Simmer and stir until butter melts and sugar dissolves. DO NOT let water boil. Beat until thoroughly blended:4 eggs
Stirring constantly, spoon a little of the hot lemon mixture into the beaten eggs. Then pour the egg mixture into the double boiler, stirring constantly, and continue to cook over the simmering water until the curd is thick. Remove from heat and store in fridge until needed.
Lemon curd will keep about a month (if you’re dieting and have a strong will).
Artwork © 2009 Patrick Lose
Lemon Curd Lemon curd can be served as a dessert sauce or as a perfect spread for scones.
It’s also great over fresh berries. A double boiler isn’t absolutely necessary but be vigilant.
Combine and sift together:3 cups all-purpose flour1/3 cup sugar3/4 teaspoon cream of tartar2-1/2 teaspoons baking powder1/2 teaspoon soda3/4 teaspoon salt4 tablespoons powdered buttermilk
Cut 3/4 cup firm butter into small pieces then cut the butter into the mixture until it resembles corn meal.
Add:3/4 cup chopped dried cranberries (other dried fruits like raisins or cherries are good, too)1 teaspoon fresh grated orange peel
Put in a resealable freezer bag and seal. The mixture may be frozen.
To bake:Add one cup water and mix with fork until dough cleans sides of the bowl. Knead on a lightly floured board until ball forms. Roll or pat into 1/2-inch circle. Sprinkle with cinnamon sugar. Bake at 425 degrees for 12 minutes or until lightly browned. Serve warm with jam or lemon curd.
Artwork © 2009 Patrick Lose
Cranberry Scones Topped with lemon curd, these scones are wonderful with tea.
Artwork © 2009 Patrick Lose
Artwork © 2009 Patrick Lose
Artwork © 2009 Patrick Lose