Embed Size (px)
Citation preview
Mind Stretcher - Monday
Use two mind stretcher boxes for this!
Box 1: Tell me one experience you have had with a microscope. Box 2: List three things you know about cells. (Can
be anything……)

Spooky Microscope
Trivia

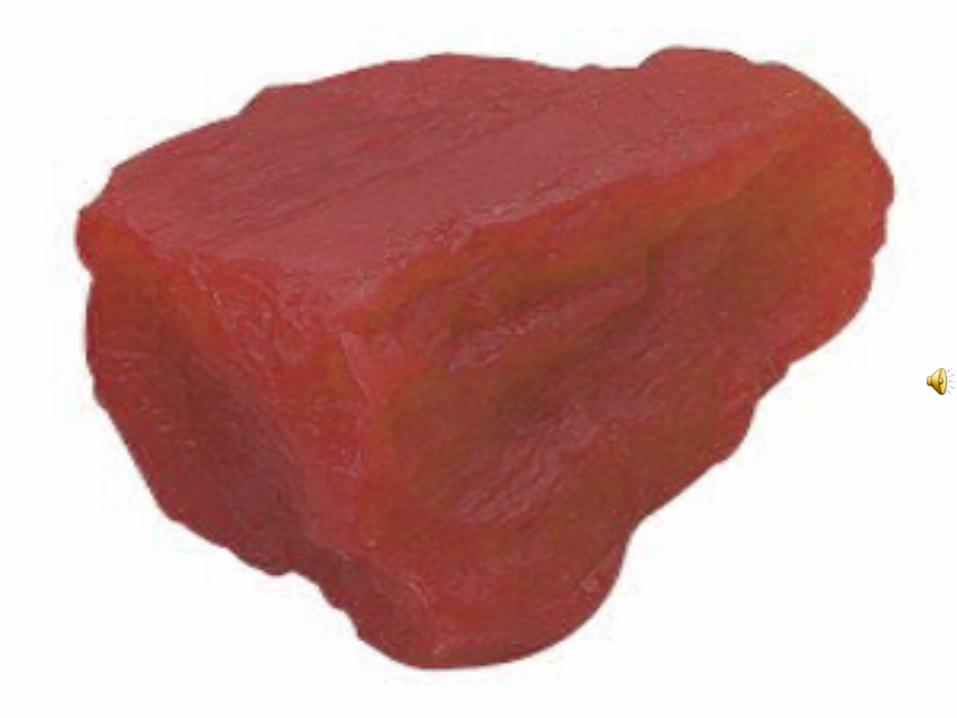
Spooky Cells 1My composition is white and hard, you can find me in an old graveyard.

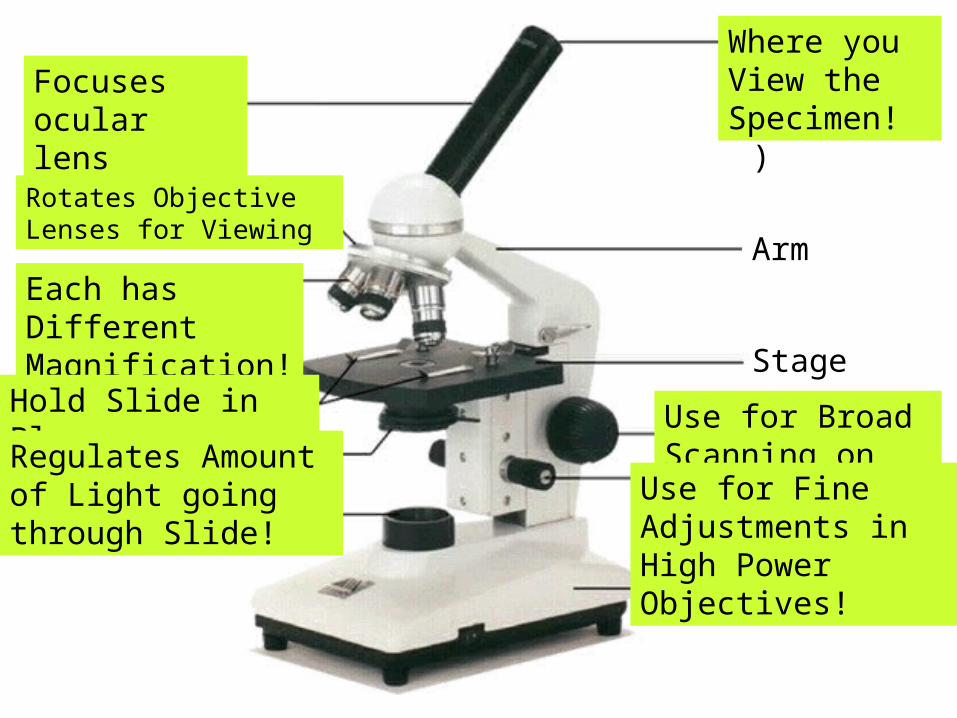
Body Tube
Nosepiece
Objectives
Stage Clips
Light
Ocular lens(Eyepiece)
Arm
Stage
Coarse Adjustment
Fine AdjustmentDiaphragm
Base
Focuses ocular lens
Rotates Objective Lenses for Viewing
Each has Different Magnification!
Hold Slide in Place
Where you View the Specimen!
Regulates Amount of Light going through Slide!
Use for Broad Scanning on Low Power Objectives! Use for Fine
Adjustments in High Power Objectives!

Spooky Cells 2Some are smooth and others are hairy, Frankenstein's was green and scary!
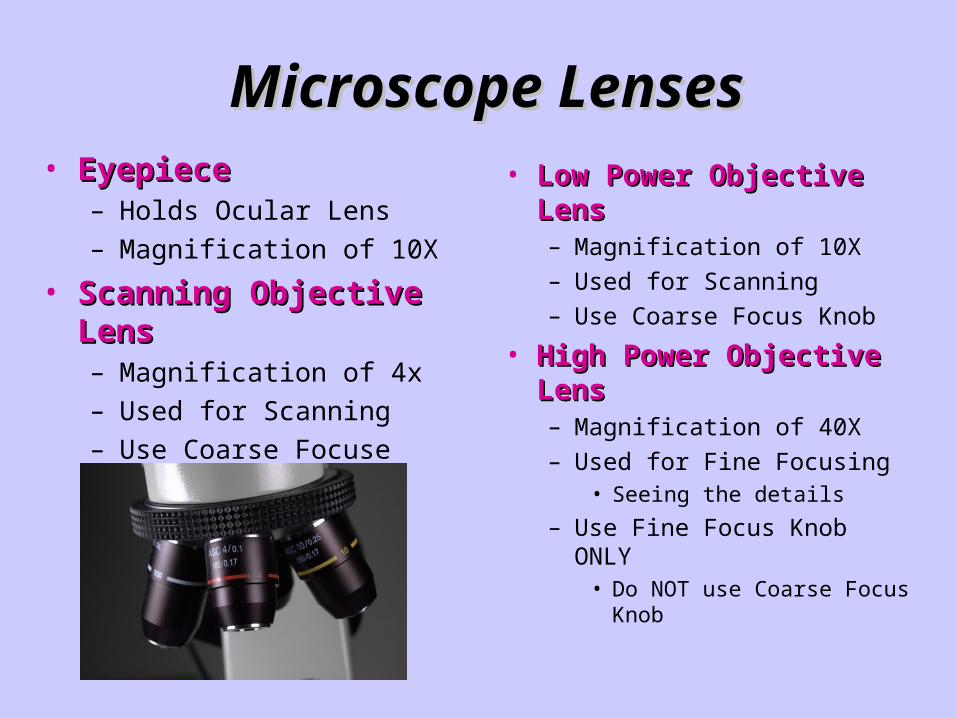
Microscope LensesMicroscope Lenses• EyepieceEyepiece
– Holds Ocular Lens
– Magnification of 10X
• Scanning Objective LensScanning Objective Lens– Magnification of 4x
– Used for Scanning
– Use Coarse Focuse Knob
• Low Power Objective LensLow Power Objective Lens– Magnification of 10X
– Used for Scanning
– Use Coarse Focus Knob
• High Power Objective LensHigh Power Objective Lens– Magnification of 40X
– Used for Fine Focusing• Seeing the details
– Use Fine Focus Knob ONLY• Do NOT use Coarse Focus
Knob
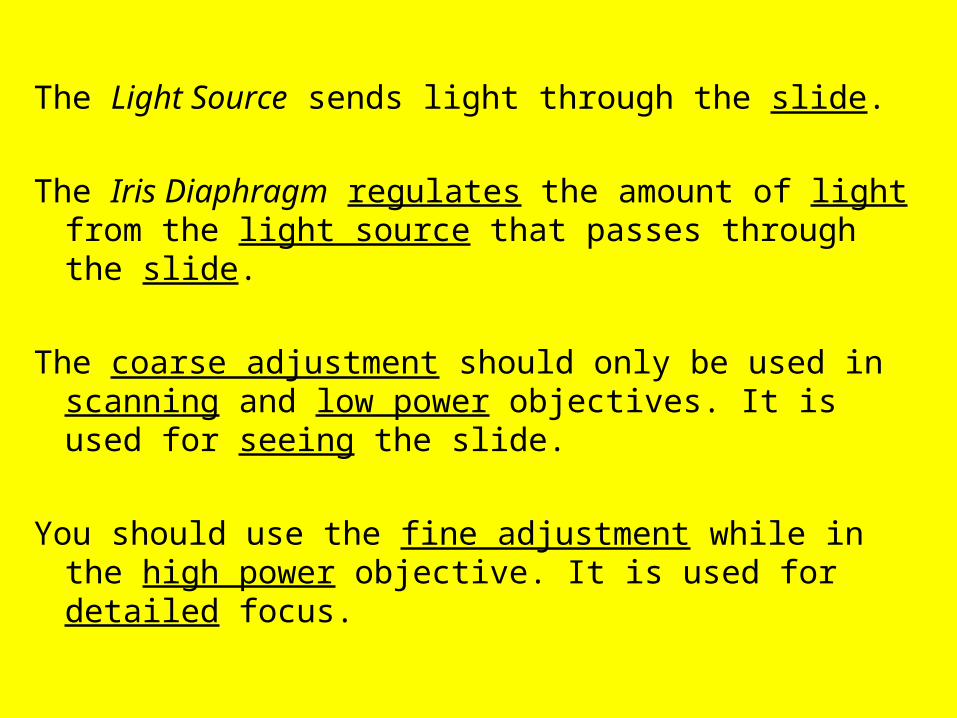
The Light Source sends light through the slide.
The Iris Diaphragm regulates the amount of light from the light source that passes through the slide.
The coarse adjustment should only be used in scanning and low power objectives. It is used for seeing the slide.
You should use the fine adjustment while in the high power objective. It is used for detailed focus.
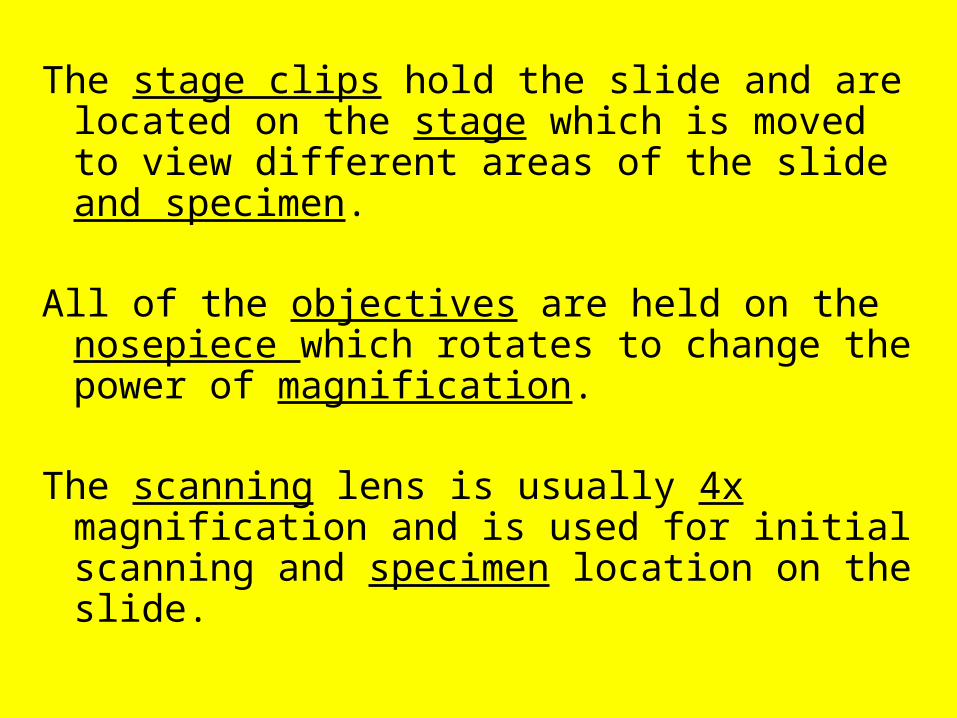
The stage clips hold the slide and are located on the stage which is moved to view different areas of the slide and specimen.
All of the objectives are held on the nosepiece which rotates to change the power of magnification.
The scanning lens is usually 4x magnification and is used for initial scanning and specimen location on the slide.
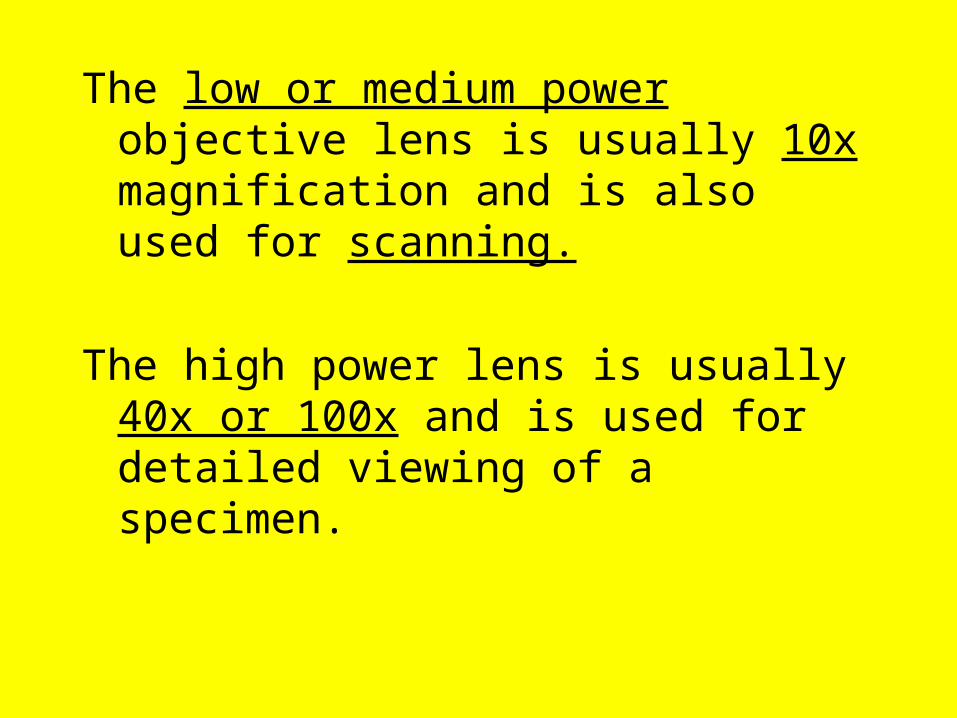
The low or medium power objective lens is usually 10x magnification and is also used for scanning.
The high power lens is usually 40x or 100x and is used for detailed viewing of a specimen.

Spooky Cell 3I can make some people
scream and squeal, But to Edward Cullen I am a favorite meal.
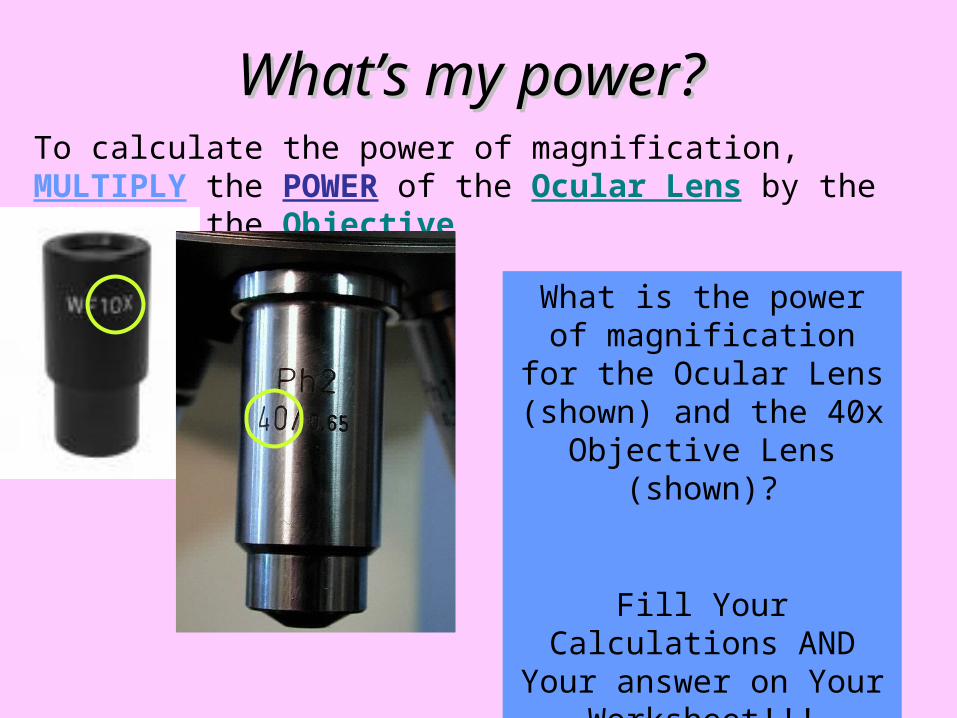
What’s my power?What’s my power?To calculate the power of magnification, MULTIPLY the POWER of the Ocular Lens by the POWER of the Objective
What is the power of magnification for the Ocular
Lens (shown) and the 40x Objective Lens (shown)?
Fill Your Calculations AND Your answer on Your
Worksheet!!!

Comparing Powers of MagnificationComparing Powers of Magnification
We can see better details with higher the powers of magnification, but we cannot see as much of the image.
Which of these images would be viewed at a
higher power of magnification?
Do’s and Don’ts of Microscope Do’s and Don’ts of Microscope Labs! Labs!
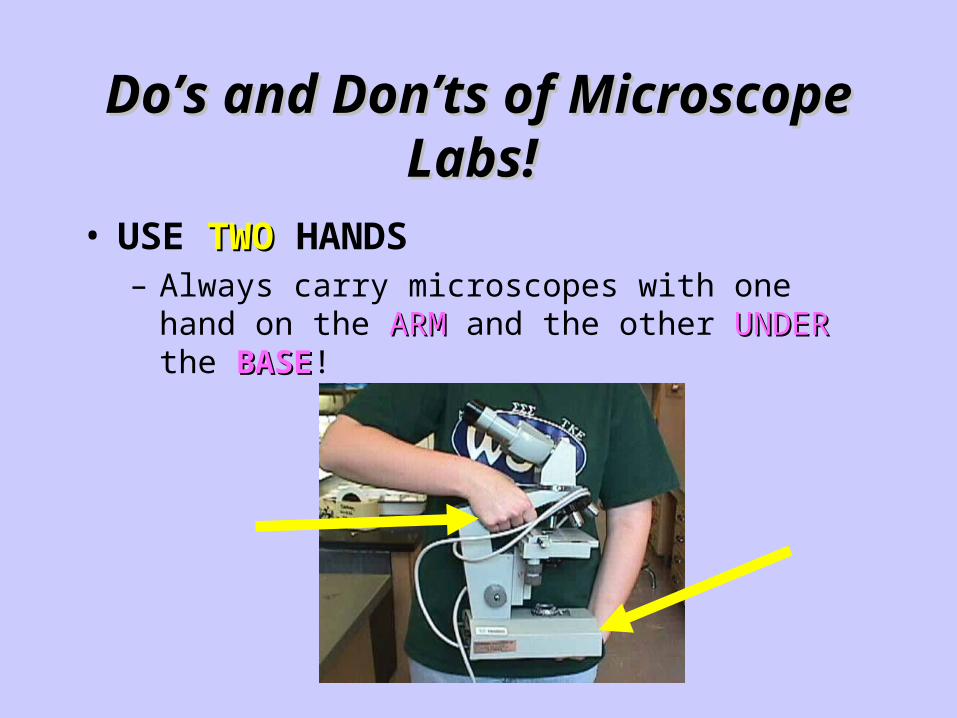
• USE TWOTWO HANDS– Always carry microscopes with one hand on the ARMARM
and the other UNDER UNDER the BASEBASE!

Do’s and Don’tsDo’s and Don’ts• NEVER use Coarse
Focus Knob with High Power Lens…it Breaks Slides!
• “Ooops, I broke a slide”– Accidents Happen.
Don’t FREAK OUTDon’t FREAK OUT! – Don’t try to clean it up
by yourself!– Raise your hand and a
teacher will help you!

Cleaning UP!Cleaning UP!
• Always do 5 Things!1. Remove Your Slide
2. Wrap Your Cord
3. Lower Your Stage
4. Replace Plastic Cover
5. Put Microscope Back in Designated Area Arm Out
Spooky Cell 4Stretch me and work me
to build more bulk. Soon you will look like the
incredible hulk!
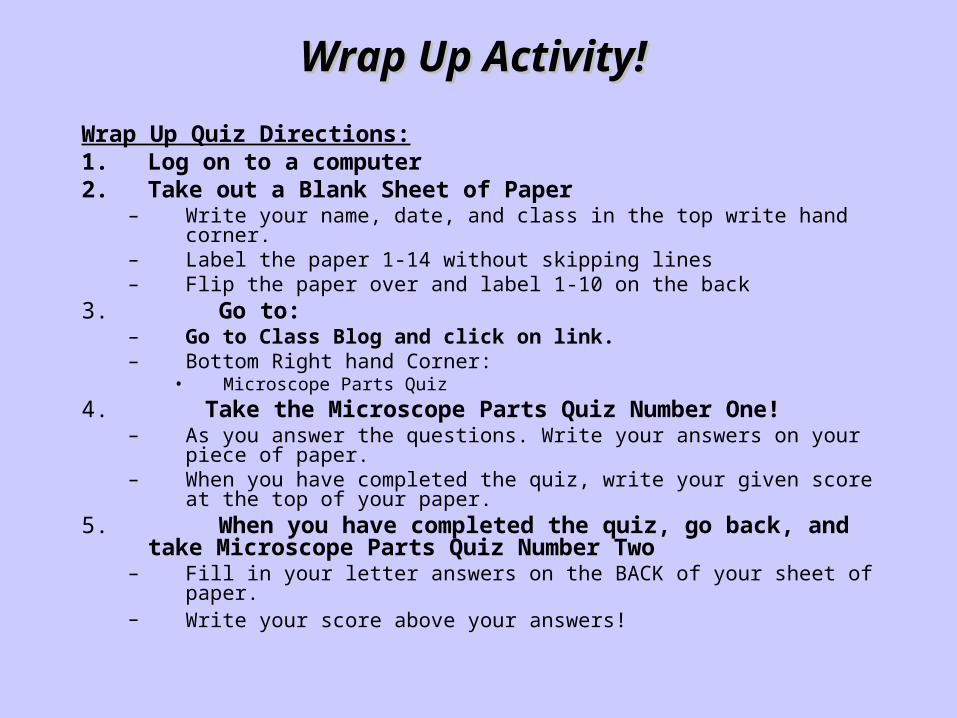
Wrap Up Quiz Directions:1. Log on to a computer2. Take out a Blank Sheet of Paper
– Write your name, date, and class in the top write hand corner. – Label the paper 1-14 without skipping lines– Flip the paper over and label 1-10 on the back
3. Go to: – Go to Class Blog and click on link. – Bottom Right hand Corner:
• Microscope Parts Quiz
4. Take the Microscope Parts Quiz Number One!– As you answer the questions. Write your answers on your piece of paper. – When you have completed the quiz, write your given score at the top of your
paper. 5. When you have completed the quiz, go back, and take Microscope Parts
Quiz Number Two – Fill in your letter answers on the BACK of your sheet of paper. – Write your score above your answers!
Wrap Up Activity! Wrap Up Activity!
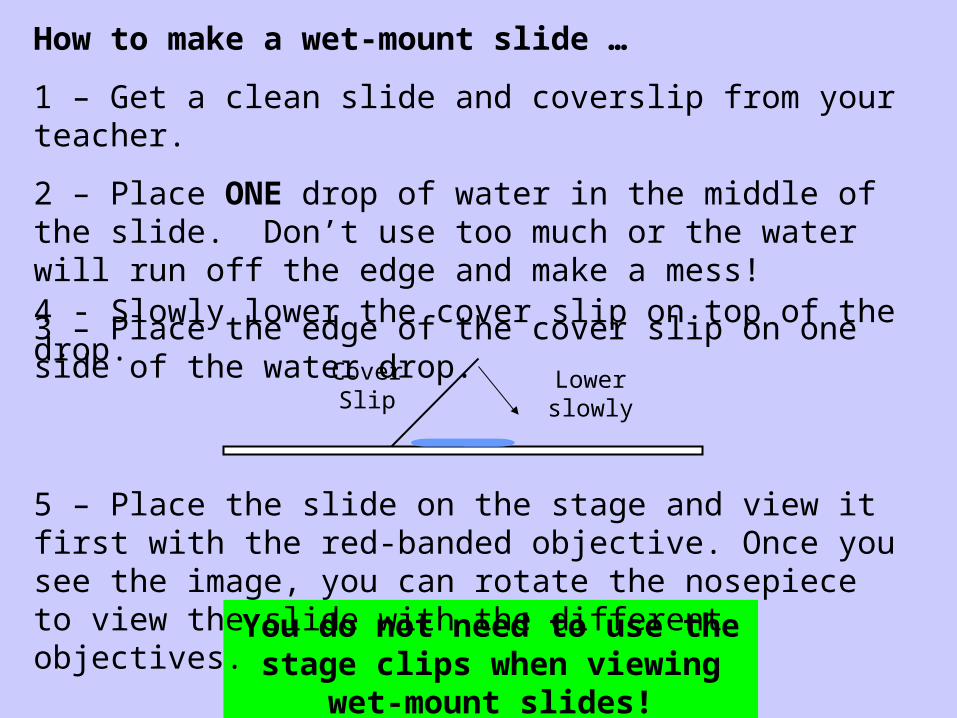
How to make a wet-mount slide …
1 – Get a clean slide and coverslip from your teacher.
2 – Place ONE drop of water in the middle of the slide. Don’t use too much or the water will run off the edge and make a mess!
3 – Place the edge of the cover slip on one side of the water drop.
You do not need to use the stage clips when viewing wet-mount slides!
5 – Place the slide on the stage and view it first with the red-banded objective. Once you see the image, you can rotate the nosepiece to view the slide with the different objectives.
4 - Slowly lower the cover slip on top of the drop.
Cover Slip
Lower slowly