Embed Size (px)
Citation preview

MatchWare MindView 6 Technical Specification
File: MindView 6 Technical Specification_EN.docx

Document Revision: 1.10
Contents Overview ............................................................................................................................................................ 3
System Requirements ........................................................................................................................................ 3
Import/Export from Microsoft Word: ....................................................................................................... 3
Import/Export from Microsoft PowerPoint:.............................................................................................. 3
Import/Export from Microsoft Project: ..................................................................................................... 3
Import/Export from Microsoft Excel: ........................................................................................................ 3
Installation ......................................................................................................................................................... 3
Stand-alone installation ................................................................................................................................. 3
From DVD .................................................................................................................................................. 3
From Download ......................................................................................................................................... 4
Administrative installation ............................................................................................................................ 4
Creating an administrative installation ..................................................................................................... 4
The administrative installation dialogue ................................................................................................... 5
Applying a patch package to an administrative installation ...................................................................... 6
Installation troubleshooting .......................................................................................................................... 7
Installed components ........................................................................................................................................ 7
Shortcut ......................................................................................................................................................... 7
MindView Files .............................................................................................................................................. 7
Per-machine............................................................................................................................................... 7
Per-user ..................................................................................................................................................... 7
Common Files ............................................................................................................................................ 8
Windows Registry .......................................................................................................................................... 8
MatchWare Activation system .......................................................................................................................... 8
MIME-type ....................................................................................................................................................... 10
MatchWare Shared Workspace ....................................................................................................................... 10
MatchWare MindView XML Schema ............................................................................................................... 10
Custom XML Export ..................................................................................................................................... 10
Custom XML Import..................................................................................................................................... 10

Overview This document provides a thorough description of the technical details about MatchWare MindView 6.
System Requirements Windows® Vista, Windows® 7, Windows 8 (or higher). 150 MB disk space (Full installation 250 MB)
Import/Export from Microsoft Word: MatchWare MindView 6 uses the Office Open XML file format (.docx) so Microsoft Office Word is not required for import/export. To view or edit exported documents use: Microsoft Office 2007 or newer, Microsoft Office Word 2000, XP or 2003 with Compatibility Pack, Microsoft Wordpad for Windows 7, OpenOffice or other third party Office Open XML viewer/editor.
Import/Export from Microsoft PowerPoint: Microsoft PowerPoint from 2000 onwards required
Import/Export from Microsoft Project: Microsoft Project from 2003 onwards for creating native Microsoft Project files (.mpp). If Microsoft Project is not installed you are able to import/export to the Microsoft Project XML format.
Import/Export from Microsoft Excel: Microsoft Excel from 2003 onwards for creating native Microsoft Excel files (.xlsx). Export to Microsoft Excel 2010 requires Microsoft .NET Framework 4 Client Profile. If Microsoft Excel is not installed you are able to import/export to the Microsoft Excel XML spreadsheet format.
Installation The MatchWare MindView 6 installation is using the standard Microsoft Windows® Installer technology. Like all Windows® software the MindView installation requires Administrator privileges.
Stand-alone installation
From DVD Insert the DVD in the drive.
Follow the instructions on the screen when the MindView Install program starts (Figure 1).

Figure 1 - MatchWare MindView installation DVD menu
If the MindView Install program does not start automatically:
Choose Start - Run.
Type the following: X:\start.exe
where X represents the DVD drive letter.
From Download If you have received the installation package via download you will first need to extract the installation files to a temporary directory and hereafter launch setup.exe.
Administrative installation The Windows® Installer can perform an administrative installation of an application or product to a network. An administrative installation installs a source image of the application onto the network that is similar to a source image on a DVD. The administrative installation package can then be pushed by system administrators to client computers in a domain via Group Policies. This is only possible from Windows® 2000 Server onwards. To find out more about Windows® Installer and administrative installations, please refer to the Microsoft web site.
Creating an administrative installation Administrators can create an administrative installation directly from the DVD by selecting Administrative Installation (cf. Figure 12).

Figure 2 – MatchWare MindView installation menu step 2
To start the administrative installation from the command line you use the standard Windows® installer argument /a.
Choose Start - Run.
Type the following: X:\install\<language>\setup.exe /a
or
msiexec.exe /a "X:\install\<language>\setup.msi"
where X represents the DVD drive letter. Please correct the location of the setup.msi or setup.exe if you have got the installation package via download.
The administrative installation dialogue When the administrative installation starts you will see the following dialogue:

Figure 3 - Administrative installation of MatchWare MindView 6
Specify the following in the dialogue that appears (Figure 3).
The location of the installation package
The user name and company name to use as default
The serial number
(optional) Check 'Force activation when MindView is run' if you want MindView to be automatically activated the first time the program runs.
(optional) Check 'Automatically activate during installation' if you want to activate MindView during installation.
These two activation options are "silent" (i.e. they do not display any messages). The above options are stored in a file called "admin.ini" in the destination folder. You can edit this file using a text editor like Notepad if you want to change the options without making a new administrative installation.
Applying a patch package to an administrative installation Choose Start - Run.
Type: msiexec.exe /p "<path to .msp file>" /a "<path to administrative
.msi file>" Members of the workgroup using MindView must then reinstall the application from the new administrative source image to receive the update. To completely reinstall the application and cache the updated .msi file on their computer, users may enter either of the following commands:
msiexec.exe /fvomus //server/<administrative .msi file>
msiexec.exe /I //server//<administrative .msi file> REINSTALL=ALL
REINSTALLMODE=vomus

Installation troubleshooting
Changing the location of the activation file By default, the activation data is stored in:
%ALLUSERSPROFILE%\mwas\MindView6.0.mwas In some rare situations, client computers may be setup with restricted access to the above folder, and this will cause the activation file not to be saved. If you have a client server system setup in this way, you can move the activation file to another location by adding an entry to the admin.ini file as follows: [Activation] mwas=c:\<different folder with write access>\MindView6.0.mwas
Storing several activation files on the server You can store several activation files in the same folder of the server by adding an entry to the admin.ini file as follows: [Activation] mwas=\\server\activations\MindView6.0_%COMPUTERNAME%.mwas Where: server = the name of the server activations = the share name on the server %COMPUTERNAME% will be replaced with the client computer name
Problem applying a patch Q. Nothing happens when I double-click the patch file (ex. patch.msp). A. The .msp file extension may be allocated to an application other than the Windows® installer. In this case, you can apply the patch as follows:
Chose Start - Run.
Type the following command: msiexec.exe /p c:\temp\patch.msp
(assuming that you have copied the .msp file to c:\temp)
Installed components
Shortcut The installer creates a shortcut to MindView in the following folder: Start -> All Programs -> MatchWare -> MindView 6.0 The MindView 6.0 shortcut is an ʺadvertised shortcutʺ to the MindView program that automatically checks if the program needs to be repaired before it is run. If you do not want to use this self‐repairing feature, you can create a shortcut directly to the MindView.exe file instead and delete the installed shortcut.
MindView Files
Per-machine The installer places the MindView files in the below folder by default: %programfiles(x86)%\MatchWare\MindView 6.0\ You are able to change this folder during installation.
Per-user The user specific data are saved here:
%APPDATA%\MatchWare\MindView 6.0 The user specific data are first created the first time the application is run by the user.
Common Files MatchWare MindView depends on the following Microsoft components:
Microsoft Visual C++ 12.0 Run-Time Libraries For a complete list of files see Microsoft’s documentation
Microsoft XML Parser
Microsoft Gdiplus
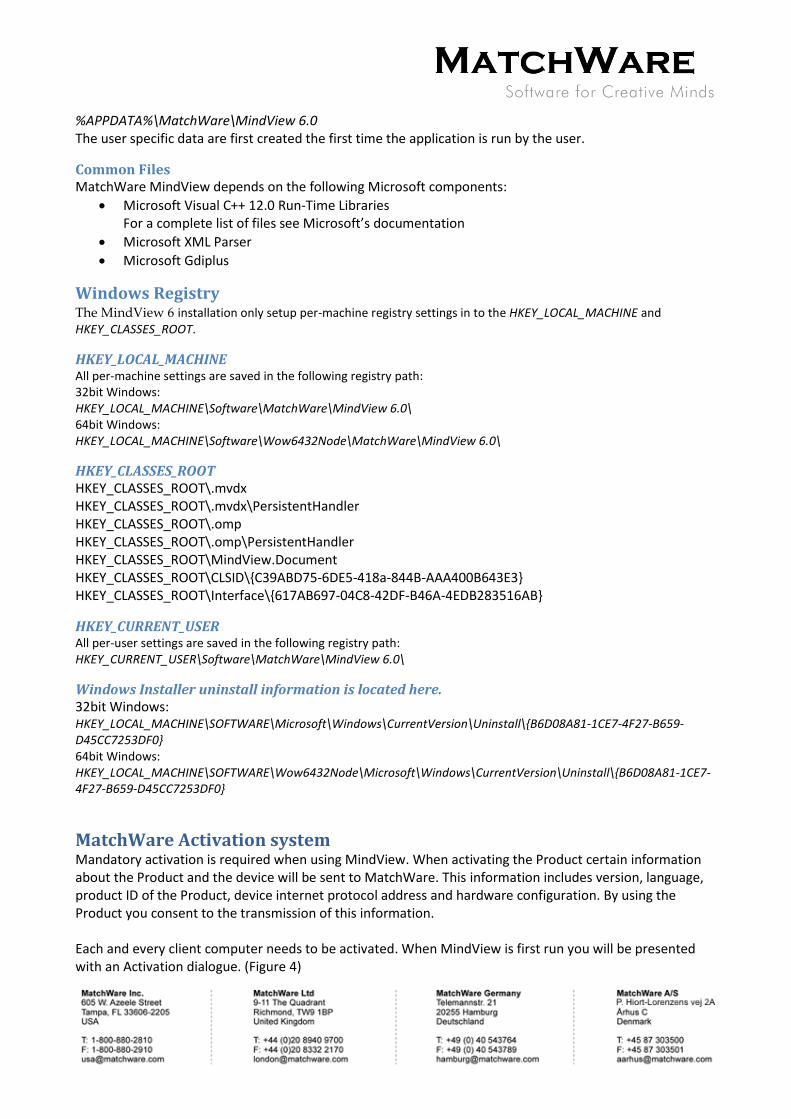
Windows Registry The MindView 6 installation only setup per-machine registry settings in to the HKEY_LOCAL_MACHINE and HKEY_CLASSES_ROOT.
HKEY_LOCAL_MACHINE All per-machine settings are saved in the following registry path: 32bit Windows: HKEY_LOCAL_MACHINE\Software\MatchWare\MindView 6.0\ 64bit Windows: HKEY_LOCAL_MACHINE\Software\Wow6432Node\MatchWare\MindView 6.0\
HKEY_CLASSES_ROOT HKEY_CLASSES_ROOT\.mvdx HKEY_CLASSES_ROOT\.mvdx\PersistentHandler HKEY_CLASSES_ROOT\.omp HKEY_CLASSES_ROOT\.omp\PersistentHandler HKEY_CLASSES_ROOT\MindView.Document HKEY_CLASSES_ROOT\CLSID\{C39ABD75-6DE5-418a-844B-AAA400B643E3} HKEY_CLASSES_ROOT\Interface\{617AB697-04C8-42DF-B46A-4EDB283516AB}
HKEY_CURRENT_USER All per-user settings are saved in the following registry path: HKEY_CURRENT_USER\Software\MatchWare\MindView 6.0\
Windows Installer uninstall information is located here. 32bit Windows: HKEY_LOCAL_MACHINE\SOFTWARE\Microsoft\Windows\CurrentVersion\Uninstall\{B6D08A81-1CE7-4F27-B659-D45CC7253DF0} 64bit Windows: HKEY_LOCAL_MACHINE\SOFTWARE\Wow6432Node\Microsoft\Windows\CurrentVersion\Uninstall\{B6D08A81-1CE7-4F27-B659-D45CC7253DF0}
MatchWare Activation system Mandatory activation is required when using MindView. When activating the Product certain information about the Product and the device will be sent to MatchWare. This information includes version, language, product ID of the Product, device internet protocol address and hardware configuration. By using the Product you consent to the transmission of this information. Each and every client computer needs to be activated. When MindView is first run you will be presented with an Activation dialogue. (Figure 4)

MindView will communicate to the MatchWare Activation Server (activate.matchware.com, activate1.matchware.com or activate2.matchware.com) through port 80.
Figure 4 - The MatchWare Activation dialogue
When the "Activate Now" button is hit MindView will communicate with the MatchWare Activation Server to verify if the product is valid and on success the activation data is saved to the current file:
%ALLUSERSPROFILE%\mwas\MindView6.0.mwas If MindView is not able to communicate with the MatchWare Activation Server a manual activation is needed (Figure 5).
Figure 5 - Manual Activation of MindView

When MindView is first activated you will not need to activate again unless you make major changes to the computer hardware.
MIME-type application/matchware.mindview.document .mvdx .mvtx .omp .omt .mvd .omd
MatchWare Shared Workspace MatchWare MindView communicates with the Shared Workspace using the Hypertext Transfer Protocol Secure (HTTPS) using the standard port 443. The MindView 6 Shared Workspace is located here: https://www.sharedworkspace.com It is possible for customers to get a dedicated shared workspace which can be installed On Premise.
MatchWare MindView XML Schema MatchWare MindView has its own defined XML schema for making it easier to interchange project data between MindView and other programs. The schema definition can be found here: http://schema.matchware.com/mindview/
Custom XML Export It is possible to make a custom XML export by defining a transformation file which transforms the MatchWare MindView XML during save to XML. The following file needs to be changed: File: <Installation path>\MindView 6.0\Resources\XML\Export\filters.ini The file defines the valid xml export formats when running -> “Save As” -> “XML” from within MindView. Content description: [CustomSection] Text=Descriptive text which is shown in the menu in MindView Filter=File extension of the exported file xsl=Custom transformation file
Custom XML Import It is possible to make a custom XML import by defining a transformation file which transforms the custom XML to the MatchWare MindView XML during import from XML. The following file needs to be changed: File: <Installation path>\MindView 6.0\Resources\XML\Import\filters.ini The file defines the valid xml import formats when running -> “Import” -> “XML” from within MindView. Content description: [CustomSection] Text=Descriptive text which is shown in the XML import menu in MindView Filter=File extension of the import file xsl=Custom transformation file which transforms the custom xml file to MatchWare MindView XML during import Converter=Converter which is run during import (Optional) rootelement=Root XML element which is used during auto detection of import (Optional)