Embed Size (px)
Citation preview

MODULE 20:
Management and Storage of
Mercury Waste

Module Overview
• Present data on toxicity and occupational limits
for mercury
• Explain the hierarchy of mercury waste
management
• Describe elements of a mercury phase-out
• Describe materials needed and procedures used
to clean up a mercury spill
• Present the requirements for interim on-site
storage of mercury waste
Learning Objectives
• Understand the toxic properties of mercury
• Know the hierarchy of mercury management
• Know how to develop a phase-out plan
• Adapt the material and procedural requirements
for cleaning up a mercury spill to one’s own
facility
• Develop a storage site that meets basic
requirements

Global Mercury Trends
• The concentration of mercury in the
atmosphere has increased by a factor of 20
since 1840
• Human activities account for about 70% of the
mercury compared to natural sources
WHO Policy Paper on Mercury
(August 2005)
• Short-term: Develop mercury clean-up,
waste handling and storage procedures
• Medium-term: Discourage mercury use
in health-care settings
• Long-term: Ban use of mercury-
containing devices and promote use of
mercury-free alternatives

Toxic Properties of Mercury
Toxicity based on exposure
• Acute exposure: tremors, slowed motor nerve
functions, memory loss
• Acute inhalation: chest pains, acute renal failure,
shortness of breath
• Acute ingestion: nausea, vomiting, abdominal pains
• Chronic exposure: tremors, erethism (abnormal
irritability), gingivitis, kidney damage
• Prenatal exposure: developmental disorders,
Minamata disease at high concentrations

Toxic Properties of Mercury
Occupational exposure limit:
0.02 mg of Hg vapor per m3 in air
• Air saturated with mercury at 25°C is
1000 times higher than the occupational exposure limit
Mercury vapors from a spill
are invisible but can be seen
under UV light and a
fluorescent screen
Bowling Green State University: http://wbgustream.bgsu.edu/bgsu/epa/index-fl.html

Hierarchy of Controls in Mercury Waste
Management
• Elimination and Substitution
– Develop and implement a mercury phase-out plan
• Engineering controls
– Construct safe mercury storage facilities
• Administrative controls
– Evaluate causes of spills and adopt preventive measures
– Conduct awareness-raising and trainings
– Promote safe handling procedures
– Use educational posters and warning labels
– Provide mercury spill clean-up kits
• Personal protective equipment
– Use proper PPE during spill clean-up

Inspection and Maintenance of Mercury
Sphygmomanometers
• Mercury sphygmomanometers should be calibrated at least every 12 months or
more frequently if the zero reading is off
• Check that the mercury liquid is clean; black discoloration due to mercuric oxide
may require cleaning of the column and reservoir
• Check the angle of the column
• Check that the reading is at zero mark when no pressure is applied
• Test the cuff and tubing for air leaks or blockage; test the column and reservoir
for mercury leaks, especially through seals and discs
• Check that during cuff inflation the mercury rise is smooth
• Check that when inflation is stopped mercury rise stops immediately
• Clean and disinfect the device every 6 months according to the manufacturer’s
specifications

Elements of a Mercury Phase-Out Plan
• Conduct an inventory of mercury-containing
materials in the facility, including data gathering
on the rates of breakage of mercury
thermometers and sphygmomanometers
• Adopt a policy to phase-out mercury; join the
global campaign for mercury-free health care
• Conduct awareness-raising sessions for the staff
on the hazards of mercury and the rationale for
mercury-free health care

Elements of a Mercury Phase-Out Plan
• Work with procurement and professional staff to
identify mercury-free devices and materials that
comply with national or international standards
and meet the needs of the facility
• Conduct trials if necessary to select products
that meet standards and facility needs
• Work with vendors and suppliers to obtain
volume discounts and to see if vendors can
assume responsibility for taking back and
managing old mercury devices

Elements of a Mercury Phase-Out Plan
• Develop a budget for a rapid or gradual
(phased) replacement of mercury-containing
materials
• Develop the infrastructure for maintenance,
validation and/or calibration of non-mercury
devices
• Develop a safe, interim storage site for mercury
devices and waste
• Discontinue programs that provide mercury
thermometers to patients or new mothers

Elements of a Mercury Phase-Out Plan
• Procure mercury-free materials
• Train staff on the new procedures or protocols related to
non-mercury devices and materials
• Conduct a mercury exchange (replace each mercury
device with a non-mercury device) based on a rapid or
phased replacement plan
– For example, mercury exchanges can be done for the
whole facility on a set date; or on separate target dates
for each department; or replace whenever mercury
devices are due for maintenance or calibration; or
when non-mercury devices become available based on
priority areas
Elements of a Mercury Phase-Out Plan
• Publicize the health facility’s mercury-free status in the
media to educate the community and encourage other
health facilities
• Work with local and national authorities on mercury
thermometer collection programs and on long-term
storage of mercury waste
• Work with local and national authorities on national
policies to reduce mercury pollution
• Promote compliance with the international mercury treaty
and other global initiatives

Managing a Mercury Spill
Personal protective equipment (PPE) needed to clean a spill:
• A pair of rubber or nitrile gloves
• Safety goggles or protective eyewear
• Coveralls, apron, and other protective clothing
• Disposable shoe covers
• Respiratory protection (see next slide)

Managing a Mercury Spill
• PPE needed for a spill (cont’d): Respiratory protection
» Fit-tested full-face or half-face piece air-purifying
respirator with mercury vapor cartridges, or
» Face mask with sulfur or iodide impregnated activated
carbon (Note: Face masks that do not seal tightly
around the face could allow contaminated air to enter
through the edges), or
» Specialty mask or respirator designed for mercury, or
» Two tight-fitting face masks with activated charcoal-
impregnated cloth or activated carbon in between.
» If none of the above are available: a face mask with a
0.3 micron HEPA filter to capture amalgam particles and
mercury-laden dust (unfortunately, regular masks will
NOT protect against mercury vapor)

Managing a Mercury Spill
Other things needed to clean a spill:
• Flashlight
• Plastic-coated playing cards or thin pieces of plastic
• Small plastic scoop or plastic dust pan
• Tweezers
• Eyedropper or syringe (without the needle)
• Duct tape or sticky tape
• “Danger: Mercury Waste” labels to put on waste
containers

Managing a Mercury Spill
Other things needed to clean a spill: Containers for
mercury waste
– Air-tight, sealable plastic bags (small and large
sizes, thickness: 2 to 6 mils, or 50 to 150 microns)
– Small, air-tight, rigid plastic container with some
water or vapor suppression agent
– Air-tight, puncture-resistant, rigid plastic or steel jar
or container with a wide opening
– Regular plastic waste bags
(thickness: 2 to 6 mils, or
50 to 150 microns)
– Plastic tray

Managing a Mercury Spill
Other things needed to clean a spill: Vapor suppression agents
– Sulfur powder (may be available from pharmacies) or
– Zinc or copper flakes (may be available from hardware stores) or
– Commercial absorbent pads or vapor suppressants, and
– Brush to remove powder or flakes
Managing a Mercury Spill
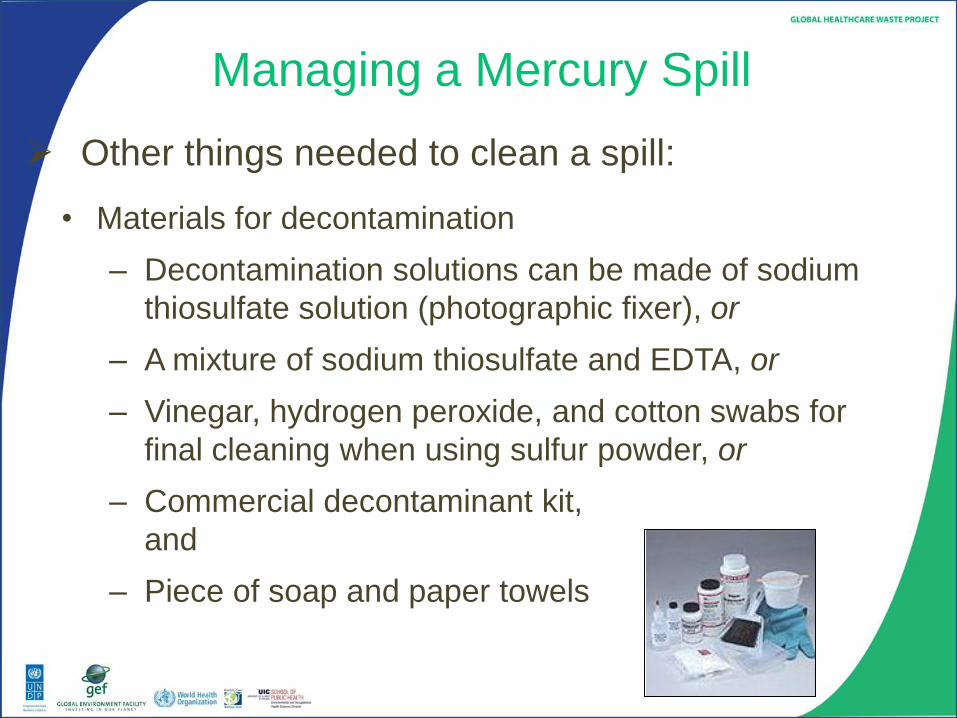
Other things needed to clean a spill:
• Materials for decontamination
– Decontamination solutions can be made of sodium
thiosulfate solution (photographic fixer), or
– A mixture of sodium thiosulfate and EDTA, or
– Vinegar, hydrogen peroxide, and cotton swabs for
final cleaning when using sulfur powder, or
– Commercial decontaminant kit,
and
– Piece of soap and paper towels

Managing a Mercury Spill
Procedure to clean up a mercury spill
1. Quickly determine the extent of the spill
2. Immediately block off foot traffic for a radius of about 2 meters
around the spill
3. Contain the spill – use rags or impervious materials to prevent
mercury balls from spreading or falling into cracks or drains
4. Evacuate the immediate area – give priority to pregnant women
and children
5. Minimize the spread of vapors to interior areas – close doors to
interior areas, turn off ventilation or air conditioning that circulates
air to other areas

Managing a Mercury Spill
Procedure to clean up a mercury spill
6. Reduce vapor concentrations in the spill area if possible – open
doors or windows that lead to outside areas that are free of
people
7. Prepare for clean-up by getting the mercury spill kit and removing
your jewelry, watch, mobile phone and other metallic items that
could amalgamate with mercury; cover eyeglass metal frames
8. Put on PPE – put on old clothes, apron or coveralls, shoe covers,
rubber or nitrile gloves, eye protection and respiratory protection

Managing a Mercury Spill
Procedure to clean up a mercury spill
9. First remove visible mercury balls and broken glass beginning
from the outer edge of the spill and moving towards the center of
the spill
o Place the wide mouth jar on the plastic tray
o Use tweezers to remove broken glass
o Use playing cards or pieces of plastic to slide mercury balls
into the scoop then into the jar over the tray to catch spillage
o Use the eye dropper or syringe to capture small mercury
beads

Managing a Mercury Spill
Procedure to clean up a mercury spill
10. Search and remove tiny mercury droplets
o Shine the flashlight at low angles to see reflections of tiny
droplets; use sticky tape to pick up tiny droplets and place the
tape with the mercury in a sealable plastic bag
11. Clean up cracks and hard surfaces
o Sprinkle sulfur powder, zinc or copper flakes on cracks, floor
crevices and hard surfaces that have come in contact with
mercury; use a brush to collect the powder or flakes and put
them in a resealable bag
o Wipe with vinegar-soaked and peroxide-soaked swabs

Managing a Mercury Spill
Procedure to clean up a mercury spill
12. Remove contaminated soft material – use a knife to cut out
contaminated carpets, rugs, etc. and put in a resealable bag
13. Clean out contaminated drains – carefully transfer any mercury
in the J or S trap and transfer to an air-tight container; replace
the trap
14. Dispose of decontaminated material in leak-proof, sealable
plastic bags and dispose as mercury waste
15. Label and seal all contaminated material

Managing a Mercury Spill
Procedure to clean up a mercury spill or decontaminate
PPE
16. Wash hands and all exposed skin with soap and water
17. Ventilate the spill area
o Place heaters and fans to volatilize residual mercury and to
blow contaminated air to the outside for at least 48 hours
o For facilities with central ventilation, increase air exchange
rates for several days
18. Conduct medical monitoring for staff or patients that were exposed
to high levels of mercury
19. Write a report on the spill incident and recommend improvements
to prevent future spills

Managing a Mercury Spill
What NOT to do during a mercury spill
Do NOT use a regular vacuum cleaner – it will spread more mercury
vapors and will contaminate the vacuum cleaner
Do NOT wash contaminated clothing or fabrics in a washing
machine – it will contaminate the machine and wastewater
Do NOT use a large broom to sweep mercury – it could break up
mercury balls into smaller droplets
Do NOT pour mercury down the drain – it will contaminate the
plumbing system and septic or sewage treatment system for years to
come
Do NOT spread mercury with your shoes – use disposal shoe
covers or decontaminate shoes

Mercury Spill Kits
Prepare spill kits with all the items listed in the preceding slides
Include a step-by-step clean-up procedure as a guide
Place spill kits in readily accessible locations
Train staff on the use of the spill kits
Replace spill kit contents that have been used after every spill

Guidelines for an Interim Mercury
Storage Site
Siting
Design
Signage
Containment of different types of mercury
waste
Storage practices

Siting
The area selected should be:
Secure and restricted to prevent theft
Readily accessible to mercury waste handlers
Separate from regular or infectious waste storage areas
Storage area should be kept cool with natural or forced ventilation and kept dry if using steel containers (< 40% humidity)

Design of the Storage Area
Enclosed with roof and walls
Locked door
Proper size based on amount of waste to be stored plus space for materials movement
Ventilation
• Exhaust vent leads to the outside
• Exhaust air is released away from people and crowded areas
• Exhaust vent is not near any air intake vents
• Ventilation control that can block air circulation back into the facility
• Exhaust fan capable of (600/Q) air changes per hour where Q is the room volume in cubic meters in case of spill

Design of the Storage Area
Seamless smooth flooring made of impervious material,
for example:
• Epoxy-coated cement
• Polyurethane coated floor
• Seamless rubber
• Polyester flooring
Bunding or spill containment tray on the floor below the
waste containers
• Volume of the spill tray or inside the bund wall should
be at least 125% of the stored mercury volume

Design of the Storage Area
Spill kit, PPE and wash area should be near (but not in) the storage area
Personal protective equipment (PPE) should include:
• Several pairs of rubber or nitrile gloves
• Respiratory protection
• Safety goggles or protective eyewear
• Coveralls, apron, and other protective clothing
• Disposable shoe covers

Signage and Labeling of Storage Area
Entry and exit doors marked with warning signs: “Danger: Hazardous Mercury Waste” and the skull-and-crossbones symbol
Containers labeled “Hazardous Mercury Waste” plus a description of the contents and the initial date of storage
Danger:
Hazardous Mercury Waste

Containment of Mercury Waste
General principles
• Store mercury waste in primary and secondary containers
• Primary container for the waste
• Secondary container that prevents release of mercury if the primary container breaks
• Label the primary container; label the secondary container if it is not transparent
• Place a spill containment tray directly under the containers in storage

Containment of Mercury Waste: Examples
NON-SHARPS mercury waste
(e.g., contaminated rags)
BROKEN mercury
devices
contaminated
glass
mercury
UNBROKEN
mercury devices

Fluorescent lamps
Containment of Mercury Waste: Examples Amalgam waste
Elemental mercury
waste

Storage Practices for Mercury Waste
• All personnel involved in collection, storage, transport, and supervision of mercury waste should receive special training on mercury waste management including spill cleanup.
• Material Safety Data Sheets and International Chemical Safety Cards on mercury should be discussed with employees.
• The most senior staff involved in a cleanup is responsible for ensuring replenishment of the contents of spill kits. Spill kits should have a signed sheet indicating when they were used and replenished.

Storage Practices for Mercury Waste
• The storage space should be inspected every month
to check for leaks, corroded or broken containers,
improper methods of storage, ventilation, the
condition of the PPE and wash area, spill kit
contents, and updated records.
• Inventory records should be kept of the types of
mercury waste, descriptions, quantities in storage,
and initial dates of storage.
• No smoking or eating in and around the
storage space.
Example 1: Small hospital
Small quantities of old thermometers, 1 or 2 sphygmomanometers, some dental amalgam
Packaged using primary and secondary containers
Storage :
Could be an old unused refrigerator in a locked room
“Danger: Mercury Waste” and poison symbol on refrigerator door
Fan stored by the window facing an empty yard
Plastic tray at the bottom shelf of the refrigerator
Cabinet with a spill kit, PPE, MSDSs, a copy of the inventory, and other records located outside the room
Storage Examples for Mercury Waste

Example 2: Large hospital
1000 unbroken thermometers
Taped thermometers placed with plastic bubble wrap in 3L stainless steel labeled can [primary container]
Can is placed in a 4L, 75 micron transparent sealable plastic bag [secondary container]
20 unbroken sphygmomanometers
Placed in original cases with labels [primary container] and taped together
Taped cases placed in 100 micron colored garbage bag with label [secondary container]
500 broken thermometers
Placed in a 3L stainless steel can with tight lid [primary container]
Can placed in a 4L 75-micron transparent sealable plastic bag [secondary container]
Storage Examples for Mercury Waste

Example 2: Large hospital (cont’d)
350 liters of non-sharp cleanup waste (rags, towels, etc.)
Placed in 75 micron sealable plastic bags with labels [primary container]
Bags placed in two 220L plastic drums with gasketed latching lid with outside label [secondary container]
40 ml of elemental mercury
Placed in a 100 ml wide-mouthed 0.3mm PET container with water [primary container]
Container placed in a 6ml transparent re-sealable bag on a spill tray [secondary container]
1.5 liters of dental amalgam
Placed in marked 2L PET bottle with dry vapor suppressant [primary container]
Bottle placed in 75 micron transparent resealable bag on a spill tray [secondary container]
Storage Examples for Mercury Waste

Example 2: Large hospital (cont’d)
1,280 T8 fluorescent lamps
Placed in UN-approved, labeled drums
Storage room:
3 x 3 meter locked room in the basement
Basement is off-limits to patients and visitors
“Danger: Mercury Waste” and poison symbol on the door
In case of spill, exhaust fan on one wall is capable of 22 ACH; air blows out above the roof line facing an empty yard; mechanical damper plates in the AC vent can be closed
Smooth floor with polyurethane paint and flexible plastic bunding strip around area where mercury waste is stored
Cabinet with a spill kit, PPE, MSDSs, a copy of the inventory, and other records located outside the storage room
Storage Examples for Mercury Waste

Considerations for Off-Site Transport Packaging requirements
Special permit/license for transporter
Certified training, proof of liability insurance, submitted emergency
response plans, spill kits, PPE, etc.
Registered vehicle
Passed inspection
Closed design, correct size for the intended load
Bulkhead between driver cabin and body
System to keep load secure during transport
Spill kit, first-aid kit, fire extinguisher
Placard
Routing plan, contingency plan, emergency phone, etc.

Siting of an Interim Central Storage
Facility
• At least 150 meters away from
schools, hospitals, homes, food
processing, agricultural operations,
rivers or lakes, fisheries
• Secure area
• Accessible to vehicles transporting
mercury waste

Design of an Interim Central Storage Facility
• Size based on maximum anticipated volume of mercury waste,
plus shelving space, aisles, etc.
• Measures to withstand floods, earthquakes, typhoons, and other
natural disasters
• Closely controlled access with an intrusion detection and alarm
system
• Air conditioning to control temperature and humidity
• Heat, smoke and fire detection and
alarm system, plus a fire suppression
system

Design of an Interim Central Storage Facility
• At least four distinct and separate functional areas:
– Receiving area for receiving and presorting
waste, re-labeling if necessary, and signing
documents
– Inspection area for checking for leaks,
repackaging, secondary containment, and re-
labeling if necessary
– Storage area specific for mercury waste
– Administrative and record-keeping area

Design of an Interim Central Storage Facility
• Drains connected to a separate wastewater collection
system
• Equipped with PPE, spill cleanup kits, first-aid medical
supplies, and wash areas
• Receiving area
– Signs
– Presort table for incoming waste; a cart made of
impervious material; spill kits; emergency containers for
leaking containers; PPE; and a separate table or
counter for documentation

Design of an Interim Central Storage Facility
• Inspection area
– Engineered spill-control features including containment dikes
or bunding on the floor
– Mercury vapor detection monitor or detection tubes
– Local exhaust ventilation, such as a fume hood, connected
to an activated carbon filter
– Spill control tray or containment device over which the waste
should be inspected
– Emergency containers, packaging, labels, spill kits, and PPE

Design of an Interim Central Storage Facility
• Storage area
– Warning signs on all doors
– Continuous or periodic monitoring of mercury levels
– Spill control features including floor sealant and containment dikes
– Shelving and storage racks not above shoulder height
– Lighting, aisle space, stacking, arrangements of containers, and
labeling designed to facilitate inspection and future transport to
terminal storage
Design of an Interim Central Storage Facility
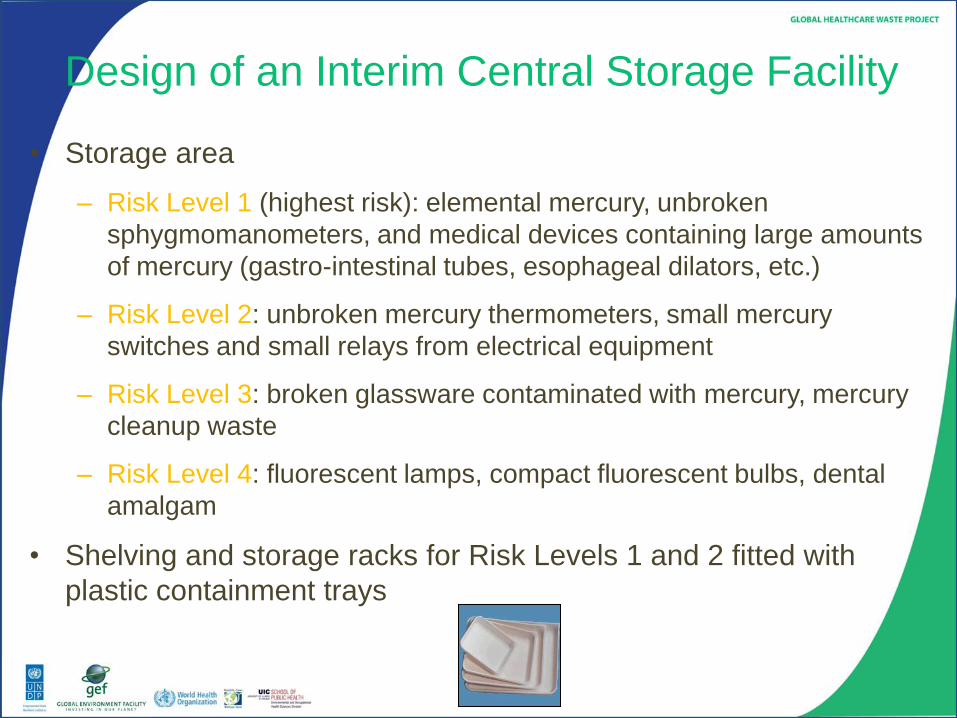
• Storage area
– Risk Level 1 (highest risk): elemental mercury, unbroken
sphygmomanometers, and medical devices containing large amounts
of mercury (gastro-intestinal tubes, esophageal dilators, etc.)
– Risk Level 2: unbroken mercury thermometers, small mercury
switches and small relays from electrical equipment
– Risk Level 3: broken glassware contaminated with mercury, mercury
cleanup waste
– Risk Level 4: fluorescent lamps, compact fluorescent bulbs, dental
amalgam
• Shelving and storage racks for Risk Levels 1 and 2 fitted with
plastic containment trays

Other Considerations for Interim Central
Storage • Manifest system
• Licensing
• Hazardous waste management plan including
storage and labeling guidelines, and staff
training
• Periodic monitoring, weekly inspection, record-
keeping, periodic reporting
• Health surveillance, medical monitoring of
workers

Summary Points
• Redundancy in containment: primary container
to prevent leaks, secondary container in case
the primary container breaks, bund or tray
underneath
• Use proper PPE when handling mercury
• Seek practical solutions consistent with the
basic principles needed to protect health and
environment while taking into consideration
the specific situation in a facility

Resource: UNDP GEF Guidance
Document
• GUIDANCE ON THE CLEANUP, TEMPORARY OR
INTERMEDIATE STORAGE, AND TRANSPORT
OF MERCURY WASTE FROM HEALTHCARE
FACILITIES
Available from: www.gefmedwaste.org

Discussion
• How do you apply the hierarchy of mercury waste
management to your facility?
• What elements of a mercury phase-out plan are appropriate
for your facility?
• How would you modify the spill clean-up procedure for the
particular situation in your facility?
• Discuss practical mercury containment and storage methods
for your facility.
• What are your country specific requirements for mercury
storage, treatment and disposal?