Embed Size (px)
Citation preview

Module 6
Applied Exercise and Health Fitness 1: Exercise to Music
Aim
To develop an understanding of the application of exercise to music in the development of the health related fitness components
Hours: 28
Objectives
Students will be able to:Plan, teach and evaluate safe and effective exercise to music classesDemonstrate creativity and individual style appropriate to the level of the classAdapt and progress the class as required
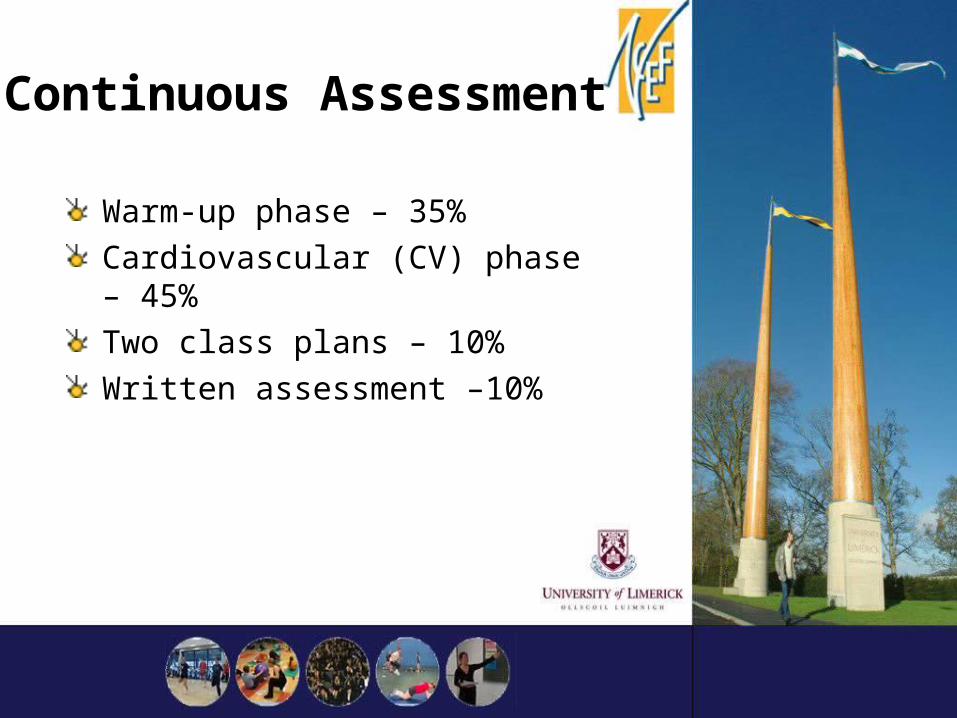
Continuous Assessment
Warm-up phase – 35%
Cardiovascular (CV) phase – 45%
Two class plans – 10%
Written assessment –10%

Session 1 Objectives
At the end of this session, students will be able to:describe the structure and content of an exercise to music classdescribe the physiological, psychological and social benefits of an exercise to music classdemonstrate correct procedure for screening clients before a class

Objectives
outline the content and purpose of each phase of an exercise to music class
demonstrate the following instructional skills: verbal/visual cueing, good demonstrations
identify correct BPM and downbeat when working with music
identify suitable movements for dynamic phase of the class

The Phases
Warm-up and pre-stretch
CV and post-stretch

Warm-Up: Dynamic Phase
Large body movements
BPM 124 - 130
Small ROM
Plenty use of space/changes of direction etc.
Mobility PhaseBPM 124 - 130The joints: shoulder, knee, ankle, hip, backSmall to large ROMMaintain intensity - use of space/change of direction etc.

Pre-StretchStretch all major muscle groups to be worked in the CV phaseQuadricepsHamstringsGastrocnemiusErector Spinae

CV Phase
Pulse Raiser
Low impact moves - music 136-138 BPM
Increase intensity by use of space and armwork
HR should be above 120
CV Proper
Hi/lo impact/music 138-150 BPM. Create an aerobic wave - work in THR zone

CV Phase
Cool-Down
Low impact moves - music 128-130 BPM
Gradual decreasing of intensity to lower HR
Post-stretch
HR should be below 100 BPM

Health Related Benefits
Improved efficiency of heart/lungs
Improved appearance
Helps maintain healthy fat levels
Improved physical well-being
Improved psychological well-being
Good social aspect
Screening ProceduresAll clients will have filled out written screening forms prior to participation in class (see module 4 screening procedures)Verbal screening: prior to each class, the instructor must verbally screen. Questions are asked regarding:– Injuries/medication/illnesses e.g
asthma, diabetes etc.– Current or recent pregnancies

Screening Procedures
Beginners – screen individually re. previous exercise habits etc.Footwear – ensure clients are properly attiredChewing gum/food – ensure clients have nothing in their mouthsJewellery – ensure jewellery is removed or tucked away
Cueing
It is essential that each move is cued accurately. Cueing consists of:
verbal – naming the step
numerical countdown – 4, 3, 2, …..
visual – using hand signals
use of imagery – use any features in the room e.g. mirrors, windows etc.
Demonstration – visual preview
Suitable Movements for Dynamic Phase
As the purpose of the dynamic phase is to increase body temperature, heart rate and blood flow to the working muscles, the most appropriate movements are:off-the-spot moves involving large muscle groups i.e. marching around the room, grapevines, double side stepsdirectional change – diagonals, squares, circles, crucifix etc.appropriate arm movement (small ROM)

Music BPM/Pulse Checks
Music
Choose suitable music i.e. 124 -130 BPM
Choose music with good downbeat
Pulse Checks
Take pulse on carotid/radial artery
Take at start of the class – below 100
After warm up – at or over 120
Session 2 Objectives
At the end of this session, students will be able to:identify suitable exercises for mobility phaseidentify appropriate teaching and safety points for each exerciseidentify suitable stretches for use in the pre-stretch phasedemonstrate good rhythm, timing and co-ordination in the class situation
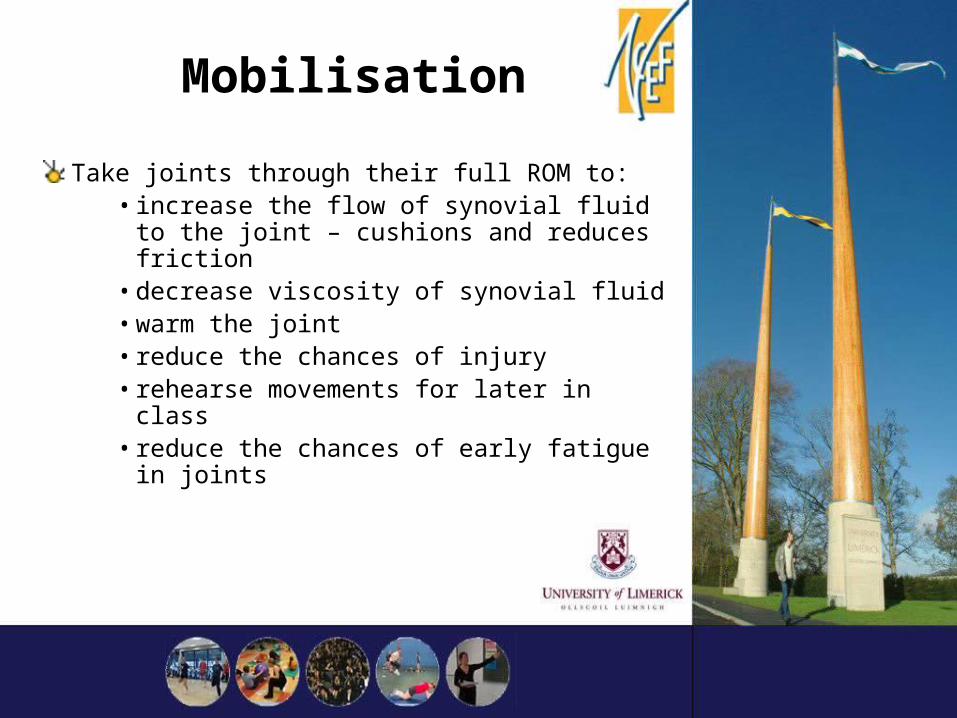
Mobilisation
Take joints through their full ROM to:• increase the flow of synovial fluid to the
joint – cushions and reduces friction• decrease viscosity of synovial fluid• warm the joint• reduce the chances of injury• rehearse movements for later in class• reduce the chances of early fatigue in
joints

Joints to Be Mobilised
Shoulder
Hip
Knee
Ankle
Back
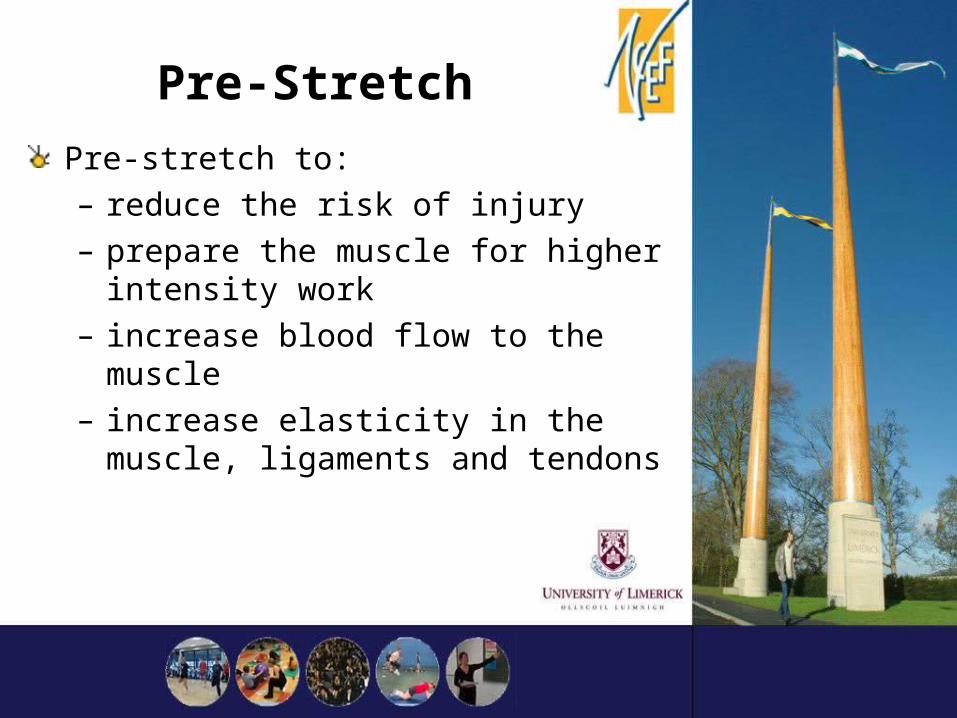
Pre-Stretch
Pre-stretch to:– reduce the risk of injury– prepare the muscle for higher intensity
work– increase blood flow to the muscle– increase elasticity in the muscle,
ligaments and tendons
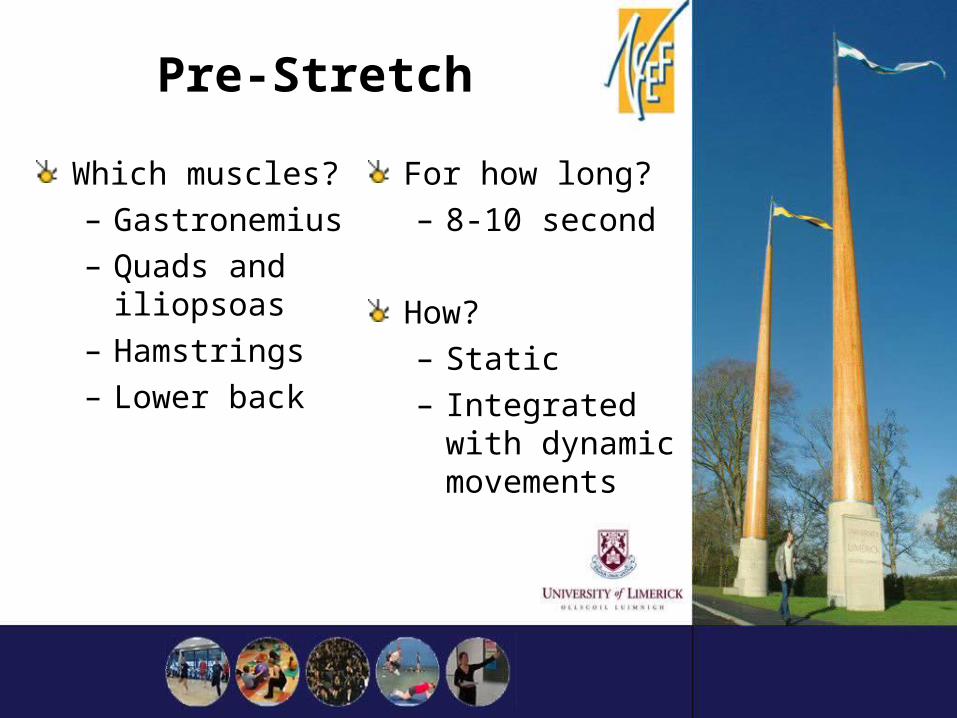
Pre-Stretch
Which muscles?– Gastronemius– Quads and iliopsoas– Hamstrings– Lower back
For how long?– 8-10 second
How?– Static– Integrated with
dynamic movements

ObjectivesAt the end of this session, students will be able to:
outline basic considerations when designing movement sequencesdesign a class to include class plan, goals, appropriate selection of music, appropriate choreographydemonstrate effective instructional skills to include demonstration, teaching and safety points, observation and correction, cueing, class managementdemonstrate effective adaptations and progressions for the beginner client

Designing Sequences
It is important to consider the following when designing your routine:
Level of class
Phase of class
Muscles/joints to be worked
Balance, i.e. forward/backward versus side/side
Designing Sequences
High versus low impact
High versus low intensity
Choreography

Adaptations/Teaching & Safety Points
Adaptations
Delete arms
Smaller ROM
Bring back to march if finding move difficult
Teaching/Safety
Knee raise - hip height with knee
Lunge - push off ball of foot
Lateral raises - arms shoulder height
Head, neck and spine in line always
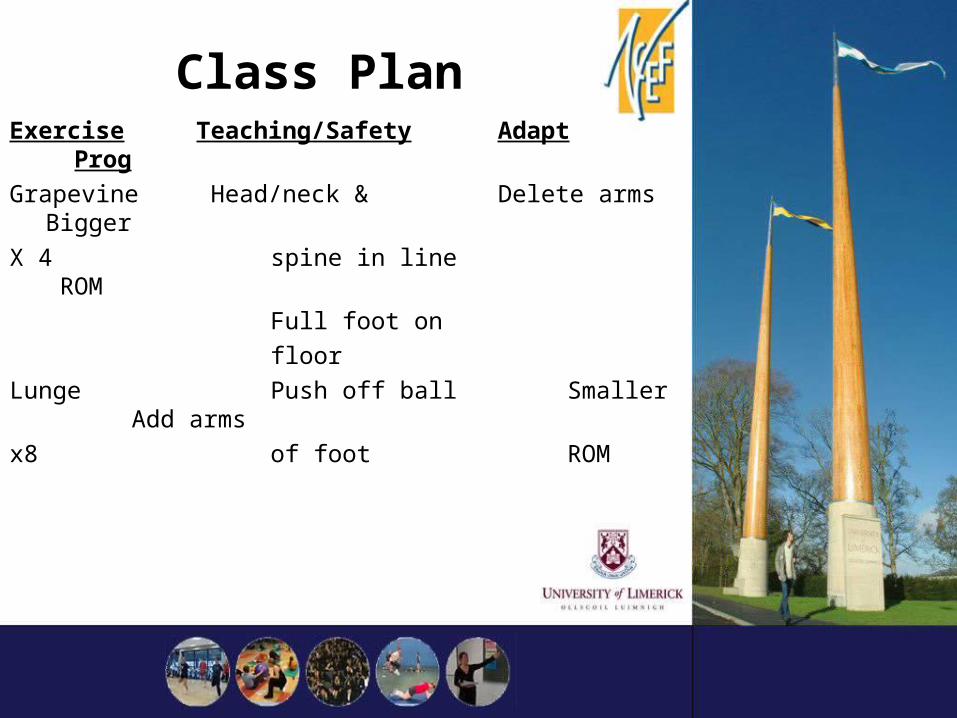
Class PlanExercise Teaching/Safety Adapt Prog
Grapevine Head/neck & Delete arms Bigger
X 4 spine in line ROM
Full foot on
floor
Lunge Push off ball Smaller Add arms
x8 of foot ROM
Objectives
At the end of this session, students will be able to:
outline the content and purpose of the CV phase of an exercise to music class
demonstrate good personal technique and posture while teaching cueing, class management and instructor position
demonstrate different methods of varying exercise intensity
Pulse Raiser
Lasts about two to three minutes
Aim is to elevate HR and increase body temp after pre-stretch
Suitable movements include:– Large body movements– Off the spot movements– Plenty of arm work– Change of focus
Increasing Intensity
Start off with low impact moves
Bring in some hops gradually
Add in some high impact moves towards end of pulse raiser
Add in from start and maintain suitable arm movements

Objectives
At the end of this session, students will be able to:demonstrate effective instructional skills to include demonstration, teaching/safety points, observation/correction, client safetydemonstrate different methods of varying exercise intensitydefine the “wave effect” and apply guidelines effectively to the aerobic phase of the class

Intensity
Increase intensity to ensure class work within their THR zone
Maintain THR for 20 - 30 mins by: – working large muscle groups
through large ROM– adding impact– suitable use of arm movement– greater use of space

Teaching/Safety Points
Ensure client safety through adequate teaching and safety pointsFor high impact, ensure: – head, neck, and spine are in line– soft knees are maintained– landings are from ball to heel– adaptations are given

Aerobic Wave
Produced when high intensity/high impact moves are interspersed with low intensity/low impact moves
Produces a “wave” effect whereby heart rates are kept in training zones for long enough to achieve a training effect
ObjectivesAt the end of this session, students will be able
to:design, organise and implement a commercially viable exercise class to include appropriate selection of music, appropriate choreography style and correct application of the principles of trainingdemonstrate appropriate methods for monitoring intensitydemonstrate good rhythm, co-ordination, timing and phrasingidentify factors that would make the exercise to music class more motivating

Choreography
Add-on: – Design ‘A’ – Add on ‘B’ – Repeat ‘A’ and ‘B’– Add on ‘C’ – Repeat ‘A’, ‘B’ and ‘C’

Choreography
Link: – Design routine 1 a, b, c and d– Design routine 2 e, f, g and h– Link both routines
Verse/chorus: – Design one routine for the verse and one
for the chorus, and repeat
Intensity
Important to monitor intensity to ensure clients are working within their THR zones
Monitor by taking pulse or by using an RPE scale
Pulse: after CV phase using a six-second count
RPE scale: during and after CV phase (refer to module 4 for RPE scale)

Motivation
Add variety to routines
Offer information on weight loss, healthy lifestyle etc.
Offer fitness testing
Offer individual programmes
Show interest and enthusiasm
Objectives
At the end of this session, students will be able to:design a class plandemonstrate effective adaptations and progressions for individuals with different needsoutline the basic, general exercise guidelines for clients who have been medically cleared of these injuries: knee, ankle, shoulder, shin splintdesign the cool-down phase
Adaptations and Progressions
Adaptations
Low impact, e.g. do ½ jack instead of full
Delete arms
Smaller ROM
Progressions
Do high impact version, e.g. jog forward instead of march
Use arm movement
Bigger ROM

InjuriesGeneral
Check for clearance, history, when the injury occurred, how it occurred and pain-free ROM.
Knee
As above. Advise low impact and small ROM during leg curls etc.
Ankle
As above. Low impact and be careful of lateral movement.

InjuriesShoulder
As previous slide. No arm movement above shoulder height, or lower if painful.
Shin splints
As previous slide. No high impact. Advise not to run on hard surfaces and to elevate and ice injured area after exercise.

Cool-Down
Low impact moves
Gradually decrease intensity
Work arms through small ROM
Include plenty of movement off the spot
Music BPM 128-130
Two to three minutes

Class PlanExercise T/S Points Adapt. Prog.
J. jack Soft landings ½ jack Add arms
H/N/S in line Knee Hip height Low impact Add arms
Raise with knee
Objectives
At the end of this session, students will be able to:
demonstrate good personal technique and posture while teaching the CV phase
competently apply guidelines for adaptations for the beginner client
describe the function of the post-stretch in the exercise to music class and when it should be performed

Post-Stretch
Post-stretch should be done at the very end of the class.
General GuidelinesFloor-basedStretch specific muscles used in the classHold stretches for 15-30 secs
BenefitsReduces risk of injury and aids circulationSeeks to return muscles to pre-exercise length