Embed Size (px)
Citation preview
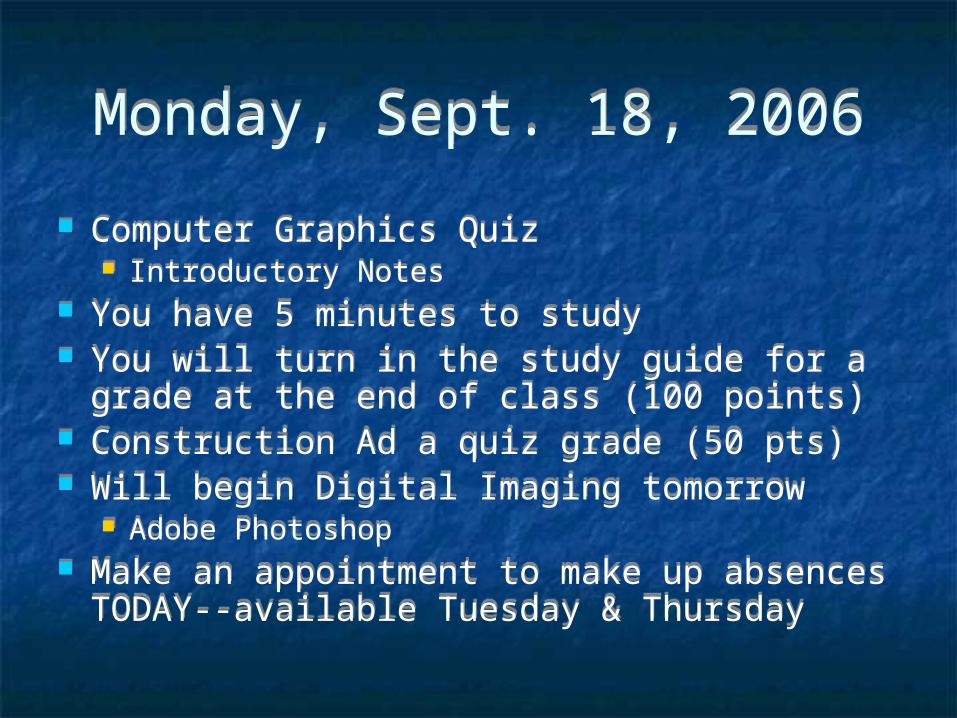
Monday, Sept. 18, 2006Monday, Sept. 18, 2006
Computer Graphics Quiz Introductory Notes
You have 5 minutes to study You will turn in the study guide for a grade at the
end of class (100 points) Construction Ad a quiz grade (50 pts) Will begin Digital Imaging tomorrow
Adobe Photoshop Make an appointment to make up absences
TODAY--available Tuesday & Thursday
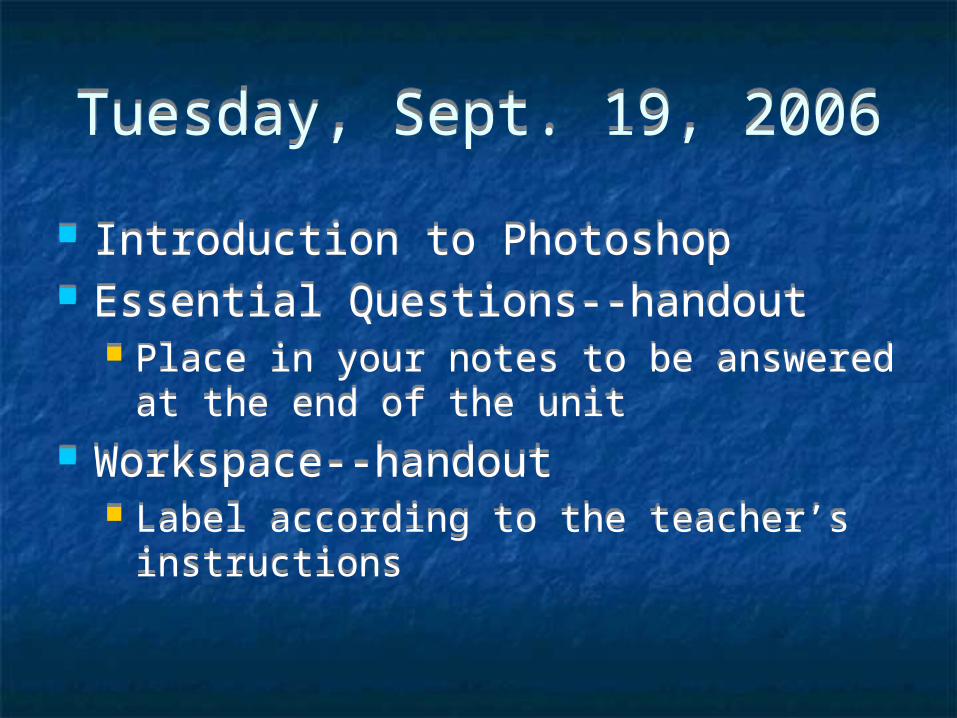
Tuesday, Sept. 19, 2006Tuesday, Sept. 19, 2006
Introduction to Photoshop Essential Questions--handout
Place in your notes to be answered at the end of the unit
Workspace--handout Label according to the teacher’s instructions
Introduction to Photoshop Essential Questions--handout
Place in your notes to be answered at the end of the unit
Workspace--handout Label according to the teacher’s instructions
Wed., Sept. 20, 2006Wed., Sept. 20, 2006
Workspace Worksheet Toolbox Zoom and Views Saving a Workspace
Workspace Worksheet Toolbox Zoom and Views Saving a Workspace
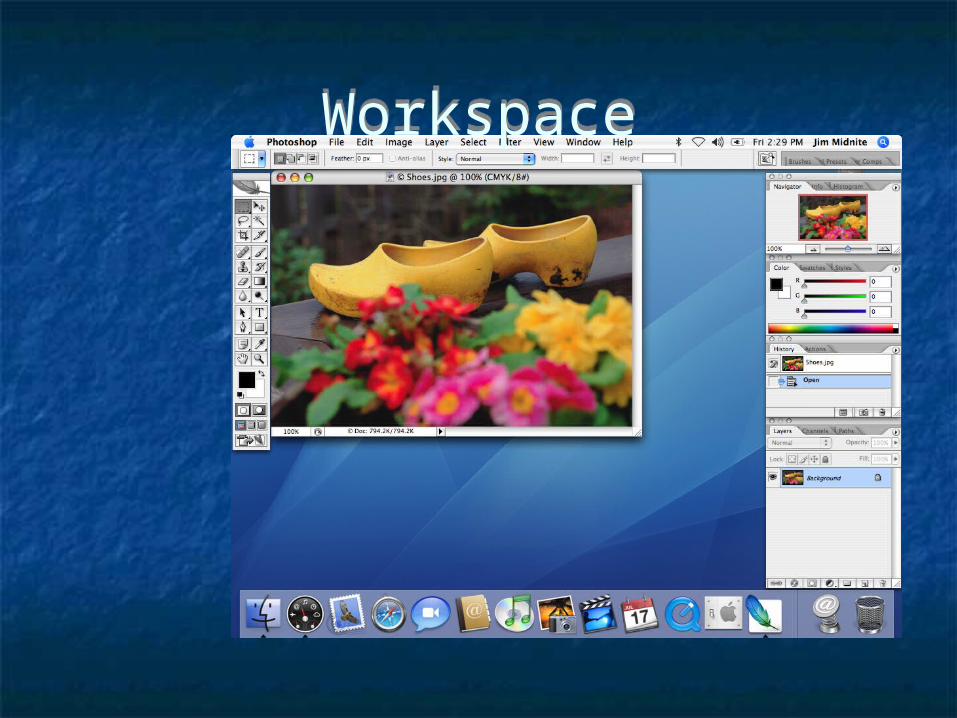
WorkspaceWorkspace
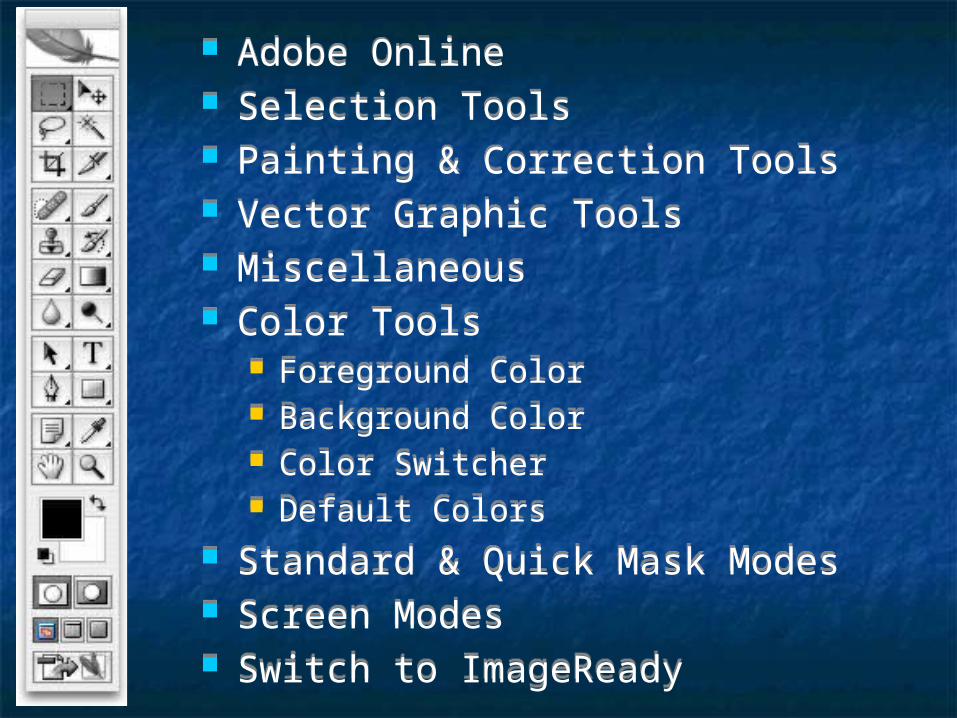
Adobe Online Selection Tools Painting & Correction Tools Vector Graphic Tools Miscellaneous Color Tools
Foreground Color Background Color Color Switcher Default Colors
Standard & Quick Mask Modes Screen Modes Switch to ImageReady
Adobe Online Selection Tools Painting & Correction Tools Vector Graphic Tools Miscellaneous Color Tools
Foreground Color Background Color Color Switcher Default Colors
Standard & Quick Mask Modes Screen Modes Switch to ImageReady
Save Workspace ViewSave Workspace View
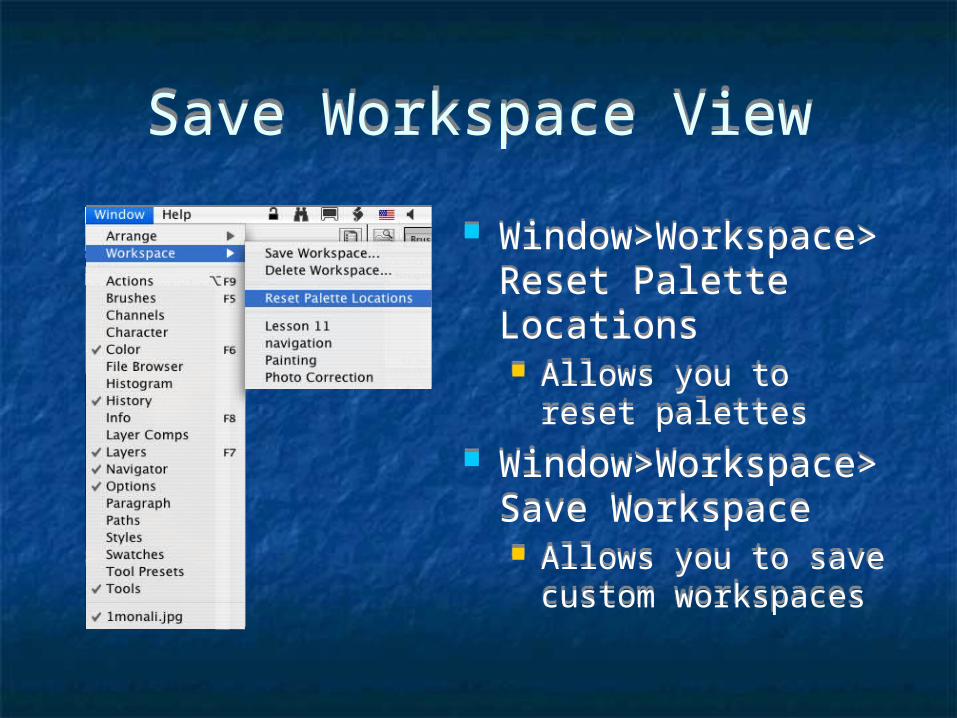
Window>Workspace>Reset Palette Locations Allows you to reset
palettes Window>Workspace>S
ave Workspace Allows you to save
custom workspaces
Window>Workspace>Reset Palette Locations Allows you to reset
palettes Window>Workspace>S
ave Workspace Allows you to save
custom workspaces
Helpful Keyboard ShortcutsHelpful Keyboard Shortcuts
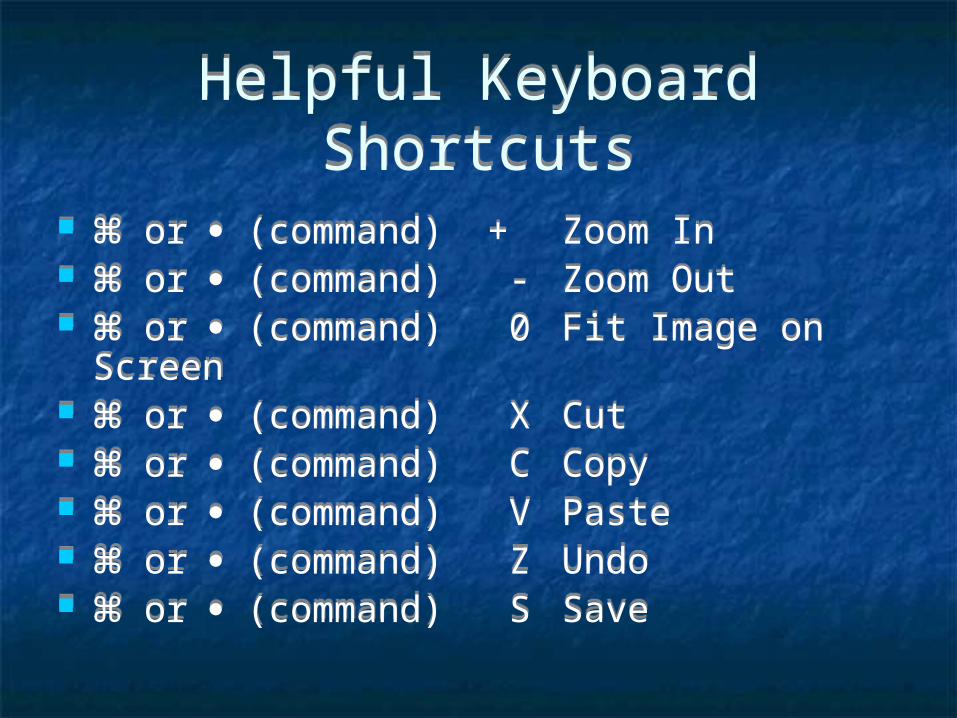
⌘ or (command) + Zoom In ⌘ or (command) - Zoom Out ⌘ or (command) 0 Fit Image on
Screen ⌘ or (command) X Cut ⌘ or (command) C Copy ⌘ or (command) V Paste ⌘ or (command) Z Undo ⌘ or (command) S Save
⌘ or (command) + Zoom In ⌘ or (command) - Zoom Out ⌘ or (command) 0 Fit Image on
Screen ⌘ or (command) X Cut ⌘ or (command) C Copy ⌘ or (command) V Paste ⌘ or (command) Z Undo ⌘ or (command) S Save
Thurs. Sept. 21, 2006Thurs. Sept. 21, 2006
Essential Questions--handout Answer to the best of your ability
We will go over them in class
Essential Questions--handout Answer to the best of your ability
We will go over them in class
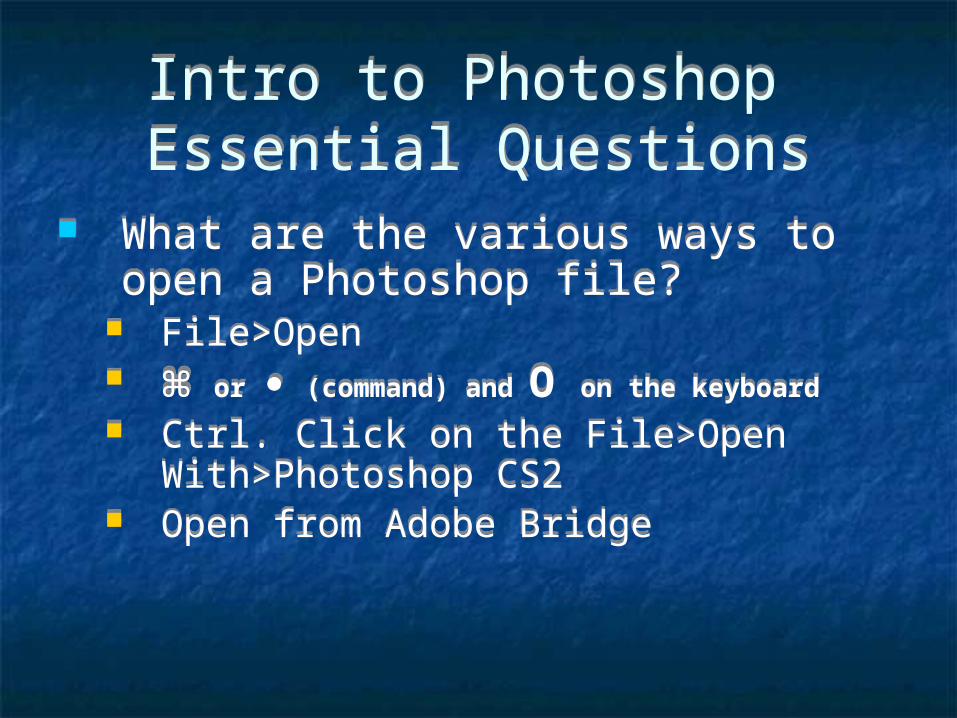
Intro to Photoshop Essential QuestionsIntro to Photoshop Essential Questions
What are the various ways to open a Photoshop file?
File>Open ⌘ or (command) and O on the keyboard
Ctrl. Click on the File>Open With>Photoshop CS2
Open from Adobe Bridge
What are the various ways to open a Photoshop file?
File>Open ⌘ or (command) and O on the keyboard
Ctrl. Click on the File>Open With>Photoshop CS2
Open from Adobe Bridge
What is each section of the workspace and toolbox in Photoshop called? See the Workspace and Toolbox Worksheet!
What is each section of the workspace and toolbox in Photoshop called? See the Workspace and Toolbox Worksheet!
How do you change views? How do you save views? Screen Modes to change the overall arrangement of
workspace, look of workspace, and to block the desktop from showing on the workspace
File Menu>View Menu Set up your own workspace arrangement by moving
and closing palettes, the toolbox, etc. To Save Go to…
File Menu>Window>Workspace>Save Workspace
Sept. 22, 2006Sept. 22, 2006
Digital Photography Unit!!! Bring photos by Monday to be scanned and
fixed (worth 25 points) Take each other’s photo for Wallpaper
project
Digital Photography Unit!!! Bring photos by Monday to be scanned and
fixed (worth 25 points) Take each other’s photo for Wallpaper
project
Digital Photography Essential Questions
Digital Photography Essential Questions
How do you use a digital SLR camera and transfer the pictures onto your computer?
How do you correct imperfections and damage done to a photo using PS and which retouching tools do you use?
How do you correct problems in color quality and tonal range?
How do you correct composition problems using basic tools?
How do you sharpen the overall focus of an image?
Eight Steps to PhotoretouchingEight Steps to Photoretouching
1. Make sure the scan is high quality and that the resolution is appropriate for what it will used.
2. Work on a duplicate of the original file so that it can be recovered if necessary.
3. Crop the image to final size and orientation.
4. Repair flaws in scans of damaged photographs (such as rips, dust, or stains).
Wednesday, October 11, 2006

5. Adjust the overall contrast or tonal range of the image.
6. Remove any color casts.7. Adjust the color and tone in specific parts
of the image to bring out highlights, midtones, shadows, and desaturated colors.
8. Sharpen the overall focus of the image.
5. Adjust the overall contrast or tonal range of the image.
6. Remove any color casts.7. Adjust the color and tone in specific parts
of the image to bring out highlights, midtones, shadows, and desaturated colors.
8. Sharpen the overall focus of the image.
Steps 1 & 2Steps 1 & 2
Resolution refers to the number of pixels that describe an image and give it detail. Pixels are the small squares that make up computer images. Pixel dimensions are the number of pixels along the width and
height of an image (see Google). Resolution guide for scanning…
Scan at a resolution 1.5 to 2 times the resolution needed by the printer to keep the image’s sharpness and detail.
Create a duplicate layer to work on in PS
Thursday, October 12, 2006
Step 3 Cropping Step 3 Cropping
Crop, straighten, and resize the image using the crop tool. Cropping shield is the area that covers the area
outside the cropping selection so you know what is being removed.
Cropping is the elimination of parts of a photograph or other original that are not required to be printed.
Crop, straighten, and resize the image using the crop tool. Cropping shield is the area that covers the area
outside the cropping selection so you know what is being removed.
Cropping is the elimination of parts of a photograph or other original that are not required to be printed.
Step 4Repair the Flaws, Scratches,
etc.
Step 4Repair the Flaws, Scratches,
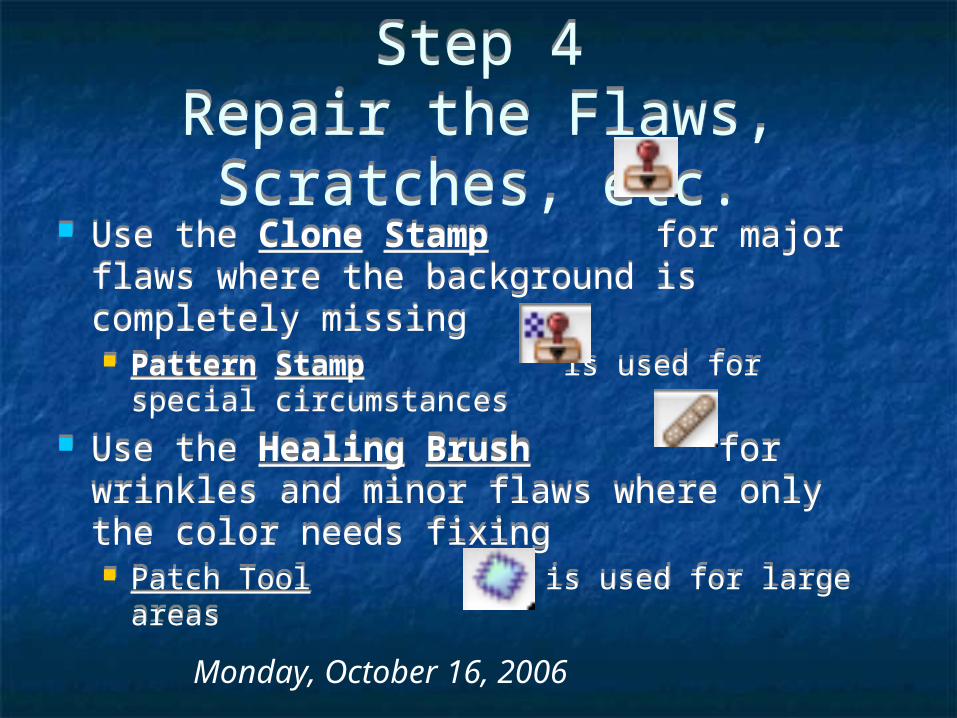
etc. Use the Clone Stamp for major flaws where
the background is completely missing Pattern Stamp is used for special
circumstances Use the Healing Brush for wrinkles and
minor flaws where only the color needs fixing Patch Tool is used for large areas
Use the Clone Stamp for major flaws where the background is completely missing Pattern Stamp is used for special
circumstances Use the Healing Brush for wrinkles and
minor flaws where only the color needs fixing Patch Tool is used for large areas
Monday, October 16, 2006
Step 5 Adjust Contrast & Tonal Range
Step 5 Adjust Contrast & Tonal Range The easiest way is to go to
Image>Adjustments>Auto Contrast More effective way is to go to
Image>Adjustments>Levels to adjust the tonal ranges by hand A Histogram illustrates how pixels in an image
are distributed by graphing the number of pixels at each color intensity level.
The easiest way is to go to Image>Adjustments>Auto Contrast
More effective way is to go to Image>Adjustments>Levels to adjust the tonal ranges by hand A Histogram illustrates how pixels in an image
are distributed by graphing the number of pixels at each color intensity level.
Step 6 Remove a Color Cast Step 6 Remove a Color Cast Choose Image > Adjustments > Match Color. In the Image Statistics area, make sure None is
chosen in the Source menu. To automatically remove a color cast, select the
Neutralize option. To increase or decrease the brightness in the
image, adjust the Luminance slider. To expand or reduce the color pixel values in the
image, adjust the Color Intensity slider.
To control the amount of adjustment applied to the image, adjust the Fade slider.
Choose Image > Adjustments > Match Color. In the Image Statistics area, make sure None is
chosen in the Source menu. To automatically remove a color cast, select the
Neutralize option. To increase or decrease the brightness in the
image, adjust the Luminance slider. To expand or reduce the color pixel values in the
image, adjust the Color Intensity slider.
To control the amount of adjustment applied to the image, adjust the Fade slider.
Step 7…Adjust Highlights, Midtones, Shadows, &
Saturation
Step 7…Adjust Highlights, Midtones, Shadows, &
Saturation Use the Dodge Tool to lighten an area’s
highlights, midtones, or shadows. Use the Burn Tool to darken an area’s
highlights, midtones, or shadows. Use the Sponge Tool to increase or
decrease Color in an area Saturation is the intensity or purity of a particular
color; a color with no saturation is gray.
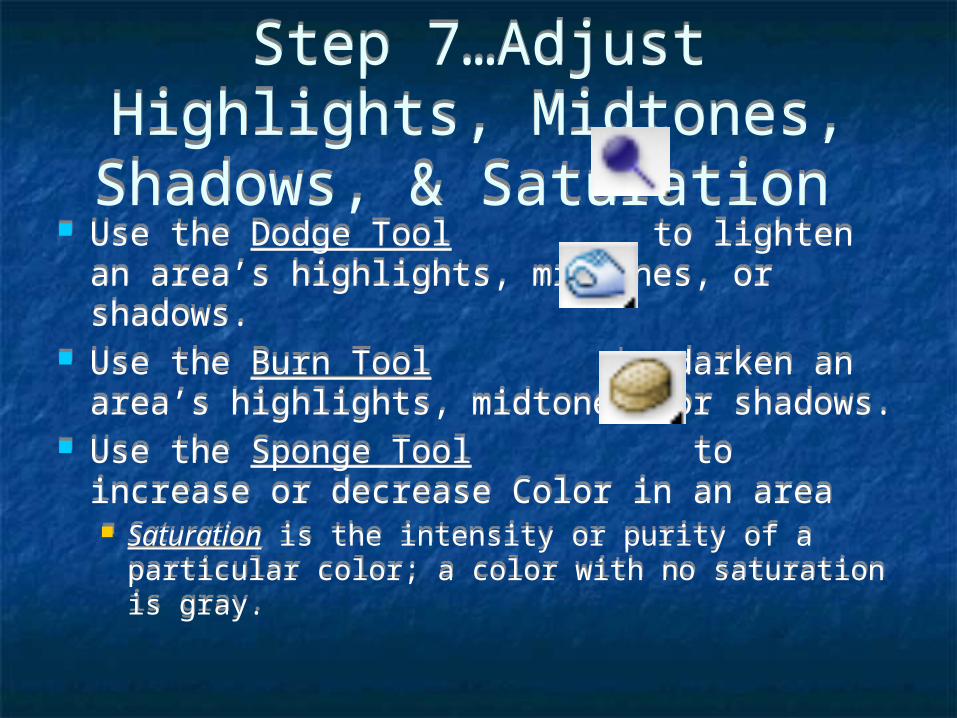
Use the Dodge Tool to lighten an area’s highlights, midtones, or shadows.
Use the Burn Tool to darken an area’s highlights, midtones, or shadows.
Use the Sponge Tool to increase or decrease Color in an area Saturation is the intensity or purity of a particular
color; a color with no saturation is gray.
Step 8 Sharpen the Image Step 8 Sharpen the Image
Create a less blurry image by using the Unsharp Filter Choose Filter > Sharpen > Unsharp Mask.
Drag the Radius slider or enter a value to determine the number of pixels surrounding the edge pixels that affect the sharpening.
Drag the Amount slider or enter a value to determine how much to increase the contrast of pixels.
Drag the Threshold slider or enter a value to determine how different the sharpened pixels must be from the surrounding area.

Digital Photography Part 2Digital Photography Part 2
Essential Questions How do you use layers to create
composite photos? Is there an advantage to using layers?
Explain…. What is a mask? What determines whether you use a
mask or other selection techniques?
Essential Questions How do you use layers to create
composite photos? Is there an advantage to using layers?
Explain…. What is a mask? What determines whether you use a
mask or other selection techniques?Monday, October 23, 2006
Composite PhotoDesktop WallpaperComposite Photo
Desktop Wallpaper Composite Photo is a collection of photos artfully
arranged into a new single photograph A.K.A. photo collage
Create a wallpaper that contains your images you found online Must have a theme Will include a gradient, a filter effect, layer styles, and
text in addition to your images
Composite Photo is a collection of photos artfully arranged into a new single photograph A.K.A. photo collage
Create a wallpaper that contains your images you found online Must have a theme Will include a gradient, a filter effect, layer styles, and
text in addition to your images
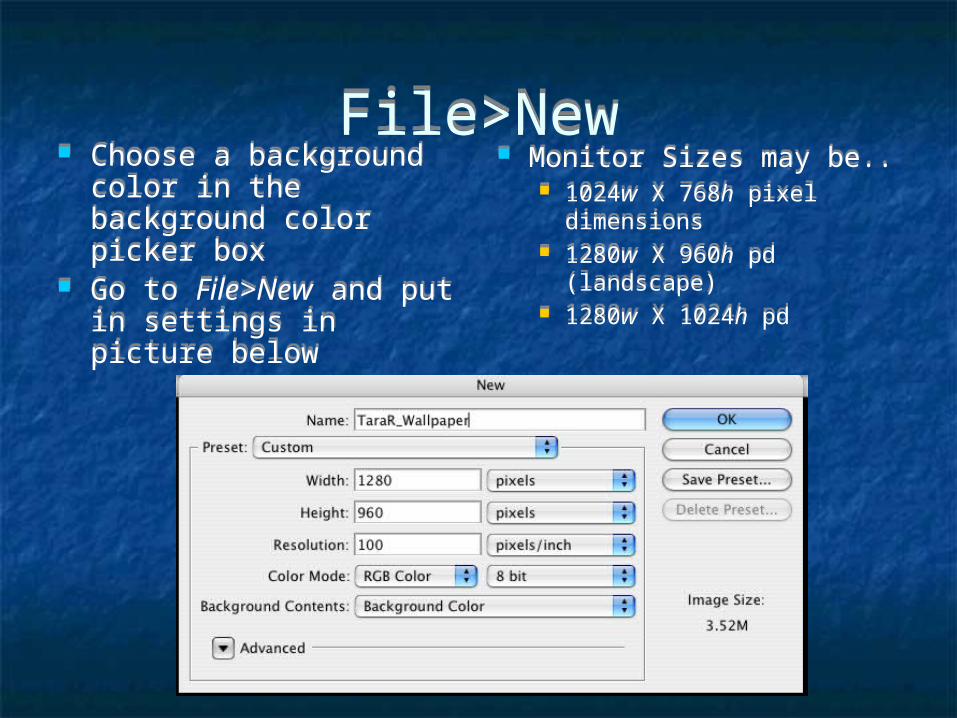
File>NewFile>New Choose a background
color in the background color picker box
Go to File>New and put in settings in picture below
Choose a background color in the background color picker box
Go to File>New and put in settings in picture below
Monitor Sizes may be.. 1024w X 768h pixel
dimensions 1280w X 960h pd
(landscape) 1280w X 1024h pd
Monitor Sizes may be.. 1024w X 768h pixel
dimensions 1280w X 960h pd
(landscape) 1280w X 1024h pd
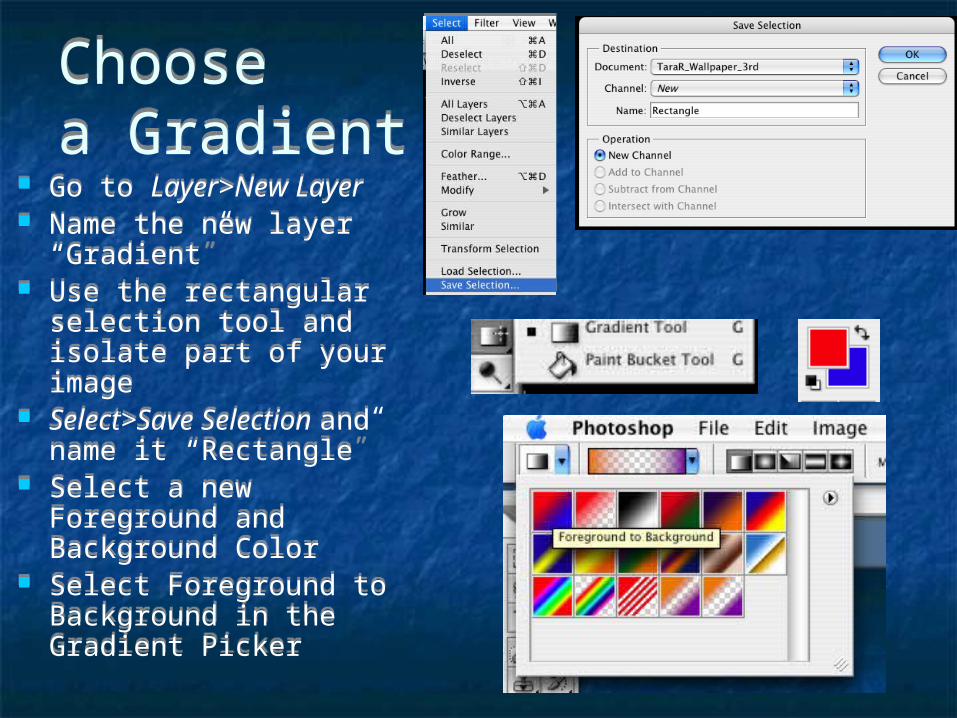
Choosea GradientChoosea Gradient
Go to Layer>New Layer Name the new layer
“Gradient” Use the rectangular
selection tool and isolate part of your image
Select>Save Selection and name it “Rectangle”
Select a new Foreground and Background Color
Select Foreground to Background in the Gradient Picker
Go to Layer>New Layer Name the new layer
“Gradient” Use the rectangular
selection tool and isolate part of your image
Select>Save Selection and name it “Rectangle”
Select a new Foreground and Background Color
Select Foreground to Background in the Gradient Picker

Draw the GradientDraw the Gradient
Choose the shape Gradient you want Drag the gradient inside the selection area
Choose the shape Gradient you want Drag the gradient inside the selection area
Nov. 5 & 8, 2006Nov. 5 & 8, 2006
Vignette Mini-project (handout) Masking an Image Mini-project (verbal
instructions)
Vignette Mini-project (handout) Masking an Image Mini-project (verbal
instructions)
Nov. 13 & 14, 2006Nov. 13 & 14, 2006
QUIZ!!! Complete questions 5 and 6 from the Digital
Photography Essential Questions How do you use layers to create composite
photos? Is there an advantage to using layers? What is a mask? What determines whether you use a mask or other
selection techniques?
QUIZ!!! Complete questions 5 and 6 from the Digital
Photography Essential Questions How do you use layers to create composite
photos? Is there an advantage to using layers? What is a mask? What determines whether you use a mask or other
selection techniques?