Embed Size (px)
Citation preview
Museum Maker Outreach Kit from the Royal BC Museum
What’s in Store?The Museum Maker outreach box was inspired by the Applied Design, Skills and Technology curriculum and Family: Bonds and Belonging, the 2017 feature exhibition by the Royal BC Museum. Students will use the contents of this kit and their design thinking skills to create a classroom exhibition answering one of the following questions: “How are families different? How are they the same?” or “What do you think a family is?”
OverviewYou know your students the best, so it’s really up to you. Included are suggestions for curricular competencies in ideating (K–3, 4–8, 9), making (K–3, 4–8, 9) and sharing (K–3, 4–8, 9).
You can easily address additional competencies by developing your own activities in addition to the suggestions below.
Ideating In this stage students should take risks in gathering ideas and add to others’ ideas in ways that enhance them. They will choose one idea to pursue, keeping other potentially viable ideas in mind.
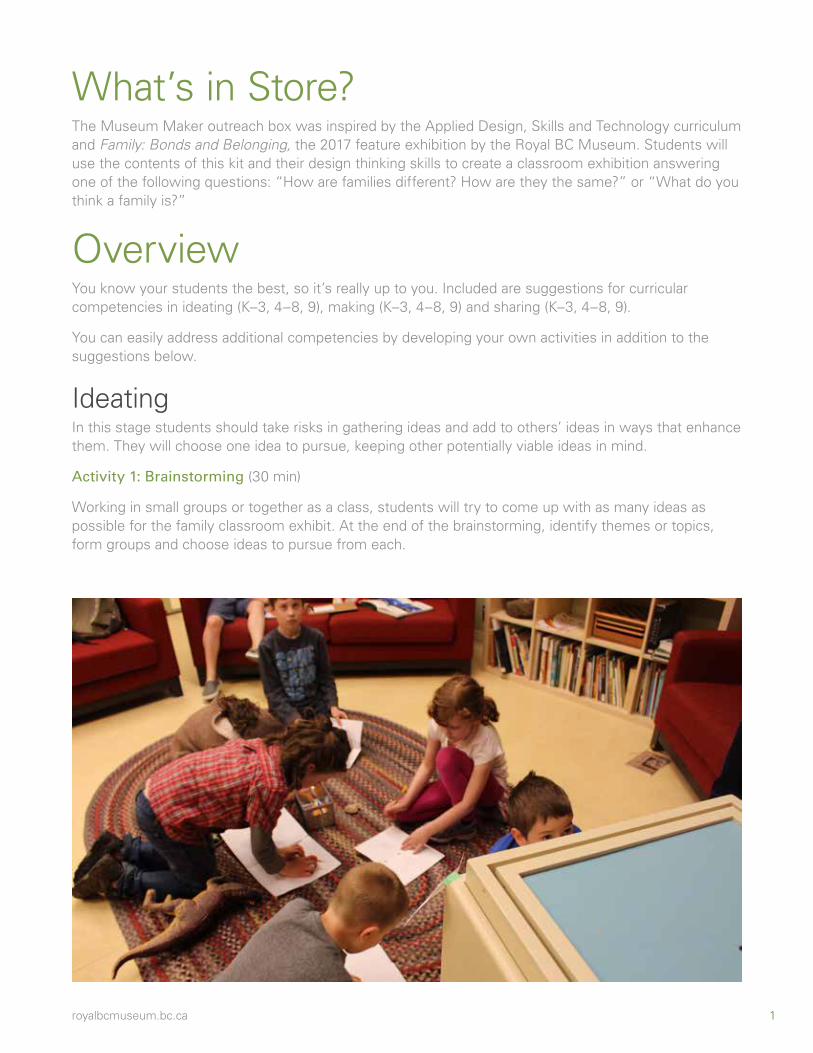
Activity 1: Brainstorming (30 min)
Working in small groups or together as a class, students will try to come up with as many ideas as possible for the family classroom exhibit. At the end of the brainstorming, identify themes or topics, form groups and choose ideas to pursue from each.
1royalbcmuseum.bc.ca

Making Working in groups, students will identify and use appropriate tools, technologies, materials and processes for production. They will design and construct the final product, incorporating planned changes. To be most effective, they should use materials in a way that minimizes waste.
Activity 1: What makes a good display? (30 min)
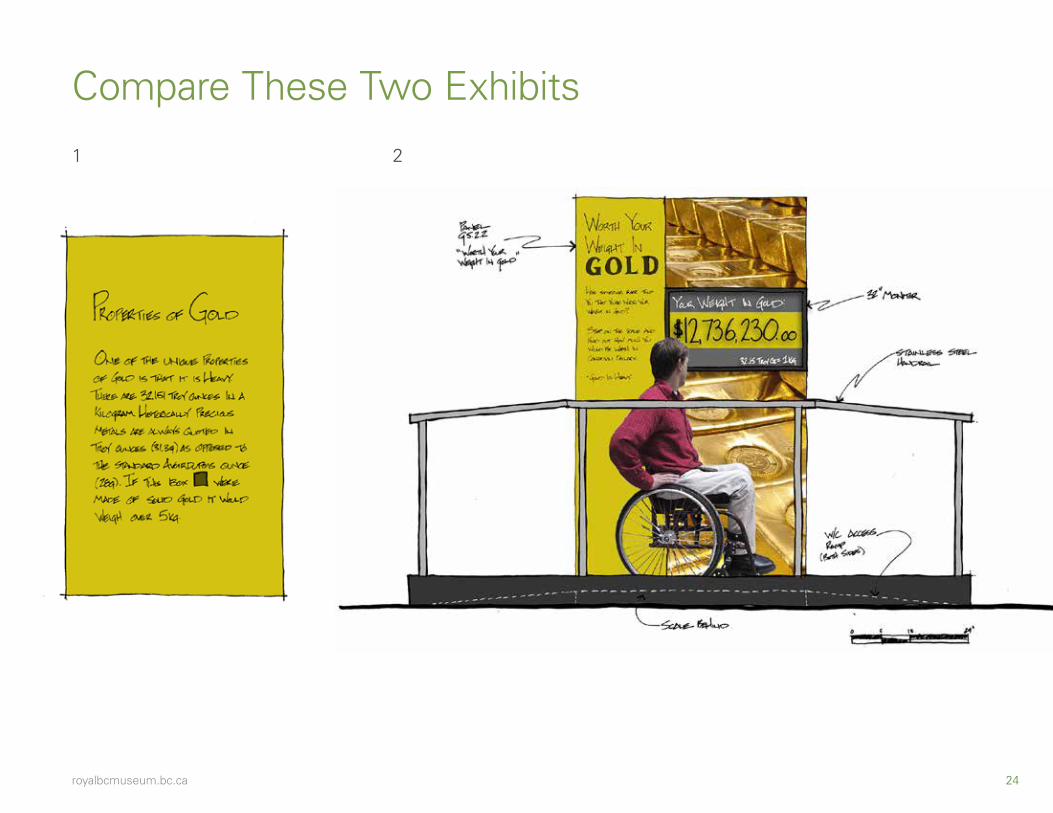
Compare two exhibits (illustrations provided).
Identify what makes one more successful than the others (for example, interactivity, information, or language and presentation).
Develop criteria for your classroom exhibition.
Activity 2: Design (60 min)
Choose team roles using role cards.
Plan your exhibit.
Write your label information using the provided template. Include a title, a subtitle and some body text.
Activity 3: Make (60–80 min)
Use materials in the kit to start building.
SharingIn this final stage, students will decide on how and with whom to share their product and processes. They will critically evaluate the success of their product and explain their design ideas. As part of the evaluation they will identify new design issues.
Activity 1: Sharing their exhibition with others (60 min)
For 6 to 9: Students will create posters and/or other advertising material to advertise their exhibition to visitors.
For K to 5: Students will invite visitors to come and see their exhibition. When visitors come the students can role-play different jobs at the museum.
Activity 2: Evaluate (30 min)
Evaluation encourages ongoing growth and is an opportunity for students to reflect on their learning.
• Hand out copies of the self-reflection questionnaire. Students should fill this out from their personal experience. There are two versions of the questionnaire: one for 6 to 9 and one for K to 5.
• Ask students to share some of their self-reflections. Share some of your own.
• Introduce students to peer evaluation.
• Conduct peer evaluation.
2royalbcmuseum.bc.ca
Ideating Activity 1: Brainstorming(Estimated time: 30 minutes)
MaterialsPaper for individuals/groups to make notes and to record final lists
About IdeatingIdeating is essentially brainstorming. By listening to one another and building on one another’s suggestions, groups can come up with many more ideas than if the students had worked by themselves. There is no judgement at this stage, and wild ideas are welcome. Give students a time limit and encourage them to be active and engaged.
What Is the Educational Purpose of Ideating?Ideating helps students to think creatively, to listen to others and to work cooperatively.
In-Class ActivityThe goal of this activity is to have students come up with an idea for a classroom exhibit about families. Students will try to answer one of two questions: either “How are families the same and how are they different?” or “What is a family?” For younger classes, take the time to break down the questions into student-friendly language so everyone has a clear understanding of the task.
Younger grades can do this as a large group, facilitated by the teacher; older grades can work independently in small groups.
• If working as one large group, have the students think, pair and share. If conducting small group work, have students think first and then form small groups to pair and share.
• Give students 15 minutes and challenge them to come up with as many ideas as possible (adjust the time as needed for your class’s age and ability).
• Don’t judge the ideas at this stage—just get as many as you can.
• Encourage students to build on one another’s ideas. Turn it into a game by playing “Yes, and…”: after every idea the next person should say, “Yes, and…”, then add a follow-up suggestion or idea.
• Record all the ideas in some way. You could list the ideas on the whiteboard, write them on Post-it Notes, make drawings or use the placemat method, where each group gets a big sheet of paper separated into sections (one section per student plus a space in the middle where ideas can connect and grow).
Once the time is up, it’s time to narrow down the ideas to the ones students want to pursue.
• Facilitate a discussion around themes emerging. Refer back to your overarching question to make sure the students are on track.
• Discuss which themes resonate with the students.
Each group should choose one or two ideas related to the overarching question to follow up on.
• Once they have identified one or two ideas, students should think about objects that might
3royalbcmuseum.bc.ca
represent their themes. These could be artworks, photographs or items from home. The availability and ideas for objects may help them make their final choice for their exhibit.
DebriefOnce groups have chosen ideas to pursue, ask them:
• Did anyone’s favourite idea get left out? If the answer is yes, can these ideas somehow be incorporated into the ideas that were selected?
• Think about the ideas selected. Has anything been left out? (Whose family might be missing?)
• What did that process feel like? If we did it again, how could we change it to make sure everyone felt heard, or to make it more fun?
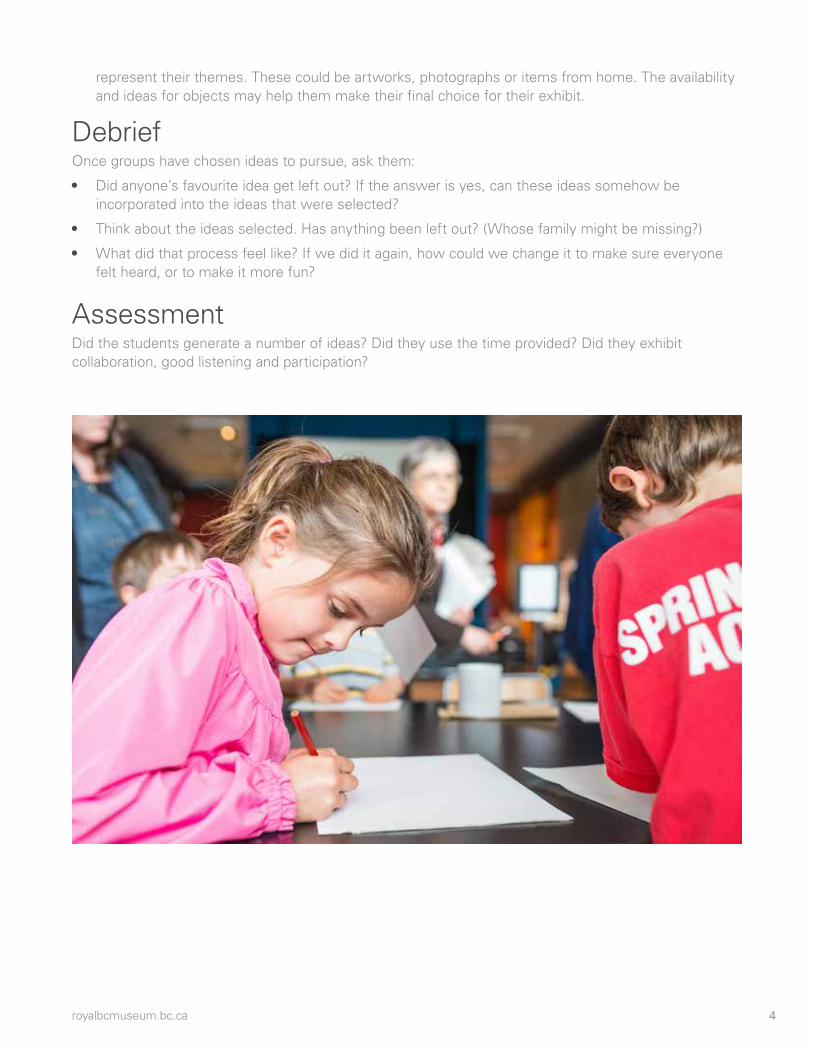
AssessmentDid the students generate a number of ideas? Did they use the time provided? Did they exhibit collaboration, good listening and participation?
4royalbcmuseum.bc.ca
Making Activity 1: What Makes a Good Display?(Estimated time: up to one full class)
MaterialsExample of two exhibits (provided)
About Good DisplaysA good display should convey information, use language the visitor can understand and have something interesting to say. The display should include images, objects and an invitation for the visitor to do something, such as to think further or take an action.
In-Class ActivityStudents will identify elements of good displays by comparing two examples and coming up with some criteria for what makes a good display.
Activity 1: Elements of a Good Display (30 minutes)What makes a successful display? Museums have been asking themselves this question for a long time. Here are three key questions to consider:
• Is it educational and informative? (Does it contain information? Is there a theme?)
• Is it meaningful to the intended audience? (Is the language appropriate for the age group? Is the spelling and grammar correct?)
• Is it interesting and engaging? (Is there something that catches your attention, something to do or something to think about?)
Discuss Have the students address the questions below. You can conduct this as a class discussion, or have the students think, pair and share. Think of the last time you visited a museum. What was your favourite exhibit? Why?
• Think about the last time you visited a theme park or fair. What was your favourite part? Why?
• Have you ever visited a museum with interactive exhibits? What were the advantages and disadvantages to them?
• Who might have difficulty experiencing a traditional museum? (For example, think about visitors who are disabled, visitors who are too young to read or visitors who speak different languages).
Hand Out and AskHand out or show copies of two exhibits (provided). Ask students to compare the exhibits.
• What is each exhibit about?
• Which one is more interesting? Why?
5royalbcmuseum.bc.ca
• Which one looks like more fun? Why?
• If we were going to write some rules about what makes a good exhibit based on this example, what would the rules be? Is there anything else we should add?
DebriefSuccessful exhibits should convey information, be easy to understand and have something for the visitor to do or think about. Think about your project. What can you do to bring it to life? (For example, add sound, light, objects, movement, etc.). Try to keep the text short but interesting.
AssessmentDid the students contribute criteria for good displays? Did they identify potential users or audiences? Did they consider all the senses?
6royalbcmuseum.bc.ca

Making Activity 2: Designing (Estimated time: one full class, or as much time as you need)
MaterialsMaterials in outreach kit
Role play cards (provided in the kit)
By the end of this activity, groups should have identified and be able to source a main object for their exhibit.
About MakingMaking can be simple or sophisticated. It doesn’t require fancy materials. It provides hands-on learning and an opportunity to invent, discover and build.
What Is the Educational Purpose of Making?Making helps students learn to think critically and problem-solve.
In-Class ActivityUsing the elements of good displays discussed earlier, students design and build their classroom exhibit. They can use the materials in the Museum Maker kit, a feature object (from home or elsewhere) and any additional materials identified. They should ask themselves: Can I make it? What tools and supplies do I need? What help do I need? Who can help? In this activity, you have the option of assigning students different roles in their teams. The intention is to encourage each member of the group to take a lead on a specific element of their project.
Activity 2: Design (60 minutes)Your team should have a theme and an object identified for your exhibit. Now you have to make a display. Before you start building, you need a good plan to make sure you use materials and time wisely. In this activity, we are going to assign roles and divide tasks. Don’t worry, it will be fun!
• Hand out role cards with job descriptions (included in kit). If a group contains five or more students, use all the cards. If there are four students in a group, remove the Conservation card. If there are three students in each group, use only the Exhibit Designers, Curators, and Learning and Public Programs cards.
• You can assign these or distribute them randomly. Each team member takes the lead in the activity on their card, but all team members are involved in every activity.
• Review the cards to ensure students understand their jobs and what they are responsible for. .
• Exhibit Designers: Your skill is style. You are concerned with how the exhibit looks and how it works. Your job is to mock up or sketch your display and create lists of materials needed (a list of materials in the outreach kit is provided).
• Curators: Your skill is storytelling. Your aim is to identify powerful objects, create storylines and relay information. Your job is to write an exhibition label (a template is provided). If your team hasn’t decided on at least one object or photograph for your exhibit, you must make the final decision.
7royalbcmuseum.bc.ca

• Learning and Public Programs: Your skill is creativity. Your focus is on creating opportunities for visitors to engage with the exhibition. Your job is to think about the needs of your visitor, to come up with something for them to do and to engage more than one of the their senses
• Marketing and Communication: Your skill is hype. Your goal is to generate buzz and create interest in seeing the exhibition. Your job is to work with the curator to write the title and subtitle for your exhibit, and to come up with a hashtag to promote it. When it is finished you should photograph the exhibit. (Note to teacher: if this card is not used in your group, the curator should take on the job of writing the title and subtitle.)
• Conservation: Your skill is protection. Your role is focused on the safety of the object(s). Your job is to talk with the exhibit designers and to work out how you will display the object your team selected for your exhibit. Keep in mind that the object has to be displayed safely so that it won’t fall down or get damaged. You must also write the object label (a template is provided). (Note to teacher: if this card is not used in your group, the exhibit designers must consider the safety of the object in their design and the curator should write the object label.)
After assigning roles, it’s time to get to work. By the end of this activity each group should have at least one object identified for their exhibit, developed a design for their exhibit, written an exhibition label, title and subtitle, and planned an activity.
DebriefOnce students have completed the process, ask them:
• What was something you liked about your role on the team?
• Was there a role that you think was missing?
• Ask students to share some of the ideas their teams have come up with at this stage.
• Confirm that students have a concept of what they are going to build and a list of what they need. Have they identified any materials not included in the kit? They should also have a text panel drafted and an idea for a visitor activity.
AssessmentDid students take the lead in their assigned roles and participate in the different elements of the activity? Did students make a complete list of materials that they need? Have they drafted a text panel that includes a title, subtitle and body?
8royalbcmuseum.bc.ca
Making Activity 3: Making(Estimated time: 60–80 minutes)
MaterialsMaterials in outreach kit
Additional supplies as identified by each group
Each group should have selected and sourced at least one object
Role cards (provided in the kit)
About MakingMaking can be simple or sophisticated. It doesn’t require fancy materials. It provides hands-on learning and an opportunity to invent, discover and build.
What Is the Educational Purpose of Making?Making helps students to think critically and problem-solve.
In-Class ActivityStudents will use the materials in the Museum Maker kit and any additional materials identified to build their exhibits.
Activity 3: Build (60–80 minutes)
Students should have provided a list of extra materials that they need. These may include objects from home (each display should have at least one object).
• Remind students of their roles.
• Tell teams to start constructing their final project. Put a time limit of around 45 minutes on this activity. Provide them with a regular countdown during this phase.
• Once the time is up each team must stop.
Ask all the exhibit designers and conservators (if using) to form a new group.
• The exhibit designers’ job is to come up with a plan for how these individual exhibits will go together to form one exhibition in the room. The conservators (if using) will be responsible for moving the exhibits to their new locations. Give them a time limit of ten minutes.
Ask all the curators to form a new group.
• Their job is to come up with an overall title (five minutes) and an introductory panel (five minutes) for the exhibition.
Ask all the learning and public programmers to form a new group.
• Their job is to come up with a tour of the exhibit for when the visitors arrive. They should also come up with a plan to welcome visitors and give a short introduction to what they will see (ten minutes).
(If using) Ask the marketing and communications people to form a new group.
• Their job is to document the new exhibition. They could use photographs, video or social media.
9royalbcmuseum.bc.ca
DebriefOnce groups have completed the tasks, ask them:
• Was there something you wanted to do that you just weren’t able to accomplish? Why not?
• Looking at your design now, are there things that you would change?
• What was it like when you changed groups? Was the time limit too short or too long?
AssessmentDid the students use the correct tools, techniques and materials? Did they build on their process? Does the final product show thought and good construction? Did they minimize waste and incorporate recycled materials? Did they embrace their roles and take some leadership?
10royalbcmuseum.bc.ca

Sharing Activity 1: Advertise the Overall Exhibition (For Grades 6 to 9)(Estimated time: up to one full class)
Materials• Advertisement examples (provided at the end of this lesson plan)
• Craft materials for poster advertisement
• Recording devices for radio or television advertisement (optional)
About Advertising Your ExhibitAfter your students have designed their museum exhibit, they will need to advertise it to ensure that visitors arrive. Use this activity to guide your students through the creation of an advertisement using the steps of the design process. Use the work your students create to entice family members and other classes to visit your students’ exhibition!
The Applied Design, Skills and Technologies framework emphasizes that students understand who their target audience is whenever creating a product. Thinking about target audience in terms of demographics and interest will help students develop an exhibit that is appealing to their visitors. The importance of audience should be stressed throughout this process.
What Is the Educational Purpose of Sharing?• Sharing allows students to develop perspective-taking skills by encouraging them to consider
audience perspective.
• It develops communication skills as students must clearly articulate their argument despite constraints such as time and space.
VocabularyTarget audience: the specific group of people whom you intend to persuade with your advertisement, usually a target demographic.
Demographic: a category of people defined by characteristics that may involve age, cultural background, gender, level of education, etc.
PreparationFamiliarize yourself with the design process steps included in the Applied Design, Skills and Technologies curriculum, including Understanding Context, Defining, Ideating, Prototyping, Testing, Making and Sharing
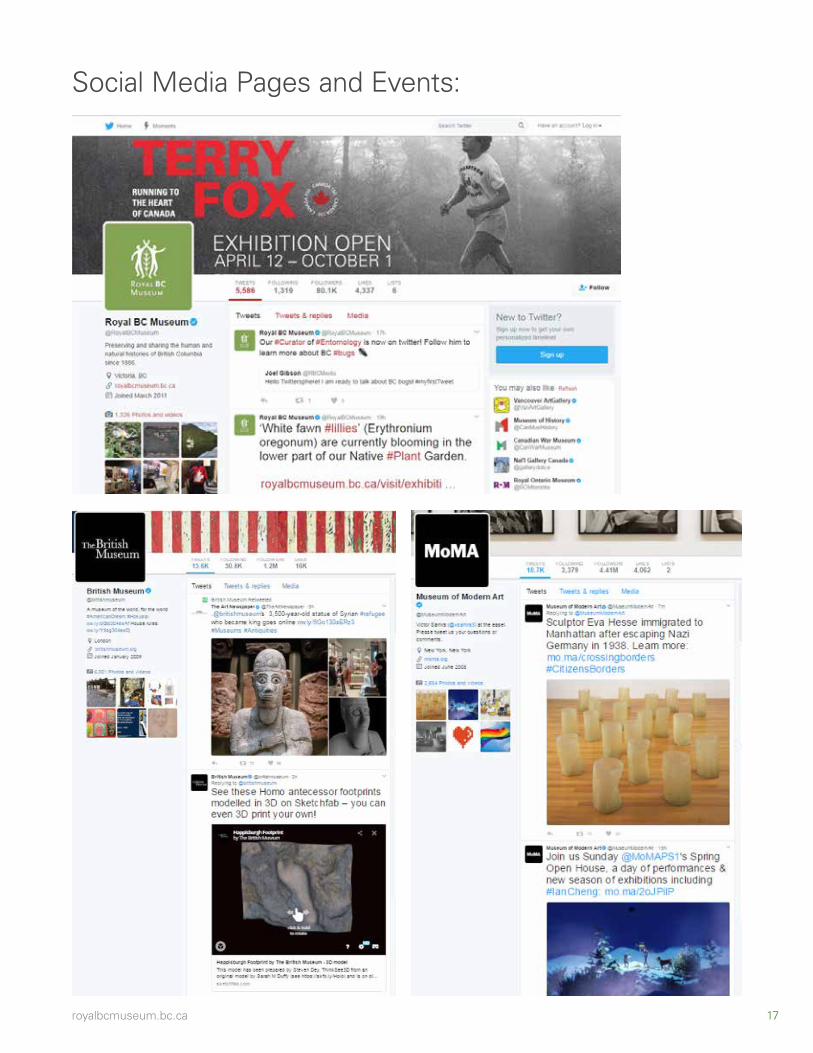
Show your class the museum advertisement inspiration included at the end of this lesson guide. Before your students create their own advertisements, ask them:
• What do you first notice about the advertisement?
11royalbcmuseum.bc.ca
• Can you find the date and location of the exhibition or event on the poster?
• What other important information can you gather from this advertisement?
• Is any important information missing?
• How does the advertisement try to convince the public to visit the exhibit?
• What is the target demographic of this advertisement? How do you know?
• How are colours, words and images used in the advertisement to persuade the public to visit?
In-Class ActivityBreak your class into their exhibition groups. Explain to students that they will be creating an advertisement to entice visitors to come and see their museum exhibits. Provide the following step-by-step instructions to your students to help them follow the design process.
Step 1: Understanding Context and Defining Title your exhibition and define the focus
• Decide on the most important ‘big ideas’ that you want your audience to gather from the exhibition. These should be the inspiration for your advertisement.
• Create a title that encapsulates the idea(s) that you want visitors to walk away from your exhibition with.
• How can you tell the public what your exhibition is about while also maintaining some mystery?
• Select a target audience
• What audience would be most interested in visiting your exhibit? Narrow your audience by thinking about gender, age, occupation and more.
• What do you already know about the preferences of that target demographic? What products do they buy? What recreational activities do they enjoy? What are their major interests?
• You may choose to target your advertisement towards an unlikely visitor to diversify your audience.
• Create a profile of your typical visitor (or visitors) to refer back to throughout the design process. Include their age, gender, occupation, location, interests and more.
Step 2: IdeatingCreate a mind-map
• Brainstorm an effective way to appeal to the public.
• Will a catchy, memorable slogan appeal to visitors?
• Which images or symbols best represent your exhibit?
• What feelings should you attempt to evoke in the advertisement’s audience? Will emotions such as excitement, happiness or fear be most effective?
Choose a medium
• Will a poster, radio advertisement or television commercial best represent your exhibit?
• Which type of advertisement will reach your ideal audience?
• Which type of advertisement will reach the largest audience?
12royalbcmuseum.bc.ca
Step 3: Prototyping and TestingCreate a draft
• Create either a draft of a poster or a script for a radio/television advertisement.
• Make this prototype as detailed as possible, describing the tone of voice, gestures, colours and/or images that will be used in the final product.
Test your prototype
• Write a list of questions to ensure you gather useful feedback.
• Share your work with another group to gather constructive feedback from your audience.
• Choose an appropriate method of gathering feedback. Try a feedback form, an informal interview or another method of your group’s choosing.
Incorporate social media
• Create a Facebook event page, a Twitter feed or an Instagram account to further the reach of your advertisement.
• Choose a social media platform based on the target demographic that you have already identified. Consider which platform your audience is most likely to use.
Step 4: Making and SharingCreate a final draft
• Share your advertisement with classmates and visitors in a creative and engaging way.
DebriefAfter your students have shared their advertisements, discuss the process.
Ask
• Which advertisements were the most engaging? Why?
• Why did you select your particular target audience?
• How did brainstorming with other groups alter your initial ideas?
• Which steps of the assignment do you think most informed your final product?
Museum Advertisement Inspiration: Exhibition Commercial Examples:
Visit the links below to watch television advertisements for museum exhibits.
• Super Awesome: Art and Giant Robot (Oakland Museum of California) https://youtu.be/1vpADRL_vX4
• Dinosaurs: Ancient Fossils, New Discoveries (Royal BC Museum) https://www.youtube.com/watch?v=0GU4QE-g63E
• Gecko: Pretty, Weird (Children’s Museum of Indianapolis) https://www.youtube.com/watch?v=raybqg8W0Ig
13royalbcmuseum.bc.ca
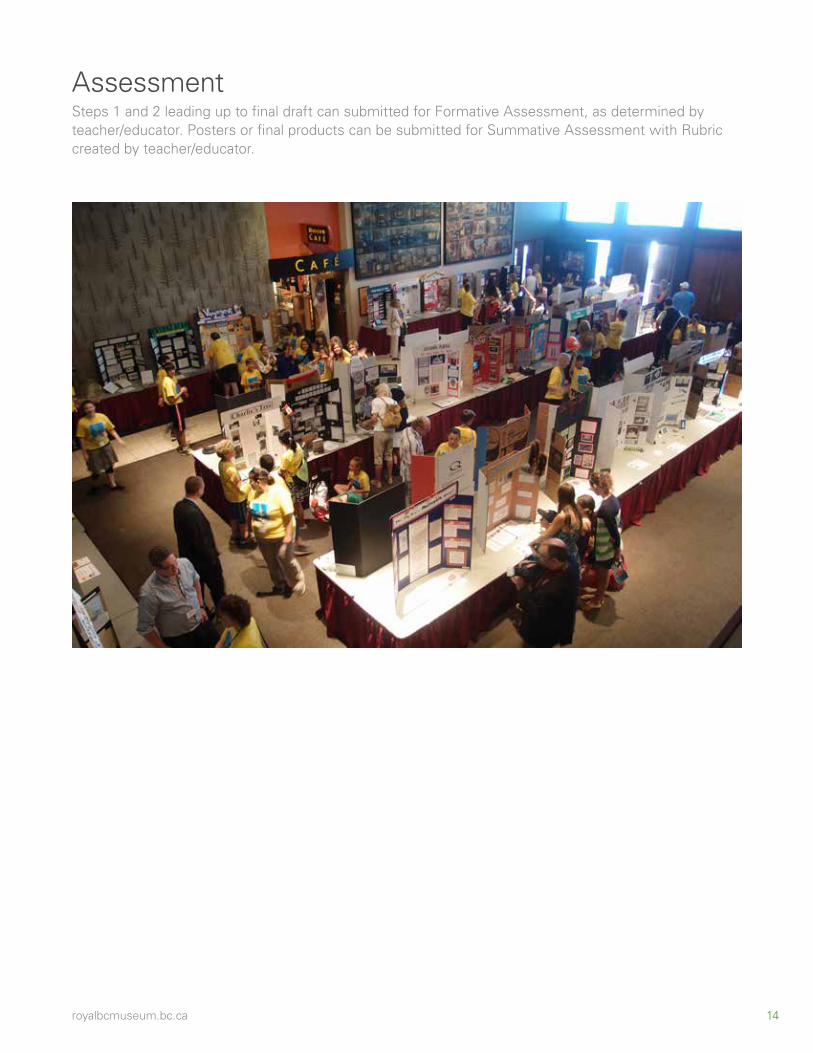
AssessmentSteps 1 and 2 leading up to final draft can submitted for Formative Assessment, as determined by teacher/educator. Posters or final products can be submitted for Summative Assessment with Rubric created by teacher/educator.
14royalbcmuseum.bc.ca
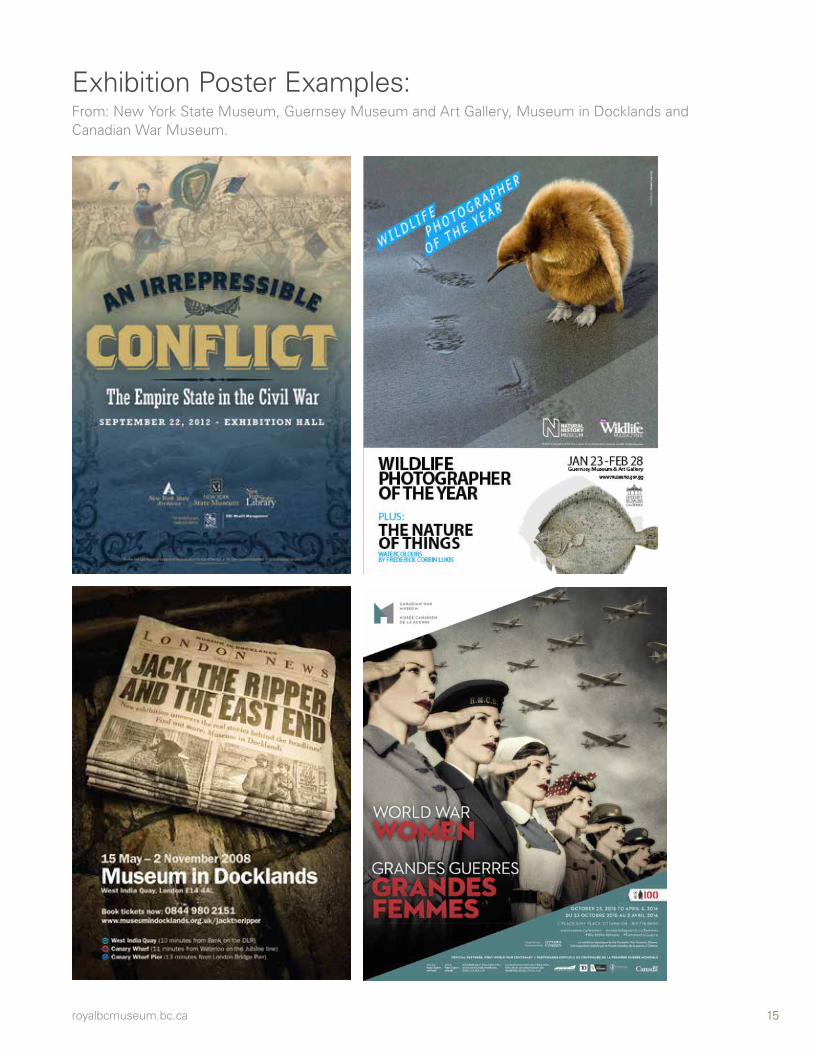
Exhibition Poster Examples:From: New York State Museum, Guernsey Museum and Art Gallery, Museum in Docklands and Canadian War Museum.
15royalbcmuseum.bc.ca
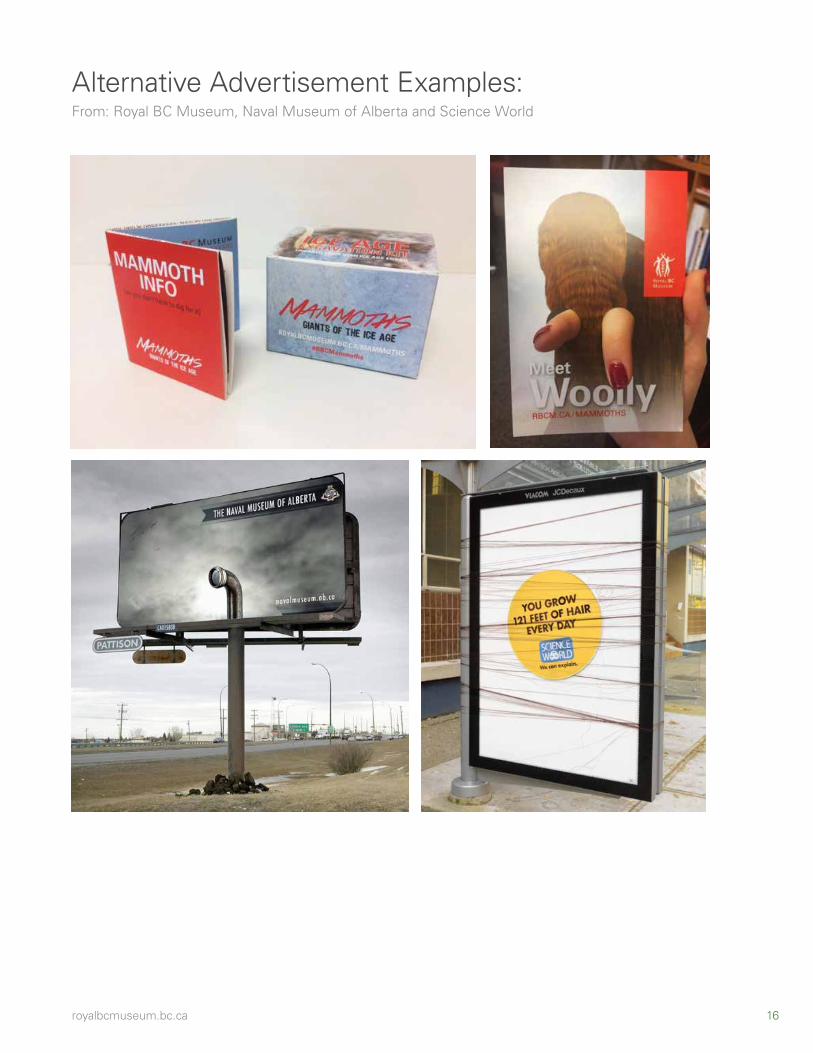
Alternative Advertisement Examples:From: Royal BC Museum, Naval Museum of Alberta and Science World
16royalbcmuseum.bc.ca
Sharing Activity 1 (For Grades K – 5)(Estimated time: up to one full class)
Materials• Craft materials for poster advertisement and tickets
About SharingSharing your product and your process is an important part of learning. Sharing encourages ongoing growth, provides insight on how to make improvements and ensures accountability.
What Is the Educational Purpose of Sharing?This is the chance for students to demonstrate their final product, tell the story of how they got there and to evaluate whether the design ideas contribute to the overall classroom exhibition.
In-Class ActivityStudents will invite visitors (perhaps their families, other classes or a local seniors’ centre) to see their exhibit. After hosting visitors at their exhibition, students will evaluate their exhibits and identify design issues.
Session 1The role of a museum is not only to collect and research, but also to share collections and information with an audience. An audience’s reaction and use of the exhibition can identify problems and challenges that need to be addressed in future exhibition and interpretive planning.
• Students should identify who they want to see their exhibition (did they identify an audience earlier on in the planning? If they did, they should target that group).
• Decide on the best way of inviting the audience. Possibilities include putting up posters, sending personal invitations and handing out tickets.
• Select a date and invite your audience.
• Select roles for different students to play during the visit. The students can brainstorm different roles at the museum. Jobs might include ticket takers, security guards, tour guides and cleaners.
• When your audience arrives, watch how they interact with your exhibition. Do they know where to start? Do they follow a specific path? Do they miss anything? Do they read, try the interactives or ask questions?
• Thank your visitors for coming.
DebriefAfter visitors have been to the museum, ask your students:
• What roles did they play during the visit? What did they like about their jobs? What would they like to do next time?
• Do they think the visitors liked their exhibition? What did they see that makes them say that?
18royalbcmuseum.bc.ca
• If they were doing this again tomorrow, what would they do differently? What would they do the same?
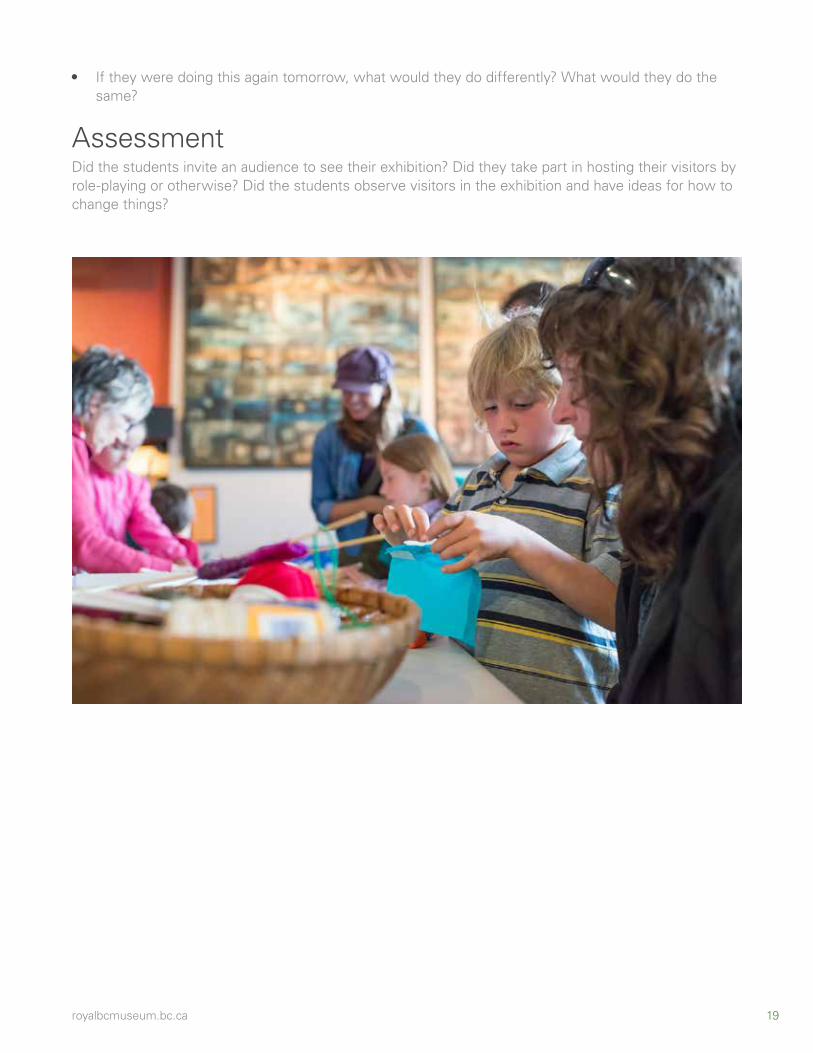
AssessmentDid the students invite an audience to see their exhibition? Did they take part in hosting their visitors by role-playing or otherwise? Did the students observe visitors in the exhibition and have ideas for how to change things?
19royalbcmuseum.bc.ca
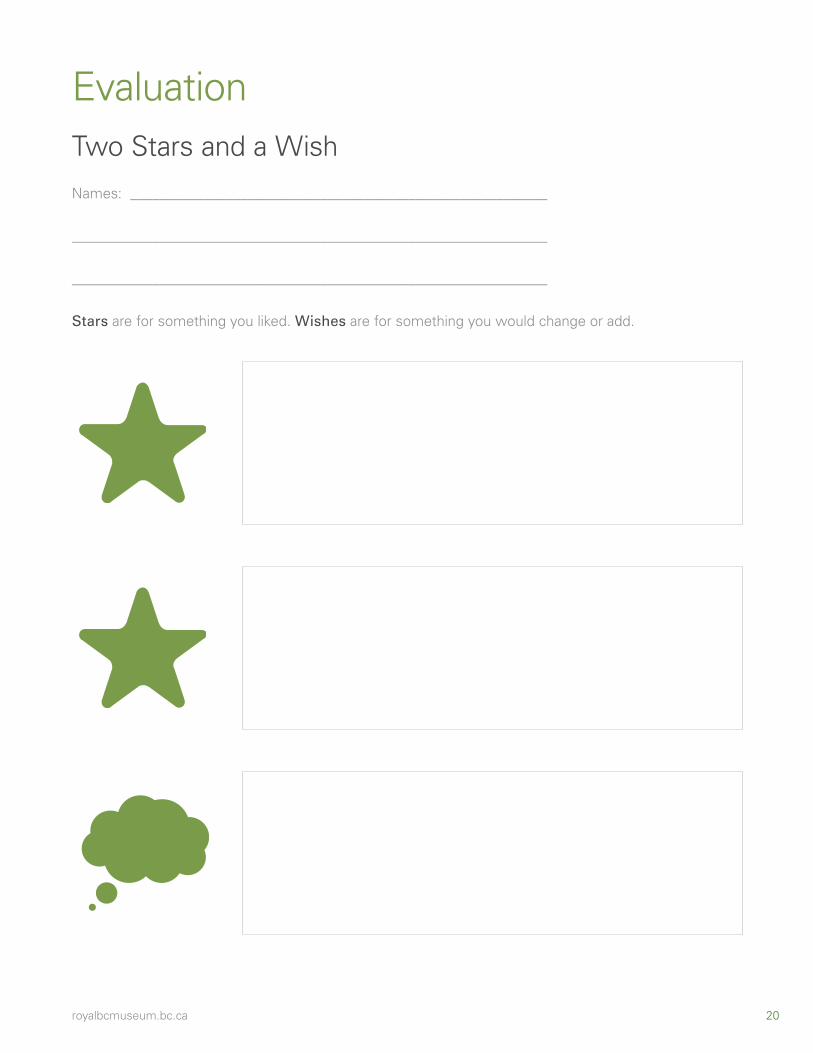
Two Stars and a Wish
Names: _________________________________________________________
_________________________________________________________________
_________________________________________________________________
Stars are for something you liked. Wishes are for something you would change or add.
Evaluation
20royalbcmuseum.bc.ca
Sharing Activity 2: Evaluate (For Grades 6 to 9)(Estimated time: Up to 30 minutes or longer if desired)
MaterialsSelf-reflection worksheets (provided)
About Peer EvaluationPeer evaluation involves students giving one another feedback, not grades. For a smoother process, provide the students with criteria—or, even better, have the students come up with criteria themselves. Students should provide one another with feedback on something they liked, something that they didn’t understand or are unsure about and suggestions on how to improve. A useful visible learning organizer is the ladder of feedback. You can learn about the ladder of feedback, and download a template, at Project Zero. If this is your students’ first time with peer evaluation they may need a good deal of guidance and instruction. Provide examples by modelling the behaviour and check their feedback.
In-Class ActivityEvaluation encourages ongoing growth and is an opportunity for students to reflect on their learning.
• Hand out copies of the self-evaluation form. Students should fill this out from their personal experience. Ask students to share some of their self-reflections. Share some of your own.
• Introduce students to peer evaluation.
• Hand out or discuss criteria for evaluation.
• Break students into groups of two or four for peer evaluation.
• Monitor their feedback.
• Provide feedback to the class.
DebriefAfter the self-reflection ask students:
• Which of these questions were hardest to answer?
• Would anyone like to share some of their strengths?
• Would anyone like to share ideas to improve?
After the peer evaluation stage ask:
• Did you feel comfortable or awkward doing peer assessment? Why?
As the teacher, share some of your own evaluations.
AssessmentDid the students complete their self-assessment and peer-evaluation? Compare your feedback with the students to ensure alignment. Can the student’s suggestions be used to make improvements?
21royalbcmuseum.bc.ca

Self-Evaluation Form Name: ________________________________
Date: _________________________________
Please rate your response to the following statements
4= Never 3= Sometimes 2= Most of the time 1= Always
During the ideating/ brainstorming phase:
4 3 2 1 I offered ideas
4 3 2 1 I built on the ideas of others
4 3 2 1 I didn’t judge others
During the Making phase:
4 3 2 1 I made the exhibit interactive
4 3 2 1 I shared information
4 3 2 1 I used/ wrote in language that was easy to understand
4 3 2 1 I didn’t waste material
Additional materials or research that would help me make a better exhibit:
___________________________________________________________________________________________
___________________________________________________________________________________________
___________________________________________________________________________________________
My strengths on the team are:
___________________________________________________________________________________________
___________________________________________________________________________________________
___________________________________________________________________________________________
___________________________________________________________________________________________
Two things I can improve the next time I participate in a similar activity:
1. ________________________________________________________________________________________
2. ________________________________________________________________________________________
22royalbcmuseum.bc.ca
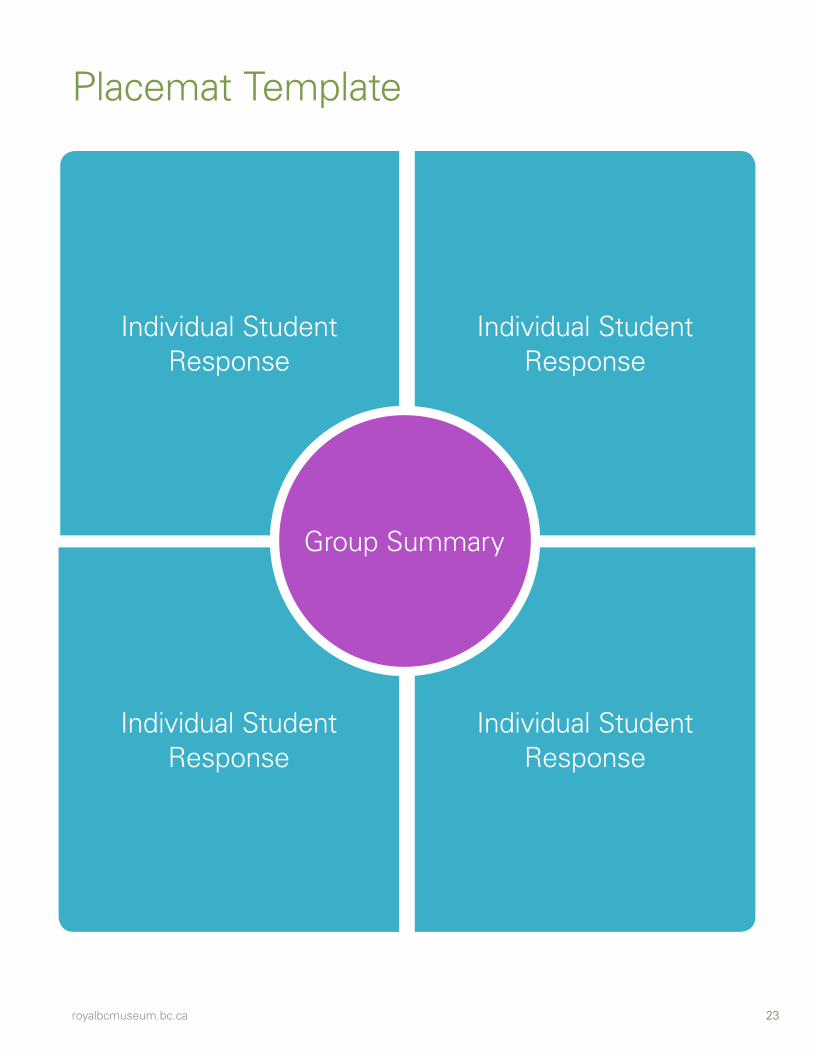
Individual Student Response
Individual Student Response
Individual Student Response
Individual Student Response
Group Summary
Placemat Template
23royalbcmuseum.bc.ca

Curator Team Task: Write an Exhibition LabelAbout Exhibition LabelsVisitors to museums—and classroom exhibits—don’t want to read a book on a wall. They want to know what they are looking at, but they also want more than just facts. Exhibition labels should have a title, a subtitle and then 50 to 70 words of text. Ideas should be expressed in short paragraphs or bullet points. Key ideas can be bolded or italicized. For more juicy ideas, look at these examples from the American Alliance of Museum’s Excellence in Exhibition Label Writing Competition.
Step 1: Write a title(If there are marketing and communications specialists on your team, they will work with you with this task), A title will grab your visitors’ attention and tell them what your topic is. . For example, an exhibition on gold might simply be titled Gold!
Step 2: Write a Subtitle(If there are marketing and communications specialists on your team, they will work with you with this task). A subtitle expresses the main thing you want your visitor to know. Imagine someone who is busy or tired—this might be all that they read. What do you want them to know about your exhibition? A subtitle for an exhibition on gold, for example, might be “the search for gold changed the world”.
Step 3: Write the Body: (50–70 words)This is the story you want to tell. Start with what people see and then tell them something about it. Like a story, it can have a beginning, a message and an end. Try to use short paragraphs and bullet points to get your ideas across. Take a look at the example below to see title, subtitle and body put together.
Once you are happy with what you have written, copy it over to the template.
Gold!The search for gold changed the world
Gold rushes drove exploration, conquest and colonization. In British Columbia, First Nations played a key role in the search for gold, as did immigrants from China and other countries. Desire for gold and for a better life created a colony and then shaped it into a province. Even today, gold sparks new stories, shaping the land. Gold affects your life just as it did so many others.
25royalbcmuseum.bc.ca
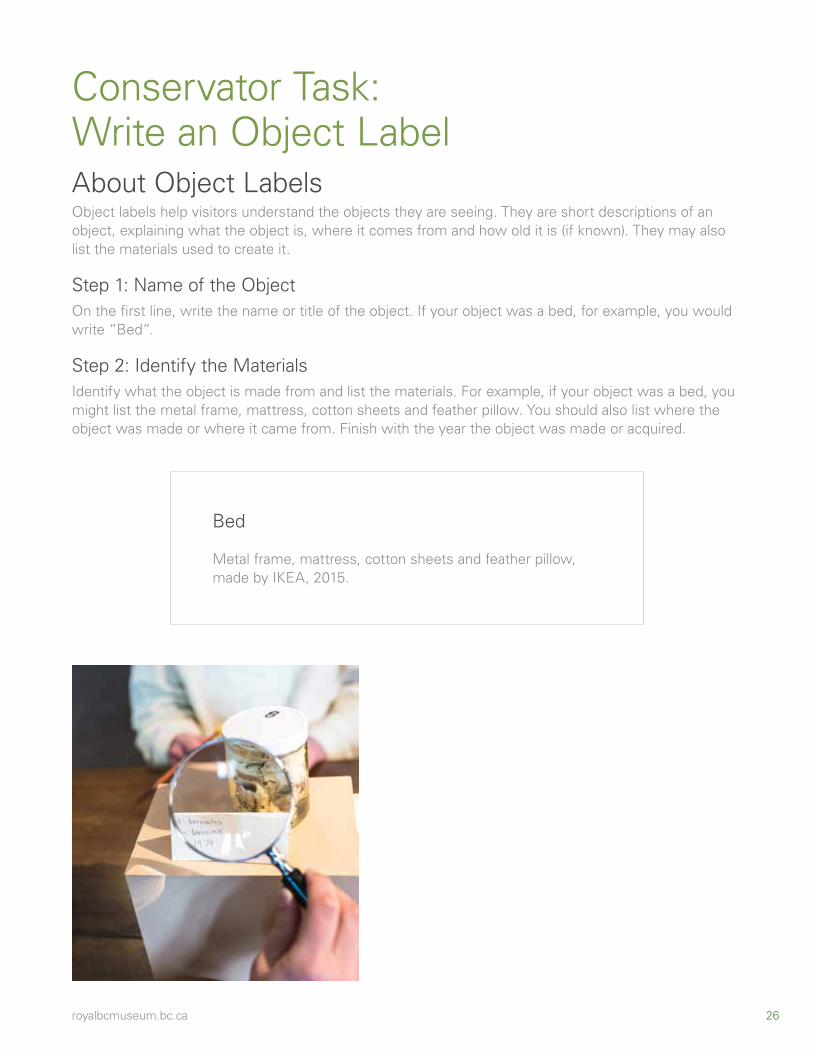
Conservator Task: Write an Object LabelAbout Object LabelsObject labels help visitors understand the objects they are seeing. They are short descriptions of an object, explaining what the object is, where it comes from and how old it is (if known). They may also list the materials used to create it.
Step 1: Name of the Object On the first line, write the name or title of the object. If your object was a bed, for example, you would write “Bed”.
Step 2: Identify the MaterialsIdentify what the object is made from and list the materials. For example, if your object was a bed, you might list the metal frame, mattress, cotton sheets and feather pillow. You should also list where the object was made or where it came from. Finish with the year the object was made or acquired.
Bed
Metal frame, mattress, cotton sheets and feather pillow, made by IKEA, 2015.
26royalbcmuseum.bc.ca