Embed Size (px)
Citation preview
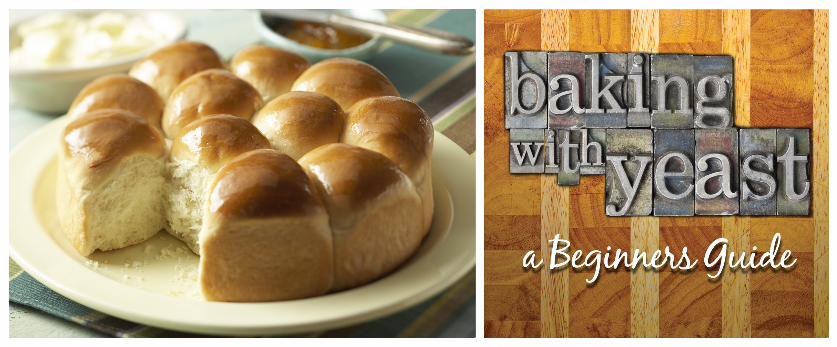
Nothing smells and tastes more wonderful than homemade baked bread. Baking bread with yeast from scratch is easy, even if you’ve never done it before! Yeast provides great flavor and leavening to baked goods. Read on to learn how to bake with yeast. In no time, you’ll be a yeast baking expert, baking delicious creations and having fun too!
We’ll help you understand the basics of baking with yeast: • Learn the differences between the types of yeast (pages 3-4) • Understand common yeast recipe terms (pages 5-6) • Learn great tips for success (page 6) • Yeast conversion chart (page 7)
By the end, you’ll be ready to make your own delicious creations, straight from your kitchen!
2
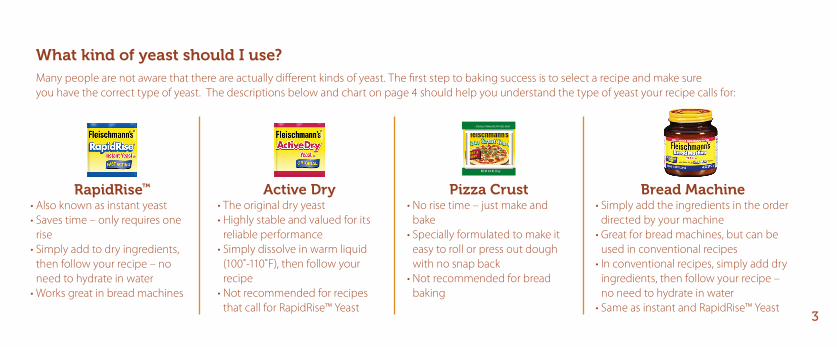
Many people are not aware that there are actually different kinds of yeast. The first step to baking success is to select a recipe and make sure you have the correct type of yeast. The descriptions below and chart on page 4 should help you understand the type of yeast your recipe calls for:
NET WT 3/4 OZ (21 g)
Serving Suggestion
Bread Machine• Simply add the ingredients in the order
directed by your machine• Great for bread machines, but can be
used in conventional recipes• In conventional recipes, simply add dry
ingredients, then follow your recipe – no need to hydrate in water
• Same as instant and RapidRise™ Yeast
Pizza Crust • No rise time – just make and
bake• Specially formulated to make it
easy to roll or press out dough with no snap back
• Not recommended for bread baking
Active Dry • The original dry yeast• Highly stable and valued for its
reliable performance• Simply dissolve in warm liquid
(100˚-110˚F), then follow your recipe
• Not recommended for recipes that call for RapidRise™ Yeast
RapidRise™
• Also known as instant yeast• Saves time – only requires one
rise• Simply add to dry ingredients,
then follow your recipe – no need to hydrate in water
• Works great in bread machines
What kind of yeast should I use?
3
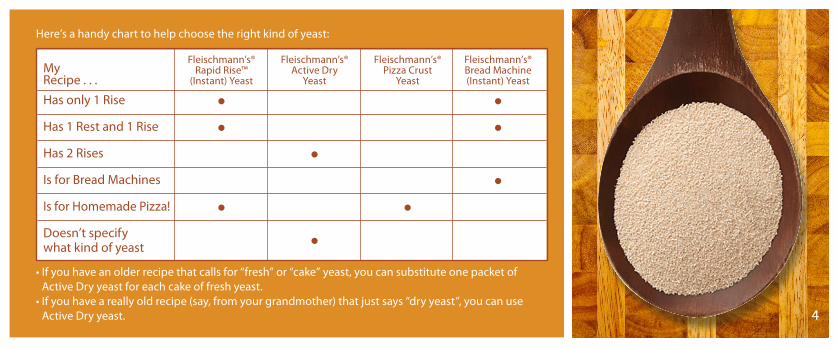
Fleischmann’s® Fleischmann’s® Fleischmann’s® Fleischmann’s®My Rapid Rise™ Active Dry Pizza Crust Bread MachineRecipe . . . (Instant) Yeast Yeast Yeast (Instant) Yeast
Has only 1 Rise
Has 1 Rest and 1 Rise
Has 2 Rises
Is for Bread Machines
Is for Homemade Pizza!
Doesn’t specify what kind of yeast
Here’s a handy chart to help choose the right kind of yeast:
4
• If you have an older recipe that calls for “fresh” or “cake” yeast, you can substitute one packet of Active Dry yeast for each cake of fresh yeast.
• If you have a really old recipe (say, from your grandmother) that just says “dry yeast”, you can use Active Dry yeast.
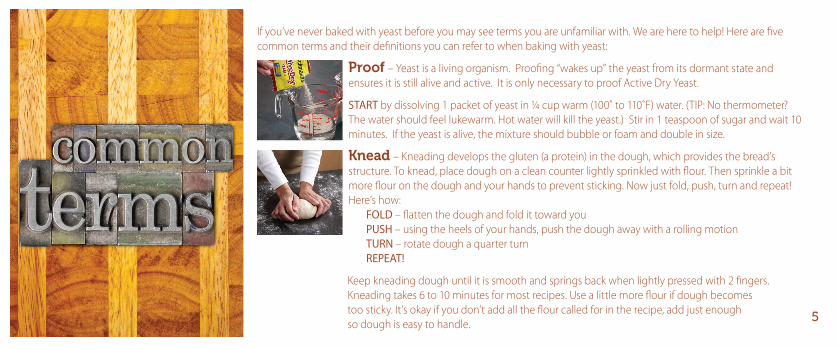
If you’ve never baked with yeast before you may see terms you are unfamiliar with. We are here to help! Here are five common terms and their definitions you can refer to when baking with yeast:
Proof – Yeast is a living organism. Proofing “wakes up” the yeast from its dormant state and ensures it is still alive and active. It is only necessary to proof Active Dry Yeast.
START by dissolving 1 packet of yeast in 1/4 cup warm (100˚ to 110˚F) water. (TIP: No thermometer? The water should feel lukewarm. Hot water will kill the yeast.) Stir in 1 teaspoon of sugar and wait 10 minutes. If the yeast is alive, the mixture should bubble or foam and double in size.
Knead – Kneading develops the gluten (a protein) in the dough, which provides the bread’s structure. To knead, place dough on a clean counter lightly sprinkled with flour. Then sprinkle a bit more flour on the dough and your hands to prevent sticking. Now just fold, push, turn and repeat! Here’s how: FOLD – flatten the dough and fold it toward you PUSH – using the heels of your hands, push the dough away with a rolling motion TURN – rotate dough a quarter turn REPEAT!
Keep kneading dough until it is smooth and springs back when lightly pressed with 2 fingers. Kneading takes 6 to 10 minutes for most recipes. Use a little more flour if dough becomes too sticky. It’s okay if you don’t add all the flour called for in the recipe, add just enough so dough is easy to handle. 5
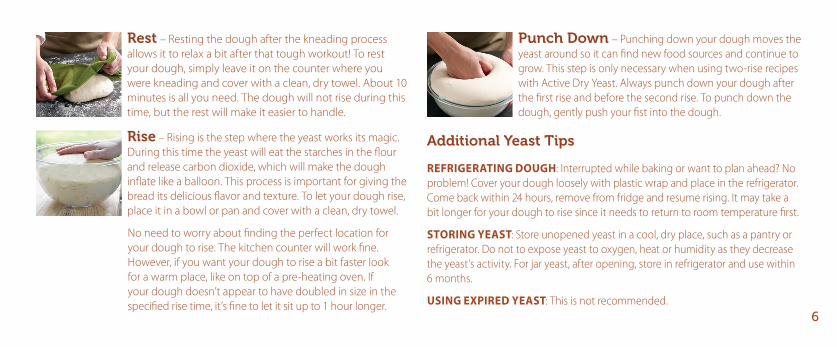
Rest – Resting the dough after the kneading process allows it to relax a bit after that tough workout! To rest your dough, simply leave it on the counter where you were kneading and cover with a clean, dry towel. About 10 minutes is all you need. The dough will not rise during this time, but the rest will make it easier to handle.
Rise – Rising is the step where the yeast works its magic. During this time the yeast will eat the starches in the flour and release carbon dioxide, which will make the dough inflate like a balloon. This process is important for giving the bread its delicious flavor and texture. To let your dough rise, place it in a bowl or pan and cover with a clean, dry towel.
No need to worry about finding the perfect location for your dough to rise. The kitchen counter will work fine. However, if you want your dough to rise a bit faster look for a warm place, like on top of a pre-heating oven. If your dough doesn’t appear to have doubled in size in the specified rise time, it’s fine to let it sit up to 1 hour longer.
Punch Down – Punching down your dough moves the yeast around so it can find new food sources and continue to grow. This step is only necessary when using two-rise recipes with Active Dry Yeast. Always punch down your dough after the first rise and before the second rise. To punch down the dough, gently push your fist into the dough.
Additional Yeast Tips
REFRIGERATING DOUGH: Interrupted while baking or want to plan ahead? No problem! Cover your dough loosely with plastic wrap and place in the refrigerator. Come back within 24 hours, remove from fridge and resume rising. It may take a bit longer for your dough to rise since it needs to return to room temperature first.
STORING YEAST: Store unopened yeast in a cool, dry place, such as a pantry or refrigerator. Do not to expose yeast to oxygen, heat or humidity as they decrease the yeast’s activity. For jar yeast, after opening, store in refrigerator and use within 6 months.
USING EXPIRED YEAST: This is not recommended.6
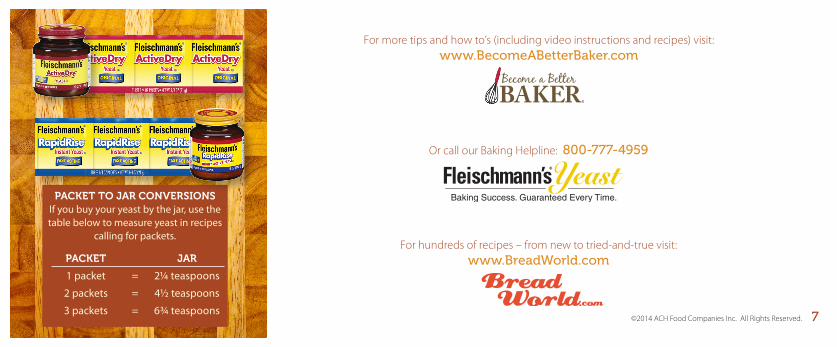
PACKET TO JAR CONVERSIONSIf you buy your yeast by the jar, use the table below to measure yeast in recipes
calling for packets.
PACKET JAR
1 packet = 2¼ teaspoons
2 packets = 41/2 teaspoons
3 packets = 6¾ teaspoons©2014 ACH Food Companies Inc. All Rights Reserved.
For more tips and how to’s (including video instructions and recipes) visit: www.BecomeABetterBaker.com
7
Or call our Baking Helpline: 800-777-4959
For hundreds of recipes – from new to tried-and-true visit: www.BreadWorld.com
8