Embed Size (px)
Citation preview

Office 2003Post-Advanced Concepts
and Techniques
M i c r o s o f t
Word Project 7
Creating an Online Form

2Word Project 7: Creating an Online Form
Objectives
• Design an online form
• Create a document template
• Insert a table in a form
• Insert text, drop-down, and check box form fields in a form

3Word Project 7: Creating an Online Form
Objectives
• Format form fields
• Add Help text to form fields
• Insert and format a rectangle drawing object
• Protect a form

4Word Project 7: Creating an Online Form
Objectives
• Open a new document based on a template
• Fill in a form
• Save data on a form in a text file
• Modify the location of workgroup templates

5Word Project 7: Creating an Online Form
Designing an Online Form

6Word Project 7: Creating an Online Form
Creating a Document Template
• With Microsoft Office Word open, Click File on the menu bar and then click New
• When Word displays the New Document task pane, click the On my computer link
• When the Templates dialog box is displayed, if necessary, click the General tab
• Click the Blank Document icon and then, if necessary, click Template in the Create New area
• Click the OK button

7Word Project 7: Creating an Online Form
Creating a Document Template
• With a disk in drive A, click the Save button on the Standard toolbar
• Type A+ Dentist Locator in the File name box
• Click the Save in box arrow
• Click 3½ Floppy (A:) in the Save in list
• Click the Save button in the Save As dialog box

8Word Project 7: Creating an Online Form
Creating a Document Template

9Word Project 7: Creating an Online Form
Inserting a Borderless Table in a Form• Continue creating your form by following the
instructions on pages WD 489 – WD 495• If the Forms toolbar is not displayed in the Word
window, click View on the menu bar, point to Toolbars, and then click Forms
• If necessary, scroll up so that the company name is positioned at the top of the document window
• With the insertion point on line 11, click the Insert Table button on the Forms toolbar

10Word Project 7: Creating an Online Form
Inserting a Borderless Table in a Form• Position the mouse pointer on the cell in
the first row and second column of the grid
• Click the cell in the first row and second column of the grid
• Point to the first cell in the table to display the table move handle
• Click the table move handle to select the table

11Word Project 7: Creating an Online Form
Inserting a Borderless Table in a Form• Click the Border button arrow on the
Formatting toolbar
• Click No Border on the border palette
• Click the first cell of the table to remove the selection
• If the table displays gridlines, click Table on the menu bar and then click Hide Gridlines

12Word Project 7: Creating an Online Form
Inserting a Borderless Table in a Form

13Word Project 7: Creating an Online Form
Inserting a Text Form Field
• With the insertion point in the first cell of the table as shown on the previous slide, type First Name and then press the COLON (:) key
• Press the SPACEBAR• Click the Text Form Field button on the Forms
toolbar• If Word does not display the form field shaded in
gray, click the Form Field Shading button on the Forms toolbar

14Word Project 7: Creating an Online Form
Inserting a Text Form Field
15Word Project 7: Creating an Online Form
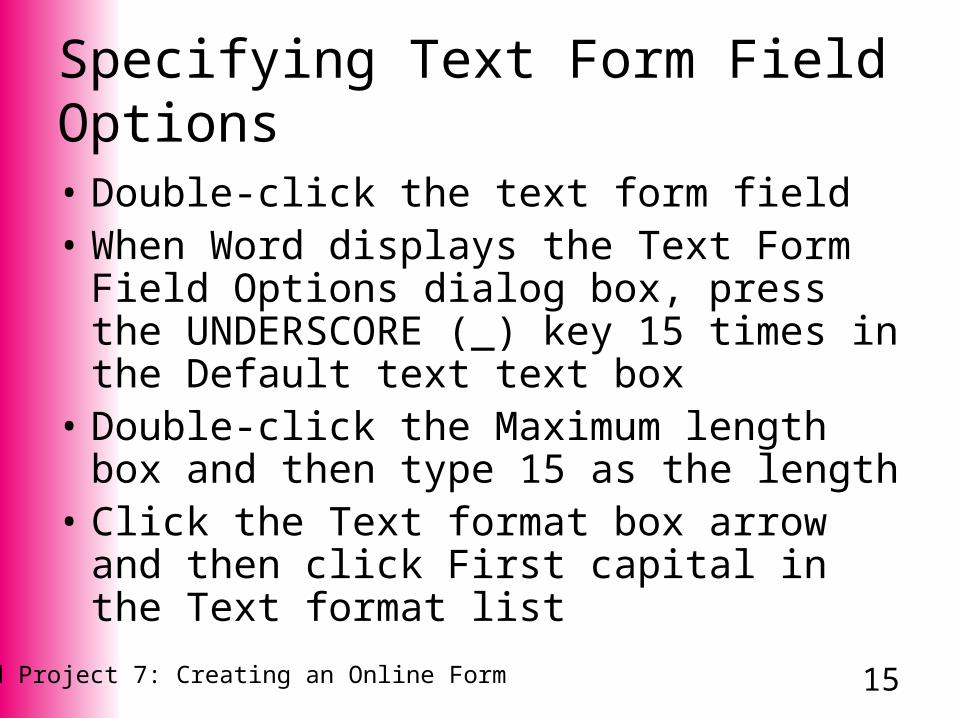
Specifying Text Form Field Options
• Double-click the text form field• When Word displays the Text Form Field
Options dialog box, press the UNDERSCORE (_) key 15 times in the Default text text box
• Double-click the Maximum length box and then type 15 as the length
• Click the Text format box arrow and then click First capital in the Text format list

16Word Project 7: Creating an Online Form
Specifying Text Form Field Options
• Click the OK button• Press the TAB key to
move the insertion point to the beginning of the next cell in the table

17Word Project 7: Creating an Online Form
Inserting and Specifying Options for a Text Form Field• With the insertion point at the beginning of the second
cell of the table, type Last Name and then press the COLON (:) key. Press the SPACEBAR
• Click the Text Form Field button on the Forms toolbar• Double-click the text form field for the last name. When
Word displays the Text Form Field Options dialog box, press the UNDERSCORE key 20 times in the Default text text box. Double-click the Maximum length box and then type 20 as the length. Click the Text format box arrow and then click First capital in the Text format list
• Click the OK button

18Word Project 7: Creating an Online Form
Inserting and Specifying Options for a Text Form Field

19Word Project 7: Creating an Online Form
Inserting a Drop-Down Form Field
• Click the paragraph mark below the 1 × 2 table to position the insertion point below the First Name caption and then press the ENTER key
• Type How easy was it to find a dentist using our Web site?
• Press the SPACEBAR• Click the Drop-Down Form Field button on
the Forms toolbar

20Word Project 7: Creating an Online Form
Inserting a Drop-Down Form Field

21Word Project 7: Creating an Online Form
Specifying Drop-Down Form Field Options• Double-click the drop-down form field• When Word displays the Drop-Down Form
Field Options dialog box, press the UNDERSCORE key 15 times in the Drop-down item text box
• Click the Add button• With the insertion point positioned in the
Drop-down item text box, type Very Easy and then click the Add button

22Word Project 7: Creating an Online Form
Specifying Drop-Down Form Field Options• Type Easy and then click the Add button
• Type Fair and then click the Add button
• Type Difficult and then click the Add button
• Type Very Difficult and then click the Add button

23Word Project 7: Creating an Online Form
Specifying Drop-Down Form Field Options• Click the OK button
• Press the END key to move the insertion point to the end of the line
• Press the ENTER key twice

24Word Project 7: Creating an Online Form
Specifying Drop-Down Form Field Options

25Word Project 7: Creating an Online Form
Inserting and Specifying Options for a Text Form Field• With the insertion point positioned two lines below the
previous entry, as shown in Figure 7-24 on page WD 503, type On a scale of 1 to 10, with 10 being the best, rate the dentist you visited: and then press the SPACEBAR
• Click the Text Form Field button on the Forms toolbar• Double-click the newly inserted text form field for the
dentist rating. When Word displays the Text Form Field Options dialog box, click the Type box arrow and then click Number in the Type list. Press the TAB key to position the insertion point in the Maximum length box and then type 2 as the length. Press the TAB key to position the insertion point in the Default number text box and then press the UNDERSCORE key two times
• Click the OK button

26Word Project 7: Creating an Online Form
Inserting and Specifying Options for a Text Form Field

27Word Project 7: Creating an Online Form
Inserting a Check Box Form Field
• Follow the instructions on pages WD 504 – WD 506
• With the insertion point in the first cell of the table, click the Check Box Form Field button on the Forms toolbar
• Press the SPACEBAR. Type Checkup and then press the TAB key
• Follow the instructions on page WD 508 to insert additional check box form fields

28Word Project 7: Creating an Online Form
Inserting a Check Box Form Field

29Word Project 7: Creating an Online Form
Inserting and Specifying Options for a Text Form Field• Click the Text Form Field button on the
Forms toolbar
• Double-click the text form field for Other (please specify). When Word displays the Text Form Field Options dialog box, press the UNDERSCORE key 30 times in the Default text text box
• Click the OK button

30Word Project 7: Creating an Online Form
Inserting and Specifying Options for a Text Form Field

31Word Project 7: Creating an Online Form
Underlining in Color
• Click the text form field for the first name to select it
• Right-click the selection
• Click Font on the shortcut menu
• When Word displays the Font dialog box, if necessary, click the Font tab

32Word Project 7: Creating an Online Form
Underlining in Color
• Click the Underline style box arrow and then click the first underline in the list
• Click the Underline color box arrow and then click Plum on the color palette
• Click the OK button

33Word Project 7: Creating an Online Form
Underlining in Color

34Word Project 7: Creating an Online Form
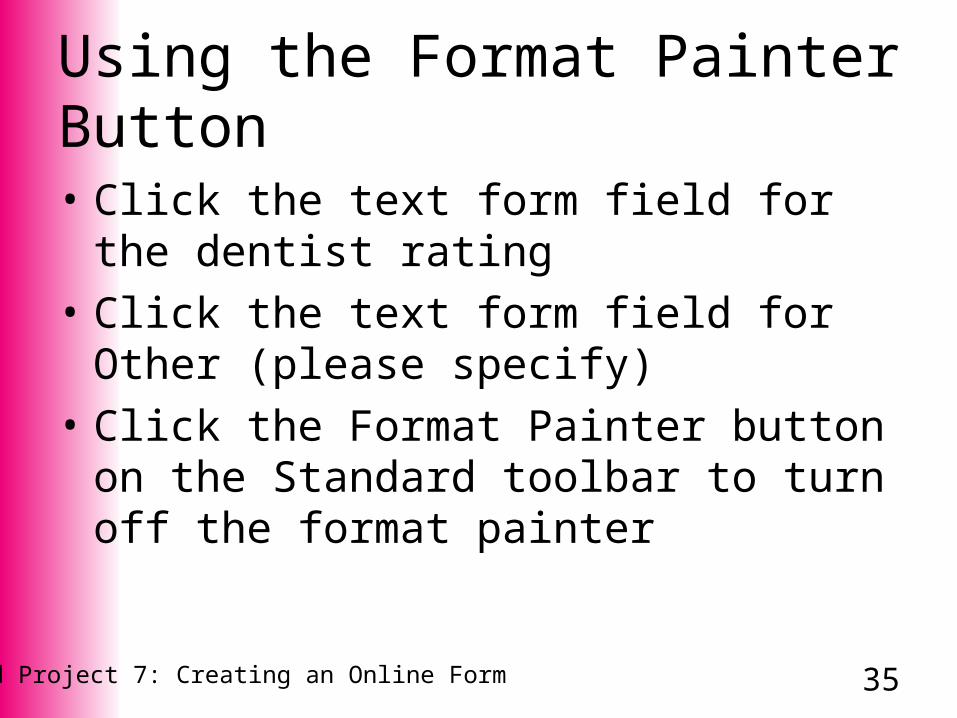
Using the Format Painter Button
• With the text form field for the first name selected as shown in Figure 7-33 on page WD 511, double-click the Format Painter button on the Standard toolbar
• Click the text form field for the last name
• Drag through the ease of use drop-down form field
35Word Project 7: Creating an Online Form
Using the Format Painter Button
• Click the text form field for the dentist rating
• Click the text form field for Other (please specify)
• Click the Format Painter button on the Standard toolbar to turn off the format painter

36Word Project 7: Creating an Online Form
Using the Format Painter Button

37Word Project 7: Creating an Online Form
Adding Help Text to a Form Field
• Double-click the text form field for the first name
• Click the Add Help Text button
• When Word displays the Form Field Help Text dialog box, if necessary, click the Status Bar tab
• Click Type your own

38Word Project 7: Creating an Online Form
Adding Help Text to a Form Field
• Type Enter your first name• Click the OK button
• Click the OK button in the Text Form Field Options dialog box
• Follow the instructions on page WD 516 to add more help text

39Word Project 7: Creating an Online Form
Adding Help Text to a Form Field

40Word Project 7: Creating an Online Form
Drawing a Rectangle
• Click at the end of the form, positioning the insertion point after the date field
• If the Drawing toolbar is not displayed on the screen, click the Drawing button on the Standard toolbar
• Click the Rectangle button on the Drawing toolbar• Press the ESC key to remove the drawing canvas• Scroll up and position the cross hair mouse pointer
as shown in Figure 7-41 on page WD 519

41Word Project 7: Creating an Online Form
Drawing a Rectangle
• Drag the mouse pointer downward and rightward to form a rectangle around the data entry area, as shown in Figure 7-42 on page WD 519
• Release the mouse button• If Word positions the form text below the
rectangle, click Format on the menu bar, click AutoShape, click the Layout tab, click In front of text, and then click the OK button
• If you need to resize the rectangle after it is drawn, simply drag the sizing handles

42Word Project 7: Creating an Online Form
Drawing a Rectangle

43Word Project 7: Creating an Online Form
Protecting a Form
• Click the Protect Form button on the Forms toolbar
• Remove the Forms toolbar from the screen by clicking its Close button

44Word Project 7: Creating an Online Form
Accessing a Template through Windows Explorer• Click the Start button on the Windows
taskbar and then right-click My Computer on the Start menu
• Click Explore on the shortcut menu
• When the Explorer window opens, if necessary, double-click its title bar to maximize the window

45Word Project 7: Creating an Online Form
Accessing a Template through Windows Explorer• In the Folders bar, click 3½ Floppy (A:)
• Double-click the A+ Dentist Locator icon in the Explorer window
• Scroll down so the entire form is displayed in the Word window

46Word Project 7: Creating an Online Form
Accessing a Template through Windows Explorer

47Word Project 7: Creating an Online Form
Filling In a Form
• With the First Name form field selected, type Rick and then press the TAB key
• Type Schultz in the Last Name form field
• Press the TAB key to select the ease of use form field and display its box arrow. Click the box arrow
• Click Very Easy in the list and then press the TAB key
48Word Project 7: Creating an Online Form
Filling In a Form
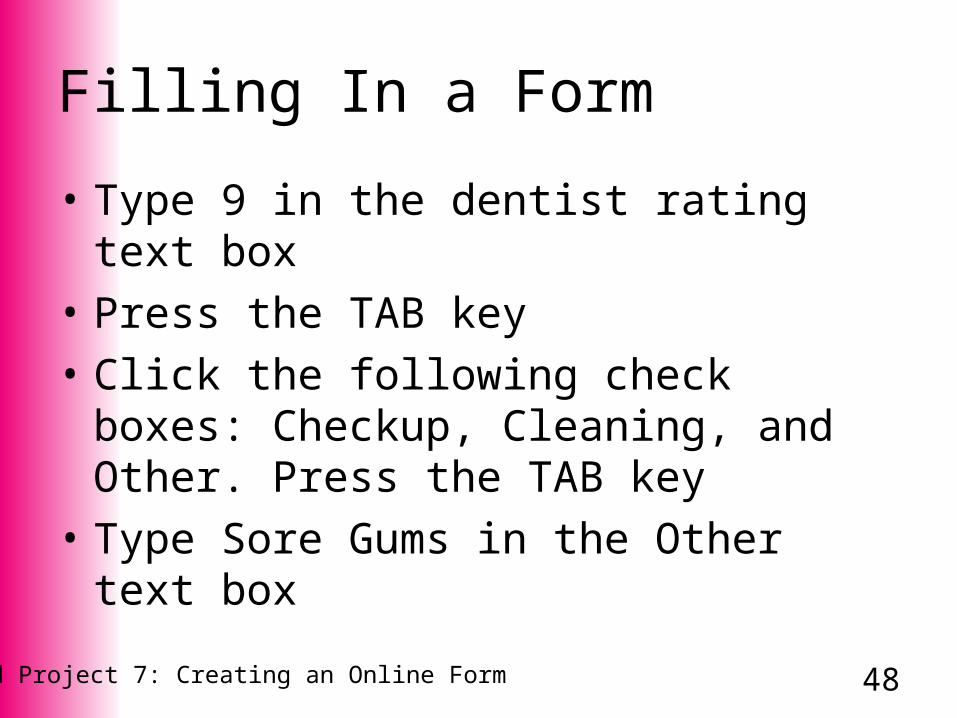
• Type 9 in the dentist rating text box
• Press the TAB key
• Click the following check boxes: Checkup, Cleaning, and Other. Press the TAB key
• Type Sore Gums in the Other text box

49Word Project 7: Creating an Online Form
Filling In a Form
50Word Project 7: Creating an Online Form
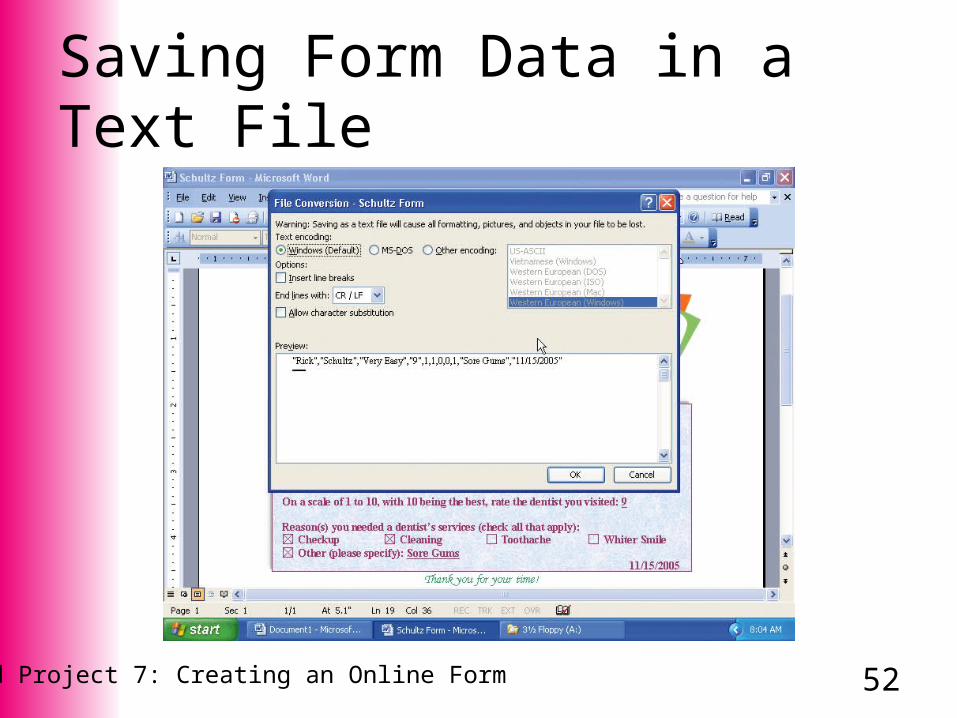
Saving Form Data in a Text File
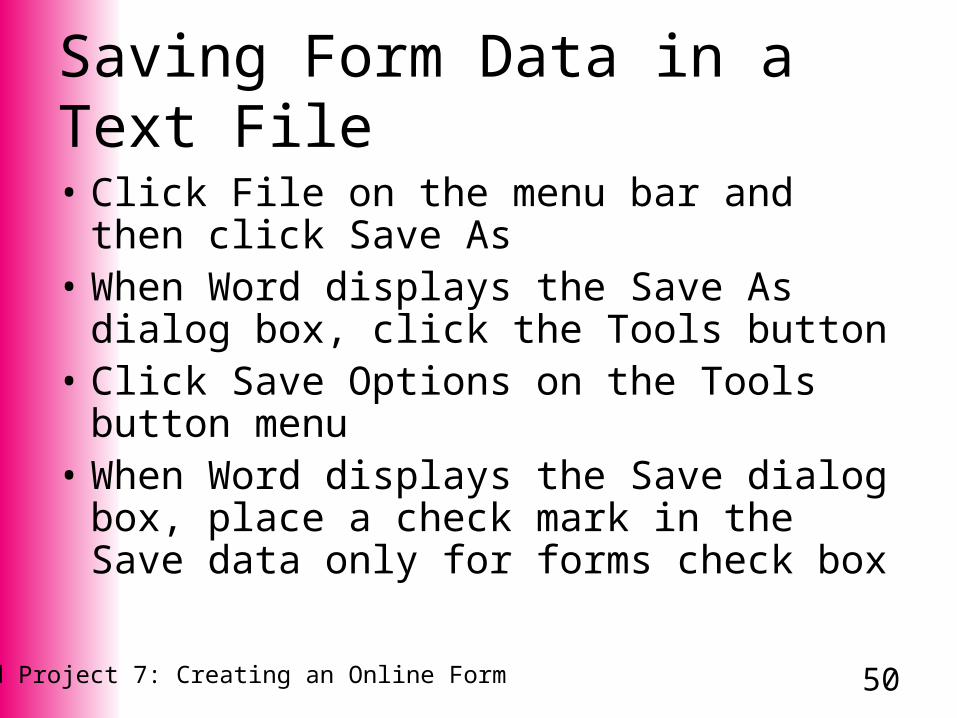
• Click File on the menu bar and then click Save As
• When Word displays the Save As dialog box, click the Tools button
• Click Save Options on the Tools button menu
• When Word displays the Save dialog box, place a check mark in the Save data only for forms check box

51Word Project 7: Creating an Online Form
Saving Form Data in a Text File
• Click the OK button
• Click the Save button in the Save As dialog box
• Click the OK button
52Word Project 7: Creating an Online Form
Saving Form Data in a Text File

53Word Project 7: Creating an Online Form
Modifying the Workgroup Template Location• Click Tools on the menu bar and then click
Options• When Word displays the Options dialog box,
click the File Locations tab. Click Workgroup templates in the File types list and then click the Modify button
• Locate the folder assigned to workgroup templates (as specified by the network administrator) and then click the OK button in each dialog box

54Word Project 7: Creating an Online Form
Modifying the Workgroup Template Location

55Word Project 7: Creating an Online Form
Summary
• Design an online form
• Create a document template
• Insert a table in a form
• Insert text, drop-down, and check box form fields in a form

56Word Project 7: Creating an Online Form
Summary
• Format form fields
• Add Help text to form fields
• Insert and format a rectangle drawing object
• Protect a form

57Word Project 7: Creating an Online Form
Summary
• Open a new document based on a template
• Fill in a form
• Save data on a form in a text file
• Modify the location of workgroup templates

Office 2003Post-Advanced Concepts
and Techniques
M i c r o s o f t
Word Project 7 Complete