Embed Size (px)
Citation preview
OPERATING INSTRUCTIONS
for the
Perkin Elmer Model 650-10S
Fluorescence Spectrophotometer
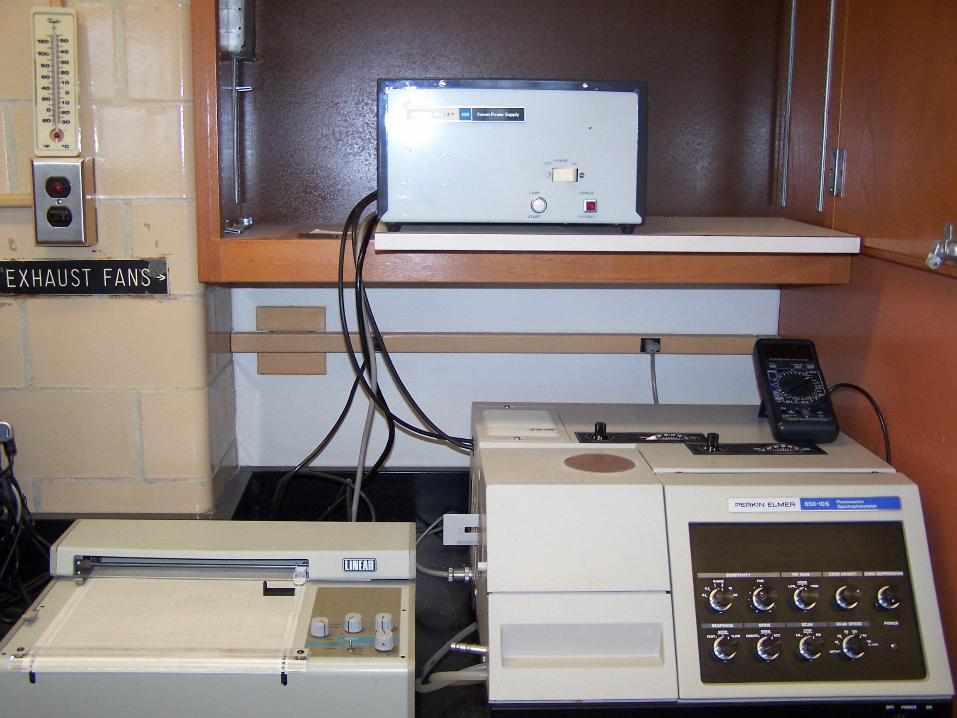
Preparatory Steps • 1. Turn the POWER switch on the xenon lamp power supply to ON. • 2. Make certain that the fan in the light source compartment is
operating and ten or fifteen seconds after turning the POWER switch to ON depress the START switch on the xenon lamp power supply.
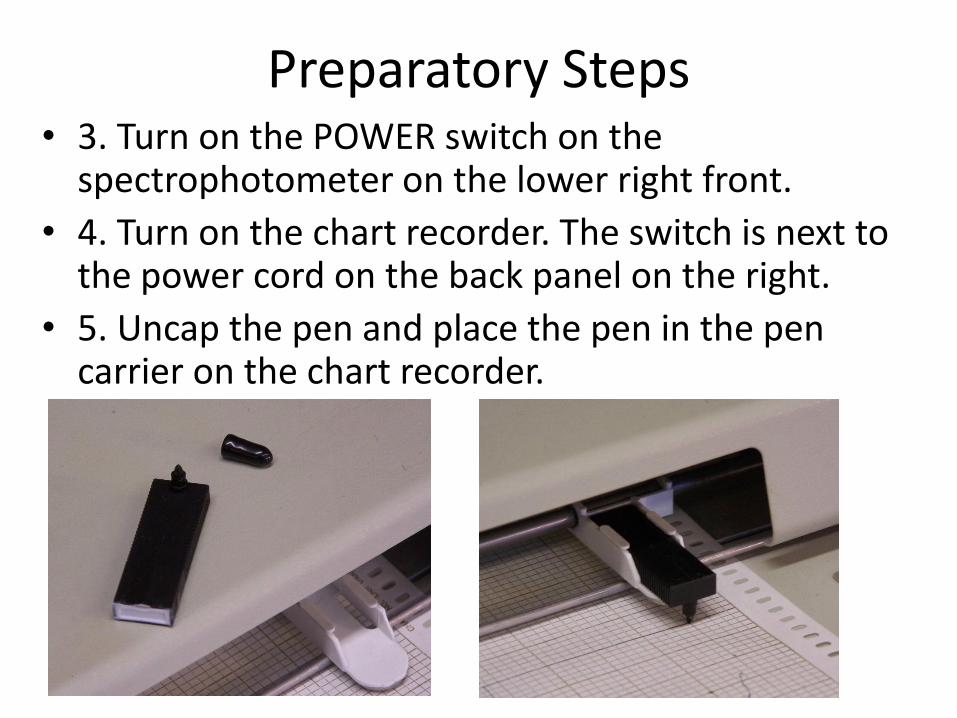
Preparatory Steps • 3. Turn on the POWER switch on the
spectrophotometer on the lower right front.
• 4. Turn on the chart recorder. The switch is next to the power cord on the back panel on the right.
• 5. Uncap the pen and place the pen in the pen carrier on the chart recorder.
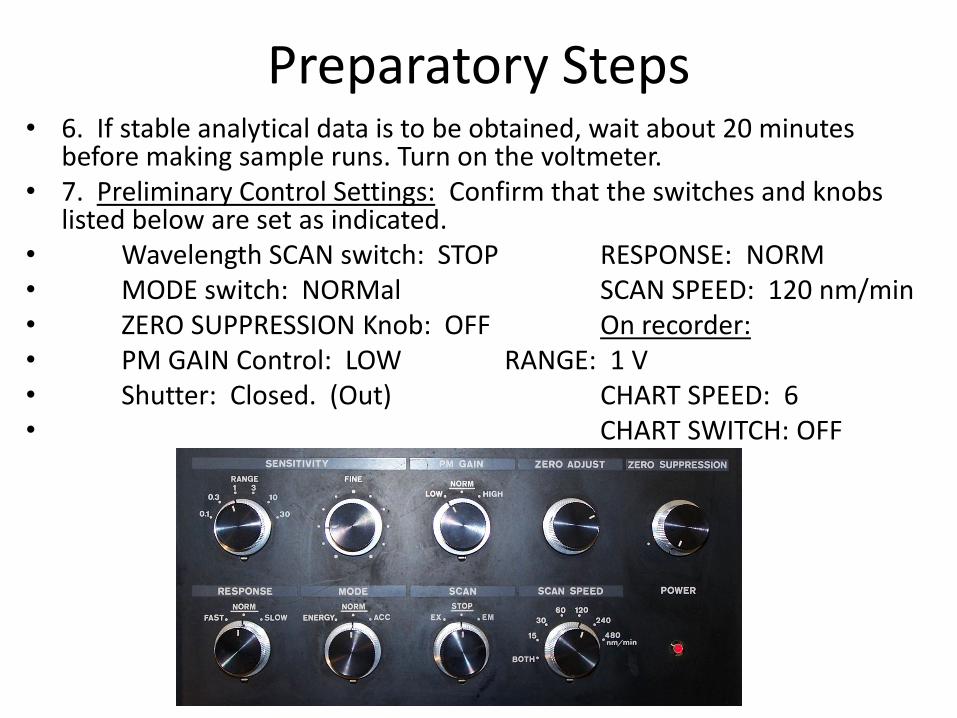
Preparatory Steps • 6. If stable analytical data is to be obtained, wait about 20 minutes
before making sample runs. Turn on the voltmeter. • 7. Preliminary Control Settings: Confirm that the switches and knobs
listed below are set as indicated. • Wavelength SCAN switch: STOP RESPONSE: NORM • MODE switch: NORMal SCAN SPEED: 120 nm/min • ZERO SUPPRESSION Knob: OFF On recorder: • PM GAIN Control: LOW RANGE: 1 V • Shutter: Closed. (Out) CHART SPEED: 6 • CHART SWITCH: OFF
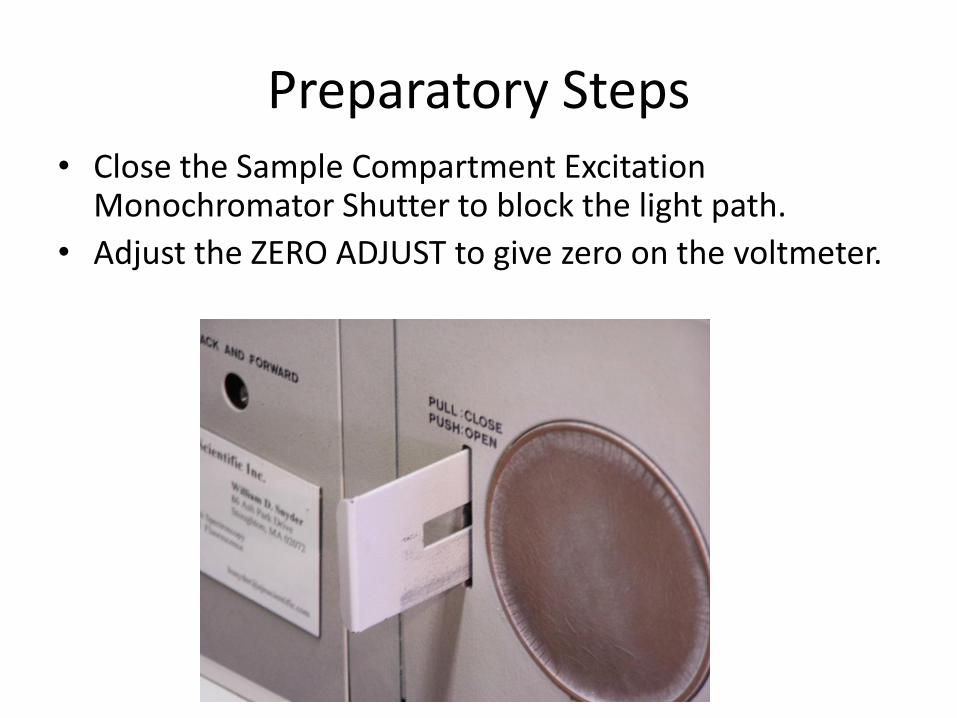
Preparatory Steps • Close the Sample Compartment Excitation
Monochromator Shutter to block the light path.
• Adjust the ZERO ADJUST to give zero on the voltmeter.

Preparatory Steps • Excitation light path blocked when setting zero.
• The sample compartment with the shutter closed (out):
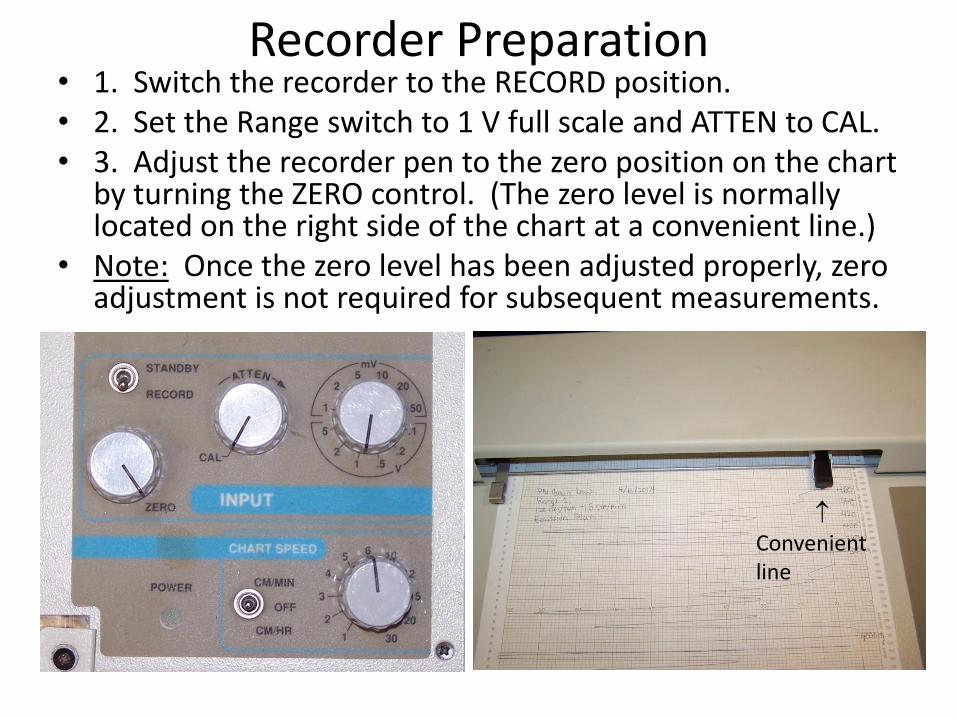
Recorder Preparation
• 1. Switch the recorder to the RECORD position. • 2. Set the Range switch to 1 V full scale and ATTEN to CAL. • 3. Adjust the recorder pen to the zero position on the chart
by turning the ZERO control. (The zero level is normally located on the right side of the chart at a convenient line.)
• Note: Once the zero level has been adjusted properly, zero adjustment is not required for subsequent measurements.
Convenient line
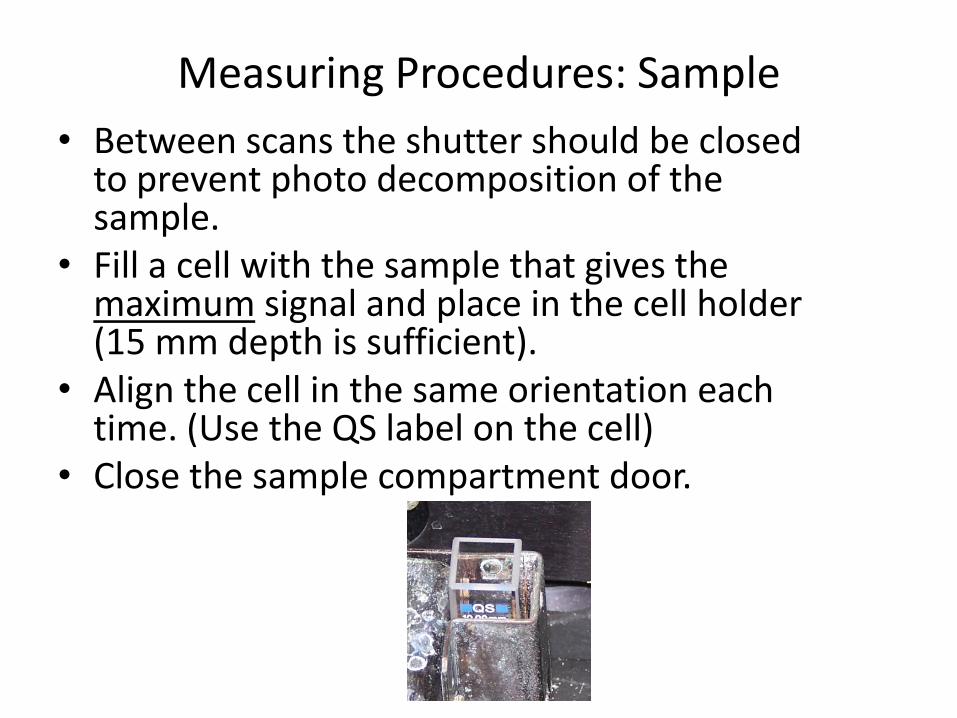
Measuring Procedures: Sample
• Between scans the shutter should be closed to prevent photo decomposition of the sample.
• Fill a cell with the sample that gives the maximum signal and place in the cell holder (15 mm depth is sufficient).
• Align the cell in the same orientation each time. (Use the QS label on the cell)
• Close the sample compartment door.
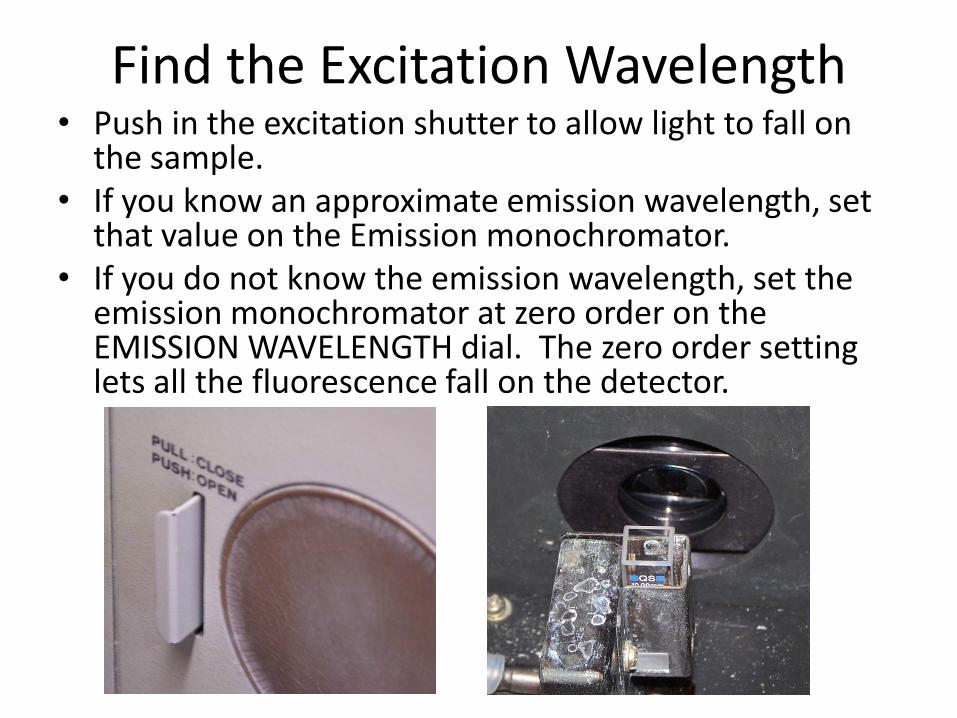
Find the Excitation Wavelength • Push in the excitation shutter to allow light to fall on
the sample. • If you know an approximate emission wavelength, set
that value on the Emission monochromator. • If you do not know the emission wavelength, set the
emission monochromator at zero order on the EMISSION WAVELENGTH dial. The zero order setting lets all the fluorescence fall on the detector.
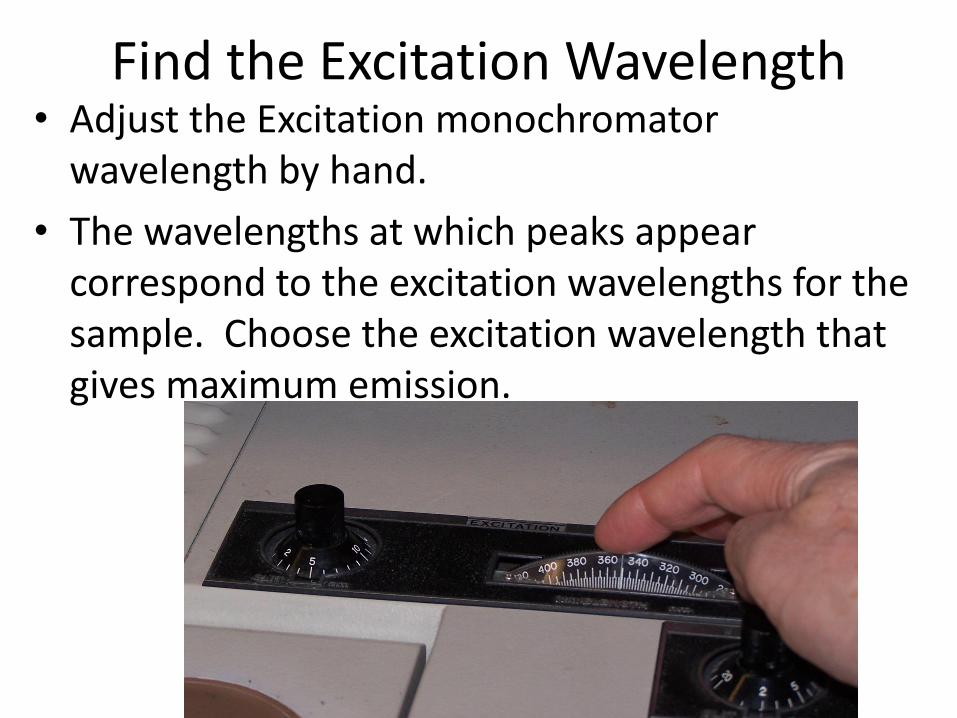
Find the Excitation Wavelength • Adjust the Excitation monochromator
wavelength by hand.
• The wavelengths at which peaks appear correspond to the excitation wavelengths for the sample. Choose the excitation wavelength that gives maximum emission.
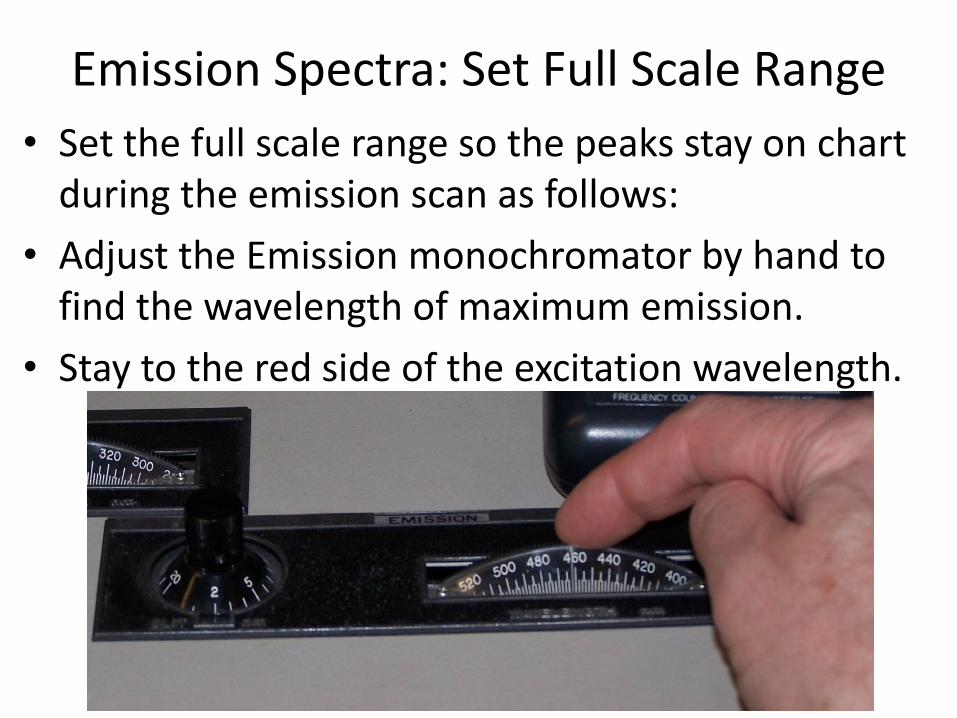
Emission Spectra: Set Full Scale Range
• Set the full scale range so the peaks stay on chart during the emission scan as follows:
• Adjust the Emission monochromator by hand to find the wavelength of maximum emission.
• Stay to the red side of the excitation wavelength.
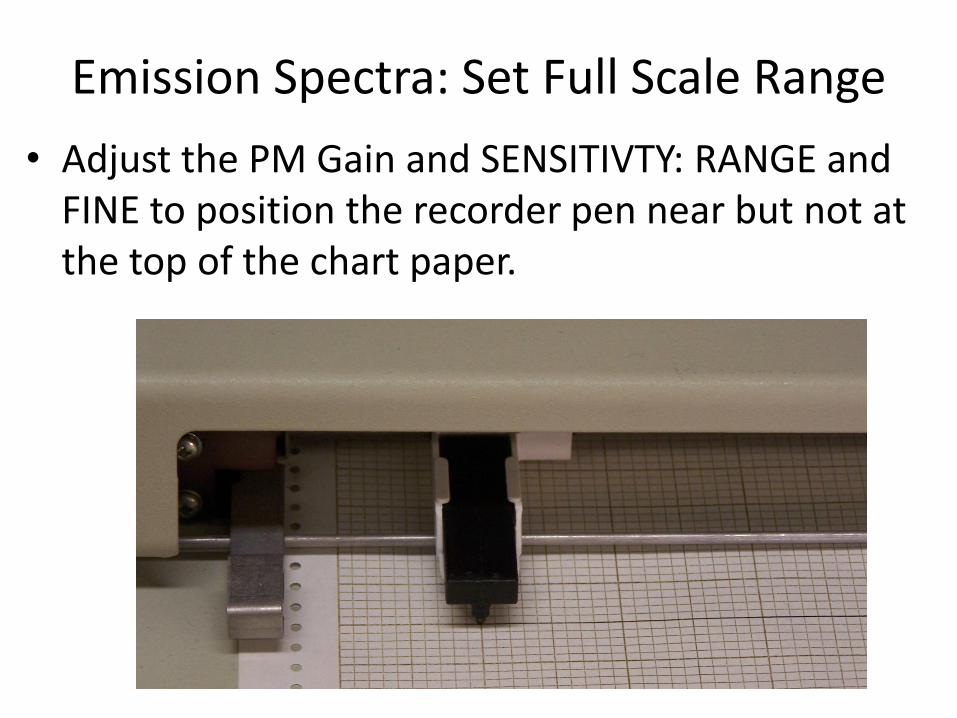
Emission Spectra: Set Full Scale Range
• Adjust the PM Gain and SENSITIVTY: RANGE and FINE to position the recorder pen near but not at the top of the chart paper.
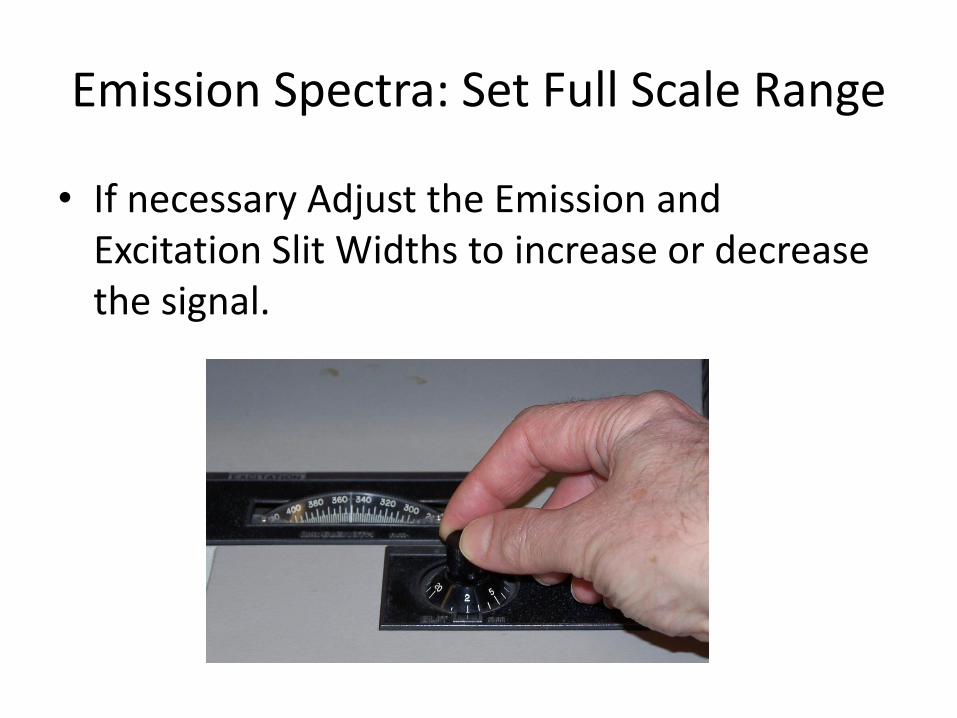
Emission Spectra: Set Full Scale Range
• If necessary Adjust the Emission and Excitation Slit Widths to increase or decrease the signal.
Slit Width Settings
• Analytical results can be optimized by selecting the slit width (spectral bandpass).
• a) Narrow slits give better resolution.
• b) Wider slits give better signal to noise, and therefore a more sensitive determination.
• If the optimum slit widths are not known, set the EXCITATION and EMISSION SLIT dials at 10 nm.
Emission Spectra
• Manually rotate the EMISSION WAVELENGTH control to the shortest wavelength in which spectral recording is to take place. Stay to the long wavelength (red) side of the Excitation monochromator setting.
• When setting wavelengths, always turn the WAVELENGTH dials from shorter to longer wavelengths to avoid backlash in the gears for best reproducibility.
• A SCAN SPEED of 120 nm/min and chart speed at 6 cm/min gives a presentation of 20 nm per cm-division on the paper.
• Bring the recorder pen in contact with the chart paper. • Switch the CHART SPEED switch to cm/min to advance the
paper until the pen is at a major vertical division. Then turn the CHART SPEED switch off.
Emission Spectra
• Open the Excitation Shutter.
• At the same time: turn the wavelength SCAN switch from the STOP to the EM position and switch the CHART SPEED switch to cm/min to advance the paper.
• After recording the spectrum, set the wavelength SCAN switch at the STOP position.
• Raise the recorder pen.
• Pull out (close) the sample shutter.
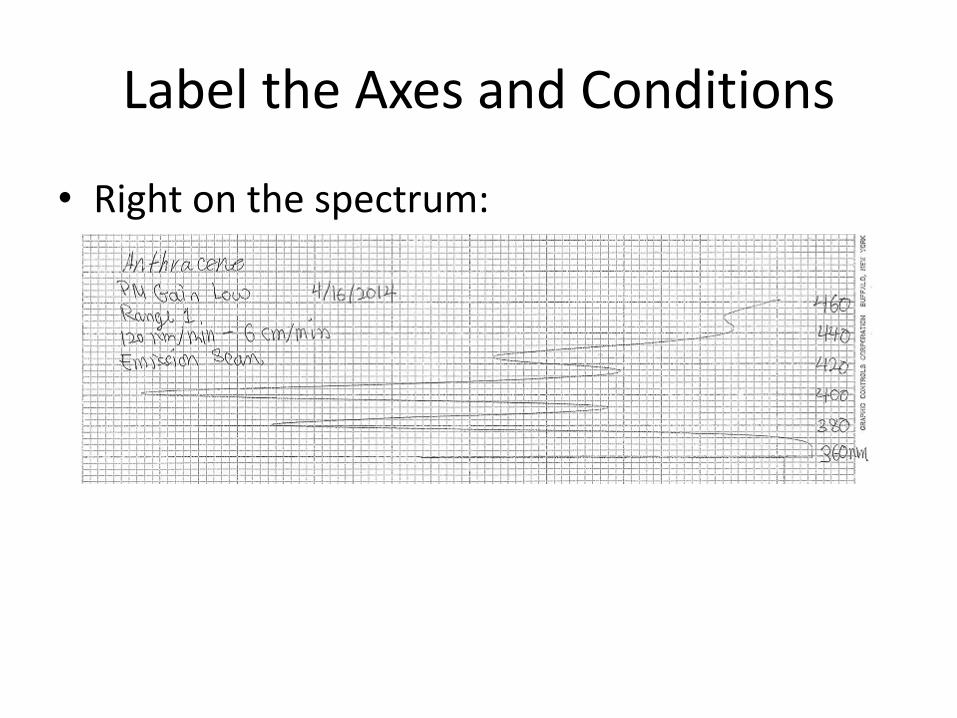
Label the Axes and Conditions
• Right on the spectrum:
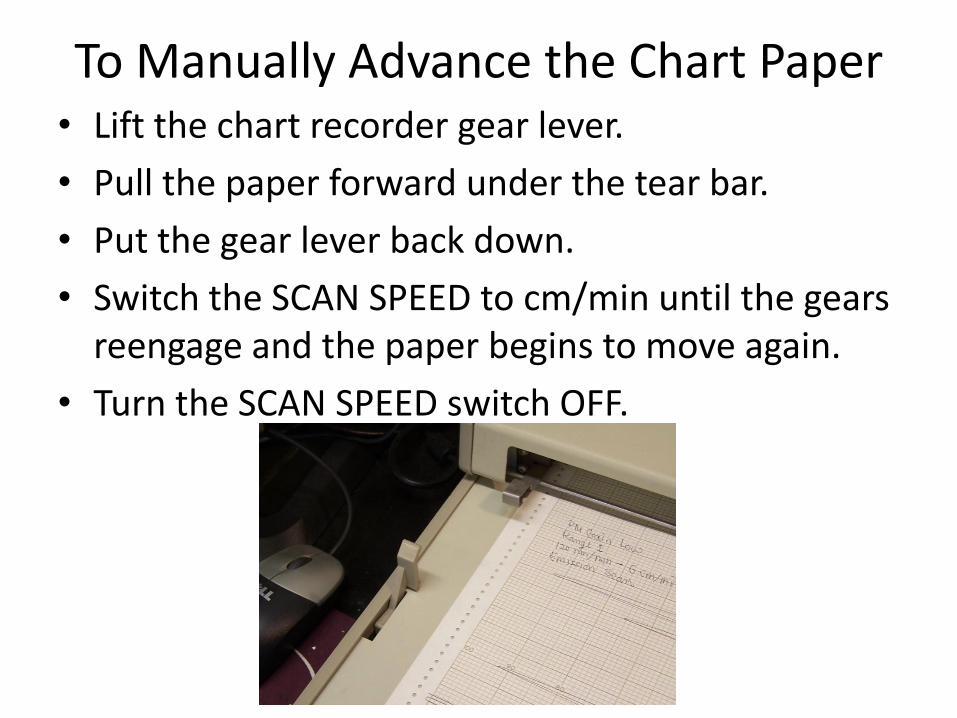
To Manually Advance the Chart Paper • Lift the chart recorder gear lever.
• Pull the paper forward under the tear bar.
• Put the gear lever back down.
• Switch the SCAN SPEED to cm/min until the gears reengage and the paper begins to move again.
• Turn the SCAN SPEED switch OFF.
Series of Spectra • If you are running a series of related spectra (i.e.
a quenching study):
• After your initial scale adjustments do not change the SENSITIVITY or EXCITATION wavelength settings.
• You can leave the Emission monochromator at the same wavelength and use the voltmeter output or scan each sample over the same wavelength range.
Shutdown Procedure • To shutdown the instrument proceed as follows.
• 1) Set the Wavelength SCAN switch at STOP.
• 2) Close the shutter.
• 3) Turn off the xenon lamp power supply and then quickly turn it back on again. This step turns the lamp off but allows the lamp compartment fan to continue running to cool the xenon lamp. Let the fan run for at least 5 minutes.
• 4) Set the recorder POWER switch to OFF.
• 5) Turn off the spectrophotometer
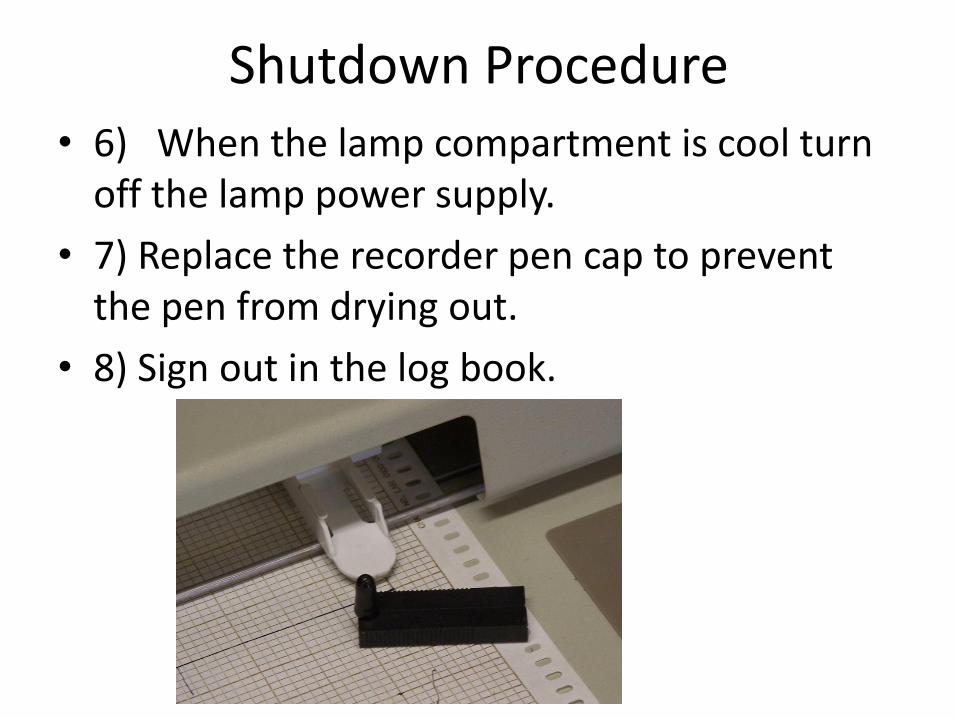
Shutdown Procedure • 6) When the lamp compartment is cool turn
off the lamp power supply.
• 7) Replace the recorder pen cap to prevent the pen from drying out.
• 8) Sign out in the log book.