Embed Size (px)
Citation preview

Operating Room Orientation
for Medical Students
ERGIE P. INOCIAN, Ed.D, MSN, RN
Head Nurse- Endourology Theater

Objectives
At the end of the session, you will be able
to:1. Acquaint with the set up in the operating room.
2. Describe the fundamental principles of aseptic
techniques in the OR
3. Demonstrate the correct technique of the
surgical scrub, gowning and gloving technique.
4. Explain the importance of time out process.
5. Familiarize the sterilization procedures

Pre-Test Questions – Question #1
1. The definition of asepsis is:
A. Soiled or infected with organisms
B. Capable of producing disease
C. Absence of microorganisms

Answer
1. The definition of asepsis is:
A. Soiled or infected with organisms
B. Capable of producing disease
C. Absence of microorganisms
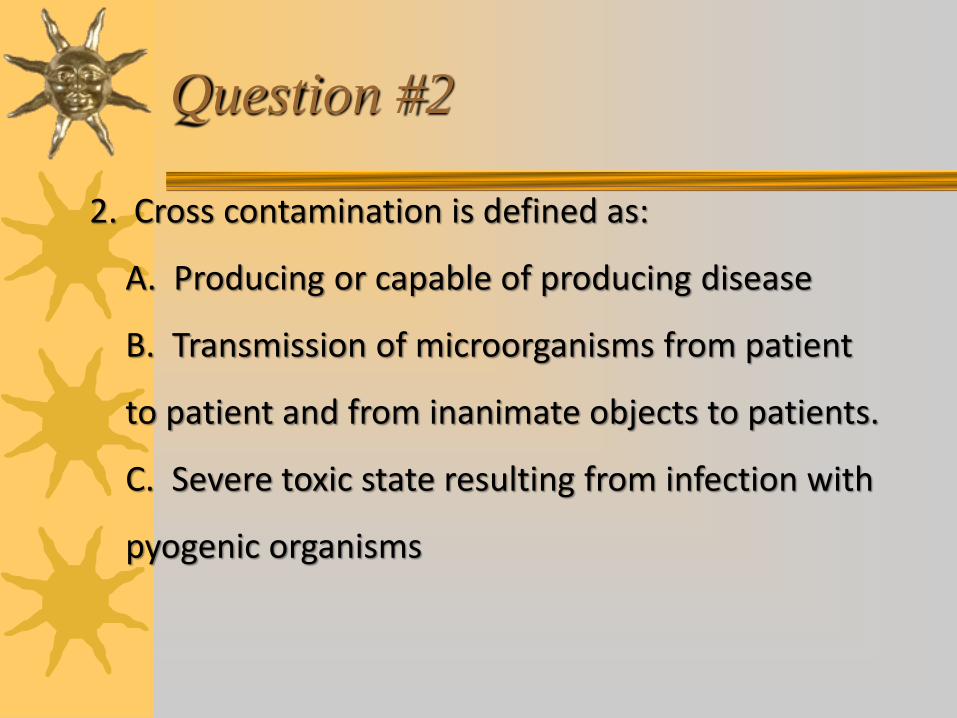
Question #2
2. Cross contamination is defined as:
A. Producing or capable of producing disease
B. Transmission of microorganisms from patient
to patient and from inanimate objects to patients.
C. Severe toxic state resulting from infection with
pyogenic organisms

Answer
2. Cross contamination is defined as:
A. Producing or capable of producing disease
B. Transmission of microorganisms from patient
to patient and from inanimate objects to patients
C. Severe toxic state resulting from infection with
pyogenic organisms

Question # 3
3. Which is the best technique for you to use when rinsing your
hands and forearms after a surgical scrub?
A. Rinsing is not performed after a surgical scrub because it
will reduce the antimicrobial activity of the cleansing solution.
B. Rinsing should start at the elbow with the water running
down back down to the hand
C. Rinsing should start with the hand positioned such that the
water runs off the elbow rather than down to the hands

Answer
3. Which is the best technique for you to use when rinsing your
hands and forearms after a surgical scrub?
A. Rinsing is not performed after a surgical acrub because it
will reduce the antimicrobial activity of the cleansing solution.
B. Rinsing should start at the elbow with the water running
down back down to the hand
C. Rinsing should start with the hand positioned such that the
water runs off the elbow rather than down to the hands

KKUH Operating Room
Upon entering basic rules and policy like
surgical attire.
How many theaters?
Specialty and schedules
Administrators

KKUH Operating Room

KKUH Operating Room

KKUH Operating Room

KKUH Operating Room
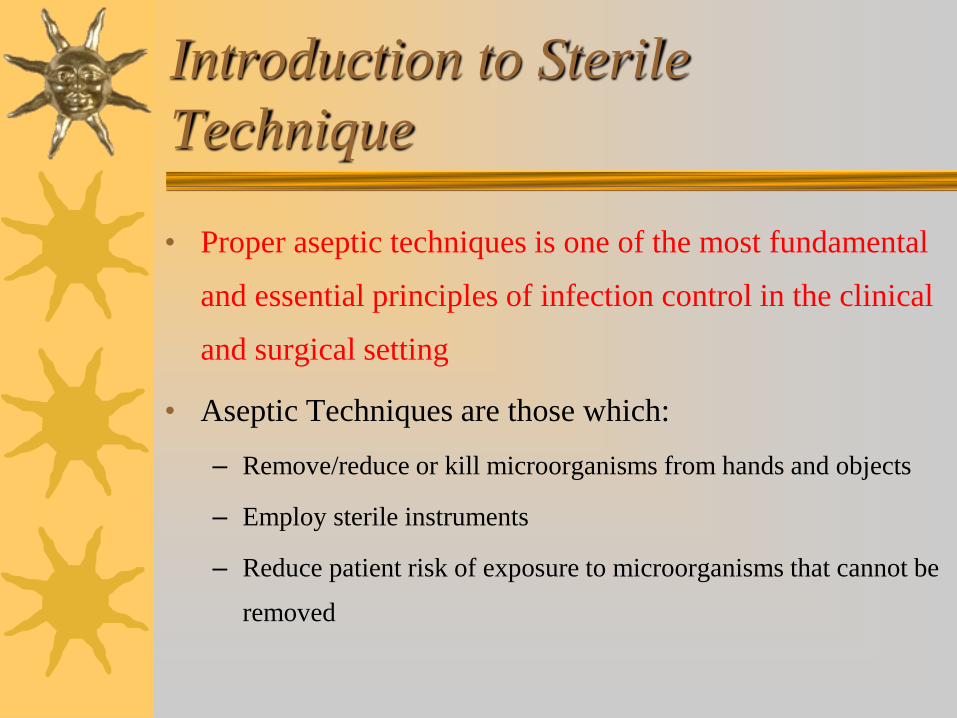
Introduction to Sterile
Technique
• Proper aseptic techniques is one of the most fundamental
and essential principles of infection control in the clinical
and surgical setting
• Aseptic Techniques are those which:
– Remove/reduce or kill microorganisms from hands and objects
– Employ sterile instruments
– Reduce patient risk of exposure to microorganisms that cannot be
removed

Aseptic Technique
• Immediately before and during surgical procedures to
reduce post-operative infection:
– Hand washing
– Surgical Attire
– Surgical scrub, sterile gowning & gloving
– Patients surgical skin prep
– Using surgical barriers (surgical drapes and PPE)
– Using safe operative technique

Asepsis
Absence of microorganism that cause disease
Freedom from infection
Aspetic Technique = methods by which
contamination with microorganisms is prevented

Principles of Aseptic Technique
Only sterile items are used within the sterile field
Sterile persons are gowned and gloved
– Gowns are only sterile from waist to shoulder
– Gloved hand must be kept in sight at all times
Only the top of a draped table is considered
sterile
Sterile persons touch only sterile items or areas

Principles of Aseptic Technique
Unsterile persons avoid reaching over the sterile
field
The edges of anything that encloses sterile
contents are considered unsterile
Sterile field is created as close as possible to the
time of use
Sterile areas are continuously kept in view

Principles of Aseptic Technique
Sterile persons keep well within the sterile area
Sterile persons keep contact with sterile areas to a
minimum
Unsterile persons avoid sterile areas
Destruction of the integrity of microbial barriers
results in contamination

The Surgical Hand Antisepsis
Process of removing as many microorganisms as
possible from the hands and arms by mechanical
washing and chemical antisepsis before
participating in a surgical procedure
– Despite the mechanical action and the chemical
antimicrobial component of the scrub process, skin is
never sterile
Surgical Hand Antisepsis
4 factors affecting the effectiveness of surgical
hand antisepsis:
– The preparation before cleansing
– The choice of antiseptic solution
– The cleansing method
– The duration for hand cleansing

Choice of Antiseptic Solution
Antimicrobial soaps, aqueous scrubs (ex. biguanides),
alcohol rubs used as antiseptic solutions+
Alcoholic chlorhexidine was found to have greater
residual antimicrobial activity
– Review by Tanner et al, reported that biguanides (ex
Chlorohexidine gluconate are more effective in removing
microorganism on hands than Iodophors (ex. Providone iodine)

The Methodology of the Scrub
The time method:
– All surgical scrubs are 3-5 minutes in length
– All are performed using a surgical scrub brush
and an antimicrobial soap solution
Preparation Before Surgical
Scrub
Removal of finger rings/jewelry, nail polish and
artificial nails
– Finger rings and jewelry can harbor microorganism
and dead skin
– Dark nail polish obscures the subungual space and
likelihood of careful cleansing is reduced
– Artifical nail ↑ the microbial load on hands
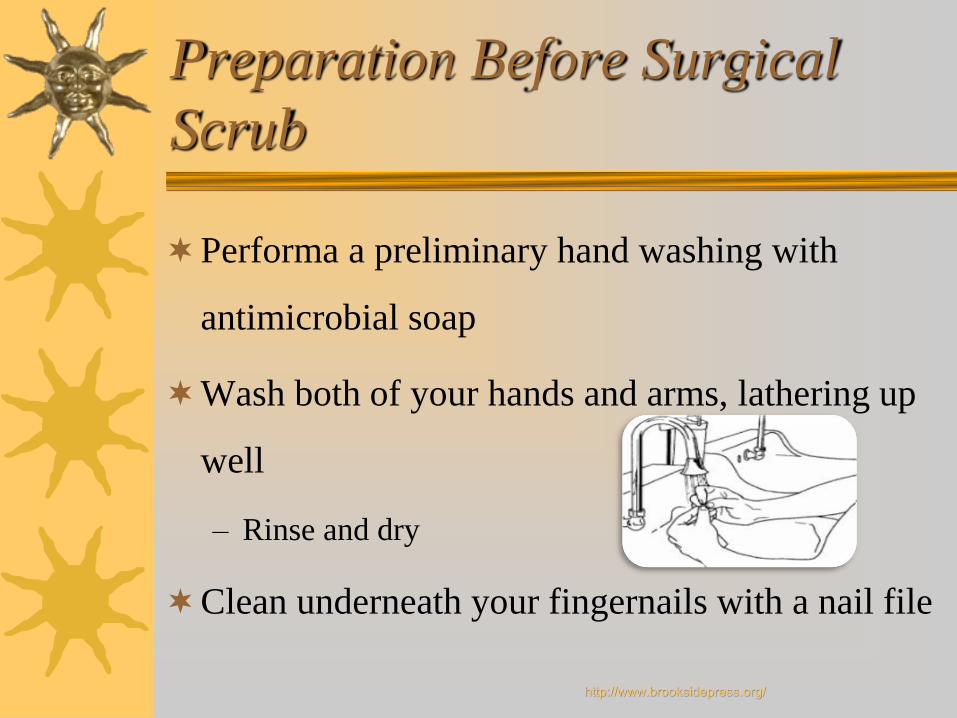
Preparation Before Surgical
Scrub
Performa a preliminary hand washing with
antimicrobial soap
Wash both of your hands and arms, lathering up
well
– Rinse and dry
Clean underneath your fingernails with a nail file
http://www.brooksidepress.org/

Surgical Scrub Procedure
1. Remove sterile disposable brush-sponge from
its wrapper and moisten the sponge
2. Lather fingertips with sponge side of brush,
then using brush side of brush scrub the spaces
under the fingernails of the right or left hand with
30 circular strokes
http://www.brooksidepress.org/

Surgical Scrub Procedure
3. Lather digits; scrub 20 circular strokes on all
four sides of each finger
4. Lather palm, back of hand, heel of hand and
space between thumb and index finger (scrub 20
circular strokes) on each surface
http://www.brooksidepress.org

Surgical Scrub Procedure
5. Forearm scrub – divide the forearm into
3 inch increments (the brush is 3 inches
lengthwise)
– Use the sponge side of the brush lengthwise to
apply soap around the wrist
– Scrub 20 circular strokes on all four sides of
wrist
– Then move up the forearm – lather, then scrub
ending 2 inches above the elbow

Surgical Scrub Procedure
6. Repeat the previous steps for the other
arm
7. Discard the brush
8. Rinse hands and arms without retracing
or contaminating; allow the water to drip
from the elbows

Surgical Scrub Procedure
8. After final rinse, turn water off and keep
scrubbed hands and arms in view to avoid
contamination and back into operating room
9. In the operating room, dry hands and arms
with a sterile towel before donning a sterile
surgical gown and gloves

Drying the Hands
• Step 1: Reach down to the opened sterile package
containing the gown, and pick up the towel
– Be careful not to drip water onto the pack
• Step 2: Open the towel full-length, holding one
end away from the non-sterile scrub attire
– Bend slightly forward
Drying the Hands
• Step 3: Dry both hands thoroughly but independently
– To dry one arm, hold the towel in the opposite hand and,
using the oscillating motion of the arm, draw the towel up
to the elbow
• Step 4: Carefully reverse the towel, still holding it
away from the body
– Dry the opposite arm on the unused end of the towel

Gowning Technique
Step 1: Reach down to the sterile package and lift the
folded gown directly upward
Step 2: Step back away from the table into an
unobstructed area to provide a wide margin of safety
while gowning
Step 3: Holding the folded gown, carefully locate the
neckline

Gowning Technique
• Step 4: Holding the inside front of the gown just below
the neckline with both hands, let the gown unfold,
keeping the inside of the gown toward the body
– Do not touch the outside of the gown with bare hands
the gown is considered contaminated
• Step 5: Holding the hands at shoulder level, slip both
arms into the armholes simultaneously
Gowning Technique
• The circulator brings the gown over the shoulders
by reaching inside to the shoulder and arm seams
– The gown is pulled on, leaving the cuffs of the
sleeves extended over the hands
– The back of the gown is securely tied or fastened at
the neck and waist, touch the outside of the gown at
the line of ties or fasteners in the back only

Gowning Technique
Summary Principles:
– Touch only the inside of the gown while donning it
– If touch the outside, the gown is considered contaminated
– Scrubbed hands and arms are considered contaminated if
they fall below the waist level or touch the body
– After donning the gown, the only parts of the gown that are
considered sterile are the sleeves and front from waist level
to a few inches below neck opening

Gowning

Gloving by the Closed Glove
Technique
Preferred method over open-gloving technique
Provides a bacterial barrier between patient and
surgeon
Step1: Using the right hand and keeping it within the
cuff of the sleeve, pick up the left glove from the
inner wrap of the glove package by grasping the
folded cuff
Gloving by the Closed Glove
Technique
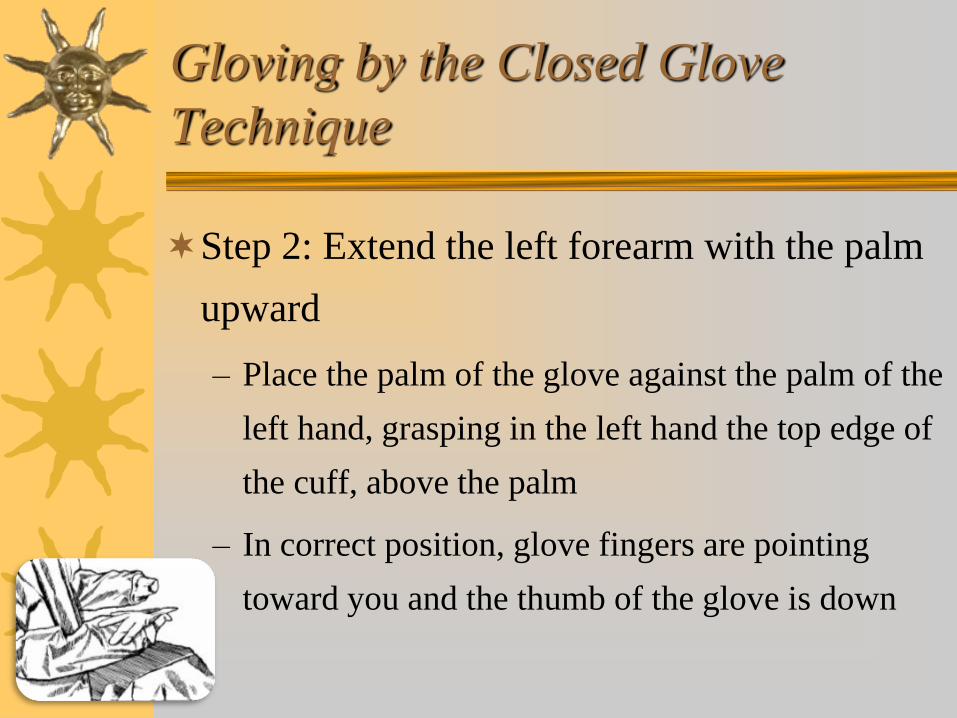
Step 2: Extend the left forearm with the palm
upward
– Place the palm of the glove against the palm of the
left hand, grasping in the left hand the top edge of
the cuff, above the palm
– In correct position, glove fingers are pointing
toward you and the thumb of the glove is down

Gloving by the Closed Glove
Technique
Step 3: Grasp the back of the cuff in the left
hand and turn it over the end of the left sleeve
and hand
– The cuff of the glove is now over the stockinette cuff
of the gown, with the hand still inside the sleeve

Gloving by the Closed Glove
Technique
Step 4: Grasp the top of the left glove and
underlying gown sleeve with the covered right
hand
– Pull the glove on over the extended right fingers until
it completely covers the stockinette cuff
Step 5: Glove the right hand in the same manner
– Use the gloved left hand to pull on the right glove

Final Tie of the GownStep 1 Step 2
Step 3 Step 4
http://www.brooksidepress.org

Final Tie of the Gown


Disinfection and
Sterilization
Definition of terms
Cleaning - the physical removal of organic material or soil from objects, is usually done by using water with or without detergents.
Sterilization is the destruction of all forms of microbial life; it is carried out in the hospital with steam under pressure, liquid or gaseous chemicals, or dry heat.
Disinfection, defined as the intermediate measures between physical cleaning and sterilization.

The level of disinfection achieved
depends on several factors:
contact time
temperature
type and concentration of the active
ingredients of the chemical germicide
the nature of the microbial
contamination.

Types of disinfection
High-level disinfection: can be expected to destroy all microorganisms, with the exception of large numbers of bacterial spores.
Intermediate disinfection: inactivates Mycobacterium tuberculosis, vegetative bacteria, most viruses, and most fungi; does not necessarily kill bacterial spores.
Low-level disinfection: can kill most bacteria, some viruses, and some fungi; cannot be relied on to kill resistant microorganisms such as tubercle bacilli or bacterial spores.

Medical devices, equipment, and surgical
materials are divided into three general
categories based on the potential risk of
infection involved in their use:
critical items
semicritical items
noncritical items

Critical items
Critical items are instruments or objects that are
introduced directly into the bloodstream or into other
normally sterile areas of the body.
Examples are surgical instruments, cardiac
catheters, implants, pertinent components of the heart-
lung oxygenator, and the blood compartment of a
hemodialyzer.
Sterility at the time of use is required for these
items; consequently, one of several accepted
sterilization procedures is generally recommended.

Semicritical items
These items come in contact with intact mucous membranes, but they do not ordinarily penetrate body surfaces.
Examples are noninvasive flexible and rigid fiberoptic endoscopes, endotracheal tubes, anesthesia breathing circuits, and cystoscopes.
Sterilization is not absolutely essential; at a minimum, a high-level disinfection procedure that can be expected to destroy vegetative microorganisms, most fungal spores, tubercle bacilli, and small nonlipid viruses is recommended. In most cases, meticulous physical cleaning followed by an appropriate high-level disinfection treatment gives the user a reasonable degree of assurance that the items are free of pathogens.

Noncritical items
Noncritical items are those that either do not ordinarily touch the patient or touch only intact skin.
Such items include crutches, bedboards, blood pressure cuffs, and a variety of other medical accessories.
These items rarely, if ever, transmit disease. Consequently, washing with a detergent may be sufficient.

Items must be thoroughly cleaned
before processing, because organic
material (e.g., blood and proteins)
may contain high concentrations of
microorganisms. Also, such organic
material may inactivate chemical
germicides and protect
microorganisms from the disinfection
or sterilization process.

For noncritical items
cleaning can consist only of
1) washing with a detergent or a disinfectant-
detergent,
2) rinsing,
3) thorough drying.

Steam sterilization
Steam sterilization is the most inexpensive and effective method for sterilization.
Steam sterilization is unsuitable for processing plastics with low melting points, powders, or anhydrous oils.
Items that are to be sterilized but not used immediately need to be wrapped for storage.
Sterility can be maintained in storage for various lengths of time, depending on the type of wrapping material, the conditions of storage, and the integrity of the package.

Monitoring of steam sterilization
processes
to check the highest temperature that is
reached during sterilization and the length
of time that this temperature is maintained
heat- and steam-sensitive chemical
indicators can be used on the outside of
each pack
a large pack might have a chemical
indicator both on the outside and the inside
to verify that steam has penetrated the pack

Microbiological monitoring
Microbiological monitoring of steam sterilizers is
recommended at least once a week with commercial
preparations of spores of Bacillus stearothermophilus
(a microorganism having spores that are particularly
resistant to moist heat, thus assuring a wide margin
of safety).
One positive spore test (spores not killed) does not
necessarily indicate that items processed in the
sterilizer are not sterile, but it does suggest that the
sterilizer should be rechecked for proper
temperature, length of cycle, loading, and use and
that the test be repeated.

Implantable items, such as orthopedic devices, require special handling before and during sterilization; thus, packs containing implantable objects need to be clearly labeled so they will be appropriately processed. To guarantee a wide margin of safety, it is recommended that each load of such items be tested with a spore test and that the sterilized item not be released for use until the spore test is negative at 48 hours.
If it is not possible to process an implantable object with a confirmed 48-hour spore test before use, it is recommended that the unwrapped object receive the equivalent of full-cycle steam sterilization and not flash sterilization.
Sterilization of implantable
items
Ethylene oxide gas sterilization
It is a more complex and expensive process than steam sterilization
It is usually restricted to objects that might be damaged by heat or excessive moisture.
Before sterilization, objects also need to be cleaned thoroughly and wrapped in a material that allows the gas to penetrate.

Because ethylene oxide gas is toxic, precautions (e.g., local exhaust ventilation) should be taken to protect personnel. All objects processed by gas sterilization also need special aeration according to manufacturer's recommendations before use to remove toxic residues of ethylene oxide.
Chemical indicators need to be used with each package to show that it has been exposed to the gas sterilization process.
Moreover, it is recommended that gas sterilizers be checked at least once a week with commercial preparations of spores, usually Bacillus subtilis.
Powders and anhydrous oils can be sterilized by
dry heat. Microbiological monitoring of dry heat
sterilizers usually provides a wide margin of safety
for dry heat sterilization.
Liquid chemicals can be used for sterilization and
disinfection when steam, gas, or dry heat
sterilization is not indicated or available

The most appropriate chemical germicide
for a particular situation can be selected by
responsible personnel in each hospital based
on
• the object to be disinfected,
• the level of disinfection needed,
• and the scope of services, physical
facilities, and personnel available in the
hospital.

Gloves may be indicated to prevent skin reactions when some chemical disinfectants are used.
Items subjected to high-level disinfection with liquid chemicals need to be rinsed in sterile water to remove toxic or irritating residues and then thoroughly dried. Subsequently, the objects need to be handled aseptically with sterile gloves and towels and stored in protective wrappers to prevent recontamination.
Recommendations
Cleaning
All objects to be disinfected or sterilized should first be thoroughly cleaned to remove all organic matter (blood and tissue) and other residue.
Indications for Sterilization and High-Level Disinfection
– Critical medical devices or patient-care equipment that enter normally sterile tissue or the vascular system or through which blood flows should be subjected to a sterilization procedure before each use.
– Laparoscopes, arthroscopes, and other scopes that enter normally sterile tissue should be subjected to a sterilization procedure before each use; if this is not feasible, they should receive at least high-level disinfection.

Equipment that touches mucous membranes, e.g., endoscopes, endotracheal tubes, anesthesia breathing circuits, and respiratory therapy equipment, should receive high-level disinfection.
Methods of Sterilization
– Whenever sterilization is indicated, a steam sterilizer should be used unless the object to be sterilized will be damaged by heat, pressure, or moisture or is otherwise inappropriate for steam sterilization. In this case, another acceptable method of sterilization should be used.
– Flash sterilization [270°F (132°C) for 3 minutes in a gravity displacement steam sterilizer] is not recommended for implantable items.

Biological Monitoring of Sterilizers
– All sterilizers should be monitored at least once a weekwith commercial preparations of spores intended specifically for that type of sterilizer (i.e., Bacillus stearothermophilus for steam sterilizers and Bacillus subtilis for ethylene oxide and dry heat sterilizers).
– Every load that contains implantable objects should be monitored. These implantable objects should not be used until the spore test is found to be negative at 48 hours.

Biological Monitoring of Sterilizers
– If spores are not killed in routine spore tests, the sterilizer should immediately be checked for proper use and function and the spore test repeated. Objects, other than implantable objects, do not need to be recalled because of a single positive spore test unless the sterilizer or the sterilization procedure is defective.
– If spore tests remain positive, use of the sterilizer should be discontinued until it is serviced.

Use and Preventive Maintenance – Manufacturers' instructions should be followed
for use and maintenance of sterilizers.
Chemical Indicators – Chemical indicators that will show a package
has been through a sterilization cycle should be visible on the outside of each package sterilized.

Use of Sterile Items – An item should not be used if its sterility is
questionable, e.g., its package is punctured, torn, or wet.
Reprocessing Single-Use or Disposable Items – Items or devices that cannot be cleaned and
sterilized or disinfected without altering their physical integrity and function should not be reprocessed.
– Reprocessing procedures that result in residual toxicity or compromise the overall safety or effectiveness of the items or devices should be avoided.

Role of CSSD
Rinsing
Cleaning
Drying
Inspection and assembly
Packaging
Labelling
Sterilisation
Storage
Distribution
Summary
Proper aseptic technique is one of the most
fundamental and essential principles of
infection control
This stepwise process of proper aspetic
technique should be performed every
single time in the OR

Thank you very much