Embed Size (px)
Citation preview
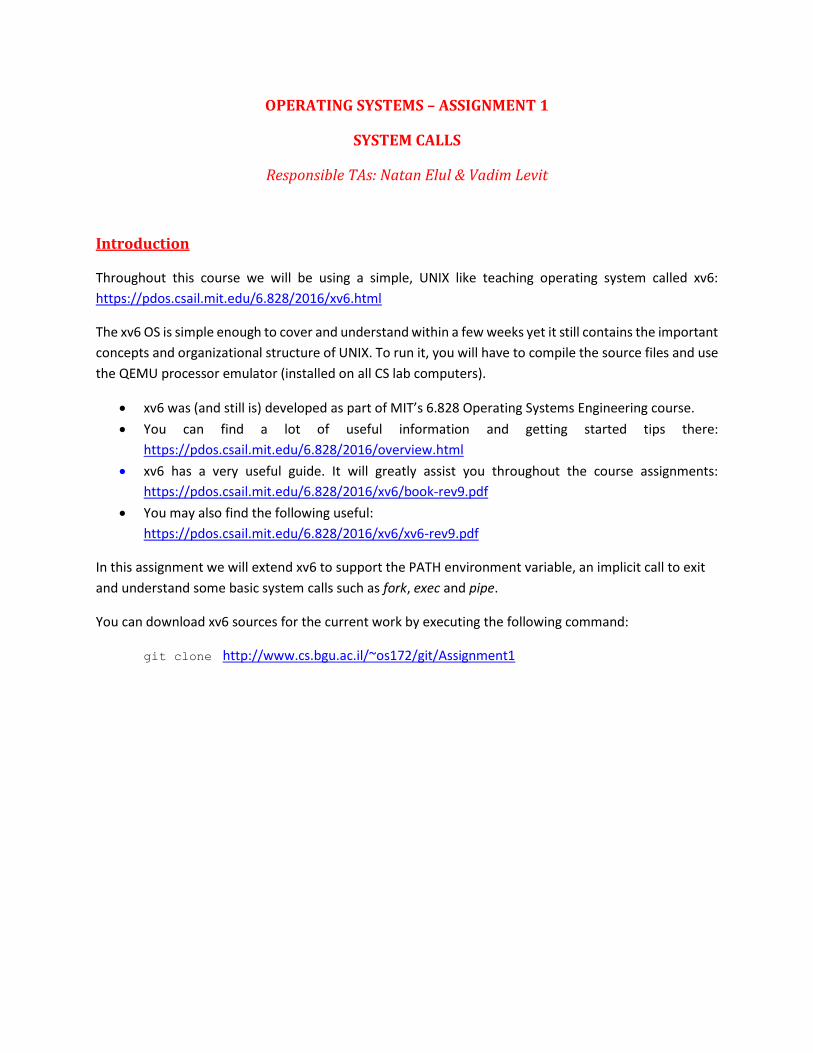
OPERATING SYSTEMS – ASSIGNMENT 1
SYSTEM CALLS
Responsible TAs: Natan Elul & Vadim Levit
Introduction
Throughout this course we will be using a simple, UNIX like teaching operating system called xv6:
https://pdos.csail.mit.edu/6.828/2016/xv6.html
The xv6 OS is simple enough to cover and understand within a few weeks yet it still contains the important
concepts and organizational structure of UNIX. To run it, you will have to compile the source files and use
the QEMU processor emulator (installed on all CS lab computers).
xv6 was (and still is) developed as part of MIT’s 6.828 Operating Systems Engineering course.
You can find a lot of useful information and getting started tips there:
https://pdos.csail.mit.edu/6.828/2016/overview.html
xv6 has a very useful guide. It will greatly assist you throughout the course assignments:
https://pdos.csail.mit.edu/6.828/2016/xv6/book-rev9.pdf
You may also find the following useful:
https://pdos.csail.mit.edu/6.828/2016/xv6/xv6-rev9.pdf
In this assignment we will extend xv6 to support the PATH environment variable, an implicit call to exit
and understand some basic system calls such as fork, exec and pipe.
You can download xv6 sources for the current work by executing the following command:
git clone http://www.cs.bgu.ac.il/~os172/git/Assignment1

Task 0: Running xv6 Begin by downloading our revision of xv6, from our course Assignment repository:
Open a shell, and traverse to a directory in your computer where you want to store the sources for the OS course. For example, in Linux: mkdir ~/os172 cd ~/os162
Execute the following command: git clone http://www.cs.bgu.ac.il/~os172/git/Assignment1
build xv6 by calling make make
Run xv6 on top of QEMU by calling: make clean qemu
Task 1: Warm up (“HelloXV6”)
This part of the assignment is aimed at getting you started. It includes small changes in xv6 shell. Note
that in terms of writing code, the current xv6 implementation is limited: it supports only a subset of the
system calls you may use when using Linux and its standard library, and is quite limited.
1.1. Support the PATH environment variable
When a program is executed, the shell seeks the appropriate binary file in the current working directory
and executes it. If the desired file does not exist in the working directory, an error message is printed.
Currently all the user programs located inside /bin folder, therefore in order to run a program you should
add a prefix “/bin/” to it (for example to run “ls” you should type "/bin/ls").
“PATH” is an environment variable which specifies the list of directories where commonly used
executables reside. If, upon typing a command, the required file is not found in the current working
directory, the shell attempts to execute the file from one of the directories specified by the PATH variable.
An error message is printed only if the required file was not found in the working directory or any of the
directories listed in PATH.
Your first task is to add support for the PATH environment variable. In order to simplify the support for
environment variables we require that the value of the PATH environment variable will reside in file
“/path”. Namely, each time the shell needs to know the value of PATH, it should read the content of the
file “/path”. That means each change in the content of the file “/path” will reflect an update of the
value of the PATH variable. The value of the PATH variable consists of a list of directories where the shell
should search for executables. Each directory name listed should be delimited by a colon (‘:’). For example,
if we wanted to add the root directory and the bin directory to the PATH variable one could consider the
following content of the “/path” file:
/:/bin/:

Finally, the shell must be aware of the PATH environment variable when executing a program. The first
place to seek the binary of the executed command should be the current working directory, and only if
the binary does not exist, the shell must search it in directories defined by PATH. The list of directories
can be traversed in random order and must either execute the binary (if it is found in one of the
directories) or print an error message in case the program is not found. Note that the user can execute a
program by providing the shell an absolute path (i.e., the path which has ‘/’ as its first character) or a
relative path. The search for the binary should be executed only on relative paths.
Test your implementation by executing a binary which does not reside in your current working
directory but is pointed to by PATH. The tests must include commands which use I/O redirection
(i.e., file input/output and pipes).
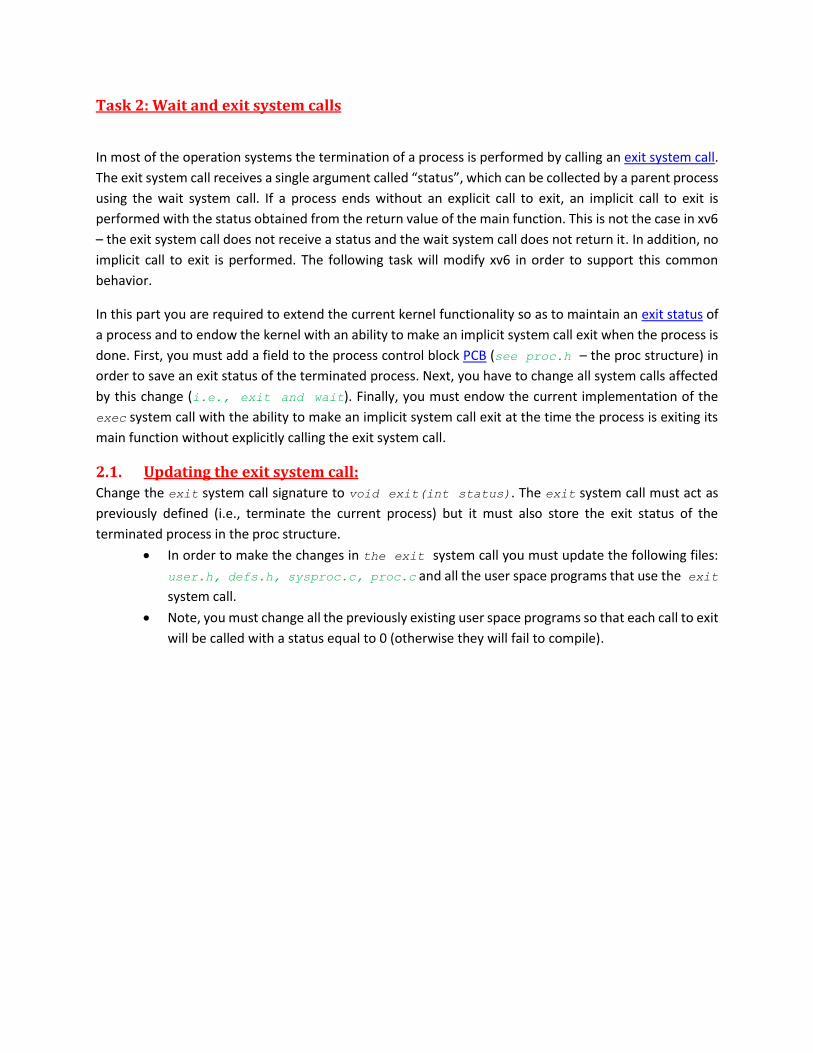
Task 2: Wait and exit system calls
In most of the operation systems the termination of a process is performed by calling an exit system call.
The exit system call receives a single argument called “status”, which can be collected by a parent process
using the wait system call. If a process ends without an explicit call to exit, an implicit call to exit is
performed with the status obtained from the return value of the main function. This is not the case in xv6
– the exit system call does not receive a status and the wait system call does not return it. In addition, no
implicit call to exit is performed. The following task will modify xv6 in order to support this common
behavior.
In this part you are required to extend the current kernel functionality so as to maintain an exit status of
a process and to endow the kernel with an ability to make an implicit system call exit when the process is
done. First, you must add a field to the process control block PCB (see proc.h – the proc structure) in
order to save an exit status of the terminated process. Next, you have to change all system calls affected
by this change (i.e., exit and wait). Finally, you must endow the current implementation of the
exec system call with the ability to make an implicit system call exit at the time the process is exiting its
main function without explicitly calling the exit system call.
2.1. Updating the exit system call:
Change the exit system call signature to void exit(int status). The exit system call must act as
previously defined (i.e., terminate the current process) but it must also store the exit status of the
terminated process in the proc structure.
In order to make the changes in the exit system call you must update the following files:
user.h, defs.h, sysproc.c, proc.c and all the user space programs that use the exit
system call.
Note, you must change all the previously existing user space programs so that each call to exit
will be called with a status equal to 0 (otherwise they will fail to compile).
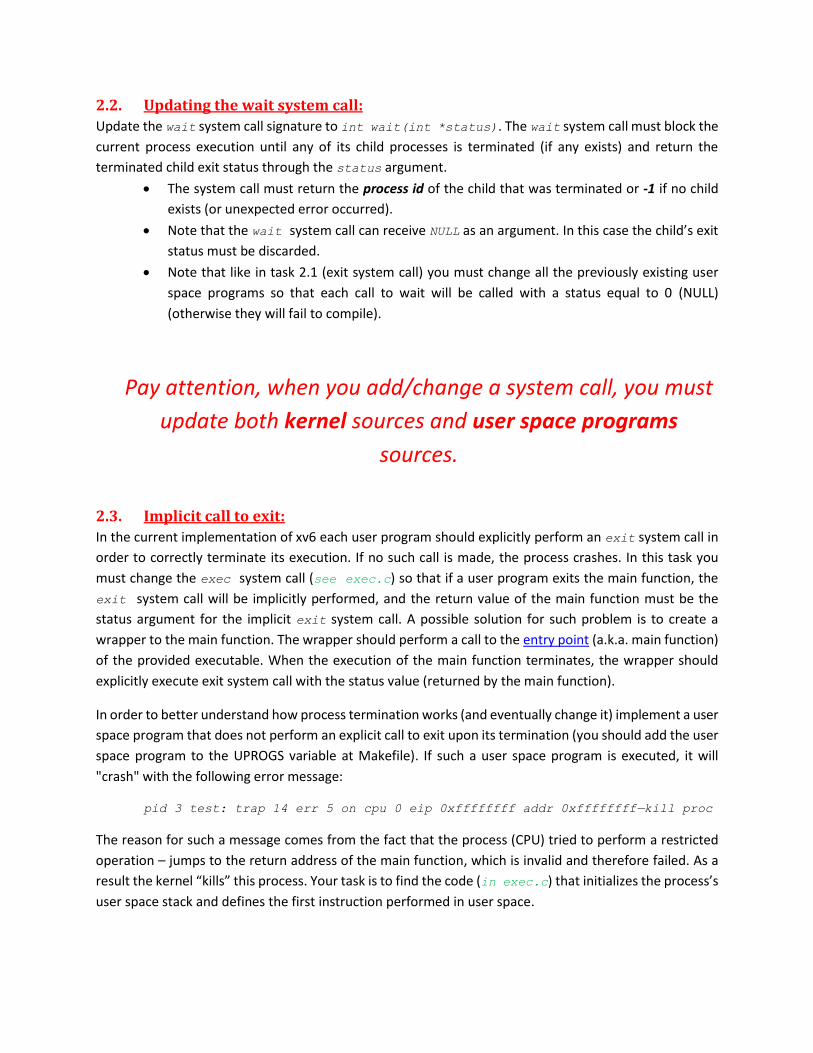
2.2. Updating the wait system call:
Update the wait system call signature to int wait(int *status). The wait system call must block the
current process execution until any of its child processes is terminated (if any exists) and return the
terminated child exit status through the status argument.
The system call must return the process id of the child that was terminated or -1 if no child
exists (or unexpected error occurred).
Note that the wait system call can receive NULL as an argument. In this case the child’s exit
status must be discarded.
Note that like in task 2.1 (exit system call) you must change all the previously existing user
space programs so that each call to wait will be called with a status equal to 0 (NULL)
(otherwise they will fail to compile).
Pay attention, when you add/change a system call, you must
update both kernel sources and user space programs
sources.
2.3. Implicit call to exit:
In the current implementation of xv6 each user program should explicitly perform an exit system call in
order to correctly terminate its execution. If no such call is made, the process crashes. In this task you
must change the exec system call (see exec.c) so that if a user program exits the main function, the
exit system call will be implicitly performed, and the return value of the main function must be the
status argument for the implicit exit system call. A possible solution for such problem is to create a
wrapper to the main function. The wrapper should perform a call to the entry point (a.k.a. main function)
of the provided executable. When the execution of the main function terminates, the wrapper should
explicitly execute exit system call with the status value (returned by the main function).
In order to better understand how process termination works (and eventually change it) implement a user
space program that does not perform an explicit call to exit upon its termination (you should add the user
space program to the UPROGS variable at Makefile). If such a user space program is executed, it will
"crash" with the following error message:
pid 3 test: trap 14 err 5 on cpu 0 eip 0xffffffff addr 0xffffffff—kill proc
The reason for such a message comes from the fact that the process (CPU) tried to perform a restricted
operation – jumps to the return address of the main function, which is invalid and therefore failed. As a
result the kernel “kills” this process. Your task is to find the code (in exec.c) that initializes the process’s
user space stack and defines the first instruction performed in user space.

To make things easier we updated the exec.c file for you, and now the file contain the following “empty”
function:
void pseudo_main(int (*entry)(int, char**), int argc, char **argv)
You should update the body of the function in the following way: first you should call the entry function
with arguments argv and argc. Next, you should store the value (exit status) returned by the entry
function. Finally, you should execute the exit() system call (and provide it with the exit status). Note that
the pseudo_main function resides in kernel space. Therefore, it cannot be called (directly) from user
space. Consequently, we updated the exec system call so that the pseudo_main function is copied to user
space. You can refer to the user space address of this function by pointer_pseudo_main which is a
variable in the exec system call.
If you want to add assembly code alongside your c code, you can use GCC inline assembly ( GCC
Inline Assembly) .
Now it is time to update the exec system call so that the pseudo_main function will be performed instead
of the “regular” main function. In order to perform this task you are required to update the stack frame
of the main function to fit the requirements of the pseudo_main function. Additionally, you should
perform changes in the exec system call to ensure that the first instruction, performed in user space, will
be that of pseudo_main instead of main.
Task 3: Scheduling Policies
Scheduling is a basic and important service or part of any operating system. The scheduler aims to satisfy
several conflicting objectives: fast process response time, good throughput for background jobs,
avoidance of process starvation, reconciliation of the needs of low-priority and high-priority processes,
and so on. The set of rules used to determine when and how to select a new process to run is called a
scheduling policy.
You first need to understand the current (e.g., existing) scheduling policy. Locate it in the code and try to
answer the following questions: which process the policy chooses to run, what happens when a process
returns from I/O, what happens when a new process is created and when/how often scheduling takes
place.
You are required to implement Lottery Scheduling. Lottery Scheduling is a probabilistic scheduling
algorithm for processes/threads. Processes are each assigned some number of lottery tickets, and the
scheduler draws a random ticket to select the next process. The distribution of tickets does not have to
be uniform; granting a process more tickets provides it with a relative higher chance of selection which

raises the chance of the process to be selected. This technique can be used with different sub-policies of
tickets distribution to approximate other scheduling algorithms.
Implementation of the Lottery Scheduling will require the following steps:
Implement a Pseudorandom number generator for the use of the Lottery Scheduler.
Add a single field to the PCB called “ntickets” that will hold the amount of tickets allocated to the
process - we will use this field in order to decide which tickets belong to which process.
We will assume that the processes are ordered by their pid and the numbers of the tickets owned
by each process 𝑝𝑖 are between ∑ 𝑛𝑡𝑖𝑐𝑘𝑒𝑡𝑠𝑗𝑗<𝑖 and ∑ 𝑛𝑡𝑖𝑐𝑘𝑒𝑡𝑗𝑗≤𝑖 − 1, where 𝑛𝑡𝑖𝑐𝑘𝑒𝑡𝑠𝑗 represent
the value of the “ntickets” field of the process with 𝑝𝑖𝑑𝑗.
Example: assume two processes with process ids pid1 and pid2 (pid1 < pid2) and ticket allocation
nt1 and nt2 respectively. In such a case we assume that tickets 0 to nt1-1 belong to the process
with pid1 and tickets nt1 to nt1+nt2-1 belong to the process with pid2.
The code of the scheduler should generate a single random number (between 0 and the total
number of the allocated tickets for runnable processes), which will represent a ticket number. The
scheduler then will choose the process owning that ticket for execution.
For the purpose of the current assignment you should consider several different sub-policies for tickets
distribution and measure the impact of such policies on the performance of the system.
3.1. Uniform time distribution:
In this policy you should distribute the tickets in such a way, so as to achieve a uniform time allocation to
the processes (assuming that your implementation of the random number generator achieves a uniform
distribution of the returned values).
3.2. Priority scheduling:
This scheduling policy will take the process priority into consideration while deciding the number of tickets
to allocate. For example, given two processes p1 and p2 having priorities 1 and 2 accordingly, process p2
will receive approximately twice the run-time received by p1. You should implement a new system call:
void priority(int); which can be used by a process to change its priority. The priority of a new
processes is 10.
3.3. Dynamic tickets allocation:
This policy will dynamically reallocate the tickets in response to the process behavior. A newly created
process will get 20 tickets. Each time a process performs a blocking system call, it will receive additional
10 tickets (up to a maximum of 100 tickets) and each time a process ends the quanta without performing
a blocking system call, the amount of the tickets owned by the process will be reduced by 1 (to the
minimum of 1).

3.4. Changing the current policy:
In order to be able to select a desired ticket allocation policy you are required to implement a system call
void policy(int). The system call receives a policy identifier (i.e., 0, 1 and 2) as an argument and changes
the currently used tickets allocation policy. In addition, the system call should redistribute tickets (among
the processes) according to the selected policy default values. Additionally, create a user space program
called policy which must accept an argument, representing the required policy, and perform a call to
the policy system call.
The default ticket allocation policy should be uniform time distribution.
3.5. Measuring the performance of sub-policies:
In class, you learned about different quality measures for scheduling policies. In this task you are required
to implement some of them and measure your new scheduling policies performance. The first step is to
extend the proc struct (see proc.h) by adding the following fields to it:
ctime – process creation time
ttime – process termination time
stime – the time the process spent in the SLEEPING state
retime – the time the process spent in the READY state
rutime – the time the process spent in the RUNNING state
These fields retain sufficient information to calculate the turnaround time and the waiting time of each
process.
Upon the creation of a new process the kernel will update the process’ creation time. The fields (for each
process state) should be updated for all processes whenever a clock tick occurs (see trap.c) (you can
assume that the process’ state is SLEEPING only when the process is waiting for I/O). Finally, care should
be taken in marking the termination time of the process (note: a process may stay in the ‘ZOMBIE’ state
for an arbitrary length of time. Naturally, this should not affect the process’ turnaround time, wait time,
etc.).
Since all this information is retained by the kernel, we are left with the task of extracting this information
and presenting it to the user. To do so, create a new system call wait_stat, which extends the wait system
call: int wait_stat(int* status, stcuct perf * performance), where the second argument is a pointer to the
following structure:

struct perf {
int ctime;
int ttime;
int stime;
int retime;
int rutime;
};
The wait_stat function will return the pid of the terminated child process or -1 upon failure.
Write a user space program ("sanity.c") that will test your implementation and performance of the
currently selected scheduling policy. Make sure to print the performance measure collected during the
test.
Submission Guidelines
Make sure that your Makefile is properly updated and that your code compiles with no warnings
whatsoever. We strongly recommend documenting your code changes with comments – these are often
handy when discussing your code with the graders.
Due to our constrained resources, assignments are only allowed in pairs. Please note this important point
and try to match up with a partner as soon as possible.
Submissions are only allowed through the submission system. To avoid submitting a large number of xv6
builds you are required to submit a patch (i.e. a file which patches the original xv6 and applies all your
changes). You may use the following instructions to guide you through the process:
Back-up your work before proceeding!
Before creating the patch review the change list and make sure it contains all the changes that you applied
and noting more. Modified files are automatically detected by git but new files must be added explicitly
with the ‘git add’ command:
> git add . –Av; git commit –m “commit message”
At this point you may examine the differences (the patch):
> git diff origin
Once you are ready to create a patch simply make sure the output is redirected to the patch file:
> git diff origin > ID1_ID2.patch
Tip: Although grades will only apply your latest patch, the submission system supports multiple
uploads. Use this feature often and make sure you upload patches of your current work even if
you haven’t completed the assignment.
Finally, you should note that the graders are instructed to examine your code on lab computers only!
We advise you to test your code on lab computers prior to submission, and in addition after submission
to download your assignment, apply the patch, compile it, and make sure everything runs and works.

Tips and getting started
Take a deep breath. You are about to delve into the code of an operating system that already contains
thousands of code lines. BE PATIENT. This takes time!
Debugging
You can try to debug xv6’s kernel with gdb (gdb/ddd is even more convenient). You can read more about
this here: http://zoo.cs.yale.edu/classes/cs422/2011/lec/l2-hw
Working from home
The lab computers should already contain both git and qemu. We will only be able to support technical
problems that occur on lab computers. Having said that, students who wish to work on their personal
computers may do so in several ways:
Connecting from home to the labs:
o Install PuTTY (http://www.chiark.greenend.org.uk/~sgtatham/putty/).
o Connect to the host: lvs.cs.bgu.ac.il, using SSH as the connection type.
o Use the ssh command to connect to a computer running Linux (see
http://oldweb.cs.bgu.ac.il/facilities/labs.html to find such a computer).
o Run QEMU using: make qemu-nox.
o Tip: since xv6 may cause problems when shutting down you may want to consider using
the screen command:
screen make qemu-nox
Install Linux and QEMU on your own PC.
Again, we will not support problems occurring on students’ personal computers.