Embed Size (px)
Citation preview
Original Recipe can be found at www.modabakeshop.com
Original Recipe
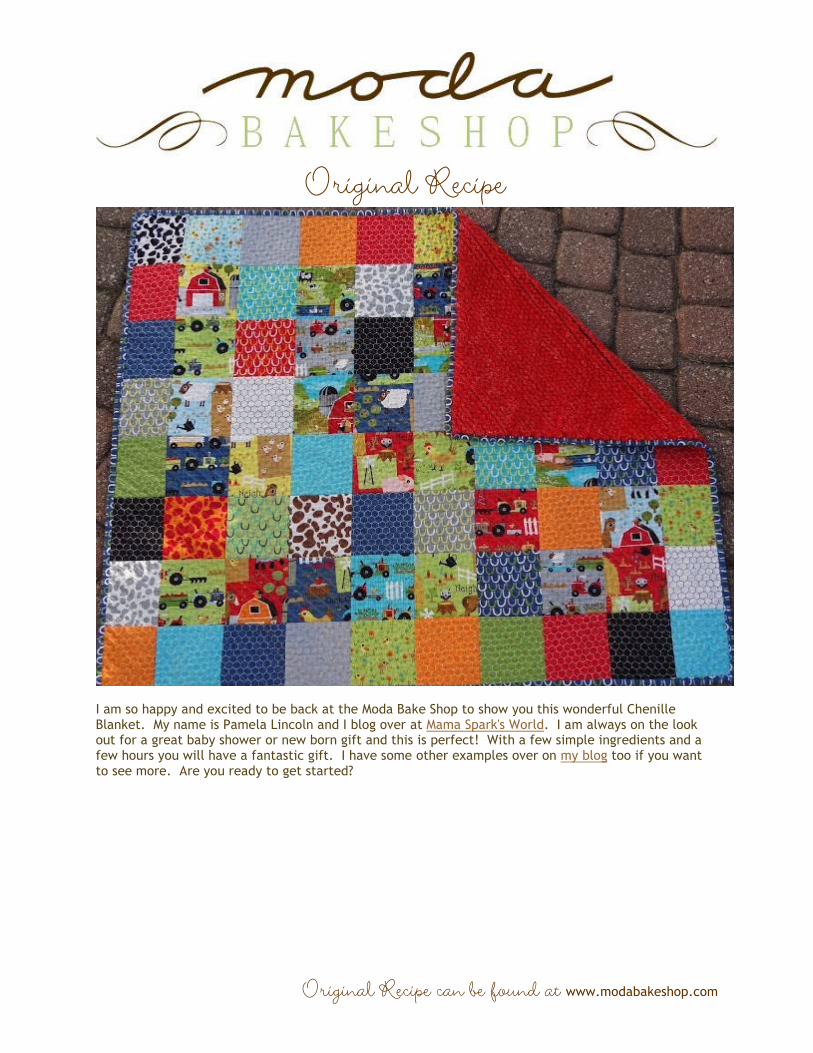
I am so happy and excited to be back at the Moda Bake Shop to show you this wonderful Chenille Blanket. My name is Pamela Lincoln and I blog over at Mama Spark's World. I am always on the look out for a great baby shower or new born gift and this is perfect! With a few simple ingredients and a few hours you will have a fantastic gift. I have some other examples over on my blog too if you want to see more. Are you ready to get started?
Original Recipe can be found at www.modabakeshop.com
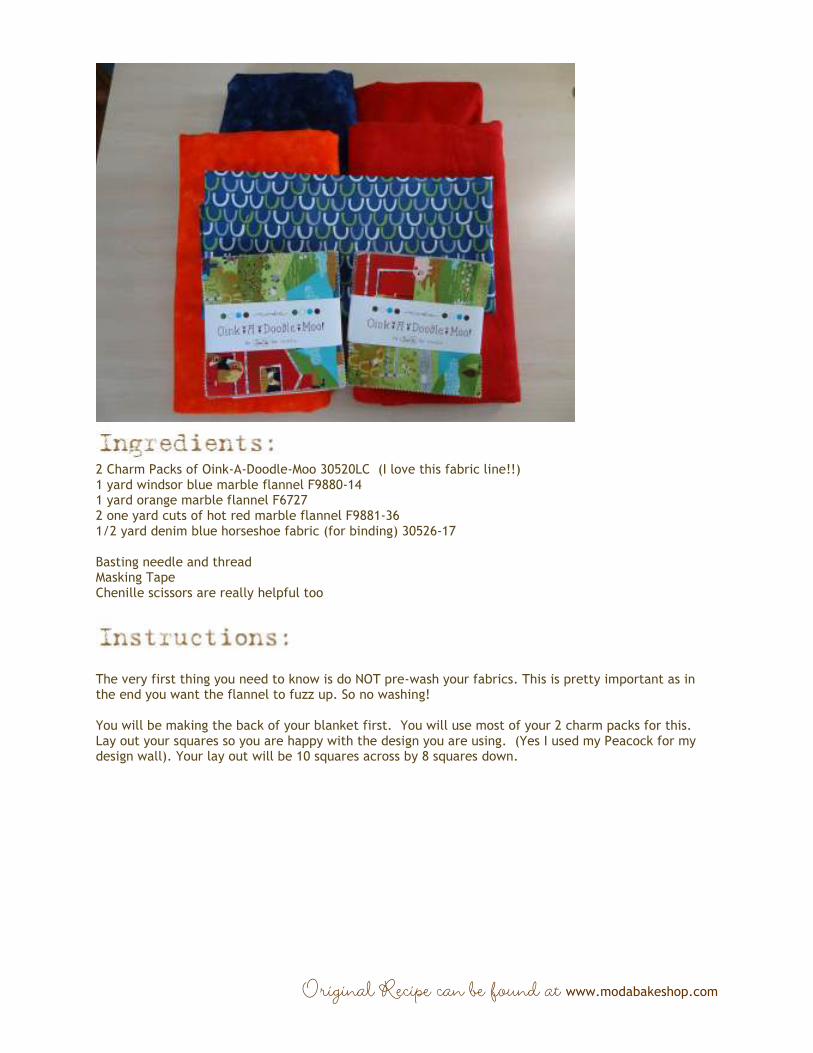
2 Charm Packs of Oink-A-Doodle-Moo 30520LC (I love this fabric line!!) 1 yard windsor blue marble flannel F9880-14 1 yard orange marble flannel F6727 2 one yard cuts of hot red marble flannel F9881-36 1/2 yard denim blue horseshoe fabric (for binding) 30526-17 Basting needle and thread Masking Tape Chenille scissors are really helpful too
The very first thing you need to know is do NOT pre-wash your fabrics. This is pretty important as in the end you want the flannel to fuzz up. So no washing! You will be making the back of your blanket first. You will use most of your 2 charm packs for this. Lay out your squares so you are happy with the design you are using. (Yes I used my Peacock for my design wall). Your lay out will be 10 squares across by 8 squares down.
Original Recipe can be found at www.modabakeshop.com
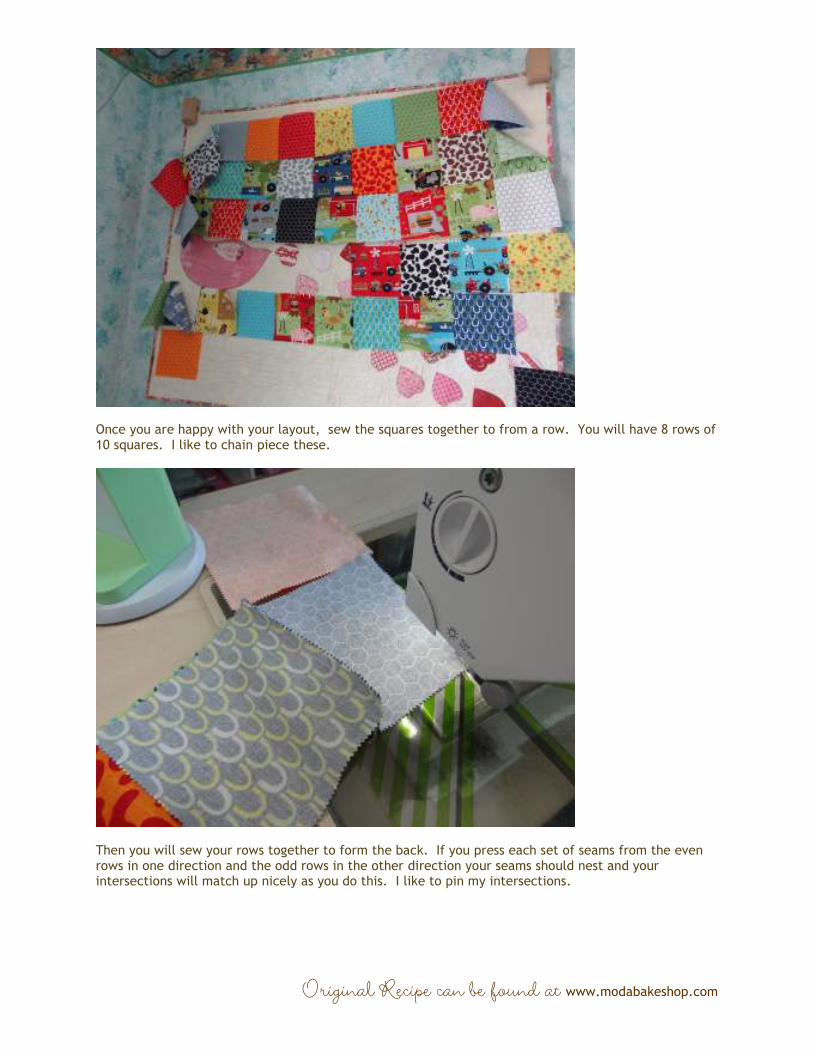
Once you are happy with your layout, sew the squares together to from a row. You will have 8 rows of 10 squares. I like to chain piece these.
Then you will sew your rows together to form the back. If you press each set of seams from the even rows in one direction and the odd rows in the other direction your seams should nest and your intersections will match up nicely as you do this. I like to pin my intersections.
Original Recipe can be found at www.modabakeshop.com
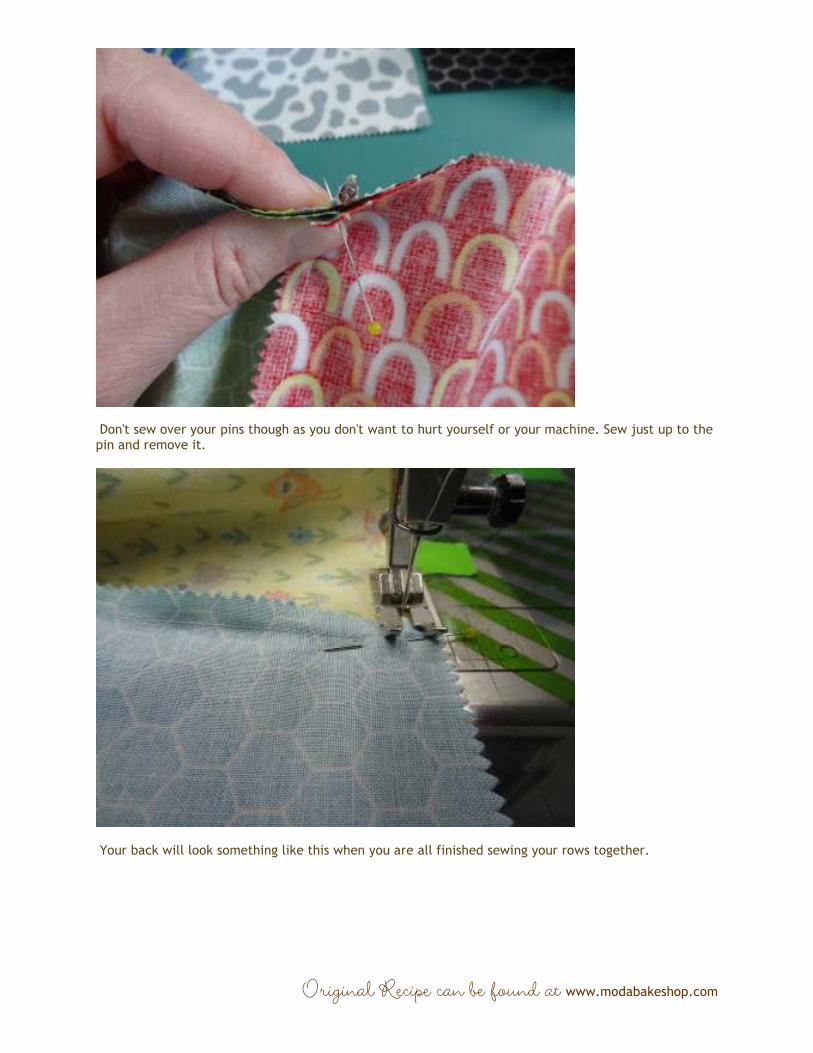
Don't sew over your pins though as you don't want to hurt yourself or your machine. Sew just up to the pin and remove it.
Your back will look something like this when you are all finished sewing your rows together.
Original Recipe can be found at www.modabakeshop.com
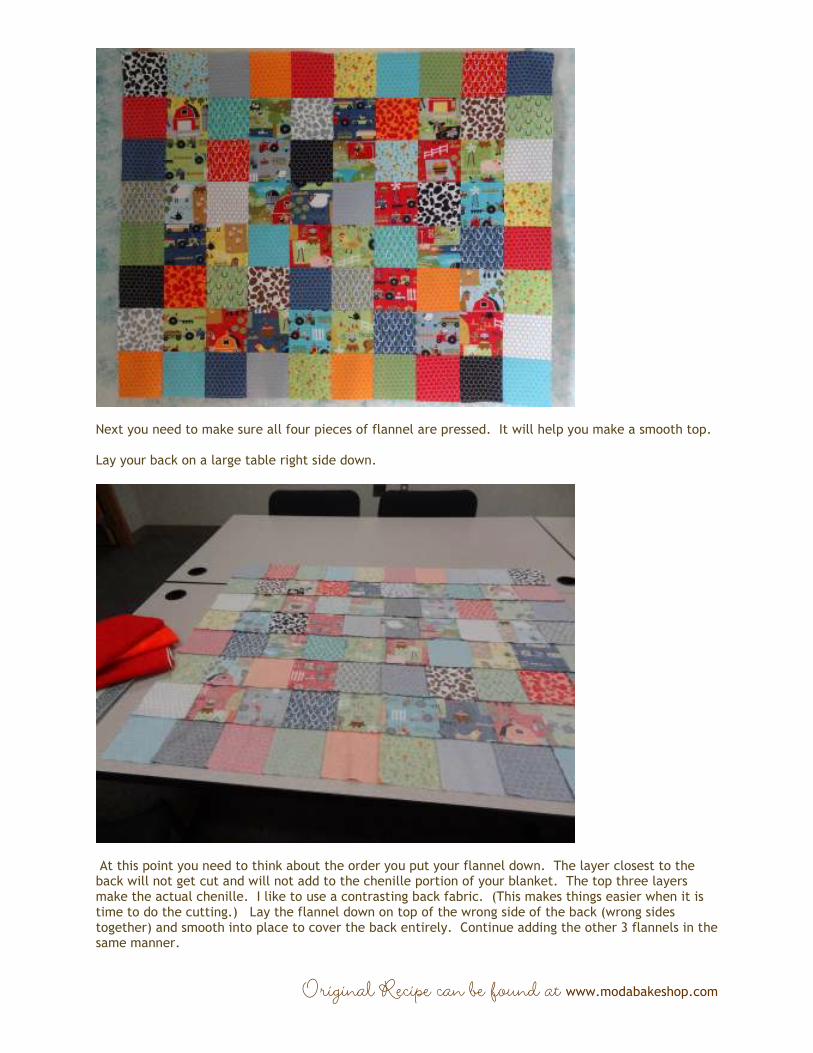
Next you need to make sure all four pieces of flannel are pressed. It will help you make a smooth top. Lay your back on a large table right side down.
At this point you need to think about the order you put your flannel down. The layer closest to the back will not get cut and will not add to the chenille portion of your blanket. The top three layers make the actual chenille. I like to use a contrasting back fabric. (This makes things easier when it is time to do the cutting.) Lay the flannel down on top of the wrong side of the back (wrong sides together) and smooth into place to cover the back entirely. Continue adding the other 3 flannels in the same manner.
Original Recipe can be found at www.modabakeshop.com
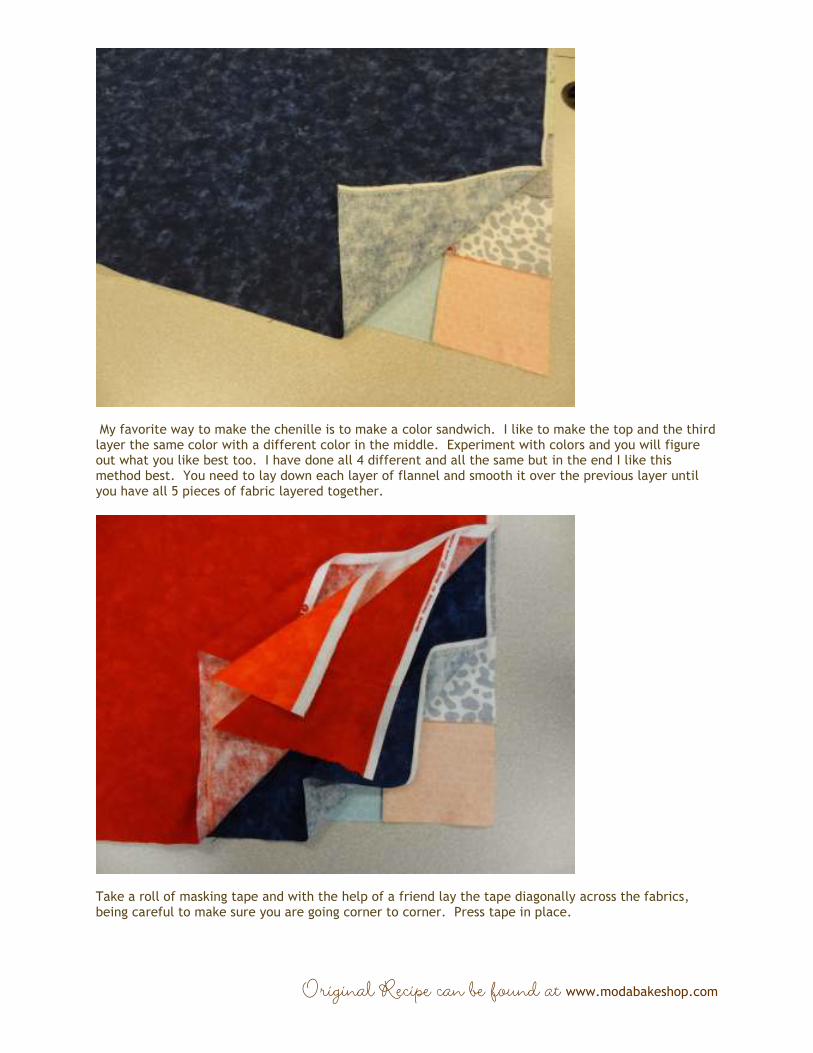
My favorite way to make the chenille is to make a color sandwich. I like to make the top and the third layer the same color with a different color in the middle. Experiment with colors and you will figure out what you like best too. I have done all 4 different and all the same but in the end I like this method best. You need to lay down each layer of flannel and smooth it over the previous layer until you have all 5 pieces of fabric layered together.
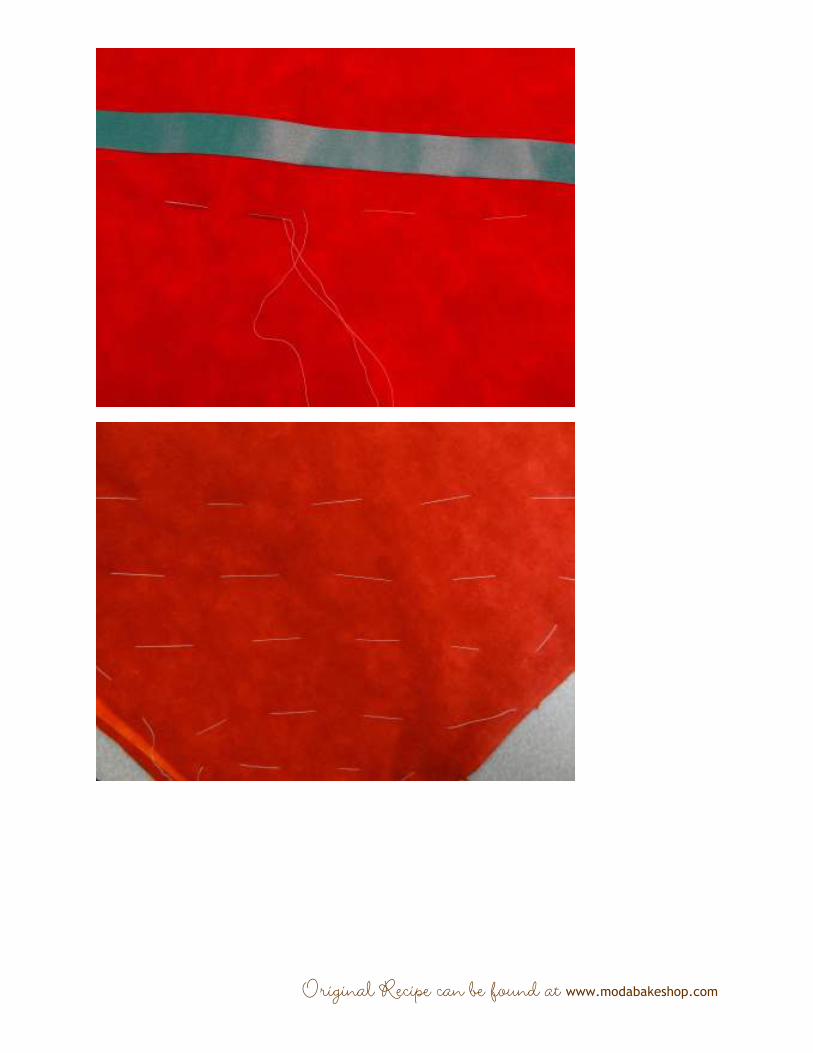
Take a roll of masking tape and with the help of a friend lay the tape diagonally across the fabrics, being careful to make sure you are going corner to corner. Press tape in place.
Original Recipe can be found at www.modabakeshop.com
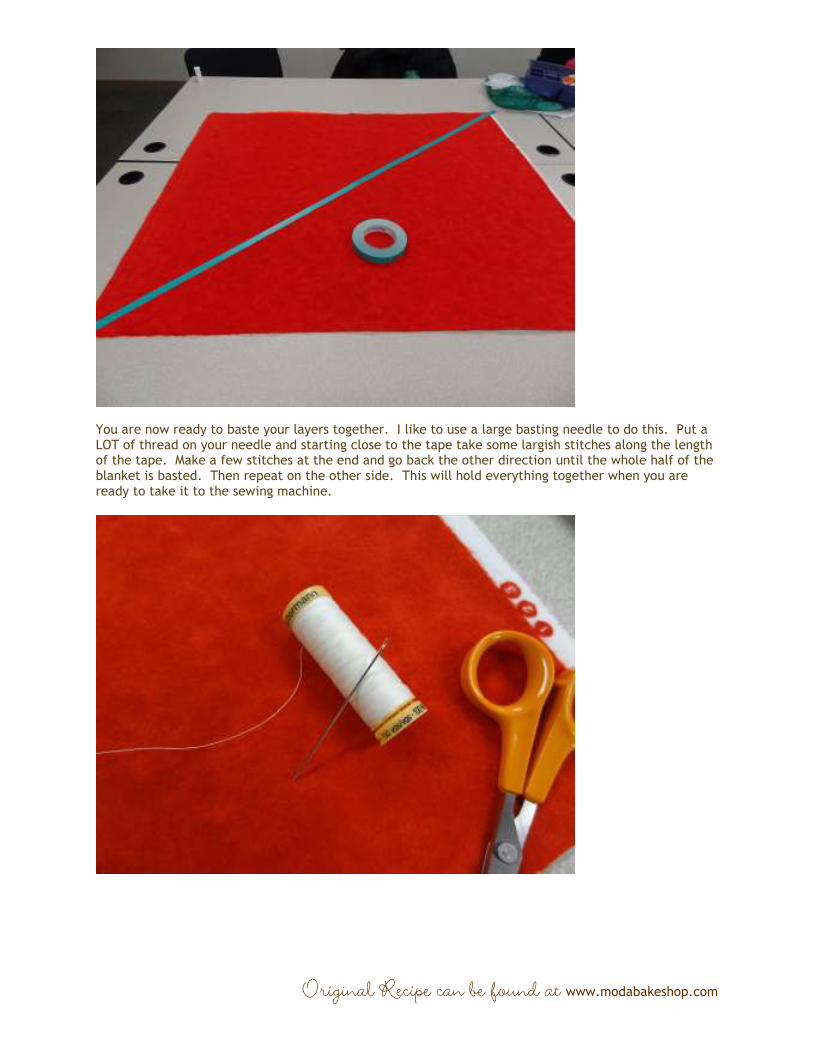
You are now ready to baste your layers together. I like to use a large basting needle to do this. Put a LOT of thread on your needle and starting close to the tape take some largish stitches along the length of the tape. Make a few stitches at the end and go back the other direction until the whole half of the blanket is basted. Then repeat on the other side. This will hold everything together when you are ready to take it to the sewing machine.
Original Recipe can be found at www.modabakeshop.com
Original Recipe can be found at www.modabakeshop.com
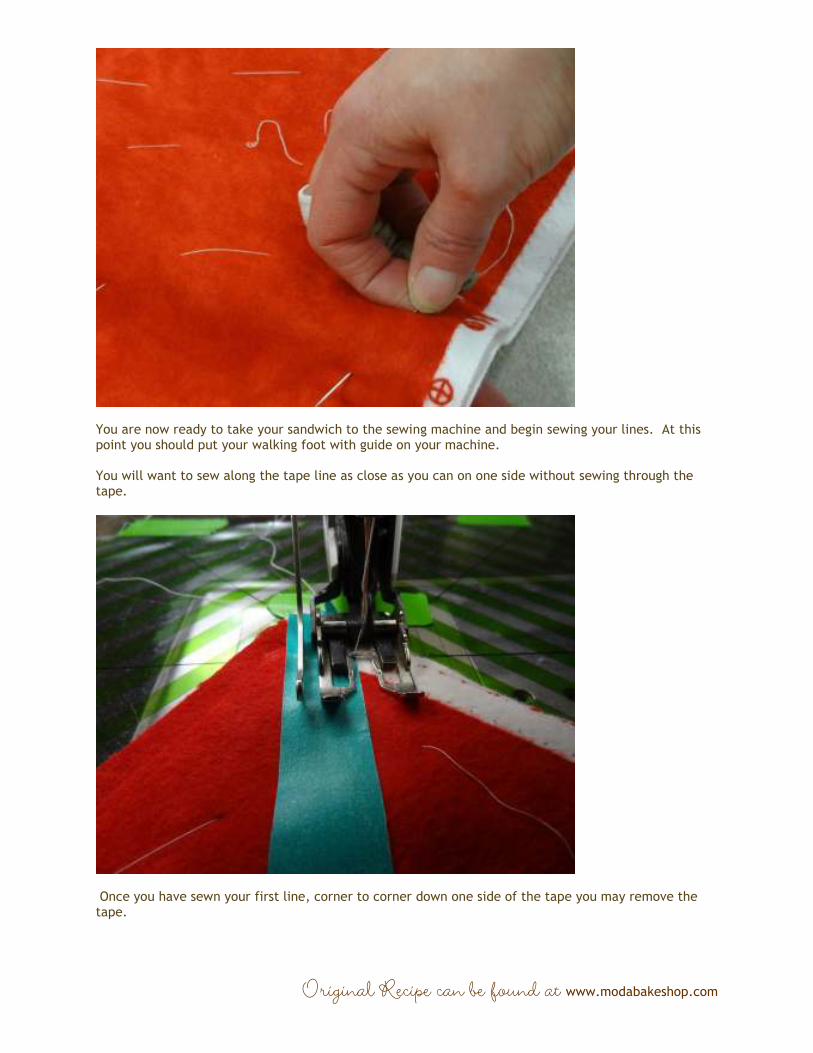
You are now ready to take your sandwich to the sewing machine and begin sewing your lines. At this point you should put your walking foot with guide on your machine. You will want to sew along the tape line as close as you can on one side without sewing through the tape.
Once you have sewn your first line, corner to corner down one side of the tape you may remove the tape.
Original Recipe can be found at www.modabakeshop.com
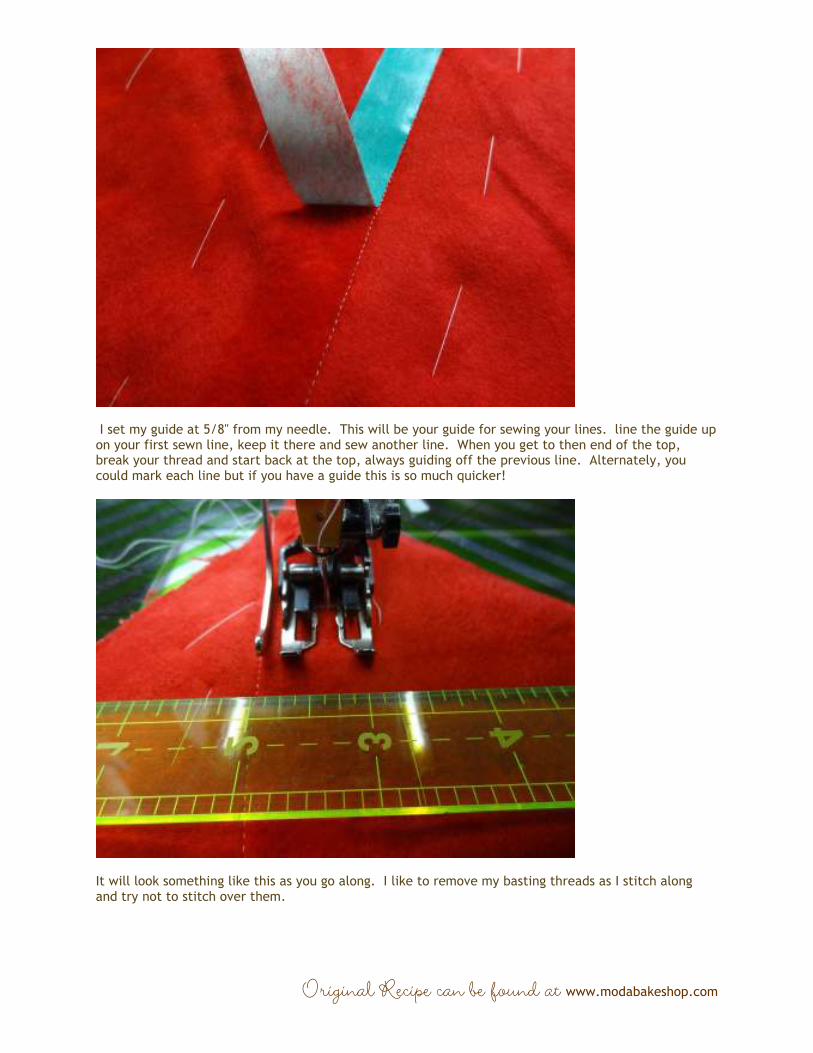
I set my guide at 5/8" from my needle. This will be your guide for sewing your lines. line the guide up on your first sewn line, keep it there and sew another line. When you get to then end of the top, break your thread and start back at the top, always guiding off the previous line. Alternately, you could mark each line but if you have a guide this is so much quicker!
It will look something like this as you go along. I like to remove my basting threads as I stitch along and try not to stitch over them.
Original Recipe can be found at www.modabakeshop.com
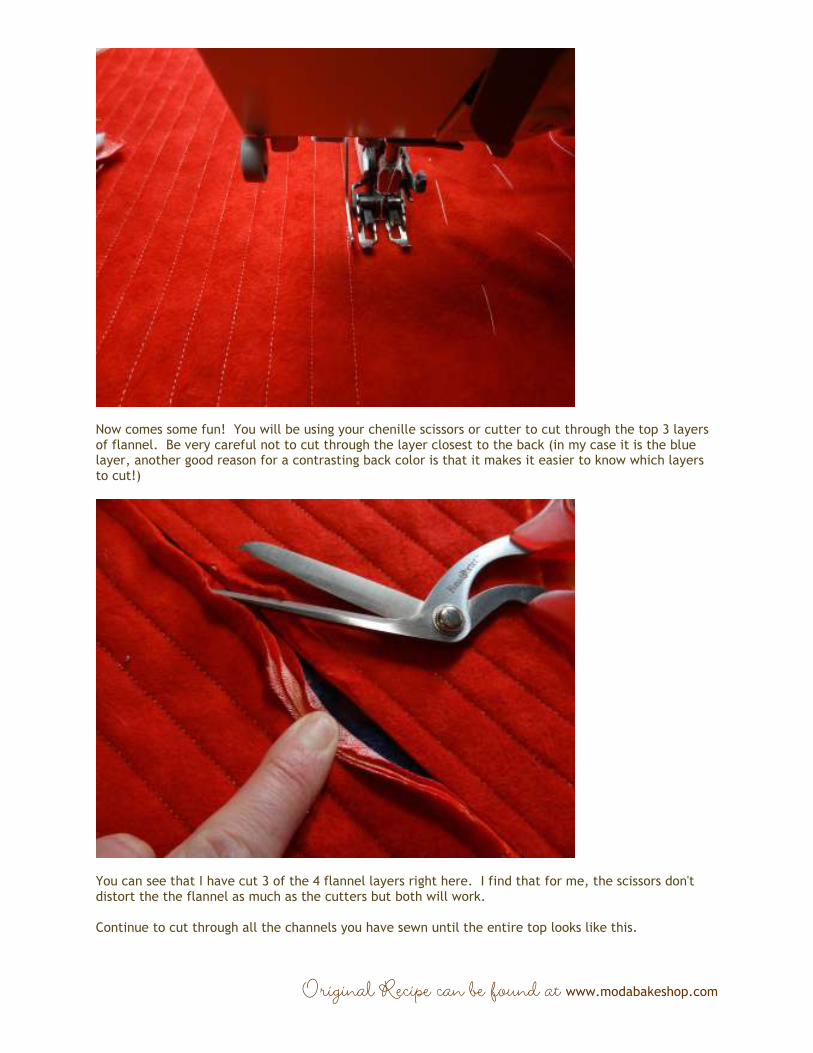
Now comes some fun! You will be using your chenille scissors or cutter to cut through the top 3 layers of flannel. Be very careful not to cut through the layer closest to the back (in my case it is the blue layer, another good reason for a contrasting back color is that it makes it easier to know which layers to cut!)
You can see that I have cut 3 of the 4 flannel layers right here. I find that for me, the scissors don't distort the the flannel as much as the cutters but both will work. Continue to cut through all the channels you have sewn until the entire top looks like this.
Original Recipe can be found at www.modabakeshop.com
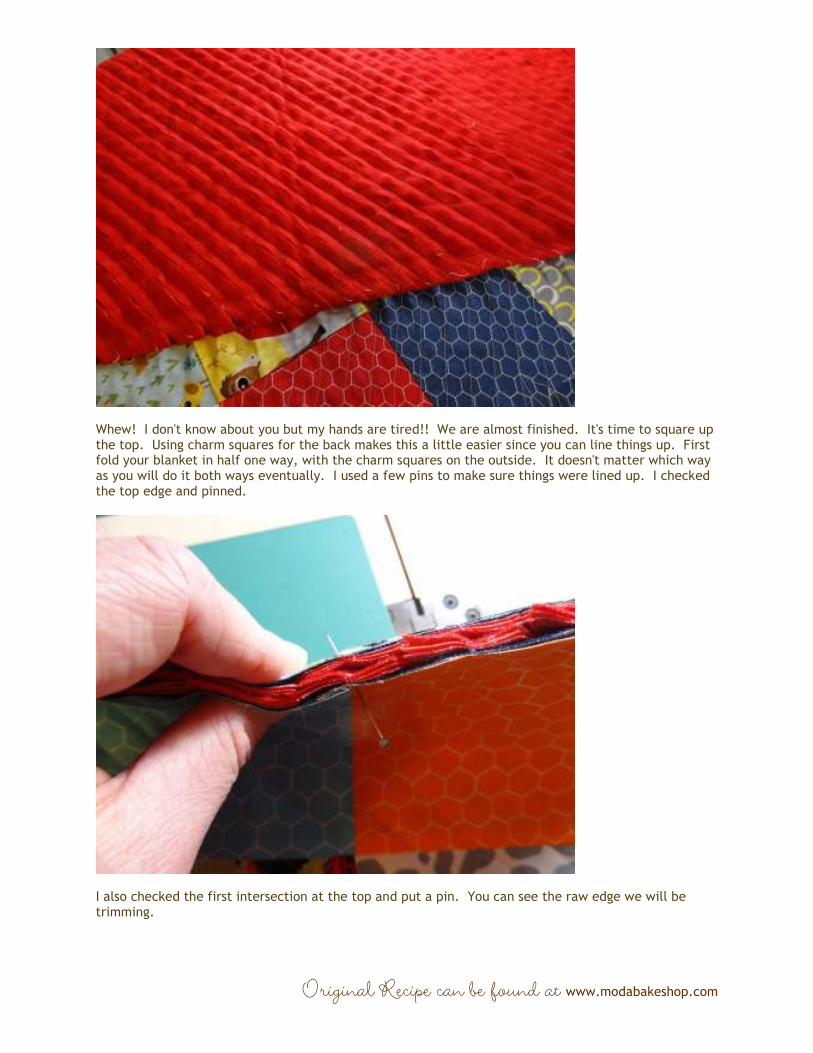
Whew! I don't know about you but my hands are tired!! We are almost finished. It's time to square up the top. Using charm squares for the back makes this a little easier since you can line things up. First fold your blanket in half one way, with the charm squares on the outside. It doesn't matter which way as you will do it both ways eventually. I used a few pins to make sure things were lined up. I checked the top edge and pinned.
I also checked the first intersection at the top and put a pin. You can see the raw edge we will be trimming.
Original Recipe can be found at www.modabakeshop.com
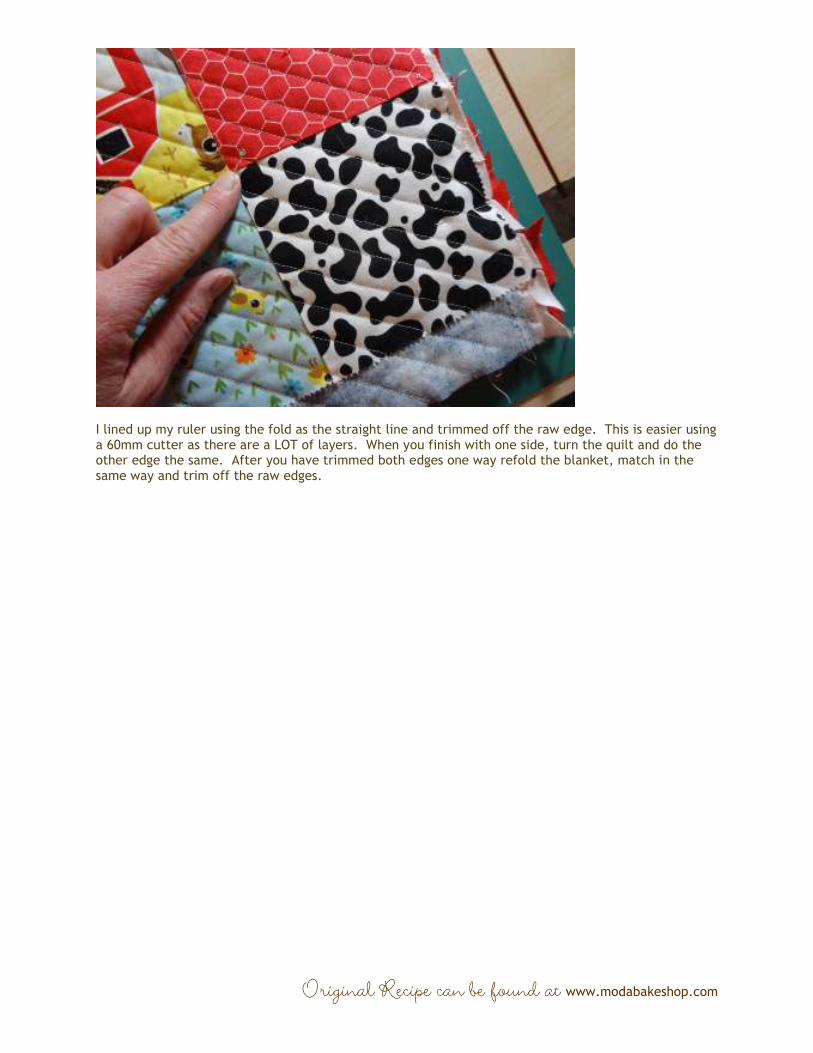
I lined up my ruler using the fold as the straight line and trimmed off the raw edge. This is easier using a 60mm cutter as there are a LOT of layers. When you finish with one side, turn the quilt and do the other edge the same. After you have trimmed both edges one way refold the blanket, match in the same way and trim off the raw edges.
Original Recipe can be found at www.modabakeshop.com
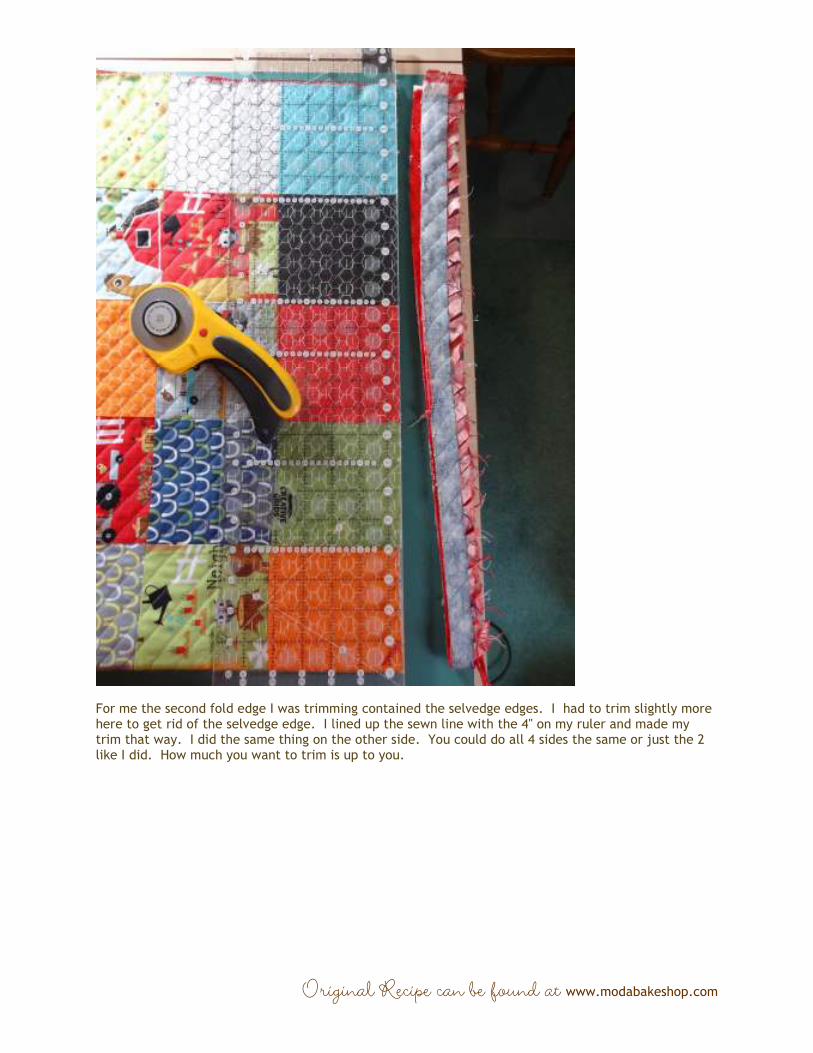
For me the second fold edge I was trimming contained the selvedge edges. I had to trim slightly more here to get rid of the selvedge edge. I lined up the sewn line with the 4" on my ruler and made my trim that way. I did the same thing on the other side. You could do all 4 sides the same or just the 2 like I did. How much you want to trim is up to you.
Original Recipe can be found at www.modabakeshop.com
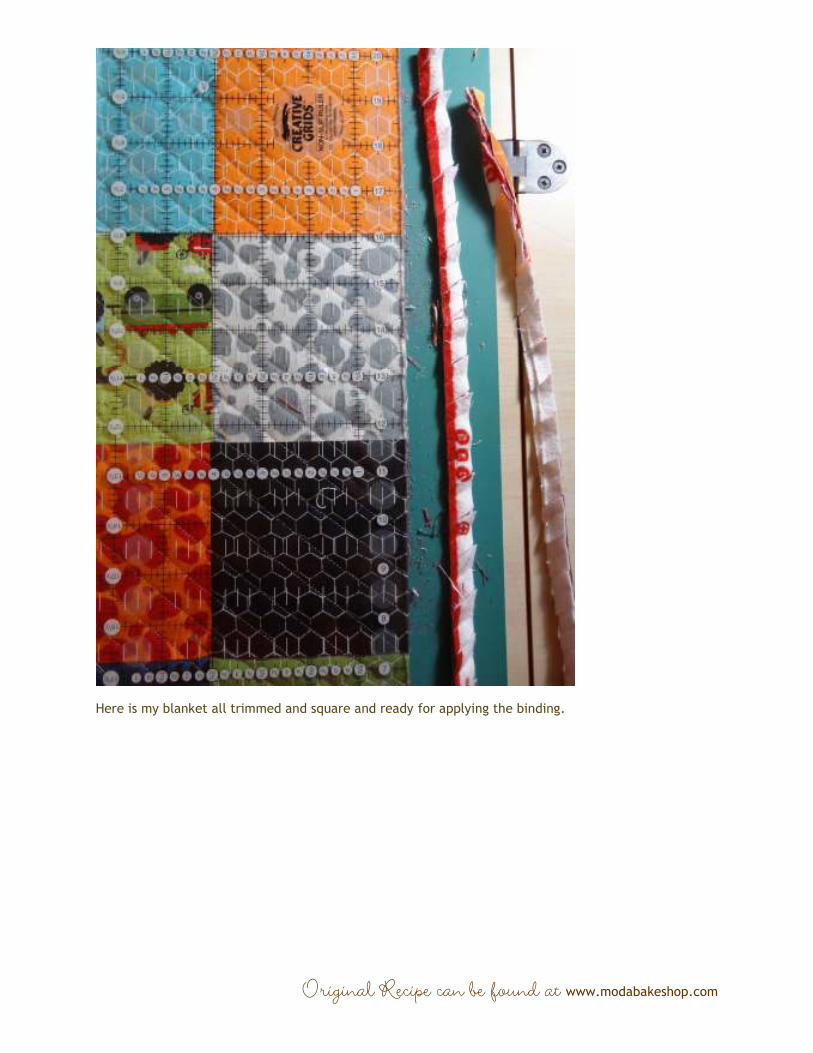
Here is my blanket all trimmed and square and ready for applying the binding.
Original Recipe can be found at www.modabakeshop.com
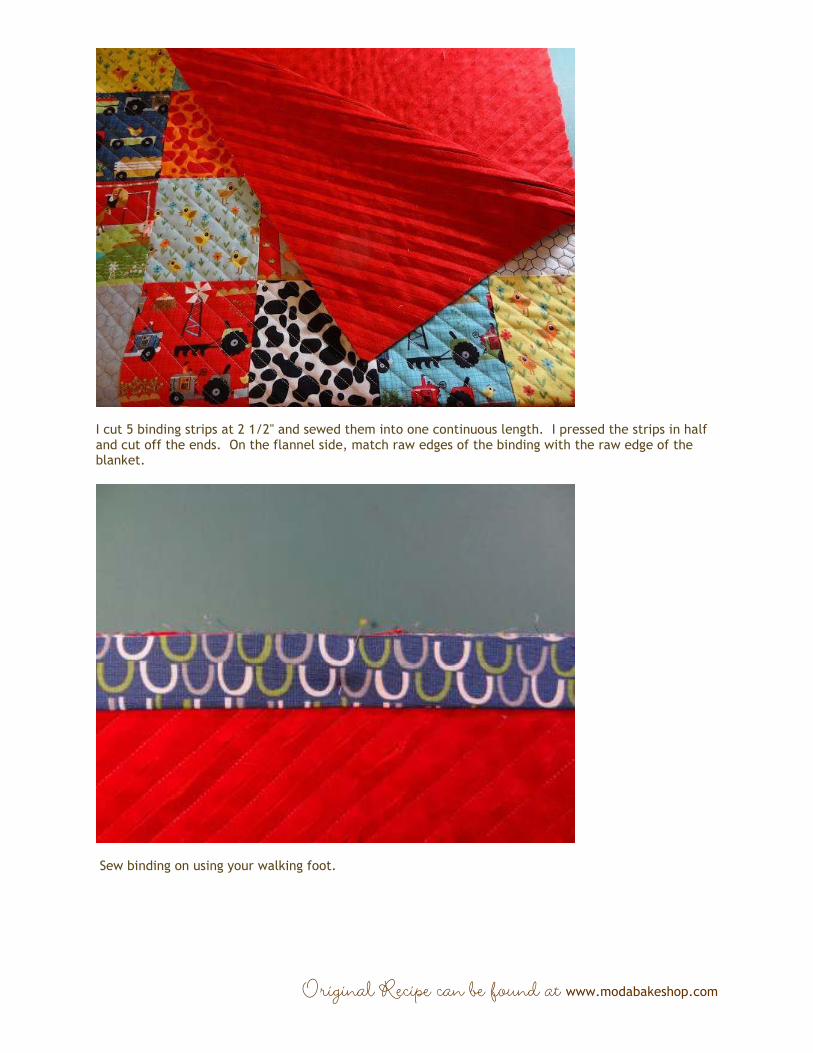
I cut 5 binding strips at 2 1/2" and sewed them into one continuous length. I pressed the strips in half and cut off the ends. On the flannel side, match raw edges of the binding with the raw edge of the blanket.
Sew binding on using your walking foot.
Original Recipe can be found at www.modabakeshop.com
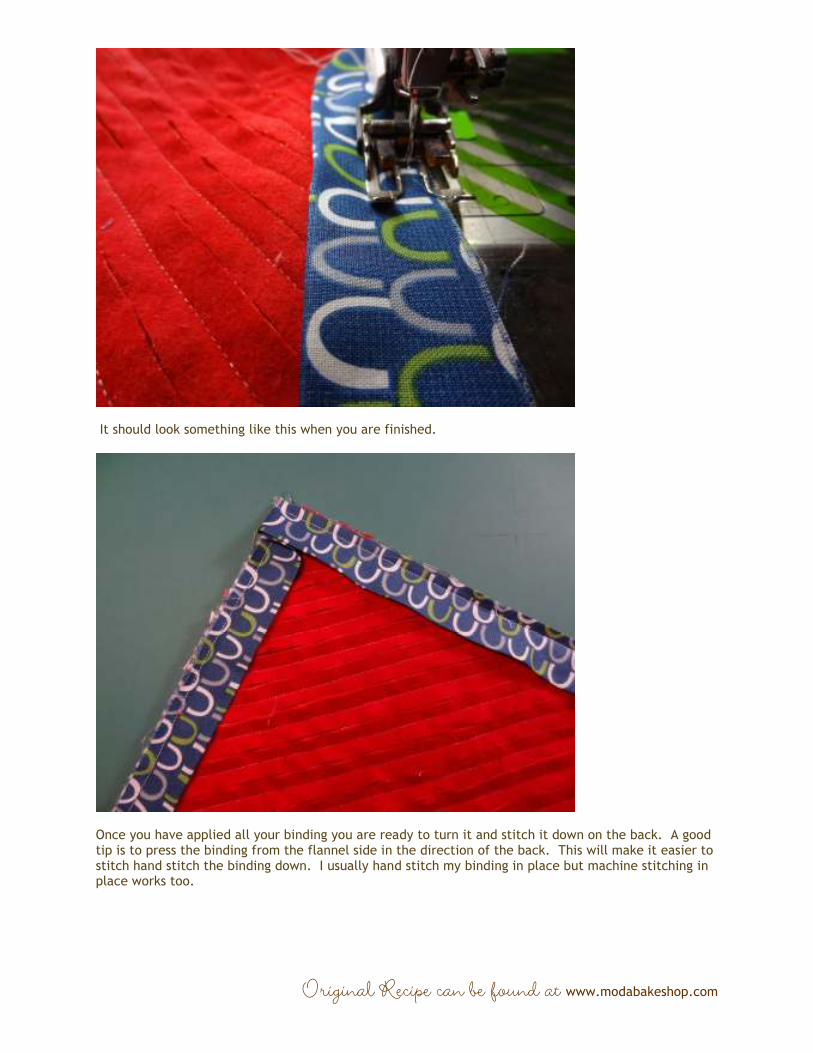
It should look something like this when you are finished.
Once you have applied all your binding you are ready to turn it and stitch it down on the back. A good tip is to press the binding from the flannel side in the direction of the back. This will make it easier to stitch hand stitch the binding down. I usually hand stitch my binding in place but machine stitching in place works too.
Original Recipe can be found at www.modabakeshop.com
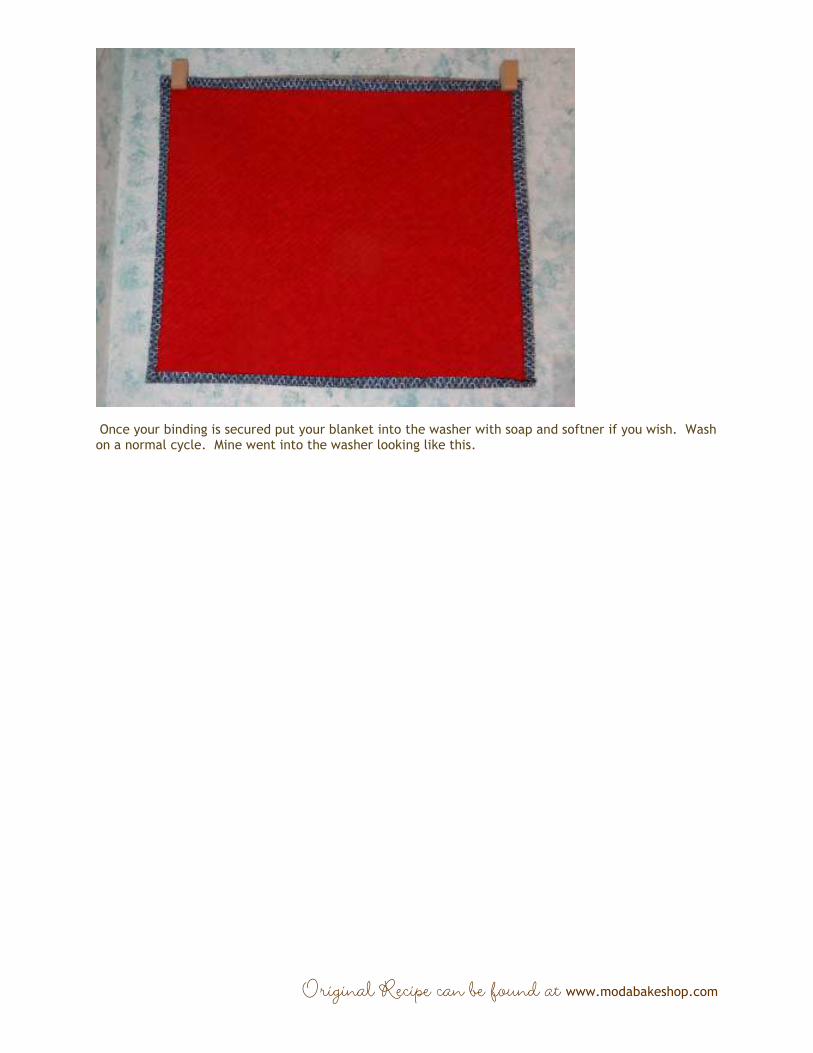
Once your binding is secured put your blanket into the washer with soap and softner if you wish. Wash on a normal cycle. Mine went into the washer looking like this.
Original Recipe can be found at www.modabakeshop.com
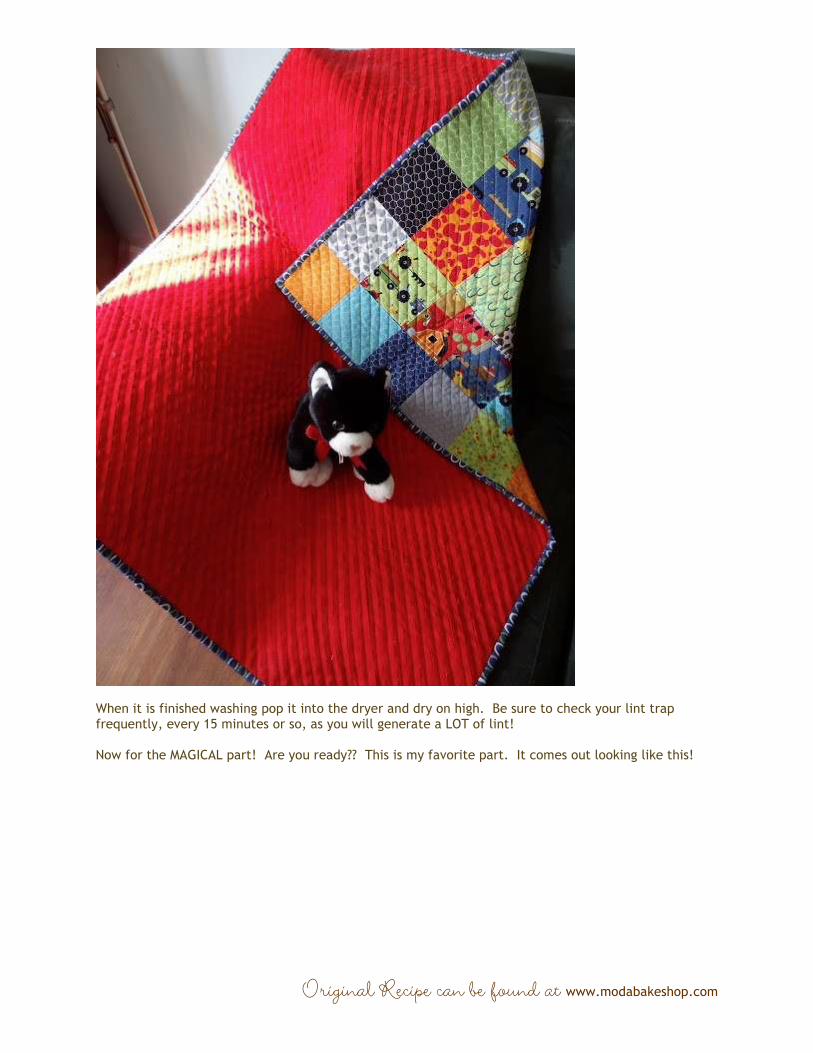
When it is finished washing pop it into the dryer and dry on high. Be sure to check your lint trap frequently, every 15 minutes or so, as you will generate a LOT of lint! Now for the MAGICAL part! Are you ready?? This is my favorite part. It comes out looking like this!
Original Recipe can be found at www.modabakeshop.com
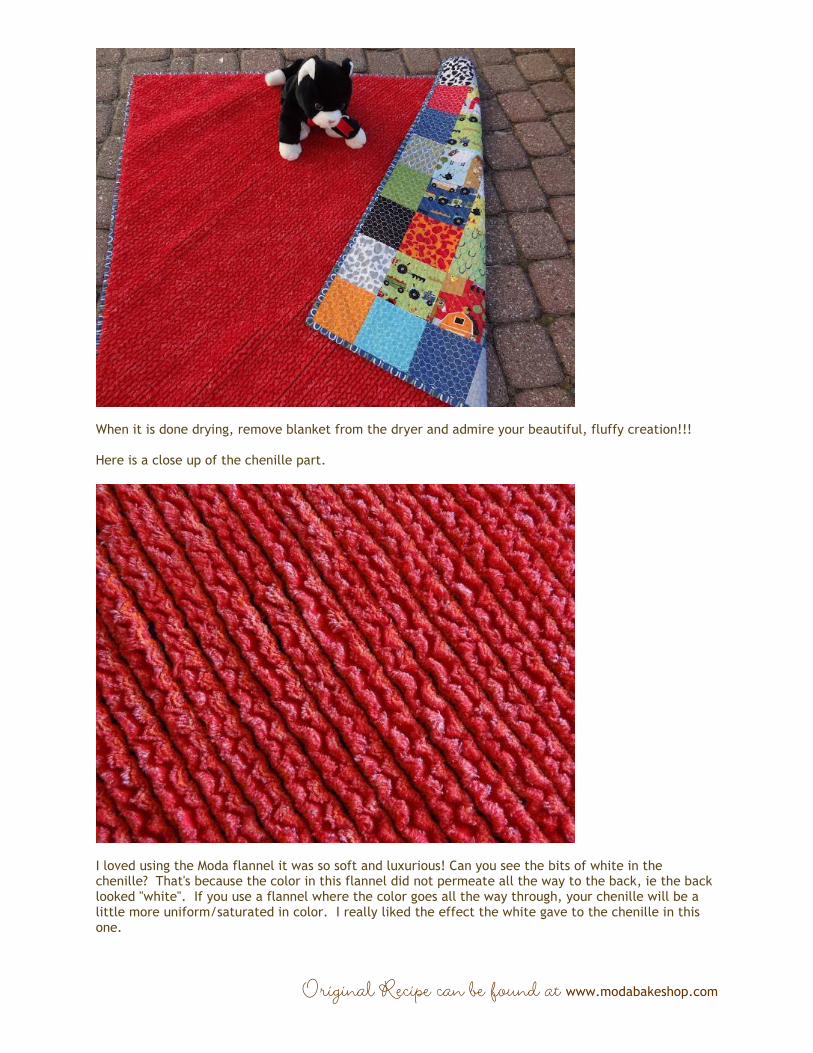
When it is done drying, remove blanket from the dryer and admire your beautiful, fluffy creation!!! Here is a close up of the chenille part.
I loved using the Moda flannel it was so soft and luxurious! Can you see the bits of white in the chenille? That's because the color in this flannel did not permeate all the way to the back, ie the back looked "white". If you use a flannel where the color goes all the way through, your chenille will be a little more uniform/saturated in color. I really liked the effect the white gave to the chenille in this one.
Original Recipe can be found at www.modabakeshop.com
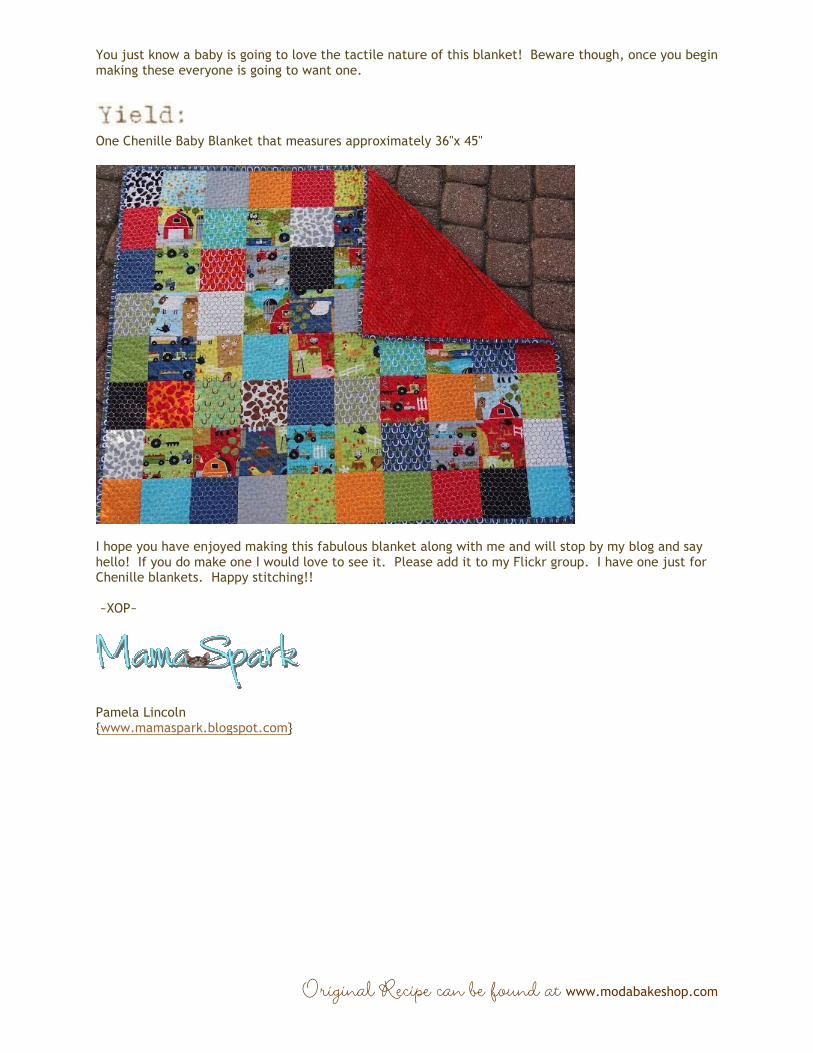
You just know a baby is going to love the tactile nature of this blanket! Beware though, once you begin making these everyone is going to want one.
One Chenille Baby Blanket that measures approximately 36"x 45"
I hope you have enjoyed making this fabulous blanket along with me and will stop by my blog and say hello! If you do make one I would love to see it. Please add it to my Flickr group. I have one just for Chenille blankets. Happy stitching!! ~XOP~
Pamela Lincoln {www.mamaspark.blogspot.com}