Embed Size (px)
Citation preview

Getting the GNS3 to talk to the Internet

Table of ContentsOverview................................................................................................................................................................................................................3To Do.....................................................................................................................................................................................................................3
What’s a TAP?..............................................................................................................................................................................................31. Within GNS, configure the TAP interface between GNS to the OS.................................................................................................................42. Get, Install and Configure the TAP interface on the OS....................................................................................................................................6
Get and install tunctl software......................................................................................................................................................................6On Ubuntu – the installation...............................................................................................................................................................6Potential source for the tunctl solution on Windows..........................................................................................................................6Potential source for tunctl for OSX.....................................................................................................................................................6
Configure the TAP on the OS.......................................................................................................................................................................7Configure the startup scripts in /etc/init.d such that the interface is present upon reboot............................................................................8
3. NTP..................................................................................................................................................................................................................10Configure ntp on GNS router r1..........................................................................................................................................................................12Install tftpd-hpa....................................................................................................................................................................................................13

OverviewWe want our GNS environment to talk to the Internet and in this case to NTP servers.The GNS 3 version is 1.5.2 and this works on 8.7 too.
To Do
1) Within GNS, configure the TAP interface between GNS to the OS2) Get, install and configure the TAP interface in the OS3) NTP: Install and configure on the OS4) Milestone – let’s check connectivity5) Configure NTP on the router in GNS6) Confirm it is working
What’s a TAP?
Tun/tap interfaces are software-only interfaces, meaning that they exist only in the kernel and, unlike regular network interfaces, they have no physical hardware component (and so there's no physical "wire" connected to them).
TAP (namely network tap) simulates a link layer device and it operates with layer 2 packets like Ethernet frames. TUN is used with routing, while TAP is used for creating a network bridge.

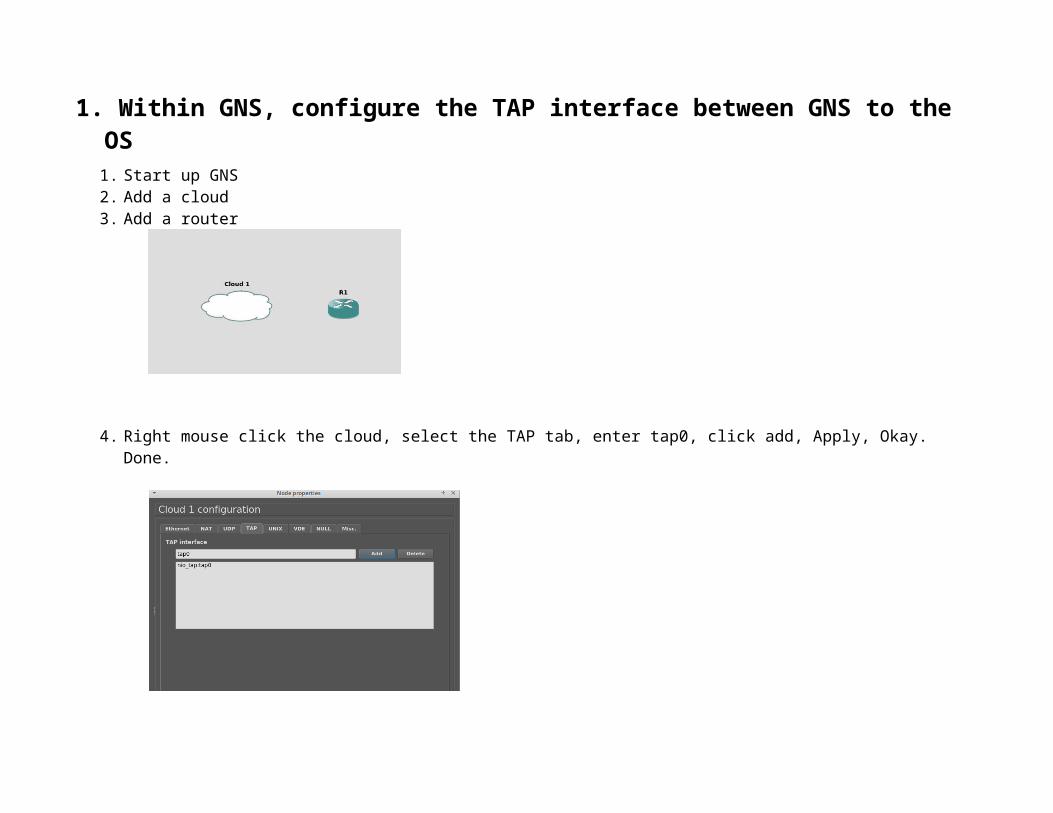
1. Within GNS, configure the TAP interface between GNS to the OS1. Start up GNS2. Add a cloud3. Add a router
4. Right mouse click the cloud, select the TAP tab, enter tap0, click add, Apply, Okay. Done.
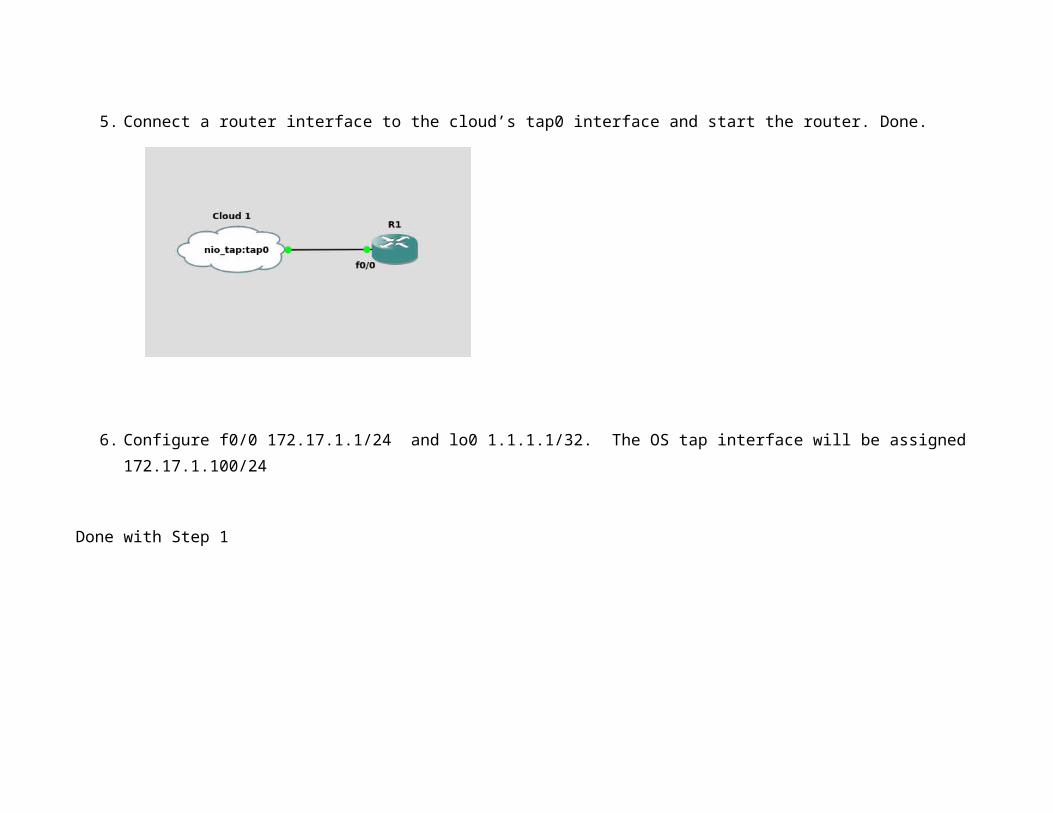
5. Connect a router interface to the cloud’s tap0 interface and start the router. Done.
6. Configure f0/0 172.17.1.1/24 and lo0 1.1.1.1/32. The OS tap interface will be assigned 172.17.1.100/24
Done with Step 1

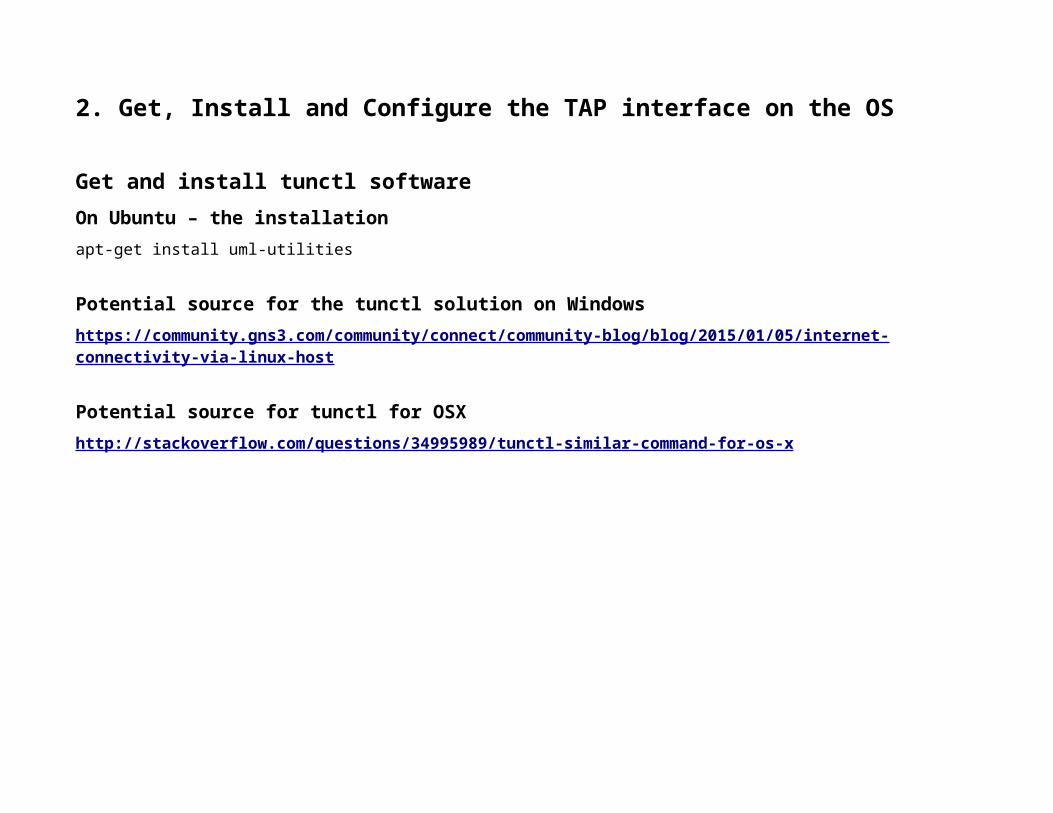
2. Get, Install and Configure the TAP interface on the OS
Get and install tunctl softwareOn Ubuntu – the installationapt-get install uml-utilities
Potential source for the tunctl solution on Windowshttps://community.gns3.com/community/connect/community-blog/blog/2015/01/05/internet-connectivity-via-linux-host
Potential source for tunctl for OSXhttp://stackoverflow.com/questions/34995989/tunctl-similar-command-for-os-x
Configure the TAP on the OS
1. Create the user usersudo tunctl -u user
2. Give the tap0 an IP address that is on the connected router’s interface. See step 6 in section 1.
sudo ifconfig tap0 172.17.1.100 netmask 255.255.255.0 up
3. Add the route between the OS and the router in GNSsudo route add -host 172.17.1.100 dev tap0
?? I forget ...but this did not work for mesudo echo 1 > /proc/sys/net/ipv4/ip_forward
4. On the guest OS run ifconfig and you should see output similar to below
tap0 Link encap:Ethernet HWaddr 06:a2:29:cc:64:1a inet addr:172.17.1.100 Bcast:172.17.1.255 Mask:255.255.255.0 inet6 addr: fe80::4a2:29ff:fecc:641a/64 Scope:Link UP BROADCAST RUNNING MULTICAST MTU:1500 Metric:1 RX packets:0 errors:0 dropped:0 overruns:0 frame:0 TX packets:0 errors:0 dropped:0 overruns:0 carrier:0 collisions:0 txqueuelen:500 RX bytes:0 (0.0 B) TX bytes:0 (0.0 B)
Done
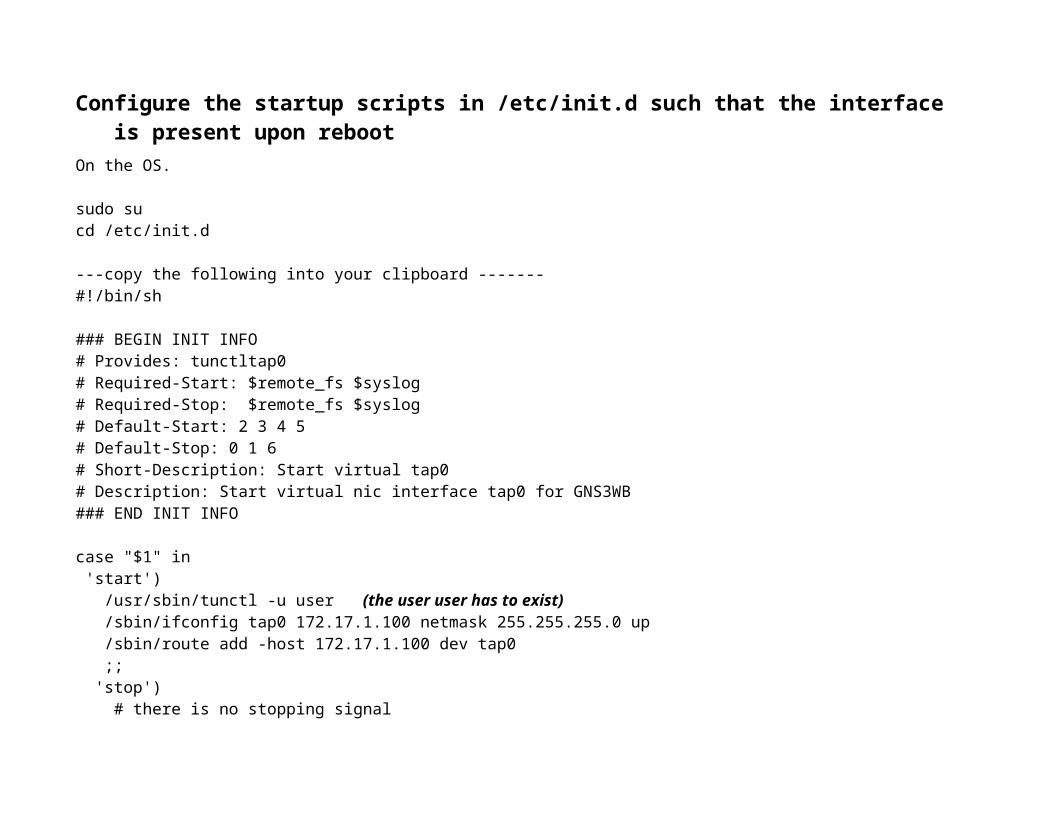
Configure the startup scripts in /etc/init.d such that the interface is present upon rebootOn the OS.
sudo sucd /etc/init.d
---copy the following into your clipboard -------#!/bin/sh
### BEGIN INIT INFO# Provides: tunctltap0# Required-Start: $remote_fs $syslog# Required-Stop: $remote_fs $syslog# Default-Start: 2 3 4 5# Default-Stop: 0 1 6# Short-Description: Start virtual tap0# Description: Start virtual nic interface tap0 for GNS3WB### END INIT INFO
case "$1" in 'start') /usr/sbin/tunctl -u user (the user user has to exist) /sbin/ifconfig tap0 172.17.1.100 netmask 255.255.255.0 up /sbin/route add -host 172.17.1.100 dev tap0 ;; 'stop') # there is no stopping signal ;; *) esac
exit 0-------- and cut here too ----

Touch tunctltap0 (or your choice for a file name but for this exercise tunctltap0)vi tunctltap0paste the clipboard into the file and wq
chmod 755 /etc/init.d/tunctltap0update-rc.d tunctltap0 defaultsexit (end sudo su)
3. NTP: Install and configure NTP on the OS
For Mac OSX
For Linux.
sudo apt-get install ntp
My /etc/ntp.conf is below ----- cut here ---
# /etc/ntp.conf, configuration for ntpd; see ntp.conf(5) for help
driftfile /var/lib/ntp/ntp.drift
# Enable this if you want statistics to be logged.#statsdir /var/log/ntpstats/
statistics loopstats peerstats clockstatsfilegen loopstats file loopstats type day enablefilegen peerstats file peerstats type day enablefilegen clockstats file clockstats type day enable
# Specify one or more NTP servers.
# Use servers from the NTP Pool Project. Approved by Ubuntu Technical Board# on 2011-02-08 (LP: #104525). See http://www.pool.ntp.org/join.html for# more information.server 198.60.73.8server 64.250.229.100server 131.107.13.100server 216.228.192.69

# Use Ubuntu's ntp server as a fallback.server ntp.ubuntu.com
# Access control configuration; see /usr/share/doc/ntp-doc/html/accopt.html for# details. The web page <http://support.ntp.org/bin/view/Support/AccessRestrictions># might also be helpful.## Note that "restrict" applies to both servers and clients, so a configuration# that might be intended to block requests from certain clients could also end# up blocking replies from your own upstream servers.
# By default, exchange time with everybody, but don't allow configuration.restrict -4 default kod notrap nomodify nopeer noqueryrestrict -6 default kod notrap nomodify nopeer noquery
# Local users may interrogate the ntp server more closely.restrict 127.0.0.1restrict ::1
# Clients from this (example!) subnet have unlimited access, but only if# cryptographically authenticated.#restrict 192.168.123.0 mask 255.255.255.0 notrust
# If you want to provide time to your local subnet, change the next line.# (Again, the address is an example only.)#broadcast 192.168.123.255
# If you want to listen to time broadcasts on your local subnet, de-comment the# next lines. Please do this only if you trust everybody on the network!#disable auth#broadcastclient
---- and cut here too ----


4. Milestone – let’s check connectivityThe dark blue Terminal window is the OS with the route table, pings to GNS router and the nptd deamon running
The black window is the router pinging the OS TAP interface
There are two more configurations to do.

1. On the OS add a route between the OS network to the GNS router'ssudo route add -net 172.17.1.0 netmask 255.255.255.0 gw 172.17.1.100
2. On the GNS router add a static route to the 172.17.17.0/24 networksR1(config) ip route 172.17.17.0 255.255.255.0 f0/0 permanent

Configure NTP on GNS Router R1
R1(config) ntp server 172.17.17.105 version 4
With GNS3 v1.5.2 the version 4 works.
WiresharkStart up Wireshark to see the conversation between the cloud and router R1 and so you’ll know that the router is talking to the ntpd on the OS.

Done.

Install tftpd-hpaOnce you’re talking with your host OS you can also set up a FTP server.
https://help.ubuntu.com/community/TFTPhttp://askubuntu.com/questions/629296/how-to-install-and-setup-tftp-server-in-ubuntu-14-10-utopic
sudo apt-get install tftpd-hpa
# /etc/default/tftpd-hpa
#TFTP_USERNAME="tftp"#TFTP_DIRECTORY="/var/lib/tftpboot"#TFTP_ADDRESS="[::]:69"#TFTP_OPTIONS="--secure" TFTP_USERNAME="tftp"TFTP_DIRECTORY="/tftpboot"TFTP_ADDRESS="0.0.0.0:69"TFTP_OPTIONS="-s -c -l"
sudo mkdir /tftpbootsudo chmod -R 777 /tftpbootsudo chown -R nobody /tftpboot
sudo update-rc.d /etc/tftpd-hpa defaultssudo service tftpd-hpa restart


On the router (using Putty and copied via ctrl-c)r1#copy startup-config tftp: ? <cr>r1#copy startup-config tftp:Address or name of remote host []? 172.17.17.20Destination filename [r1-confg]?!!1498 bytes copied in 0.096 secs (15604 bytes/sec)r1#
On the VMnbh@ubuntu:~$ ls /tftpbootr1-confgnbh@ubuntu:~$
nbh@ubuntu:~$ ls /tftpbootr1-confgnbh@ubuntu:~$