Embed Size (px)
Citation preview

Powtoon Instructions
Maximum time: 5 mins, but each scene is a maximum of 20 seconds
Log in using the provided email
Create a studio presentation
WATCH THE TUTORIAL that auto plays when you open Powtoon
Select blank

Insert Image
Select image icon on right to insert an image, either from your computer or you can search for
images.
From your computer downloads:
select image icon on right, select my library on new left tab, press upload to search your
computer for already downloaded images and insert. You can always search the internet and
download more.
From Powtoon’s search engine:
select image icon on right, select the media search icon on the right, enter your sought
image name and select the suitable image and insert.
Resize the image if it is the wrong size and place it on the slide where you want it to first appear.
Time: How to animate
Check the bottom time indicator (slide bar). Did you want it to appear from 5 seconds into animation

and leave at 11 seconds? If not move the sliders edges and change the time the image will appear on
the screen.
The Timeline The PowToon Timeline is used to add animation timing to objects in your presentation.
1. Playhead: The playhead indicates at what second you are currently in your slide. You can
slide the playhead throughout the timeline to preview the animation for each slide.
2. Total Slide Time: Each slide by default is assigned 10 seconds. This can be decreased or
increased to up to 20 seconds maximum.
3. Object Duration Bar: Each object has a animation timing duration bar. To access this bar
select the object on the stage and adjust the timing as desired.
4. Object Thumbnails: All objects in the slide will appear below the timeline. Click on an
object to adjust the effect and duration of the object.
5. Object Effects (Animation): Objects can be set to Enter or Exit the stage using a variety of
options including fades, directionality and even a hand function (where a human hand slides
the object onto the presentation). Each object can be animated using these effects. Note: You
can also Flip an object’s orientation from this area.
Playback Controls: Help you preview your presentation animation as you go. Note: there are four
playback options - from left to right - (a) play all slides from start, (b) play current slide from start,
(c) play from playhead then continue, and (d) play current slide.
Object
Make sure the image, figure, text or object you want to change is selected at the bottom of the
screen. The one selected is the one you are working on. The four icons under the sliding bar is all
the objects you have added to your animation. This animation has one figure, one image, one
handwritten text and one object, so only four things have been put in this animation.

Objects to add
Use the right hand icons to select what you want to add
Style
You can mix different styles (premium not available)

Transitions are for slideshows not animations
Add Objects
Drag and drop objects from the PowToon
Library Panel onto your slides (including
characters, text, objects and props). Tip: You can layer objects on top of each
other and use the animation timings to
introduce objects strategically to create a
sense of dynamic movement and cartoon
interaction.

Managing Objects
Managing objects in PowToon is similar to MS PowerPoint. Left-click on the item to select and either hold and move on the stage with the mouse or use
the arrow keys.
Use the object handles to resize the object.
Right-click for more object management options such as arrangement (back, front),
orientation (flip), etc.
Step 5: Animate Objects
From the Timeline use the Duration Bar to animate each object on the slide. 1. Select the object to animate.
2. Choose an effect style for the object entry/exit.
Move your
selected image in
front or behind
other objects

3. Use the sliders to adjust the duration of the object animation in the animation.
Add text boxes
Adding Characters:
Mini- Me: You could use you face!
Readymade characters. Note some auto move
Select how you want the text
to appear. Drag and drop into
place, inside the speech
bubble. Resize text.
Select the speech bubble and
drag into place. Resize as
needed.
Select mini me on right menu
and import an image of a face
to customise your character.
Close up portraits are best.

Background:
Change in slides: Select a background and it will remain for the whole scene. If you want to change
your background colour later, you will need to create a new slide/scene and select a new colour or
image background for that slide.
Transparency: Some backgrounds will treat the white in images as transparent. So be aware of this
feature.
Own background: You can upload your own background image too.
Adding sound /voice over
Creating the Voice
Or find readymade characters.
There are different characters
in the different style options
Note a different background
has been used in the different
slides/scenes
Select your background here

Using online web application http://www.fromtexttospeech.com/
Type or copy in your text. Use correct punctuation or you will not have pauses, emphasis etc. in the
speech. Select the male or female voice, speech speed and US or British accent.
Type or copy in your text. Use
correct punctuation or you will not
have pauses, emphasis etc. in the
speech.
Select male or female voice, speech
speed and US or British accent.
Press create audio file and wait.
Preview the speech by pressing the
play button. If it is not right go back
a page and change it (back arrow
top left). When it is correct press
download audio file.
Right click and press save video as.
Change name to something you will
recognise and save it in a logical
folder.

Inserting audio into the Powtoon
Click on the sound note in the right menu
Note: You can only use on continuous audio file and you can’t reposition it as you can the images.
This makes it suitable for something simple like a narration. But beware you must have all pauses
etc. correct
It is best to make the animated images after and reacting to the already imported audio file.
Import file to upload your chosen
MP3 file. Change the volume.
Press apply
If you want to change the audio
press on Sound on the right menu
anytime

Saving
Press the disc to save onto your account (it doesn’t save onto your PC). Save as you go.
To get the embed code so you can paste it into your webpage
Click share top right (it doesn’t matter which one facebook, google + etc)

Press next below
Select standard (only option) and select next

Fill in the boxes
Press Publish or Re-publish (if you have already published it before)
Embed video on right
The below window will open and right click on the embed code and you can copy the code. This code
can then be embedded into your website via the embed code icon in Weebly. Then your powtoon
will appear in your webpage.

Eg. code:
<iframe width="480" height="311" src="http://www.powtoon.com/embed/gj8WfLBzq8G/"
frameborder="0"></iframe>
You want to change the Powtoon or see other creations then go to dashboard top of screen.
You will see your creations and can republish to save code for an updated/changed Powtoon.
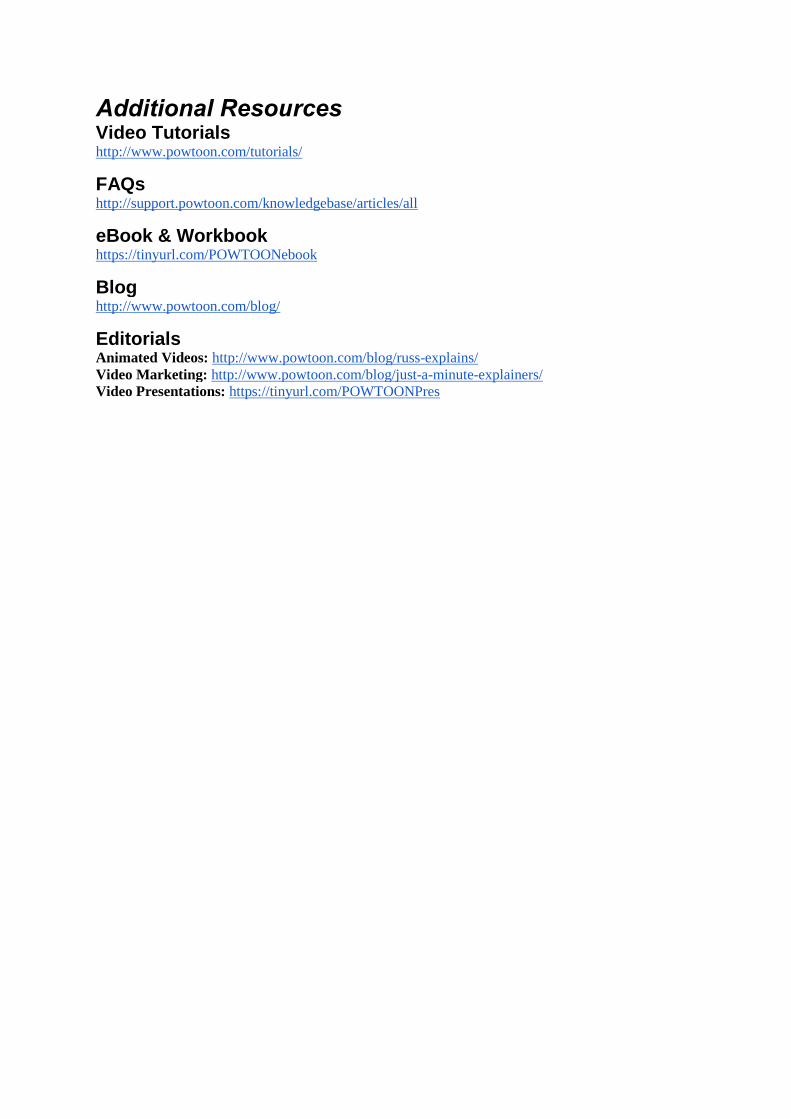
Additional Resources Video Tutorials http://www.powtoon.com/tutorials/
FAQs http://support.powtoon.com/knowledgebase/articles/all
eBook & Workbook https://tinyurl.com/POWTOONebook
Blog http://www.powtoon.com/blog/
Editorials Animated Videos: http://www.powtoon.com/blog/russ-explains/ Video Marketing: http://www.powtoon.com/blog/just-a-minute-explainers/ Video Presentations: https://tinyurl.com/POWTOONPres