Embed Size (px)
Citation preview

Presented by:Presented by:
Shawndra T. Johnson, Technology SpecialistShawndra T. Johnson, Technology SpecialistCentral Alabama Regional Education Inservice CenterVoice: 334.229.4161Fax: 334.229.4961Email: [email protected] or Website: www.ikeepbookmarks.com/shawndra.johnson

Choosing a Digital Camera
• Who will use the camera? (child, adolescent, adult) • What is your price range? • What resolution do you require? • What on-board (camera) image storage capacity do you require? • Do you need manual override features, a fully automatic camera
or a combination of these both? • What is the battery capacity? • Are battery chargers available for your camera? • How sturdy is the camera? • What features do you consider essential? (i.e.: self-timer, optical
zoom, red-eye flash, movie mode) • If you are doing your own print work, how fully featured is the
editing software that comes with the camera? • Is the camera compatible with your operating system? • What is the warranty on the camera?
Storage
• On-board memory- once memory capacity is reached, the user will have to download from the camera to the computer before any more photos can be taken.
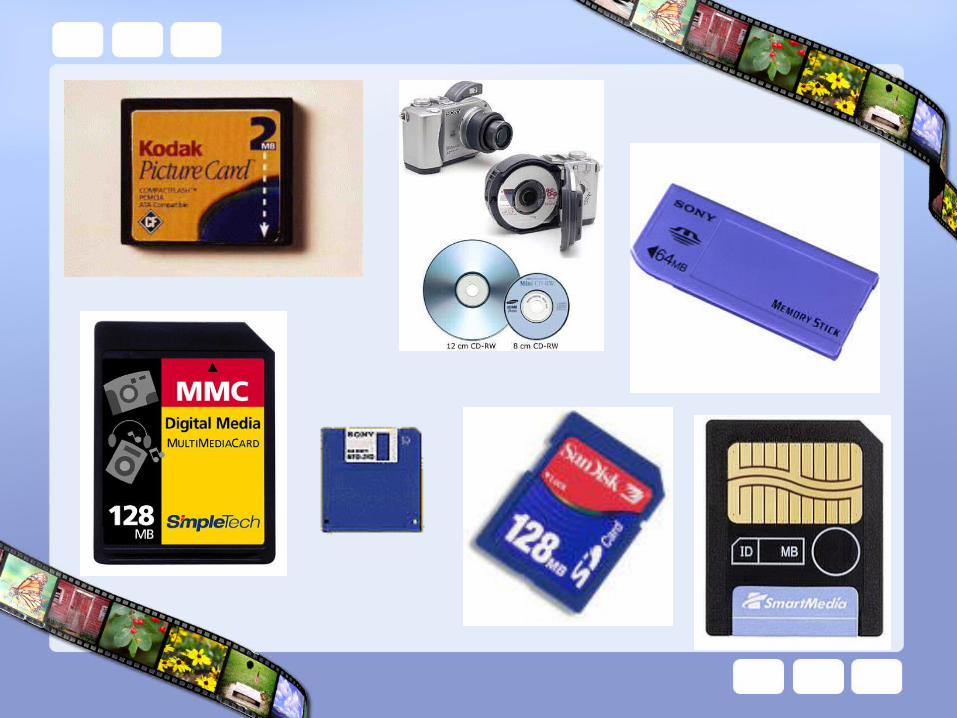
• Removable memory- these range from simple floppies, mini CD-ROMs to small stamp-like cards that can be inserted into the camera.
Batteries and Power Sources
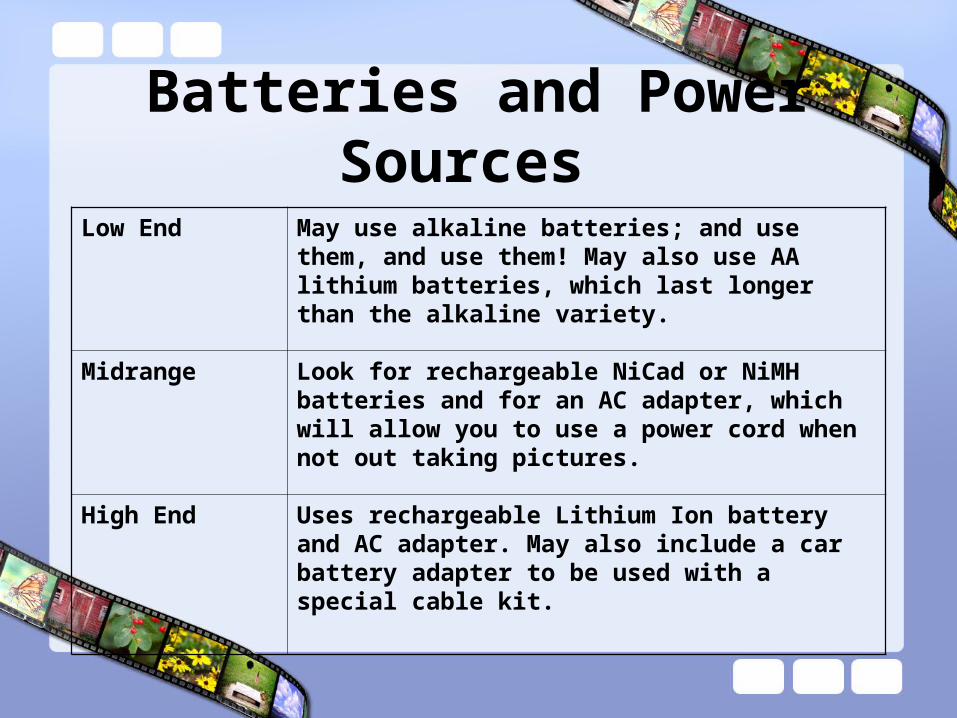
Low End May use alkaline batteries; and use them, and use them! May also use AA lithium batteries, which last longer than the alkaline variety.
Midrange Look for rechargeable NiCad or NiMH batteries and for an AC adapter, which will allow you to use a power cord when not out taking pictures.
High End Uses rechargeable Lithium Ion battery and AC adapter. May also include a car battery adapter to be used with a special cable kit.

Lens
• The lens is the camera’s eye. The lens collects the light reflected off the photo subject and directs it to the camera’s image sensors. There are many kinds of lenses, such as telephoto and wide angle lenses.
• High-end cameras offer the user the option to attach external lenses to the camera body. Middle range cameras generally have built in zoom capabilities, but do not offer the option to attach external lenses to the camera body. There are two types of zoom capabilities found on middle range cameras.– OPTICAL – better results– DIGITAL – discards edges

ViewFinders and Displays
View Finder
Low-end cameras rely on the traditional method of looking through a window to line up a picture subject.
LCD Display
Middle range and high-end cameras have a LCD (liquid crystal display) monitor for viewing pictures. Although very helpful in composing and viewing pictures, the LCD feature is a drain on batteries.

Price
Low End $150 and under
Midrange $150-$500
High End $500 and up

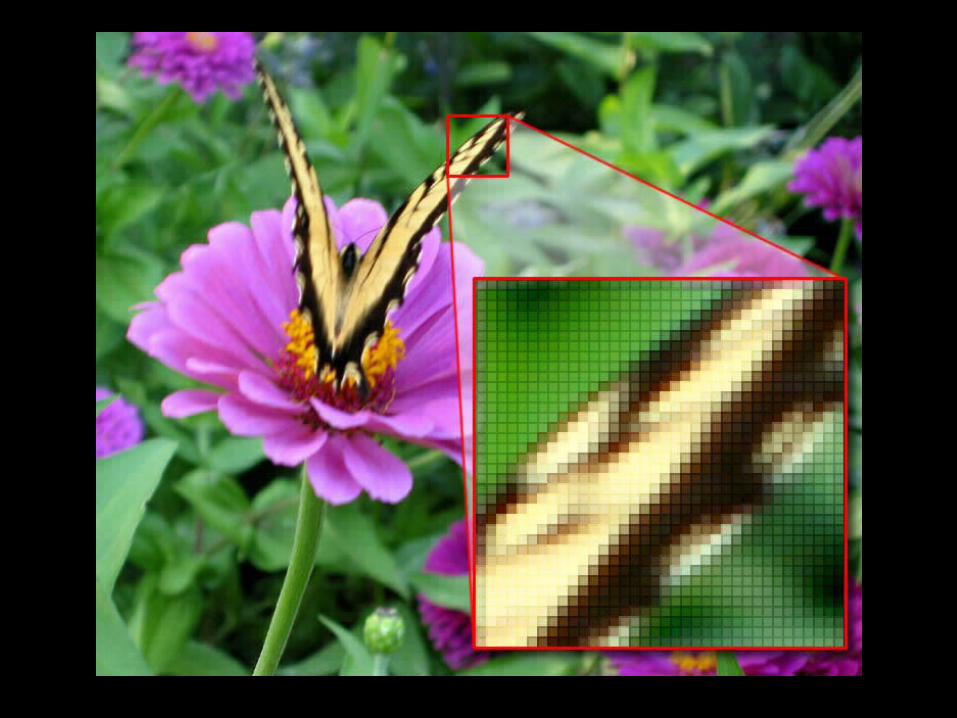
What are pixels?
Pixels are the building blocks of digital images. Every digital picture is made up of thousands of pixels. The number of pixels in each image affects the quality of the picture resolution. For example, a low-end camera might have 307,200 pixels in one picture. A high-end picture might have more than 5,000,000 pixels in a picture.

What is Resolution?
Simply put, resolution is how you define the sharpness of your digital image. Resolution is often defined as how many pixels per inch (ppi) your image has in both its height and width.
Resolution examples:Low End Midrange High End
pixels at 640 X 480 or higher pixels at 1600 X 1200 pixels at 2048 X 1536 or higher

640 x 480
• 640 pixels wide and 480 pixels high.
• This is a fairly low resolution that works well with email and Web postings. Pictures will print best if they are not bigger than 3” x 5” high.
• crisp 3" x 5" photo prints

1600 x 1200
• 1600 pixels wide and 1200 pixels high.
• This can generally achieved with at least a 2 megapixel camera
• crisp 5" x 7" photo prints
2048 x 1536
• 2048 pixels wide and 1536 pixels tall.
• This can generally be achieved with at least a 3 megapixel camera.
• crisp 8" x 10" photo prints

File Formats
File Format describes the particular computer code used to store your files. There are many different image file formats.
The most common:• JPEG – most common - compressed – Windows or Mac• TIFF – not compressed – Windows or Mac – used for printing• BMP – not compressed – large – used for Windows wallpaper• GIF – Windows or Mac – only uses 256 colors – good for emailsWhen attaching a picture file to an email, the two file formats that are
used most frequently are JPEG and GIF. For example, you might receive a picture file attached to an email that looks like this …puppy.jpeg. Because the file format is JPEG, you will immediately know it is an image.
Downloading Images
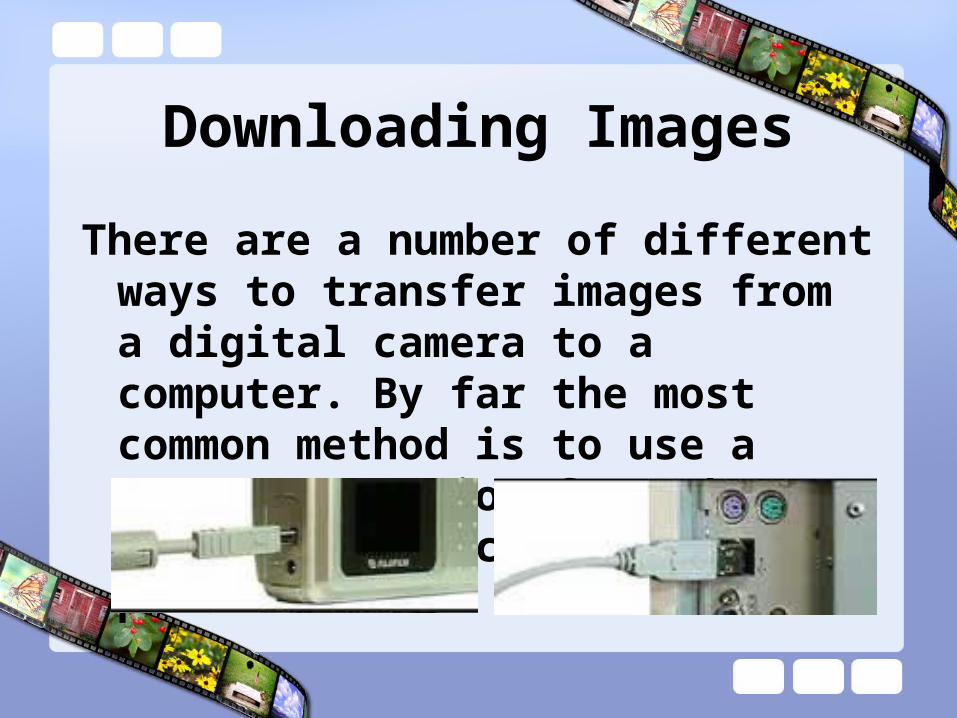
There are a number of different ways to transfer images from a digital camera to a computer. By far the most common method is to use a cable connection from the camera to the computer's USB port.

How Can You Integrate Digital Photography in Your Classroom?
• Acquire images
• Analyze images
• Create image-based works
• Communicate ideas and understanding

Sample Image-Based Works
1. Create a photo journal of field trips2. Class newsletter illustrations3. Photos for greeting cards4. Photos of vocabulary items 5. Create a personal or classroom
alphabet with pictures6. Use pictures for concept illustration
(art, math, science)

SCIENCE LANGUAGE ARTS
MATH SOCIAL STUDIES
Data collection
Imagery in reading
Analysis Primary sources
Scientific visuals
Bridge to writing
Transformations
Societal connection
Present evidence
Digital storytelling
Problem-solving
Social inquiry

Top Ten Tips for Teachers and Digital Cameras
1. Take a class.Learn about digital cameras so that you're more comfortable with using one in your classroom. Digital images can be a catalyst to learning and to teaching! Students are visual and are motivated to write by what they see and can capture with a digital camera.
2. Set up rules.Establish clear camera handling procedures with your students to avoid unnecessary wear and tear -- a sturdy camera strap minimizes risk. Also, define when and where students can take photographs - and the subject matter.
3. Manage the images.Create and label folders on your computer for storage of images. Students may also store on alternative media such as CD-RW, floppies, or removable drives.
4. Practice builds confidence.Practice uploading, saving, and editing images. Be sure that your students do the same. Trial and error is the best teacher in photography. Keep in mind that photography is an art form, but it is also supposed to be fun!
5. Know your camera.An inexpensive, low-resolution digital camera generally gets better results with close-ups. Get down to the eye level of your subject.
By APTE Professional Education Development Group

Top Ten Tips for Teachers and Digital Cameras
6. Steady and sturdy.Stand with your feet shoulder-width apart, with one foot slightly forward. Keep your elbows close to your body.
7. Lights, camera, action!Action photographs, rather than still or posed photographs, often produce a more natural look.
8. Get the latest.Check your camera manufacturer's web site for product updates, including free downloadable software enhancements.
9. Light and Dark.Avoid photographing windows, glass, or other shiny surfaces head-on. Keep the sun at your back. When your subject is backlit, the object being photographed often appears too dark to see. Avoid photographing dark subjects against dark backgrounds and light subjects against light backgrounds. Avoid taking pictures outside at noon - the lighting at noon tends to be flat and results in dull-looking photographs.
10. Be digitally safe.Before taking pictures of your students, be sure to read and follow your school's policies about appropriate use of student photos.
By APTE Professional Education Development Group

http://www.apte.com/dp/index.cfm
Thanks for all the wonderful information!