Embed Size (px)
Citation preview

PROFESSIONAL MEMORY SAVERMODEL #3177 USERS MANUAL
0002-000-3094©2009 SPX. All rights reserved.
SPX Service Solutions Box 994 2100 Park Drive Owatonna, MN 55060-0994
0002-000-3094-A.indd 1 3/30/2009 2:47:11 PM
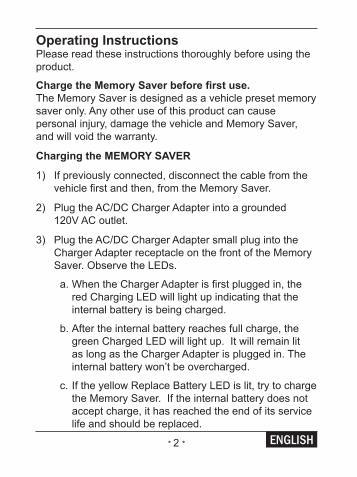
Operating InstructionsPlease read these instructions thoroughly before using the product.
Charge the Memory Saver before first use.The Memory Saver is designed as a vehicle preset memory saver only. Any other use of this product can cause personal injury, damage the vehicle and Memory Saver, and will void the warranty.
Charging the MEMORY SAVER
1) If previously connected, disconnect the cable from the vehicle first and then, from the Memory Saver.
2) Plug the AC/DC Charger Adapter into a grounded 120V AC outlet.
3) Plug the AC/DC Charger Adapter small plug into the Charger Adapter receptacle on the front of the Memory Saver. Observe the LEDs.
a. When the Charger Adapter is first plugged in, the red Charging LED will light up indicating that the internal battery is being charged.
b. After the internal battery reaches full charge, the green Charged LED will light up. It will remain lit as long as the Charger Adapter is plugged in. The internal battery won’t be overcharged.
c. If the yellow Replace Battery LED is lit, try to charge the Memory Saver. If the internal battery does not accept charge, it has reached the end of its service life and should be replaced.
* 2 * * 11 *
NOTES_______________________________________________________________________________________________________________________________________________________________________ _______________________________________________________________________________________________________________________________________________________________________ _______________________________________________________________________________________________________________________________________________________________________ _______________________________________________________________________________________________________________________________________________________________________ _______________________________________________________________________________________________________________________________________________________________________ __________________________________________________________________________________________________________________
ENGLISH
0002-000-3094-A.indd 2 3/30/2009 2:47:11 PM
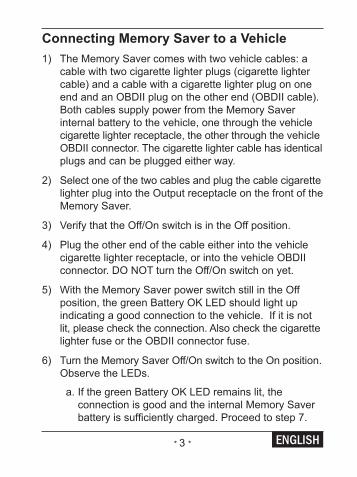
Connecting Memory Saver to a Vehicle1) The Memory Saver comes with two vehicle cables: a
cable with two cigarette lighter plugs (cigarette lighter cable) and a cable with a cigarette lighter plug on one end and an OBDII plug on the other end (OBDII cable). Both cables supply power from the Memory Saver internal battery to the vehicle, one through the vehicle cigarette lighter receptacle, the other through the vehicle OBDII connector. The cigarette lighter cable has identical plugs and can be plugged either way.
2) Select one of the two cables and plug the cable cigarette lighter plug into the Output receptacle on the front of the Memory Saver.
3) Verify that the Off/On switch is in the Off position.
4) Plug the other end of the cable either into the vehicle cigarette lighter receptacle, or into the vehicle OBDII connector. DO NOT turn the Off/On switch on yet.
5) With the Memory Saver power switch still in the Off position, the green Battery OK LED should light up indicating a good connection to the vehicle. If it is not lit, please check the connection. Also check the cigarette lighter fuse or the OBDII connector fuse.
6) Turn the Memory Saver Off/On switch to the On position. Observe the LEDs.
a. If the green Battery OK LED remains lit, the connection is good and the internal Memory Saver battery is sufficiently charged. Proceed to step 7.
* 3 ** 10 *
6) Mettez l’interrupteur de arrêt/marche de la batterie de sauvegarde de mémoire sur la position On (Marche). Surveillez les voyants DEL.
a. Si le voyant DEL vert de batterie OK reste allumé, le branchement est correct et la batterie interne de la batterie de sauvegarde de mémoire est suffisamment chargée. Passez à l’étape 7.
b. Si le voyant DEL rouge de batterie faible s’allume, la batterie interne est en partie déchargée et il ne reste environ qu’une heure de fonctionnement. Chargez la batterie de sauvegarde de mémoire.
c. Si aucun voyant DEL n’est allumé, la batterie interne est complètement déchargée ou a été retirée. Vérifiez que la batterie interne est installée et chargez la batterie de sauvegarde de mémoire.
7) Vous pouvez maintenant déconnecter la batterie du véhicule sans perdre les codes de comportement routier et les paramètres sauvegardés dans la mémoire du véhicule.
Avertissement : assurez-vous qu’aucun accessoire n’est allumé car cela pourrait réduire de façon importante la durée pendant laquelle la batterie de sauvegarde de mémoire peut préserver la mémoire du véhicule.
Avertissement : soyez vigilant lorsque vous utilisez la batterie de sauvegarde de mémoire. Maintenez-la à distance de la chaleur, des gaz explosifs, des flammes et des étincelles. Ne mettez jamais l’appareil en contact avec de l’eau et ne l’exposez pas à des températures extrêmes. Rechargez toujours la batterie de sauvegarde de mémoire après l’avoir utilisée ou stockée pendant une période prolongée.
FRANCAIS ENGLISH
0002-000-3094-A.indd 3 3/30/2009 2:47:11 PM
* 4 *
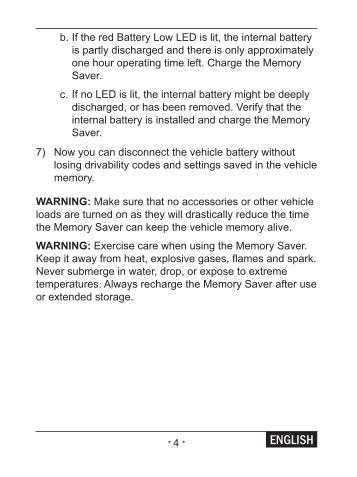
b. If the red Battery Low LED is lit, the internal battery is partly discharged and there is only approximately one hour operating time left. Charge the Memory Saver.
c. If no LED is lit, the internal battery might be deeply discharged, or has been removed. Verify that the internal battery is installed and charge the Memory Saver.
7) Now you can disconnect the vehicle battery without losing drivability codes and settings saved in the vehicle memory.
WARNING: Make sure that no accessories or other vehicle loads are turned on as they will drastically reduce the time the Memory Saver can keep the vehicle memory alive.
WARNING: Exercise care when using the Memory Saver. Keep it away from heat, explosive gases, flames and spark. Never submerge in water, drop, or expose to extreme temperatures. Always recharge the Memory Saver after use or extended storage.
* 9 *
de sauvegarde de mémoire. Si la batterie interne n’accepte pas le chargement, elle a atteint la fin de sa durée de vie et doit être remplacée.
Branchement de la batterie de sauvegarde de mémoire au véhicule1) La batterie de sauvegarde de mémoire est fournie avec
deux câbles pour véhicule : un câble avec deux prises allume-cigare (câble allume-cigare) et un câble avec une prise allume-cigare à une extrémité et une prise OBDII à l’autre extrémité (câble OBDII). Les deux câbles fournissent l’alimentation de la batterie interne de la batterie de sauvegarde de mémoire au véhicule, un par le prolongateur de l’allume-cigare du véhicule et l’autre par le connecteur OBDII. Les fiches du câble de l’allume-cigare sont identiques et interchangeables.
2) Choisissez l’un des deux câbles et branchez le câble allume-cigare dans la fiche Output (Sortie) à l’avant de la batterie de sauvegarde de mémoire.
3) Vérifiez que l’interrupteur Off/On (Arrêt/Marche) est sur la position Off (Arrêt).
4) Branchez l’autre extrémité du câble dans l’allume-cigare du véhicule ou au connecteur OBDII du véhicule. N’APPUYEZ PAS sur l’interrupteur Off/On (Arrêt/Marche) pour l’instant.
5) L’interrupteur de la batterie de sauvegarde de mémoire est toujours sur la position Off (Arrêt) et le voyant DEL vert de batterie OK doit s’allumer pour indiquer le bon branchement au véhicule. S’il n’est pas allumé, vérifiez le branchement. Vérifiez également le fusible de l’allume-cigare et le fusible du connecteur OBDII.
FRANCAISENGLISH
0002-000-3094-A.indd 4 3/30/2009 2:47:11 PM

PROFESSIONAL MEMORY SAVERMODEL #3177 USERS MANUAL
0002-000-3094©2009 SPX. All rights reserved.
SPX Service Solutions Box 994 2100 Park Drive Owatonna, MN 55060-0994
0002-000-3094-A.indd 1 3/30/2009 2:47:11 PM