Embed Size (px)
Citation preview

8/13/2019 Proper Installation Practices
http://slidepdf.com/reader/full/proper-installation-practices 1/8
Proper InstallationPractices
GRE
Pipes and Fittings
1

8/13/2019 Proper Installation Practices
http://slidepdf.com/reader/full/proper-installation-practices 2/8
Training
It is imperative that all people involved in GRE installation should
have basic knowledge in handling and assembly of GRE pipes and
fittings.
CPI is offering short course training in handling and assembly ofGRE pipes and fittings.
Installation contractors, engineers, inspectors, consultants, end users
and any other organizations involved are encouraged to attend the
training we are offering.
2

8/13/2019 Proper Installation Practices
http://slidepdf.com/reader/full/proper-installation-practices 3/8
Handling of Materials
• To insure long life and trouble free service from any GRE
materials, careful handling is required at all times.
• Oftentimes, the problems found after the installation of GRE
materials are due to mishandling, specifically impact damages.
• To avoid mishandling problems, the following are
recommended.
3
8/13/2019 Proper Installation Practices
http://slidepdf.com/reader/full/proper-installation-practices 4/8
4
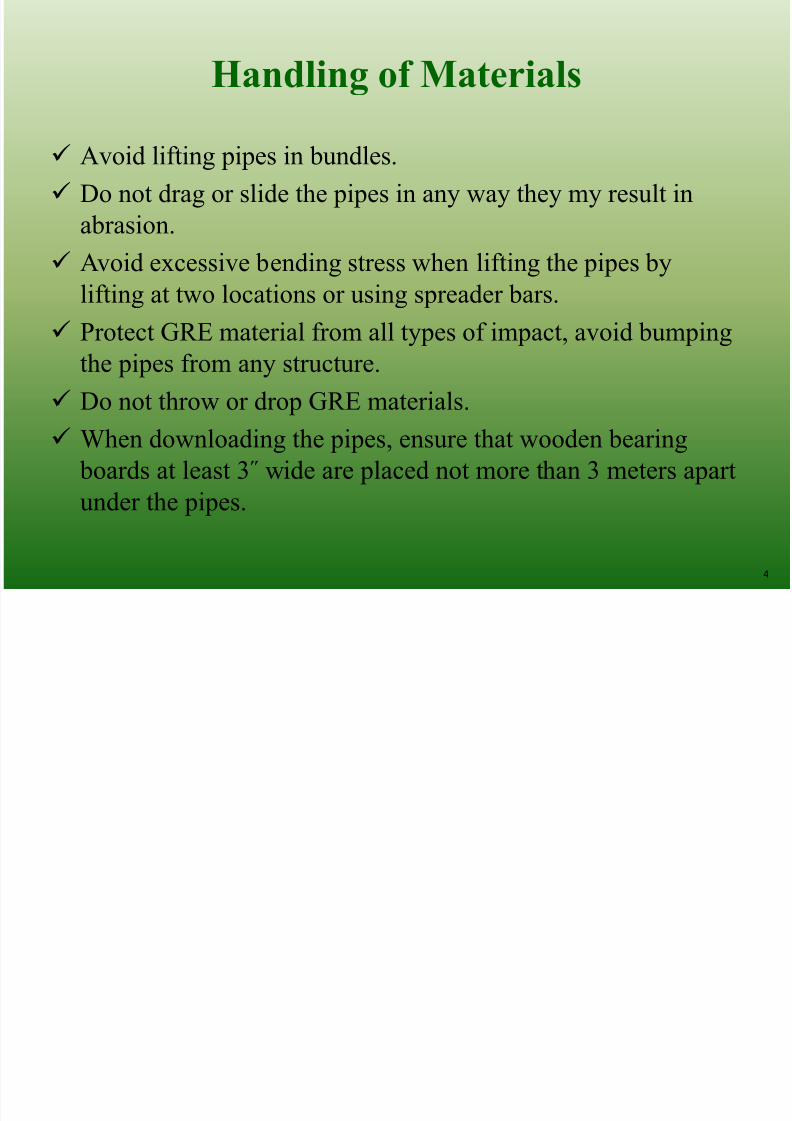
Handling of Materials
Avoid lifting pipes in bundles.
Do not drag or slide the pipes in any way they my result in
abrasion.
Avoid excessive bending stress when lifting the pipes bylifting at two locations or using spreader bars.
Protect GRE material from all types of impact, avoid bumping
the pipes from any structure.
Do not throw or drop GRE materials.
When downloading the pipes, ensure that wooden bearing
boards at least 3˝ wide are placed not more than 3 meters apart
under the pipes.

8/13/2019 Proper Installation Practices
http://slidepdf.com/reader/full/proper-installation-practices 5/8
Field Jointing System
5
8/13/2019 Proper Installation Practices
http://slidepdf.com/reader/full/proper-installation-practices 6/8
6
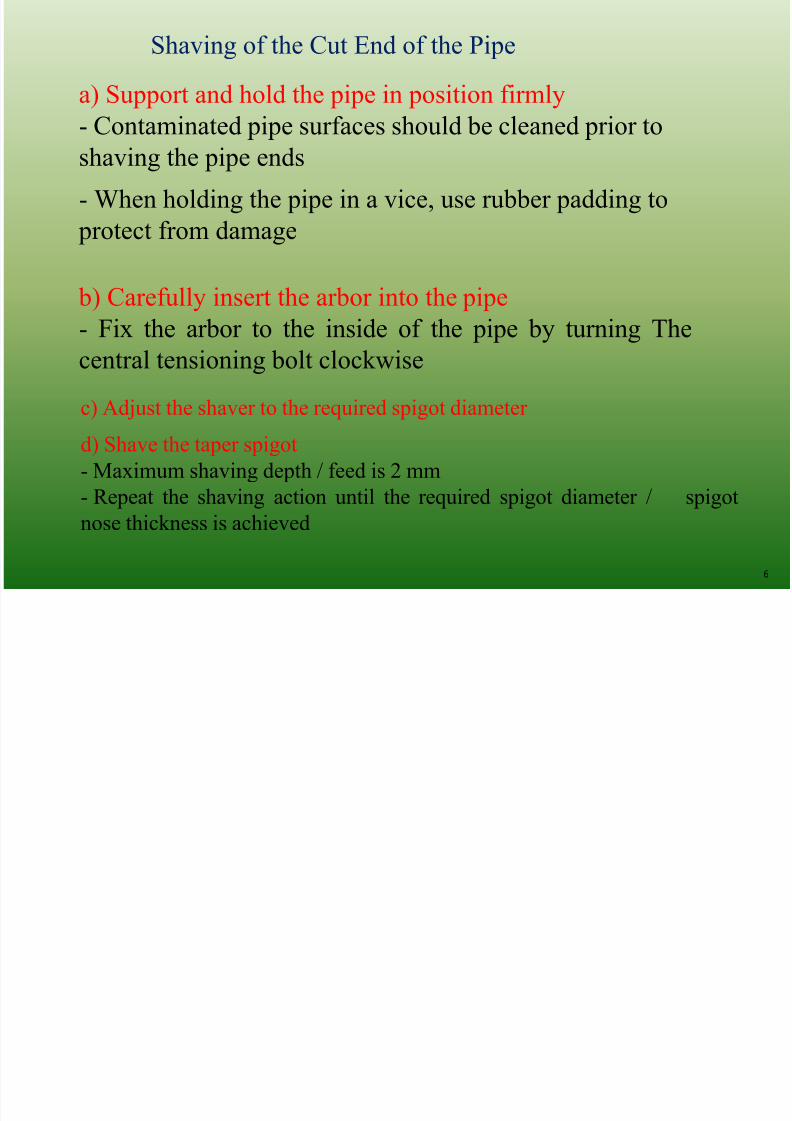
Shaving of the Cut End of the Pipe
a) Support and hold the pipe in position firmly
- Contaminated pipe surfaces should be cleaned prior toshaving the pipe ends
- When holding the pipe in a vice, use rubber padding to
protect from damage
b) Carefully insert the arbor into the pipe
- Fix the arbor to the inside of the pipe by turning The
central tensioning bolt clockwise
c) Adjust the shaver to the required spigot diameterd) Shave the taper spigot
- Maximum shaving depth / feed is 2 mm
- Repeat the shaving action until the required spigot diameter / spigot
nose thickness is achieved

8/13/2019 Proper Installation Practices
http://slidepdf.com/reader/full/proper-installation-practices 7/87
Sand all bonding surfaces
- Thoroughly sand within 2 hours from assembly
- Use flapper wheel sanders with a small drilling machine(1700 - 2000 rpm) or emery cloth with a grit of 60
- Bonding surfaces must be dry and clean before sanding
- Sanded surfaces must have a dull, fresh finish, not a polished look
Dry fit
e) Measure back from the edge of the spigot the required
insertion depth plus 50 mm and scribe a line
During final assembly the spigot may slip approximately 5 mm furtherinto the bell, therefore the dry fitted assembly should be approximately 5
mm longer per joint
8/13/2019 Proper Installation Practices
http://slidepdf.com/reader/full/proper-installation-practices 8/88
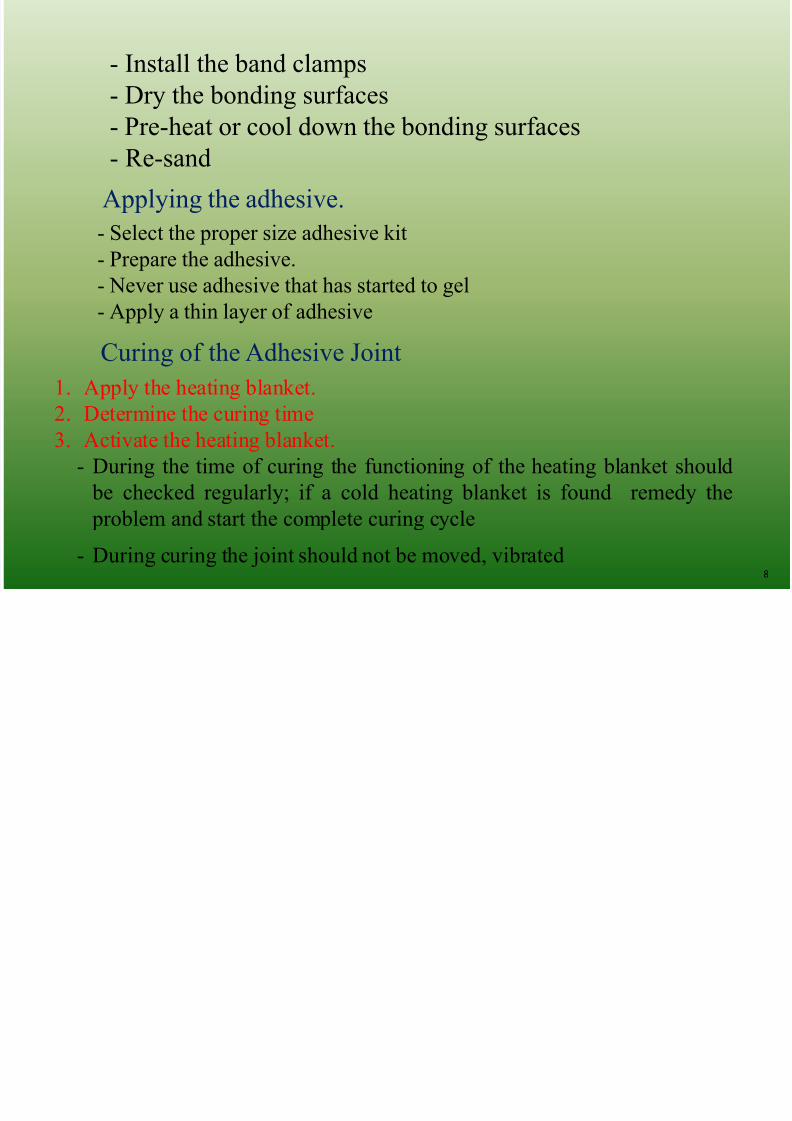
- Install the band clamps
- Dry the bonding surfaces
- Pre-heat or cool down the bonding surfaces- Re-sand
Applying the adhesive.
- Select the proper size adhesive kit
- Prepare the adhesive.
- Never use adhesive that has started to gel
- Apply a thin layer of adhesive
Curing of the Adhesive Joint
1. Apply the heating blanket.
2. Determine the curing time3. Activate the heating blanket.
- During the time of curing the functioning of the heating blanket should
be checked regularly; if a cold heating blanket is found remedy the
problem and start the complete curing cycle
- During curing the joint should not be moved, vibrated