Embed Size (px)
Citation preview
Propulsion and Propellers Lesson Plan
Grade Level: Grades 3-5
Next Generation Science Standards:
Science and Engineering Practices:
Asking Questions and Defining Problems
Developing and Using Models
Planning and Carrying Out Investigations
Analyzing and Interpreting Data
Using Mathematics and Computational
Thinking
Constructing Explanations and Designing
Solutions
Engineering Design:
Defining and Delimiting Engineering Prob-
lems
Developing Possible Solutions
Optimizing the Design Solution
PROPULSION AND PROPELLERS—BUILD A SIMPLE PROPELLER
Students will have a basic understanding of how a propeller works. (One in a series.)
Materials Required: Cardboard or heavy card stock
Drinking straws
Tape
Hole Punch
Scissors
Caution tape, string or some method to
create a “fly zone”
Safety glasses/Eye Protection
Measuring Tape or yardstick —secure verti-
cally on a wall in the designated fly zone
Pencil or Pen
Graph Paper if desired
LESSON PLAN
Lesson Objective
The students will:
Be introduced to the engineering process as build, eval-
uate and modify a simple propeller flying toy.
Learn to collect and analyze data as they modify the
design.
Understand propulsion using propellers.
Goal
In this lesson, each student will build and test a simple pro-
peller. Then working in teams will gain a basic understand-
ing of the engineering process and propeller driven propul-
sion.
After building the propeller flying toy by following the di-
rections and illustrations on the student instruction sheet,
students will work in groups to practice their flying tech-
nique and then collect data about estimated height of flight
and graph the results. This flying toy was designed by Neil
Francis.
See tips for flying on the Student Instruction Sheet. There
is a PowerPoint presentation based on the instruction sheet.
Resources:
http://www.eie.org/
Francis, Neil. Super Flyers. Reading, MA: Addison-
Wesley, 1988.
Propulsion and Propellers Lesson Plan
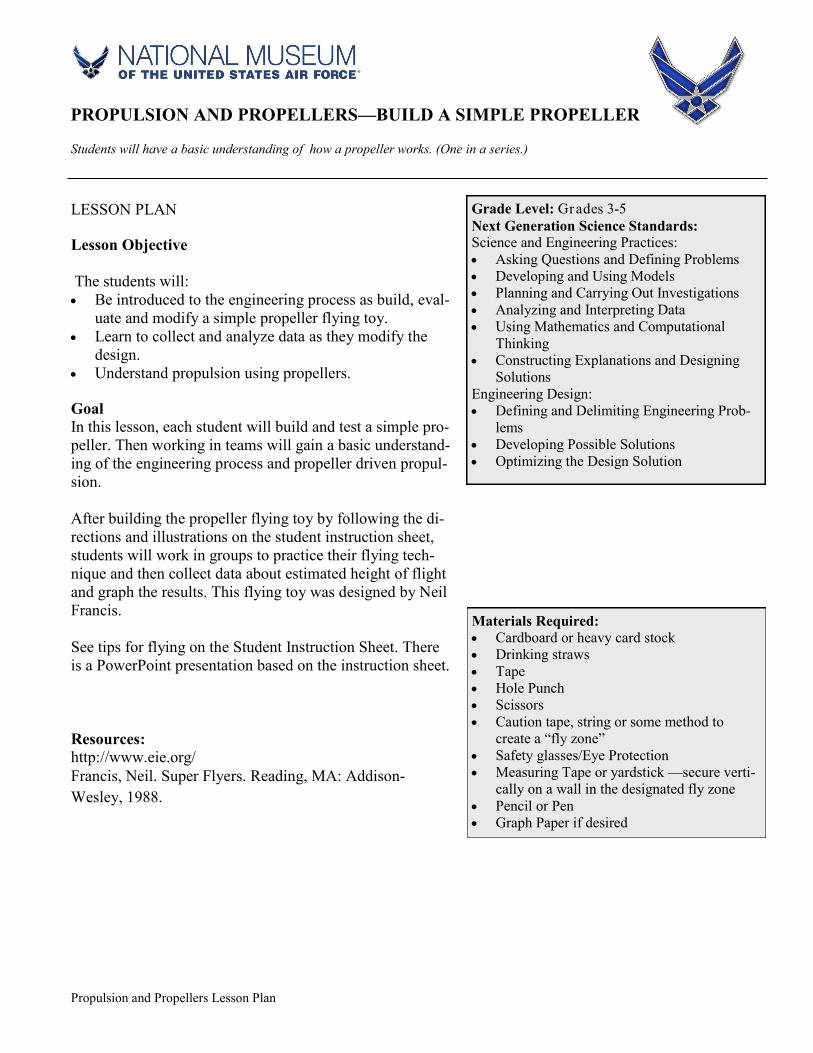
Step 1
Cut a piece of cardboard or heavy card stock (1 inch x 8 1/4 inches).
This will be the propeller blade. Draw a line from the opposite cor-
ners to make an “x”. This will be the center point. Mark it with a dot.
Step 2
At the dot, use a hole punch and make a hole that is slightly bigger
than the diameter of the straw.
Step 3
Place the propeller blade long ways and measure 1/2 inch up from the
bottom and mark a dotted line along the length. (This should be the
center line of the rectangle).
Step 4
Measure 1/2 inch from either side of the hole. One the left side, mark
from the top down to the dotted center line. On the right side, mark
from the bottom up to the dotted center line. Now make a cut up to the
center line at these two marks as shown.
Build a hand-launched Propeller Flying Toy
Instruction Sheet
Propulsion and Propellers Lesson Plan
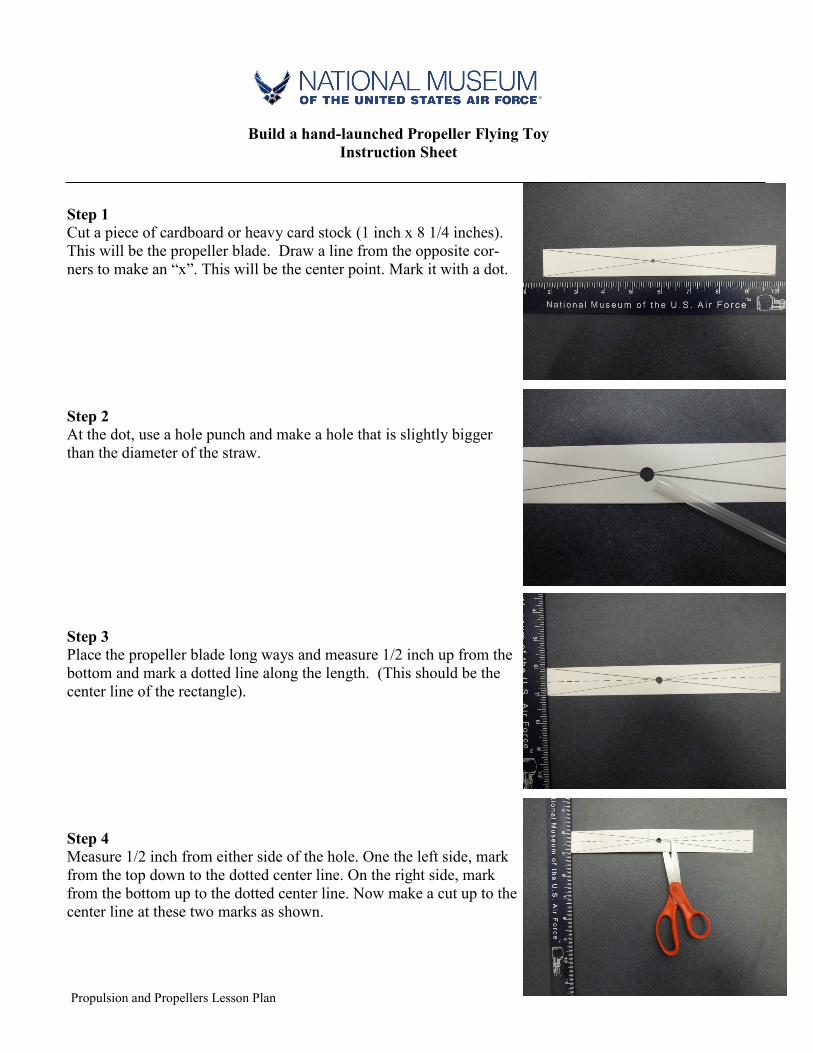
Step 5
Measure 1/2 inch from each tip of the blade and fold the tips under.
Tape these folds down. This will add extra weight to the blade tips
and increase the momentum as the blade spins.
Step 6
From the small cuts outward, gently bend the blades down slightly along the fold line. Do not bend down
too far. This should be a gently curve. Make sure both ends are bent
down the same amount.
Step 7
To attach the straw, wrap tape around one end, so the wrapped end
fits tightly when inserted into the hole of the propeller blade. If the
propeller blade wobbles, tape the straw to the blade to hold it in place.
Step 8
Ready to Fly! Wearing eye protection, hold the straw between your palms. (Blade on top.) Roll your
palms together so the propeller blade rotates rapidly counterclockwise. Now let go! The propeller will
spin out of your hand and go up!
Flying Tips!
If the blade spins but won’t climb, try bending the edges down more. If it climbs rapidly but stops spin-
ning almost immediately, try reducing the amount of bend at the blade edge. Experiment to find the set-
tings that work best for you. You may need to add a paper clip to the bottom of the straw for stability.
Sometimes “pilots” release it too soon. Also, keep your thumbs out of the way while releasing it. Keep
practicing!
Build a hand-launched Propeller Flying Toy
Instruction Sheet
Propulsion and Propellers Lesson Plan
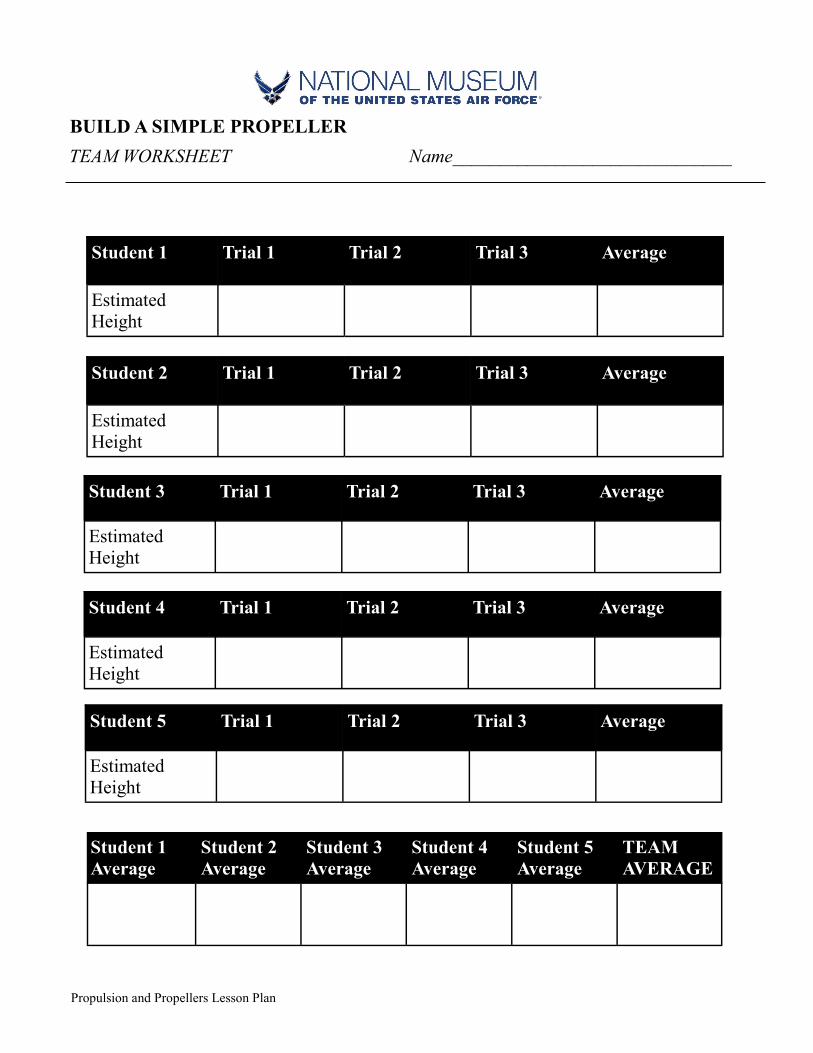
BUILD A SIMPLE PROPELLER
TEAM WORKSHEET Name______________________________
Student 1 Trial 1 Trial 2 Trial 3 Average
Estimated
Height
Student 3 Trial 1 Trial 2 Trial 3 Average
Estimated
Height
Student 2 Trial 1 Trial 2 Trial 3 Average
Estimated
Height
Student 1
Average
Student 2
Average
Student 3
Average
Student 4
Average
Student 5
Average
TEAM
AVERAGE
Student 5 Trial 1 Trial 2 Trial 3 Average
Estimated
Height
Student 4 Trial 1 Trial 2 Trial 3 Average
Estimated
Height