Embed Size (px)
Citation preview
INC
.IN
C.
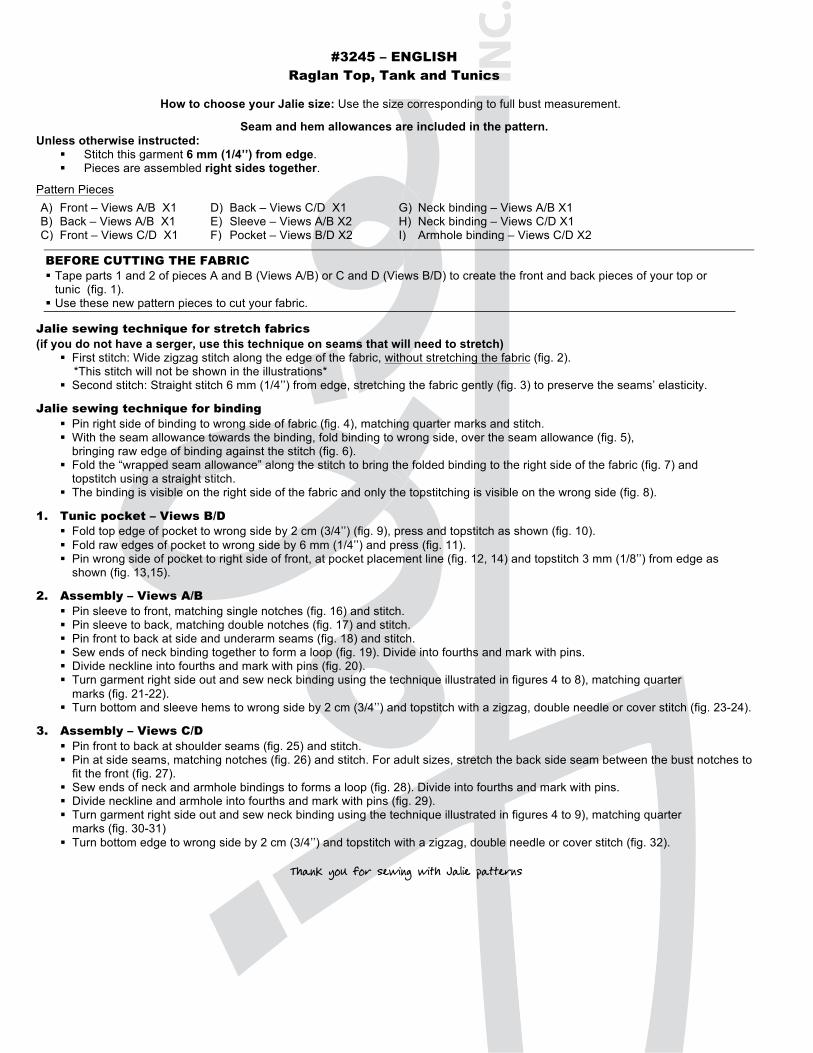
#3245 – ENGLISH Raglan Top, Tank and Tunics
How to choose your Jalie size: Use the size corresponding to full bust measurement.
Seam and hem allowances are included in the pattern.
Unless otherwise instructed: Stitch this garment 6 mm (1/4’’) from edge. Pieces are assembled right sides together.
Pattern Pieces A) Front – Views A/B X1 D) Back – Views C/D X1 G) Neck binding – Views A/B X1 B) Back – Views A/B X1 E) Sleeve – Views A/B X2 H) Neck binding – Views C/D X1 C) Front – Views C/D X1 F) Pocket – Views B/D X2 I) Armhole binding – Views C/D X2
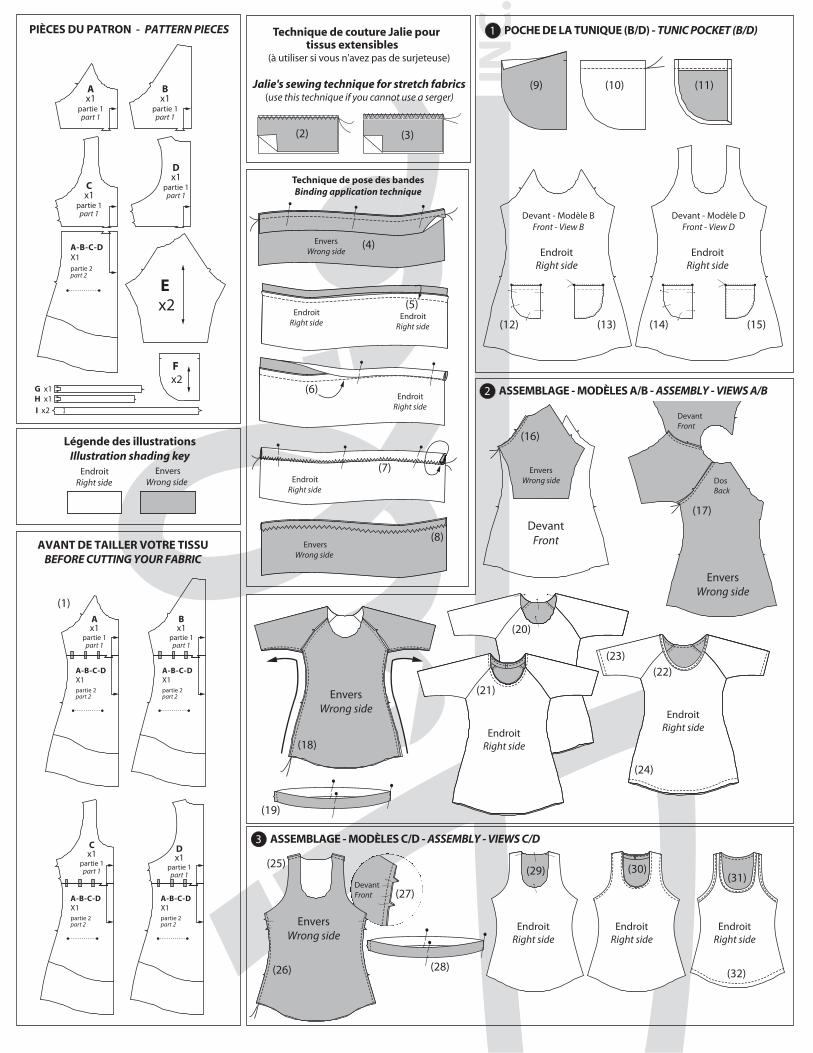
BEFORE CUTTING THE FABRIC Tape parts 1 and 2 of pieces A and B (Views A/B) or C and D (Views B/D) to create the front and back pieces of your top or
tunic (fig. 1). Use these new pattern pieces to cut your fabric.
Jalie sewing technique for stretch fabrics (if you do not have a serger, use this technique on seams that will need to stretch)
First stitch: Wide zigzag stitch along the edge of the fabric, without stretching the fabric (fig. 2). *This stitch will not be shown in the illustrations*
Second stitch: Straight stitch 6 mm (1/4’’) from edge, stretching the fabric gently (fig. 3) to preserve the seams’ elasticity.
Jalie sewing technique for binding Pin right side of binding to wrong side of fabric (fig. 4), matching quarter marks and stitch. With the seam allowance towards the binding, fold binding to wrong side, over the seam allowance (fig. 5),
bringing raw edge of binding against the stitch (fig. 6). Fold the “wrapped seam allowance” along the stitch to bring the folded binding to the right side of the fabric (fig. 7) and
topstitch using a straight stitch. The binding is visible on the right side of the fabric and only the topstitching is visible on the wrong side (fig. 8).
1. Tunic pocket – Views B/D Fold top edge of pocket to wrong side by 2 cm (3/4’’) (fig. 9), press and topstitch as shown (fig. 10). Fold raw edges of pocket to wrong side by 6 mm (1/4’’) and press (fig. 11). Pin wrong side of pocket to right side of front, at pocket placement line (fig. 12, 14) and topstitch 3 mm (1/8’’) from edge as
shown (fig. 13,15).
2. Assembly – Views A/B Pin sleeve to front, matching single notches (fig. 16) and stitch. Pin sleeve to back, matching double notches (fig. 17) and stitch. Pin front to back at side and underarm seams (fig. 18) and stitch. Sew ends of neck binding together to form a loop (fig. 19). Divide into fourths and mark with pins. Divide neckline into fourths and mark with pins (fig. 20). Turn garment right side out and sew neck binding using the technique illustrated in figures 4 to 8), matching quarter
marks (fig. 21-22). Turn bottom and sleeve hems to wrong side by 2 cm (3/4’’) and topstitch with a zigzag, double needle or cover stitch (fig. 23-24).
3. Assembly – Views C/D Pin front to back at shoulder seams (fig. 25) and stitch. Pin at side seams, matching notches (fig. 26) and stitch. For adult sizes, stretch the back side seam between the bust notches to
fit the front (fig. 27). Sew ends of neck and armhole bindings to forms a loop (fig. 28). Divide into fourths and mark with pins. Divide neckline and armhole into fourths and mark with pins (fig. 29). Turn garment right side out and sew neck binding using the technique illustrated in figures 4 to 9), matching quarter
marks (fig. 30-31) Turn bottom edge to wrong side by 2 cm (3/4’’) and topstitch with a zigzag, double needle or cover stitch (fig. 32).
Thank you for sewing with Jalie patterns
INC
.IN
C.
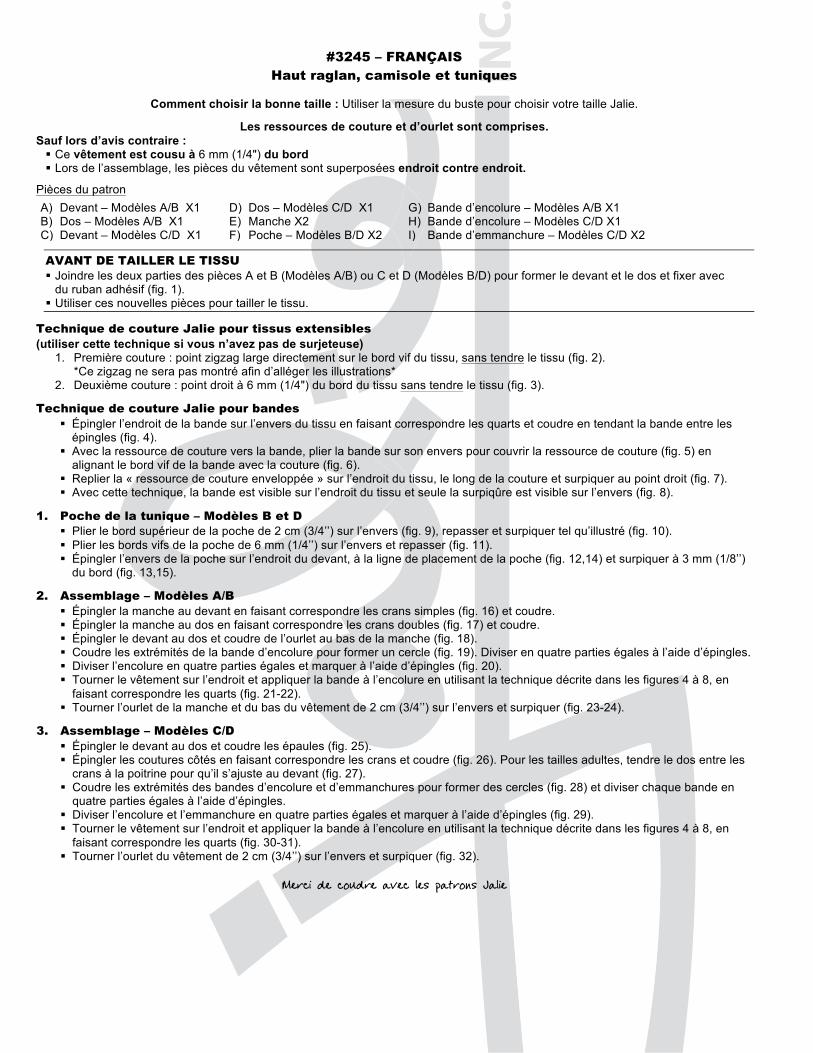
#3245 – FRANÇAIS Haut raglan, camisole et tuniques
Comment choisir la bonne taille : Utiliser la mesure du buste pour choisir votre taille Jalie.
Les ressources de couture et d’ourlet sont comprises.
Sauf lors d’avis contraire : Ce vêtement est cousu à 6 mm (1/4") du bord Lors de l’assemblage, les pièces du vêtement sont superposées endroit contre endroit.
Pièces du patron A) Devant – Modèles A/B X1 D) Dos – Modèles C/D X1 G) Bande d’encolure – Modèles A/B X1 B) Dos – Modèles A/B X1 E) Manche X2 H) Bande d’encolure – Modèles C/D X1 C) Devant – Modèles C/D X1 F) Poche – Modèles B/D X2 I) Bande d’emmanchure – Modèles C/D X2
AVANT DE TAILLER LE TISSU Joindre les deux parties des pièces A et B (Modèles A/B) ou C et D (Modèles B/D) pour former le devant et le dos et fixer avec
du ruban adhésif (fig. 1). Utiliser ces nouvelles pièces pour tailler le tissu.
Technique de couture Jalie pour tissus extensibles (utiliser cette technique si vous n’avez pas de surjeteuse)
1. Première couture : point zigzag large directement sur le bord vif du tissu, sans tendre le tissu (fig. 2). *Ce zigzag ne sera pas montré afin d’alléger les illustrations*
2. Deuxième couture : point droit à 6 mm (1/4") du bord du tissu sans tendre le tissu (fig. 3).
Technique de couture Jalie pour bandes Épingler l’endroit de la bande sur l’envers du tissu en faisant correspondre les quarts et coudre en tendant la bande entre les
épingles (fig. 4). Avec la ressource de couture vers la bande, plier la bande sur son envers pour couvrir la ressource de couture (fig. 5) en
alignant le bord vif de la bande avec la couture (fig. 6). Replier la « ressource de couture enveloppée » sur l’endroit du tissu, le long de la couture et surpiquer au point droit (fig. 7). Avec cette technique, la bande est visible sur l’endroit du tissu et seule la surpiqûre est visible sur l’envers (fig. 8).
1. Poche de la tunique – Modèles B et D Plier le bord supérieur de la poche de 2 cm (3/4’’) sur l’envers (fig. 9), repasser et surpiquer tel qu’illustré (fig. 10). Plier les bords vifs de la poche de 6 mm (1/4’’) sur l’envers et repasser (fig. 11). Épingler l’envers de la poche sur l’endroit du devant, à la ligne de placement de la poche (fig. 12,14) et surpiquer à 3 mm (1/8’’)
du bord (fig. 13,15).
2. Assemblage – Modèles A/B Épingler la manche au devant en faisant correspondre les crans simples (fig. 16) et coudre. Épingler la manche au dos en faisant correspondre les crans doubles (fig. 17) et coudre. Épingler le devant au dos et coudre de l’ourlet au bas de la manche (fig. 18). Coudre les extrémités de la bande d’encolure pour former un cercle (fig. 19). Diviser en quatre parties égales à l’aide d’épingles. Diviser l’encolure en quatre parties égales et marquer à l’aide d’épingles (fig. 20). Tourner le vêtement sur l’endroit et appliquer la bande à l’encolure en utilisant la technique décrite dans les figures 4 à 8, en
faisant correspondre les quarts (fig. 21-22). Tourner l’ourlet de la manche et du bas du vêtement de 2 cm (3/4’’) sur l’envers et surpiquer (fig. 23-24).
3. Assemblage – Modèles C/D Épingler le devant au dos et coudre les épaules (fig. 25). Épingler les coutures côtés en faisant correspondre les crans et coudre (fig. 26). Pour les tailles adultes, tendre le dos entre les
crans à la poitrine pour qu’il s’ajuste au devant (fig. 27). Coudre les extrémités des bandes d’encolure et d’emmanchures pour former des cercles (fig. 28) et diviser chaque bande en
quatre parties égales à l’aide d’épingles. Diviser l’encolure et l’emmanchure en quatre parties égales et marquer à l’aide d’épingles (fig. 29). Tourner le vêtement sur l’endroit et appliquer la bande à l’encolure en utilisant la technique décrite dans les figures 4 à 8, en
faisant correspondre les quarts (fig. 30-31). Tourner l’ourlet du vêtement de 2 cm (3/4’’) sur l’envers et surpiquer (fig. 32).
Merci de coudre avec les patrons Jalie
INC
.IN
C.
Technique de couture Jalie pourtissus extensibles
(à utiliser si vous n'avez pas de surjeteuse)
Jalie's sewing technique for stretch fabrics(use this technique if you cannot use a serger)
(2) (3)
PIÈCES DU PATRON - PATTERN PIECES
AVANT DE TAILLER VOTRE TISSUBEFORE CUTTING YOUR FABRIC
Légende des illustrationsIllustration shading key
Endroit Right side
EnversWrong side
1 POCHE DE LA TUNIQUE (B/D) - TUNIC POCKET (B/D)
DevantFront
DevantFront
(1)
(25)
(27)
(28)
G x1H x1I x2
E x2
F x2
A - B - C - DX1partie 2part 2
Ax1
partie 1part 1
Bx1
partie 1part 1
Bx1
partie 1part 1
A - B - C - DX1partie 2part 2
A - B - C - DX1partie 2part 2
Ax1
partie 1part 1
A - B - C - DX1partie 2part 2
Cx1
partie 1part 1
A - B - C - DX1partie 2part 2
Dx1
partie 1part 1
EnversWrong side
EnversWrong side
Endroit Right side
Endroit Right side
Endroit Right side
Endroit Right side
(4)
(5)
(6)
(7)
(8)
Technique de pose des bandesBinding application technique
(9) (10) (11)
(12) (13) (14) (15)
2 ASSEMBLAGE - MODÈLES A/B - ASSEMBLY - VIEWS A/B
3 ASSEMBLAGE - MODÈLES C/D - ASSEMBLY - VIEWS C/D
Cx1
partie 1part 1
Dx1
partie 1part 1
(29) (30)
(17)
(16)
(18)
(19)
(20)
(21)
(22)(23)
(24)
(32)
(31)
(26)
DevantFront
DosBack
EnversWrong side
EnversWrong side
EnversWrong side
EndroitRight sideEndroit
Right side
EndroitRight side
EndroitRight side
EndroitRight side
EnversWrong side
Devant - Modèle BFront - View B
Devant - Modèle DFront - View D
EndroitRight side
EndroitRight side