Embed Size (px)
Citation preview
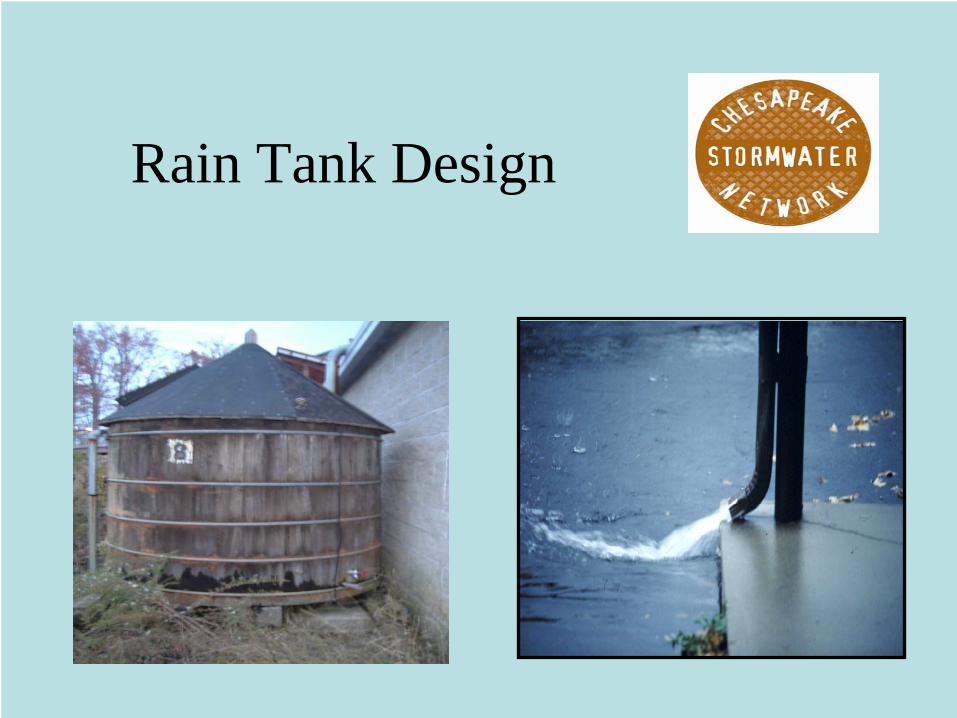
Rain Tank Design
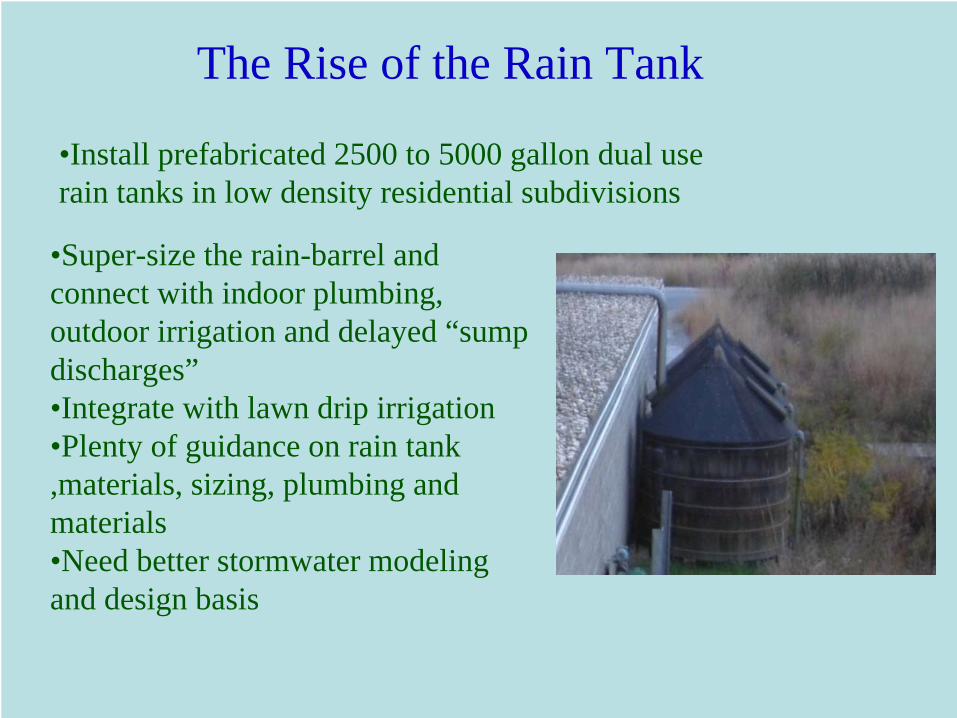
The Rise of the Rain Tank
•Super-size the rain-barrel and connect with indoor plumbing, outdoor irrigation and delayed “sump discharges”•Integrate with lawn drip irrigation•Plenty of guidance on rain tank ,materials, sizing, plumbing and materials •Need better stormwater modeling and design basis
•Install prefabricated 2500 to 5000 gallon dual use rain tanks in low density residential subdivisions
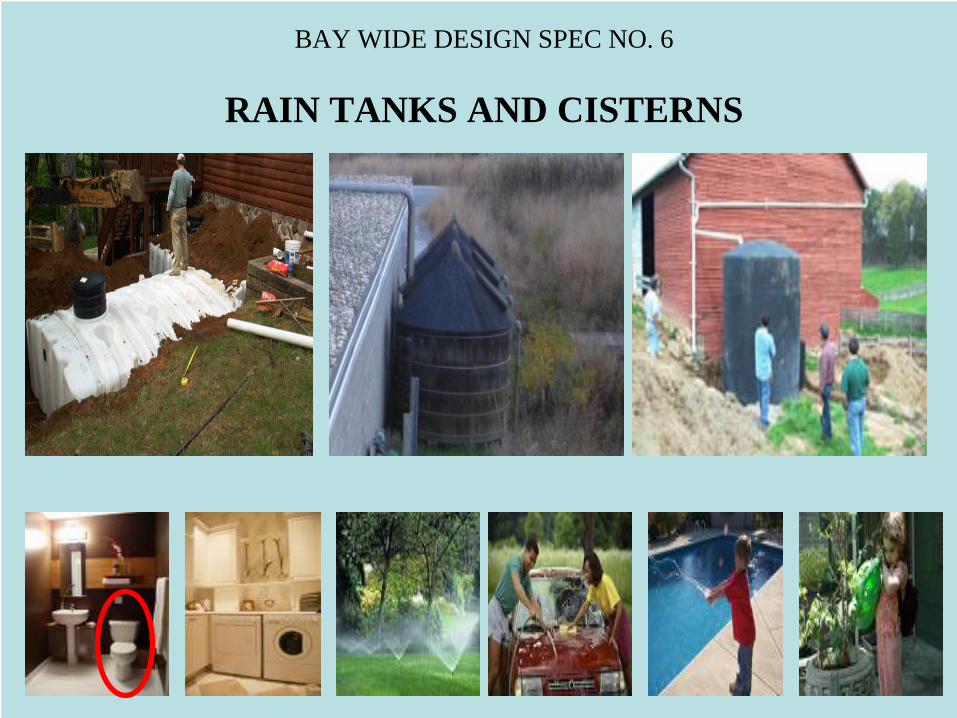
BAY WIDE DESIGN SPEC NO. 6
RAIN TANKS AND CISTERNS
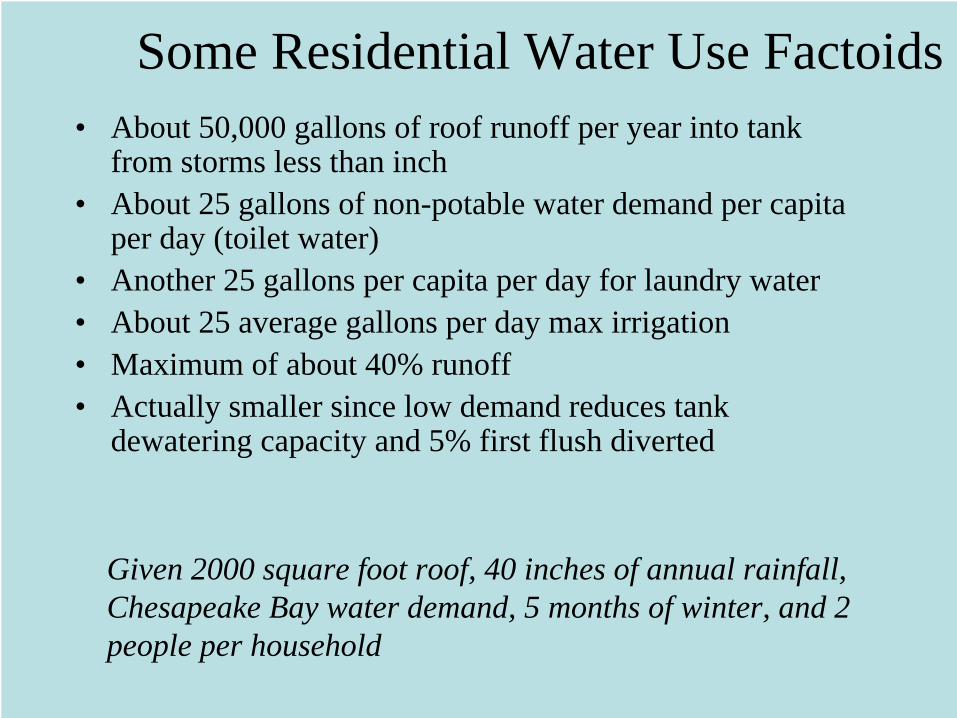
Some Residential Water Use Factoids • About 50,000 gallons of roof runoff per year into tank
from storms less than inch • About 25 gallons of non-potable water demand per capita
per day (toilet water)• Another 25 gallons per capita per day for laundry water • About 25 average gallons per day max irrigation• Maximum of about 40% runoff • Actually smaller since low demand reduces tank
dewatering capacity and 5% first flush diverted
Given 2000 square foot roof, 40 inches of annual rainfall, Chesapeake Bay water demand, 5 months of winter, and 2 people per household
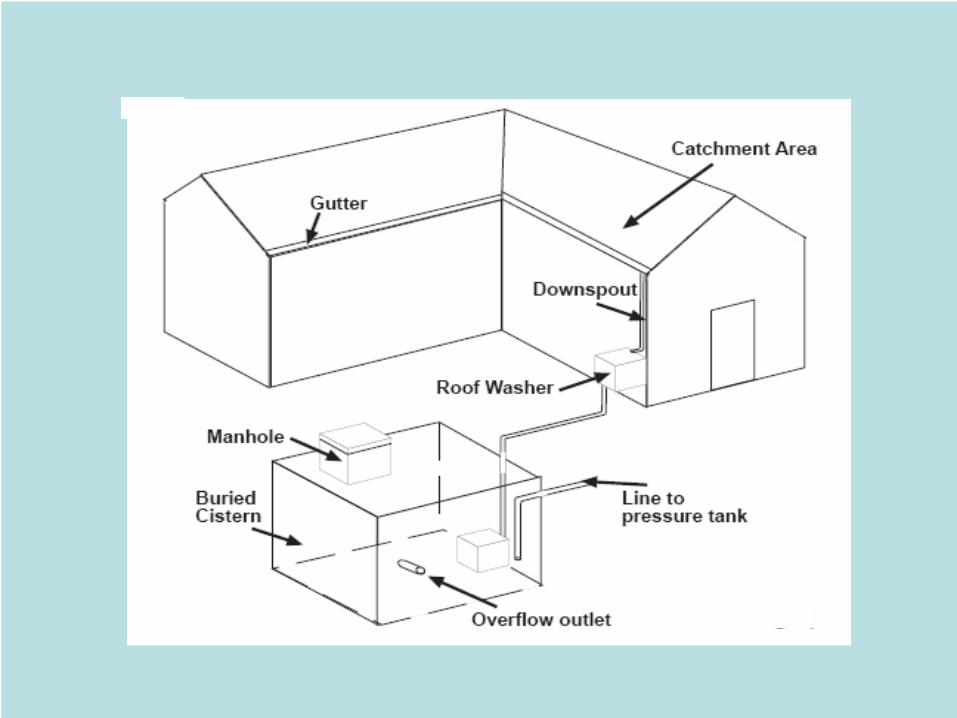
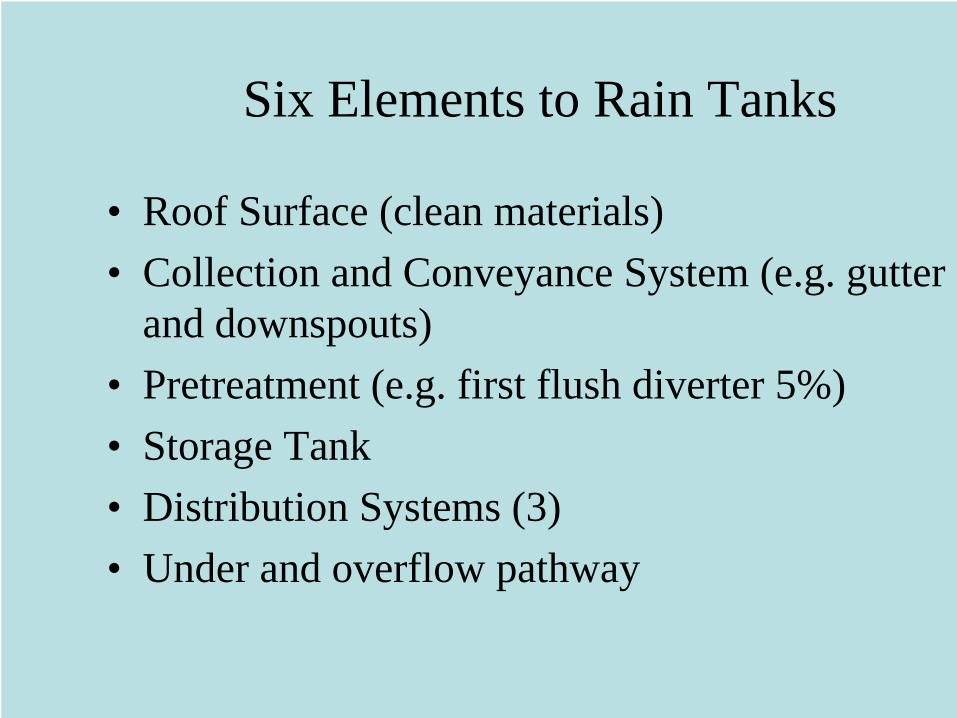
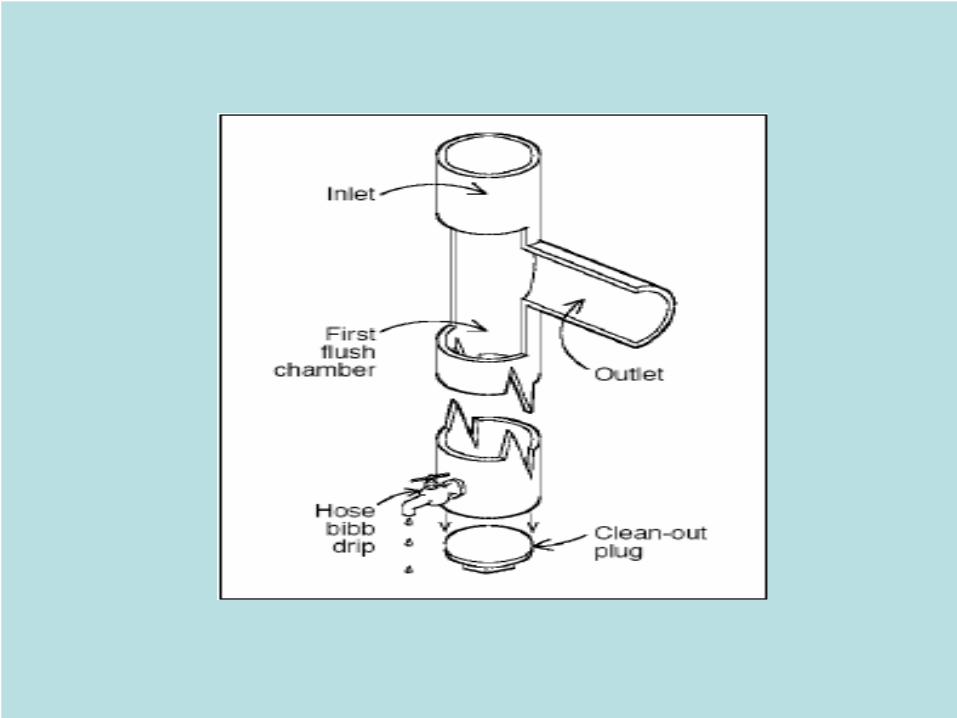
Six Elements to Rain Tanks
• Roof Surface (clean materials) • Collection and Conveyance System (e.g. gutter
and downspouts)• Pretreatment (e.g. first flush diverter 5%)• Storage Tank• Distribution Systems (3)• Under and overflow pathway
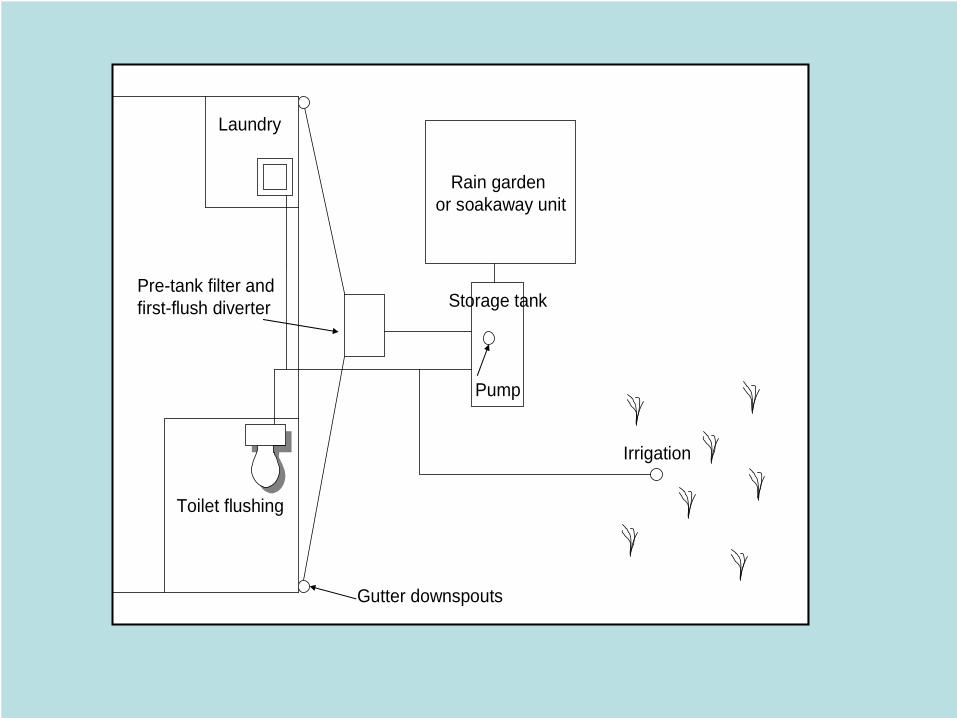
Storage tank
Pump
Rain garden or soakaway unit
Toilet flushing
Laundry
Pre-tank filter and first-flush diverter
Irrigation
Gutter downspouts
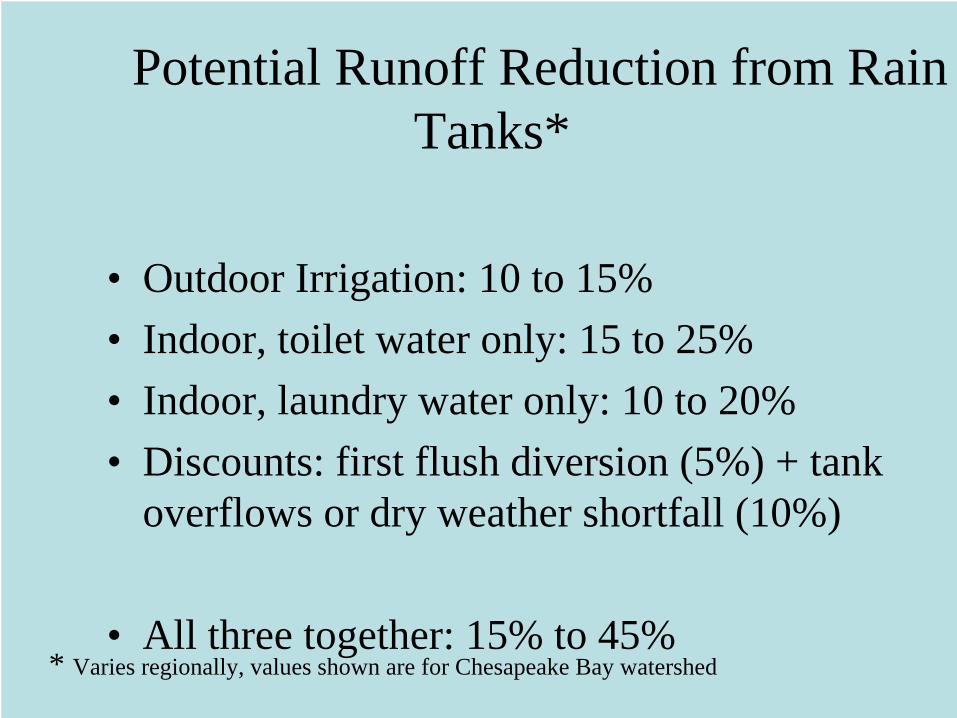
Potential Runoff Reduction from Rain Tanks*
• Outdoor Irrigation: 10 to 15% • Indoor, toilet water only: 15 to 25%• Indoor, laundry water only: 10 to 20%• Discounts: first flush diversion (5%) + tank
overflows or dry weather shortfall (10%)
• All three together: 15% to 45% * Varies regionally, values shown are for Chesapeake Bay watershed

Learning How to Waste Water Again
• Overcoming the rain tank challenge: increasing water demand to equal water supply
• Increase non-winter irrigation rates or area • Increase discharges to soil restoration areas
(filter corridor)• “Sump” pumping: Dewater ½ of tank
capacity 48 hours after each storm event and discharge to storm drain system
Rain Tank Design Choices Underflow and Overflow
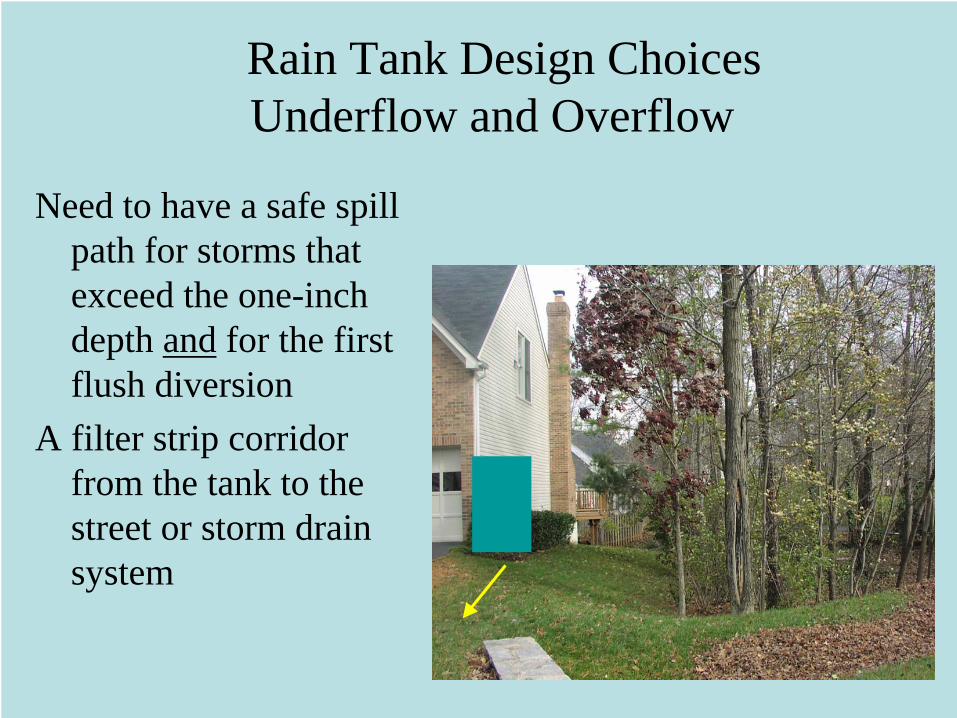
Need to have a safe spill path for storms that exceed the one-inch depth and for the first flush diversion
A filter strip corridor from the tank to the street or storm drain system
Rain Tank Design Choices Tank Dewatering
• Steady dewatering is needed to preserve tank capacity for next storm event
• Internal demand usually not enough to do so • 2/3 tank volume used for rain detention• 1/3 tank volume for rainwater harvesting • Ball valve used to slowly discharge the
detention volume • Pump used for internal water demand
Rain Tank Design Choices Integration with Irrigation System
• Install an automated irrigation system to serve lawn and landscaping that is fully integrated into the plumbing of the rain tank
• Helps ensure steady demand and makes it easier for the homeowner
• Winter shutoff or diversion to undergound filter corridor
Rain Tank Design Choices Contributing Roof Area
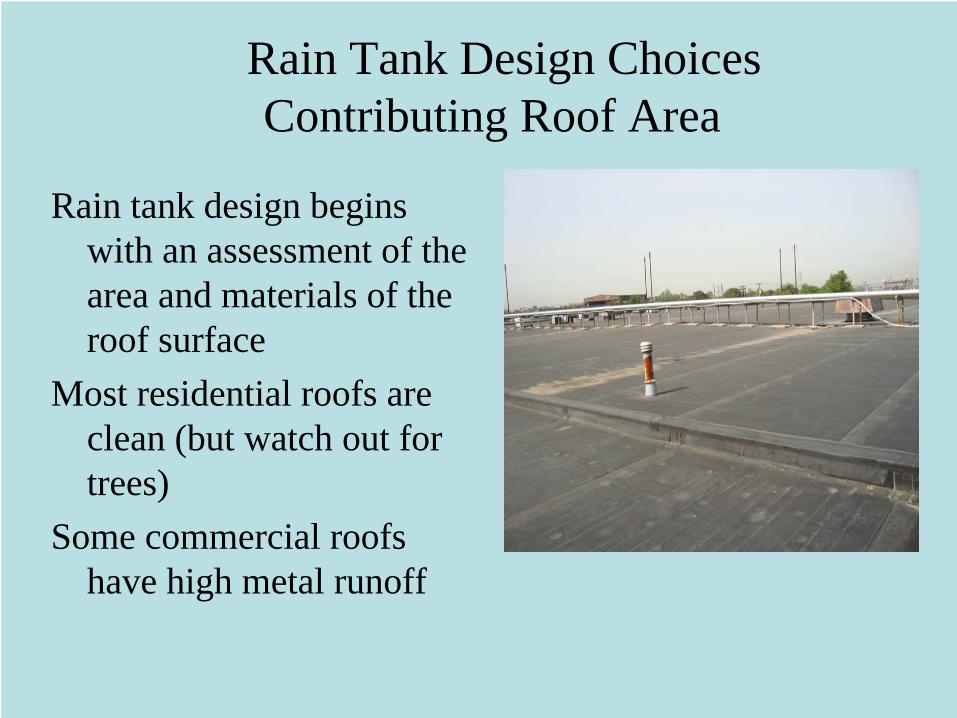
Rain tank design begins with an assessment of the area and materials of the roof surface
Most residential roofs are clean (but watch out for trees)
Some commercial roofs have high metal runoff
Rain Tank Design Choices Sizing The Tank and the Release Rate
Based on roof area and inside and outside water demand
Simple spreadsheets available
NCSU water harvesting spreadsheet model http://www.bae.ncsu.edu/topic/waterharvesting/
Chesapeake Bay spreadsheet to be released soon
Rain Tank Design Choices Location and Material
• Above-ground• Below ground *• Inside the building *
Choice depends on winter conditions, aesthetics, architectural concerns and plumbing codes
• Fiberglass *• Concrete/metal• Wood
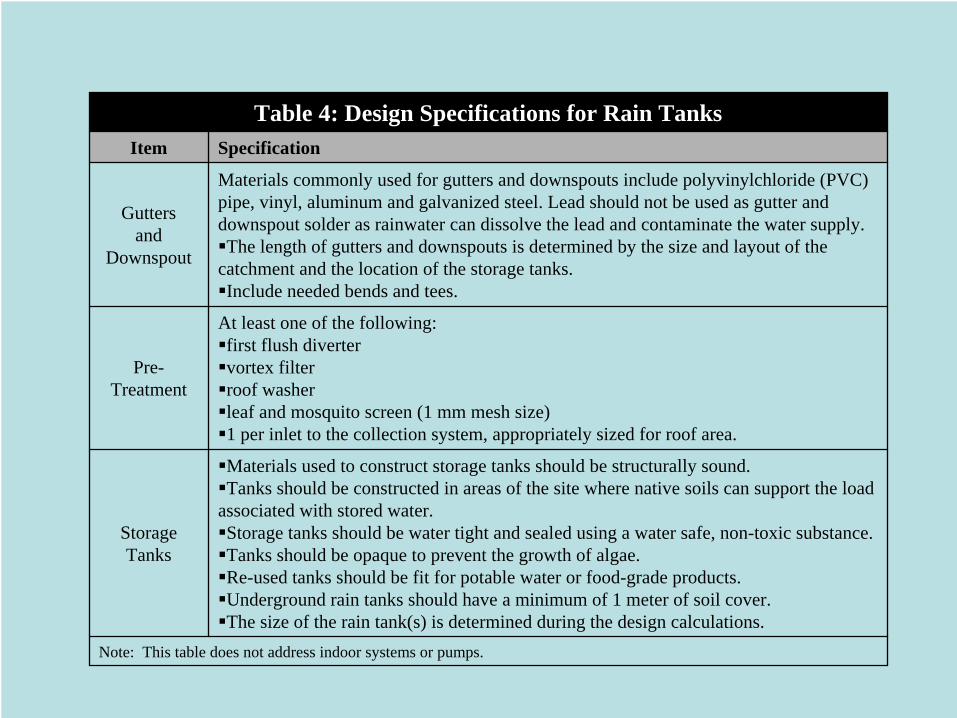
Table 4: Design Specifications for Rain TanksItem Specification
Gutters and
Downspout
Materials commonly used for gutters and downspouts include polyvinylchloride (PVC) pipe, vinyl, aluminum and galvanized steel. Lead should not be used as gutter and downspout solder as rainwater can dissolve the lead and contaminate the water supply.The length of gutters and downspouts is determined by the size and layout of the
catchment and the location of the storage tanks.Include needed bends and tees.
Pre-Treatment
At least one of the following:first flush divertervortex filterroof washer leaf and mosquito screen (1 mm mesh size)1 per inlet to the collection system, appropriately sized for roof area.
Storage Tanks
Materials used to construct storage tanks should be structurally sound.Tanks should be constructed in areas of the site where native soils can support the load
associated with stored water. Storage tanks should be water tight and sealed using a water safe, non-toxic substance. Tanks should be opaque to prevent the growth of algae. Re-used tanks should be fit for potable water or food-grade products.Underground rain tanks should have a minimum of 1 meter of soil cover.The size of the rain tank(s) is determined during the design calculations.
Note: This table does not address indoor systems or pumps.
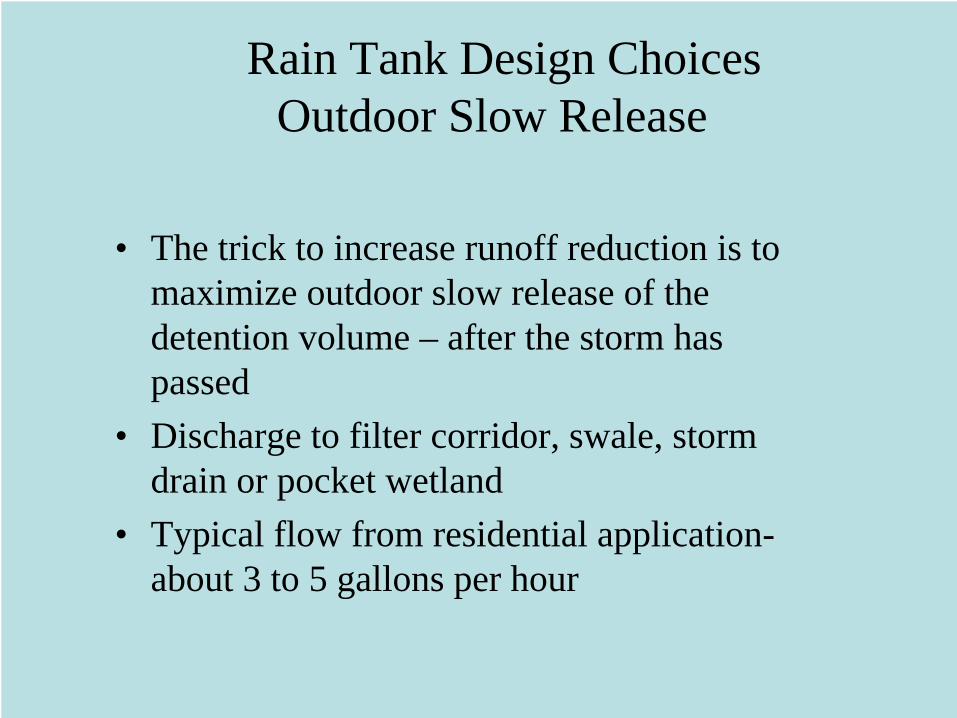
Rain Tank Design Choices Outdoor Slow Release
• The trick to increase runoff reduction is to maximize outdoor slow release of the detention volume – after the storm has passed
• Discharge to filter corridor, swale, storm drain or pocket wetland
• Typical flow from residential application- about 3 to 5 gallons per hour
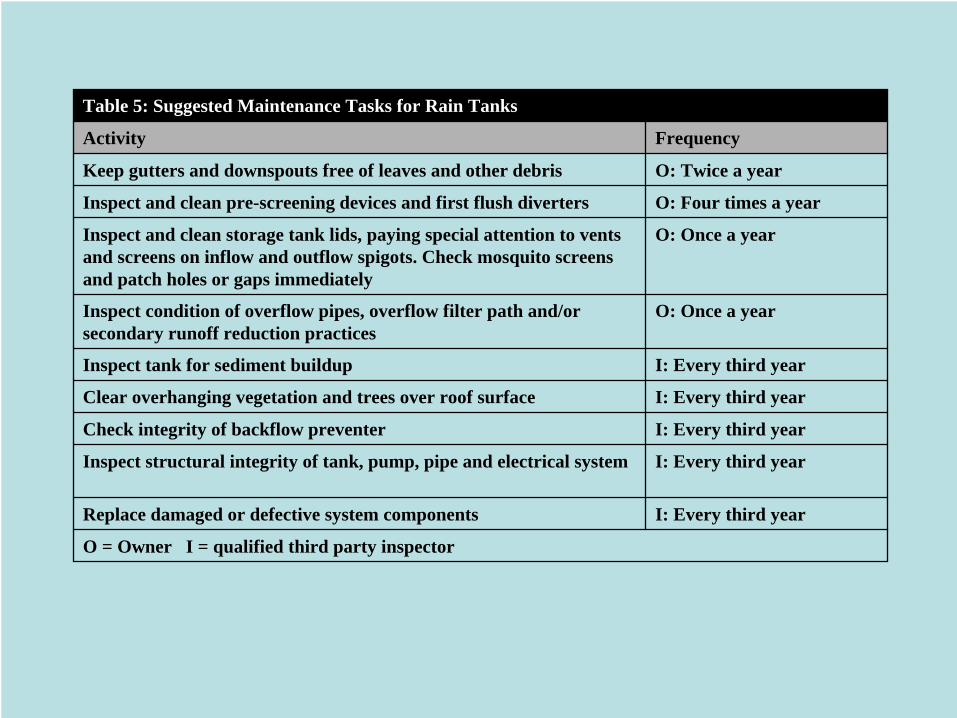
Table 5: Suggested Maintenance Tasks for Rain Tanks
Activity Frequency
Keep gutters and downspouts free of leaves and other debris O: Twice a year
Inspect and clean pre-screening devices and first flush diverters O: Four times a year
Inspect and clean storage tank lids, paying special attention to vents and screens on inflow and outflow spigots. Check mosquito screens and patch holes or gaps immediately
O: Once a year
Inspect condition of overflow pipes, overflow filter path and/or secondary runoff reduction practices
O: Once a year
Inspect tank for sediment buildup I: Every third year
Clear overhanging vegetation and trees over roof surface I: Every third year
Check integrity of backflow preventer I: Every third year
Inspect structural integrity of tank, pump, pipe and electrical system I: Every third year
Replace damaged or defective system components I: Every third year
O = Owner I = qualified third party inspector
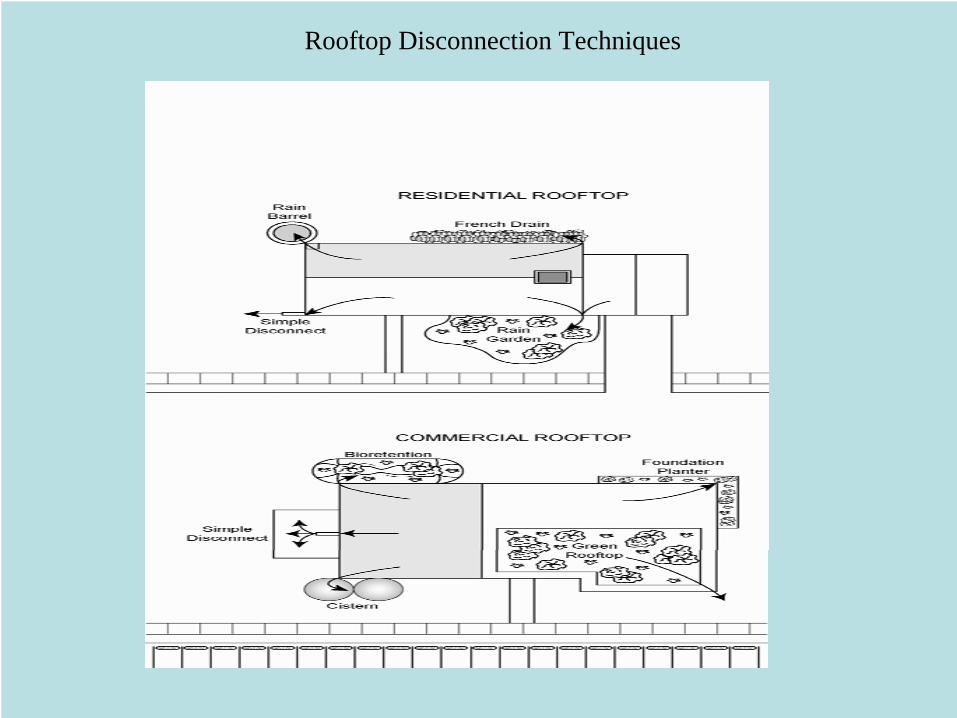
Rooftop Disconnection Techniques