Embed Size (px)
Citation preview
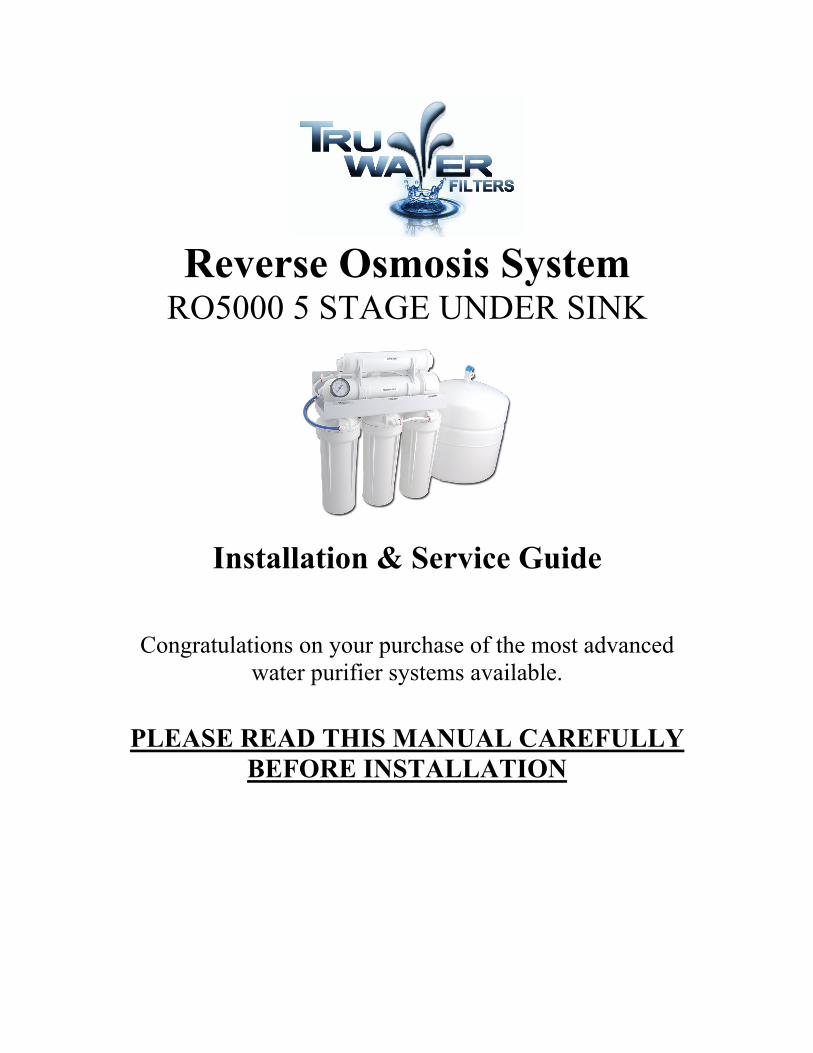
Reverse Osmosis System
RO5000 5 STAGE UNDER SINK
Installation & Service Guide
Congratulations on your purchase of the most advanced
water purifier systems available.
PLEASE READ THIS MANUAL CAREFULLY BEFORE INSTALLATION
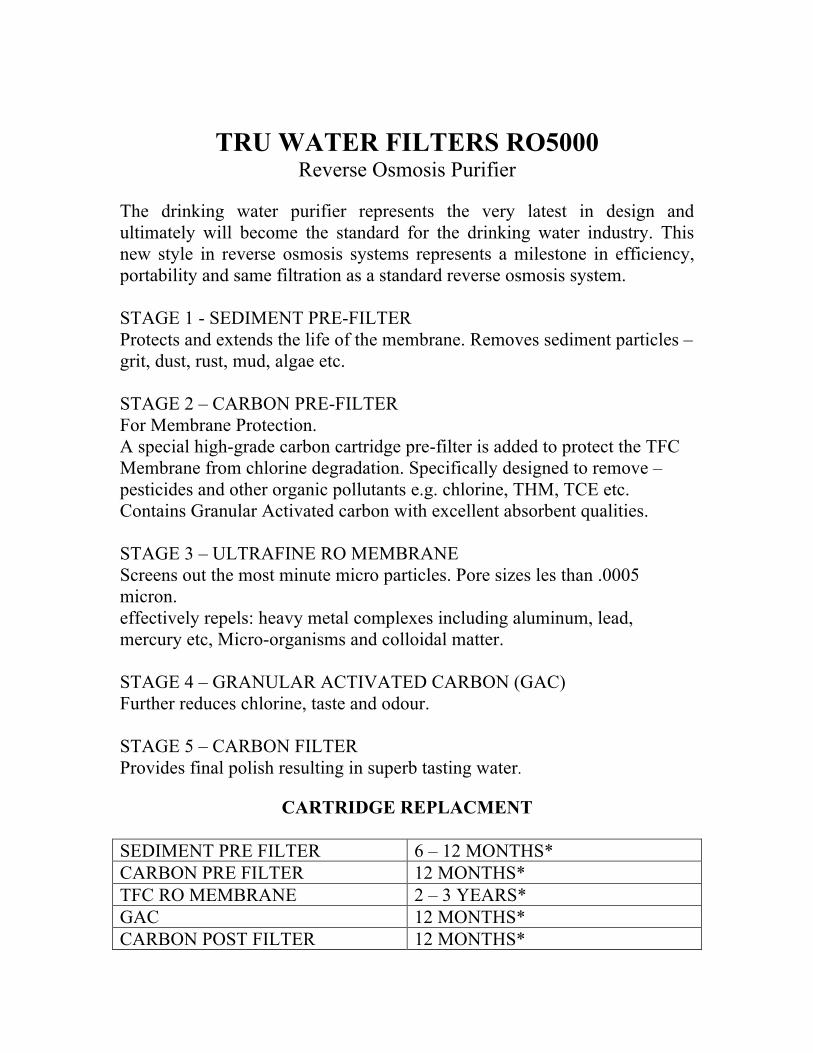
TRU WATER FILTERS RO5000
Reverse Osmosis Purifier The drinking water purifier represents the very latest in design and ultimately will become the standard for the drinking water industry. This new style in reverse osmosis systems represents a milestone in efficiency, portability and same filtration as a standard reverse osmosis system. STAGE 1 - SEDIMENT PRE-FILTER Protects and extends the life of the membrane. Removes sediment particles – grit, dust, rust, mud, algae etc. STAGE 2 – CARBON PRE-FILTER For Membrane Protection. A special high-grade carbon cartridge pre-filter is added to protect the TFC Membrane from chlorine degradation. Specifically designed to remove – pesticides and other organic pollutants e.g. chlorine, THM, TCE etc. Contains Granular Activated carbon with excellent absorbent qualities. STAGE 3 – ULTRAFINE RO MEMBRANE Screens out the most minute micro particles. Pore sizes les than .0005 micron. effectively repels: heavy metal complexes including aluminum, lead, mercury etc, Micro-organisms and colloidal matter. STAGE 4 – GRANULAR ACTIVATED CARBON (GAC) Further reduces chlorine, taste and odour. STAGE 5 – CARBON FILTER Provides final polish resulting in superb tasting water.
CARTRIDGE REPLACMENT
SEDIMENT PRE FILTER 6 – 12 MONTHS* CARBON PRE FILTER 12 MONTHS* TFC RO MEMBRANE 2 – 3 YEARS* GAC 12 MONTHS* CARBON POST FILTER 12 MONTHS*

* DEPENDING ON WATER QUALITY AND USAGE REVERSE OSMOSIS WATER PURIFIERS
Of all methods that purify drinking water for domestic use, the process of REVERSE OSMOSIS is the most advanced, economical and effective. REVERSE OSMOSIS has the ability, unlike conventional filters, to remove contaminants such as dissolved solids and all other impurities. The REVERSE OSMOSIS (RO) process works by forcing water under pressure through a special TFC Membrane. The membrane has the astounding quality of attracting water molecules and repelling dissolved impurities, even those smaller than water molecules themselves. The REVERSE OSMOSIS (RO) purifiers remove all the contaminants of concern to the consumer such as bacteria, viruses, parasites, heavy metals, inorganic chemicals, pesticides and algae. RO Purifiers flush the impurities down the drain rather than collecting them in the filter, as is the case with ordinary systems, preventing any build up within the system. Also RO systems oxygenate the water giving it a lively fresh taste, unlike distilled water, which may have a flat dead taste. With REVERSE OSMOSIS, you can be rest assured your drinking water is of the highest quality possible and the best possible investment for your family’s health.
HOW DOES IT WORK?

Introduction
Please read this entire service guide before beginning installation
This Reverse Osmosis Drinking Water System has been designed for simple installation and maintenance. By carefully reading this instruction manual and following the operational guidelines you will ensure a successful installation and reliable operation. Routine maintenance is essential to the longevity and performance of the system. Filters should be changes as per service intervals.
CONDITIONS FOR OPERATION
Source Water Supply – TFC
System Pressure 30 – 90 psi Temperature 2° - 40° C (36° - 104° F) pH Range 3.0 – 11.0 Maximum Supply TDS 2000 mg/L Turbidity <1.0 Net Turbidity (NTU)
CAUTION DO NOT USE THIS SYSTEM WHERE THE WATER IS MICROBIOLOGICALLY UNSAFE OR OF UNKNOWN QUALITY WITHOUT FIRST CHECKING WITH YOUR DISTRIBUTOR. THIS SYSTEM IS DESIGNED FOR USE ON PORTABLE WATER WITHIN THE ABOVE CONDITIONS FOR OPERATION.

Starting Your Installation
Preparation Check the following list of components to ensure that all parts are packed with you system 1 – Storage Tank 1 – RO System 1 – Faucet 1 – Installation Kit Determine the location of the RO system. Avoid locations where the system might come in contact with hot water pipes or other hazards, taking into consideration ease of maintenance. Determine the location for the faucet. Check to see that drilling the faucet hole will not damage pipes or wires running underneath the sink. Determine the location for the storage tank. A maximum distance from the tank to faucet of 4 meters (12 feet) is possible. The system will produce a faster flow at the faucet with the shortest tubing run from tank to faucet. All tubing is colour coded for ease of installation. ¼” RED/YELLOW - Connects the feed water valve to the RO pre-filter ¼” WHITE - Connects to the RO membrane product port (Tee Piece) ¼” BLACK – Connects the membrane brine port to the drain connecter ¼” BLUE – Connects the post – filter to the faucet
Fittings and Tubing

Installation
Important: Use Cold Water Only!
1. Installing Your Filter Find a convenient location for the filter under the bench. Take into consideration ease of maintenance.
2. Shut Off the Water Locate the water shut-off valve for the cold water feed line you have selected for your water supply. Accidentally hooking up the system to the hot water supply line will permanently damage the membrane.
3. Attach Plumbing Kit Assembly Install the Ezi Fit ½” Connecter with isolation valve Connect RED/YELLOW tube to the end of the isolation valve.
*Please note its highly recommended installing a pressure limiting valve (PLV) to prevent water hammer and water
surge entering the system.

Installation
Important: Use Cold Water Only! Continued
4. Installing the Drain Outlet Clamp Assembly Select a location for the drain clamp above the ‘S’ Trap. Position the drain outlet clamp on the drain pipe. Allow adequate space for drilling. Using the opening in the drain outlet clamp, drill a ¼” hole in the drain pipe. Connect BLACK tube to quick connect fitting on Drain clamp.
5. RO Water Faucet The RO water faucet may be installed on any flat surface at up to 50mm [2”] in diameter. Check the underside of the location for interference. Make a small indent to mark the desired drilling location using a centre punch. Drill a using a ½” metal drill bit. Faucet Installation Once the hole has been drilled in the sink, the faucet may be located in the hole. Be sure the faucet body, chrome plate, and the black washer are in place above the sink. Once completed connect blue tube.
6. Storage Tank Attach TANK TAP found in the installation kit using plumbing tape to the top of the tank. Place the storage tank in a convenient position. Tank can be placed on its stand, either upright or on its side. Attach Tank Tap to storage tank with plumbing tape. Connect white tube from system following picture on previous page. Connect White tube.

Installation
Important: Use Cold Water Only! Continued
7. Activating the System For the First Time
Slowly turn on Feed water valve (Isolation valve) counterclockwise until fully open. Check plumbing kit assembly for leakage. Make sure all water supply/drain lines are secure and free from leakage. Turn storage tank valve one quarter turn counterclockwise to open valve. [the handle should be in line with the tubing as it enters the connection] Open the RO water faucet and let the water flow until all the air has been expelled from the system. Water will be slightly discolored and have some aeration. This will take 30+ minutes. Close the RO Faucet. In 15 Minutes, check the connections for leaks and correct if necessary.
DO NOT USE THE FIRST TWO RESEVOIRS OF WATER Allow the reservoir to fill for 4 hours. Dispense this water to the sink. This
process removes the factory installed sanitizing solution from the entire system and sends it to the drain. Repeat this process one more time. Allow
the tank to fill for 4 hours and dispense the water to the drain,

Troubleshooting
PROBLEM POSSIBLE REASON REMEDY Water has a taste
and/or odour Carbon Post-Filter
has depleted Drain storage tank and replace Post-
Filter Water has a taste
and/or odour Sediment/Pre Carbon
filters are depleted Replace Filters
Water has an offensive
taste and/or odour Membrane depleted
or fouled Drain storage tank,
replace Membrane & post filter
Not enough product water pressure
Storage tank air pressure charge is low
Empty storage tank & set pressure to 5 – 7
psi Not Enough Water Storage tank tap is
switched off Switch storage tank
tap on [handle should be in line with tubing
as it enters the connection]
Not enough water Low Water Pressure If line pressure is below 30 psi add a
booster pump Not Enough Water Water supply is
blocked Clear restriction,
rotate valve on feed water valve
Not enough water Storage tank is depleted
Consider an increase in tank size or
membrane capacity Not Enough Water Clogged Sediment
filter Replacement sediment
cartridge. No Drain Water Clogged Flow
Restrictor Replace flow
restrictor No Water Water Supply is off Turn water on
Under Sink is wet Leak from RO system or Plumbing fittings
Dry everything with towels to isolate leak.
If problems persist contact you distributor.