Embed Size (px)
Citation preview
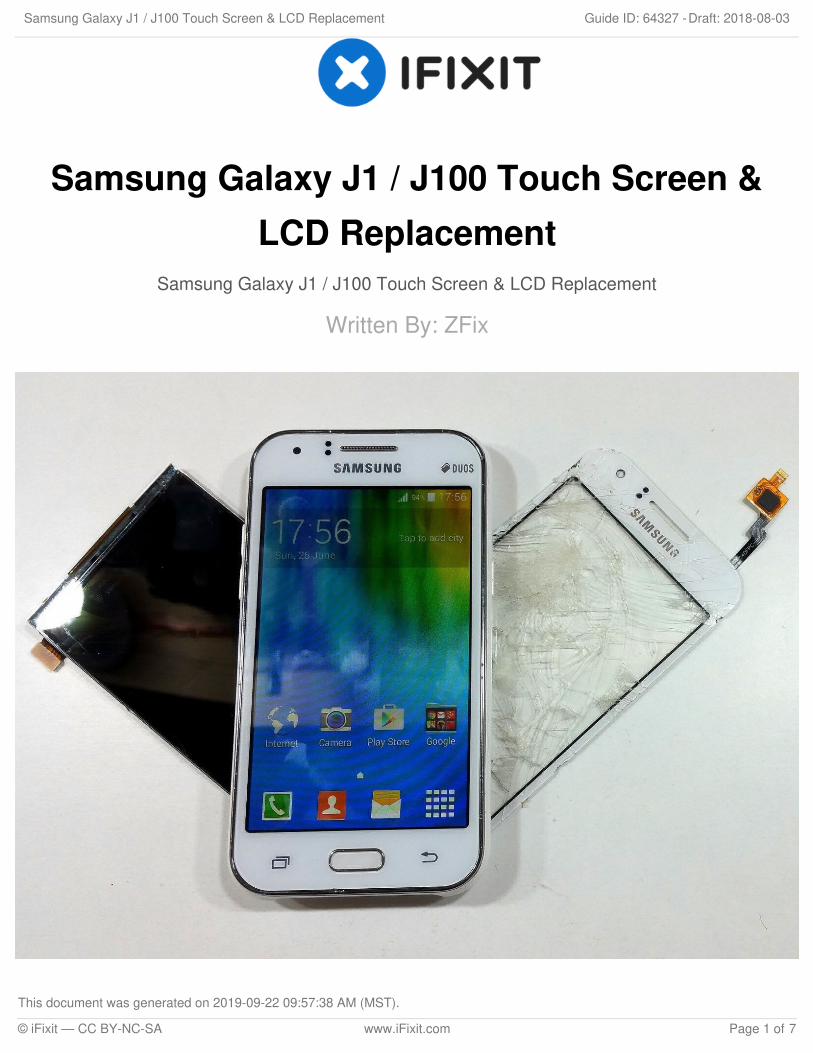
Samsung Galaxy J1 / J100 Touch Screen &LCD Replacement
Samsung Galaxy J1 / J100 Touch Screen & LCD Replacement
Written By: ZFix
Samsung Galaxy J1 / J100 Touch Screen & LCD Replacement Draft: 2018-08-03Guide ID: 64327 -
This document was generated on 2019-09-22 09:57:38 AM (MST).
© iFixit — CC BY-NC-SA www.iFixit.com Page 1 of 7

INTRODUCTION
How to disassemble and replace the Touch screen digitizer and the LCD display.
[video: https://www.youtube.com/watch?v=uQZMg5tFFhc]
TOOLS:iFixit Opening Tools (1)Heat Gun (1)Tweezers (1)
PARTS:Galaxy J1 (2015) Screen Digitizer (1)Galaxy J1 (2015) LCD (1)
Samsung Galaxy J1 / J100 Touch Screen & LCD Replacement Draft: 2018-08-03Guide ID: 64327 -
This document was generated on 2019-09-22 09:57:38 AM (MST).
© iFixit — CC BY-NC-SA www.iFixit.com Page 2 of 7
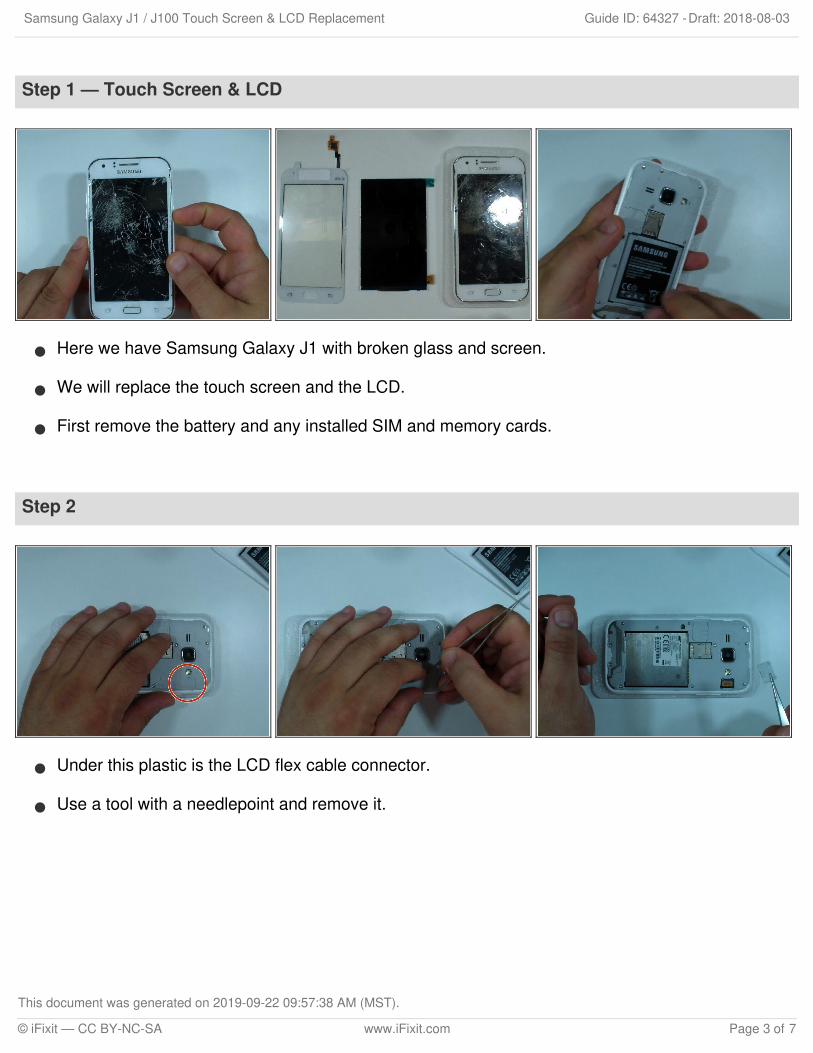
Step 1 — Touch Screen & LCD
Here we have Samsung Galaxy J1 with broken glass and screen.
We will replace the touch screen and the LCD.
First remove the battery and any installed SIM and memory cards.
Step 2
Under this plastic is the LCD flex cable connector.
Use a tool with a needlepoint and remove it.
Samsung Galaxy J1 / J100 Touch Screen & LCD Replacement Draft: 2018-08-03Guide ID: 64327 -
This document was generated on 2019-09-22 09:57:38 AM (MST).
© iFixit — CC BY-NC-SA www.iFixit.com Page 3 of 7

Step 3
Disconnect the LCD flex cable.
When I can, I always test new replacement part before I install it.
Step 4
Use hot air to warm the glass and to make adhesive soften.
With a cutter or knife start the separation.
When you have enough space between the glass and the frame, continue with a plastic tool.
Samsung Galaxy J1 / J100 Touch Screen & LCD Replacement Draft: 2018-08-03Guide ID: 64327 -
This document was generated on 2019-09-22 09:57:38 AM (MST).
© iFixit — CC BY-NC-SA www.iFixit.com Page 4 of 7

Step 5
You can warm the glass again to make the separation more easy.
If you want to change only the touch screen, be careful, don't break the LCD.
Finally remove the screen and the glass from the frame.
Step 6
If you want to change only the glass, disconnect the touch screen flex cable and gently separatethe glass from the LCD.
Samsung Galaxy J1 / J100 Touch Screen & LCD Replacement Draft: 2018-08-03Guide ID: 64327 -
This document was generated on 2019-09-22 09:57:38 AM (MST).
© iFixit — CC BY-NC-SA www.iFixit.com Page 5 of 7
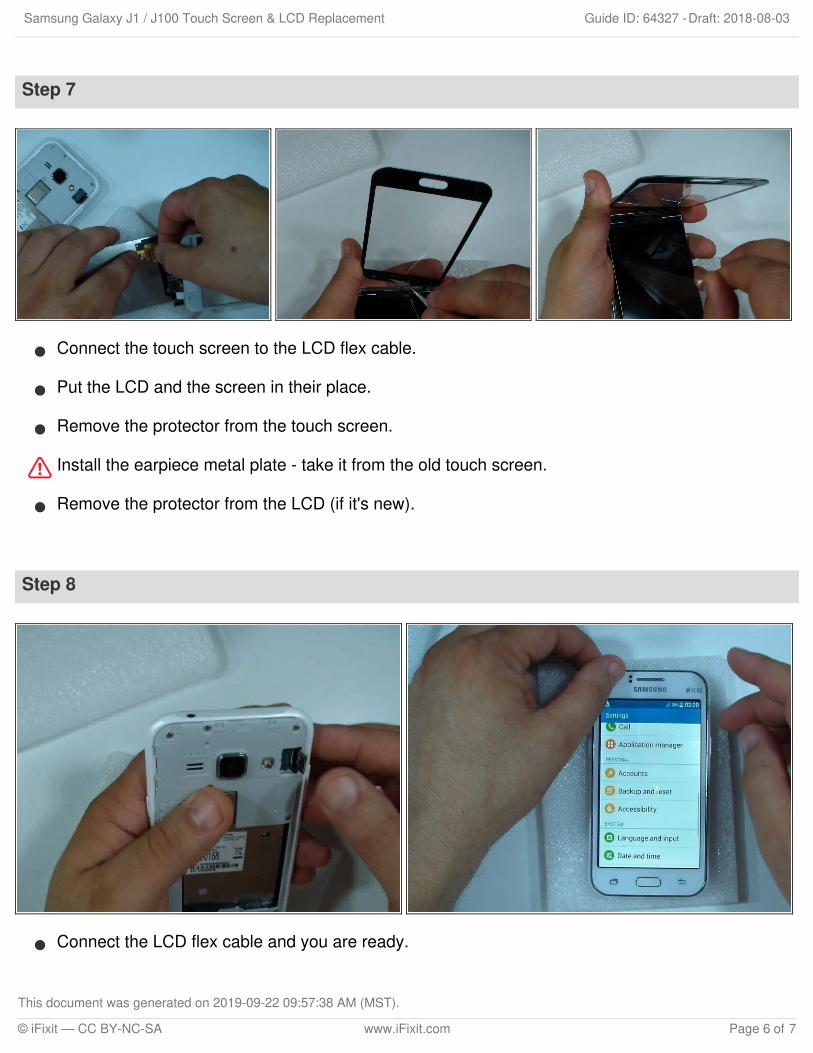
Step 7
Connect the touch screen to the LCD flex cable.
Put the LCD and the screen in their place.
Remove the protector from the touch screen.
Install the earpiece metal plate - take it from the old touch screen.
Remove the protector from the LCD (if it's new).
Step 8
Connect the LCD flex cable and you are ready.
Samsung Galaxy J1 / J100 Touch Screen & LCD Replacement Draft: 2018-08-03Guide ID: 64327 -
This document was generated on 2019-09-22 09:57:38 AM (MST).
© iFixit — CC BY-NC-SA www.iFixit.com Page 6 of 7

To reassemble your device, follow these instructions in reverse order.
Samsung Galaxy J1 / J100 Touch Screen & LCD Replacement Draft: 2018-08-03Guide ID: 64327 -
This document was generated on 2019-09-22 09:57:38 AM (MST).
© iFixit — CC BY-NC-SA www.iFixit.com Page 7 of 7