Embed Size (px)
Citation preview
Screen Printing
Revision: 1/12/09: Page 29Section 5: Finishing and Binding
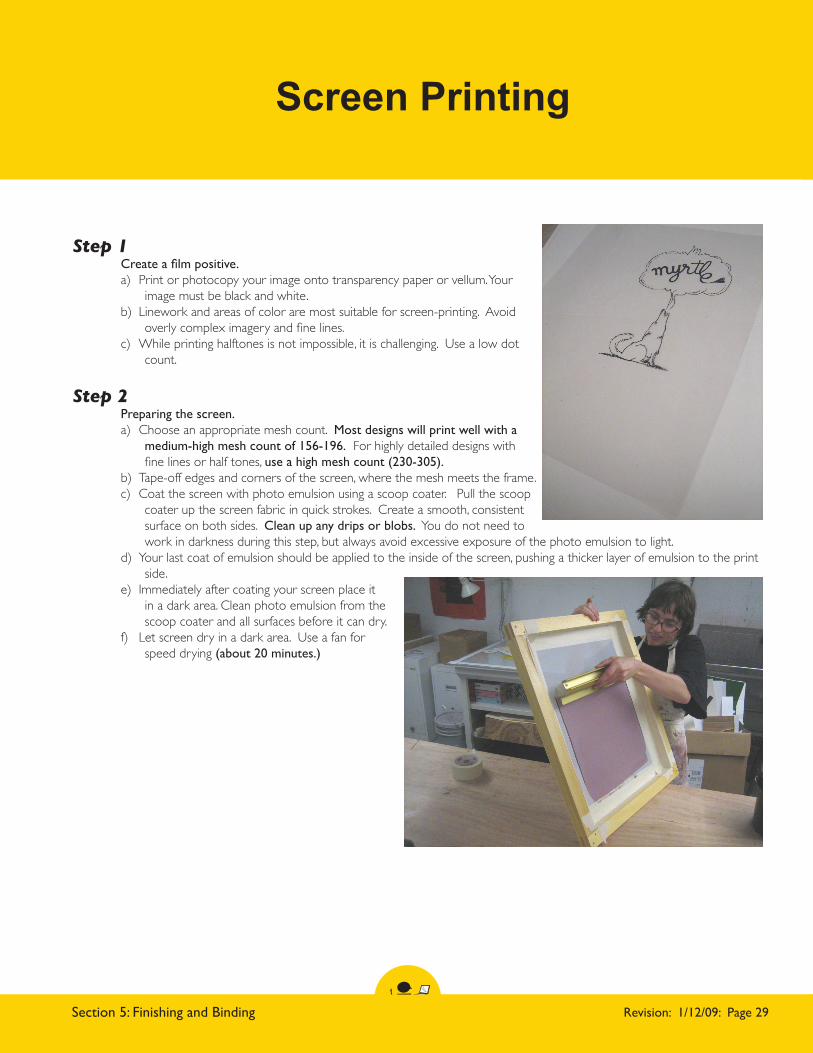
Step 1Create a film positive.a) Print or photocopy your image onto transparency paper or vellum. Your
image must be black and white. b) Linework and areas of color are most suitable for screen-printing. Avoid
overly complex imagery and fine lines.c) While printing halftones is not impossible, it is challenging. Use a low dot
count.
Step 2Preparing the screen.a) Choose an appropriate mesh count. Most designs will print well with a
medium-high mesh count of 156-196. For highly detailed designs with fine lines or half tones, use a high mesh count (230-305).
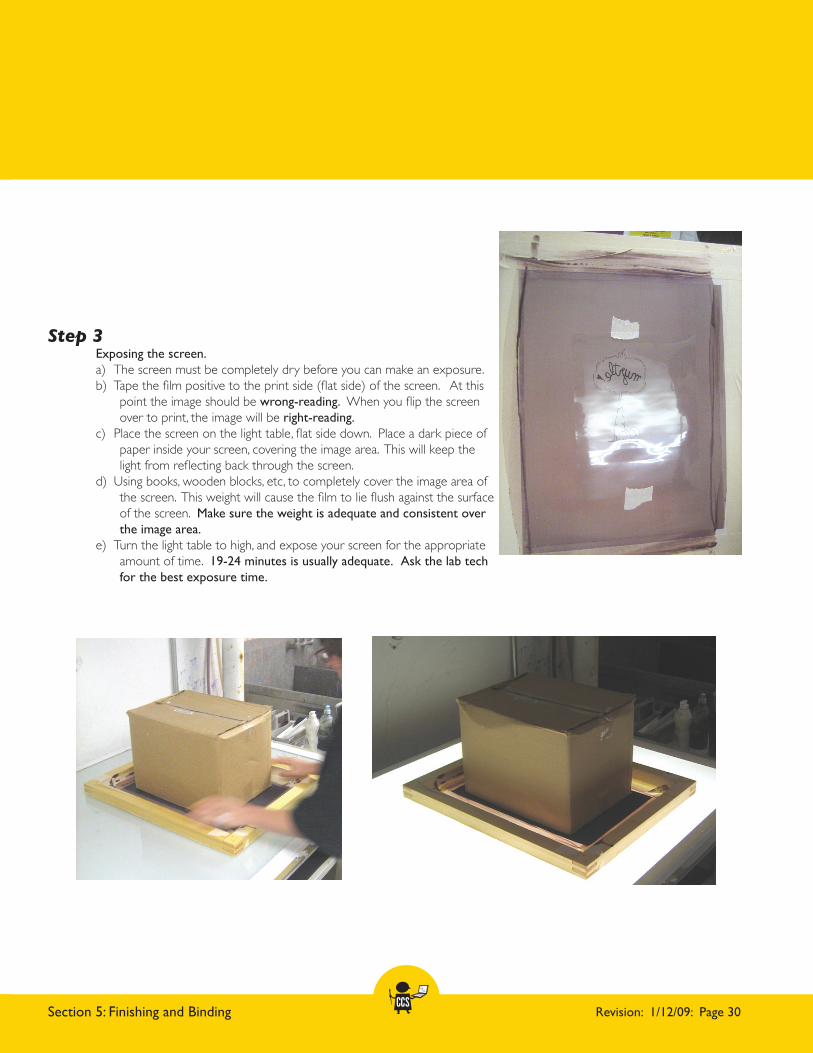
b) Tape-off edges and corners of the screen, where the mesh meets the frame.c) Coat the screen with photo emulsion using a scoop coater. Pull the scoop
coater up the screen fabric in quick strokes. Create a smooth, consistent surface on both sides. Clean up any drips or blobs. You do not need to work in darkness during this step, but always avoid excessive exposure of the photo emulsion to light.
d) Your last coat of emulsion should be applied to the inside of the screen, pushing a thicker layer of emulsion to the print side.
e) Immediately after coating your screen place it in a dark area. Clean photo emulsion from the scoop coater and all surfaces before it can dry.
f) Let screen dry in a dark area. Use a fan for speed drying (about 20 minutes.)
Revision: 1/12/09: Page 30Section 5: Finishing and Binding
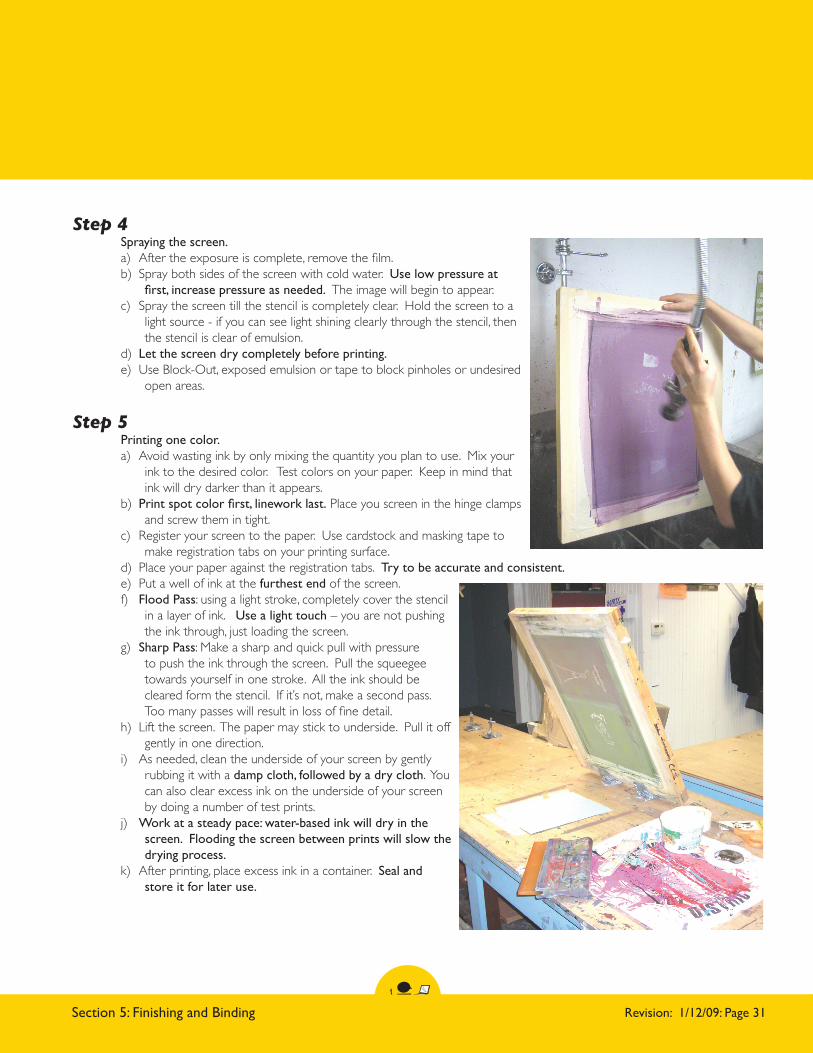
Step 3Exposing the screen.a) The screen must be completely dry before you can make an exposure.b) Tape the film positive to the print side (flat side) of the screen. At this
point the image should be wrong-reading. When you flip the screen over to print, the image will be right-reading.
c) Place the screen on the light table, flat side down. Place a dark piece of paper inside your screen, covering the image area. This will keep the light from reflecting back through the screen.
d) Using books, wooden blocks, etc, to completely cover the image area of the screen. This weight will cause the film to lie flush against the surface of the screen. Make sure the weight is adequate and consistent over the image area.
e) Turn the light table to high, and expose your screen for the appropriate amount of time. 19-24 minutes is usually adequate. Ask the lab tech for the best exposure time.
Revision: 1/12/09: Page 31Section 5: Finishing and Binding
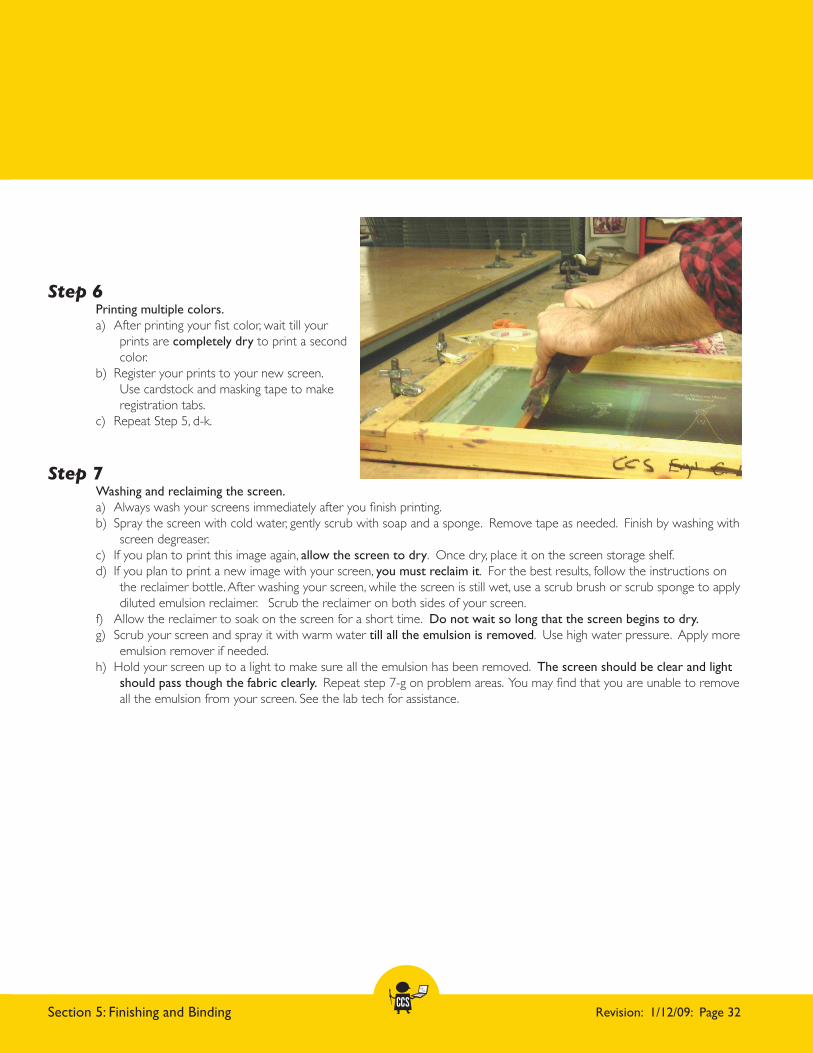
Step 4Spraying the screen.a) After the exposure is complete, remove the film.b) Spray both sides of the screen with cold water. Use low pressure at
first, increase pressure as needed. The image will begin to appear. c) Spray the screen till the stencil is completely clear. Hold the screen to a
light source - if you can see light shining clearly through the stencil, then the stencil is clear of emulsion.
d) Let the screen dry completely before printing.e) Use Block-Out, exposed emulsion or tape to block pinholes or undesired
open areas.
Step 5Printing one color.a) Avoid wasting ink by only mixing the quantity you plan to use. Mix your
ink to the desired color. Test colors on your paper. Keep in mind that ink will dry darker than it appears.
b) Print spot color first, linework last. Place you screen in the hinge clamps and screw them in tight.
c) Register your screen to the paper. Use cardstock and masking tape to make registration tabs on your printing surface.
d) Place your paper against the registration tabs. Try to be accurate and consistent.e) Put a well of ink at the furthest end of the screen.f) Flood Pass: using a light stroke, completely cover the stencil
in a layer of ink. Use a light touch – you are not pushing the ink through, just loading the screen.
g) Sharp Pass: Make a sharp and quick pull with pressure to push the ink through the screen. Pull the squeegee towards yourself in one stroke. All the ink should be cleared form the stencil. If it’s not, make a second pass. Too many passes will result in loss of fine detail.
h) Lift the screen. The paper may stick to underside. Pull it off gently in one direction.
i) As needed, clean the underside of your screen by gently rubbing it with a damp cloth, followed by a dry cloth. You can also clear excess ink on the underside of your screen by doing a number of test prints.
j) Work at a steady pace: water-based ink will dry in the screen. Flooding the screen between prints will slow the drying process.
k) After printing, place excess ink in a container. Seal and store it for later use.
Revision: 1/12/09: Page 32Section 5: Finishing and Binding
Step 6Printing multiple colors.a) After printing your fist color, wait till your
prints are completely dry to print a second color.
b) Register your prints to your new screen. Use cardstock and masking tape to make registration tabs.
c) Repeat Step 5, d-k.
Step 7Washing and reclaiming the screen.a) Always wash your screens immediately after you finish printing.b) Spray the screen with cold water, gently scrub with soap and a sponge. Remove tape as needed. Finish by washing with
screen degreaser. c) If you plan to print this image again, allow the screen to dry. Once dry, place it on the screen storage shelf.d) If you plan to print a new image with your screen, you must reclaim it. For the best results, follow the instructions on
the reclaimer bottle. After washing your screen, while the screen is still wet, use a scrub brush or scrub sponge to apply diluted emulsion reclaimer. Scrub the reclaimer on both sides of your screen.
f) Allow the reclaimer to soak on the screen for a short time. Do not wait so long that the screen begins to dry.g) Scrub your screen and spray it with warm water till all the emulsion is removed. Use high water pressure. Apply more
emulsion remover if needed.h) Hold your screen up to a light to make sure all the emulsion has been removed. The screen should be clear and light
should pass though the fabric clearly. Repeat step 7-g on problem areas. You may find that you are unable to remove all the emulsion from your screen. See the lab tech for assistance.
![3D SCREEN PRINTING MASS PRODUCTION OF ... - · PDF file3D SCREEN PRINTING MASS PRODUCTION OF ... [HB] 3D Metal Printing - Binder Jetting approach ... 2D screen printing is an established](https://img.pdfslide.net/doc/110x75/5aa545cf7f8b9ab4788cecdc/3d-screen-printing-mass-production-of-screen-printing-mass-production.jpg)