Embed Size (px)
Citation preview
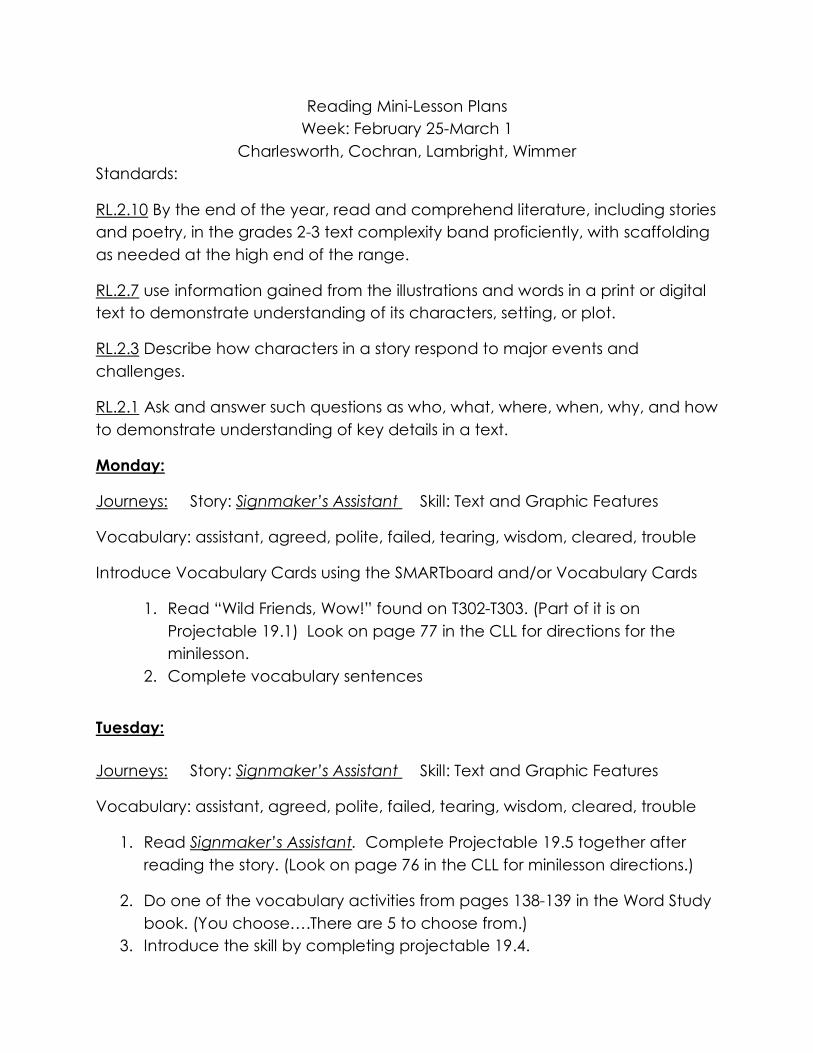
Reading Mini-Lesson Plans
Week: February 25-March 1
Charlesworth, Cochran, Lambright, Wimmer
Standards:
RL.2.10 By the end of the year, read and comprehend literature, including stories
and poetry, in the grades 2-3 text complexity band proficiently, with scaffolding
as needed at the high end of the range.
RL.2.7 use information gained from the illustrations and words in a print or digital
text to demonstrate understanding of its characters, setting, or plot.
RL.2.3 Describe how characters in a story respond to major events and
challenges.
RL.2.1 Ask and answer such questions as who, what, where, when, why, and how
to demonstrate understanding of key details in a text.
Monday:
Journeys: Story: Signmaker’s Assistant Skill: Text and Graphic Features
Vocabulary: assistant, agreed, polite, failed, tearing, wisdom, cleared, trouble
Introduce Vocabulary Cards using the SMARTboard and/or Vocabulary Cards
1. Read “Wild Friends, Wow!” found on T302-T303. (Part of it is on
Projectable 19.1) Look on page 77 in the CLL for directions for the
minilesson.
2. Complete vocabulary sentences
Tuesday:
Journeys: Story: Signmaker’s Assistant Skill: Text and Graphic Features
Vocabulary: assistant, agreed, polite, failed, tearing, wisdom, cleared, trouble
1. Read Signmaker’s Assistant. Complete Projectable 19.5 together after
reading the story. (Look on page 76 in the CLL for minilesson directions.)
2. Do one of the vocabulary activities from pages 138-139 in the Word Study
book. (You choose….There are 5 to choose from.)
3. Introduce the skill by completing projectable 19.4.
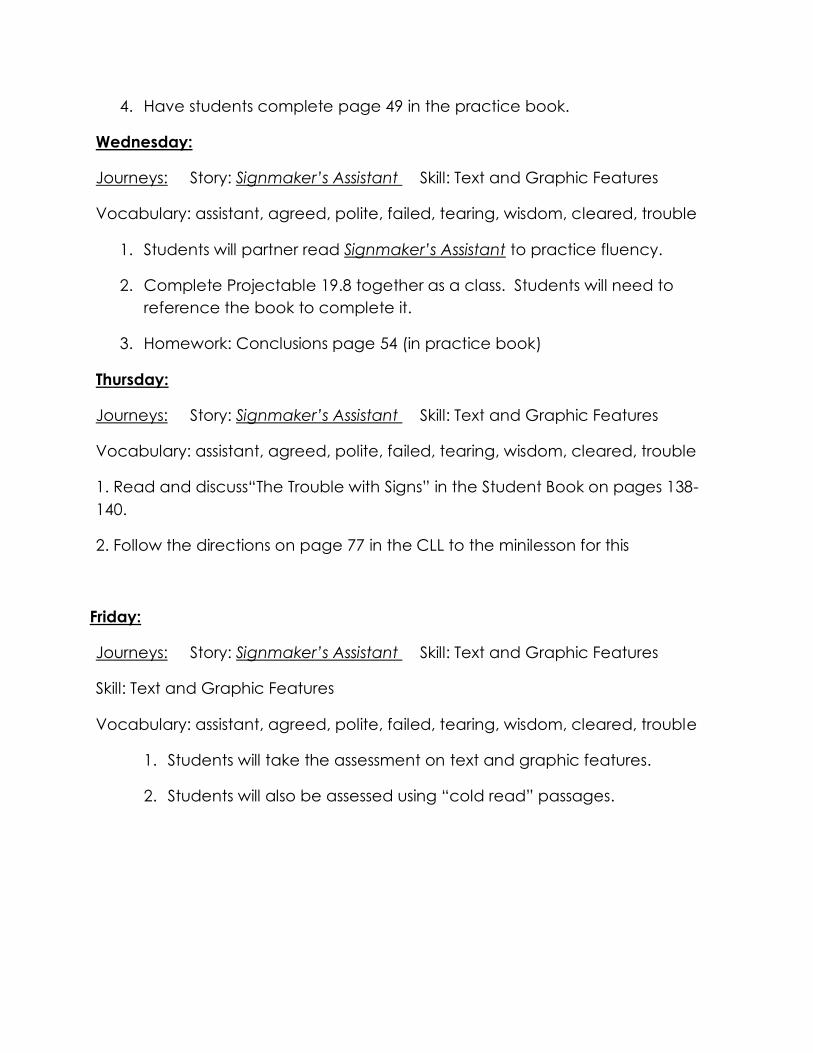
4. Have students complete page 49 in the practice book.
Wednesday:
Journeys: Story: Signmaker’s Assistant Skill: Text and Graphic Features
Vocabulary: assistant, agreed, polite, failed, tearing, wisdom, cleared, trouble
1. Students will partner read Signmaker’s Assistant to practice fluency.
2. Complete Projectable 19.8 together as a class. Students will need to
reference the book to complete it.
3. Homework: Conclusions page 54 (in practice book)
Thursday:
Journeys: Story: Signmaker’s Assistant Skill: Text and Graphic Features
Vocabulary: assistant, agreed, polite, failed, tearing, wisdom, cleared, trouble
1. Read and discuss“The Trouble with Signs” in the Student Book on pages 138-
140.
2. Follow the directions on page 77 in the CLL to the minilesson for this
Friday:
Journeys: Story: Signmaker’s Assistant Skill: Text and Graphic Features
Skill: Text and Graphic Features
Vocabulary: assistant, agreed, polite, failed, tearing, wisdom, cleared, trouble
1. Students will take the assessment on text and graphic features.
2. Students will also be assessed using “cold read” passages.
Grammar Lesson Plans
Week: February 25-March 1
Commas in Dates and Places
Standards:
L.2.1 Demonstrate command of the conventions of standard English grammar
usage when writing or speaking.
L.2.2.b Use commas in greetings and closings of letters.
Monday: Use commas with dates
*Display Projectable 19.2. Explain to children how to use commas in sentences
with dates.
*Tell children that a comma is used between the number of the day and the
year to separate them, but not between the month and the day. Tell them the
year is always listed last.
*Model identifying the correct place to put a comma in this example: Papa built
the fruit stand on May 15, 1989.
Complete other examples on Projectable 19.2.
*Have students complete page 47 in the practice book.
Tuesday: Use commas with place names
*Display projectable 19.6. Explain how to use a comma with names of places.
*Explain that a comma belongs between the name of the city or town and the
name of the state. Tell them the state is always listed last in a place name.
*Model identifying the correct place to put a comma in this example: Jake
owns a store in Chicago, Illinois.
*Complete other examples on Projectable 19.6 with children.
Students will complete page 51 in the practice book.
Wednesday-
Use commas in the date, greeting, and closing of a letter
*Review where to place a comma in dates and place names. Explain that in a
letter you also put a comma after the greeting and after the closing.
*Write Dear Mary, Hello Max, and Dear Dad on the board. Circle each comma.
*Write Your friend, Sincerely, and Best Wishes on the board. Circle each comma.
*Write the following letter on the board without commas:
Dear Sophie,
The toy store opened June 11, 2010. It is in Austin, Texas.
Your friend,
Elena
*Work with students to place the commas and use capitalization in the greeting,
the date, the place name, and the closing.
*Students will complete page 56 from the practice book.
Thursday- Practice placing commas in a letter correctly
*Students will write their own friendly letter making sure to place commas in the
correct places. (I will scan you stuff for this.)
Friday-
*Administer assessment on commas in dates and places.
Spelling Lesson Plans
Week: February 25-March 1
Words with ar
Standards:
RF2.3a Distinguish long and short vowels when reading regularly spelled one-
syllable words.
RF.2.3c Decode regularly spelled two-syllable words with long vowels.
Words: car, dark, arm, star, park, yard, party, hard, farm, start, part,
spark, art, jar, carpet, apartment
Monday:
*Model the Sort on page 76 in the TE Book- Use Smart Board I sent you
Madel the teacher made “ar” rhyme time game that partners may play this
week.
*Homework: Tic Tac Toe Spelling (Choose One)
Tuesday:
*Guess My Category on page 76 in the TE Book
*Homework: Tic Tac Toe Spelling (Choose One)
Wednesday:
*Open Sort on page 77 in the TE Book. Students will do this in their Word Study
Journals.
*Divide the spelling word sort book into four sections. Write the guide words on
the top of each column for students to sort the spelling words according
to the given guide words.
*Homework: Tic Tac Toe Spelling (Choose One)
Thursday:
*Speed Sort on page 77 in the TE Book.
*Complete the spelling sheets in the guided reading folder before the test if not
completed earlier in the week.
*Give Spelling dictation test.
Writing Plans
Feb. 25th – Mar. 1st, 2013
Charlesworth, Cochran, Lambright, Wimmer
Standards:
W.2.1 – Write opinion pieces in which they introduce the topic or book they are
writing about, state an opinion, supply reasons that support the opinion, use
linking words (e.g. because, and, also) to connect opinion and reasons, and
provide a concluding statement or section.
W.2.5 – With guidance and support from adults and peers, focus on a topic and
strengthen writing as needed by revising and editing.
IDEAS from Traits Writing
Monday -
Focus Lesson: Focusing on the Big Idea (TE p.132, 133)
The students will learn the basics of Focusing on the Big Idea
The students will draw a picture of something that is amazing when seen in
closeup
The students will listen to and discuss Laurie Keller’s Do Unto Otters: A Book About
Manners
Materials Needed:
- introduction to Focusing on the Big Idea (Traitspace: Student Handbook
pg.60-61)
- sentence strips, word cards, pencils, pens
- sets of three paper circles of different sizes, one set per child
- Focusing on the Big Idea (Traitspace: Student Handbook, p. 62)
- copy of Do Unto Otters: A Book About Manners
- several informational books
Read-Aloud – Do Unto Otters: A Book About Manners
Independent Writing
Ask children to think of another object that is amazing when it is in focus, such as
a snowflake or a spiderweb. Tell them to draw it on the Focusing on the Big Idea
sheet in the Student Handbook. Have them write a few details about their
choice, making sure they stick with the big idea.
Tuesday -
Focus Lesson: Video Screening (Laurie Keller on Writing) (TE pg. 134)
The students will review the big idea focus in Do Unto Otters
The students will watch a short interview with Laurie Keller
They will learn how to capture ideas for the Bigger-to-Smaller Cards
They will apply what they learn in their Student Handbooks
They will learn to recognize and correctly use common homophones
Materials Needed:
- copy of Do Unto Otters: A Book About Manners
- video clip of Laurie Keller (Traitspace)
- Focus With Funnels (Traitspace; Student Handbook, p. 63)
- Applying Basic Grammar (Student Handbook, p. 65)
- The Conventions Song (Traitspace; Student Handbook, p. 203)
Writing Project, Phase 1 – Starting the Bigger-to-Smaller Cards
Conventions Focus – Applying Basic Grammar
Play What Do You Notice? with children. On the board, begin a chart with these
homophone pairs:
right/write its/it’s your/you’re
wood/would sew/so who’s/whose
1. Chorally read the words. Ask children. What do you notice about these
pairs of words? Children should note that the words sound alike but have
different meanings.
2. Explain that words that are pronounced the same way but have different
spellings and meanings are called homophones.
3. Chorally read each pair aloud again. Ask children to use each word in a
simple sentence and discuss the meaning and how it is used in the
sentence.
4. Have children share other homophones they know; for example
blue/blew; I/eye; and ate/eight. Add these to the char on the projection.
Encourage children to look for homophones in books and other print
material.
5. Project “The Conventions Song” and ask children to turn to it in their
Student Handbooks as they sing along. Change the third line to “You
check your homophones.”
6. Then have children choose a homophone pair from the projected chart
and write a sentence for each word in the pair on the Applying Basic
Grammar page.
Wednesday -
Focus Lesson: Differentiated Small Groups (TE pg. 136,137)
- The students will receive a small-group lesson targeted to their specific
needs.
- They will rotate through two independent activities to build their
understanding about Focusing on the Big Idea.
Project “The Ideas Song” (Student Handbook p. 198) and sing it together. Tell
children that focusing a big idea helps make writing clear.
Post the three groupings of children for the day’s lessons: Group A (beginning);
Group B (middle); Group C (high).
Explain to children the two independent activities they will do when they are not
working with you. (See page137)
Start with Group A (beginning).
Materials Needed:
- Focus With Funnels (Traitspace; Student Handbook, p. 63)
- Benchmark Paper IDEAS: Focus Big Idea (Traitspace; “Writing Sample,”
Student Handbook, p. 64)
- Highlighters
- Instructional or how-to books
- The Ideas Song (Traitspace: Student Handbook, p.198)
Thursday -
Focus Lesson: Writing Project, Phase2 (TE pg. 138, 139) – Developing the Bigger-
to-Smaller Cards
The students will review the benchmark paper and highlight the sentence that
best states the big idea
The students will watch you model how to use the Bigger-to-Smaller Card to
write out and draw an example.
The student will create their own pages using their Bigger-to-Smaller forms
Materials Needed:
- Benchmark Paper IDEAS: Focus Big Idea (Traitspace;” Writing Sample,”
Student Handbook, p. 64)
- Teacher’s Sample Bigger-to-Smaller Card (Traitspace)
- Bigger-to-Smaller Card, one for each student (Traitspace)
- My First Scoring Guide: Ideas, Version A or B (Traitspace: Student
Handbook, pg. 182,183)
- Highlighters
Hands-On Activity – Hot Topic!
Pair children. Have one child pick a topic without revealing it, while the other
asks questions to figure it out, such as Is it about school? The child who chose the
topic indicates whether the guesser is close by saying he or she is hot, warm, or
cold. Children get ten guesses, then switch roles.
Friday -
Focus Lesson: Writing Project, Phase 3 – Finishing the Bigger-to-Smaller Cards (TE
pg. 140)
- The students will continue working on and finishing the Bigger-to-Smaller
Cards they created on Day 4
- The student will read completed cards to the class
- They will exchange a grammar check with a partner
- The students will reflect on what they’ve learned about Focusing on the
Big Idea
Materials Needed:
- Children’s Bigger-to-Smaller Card drafts
- Bigger-to-Smaller Card, one per student printed on card stock or
construction paper (Traitspace)
- Applying Basic Grammar (Student Handbook, p. 65)
- Markers, crayons, extra card stock or cover stock, stapler
Whole-Class Reflection
Gather children together. Have them share with their classmates what they’ve
learned, focusing on the central question: How have I become a better writer as
a result of this week’s work? Chart ideas that can be applied to future work.
Science Second Grade Lesson Plans
February 25 – March 1, 2013
Charlesworth, Cochran, Lambright, Wimmer
2-5.1 Use magnets to make an object move without being touched.
2-5.2 Explain how the poles of magnets affect each other (that is, they attract and
repel one another).
2-5.3 Compare the effect of magnets on various materials.
2-5.4 Identify everyday uses of magnets.
It is essential for students to know that magnets can make an object move without touching the
object. Other properties of magnets are:
A magnet is solid material that attracts iron or products that contain iron like steel.
A magnet can pull objects if the object contains iron.
The magnet pulls the object using its magnetic force. This magnetic force cannot be seen
but it can be observed when the magnet moves the object without touching it. It is essential for students to know that a magnet has two poles; one on each end.
These poles are called the North pole (N) or the South pole (S).
If the poles that are alike (North to North or South to South) are put together, they repel or
push away.
If the poles that are different (North to South or South to North) are put together, they attract
or stick together.
Some magnets, for example ring magnets, do not have the (N) or the (S) marked on them
but they do have two poles that are either located on the top or bottom of the magnet.
The poles can be determined by placing the magnets together. If they stay together then
the poles are opposite but if they push away from each other the poles are alike It is essential for students to know the effect of magnets on various materials.
A magnet is solid material that attracts iron or products that contain iron like steel.
If a material does not have iron in its composition, the magnet will not attract it. It is essential for students to know that magnets are used in our everyday lives. They are found in
their homes, schools and at places where people work. Some examples of everyday uses of
magnets are:
Magnets on cranes lift heavy objects like cars in a junk yard
Some screwdrivers have a magnetic end to hold the screw in place
Magnets on the refrigerator hold student art work so everyone can see it
A compass points out the direction we are traveling and the compass needle is magnetic
The cabinet doors in our kitchen may be held shut by a magnet
Farmers use a magnet to put in a cow’s stomach to attract any metal a cow may eat. This
keeps the cow from getting hurt by the metal.
Monday:
1. Begin the science magnet unit by watching United Streaming “A First Look:
Magnets.” (17 minutes.)
2. Sing together the magnet song to the tune of “Ten Little Indians.”
3. There is also a cute upbeat song on United Streaming called Music Makes it
Memorable – Magnets (audio only – 1 minute 42 seconds) The students could
dance and act out repel and attract through the song and dance motions.
4. Let students “play” with magnets to discover that like poles repel and unlike or
opposite poles attract. (Use round magnets on a pencil too.)
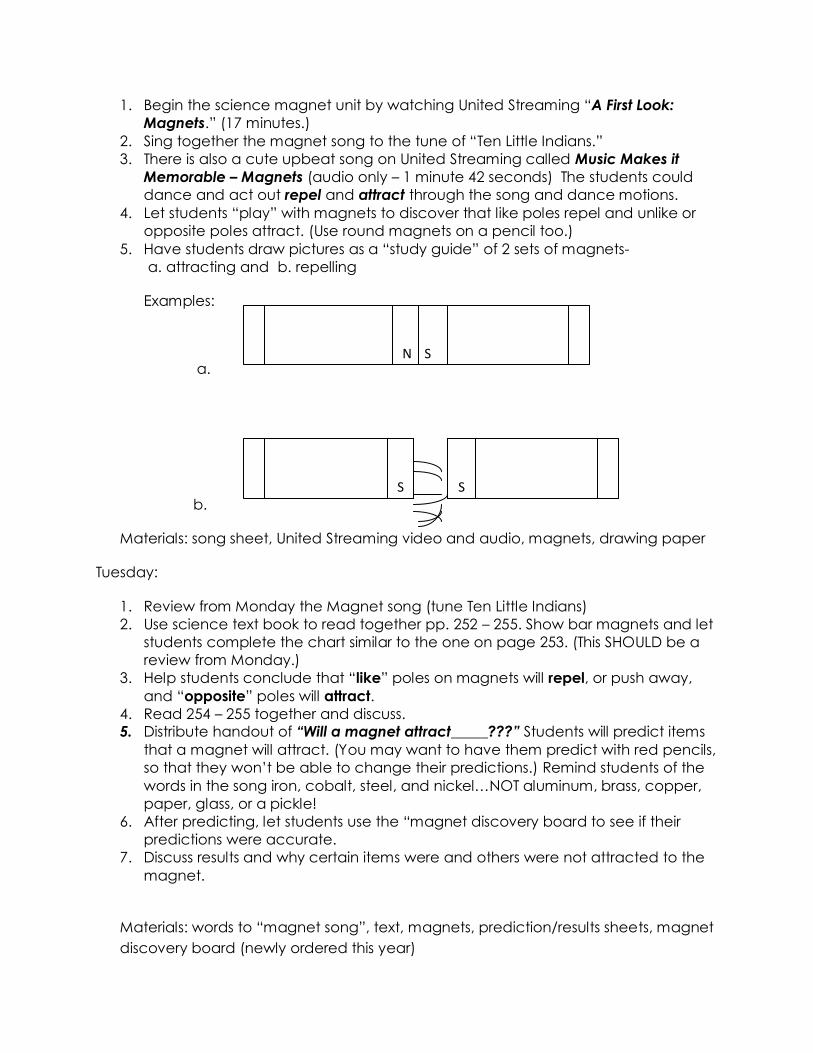
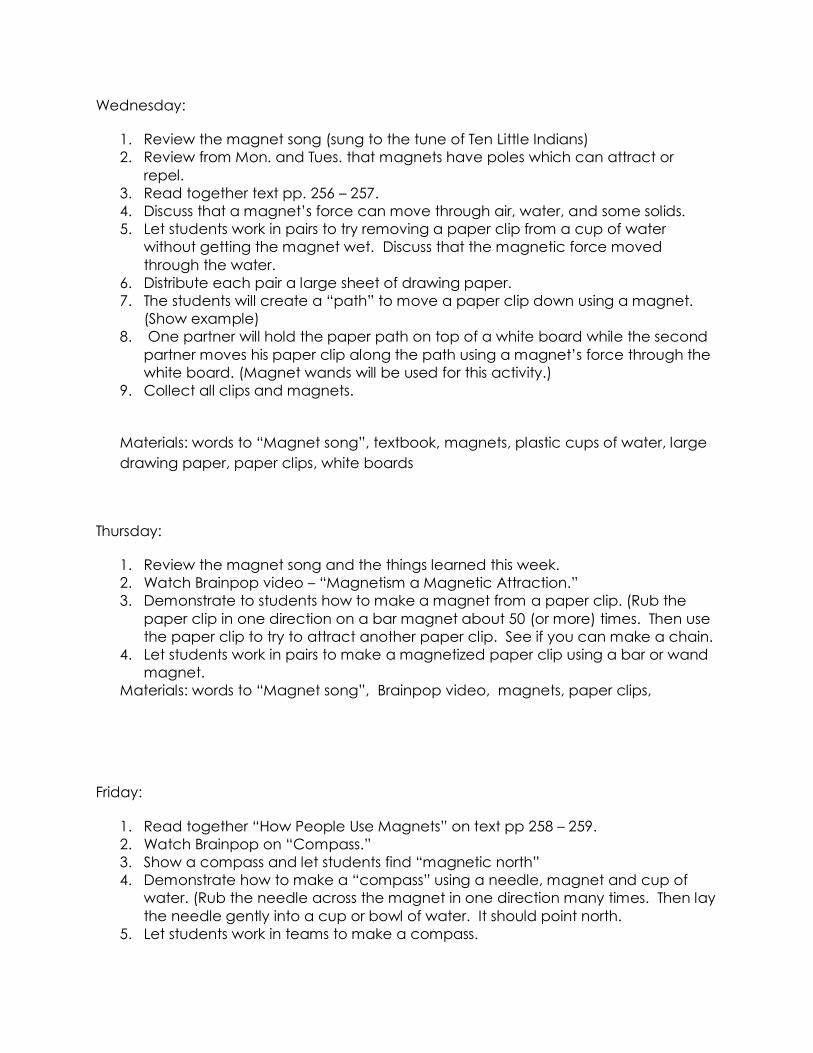
5. Have students draw pictures as a “study guide” of 2 sets of magnets-
a. attracting and b. repelling
Examples:
a.
b.
Materials: song sheet, United Streaming video and audio, magnets, drawing paper
Tuesday:
1. Review from Monday the Magnet song (tune Ten Little Indians)
2. Use science text book to read together pp. 252 – 255. Show bar magnets and let
students complete the chart similar to the one on page 253. (This SHOULD be a
review from Monday.)
3. Help students conclude that “like” poles on magnets will repel, or push away,
and “opposite” poles will attract.
4. Read 254 – 255 together and discuss.
5. Distribute handout of “Will a magnet attract_____???” Students will predict items
that a magnet will attract. (You may want to have them predict with red pencils,
so that they won’t be able to change their predictions.) Remind students of the
words in the song iron, cobalt, steel, and nickel…NOT aluminum, brass, copper,
paper, glass, or a pickle!
6. After predicting, let students use the “magnet discovery board to see if their
predictions were accurate.
7. Discuss results and why certain items were and others were not attracted to the
magnet.
Materials: words to “magnet song”, text, magnets, prediction/results sheets, magnet
discovery board (newly ordered this year)
S
N
S
S
Wednesday:
1. Review the magnet song (sung to the tune of Ten Little Indians)
2. Review from Mon. and Tues. that magnets have poles which can attract or
repel.
3. Read together text pp. 256 – 257.
4. Discuss that a magnet’s force can move through air, water, and some solids.
5. Let students work in pairs to try removing a paper clip from a cup of water
without getting the magnet wet. Discuss that the magnetic force moved
through the water.
6. Distribute each pair a large sheet of drawing paper.
7. The students will create a “path” to move a paper clip down using a magnet.
(Show example)
8. One partner will hold the paper path on top of a white board while the second
partner moves his paper clip along the path using a magnet’s force through the
white board. (Magnet wands will be used for this activity.)
9. Collect all clips and magnets.
Materials: words to “Magnet song”, textbook, magnets, plastic cups of water, large
drawing paper, paper clips, white boards
Thursday:
1. Review the magnet song and the things learned this week.
2. Watch Brainpop video – “Magnetism a Magnetic Attraction.”
3. Demonstrate to students how to make a magnet from a paper clip. (Rub the
paper clip in one direction on a bar magnet about 50 (or more) times. Then use
the paper clip to try to attract another paper clip. See if you can make a chain.
4. Let students work in pairs to make a magnetized paper clip using a bar or wand
magnet.
Materials: words to “Magnet song”, Brainpop video, magnets, paper clips,
Friday:
1. Read together “How People Use Magnets” on text pp 258 – 259.
2. Watch Brainpop on “Compass.”
3. Show a compass and let students find “magnetic north”
4. Demonstrate how to make a “compass” using a needle, magnet and cup of
water. (Rub the needle across the magnet in one direction many times. Then lay
the needle gently into a cup or bowl of water. It should point north.
5. Let students work in teams to make a compass.
6. Give “pop quiz” as a daily grade.
Materials: text, Brainpop video, magnets, needles, styrofoam bowls of water, quiz
Math Lesson Plans
Charlesworth, Cochran, Lambright, Wimmer
February 25th- March 1st
Common Core Standards:
2.OA.1 Use addition and subtraction within 100 to solve one and two-step word
problems involving situations of adding two, taking from, putting together, taking
apart, and comparing with unknowns in all positions.
2.OA.2 Fluently add and subtract within 20 using mental strategies. By end of
Grade 2, know from memory all sums of two one digit numbers
2.NBT.5 Fluently add and subtract within 100 using strategies based on place
value,
properties of operations, and/or the relationship between addition and
subtraction.
2.NBT.9 Explain why addition and subtraction strategies work, using place value
and
the properties of operations.
Monday: Go Math Unit 5 Lesson 3
About the Math: A key component in teaching for understanding is the
conversations that occur between the teacher and the children. For these
conversations to occur, the teacher must be intentional about setting the
norms for discussion.
There are many ways of finding an answer to a problem
Everyone’s ideas are important. You can learn by listening to other
people’s ideas.
Incorrect answsers and solutions are a valuable part of learning.
Complete SMARTBoard Lesson (Includes)
Problem of the Day
Fluency Check
Engage: Show children a handful of ones blocks. As a volunteer to
trade ones blocks for tens blocks. How did you decide how to trade
these ones blocks for tens blocks? Show children 2 tens blocks and 4
ones blocks. Ask a volunteer to trade 1 tens blocks for ones blocks.
How many tens blocks and how many ones blocks are there now?
Teach and Talk: Read the problem. Then have children use base
ten blocks or base ten quick drawings to model the subtraction and
discuss strategies for solving. “Michelle counted 21 butterflies in her
garden. Then 7 butterflies flew away. How many butterflies were still
in the garden?”
o What are you asked to find?
o How can you use blocks and drawings to model this
problem?
Complete Own Your Own Problems-
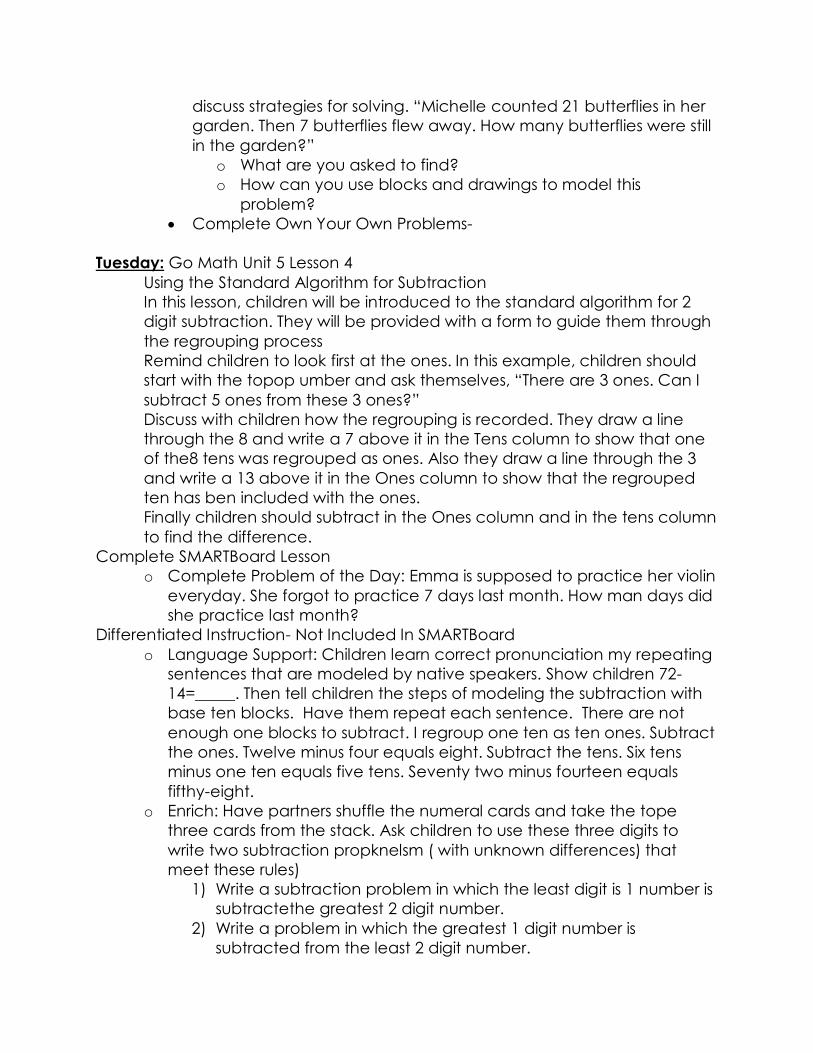
Tuesday: Go Math Unit 5 Lesson 4
Using the Standard Algorithm for Subtraction
In this lesson, children will be introduced to the standard algorithm for 2
digit subtraction. They will be provided with a form to guide them through
the regrouping process
Remind children to look first at the ones. In this example, children should
start with the topop umber and ask themselves, “There are 3 ones. Can I
subtract 5 ones from these 3 ones?”
Discuss with children how the regrouping is recorded. They draw a line
through the 8 and write a 7 above it in the Tens column to show that one
of the8 tens was regrouped as ones. Also they draw a line through the 3
and write a 13 above it in the Ones column to show that the regrouped
ten has ben included with the ones.
Finally children should subtract in the Ones column and in the tens column
to find the difference.
Complete SMARTBoard Lesson
o Complete Problem of the Day: Emma is supposed to practice her violin
everyday. She forgot to practice 7 days last month. How man days did
she practice last month?
Differentiated Instruction- Not Included In SMARTBoard
o Language Support: Children learn correct pronunciation my repeating
sentences that are modeled by native speakers. Show children 72-
14=_____. Then tell children the steps of modeling the subtraction with
base ten blocks. Have them repeat each sentence. There are not
enough one blocks to subtract. I regroup one ten as ten ones. Subtract
the ones. Twelve minus four equals eight. Subtract the tens. Six tens
minus one ten equals five tens. Seventy two minus fourteen equals
fifthy-eight.
o Enrich: Have partners shuffle the numeral cards and take the tope
three cards from the stack. Ask children to use these three digits to
write two subtraction propknelsm ( with unknown differences) that
meet these rules)
1) Write a subtraction problem in which the least digit is 1 number is
subtractethe greatest 2 digit number.
2) Write a problem in which the greatest 1 digit number is
subtracted from the least 2 digit number.
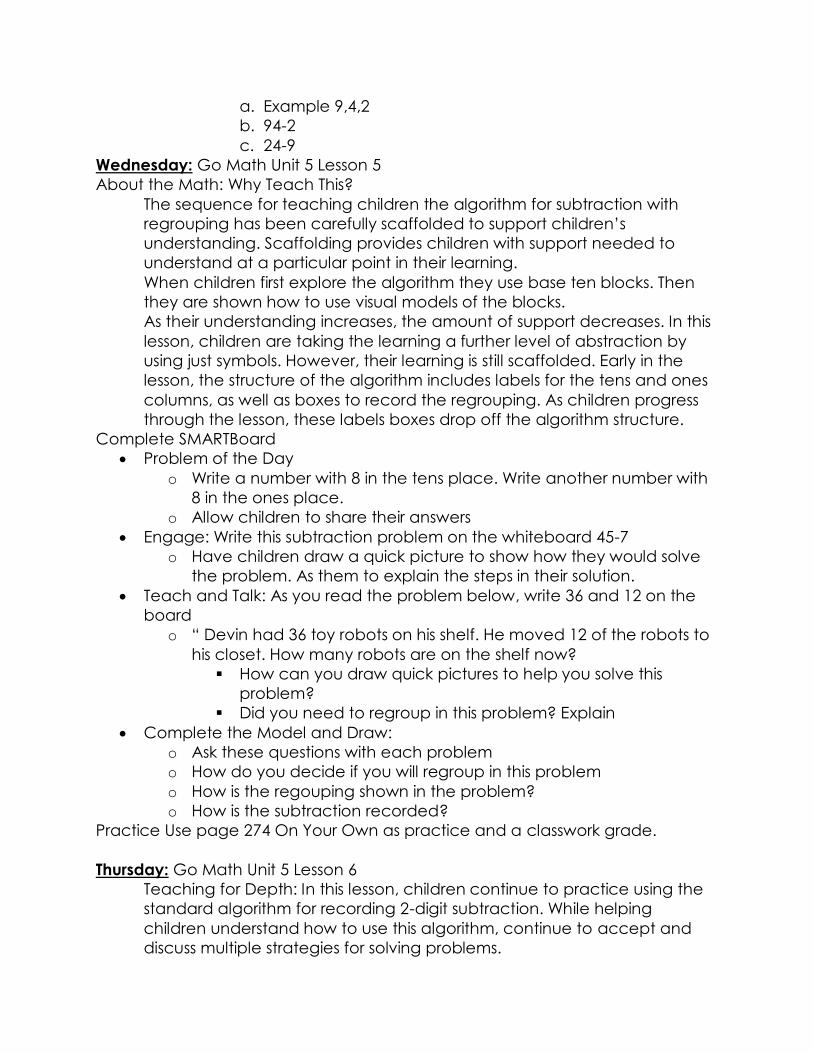
a. Example 9,4,2
b. 94-2
c. 24-9
Wednesday: Go Math Unit 5 Lesson 5
About the Math: Why Teach This?
The sequence for teaching children the algorithm for subtraction with
regrouping has been carefully scaffolded to support children’s
understanding. Scaffolding provides children with support needed to
understand at a particular point in their learning.
When children first explore the algorithm they use base ten blocks. Then
they are shown how to use visual models of the blocks.
As their understanding increases, the amount of support decreases. In this
lesson, children are taking the learning a further level of abstraction by
using just symbols. However, their learning is still scaffolded. Early in the
lesson, the structure of the algorithm includes labels for the tens and ones
columns, as well as boxes to record the regrouping. As children progress
through the lesson, these labels boxes drop off the algorithm structure.
Complete SMARTBoard
Problem of the Day
o Write a number with 8 in the tens place. Write another number with
8 in the ones place.
o Allow children to share their answers
Engage: Write this subtraction problem on the whiteboard 45-7
o Have children draw a quick picture to show how they would solve
the problem. As them to explain the steps in their solution.
Teach and Talk: As you read the problem below, write 36 and 12 on the
board
o “ Devin had 36 toy robots on his shelf. He moved 12 of the robots to
his closet. How many robots are on the shelf now?
How can you draw quick pictures to help you solve this
problem?
Did you need to regroup in this problem? Explain
Complete the Model and Draw:
o Ask these questions with each problem
o How do you decide if you will regroup in this problem
o How is the regouping shown in the problem?
o How is the subtraction recorded?
Practice Use page 274 On Your Own as practice and a classwork grade.
Thursday: Go Math Unit 5 Lesson 6
Teaching for Depth: In this lesson, children continue to practice using the
standard algorithm for recording 2-digit subtraction. While helping
children understand how to use this algorithm, continue to accept and
discuss multiple strategies for solving problems.
For example, for the problem 58-19, children may respond with the
following solution strategies:
The standard algorithm
Models such as base-ten blocks or quick pictures
Using known subtraction problems (I know that 58-20= 38, so if I add
back 1 to 38 then I know the difference is 39.)
Breaking apart numbers; 58-10=48
48-8=40
40-1=39
Complete SMARTBoard Lesson:
o Problem of the Day- write the difference for each problem then write two
or more facts that have the same difference. 12-5= and 9-2=
o Engage: Write 52-8 on the board. Have children work with a partner to
solve the problem. Then have one or two pairs of children explain to the
class how they found the difference. Encourage children to draw quick
pictures or use another representation to show subtraction
o Teach and Talk: As you read the problem below write 74-19 on the board.
o “There are 74 books in Mr. Barron’s classroom. 19 of the books are
about computers. How many of the books are not about
computers?”
How can you solve this problem
o Tell children that they can use one of the ways they have learned or
they can invent a different way to solve the problem. It may be
helpful to review some of the methods they used in previous lessons,
such as breaking apart, using a number line. You may wish to
encourage children to try to find a new way to do subtraction to
check the depth of their understanding. Have children explain why
their new way works.
o Complete Share and Show practice problems
On Your Own Practice Problems page 251, as daily practice for classwork grade
Friday: Go Math Unit 5 Lesson 7
About the Math: (If children ask) Children may ask why they start with the
ones and not the tens when they are finding the difference in a vertical 2
digit subtraction problem. You may want to show children 2 different two-
digit subtraction problems- a problem with no regrouping, and a problem
in which regrouping is needed. (no regrouping 57-31, and regrouping 57-
29)
Discuss that the difference can be found by starting with the tens or with
the ones when no regrouping is needed. If regrouping is needed, then
you should start with the ones, so that you can regroup 1 ten as 10 ones
before you subtract the tens.
Complete Smartboard Lesson
o Problem of the Day: Find two numbers on the calendar that have a
difference of 11.
o Engage: Write the subtraction problem 86-54 vertically on the board
o Ask these questions
Which digits are the ones digit?
Which digit are the tens digit?
o Have a volunteer find the difference.
o Teach and Talk
o Listen and Draw: Read the problem below. Then have children write
the subtraction problem they would use to solve the problem in
vertical fortmat in the first box. They do not need to solve the
problem
“There were 45 children at a party. Then 23 children left the
party. How many children were still at the party?
Where did you write the digits in the numbers of the
problem?
Repeat by reading the problems below and having children
write, but do not solve, the subtraction problems in the
remaining three boxes. Remind children that it is important to
write the digits in each number in the correct places.
“Jamie made 52 cookies for the party. There were 21
sugar cookies. The rest were oatmeal cookies. How
many oatmeal cookies did Jamie make?”
“Evan hung up 26 balloons for the party. 9 Balloons fell
down. How many balloons were still hanging up?”
“Charlotte made 46 cupcakes for the party. The
children ate 39 cupcakes. How many cupcakes were
left?”
Complete Practice Subtraction Problems from “Share and
Show” page 254
o Complete On Your Own Page 255 as classwork