Embed Size (px)
Citation preview

Name: ____________________________
SIMPLE MACHINES WORKBOOK
The student understands that inclines planes and pulleys can change the amount of
force needed to move an object. These simple machines can also change the distance,
speed and direction of force needed to move an object. Inclined planes and pulleys
can change the force and motion requirements to move and object, however, the
energy requirement is the same.

Our Project
From the children’s game Mousetrap, to the convoluted breakfast-making machine in the opening
scene of Pee-Wee’s Big Adventure, to a Honda commercial in which a two minute chain reaction
involving rolling, bumping, and swinging car parts triggers the ignition of a new car, inventions
inspired by the work of artist Rube Goldberg have permeated American pop culture. Rube Goldberg
drew intricate machines that offered exceedingly complex methods to achieve everyday tasks such as
wiping one’s mouth with a napkin or scratching one’s back.
Rube Goldberg’s illustrations combine simple machines and every day objects into elaborate
schemes. While Rube’s machines lived only in his illustrations, they have inspired countless sculptors,
artists, students, and inventors to create physical models of these complex contraptions. This project
brings together Physics concepts with Rube Goldberg inspired machines in a culminating unit project
for middle school students.
Explanation of Machine: 1. Windup robot toy is released. Toy moves across platform, knocking the ball off the platform. 2. The ball rolls off of the platform and falls into cup A. Cup A moves down and cup B moves up. 3. Cup B knocks the left side of the lever upwards. The lifting up of the left side of the lever causes a marble to roll downwards into the set of marble tracks. 4. The marble zigzags down the angled tracks. After the last ramp, the steel marble collides with a lighter steel ball. 5. The ball rolls from the angled tracks into a funnel where it falls onto the trigger of a mousetrap. 6. The mousetrap goes off, with its metal arm swinging from left to right. 7. The clothespin is squeezed open by the swinging arm of the mousetrap, releasing a string. 8. The released string causes the weight on the opposite side of the pulley system to accelerate downwards.

9. The downward accelerating mass collides with the arm of a rotating lever. The bottom lever spins, knocking into the arm of the lever above it. The levers continue to spin, transferring the energy upward to the top lever. 10. The top lever swings into a domino, beginning another chain of falling dominoes. The final domino collides with a ball from a Newton’s Cradle toy . 11. The first ball of the Newton’s Cradle swings into the other four balls. The rightmost ball swings forward, knocking into a domino on the adjacent platform where they initiate another chain of domino collisions, eventually knocking into a marble. 12. The marble rolls down through the curved tubing into the left compartment of a lever. 13. The weight of the marble causes the left side of the lever to move. The upward motion of the right side of the lever lifts the rod that supports the platform above. 14. The left side of the platform lifts upwards, causing the car to roll downwards from left to right, falling into a cup that is attached to a string and pulley system. 15. The car falling into the cup causes the cup to accelerate downwards. The string on the opposite side of the pulleys moves upwards, raising the flag and finishing the machine.
Let’s work together to create and draw a simple 3-4 step machine using at least these simple
machines listed below. You may include other simple machines such as ramps and wedges. Use the
pictures below as inspiration for how to represent these on paper.
Practice Drawing:
Fixed pulley Moveable pulley

Student and Group Contract
This contract is a binding document and governs the group until the assigned project deadline. You
must agree to the conditions listed below in order to work on this project. Your signature is required.
Personal Responsibility:
Student takes responsibility for and completes his or her tasks within the group. Your job is to remain on task
and engaged in whatever the group is doing. You must use feedback in a constructive way and discuss your
opinions within the group in a positive manner.
Team Work Policy:
If a group member will be absent on a day in which work is due, they must tell another group member a day in
advance and have all work that they are responsible for turned in. All group members must stick to the
provided agenda to have the assignments completed on time. If there will be an unexpected absence, the
absent group member is to complete the work from home and bring it the next day.
Each group member will work to the best of their ability, making sure to complete the work is up to standards,
and that they completed it on time. If one member is not doing their work, the group may have a meeting to
discuss the problems with the teacher as a mediator.
At the beginning of the project, a leader will be chosen by the teacher. Each group will have team roles that
each individual will be held responsible. Team roles are leader, academic manager, engineer/architect, and
project manager.
My role is: _________________________________________
My responsibilities are: ____________________________________________________________________
My group members are: _____________________________ , _____________________________
______________________________________ , _______________________________
Contacting Group members:
You need to provide outside of school contact information to your group members. It can be a phone number
or email. Group members must be able to contact you outside of school in order to work on this project.
By signing this contract the following group members abide to the agreements above.
Signature: _______________________________________________ Date: ____________________

Phase One: Understanding Simple Machines Notes
Overall concept: The energy required to move an object remains the same with or without an
inclined plane or pulley system. What changes when using simple machines is the amount of effort
put into that system. That energy or effort required is referred to as “work”.
Work – What is it?
When scientists think about work, they think of a force and its direction. Work is a force that produces motion
parallel to the direction of the force.
Measuring Work
The formula then for Work is work = force x distance or W = Fd (units are Joules, J)
Example
It takes about 100 N of force to push a lawn mower forward. At the end of mowing a typical lawn, you might
have walked 1,000 m. The formula is W=Fd so, the work done is 100,000 J.
Simple Machines
Machine is a device that makes work easier by changing the size or direction of the force applied to it.
A simple machine is a machine with only one movement. Types of simple machines are 1) inclined
plane, 2) lever, 3) wheel & axle, 4) pulley, 5) screw, 6) wedge. A compound machine is a combination
of simple machines.
Inclined Planes
Inclined plane: sloped surface commonly called a ramp. An inclined plane allows you to lift a heavy
load using less force over a longer distance.

Pulleys
A pulley is a grooved wheel with a rope, chain, or cable wrapped around it. A pulley can do two basic things: 1)
Increase the amount of your input force and 2) Changes the direction of your force.
Take a look at the pulleys below:
Explanations:
A – has 1 supporting rope, the force required to lift the object is the same as without a pulley, the
distance over which the force is applied is the same as without the pulley, the direction the force is
applied is opposite from without a pulley (down instead of up).
B- has 2 supporting ropes, the force required to lift the object is ½ (ignoring friction) that without
using a pulley, the distance the force is applied over is twice as far (ignoring friction), the direction the
force is applied in is the same as without a pulley.
C – has 2 supporting ropes, the force required to lift the object is ½ (ignoring friction) that without
using a pulley, the distance the force is applied over is twice as far (ignoring friction), the direction the
force is applied is opposite from without a pulley (down instead of up).
D – has 3 supporting ropes, the force required to lift the object is 1/3 (ignoring friction) that without
using a pulley, the distance the force is applied over is three times as far (ignoring friction), the
direction the force is applied in is the same as without a pulley.
E – has 3 supporting ropes, the force required to lift the object is 1/3 (ignoring friction) that without
using a pulley, the distance the force is applied over is three times as far (ignoring friction), the
direction the force is applied is opposite from without a pulley (down instead of up).

Phase One: Understanding Simple Machines Lab
Purpose: investigate how inclined planes and pulleys can be used to change the amount of force to
move an object.
Station 1 - Incline Plane: Data Table
1. Which method took the most force?
2. Which method took least amount of force?
3. How does the distance of the marbles dragged (length of ramp) change the amount of force
used.
Station 2 – Pulley: Data Table
1. Which method (s) took the most force?
2. Which method (s) took least amount of force?
3. How does the direction of force change the amount of force used to move the marbles?
4. How does the number or pulleys change the amount of force used to move the marbles?
WITHOUT PULLEY Fixed Pulley Moveable Pulley Compound Pulley
Force (N)
Direction of
Force
(up or down)
WITHOUT INCLINE PLANE Smallest Length Medium Length Longest Length
Force (N)

Phase Two: Planning and Design Brainstorming the Blueprint Design
What is a blueprint?
A blueprint is a reproduction of a technical drawing, usually associated with architectural drawings
and building construction. The purpose of creating a blueprint is to make a reference for the design of
your machine. It is also the model or prototype of the design.
Instructions:
Your final blueprint needs to have at least the required number of inclined planes and pulleys. These
simple machines need to be labeled. The direction of forces for each of the simple machines must be
included as well (shown using arrows).
In the space below brainstorm a design for your group’s machine. Think of what path you want the
marble to travel. Then think about the types of simple machines that might work for each step. Make
sure to add at least 2 pulleys and 2 inclined planes.
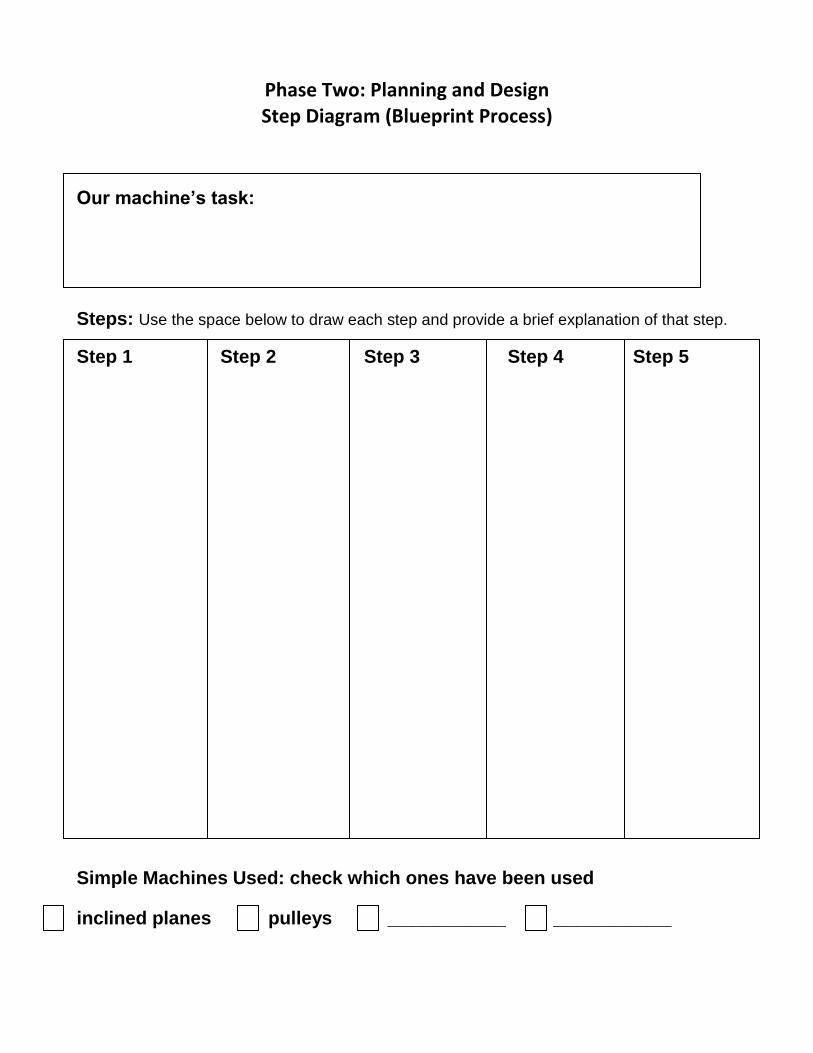
Phase Two: Planning and Design Step Diagram (Blueprint Process)
Our machine’s task:
Steps: Use the space below to draw each step and provide a brief explanation of that step.
Step 1 Step 2 Step 3 Step 4 Step 5
Simple Machines Used: check which ones have been used
inclined planes pulleys __________ __________

Phase Two: Planning and Design Labeled Diagram (Rough Draft Blueprint)
Use this space to draw your rough draft of the blueprint. Make sure you have at least the required
number of inclined planes and pulleys. These simple machines need to be labeled. The direction of
forces for each of the simple machines must be included as well (shown using arrows). This is what
will be presented at the Gallery Walk.

Phase Two: Planning and Design Gallery Walk
Instructions: You will walk around the room, our gallery, and make critical observations of four
group’s blueprint design. Your job is to give constructive feedback to the group. Your words must be
positive and give guidance as to how the group might improve their project ideas. After you have
completed this page, get sticky notes and put one positive comment (using the “I like” and “I wonder”
language) on these same projects.
Group being reviewed – put the project number here: ________________________ I like…. I wonder….
Group being reviewed – put the project number here: ________________________ I like…. I wonder….
Group being reviewed – put the project number here: ________________________ I like…. I wonder….
Group being reviewed – put the project number here: ________________________ I like…. I wonder….

Phase Two: Planning and Design Labeled Diagram (Final Blueprint)
Use this space to draw your final blueprint. Make sure you have at least the required number of
inclined planes and pulleys. These simple machines need to be labeled. The direction of forces
(shown using arrows) for each of the simple machines must be included as well.
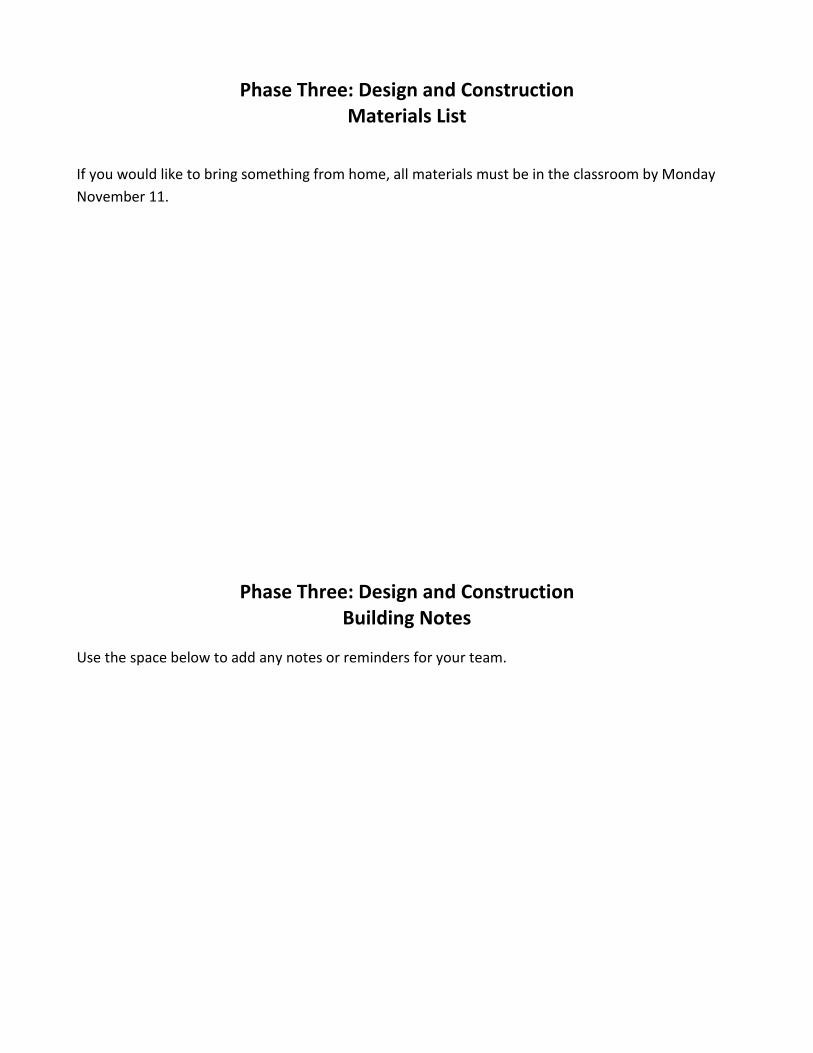
Phase Three: Design and Construction Materials List
If you would like to bring something from home, all materials must be in the classroom by Monday
November 11.
Phase Three: Design and Construction Building Notes
Use the space below to add any notes or reminders for your team.

Phase Four: Final Project
Building the Machine
Building Instructions: Make sure you have at least the required number of inclined planes and
pulleys. These simple machines need to be labeled or explained. The direction of forces for each of
the simple machines must be included as well.
Trials: In science trials are necessary to test whether or not your experiment works. Do as many trials
as you need to make sure your machine works. It may be a good idea to run trials on a portion of the
machine. Understand that you have a limited amount of class time to do this, so your group may
need to discuss it outside of class.
Trial 1 Notes:
Trial 2 Notes:
Trial 3 Notes:

Phase Four: Final Project Video
Video Instructions: Your presentation will be a video file. You may use a flip camera from the school
or your own device. The group’s video must be posted onto your teacher’s Padlet page online.
Content required:
Students need to demonstrate their knowledge of the following: Inclined planes and pulleys can
change the amount of force needed to move an object. They also can change the distance over which
a force is applied in order to move an object. Inclined planes and pulleys can change the direction a
force is applied in order to move an object. Inclined planes and pulleys can change the force and
motion requirements to move an object but the energy requirement is the same.
Presentation skills needed: See the presentation portion of the video rubric.
How to post your video: Instructions will be provided in several places:
1. On your teacher’s website.
2. On the power point slide in class at time of event.
3. On the Padlet page itself. Your teacher will give you the links to your class period’s Padlet site.
Video Script Notes:

Phase Five: Assessments and Reflections Project Rubrics
1. Workbook: within the workbook are several assignments that will be graded.
These assignments are:
1. Simple Machines Lab
2. Step Diagram
3. Gallery Walk
2. Blueprint rubric: The final blueprint has its own rubric. Categories for grading are quality of
illustrations (drawings), labeling of the simple machines involved, and showing the direction of forces
that are occurring.
3. Collaboration and Participation Rubric: each student will be graded on the 21 century skills that
are gained when working in a PBL environment. Students will be working on this project in a group
and will receive a grade based on their level of participation within the group and on how well they
fulfill their assigned roles.
4. Final Product Video Rubric: The final product is a video of the group’s Rube Goldberg-style
machine. In the video students need to explain the content learned, as well as utilize presentation
skills.
Grading Categories:
1. Simple Machines Lab – quiz grade
2. Step Diagram – daily grade
3. Gallery Walk – daily Grade
4. Collaborative work (rubric) – quiz grade
5. Final Blueprint (rubric) – project grade
6. Video (rubric) – project grade

Name ________________________________ Date________________
Phase Five: Project Reflection
Reflect on your involvement by completing the following statements.
1. How did our team work well together in this PBL project?
2. How could our team work better together in the next PBL project?
3. What did I like best about the PBL experience?
4. What would I like to change about the PBL experience?
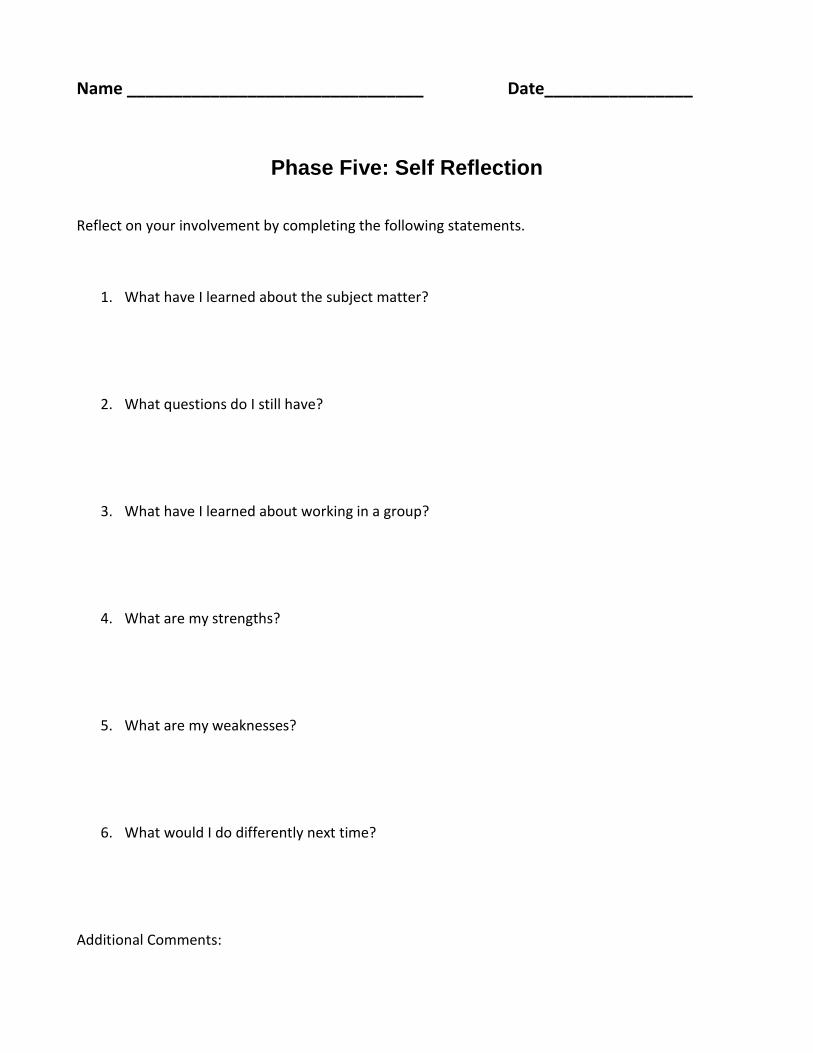
Name ________________________________ Date________________
Phase Five: Self Reflection
Reflect on your involvement by completing the following statements.
1. What have I learned about the subject matter?
2. What questions do I still have?
3. What have I learned about working in a group?
4. What are my strengths?
5. What are my weaknesses?
6. What would I do differently next time?
Additional Comments: