Embed Size (px)
DESCRIPTION
This Document is about the Installation Procedure of PSP Installation in SUSE Linux Enterprise Server 11 64 Bit SP2 and Online Log collection method using cfg2html tool in SLES 11 64 Bit SP2.
Citation preview

How to Collect Online Logs from SuSe Linux Enterprise Server 11 64 Bit SP2 – HP x86 Hardware
To collect online logs from SUSE Linux Enterprise Server 11 64 Bit SP2 which is installed on HP x86 Hardware,
Primary Pre-requisite is PSP Installation on HP Hardware.
Then Collect the online logs through cfg2html Linux log collection tool.
To check whether PSP is installed on the Server,
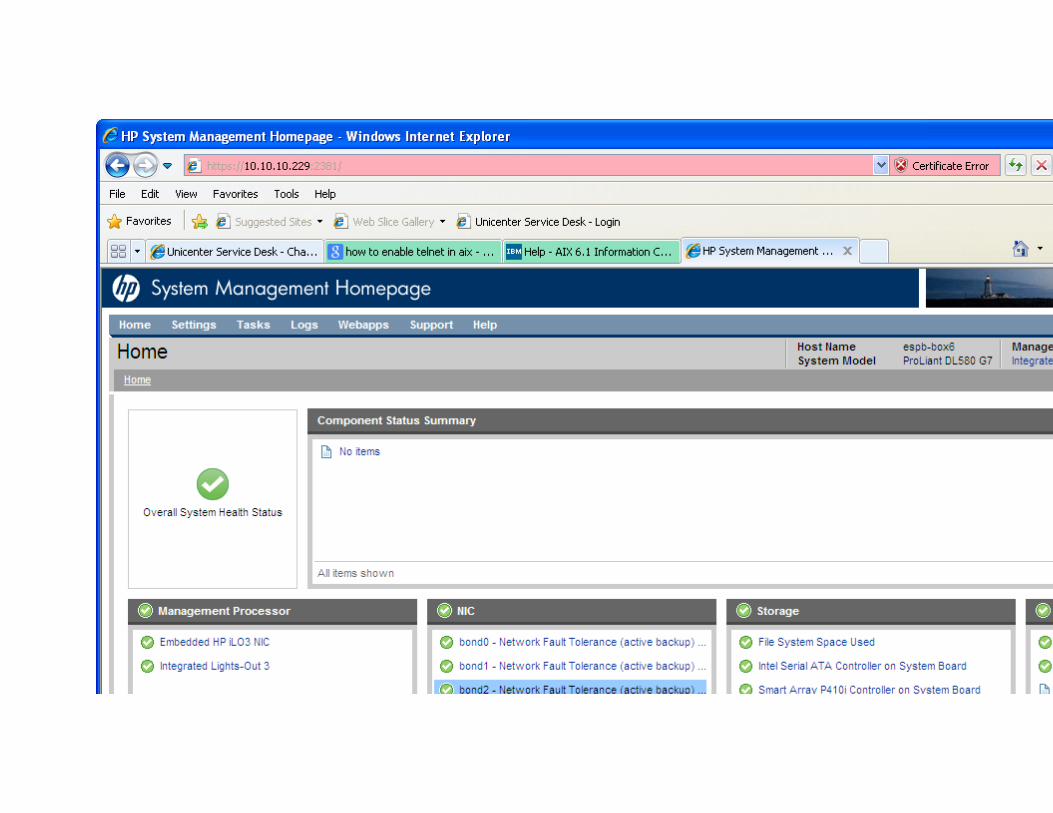
Open the Server GUI Console, and then type https://localhost:2381
Enter the credentials Username “root”, Password “ ”.
If PSP is installed and working fine, then you will get like this.
If PSP is not installed then follow the steps to install PSP on SLES 11 SP2 64 Bit.
Take Downtime of about 3-4 hrs approximately for the activity.
Note: PSP Installation and System Management Home Page Information list will work only on Discrete Machines not on Virtual Machines.
Go to the link which is provided below to download the PSP tar file.
Proliant Support Pack for SUSE LINUX Enterprise Server 11 (x86_64):
http://h20000.www2.hp.com/bizsupport/TechSupport/SoftwareDescription.jsp? lang=en&cc=us&prodTypeId=15351&prodSeriesId=4142916&swItem=MTX-dd69b59033fe4519b313c499b1&prodNameId=4142792&swEnvOID=4049&swLang=8&taskId=135&mode=4&idx=1
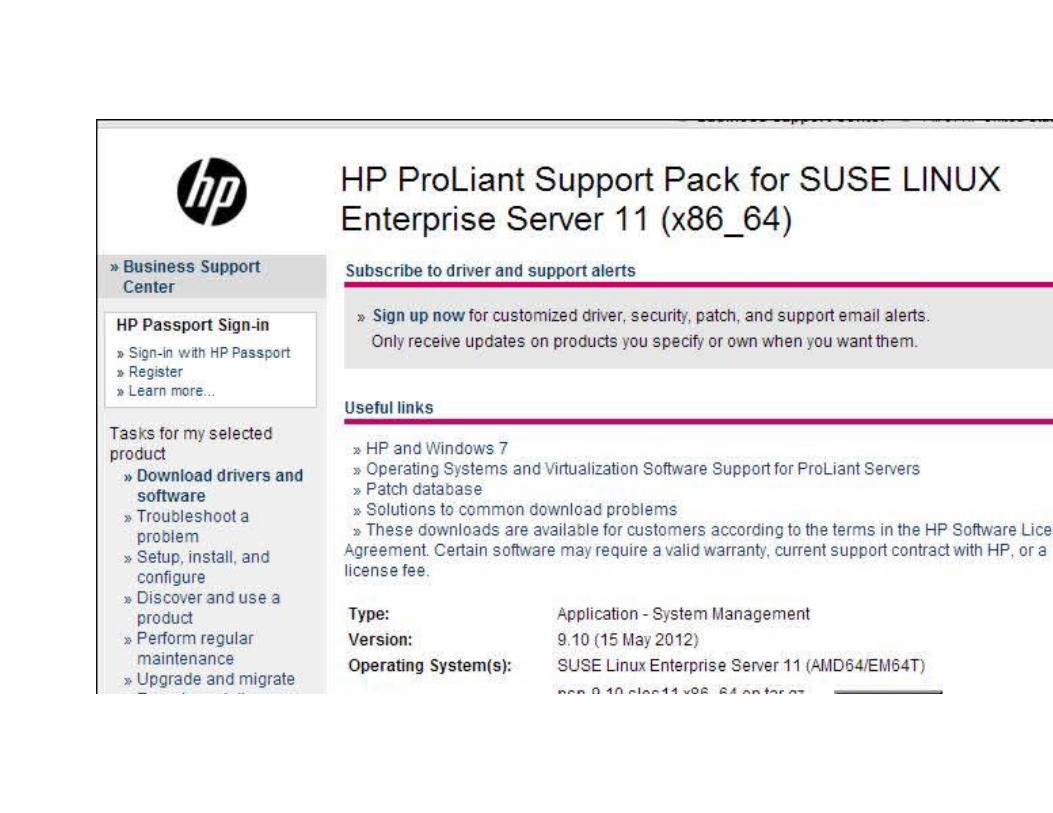
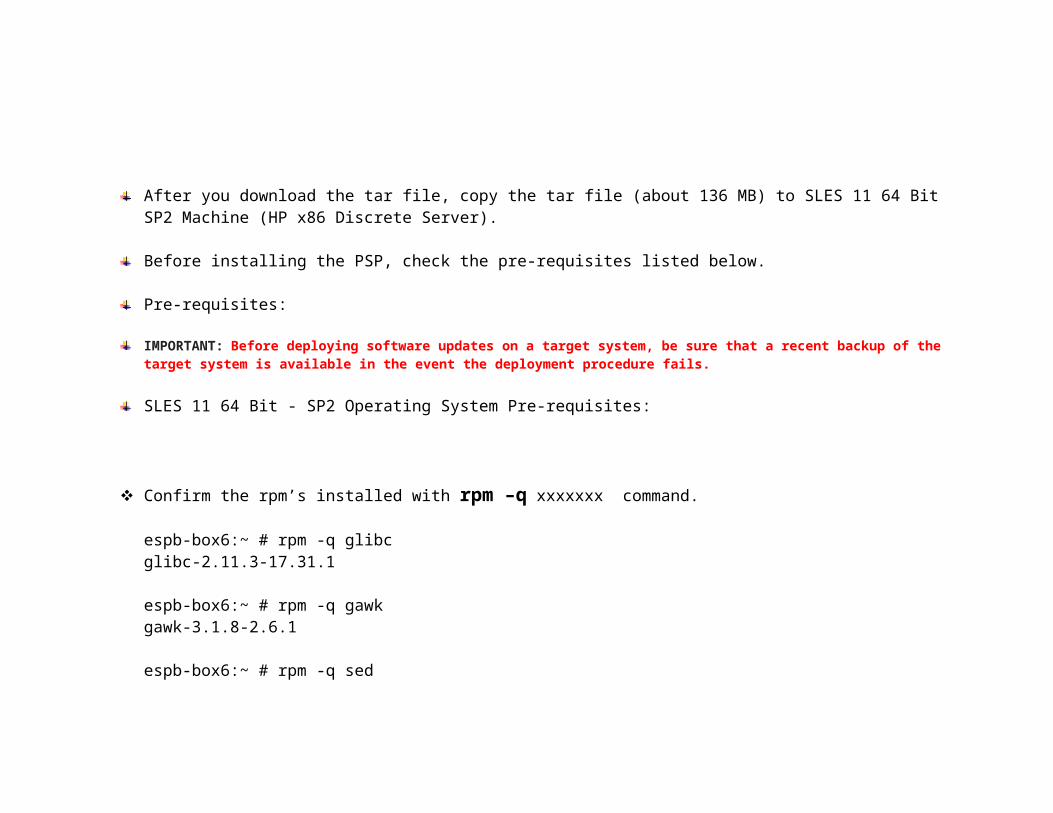
After you download the tar file, copy the tar file (about 136 MB) to SLES 11 64 Bit SP2 Machine (HP x86 Discrete Server).
Before installing the PSP, check the pre-requisites listed below.
Pre-requisites:
IMPORTANT: Before deploying software updates on a target system, be sure that a recent backup of the target system is available in the event the deployment procedure fails.
SLES 11 64 Bit - SP2 Operating System Pre-requisites:
Confirm the rpm’s installed with rpm –q xxxxxxx command.
espb-box6:~ # rpm -q glibcglibc-2.11.3-17.31.1
espb-box6:~ # rpm -q gawkgawk-3.1.8-2.6.1
espb-box6:~ # rpm -q sedsed-4.1.5-85.22
espb-box6:~ # rpm -q pciutilspciutils-3.0.1-2.29.1
espb-box6:~ # rpm -q rpm
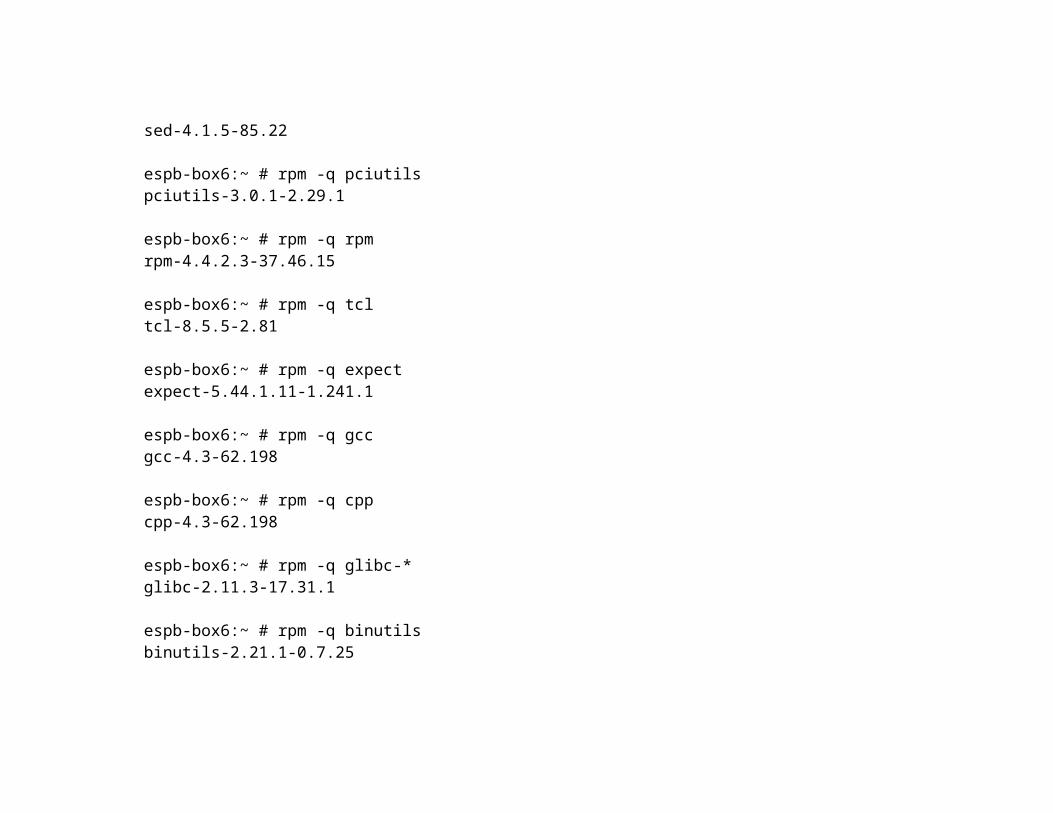
rpm-4.4.2.3-37.46.15
espb-box6:~ # rpm -q tcltcl-8.5.5-2.81
espb-box6:~ # rpm -q expectexpect-5.44.1.11-1.241.1
espb-box6:~ # rpm -q gccgcc-4.3-62.198
espb-box6:~ # rpm -q cppcpp-4.3-62.198
espb-box6:~ # rpm -q glibc-*glibc-2.11.3-17.31.1
espb-box6:~ # rpm -q binutilsbinutils-2.21.1-0.7.25
espb-box6:~ # rpm -q glibc-develglibc-devel-2.11.3-17.31.1
If the below rpm’s are not installed in SLES then install the rpm’s with repository.
Copy the SLES 11 64 Bit SP2 ISO Image to /var directory
For installing net-snmp and perl-SNMP, we need to create repository
Create repository using zypper for SLES 11 64 Bit SP2 iso image
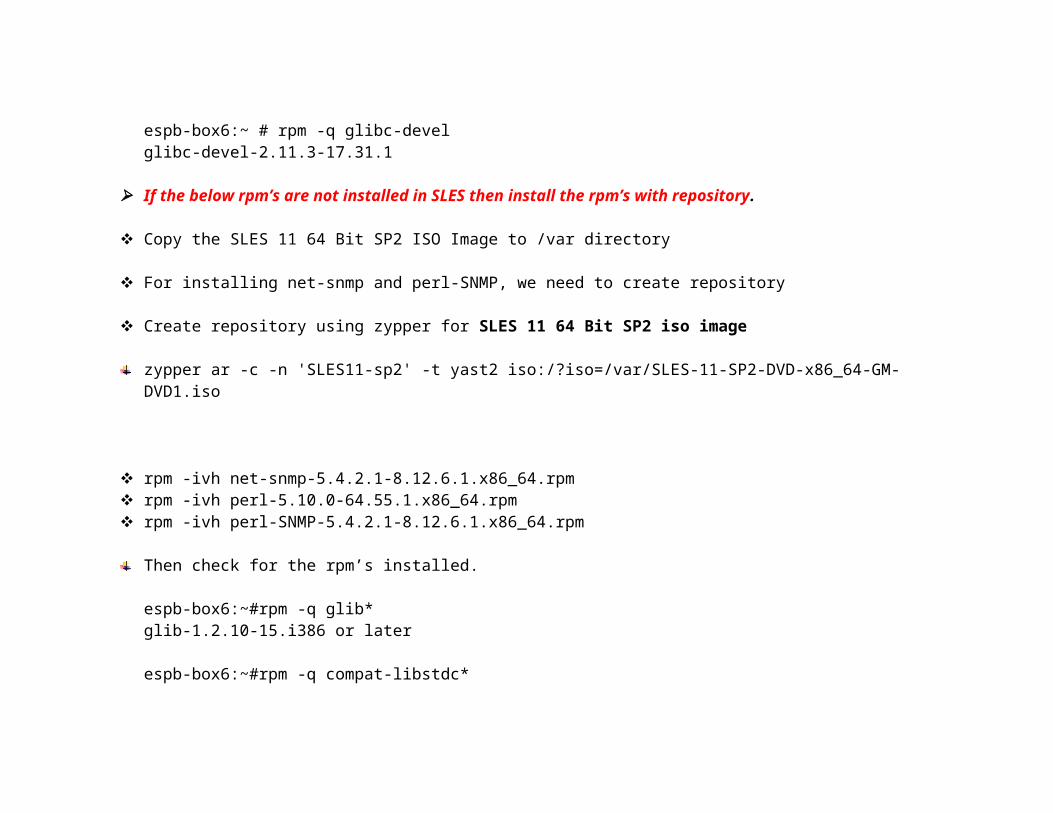
zypper ar -c -n 'SLES11-sp2' -t yast2 iso:/?iso=/var/SLES-11-SP2-DVD-x86_64-GM-DVD1.iso
rpm -ivh net-snmp-5.4.2.1-8.12.6.1.x86_64.rpm rpm -ivh perl-5.10.0-64.55.1.x86_64.rpm rpm -ivh perl-SNMP-5.4.2.1-8.12.6.1.x86_64.rpm
Then check for the rpm’s installed.
espb-box6:~#rpm -q glib*glib-1.2.10-15.i386 or later
espb-box6:~#rpm -q compat-libstdc*compat-libstdc++-296-2.96-132.7.2.i386 or later
espb-box6:~#rpm -q libstdc*libstdc++33-32bit-3.3.3-11.9 or later
espb-box6:~#rpm -q perl-SNMP*perl-SNMP-5.4.2.1-6.3.x86_64 or later
espb-box6:~#rpm -q net-snmp*net-snmp-5.4.2.1-6.3.x86_64 or later
espb-box6:~#rpm -q libnllibnlxxxxxxxxxxxxxxx
The command interpreter (shell) /bin/bash must be installed.
For auto-run capabilities, the system must be running X with a window manager and an installed browser.
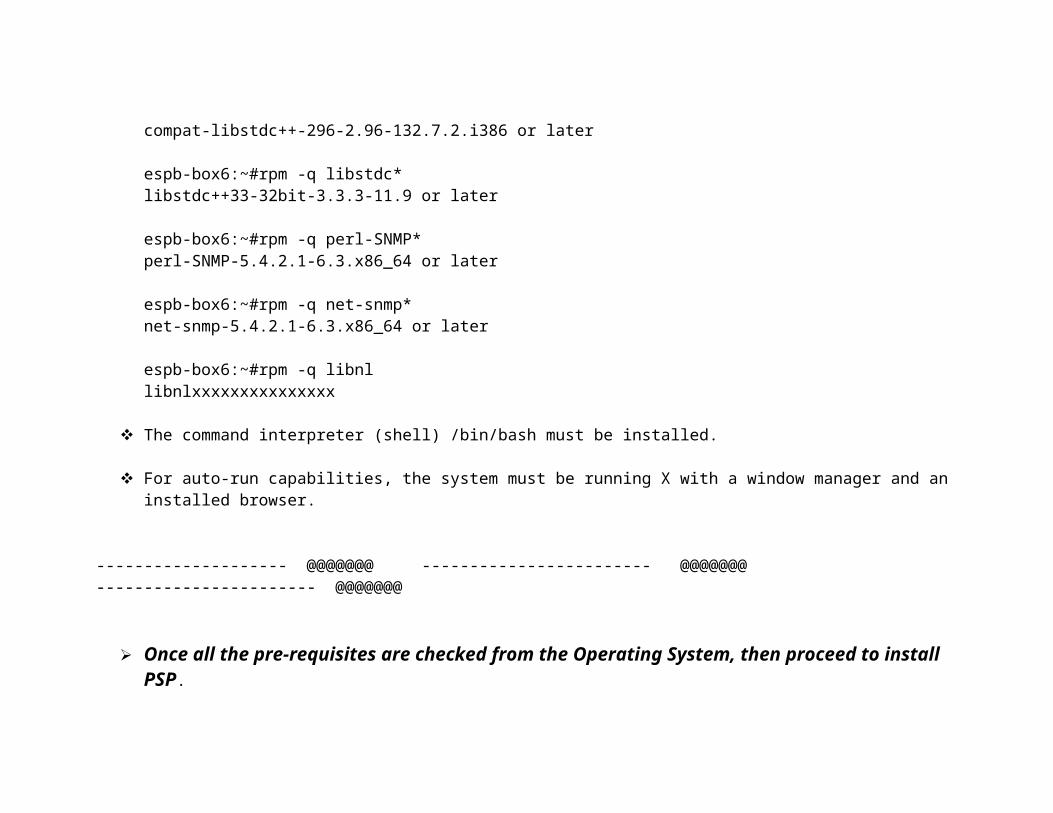
-------------------- @@@@@@@ ------------------------ @@@@@@@ ----------------------- @@@@@@@
Once all the pre-requisites are checked from the Operating System, then proceed to install PSP.
Copy the downloaded file PSP-9.10.sles11.x86_64.en.tar.gz to SuSe Linux Operating System.
For Example:
Use WinScp and copy the PSP file to /var directory.
espb-box6:~#cd /var
espb-box6: var#ls xxxxxx xxxxxx
xxxxxx PSP-9.10.sles11.x86_64.en.tar.gz xxxxxx xxxxxxespb-box6: var#
Then create a directory and move the file to that directory.
For example:
espb-box6: var#mkdir psp
espb-box6: var#mv PSP-9.10.sles11.x86_64.en.tar.gz psp

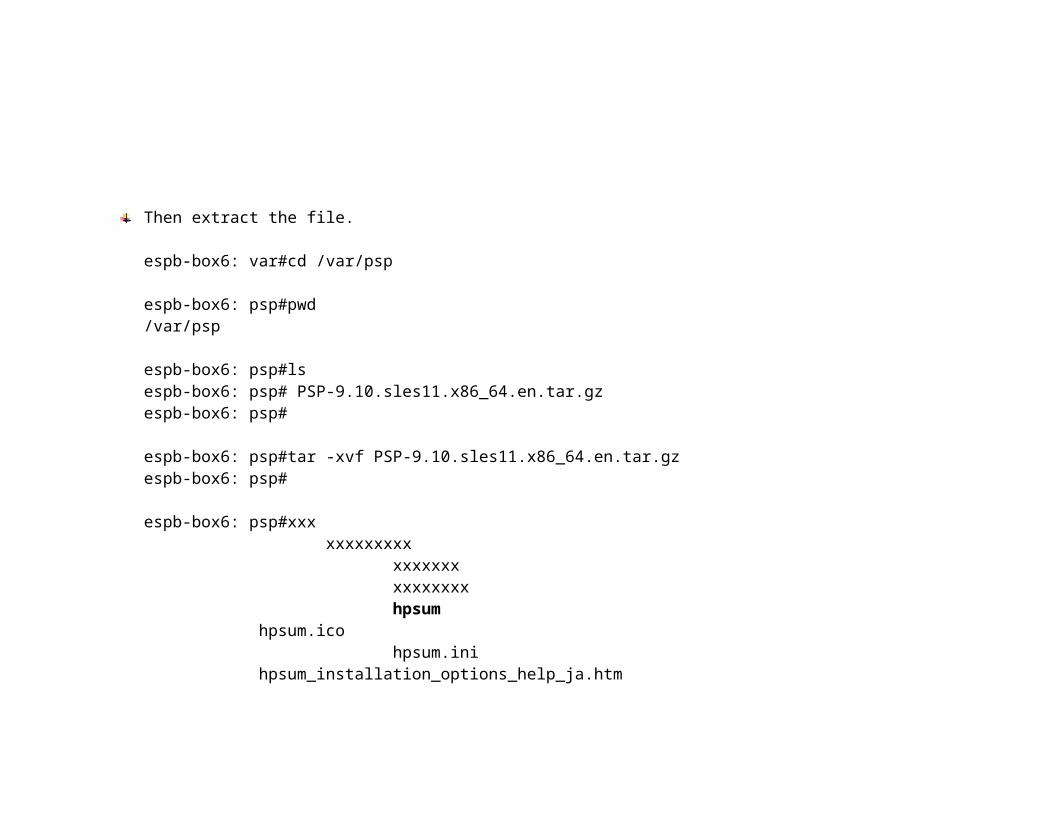
Then extract the file.
espb-box6: var#cd /var/psp
espb-box6: psp#pwd/var/psp
espb-box6: psp#lsespb-box6: psp# PSP-9.10.sles11.x86_64.en.tar.gzespb-box6: psp#
espb-box6: psp#tar -xvf PSP-9.10.sles11.x86_64.en.tar.gzespb-box6: psp#
espb-box6: psp#xxx xxxxxxxxx
xxxxxxx xxxxxxxx hpsum
hpsum.ico hpsum.ini
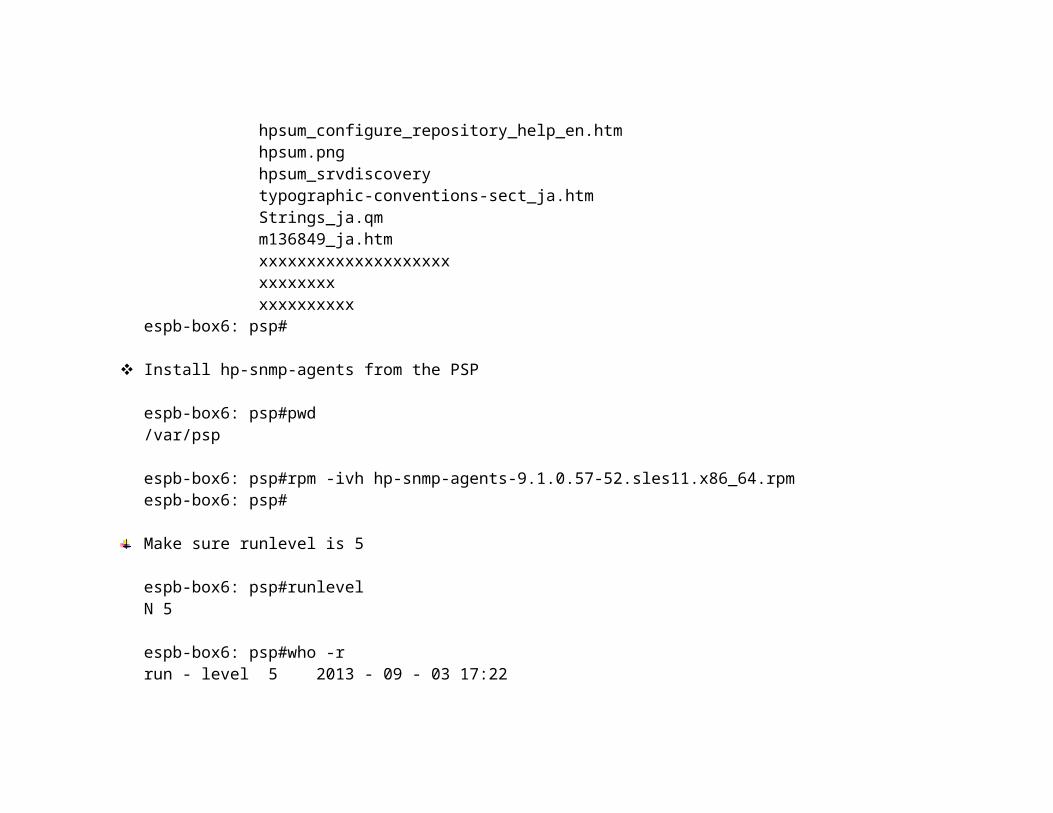
hpsum_installation_options_help_ja.htm hpsum_configure_repository_help_en.htm hpsum.png hpsum_srvdiscovery typographic-conventions-sect_ja.htm Strings_ja.qm
m136849_ja.htm xxxxxxxxxxxxxxxxxxxx xxxxxxxx xxxxxxxxxx
espb-box6: psp#
Install hp-snmp-agents from the PSP
espb-box6: psp#pwd/var/psp
espb-box6: psp#rpm -ivh hp-snmp-agents-9.1.0.57-52.sles11.x86_64.rpmespb-box6: psp#
Make sure runlevel is 5
espb-box6: psp#runlevelN 5
espb-box6: psp#who -rrun - level 5 2013 - 09 - 03 17:22
Then execute the command like below:
espb-box6: psp#espb-box6: psp#./hpsumespb-box6: psp#
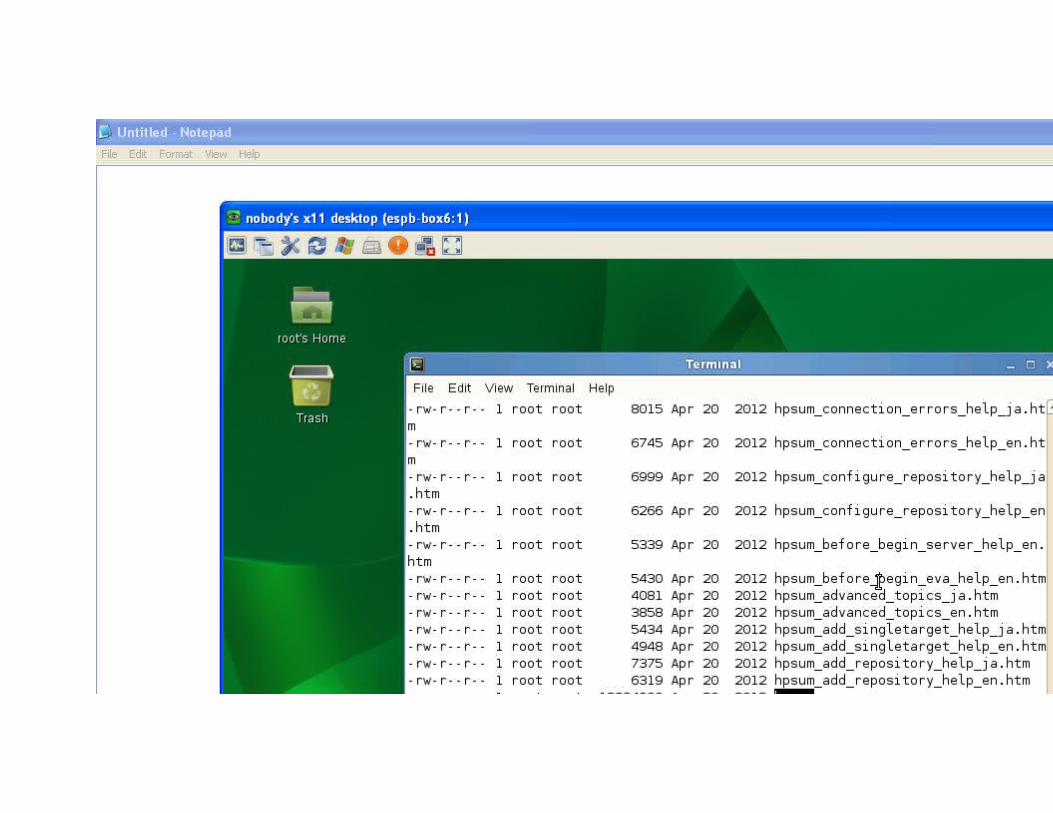
Then Follow the Snapshots as below:
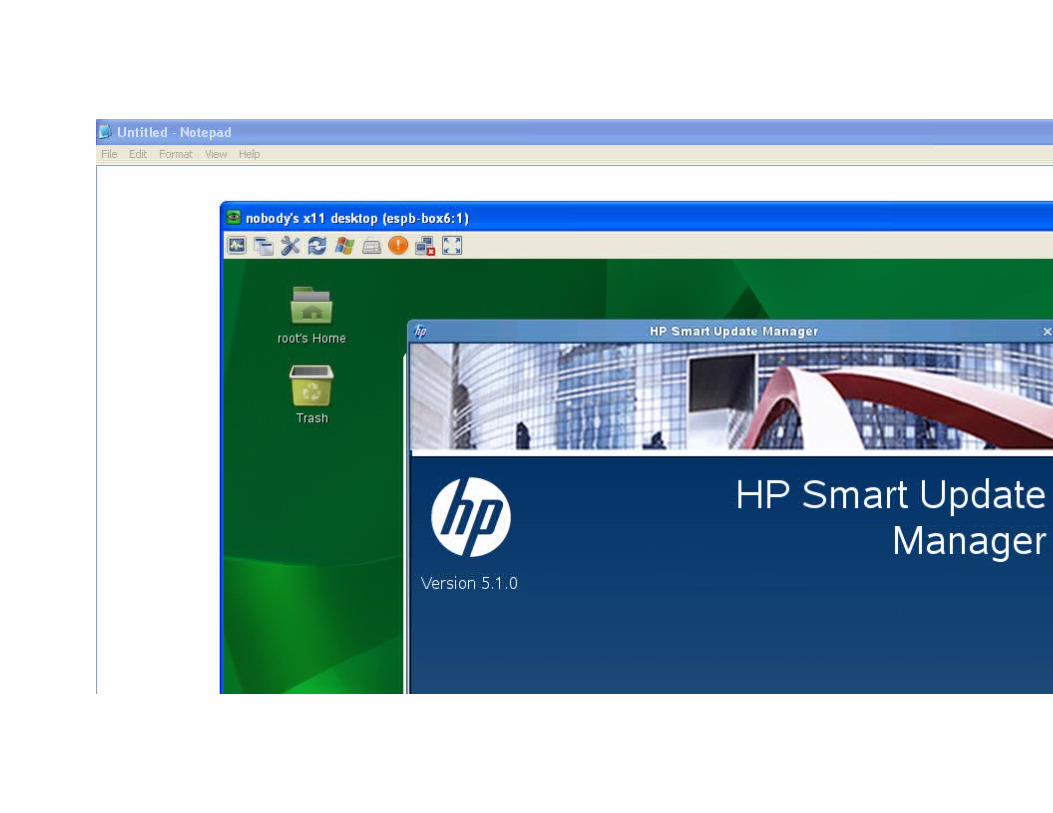
It will open a GUI Window HP Smart Update Manager.
Select Next and proceed to the next window.

Check the Default checkbox only.
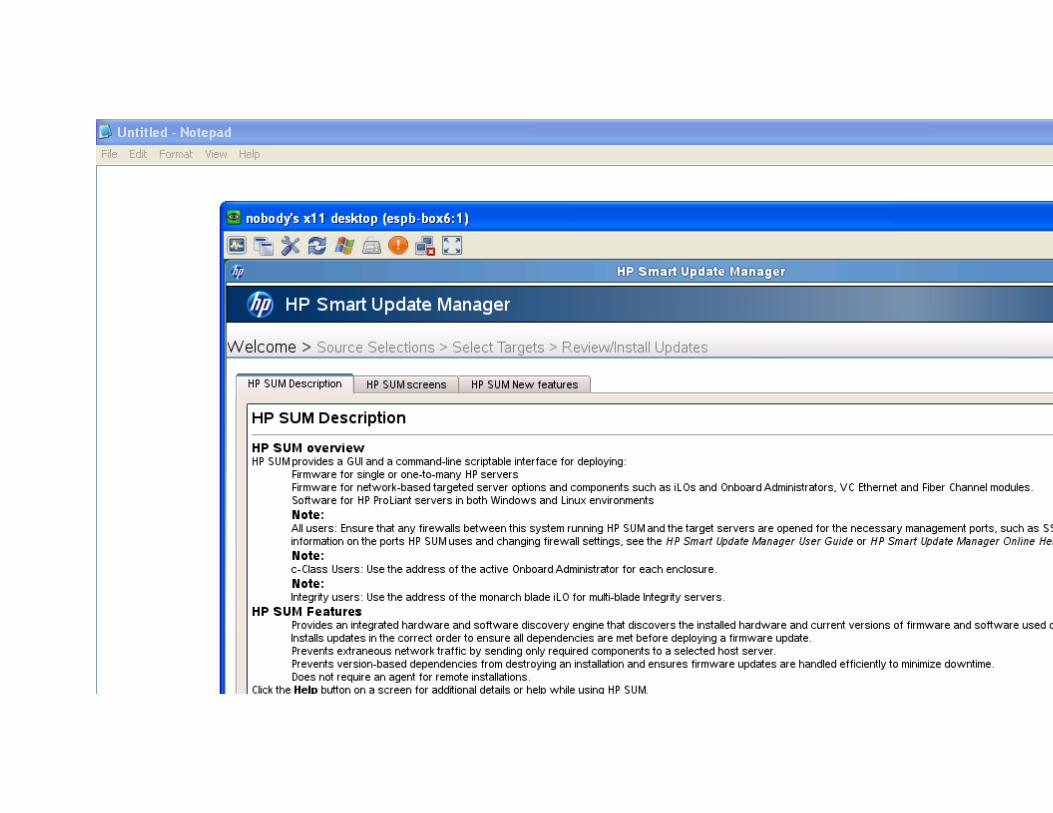

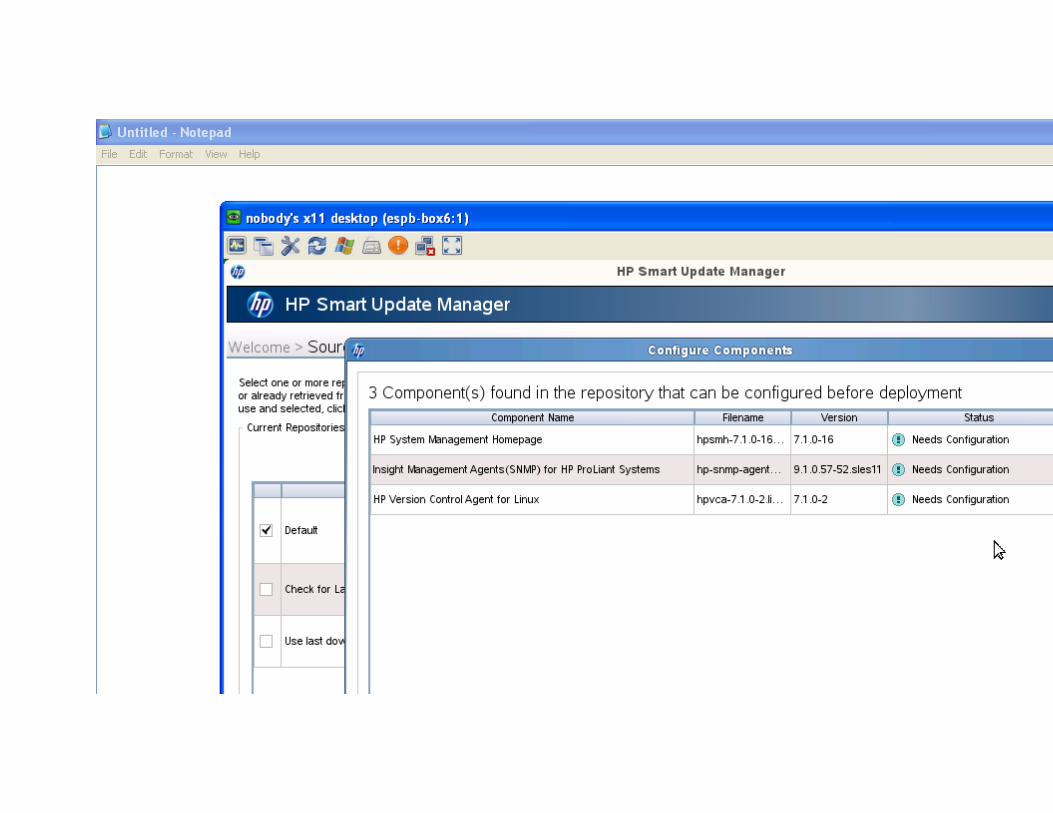
Click on configure components to see what are all to be configured.
Here just cancel it, we will configure after PSP installation.
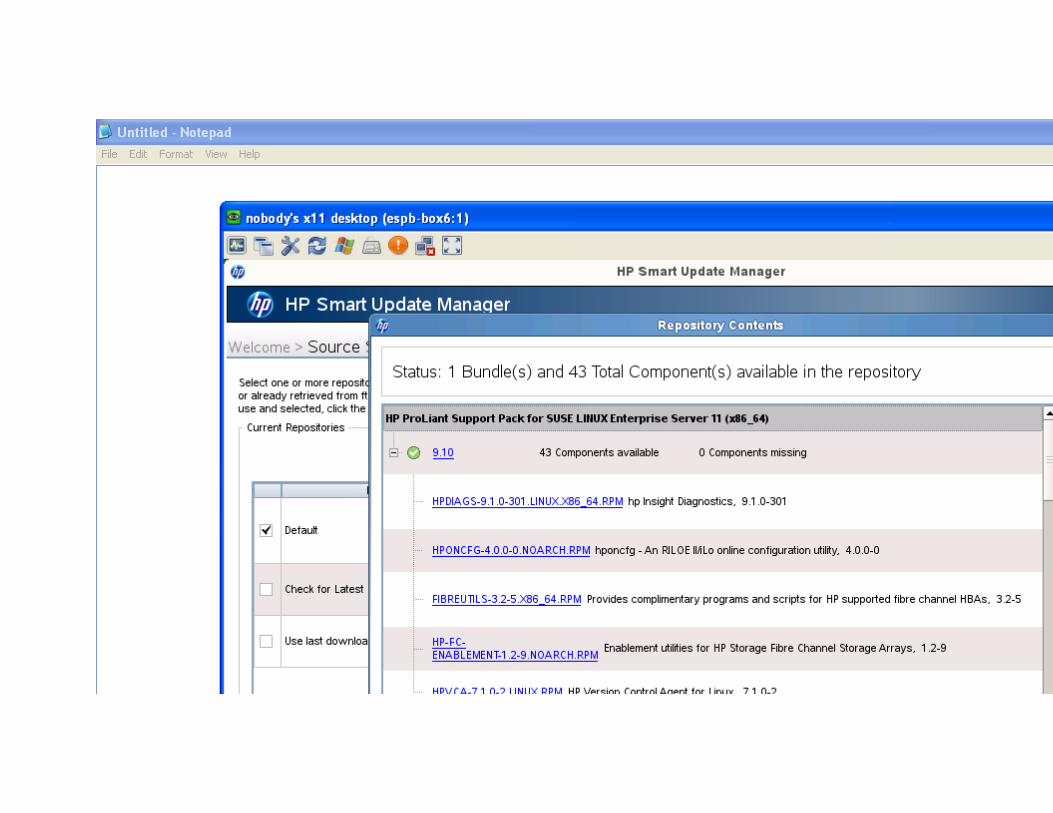
Click Repository Contents to see how many packages are going to be installed.

Close it and click Next. You can see the action performing.
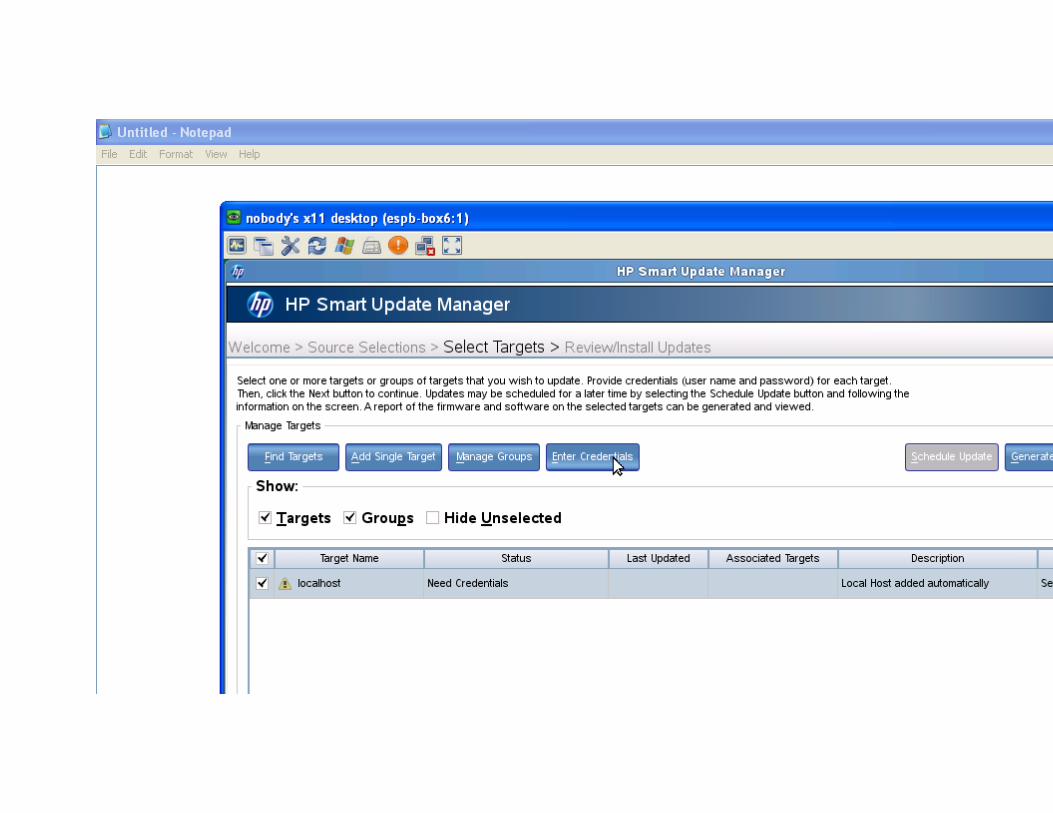
Once it is finished, click on Enter Credentials. Now the localhost will be Yellow Colour.


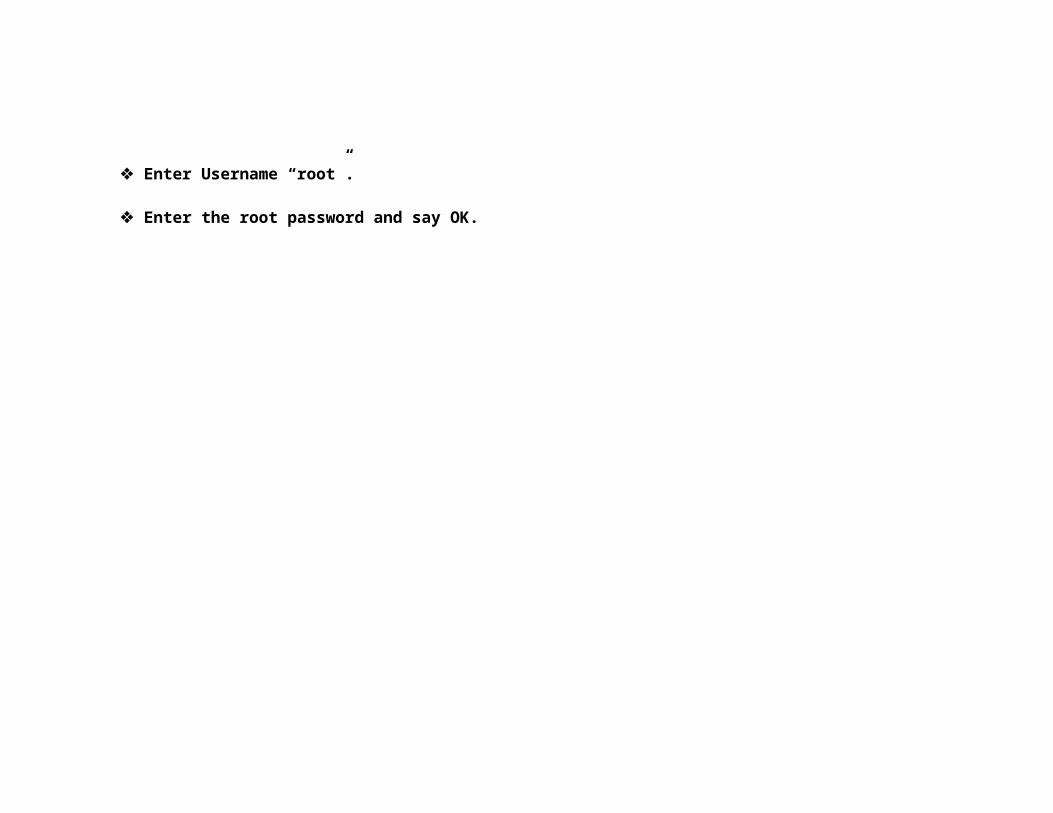
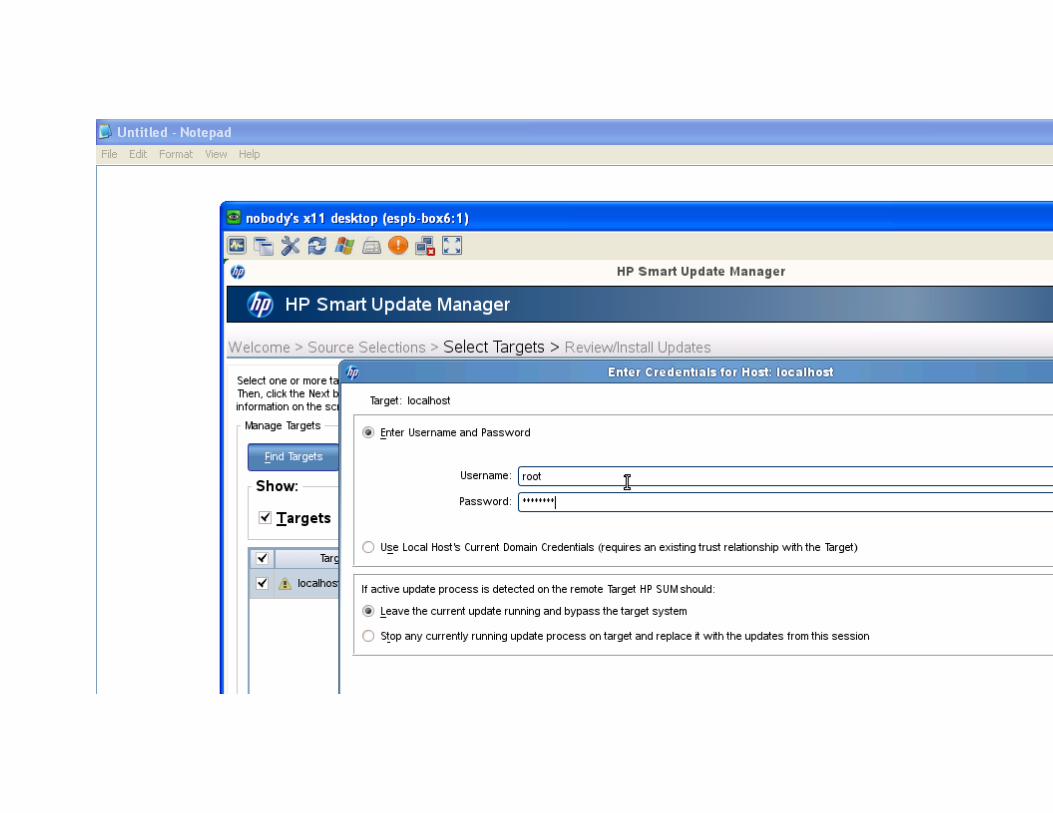
Enter Username “root”.
Enter the root password and say OK.
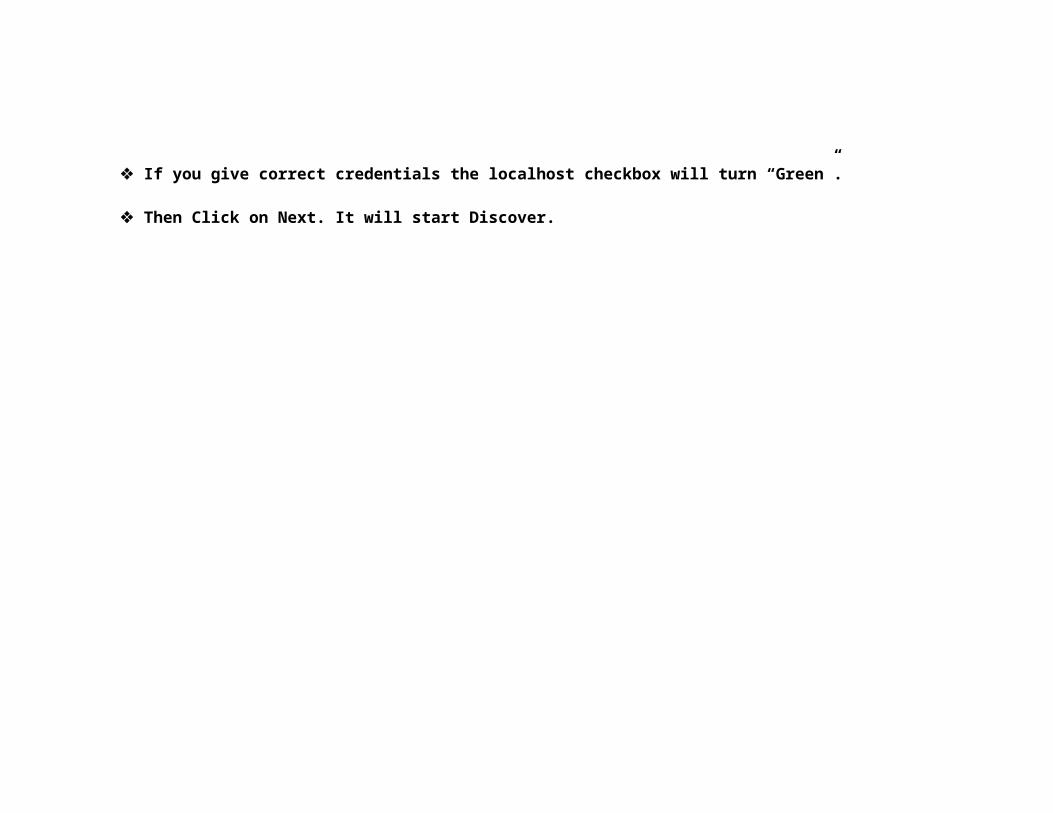
If you give correct credentials the localhost checkbox will turn “Green”.
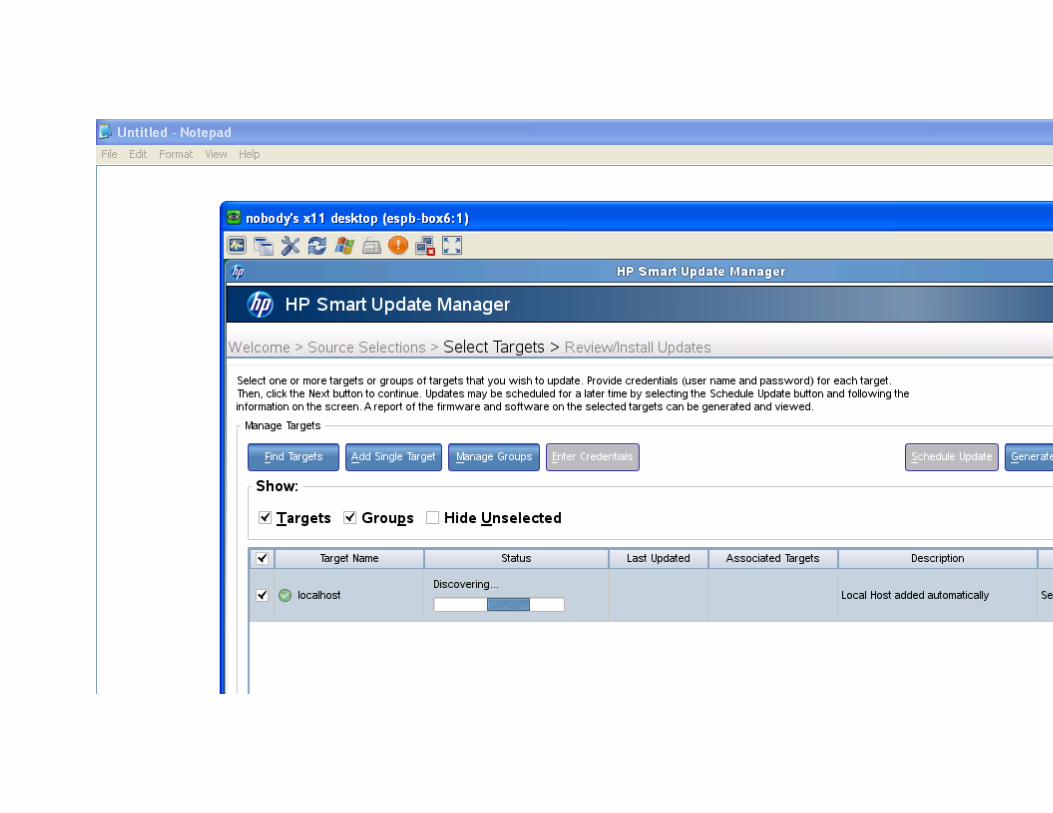
Then Click on Next. It will start Discover.
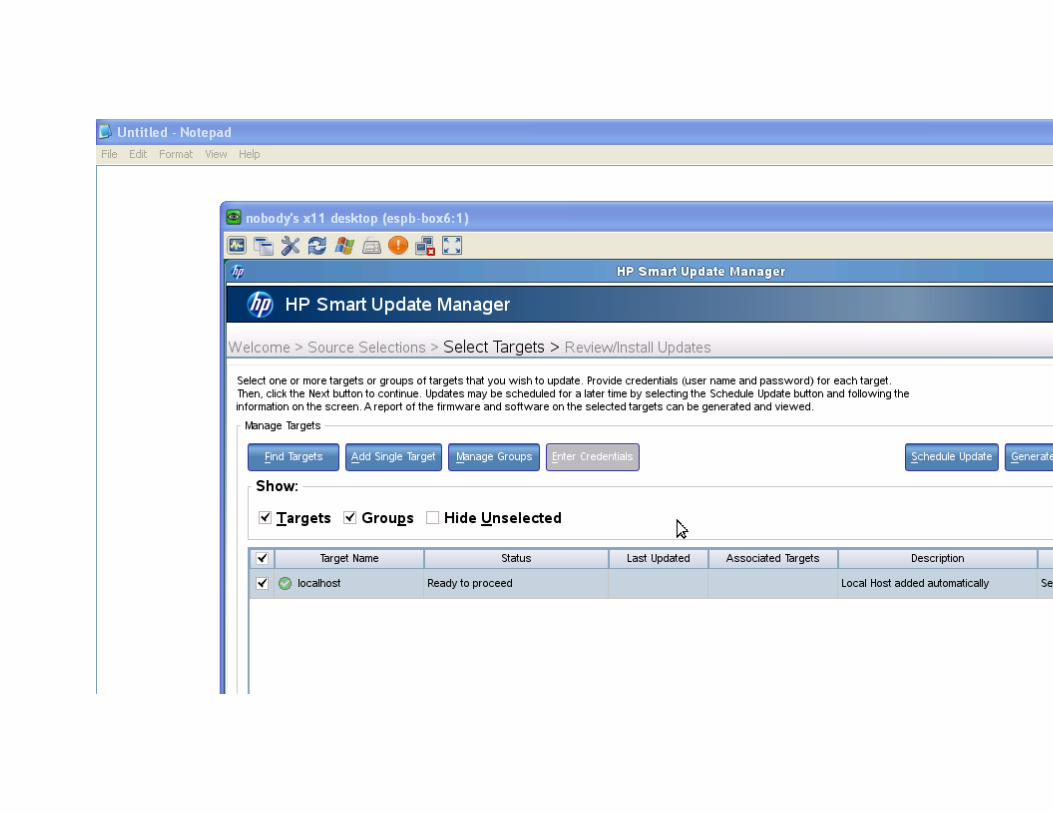
Once discover completes successfully it will show you the result.
Then Click Next, if all the pre-requisite rpm’s installed it will start build the RPM’s.
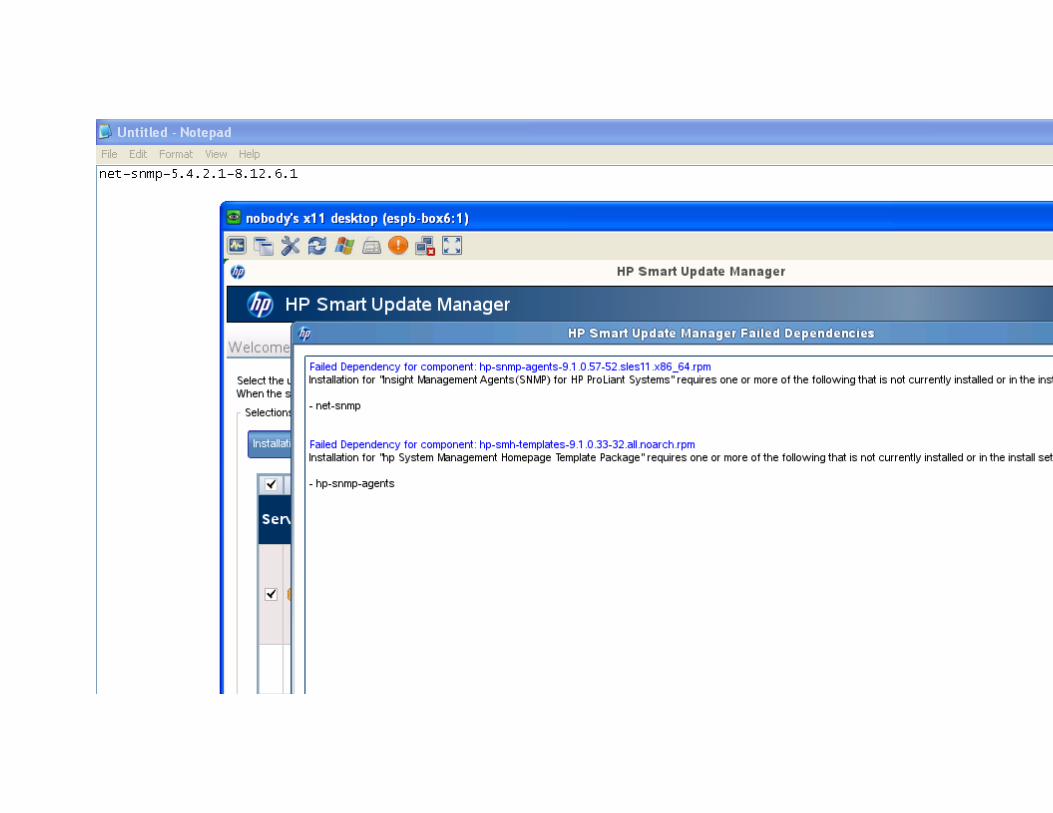
If any pre-requisite rpm is not installed it will throw you the failed dependencies like below.
So, solve the dependencies which are required. Then Click next.
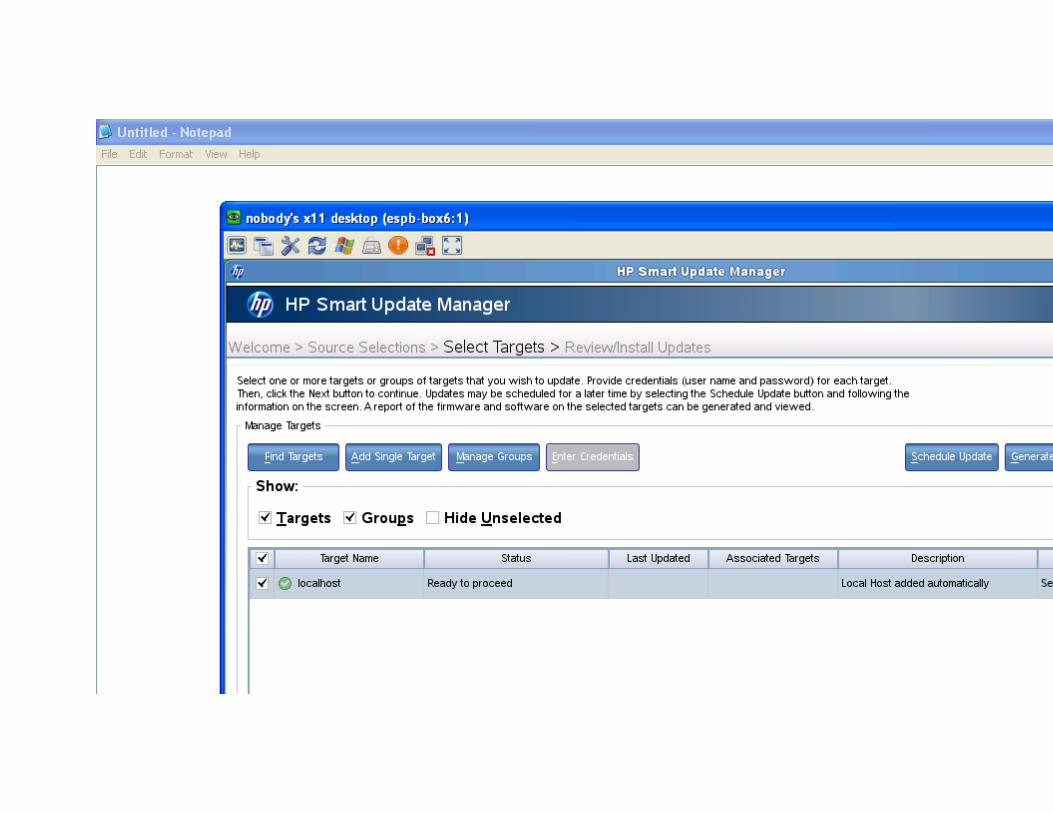
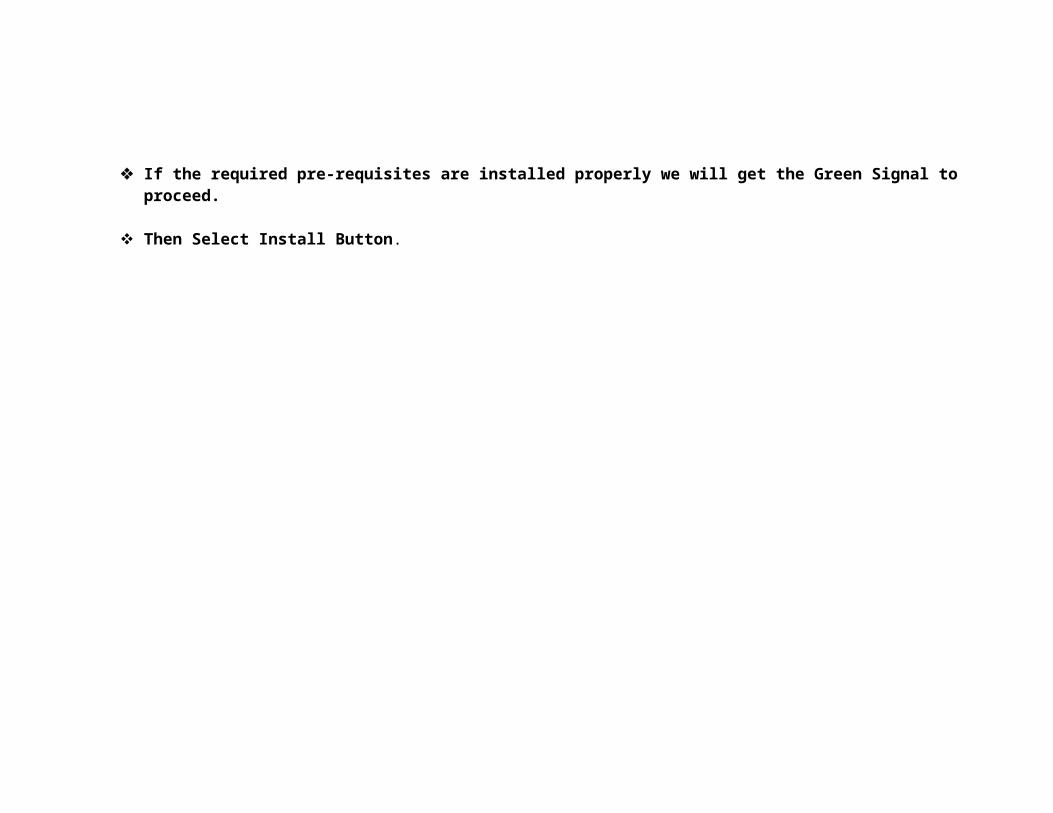
If the required pre-requisites are installed properly we will get the Green Signal to proceed.
Then Select Install Button.
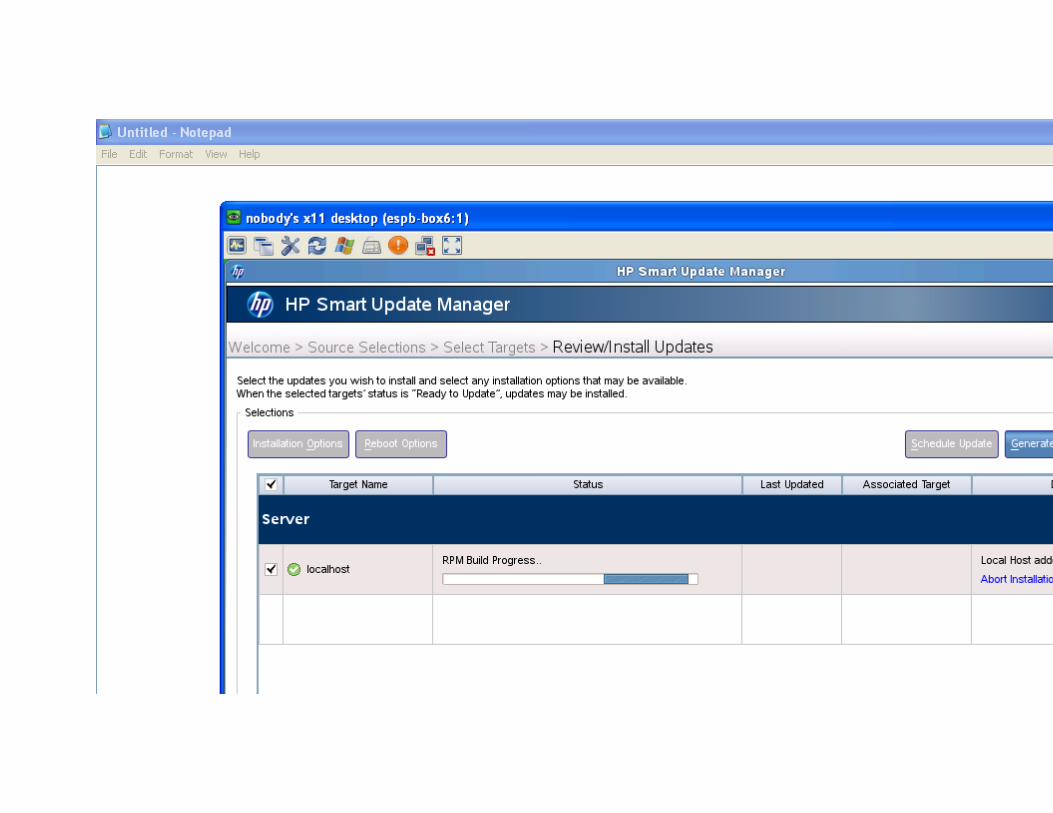
All things are fine, it will start build the RPM’s.


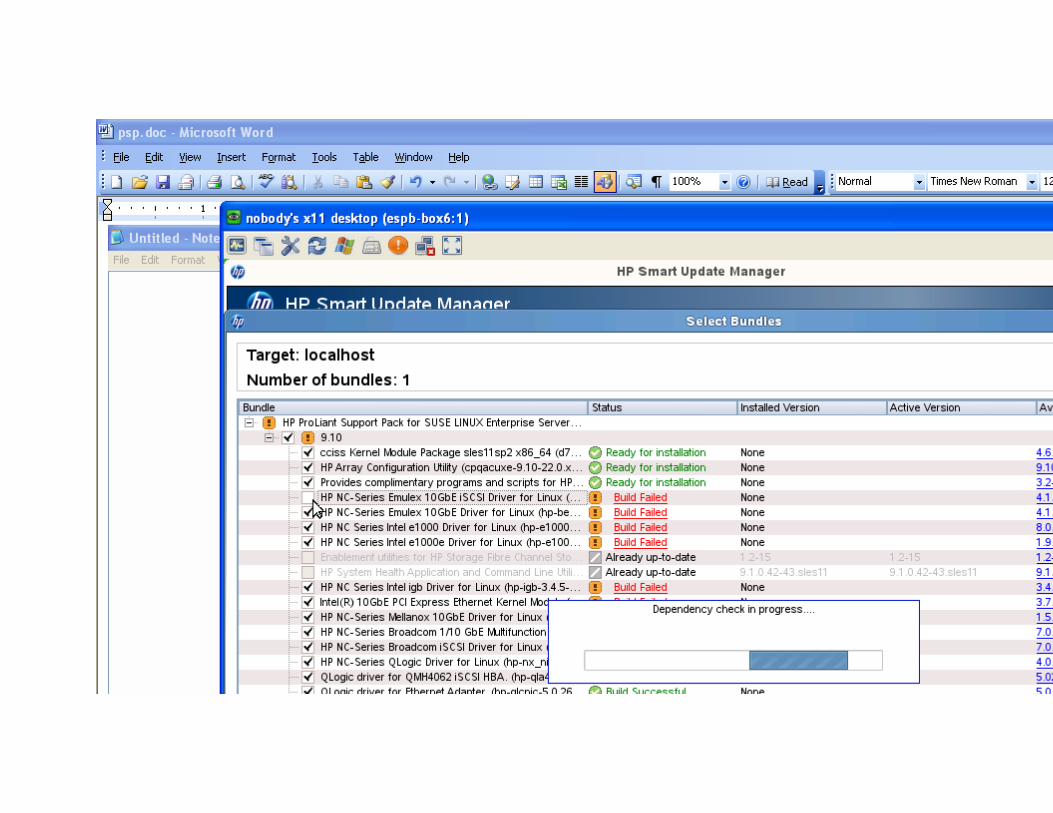
Here you can see Source RPM Build Failed.
No need to worry on this. This is Because of some rpm’s which are not required for this Installation also selected.
Click on Select Bundles.


You can see the failed rpm’s.
Uncheck the box wherever the Build failed is showing.

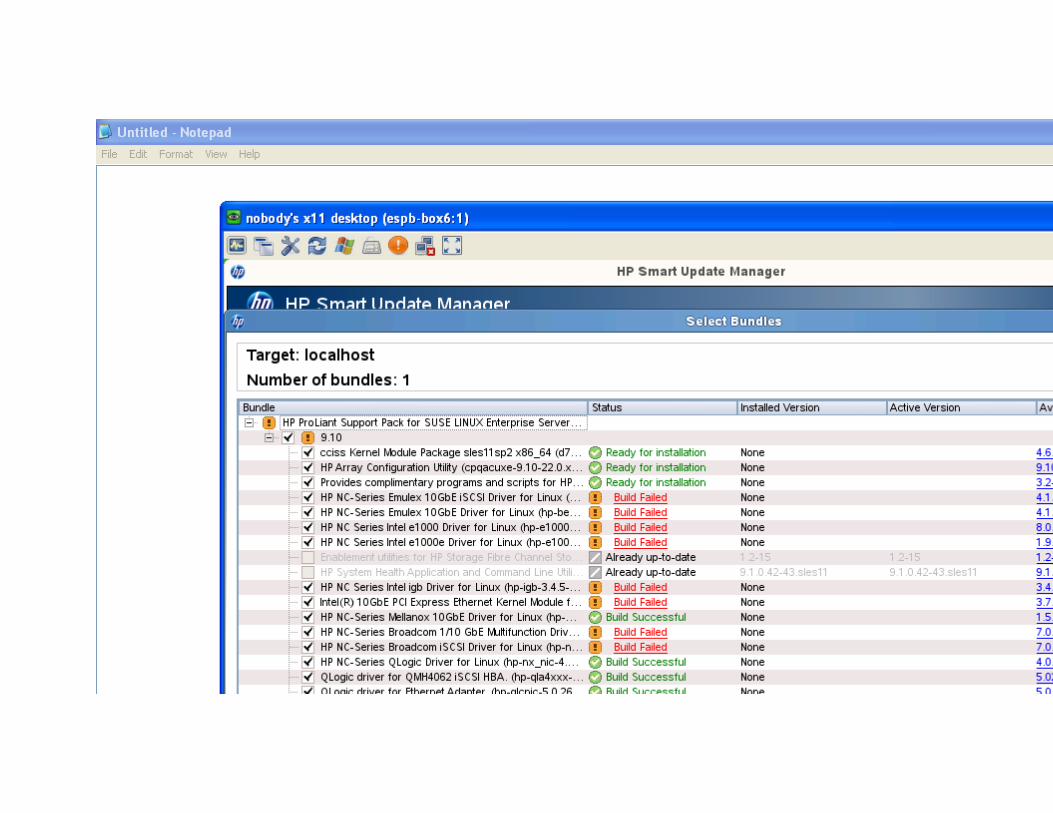

Uncheck all the failed rpm’s one by one.
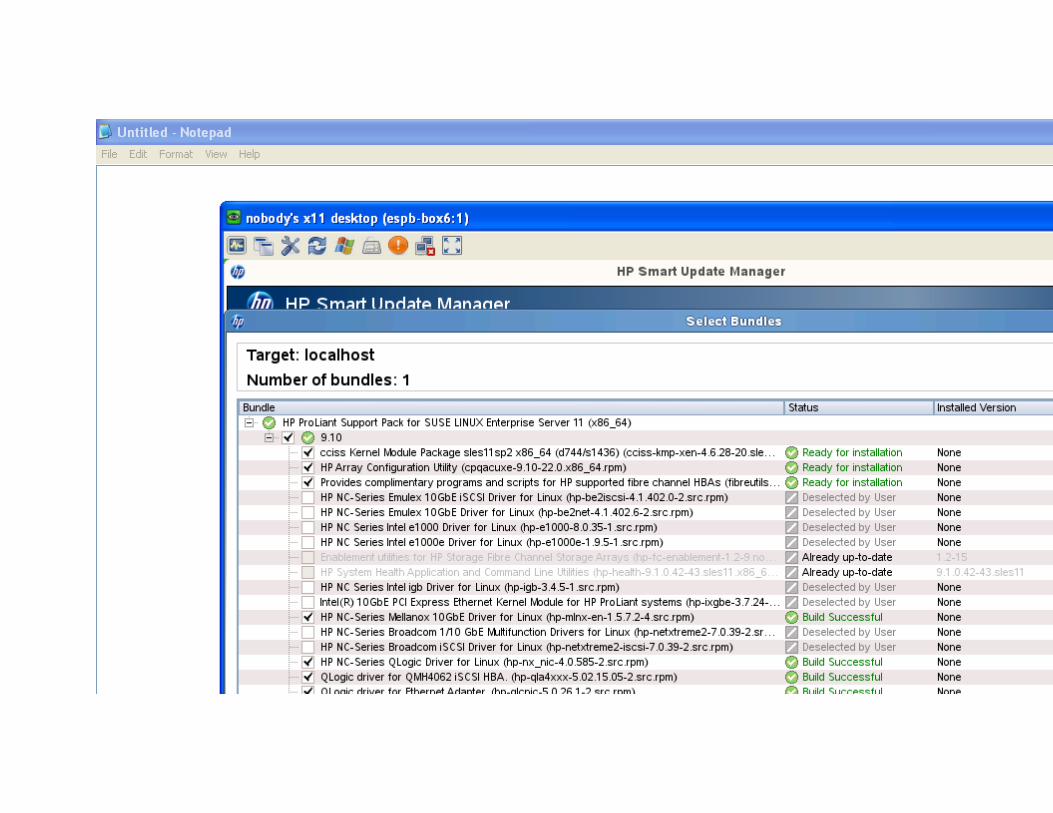
Once All the Failed rpm’s are unchecked and you see green signal then click on OK.
We resolved the Source RPM Build.

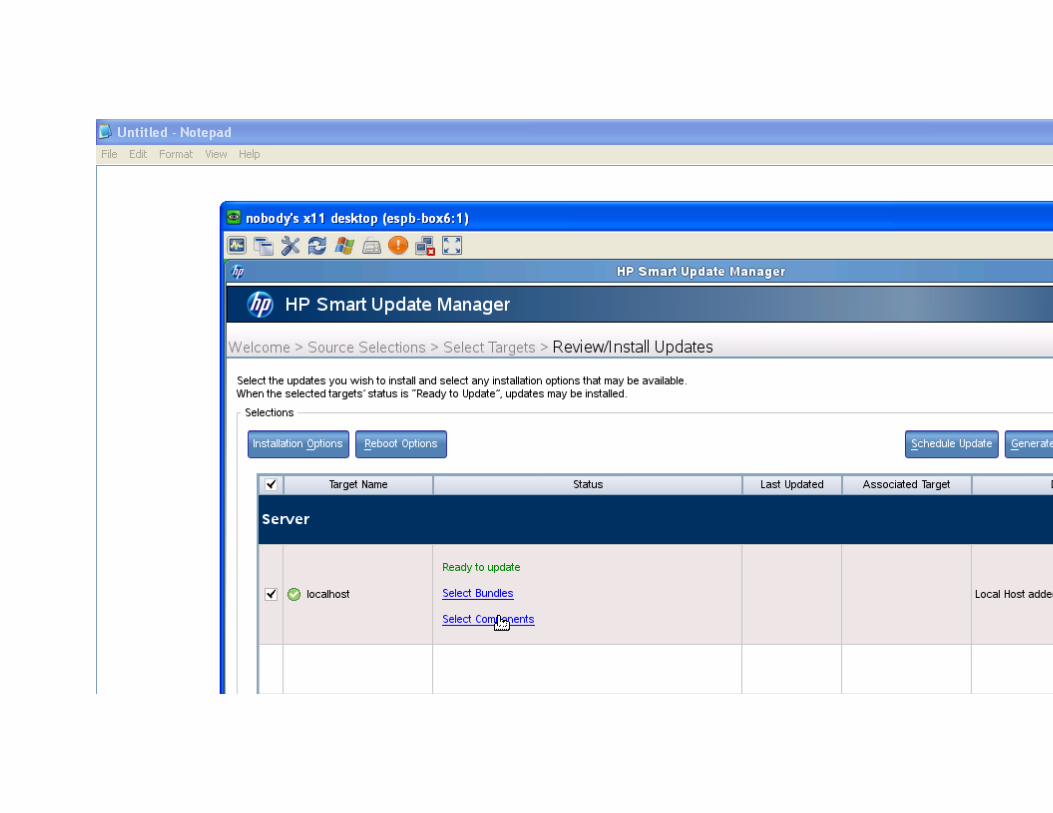
Now it is ready to update. Click on Select Components to see the packages to be installed.
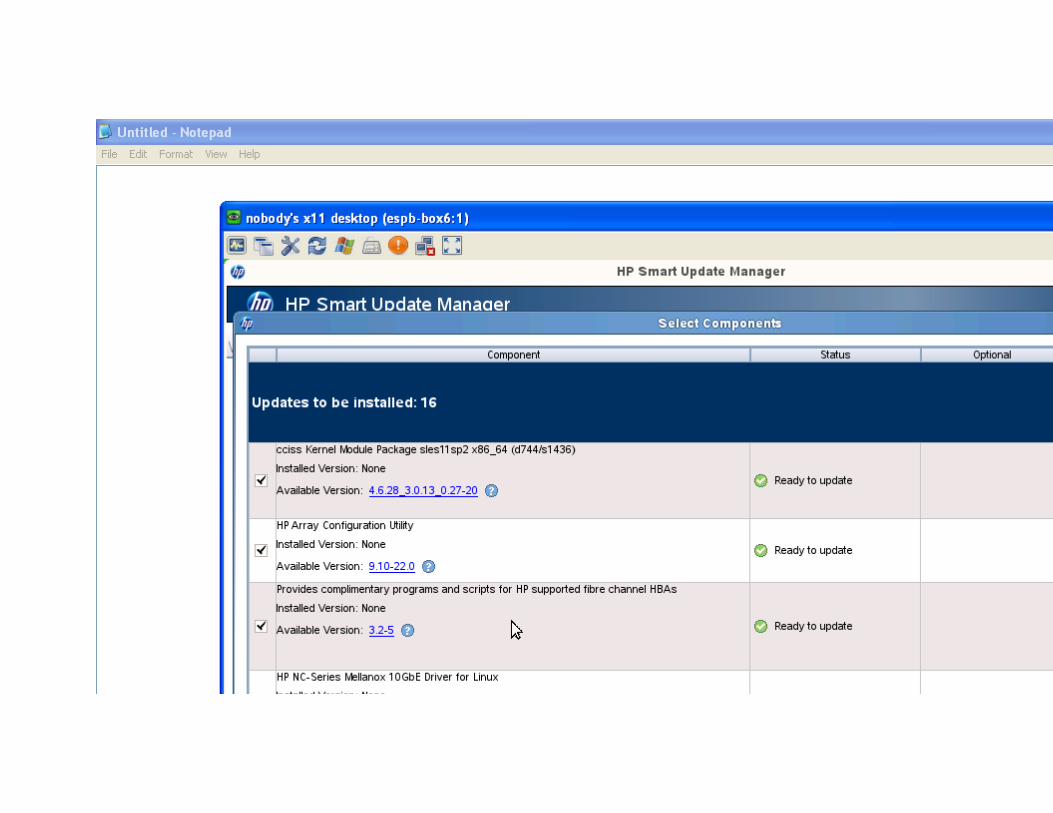
It will show you list of packages ready to install.
Click on OK.
Then click on Install Button to install the packages.
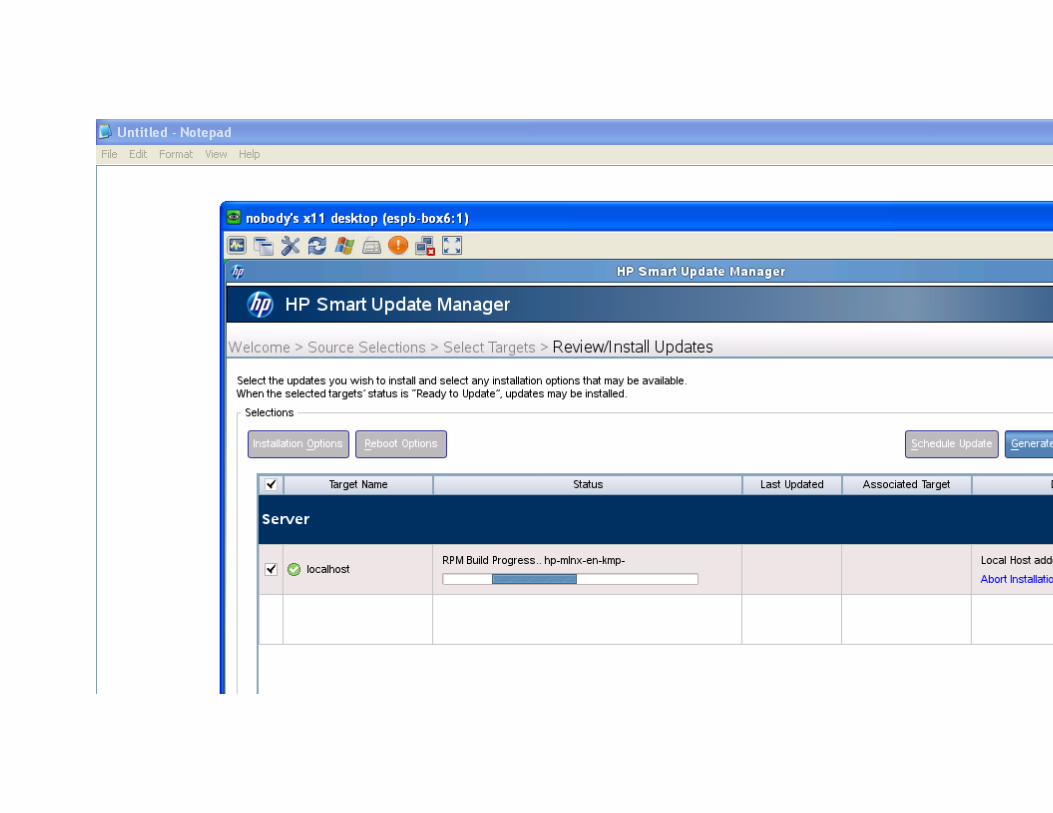
You can see the Installation going on.

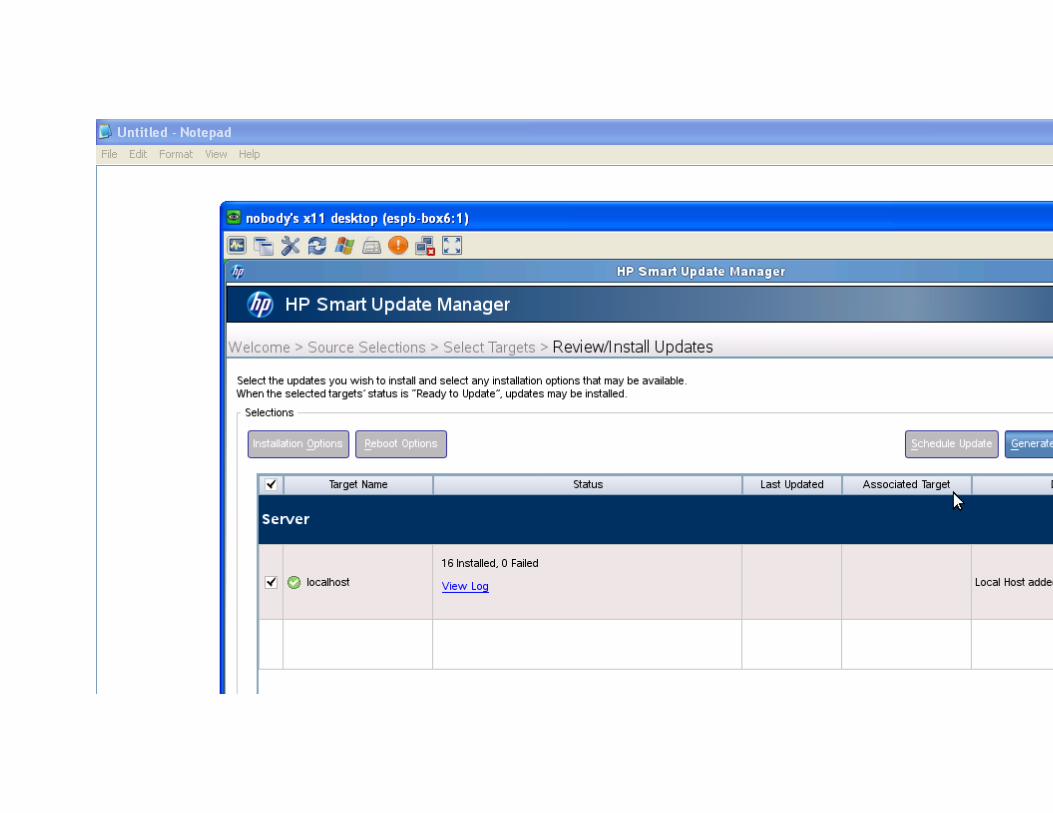
Once the PSP is installed successfully we will get a page like this.
Click on view log to see the individual package status.
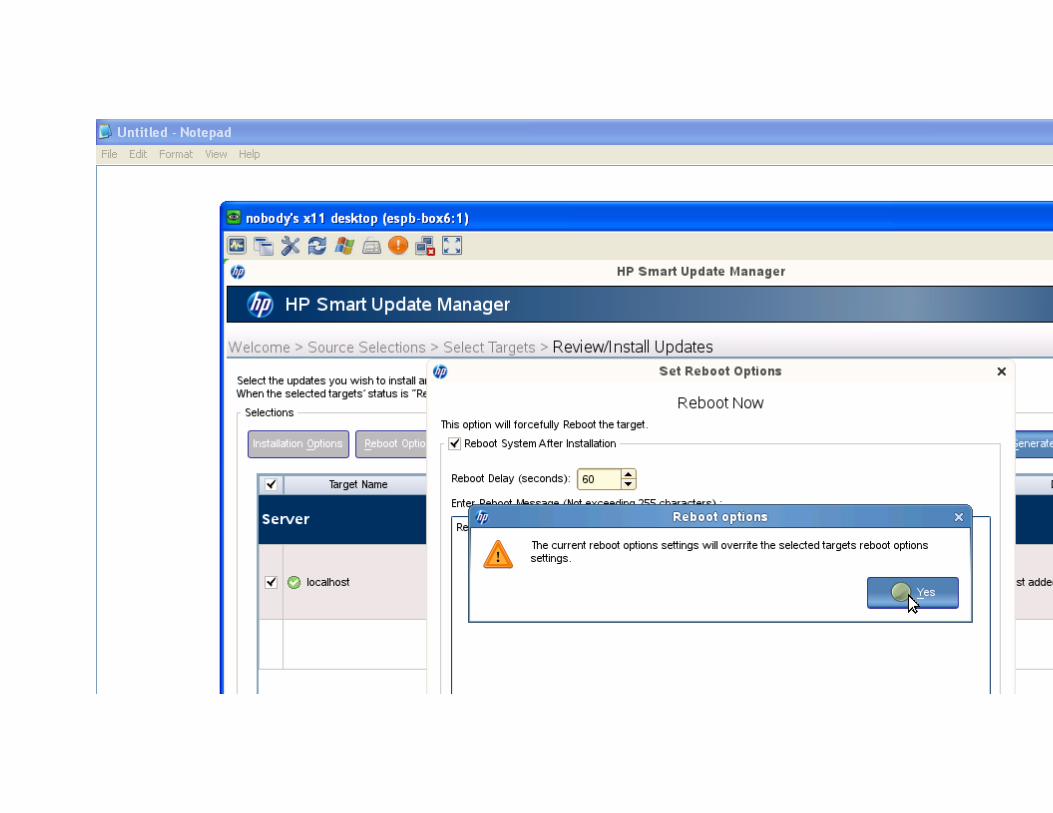
Then click on Reboot Now Button to finish the PSP installation.


After Reboot, open the Firefox browser from the server console, and type https://localhost:2381
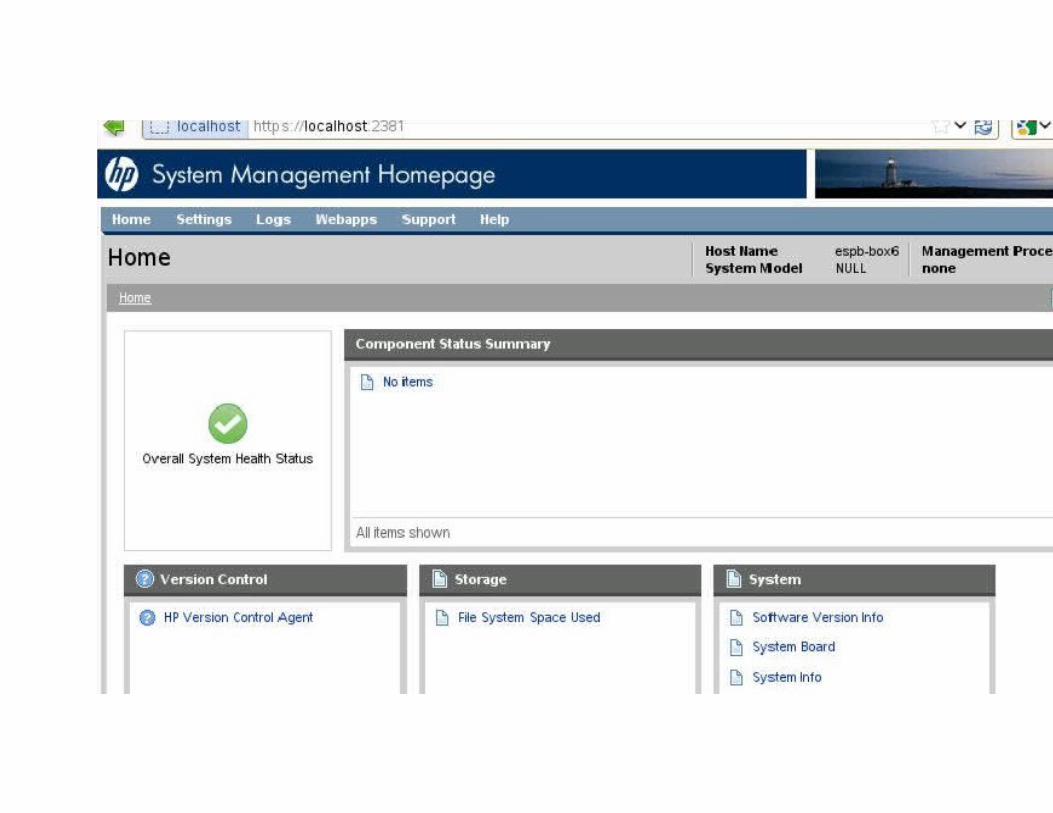
We will get System Management Home Page like this, missing some information.
Until we configure the SNMP the System Management Home Page (SMH page) will be like below with partial information.
In this stage if you collect online logs, it will not give the complete information about the hardware failure or system Health.
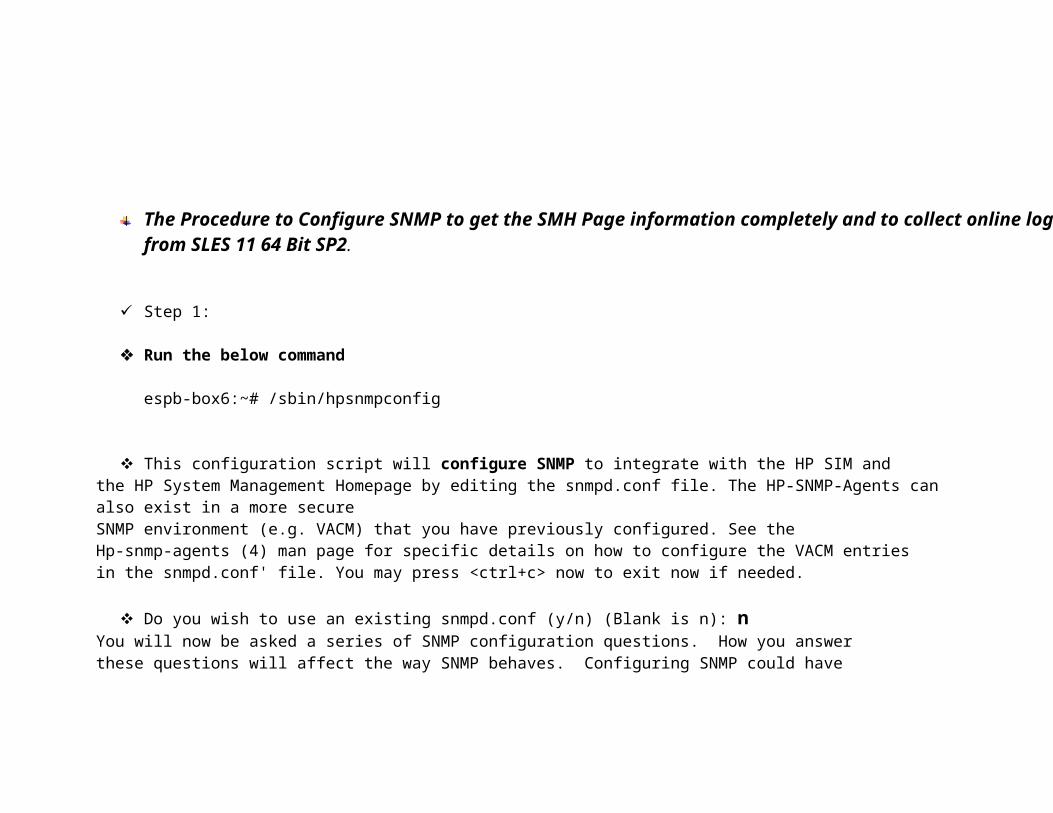
The Procedure to Configure SNMP to get the SMH Page information completely and to collect online logs from SLES 11 64 Bit SP2.
Step 1:
Run the below command
espb-box6:~# /sbin/hpsnmpconfig
This configuration script will configure SNMP to integrate with the HP SIM andthe HP System Management Homepage by editing the snmpd.conf file. The HP-SNMP-Agents can also exist in a more secureSNMP environment (e.g. VACM) that you have previously configured. See theHp-snmp-agents (4) man page for specific details on how to configure the VACM entriesin the snmpd.conf' file. You may press <ctrl+c> now to exit now if needed.
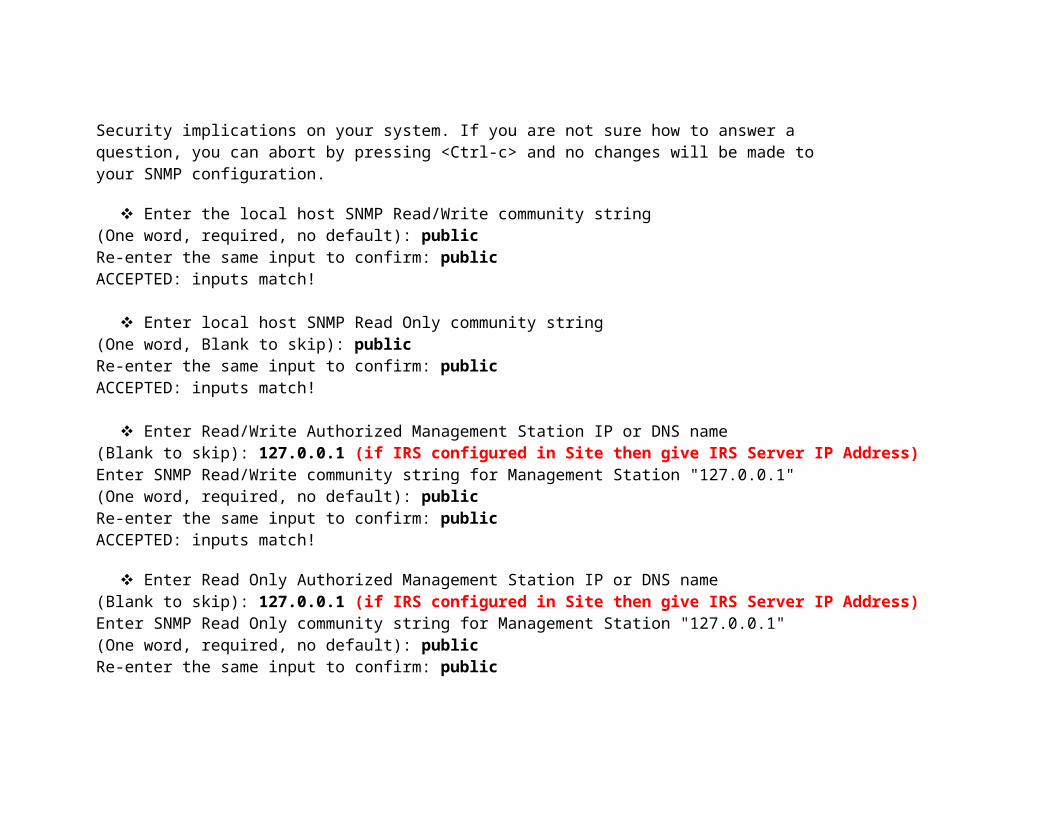
Do you wish to use an existing snmpd.conf (y/n) (Blank is n): nYou will now be asked a series of SNMP configuration questions. How you answerthese questions will affect the way SNMP behaves. Configuring SNMP could haveSecurity implications on your system. If you are not sure how to answer aquestion, you can abort by pressing <Ctrl-c> and no changes will be made toyour SNMP configuration.
Enter the local host SNMP Read/Write community string(One word, required, no default): public
Re-enter the same input to confirm: publicACCEPTED: inputs match!
Enter local host SNMP Read Only community string(One word, Blank to skip): publicRe-enter the same input to confirm: publicACCEPTED: inputs match!
Enter Read/Write Authorized Management Station IP or DNS name(Blank to skip): 127.0.0.1 (if IRS configured in Site then give IRS Server IP Address)Enter SNMP Read/Write community string for Management Station "127.0.0.1"(One word, required, no default): publicRe-enter the same input to confirm: publicACCEPTED: inputs match!
Enter Read Only Authorized Management Station IP or DNS name(Blank to skip): 127.0.0.1 (if IRS configured in Site then give IRS Server IP Address)Enter SNMP Read Only community string for Management Station "127.0.0.1"(One word, required, no default): publicRe-enter the same input to confirm: publicACCEPTED: inputs match!
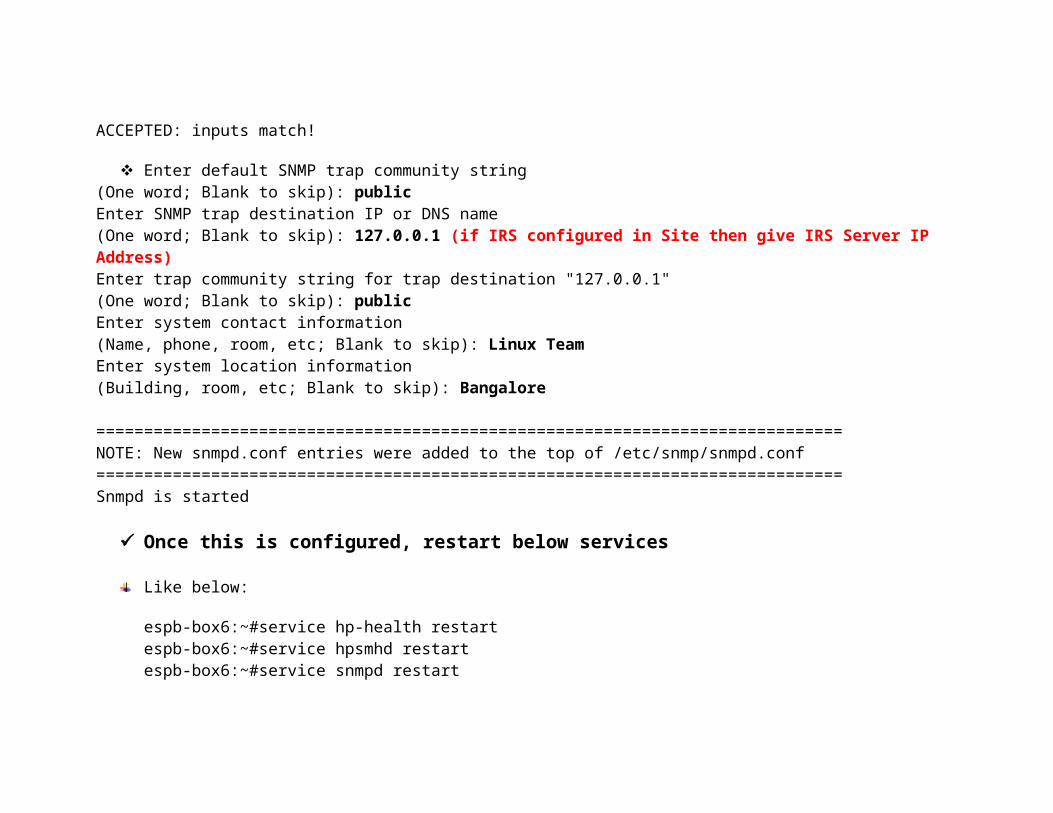
Enter default SNMP trap community string(One word; Blank to skip): publicEnter SNMP trap destination IP or DNS name(One word; Blank to skip): 127.0.0.1 (if IRS configured in Site then give IRS Server IP Address)Enter trap community string for trap destination "127.0.0.1" (One word; Blank to skip): publicEnter system contact information(Name, phone, room, etc; Blank to skip): Linux TeamEnter system location information
(Building, room, etc; Blank to skip): Bangalore
==============================================================================NOTE: New snmpd.conf entries were added to the top of /etc/snmp/snmpd.conf==============================================================================Snmpd is started
Once this is configured, restart below services
Like below:
espb-box6:~#service hp-health restartespb-box6:~#service hpsmhd restartespb-box6:~#service snmpd restart
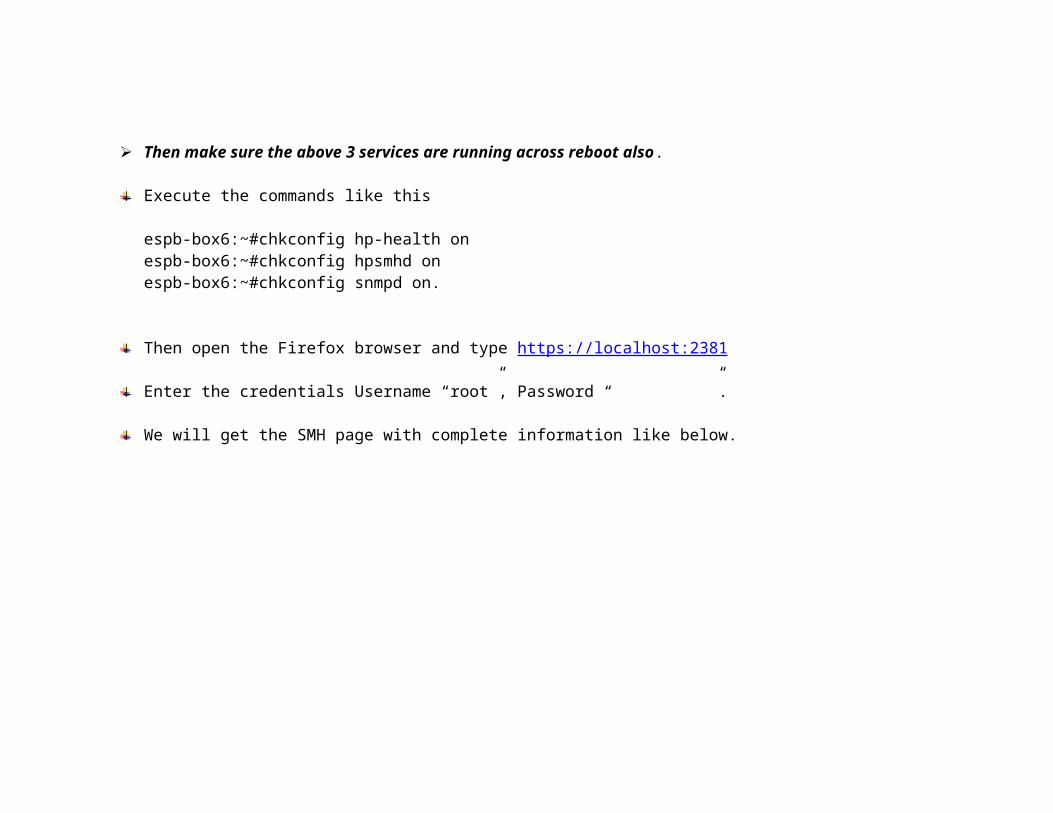
Then make sure the above 3 services are running across reboot also.
Execute the commands like this
espb-box6:~#chkconfig hp-health onespb-box6:~#chkconfig hpsmhd onespb-box6:~#chkconfig snmpd on.
Then open the Firefox browser and type https://localhost:2381
Enter the credentials Username “root”, Password “ ”.
We will get the SMH page with complete information like below.
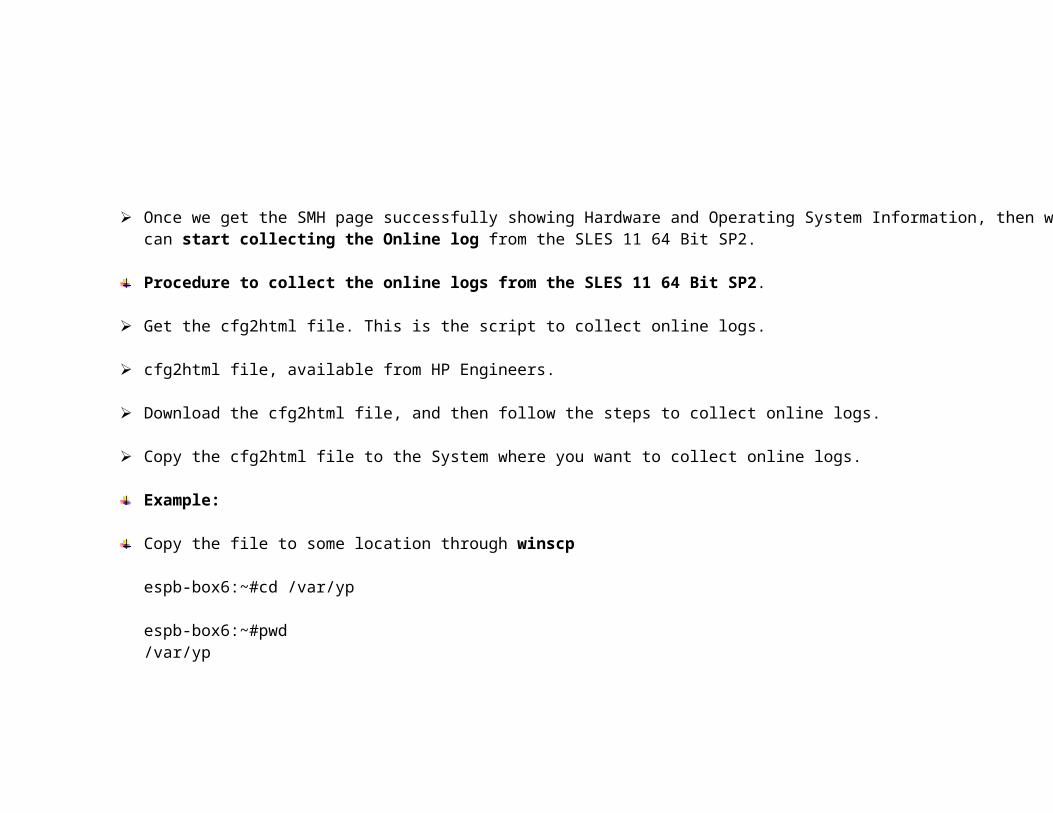
Once we get the SMH page successfully showing Hardware and Operating System Information, then we can start collecting the Online log from the SLES 11 64 Bit SP2.
Procedure to collect the online logs from the SLES 11 64 Bit SP2.
Get the cfg2html file. This is the script to collect online logs.
cfg2html file, available from HP Engineers.
Download the cfg2html file, and then follow the steps to collect online logs.
Copy the cfg2html file to the System where you want to collect online logs.
Example:
Copy the file to some location through winscp
espb-box6:~#cd /var/yp
espb-box6:~#pwd/var/yp
espb-box6:~#ls -l-rw-r--r--. cfg2html-linux124HP
Then change the script permission as executable file.

espb-box6:~#chmod u+x cfg2html-linux124HP
espb-box6:~#ls –l-rwxr--r--. cfg2html-linux124HPespb-box6:~#
Then execute the script as below
espb-box6:~#./cfg2html-linux124HP
It will take some time to collect the logs.
Once log collection process completed, the log will be saved in the name of hostname.tar
Example:
If the SLES 11 64 Bit SP2 system Hostname is espb-box6, then the log file name is espb-box6.tar
Save this log to your desktop and send it to HP with Case ID mentioned in Subject Line.
HP will analyze the logs and they may give the recommendations as per the SLA.
This is the procedure to collect the online logs from SLES 11 64 Bit SP2.
Credits:
Senthil kumar.R Ph: +91 – 9945566008
Note: Xavy, Krishna and Vamsi Help is Appreciated.


![[Webcast] La Nube como centro de Cómputo · PDF file•Oracle Linux 6.4+, 7.0+ •RHEL 6.7+, 7.1+ •SLES 11 SP3+, SLES 12+ y •SLES para SAP 11.3+ •openSUSE 13.1+ ... C#, Java,](https://img.pdfslide.net/doc/110x75/5a72f8c37f8b9aa7538e258e/webcast-la-nube-como-centro-de-computo-oracle-linux-64-70-rhel.jpg)