Embed Size (px)
Citation preview
SMART NOTEBOOK 10
“Instructional Technology Enhancing ACHievement”

Rolla Public Schools
BS-July 2008 - 2 -
TABLE OF CONTENTS SMART Notebook 10 Themes.............................................................................................. 3 Page Groups ....................................................................................... 4 Magic Pen .......................................................................................... 5 Shape Pen........................................................................................... 6 Tables ............................................................................................... 7 Object Animation ................................................................................. 8 Aligning Objects .................................................................................. 8 Recording a Notebook Page..................................................................... 9 Printing Pages.................................................................................... 10 Exporting Pages ................................................................................. 10 Lesson Activity Toolkit Activities.......................................................................................... 11 Games............................................................................................. 12 Graphics .......................................................................................... 13 Tools .............................................................................................. 14 Smartboard Skills Checklist ............................................................. 15

Rolla Public Schools
BS-July 2008 - 3 -
SMART NOTEBOOK 10 NEW FEATURES Themes
Create backgrounds to customize your page. Include fonts, images, background colors and apply
them to all the pages in your file to add cohesiveness to your presentations.
To create a theme
1. If the Gallery isn't visible, press Gallery .
2. Select Themes in the Gallery's category list, press its menu
arrow, and then select Create New Theme OR from the
Format menu, select Create Theme.
3. Type a name for the theme in the Theme name box.
4. Set the background for the theme in the same way that you would for a Notebook page.
5. Add, manipulate and edit objects on the theme in the same way that you would on a Notebook
page.
6. Press Save.
To apply a theme
1. If the Gallery isn't visible, press Gallery .
2. Select Themes in the Gallery's category list.
The Gallery displays thumbnails of the available themes.
3. Press the thumbnail of the theme you want to apply.
4. Press the thumbnail's menu arrow, and then select Insert in Notebook.
The Insert Theme dialog box appears.
5. To apply the theme to all pages in a Notebook file, select Insert theme on all pages, and then
press OK.
OR Select the appropriate option to apply the them to one page or a group of pages.
To remove a theme
1. Right-click on the whiteboard area.
2. Select Delete Theme.
Rolla Public Schools
BS-July 2008 - 4 -
Page Groups Organize your SMART Notebook pages into different groups. The groups can be used to
categorize your pages for easy reference.
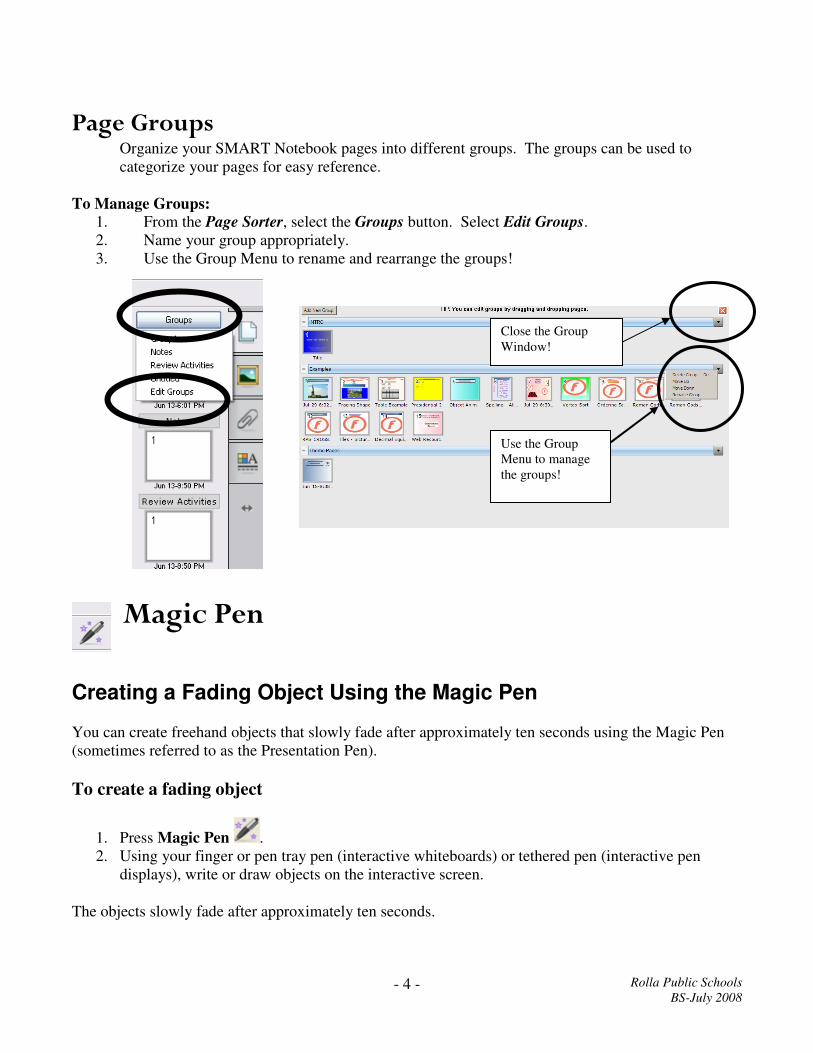
To Manage Groups:
1. From the Page Sorter, select the Groups button. Select Edit Groups.
2. Name your group appropriately.
3. Use the Group Menu to rename and rearrange the groups!
Magic Pen
Creating a Fading Object Using the Magic Pen
You can create freehand objects that slowly fade after approximately ten seconds using the Magic Pen
(sometimes referred to as the Presentation Pen).
To create a fading object
1. Press Magic Pen .
2. Using your finger or pen tray pen (interactive whiteboards) or tethered pen (interactive pen
displays), write or draw objects on the interactive screen.
The objects slowly fade after approximately ten seconds.
Close the Group
Window!
Use the Group
Menu to manage
the groups!

Rolla Public Schools
BS-July 2008 - 5 -
Creating a Magnification Window Using the Magic Pen
To create a magnification window
1. Press Magic Pen .
2. Using your finger or pen tray pen (interactive whiteboards) or tethered pen (interactive pen
displays), draw a square on the interactive screen.
A magnification window appears.
3. To reduce its size, press in the middle of the
magnification window, and then drag it to the left.
OR
To increase its size, press in the middle of the magnification window, and then drag it to the right.
4. To move the window around, press near the edge of the magnification window, and then drag it.
5. To close the magnification window, press .
Creating a Spotlight Window Using the Magic Pen
You can create a spotlight window using the Magic Pen (sometimes referred to as the Presentation Pen).
To create a spotlight window
1. Press Magic Pen .
2. Using your finger or pen tray pen (interactive whiteboards) or tethered pen (interactive pen
displays), draw a circle on the interactive screen.
A spotlight window appears.
3. To reduce the window's size, press in the middle of the spotlight window, and then drag it to the
left OR o increase the window's size, press in the middle of the spotlight window, and then
drag it to the right.
4. To move the window around the interactive screen, press near the edge of the spotlight window,
and then drag it.
5. To close the spotlight window, press .
Rolla Public Schools
BS-July 2008 - 6 -
Shape Pen
Converts hand-drawn lines, circles, squares, rectangles, triangles and arcs into Shape objects that you
can fully customize. It also converts freehand shapes, so you can create any shape you need. Once
you’ve created a shape, you can set the line and fill colors, line style and transparency.
To customize a shape and then add it to a page
1. Press Shapes , and then select an available shape.
OR use the Shape pen to draw a shape.
2. If the Properties tab isn't visible, press Properties .
3. Press Line Style.
4. Select the color, thickness and style for the shape's outline.
5. Press Fill Effects.
6. Select the transparency and fill effects for the shape.
NOTE: If you want to save this shape for future use, press Save Tool Settings.
7. Create a shape by pressing where you want to place the shape and dragging until the shape is the
size you want.
TIP: You can create perfect circles, squares, triangles and other shapes by pressing and holding SHIFT
as you draw the shape.
SPELL CHECK Notebook 10 now has a spell check feature.
To Spell Check
1. Move to the page where you want to start the spell check. 2. From the Edit menu, select Check Spelling or press F7.
Rolla Public Schools
BS-July 2008 - 7 -
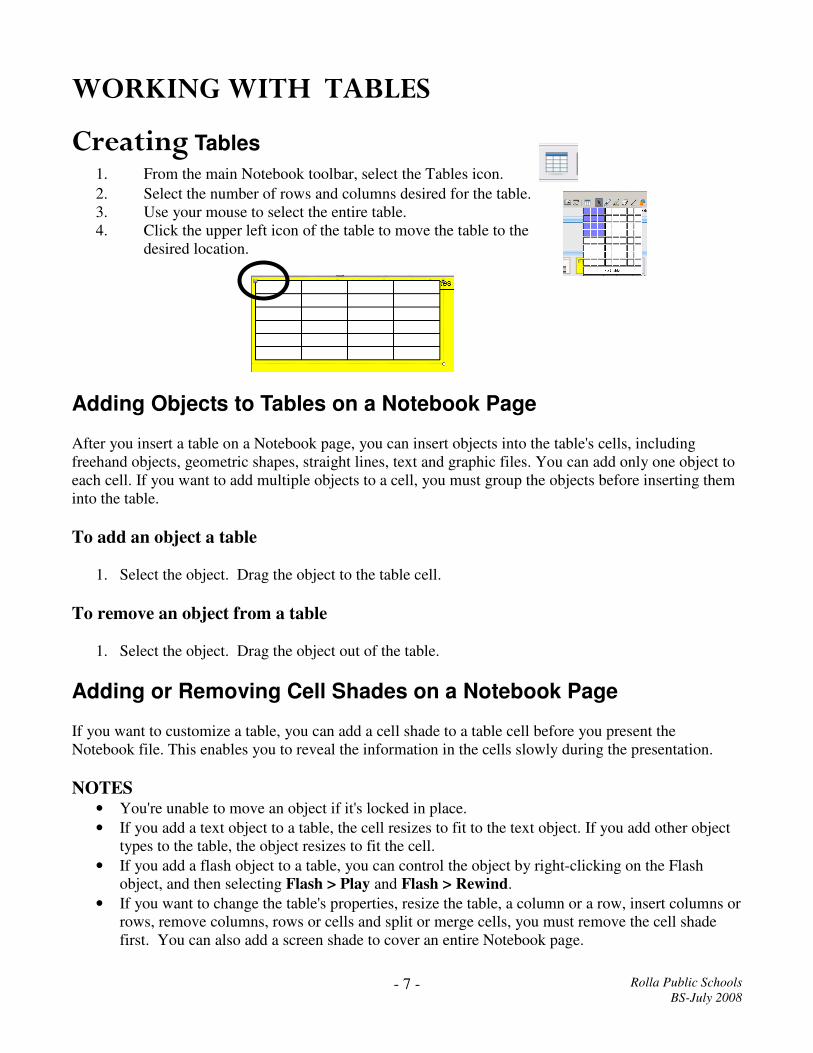
WORKING WITH TABLES
Creating Tables
1. From the main Notebook toolbar, select the Tables icon.
2. Select the number of rows and columns desired for the table.
3. Use your mouse to select the entire table.
4. Click the upper left icon of the table to move the table to the
desired location.
Adding Objects to Tables on a Notebook Page
After you insert a table on a Notebook page, you can insert objects into the table's cells, including
freehand objects, geometric shapes, straight lines, text and graphic files. You can add only one object to
each cell. If you want to add multiple objects to a cell, you must group the objects before inserting them
into the table.
To add an object a table
1. Select the object. Drag the object to the table cell.
To remove an object from a table
1. Select the object. Drag the object out of the table.
Adding or Removing Cell Shades on a Notebook Page
If you want to customize a table, you can add a cell shade to a table cell before you present the
Notebook file. This enables you to reveal the information in the cells slowly during the presentation.
NOTES • You're unable to move an object if it's locked in place.
• If you add a text object to a table, the cell resizes to fit to the text object. If you add other object
types to the table, the object resizes to fit the cell.
• If you add a flash object to a table, you can control the object by right-clicking on the Flash
object, and then selecting Flash > Play and Flash > Rewind.
• If you want to change the table's properties, resize the table, a column or a row, insert columns or
rows, remove columns, rows or cells and split or merge cells, you must remove the cell shade
first. You can also add a screen shade to cover an entire Notebook page.
Rolla Public Schools
BS-July 2008 - 8 -
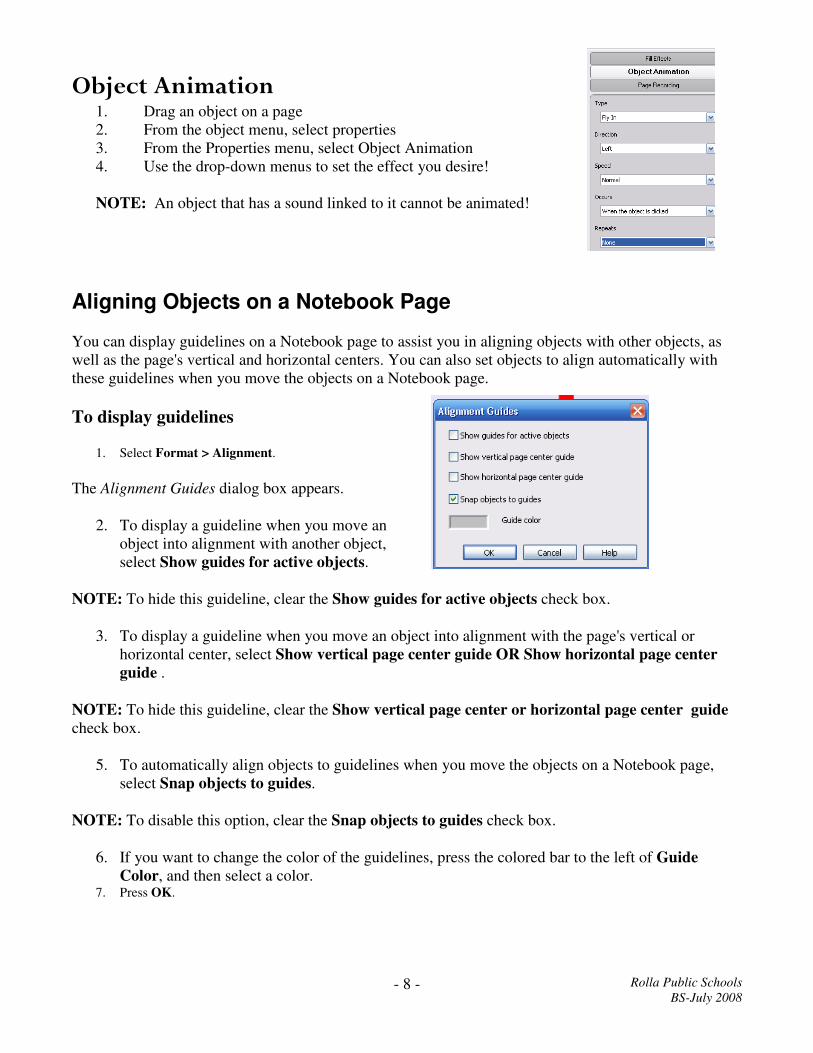
Object Animation 1. Drag an object on a page
2. From the object menu, select properties
3. From the Properties menu, select Object Animation
4. Use the drop-down menus to set the effect you desire!
NOTE: An object that has a sound linked to it cannot be animated!
Aligning Objects on a Notebook Page
You can display guidelines on a Notebook page to assist you in aligning objects with other objects, as
well as the page's vertical and horizontal centers. You can also set objects to align automatically with
these guidelines when you move the objects on a Notebook page.
To display guidelines
1. Select Format > Alignment.
The Alignment Guides dialog box appears.
2. To display a guideline when you move an
object into alignment with another object,
select Show guides for active objects.
NOTE: To hide this guideline, clear the Show guides for active objects check box.
3. To display a guideline when you move an object into alignment with the page's vertical or
horizontal center, select Show vertical page center guide OR Show horizontal page center
guide .
NOTE: To hide this guideline, clear the Show vertical page center or horizontal page center guide
check box.
5. To automatically align objects to guidelines when you move the objects on a Notebook page,
select Snap objects to guides.
NOTE: To disable this option, clear the Snap objects to guides check box.
6. If you want to change the color of the guidelines, press the colored bar to the left of Guide
Color, and then select a color. 7. Press OK.
Rolla Public Schools
BS-July 2008 - 9 -
Recording a Notebook Page
The Properties tab enables you to record your actions on the current Notebook page using Page
Recording options.
NOTE: You can also record your actions on the interactive screen, including your actions in programs
other than Notebook software, using SMART Recorder. With SMART Recorder, you can record a full
screen, specified window or rectangular portion of the screen. If you connect a microphone to your
computer, you can also record audio.
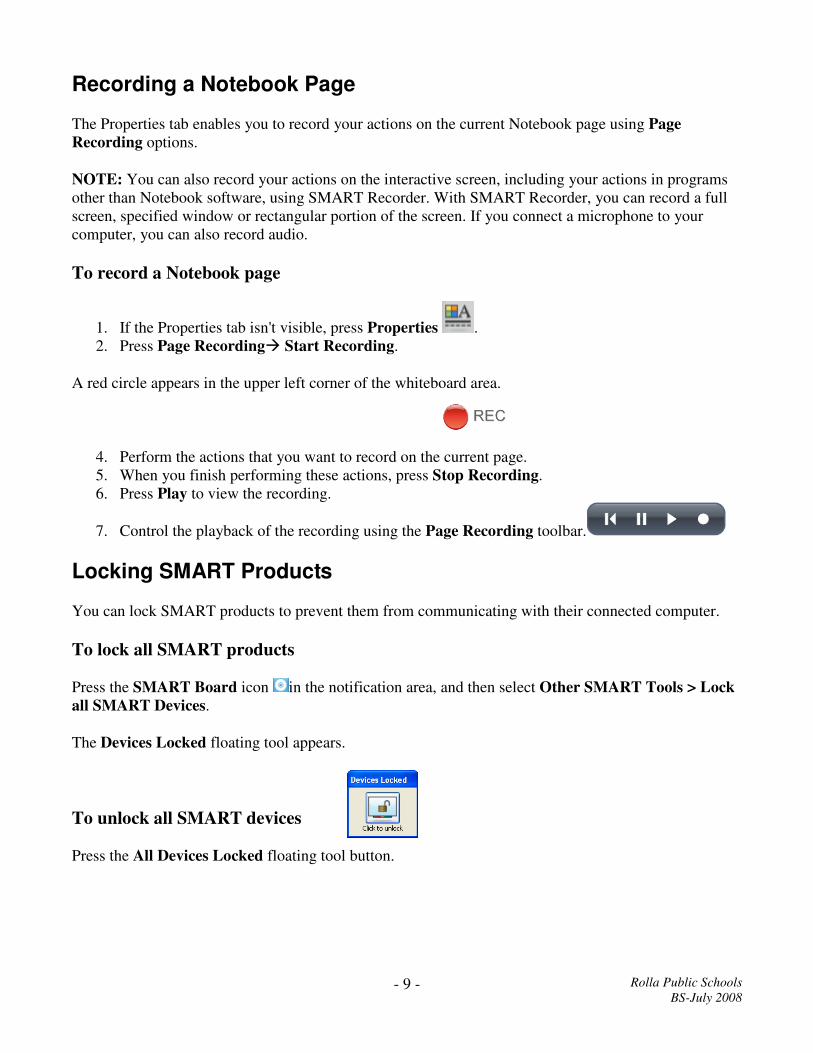
To record a Notebook page
1. If the Properties tab isn't visible, press Properties .
2. Press Page Recording� Start Recording.
A red circle appears in the upper left corner of the whiteboard area.
4. Perform the actions that you want to record on the current page.
5. When you finish performing these actions, press Stop Recording.
6. Press Play to view the recording.
7. Control the playback of the recording using the Page Recording toolbar.
Locking SMART Products
You can lock SMART products to prevent them from communicating with their connected computer.
To lock all SMART products
Press the SMART Board icon in the notification area, and then select Other SMART Tools > Lock
all SMART Devices.
The Devices Locked floating tool appears.
To unlock all SMART devices
Press the All Devices Locked floating tool button.

Rolla Public Schools
BS-July 2008 - 10 -
MISC TIPS AND TRICKS
PRINTING PAGES
Print Notebook files or individual Notebook
pages. You can print the pages as thumbnails,
handouts or full pages.
1. From the File menu�Select Print.
2. Choose the appropriate options to
customize your printing.
EXPORTING PAGES
Export files in a variety of formats, PDF, HTML and .jpg.
1. From the File menu�Select Export.
2. Choose the file type.
NOTES:
Rolla Public Schools
BS-July 2008 - 11 -
LESSON ACTIVITY TOOLKIT
Games, Interaction, Title Pages and More!
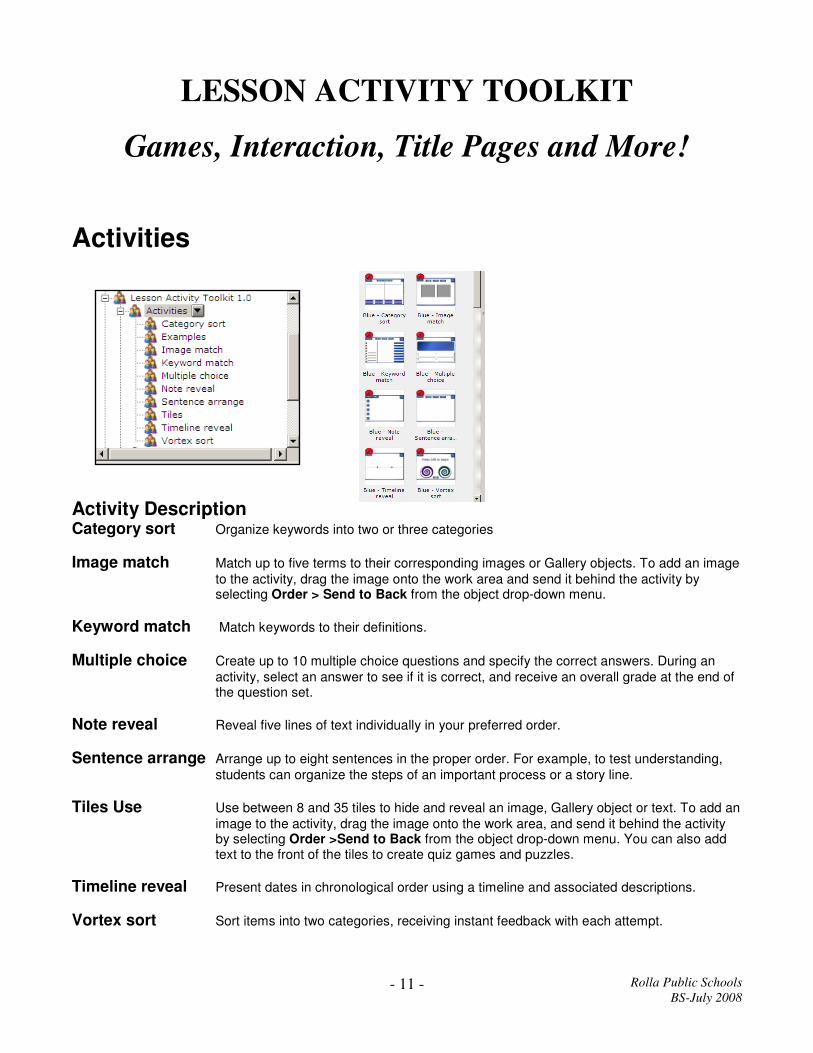
Activities
Activity Description Category sort Organize keywords into two or three categories
Image match Match up to five terms to their corresponding images or Gallery objects. To add an image
to the activity, drag the image onto the work area and send it behind the activity by selecting Order > Send to Back from the object drop-down menu.
Keyword match Match keywords to their definitions.
Multiple choice Create up to 10 multiple choice questions and specify the correct answers. During an
activity, select an answer to see if it is correct, and receive an overall grade at the end of the question set.
Note reveal Reveal five lines of text individually in your preferred order.
Sentence arrange Arrange up to eight sentences in the proper order. For example, to test understanding,
students can organize the steps of an important process or a story line.
Tiles Use Use between 8 and 35 tiles to hide and reveal an image, Gallery object or text. To add an
image to the activity, drag the image onto the work area, and send it behind the activity by selecting Order >Send to Back from the object drop-down menu. You can also add
text to the front of the tiles to create quiz games and puzzles.
Timeline reveal Present dates in chronological order using a timeline and associated descriptions.
Vortex sort Sort items into two categories, receiving instant feedback with each attempt.

Rolla Public Schools
BS-July 2008 - 12 -
GAMES
Anagram Participants can rearrange letters to form a specific word. You can provide a clue, set a
timer, adjust the speed of the game and include up to five anagrams in one game.
Checkers Checkerboards, complete with playing pieces, are provided. Participants can move the
pieces around on the board and group pieces together as required.
Crossword Generate your own crossword puzzle by entering your Words and Clues into this tool.
When completing the puzzle, participants can enter words using either the On-Screen Keyboard or a pen tool. A Solve button reveals the correct answers. This game is useful for introducing and reviewing vocabulary.
Deck of cards Individual playing cards are available for use in a game or lesson activity.
Dice Interactive dice are available that you can roll with a single touch.
Dominos Individual dominos that you can use in a game or lesson activity are
available in both black and white.
Hot spots Use one of the images that is provided, for example, the world map, a human body, a
grid, a Venn diagram, or add your own image. Set hot spots and a question. Participants touch the area on the image o respond to the question. This activity can be scored. The game is good for reviewing how to label an object and geography. To add an image to the game, drag the image onto the work area and send it behind the game by selecting Order > Send to Back from the object drop-down menu.
Sudoku Participants can complete a Sudoku puzzle, with three levels of difficulty on-screen using
a pen tool or the On-Screen Keyboard. The Hint button adds a number to the puzzle, and the Solve button will show the answers. This game is a fun way to start a math class.
Word biz Participants select letters, in the correct order, from a grid to answer a question you set in
advance. This activity can be timed, and you can modify the speed. You can include up to eight words in one Word biz game, making this game a good choice for reviewing
spelling and vocabulary words.
Word guess Participants guess letters to form a pre-determined word. There are three game formats
available to select from (soccer, basketball and tomato splat). You can include up to 10 words in one game, making this activity useful for review.
Rolla Public Schools
BS-July 2008 - 13 -
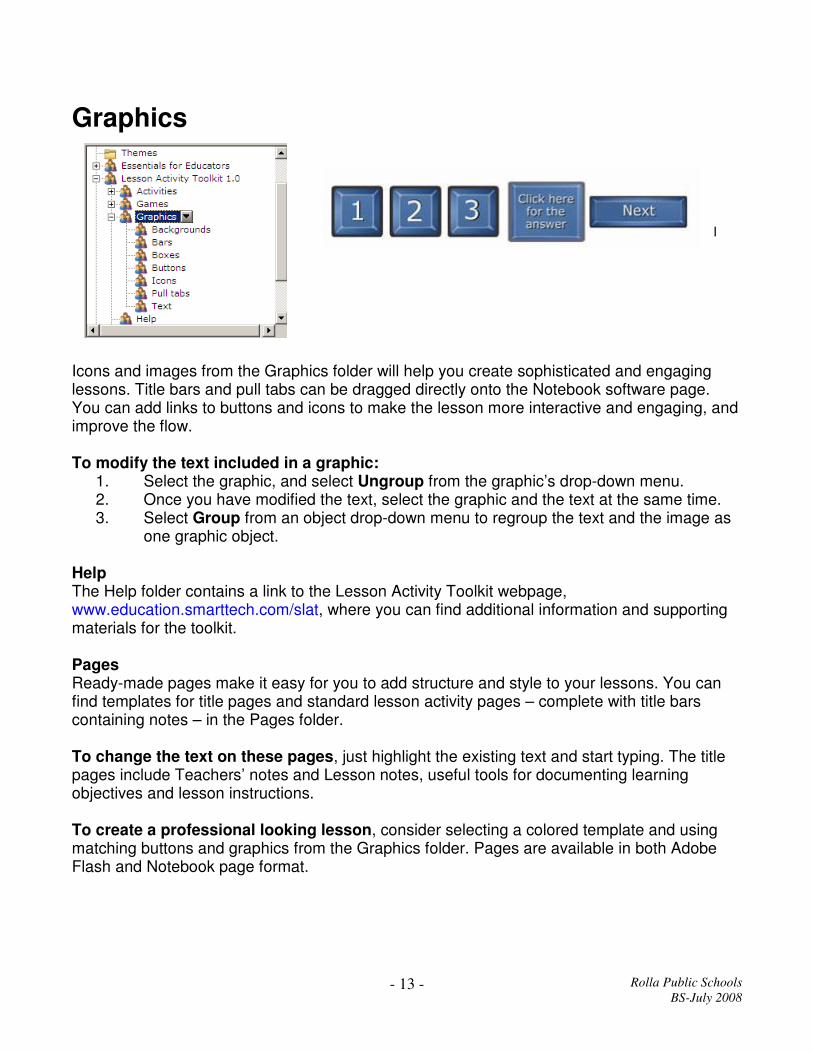
Graphics
I
Icons and images from the Graphics folder will help you create sophisticated and engaging lessons. Title bars and pull tabs can be dragged directly onto the Notebook software page. You can add links to buttons and icons to make the lesson more interactive and engaging, and improve the flow. To modify the text included in a graphic:
1. Select the graphic, and select Ungroup from the graphic’s drop-down menu. 2. Once you have modified the text, select the graphic and the text at the same time. 3. Select Group from an object drop-down menu to regroup the text and the image as
one graphic object. Help The Help folder contains a link to the Lesson Activity Toolkit webpage, www.education.smarttech.com/slat, where you can find additional information and supporting materials for the toolkit. Pages Ready-made pages make it easy for you to add structure and style to your lessons. You can find templates for title pages and standard lesson activity pages – complete with title bars containing notes – in the Pages folder. To change the text on these pages, just highlight the existing text and start typing. The title pages include Teachers’ notes and Lesson notes, useful tools for documenting learning objectives and lesson instructions. To create a professional looking lesson, consider selecting a colored template and using matching buttons and graphics from the Graphics folder. Pages are available in both Adobe Flash and Notebook page format.
Rolla Public Schools
BS-July 2008 - 14 -
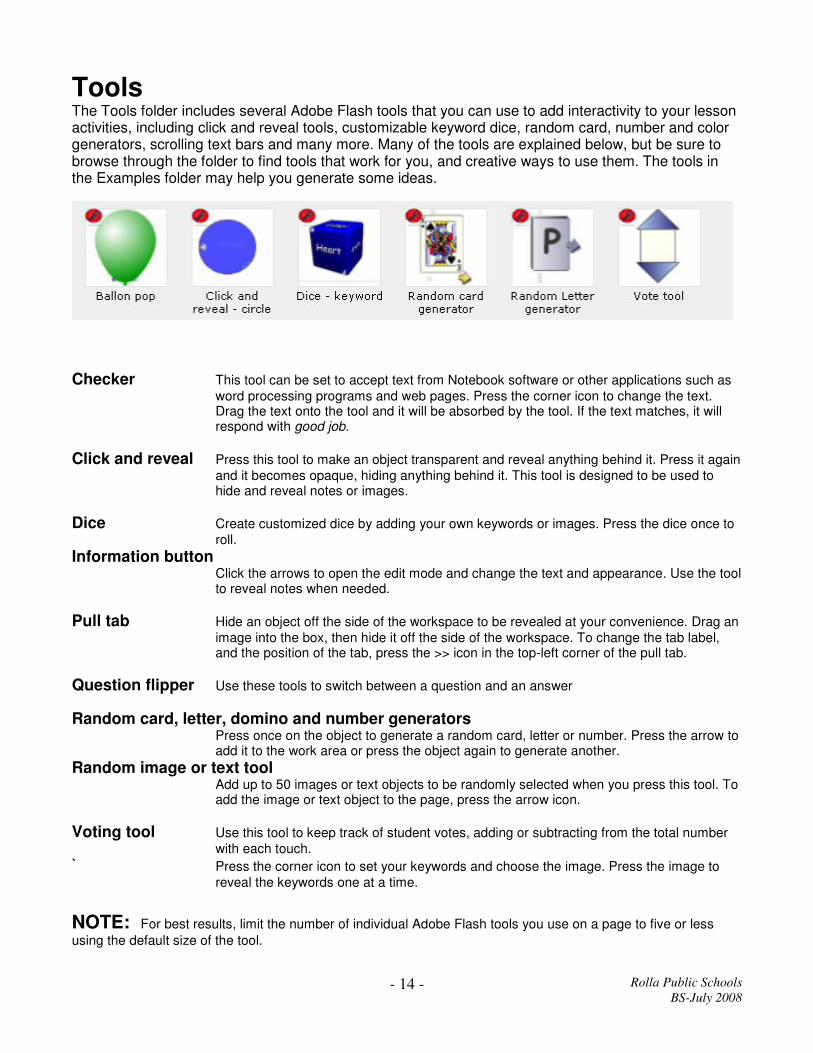
Tools The Tools folder includes several Adobe Flash tools that you can use to add interactivity to your lesson activities, including click and reveal tools, customizable keyword dice, random card, number and color generators, scrolling text bars and many more. Many of the tools are explained below, but be sure to browse through the folder to find tools that work for you, and creative ways to use them. The tools in the Examples folder may help you generate some ideas.
Checker This tool can be set to accept text from Notebook software or other applications such as
word processing programs and web pages. Press the corner icon to change the text. Drag the text onto the tool and it will be absorbed by the tool. If the text matches, it will respond with good job.
Click and reveal Press this tool to make an object transparent and reveal anything behind it. Press it again
and it becomes opaque, hiding anything behind it. This tool is designed to be used to hide and reveal notes or images.
Dice Create customized dice by adding your own keywords or images. Press the dice once to
roll.
Information button
Click the arrows to open the edit mode and change the text and appearance. Use the tool to reveal notes when needed.
Pull tab Hide an object off the side of the workspace to be revealed at your convenience. Drag an
image into the box, then hide it off the side of the workspace. To change the tab label, and the position of the tab, press the >> icon in the top-left corner of the pull tab.
Question flipper Use these tools to switch between a question and an answer
Random card, letter, domino and number generators Press once on the object to generate a random card, letter or number. Press the arrow to
add it to the work area or press the object again to generate another.
Random image or text tool Add up to 50 images or text objects to be randomly selected when you press this tool. To add the image or text object to the page, press the arrow icon.
Voting tool Use this tool to keep track of student votes, adding or subtracting from the total number
with each touch.
` Press the corner icon to set your keywords and choose the image. Press the image to
reveal the keywords one at a time.
NOTE: For best results, limit the number of individual Adobe Flash tools you use on a page to five or less
using the default size of the tool.

Rolla Public Schools
BS-July 2008 - 15 -
SMARTBOARD SKILLS CHECKLIST
Rename a page
Clone a page
Insert a page
Insert a graphic from the internet
Export a lesson
Draw and format shapes
Customize a Pen
Change the page background
color
Convert writing to text
Layer objects
Align objects
Infinite clone an object
Group / ungroup objects
Identify the three types of files in
the gallery
Add page or object to the gallery
Hyperlink to another page
Hyperlink to a website
Insert a sound object
Display dual pages
Pin a page
Create a title page using the
Lesson Activity Toolkit
Use the checker tool
Create a hide and reveal activity
Change the orientation points
Create an interactive review
activity
Smart Notebook print capture an
existing document
Insert an attachment
Insert a flash file
Use the SmartTools (i.e. Spotlight,
magnifier & screen shade)

Rolla Public Schools
BS-July 2008 - 16 -