Embed Size (px)
Citation preview
Sound Install Diesel
Presented by Tim’s Trains
Sound Install Diesel
This presentation will show you the basic steps required to install a sound decoder and speaker
in a diesel locomotive. This particular locomotive is an Atlas Silver
Series HH600 switcher. I will show the basic thought process and techniques I generally use
doing sound installs. Obviously there are hundreds of types and
brands of locomotives and decoders/speakers available. These ideas and techniques can be
adapted for similar installs.

Sound Install Diesel This install involves a
Soundtraxx TSU750. I generally try to fit the
largest speaker and enclosure possible into the available
space. This install will use a Tony’s SuperSonic speaker
and enclosure.
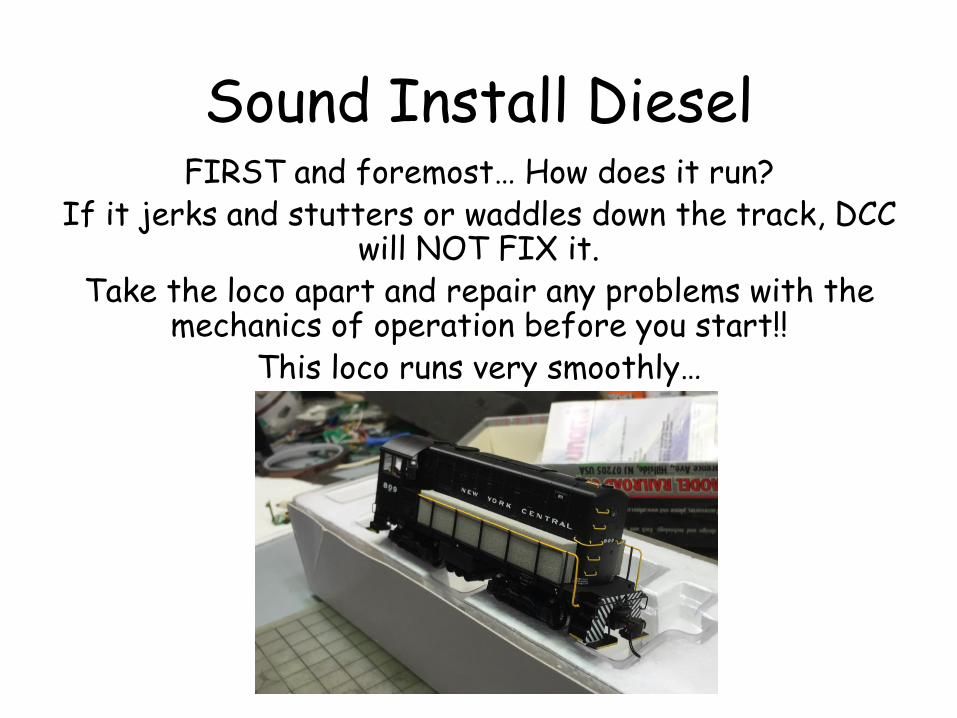
Sound Install Diesel FIRST and foremost… How does it run?
If it jerks and stutters or waddles down the track, DCC will NOT FIX it.
Take the loco apart and repair any problems with the mechanics of operation before you start!!
This loco runs very smoothly…
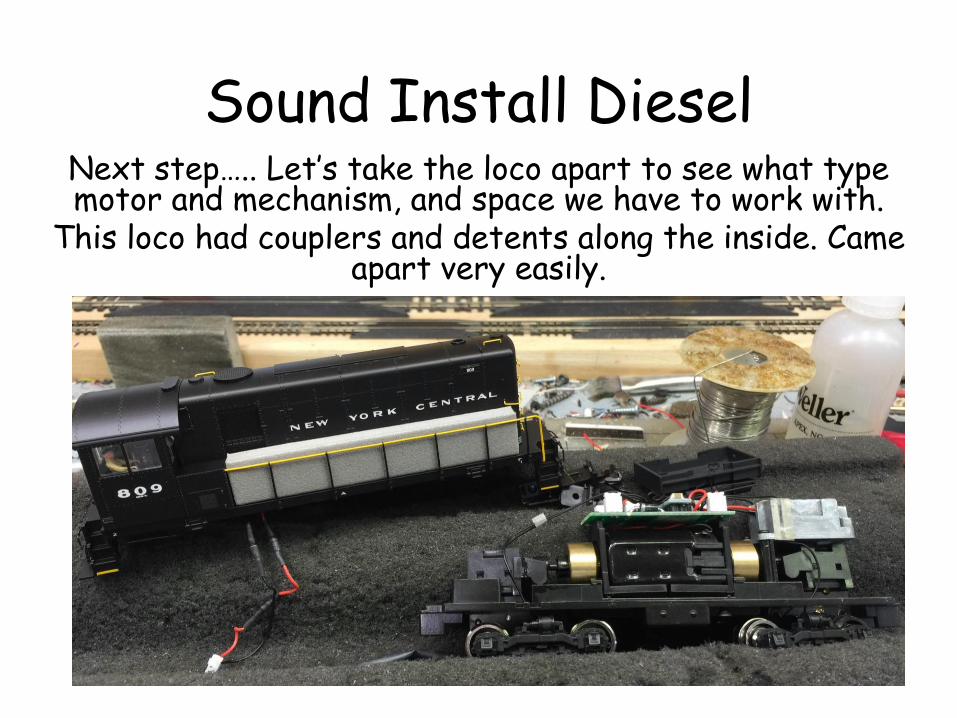
Sound Install Diesel Next step….. Let’s take the loco apart to see what type motor and mechanism, and space we have to work with.
This loco had couplers and detents along the inside. Came apart very easily.
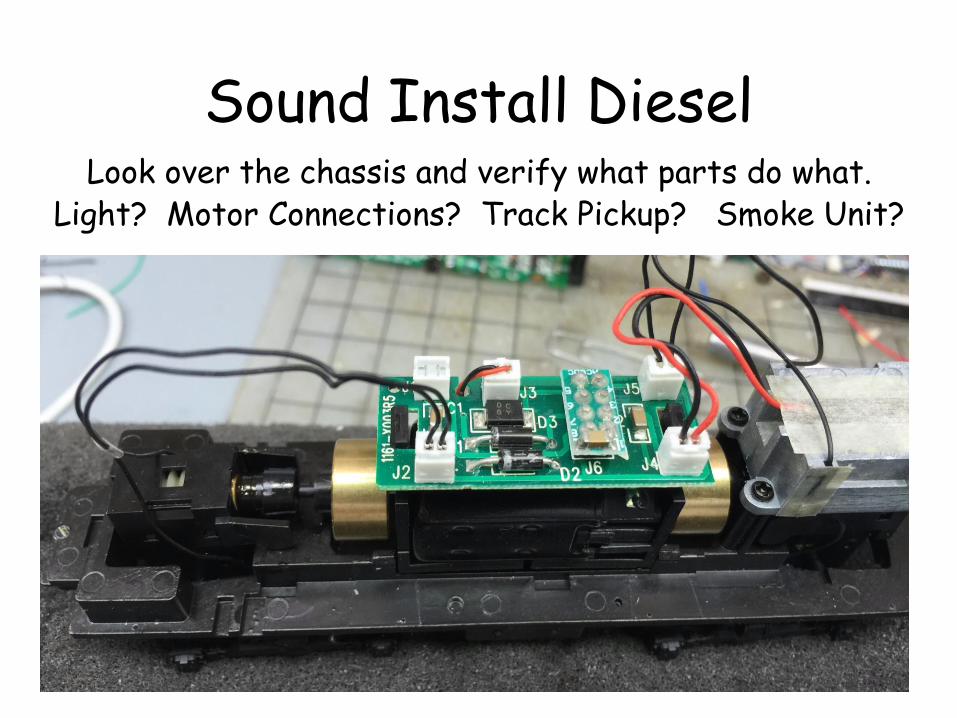
Sound Install Diesel Look over the chassis and verify what parts do what.
Light? Motor Connections? Track Pickup? Smoke Unit?
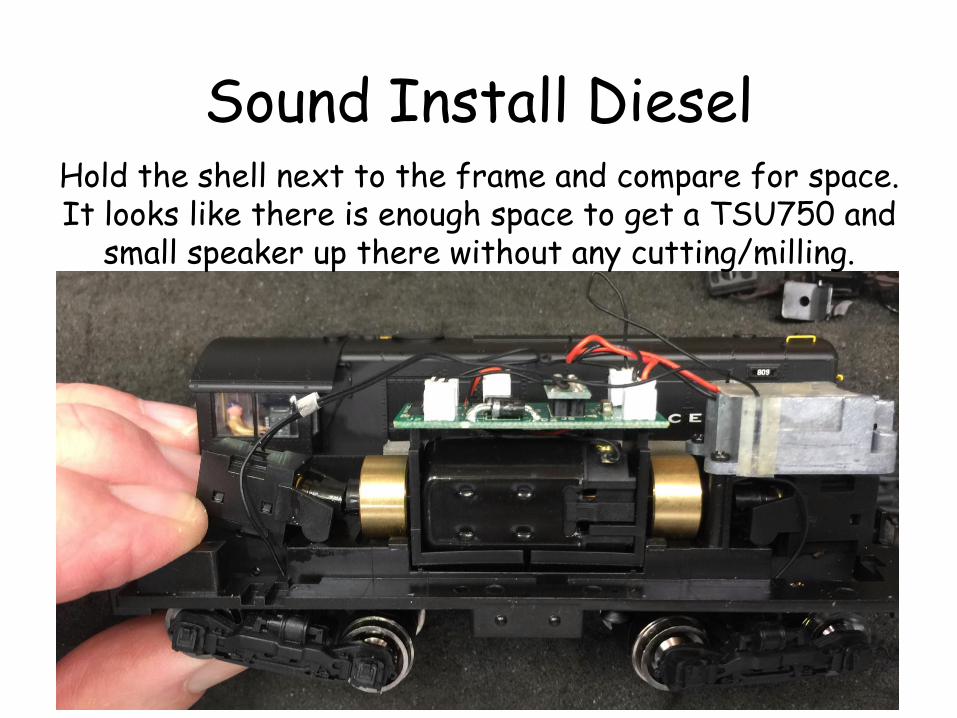
Sound Install Diesel Hold the shell next to the frame and compare for space. It looks like there is enough space to get a TSU750 and
small speaker up there without any cutting/milling.
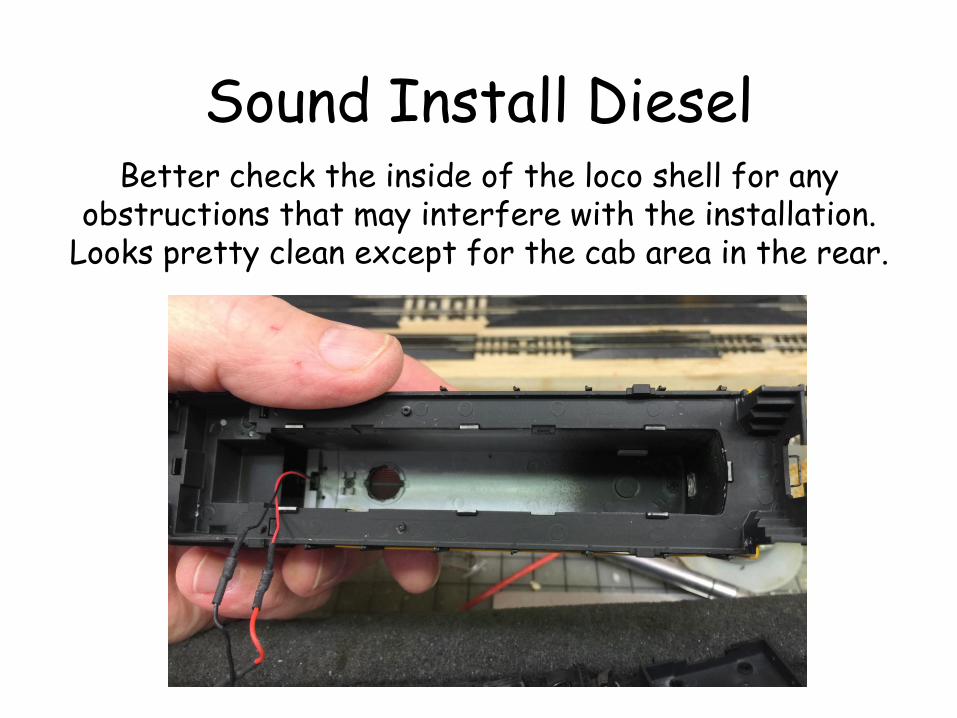
Sound Install Diesel Better check the inside of the loco shell for any
obstructions that may interfere with the installation. Looks pretty clean except for the cab area in the rear.
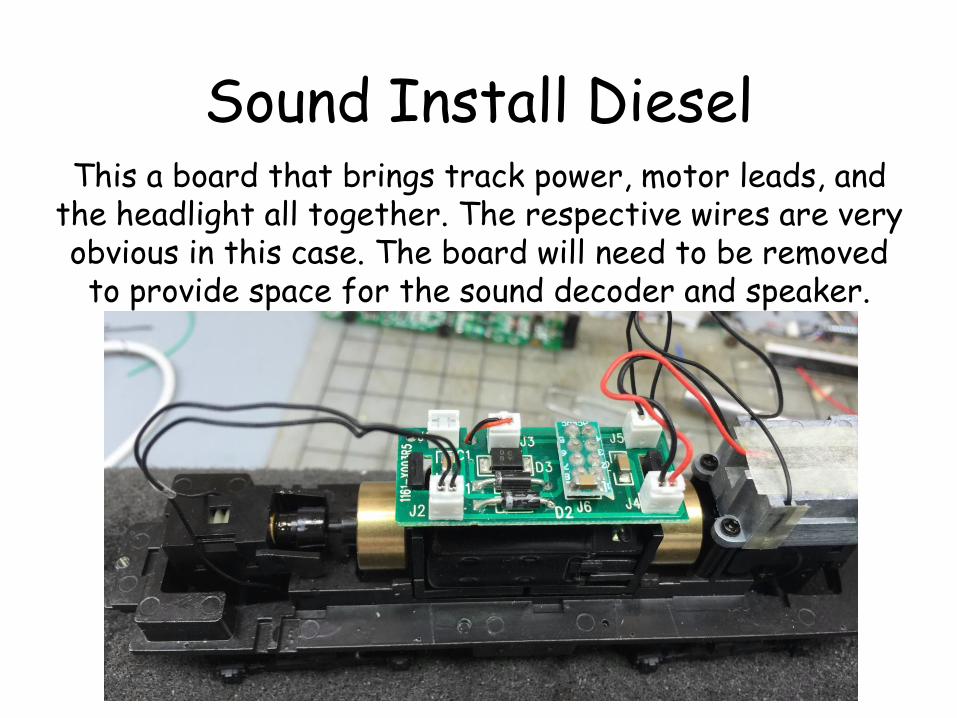
Sound Install Diesel This a board that brings track power, motor leads, and
the headlight all together. The respective wires are very obvious in this case. The board will need to be removed to provide space for the sound decoder and speaker.
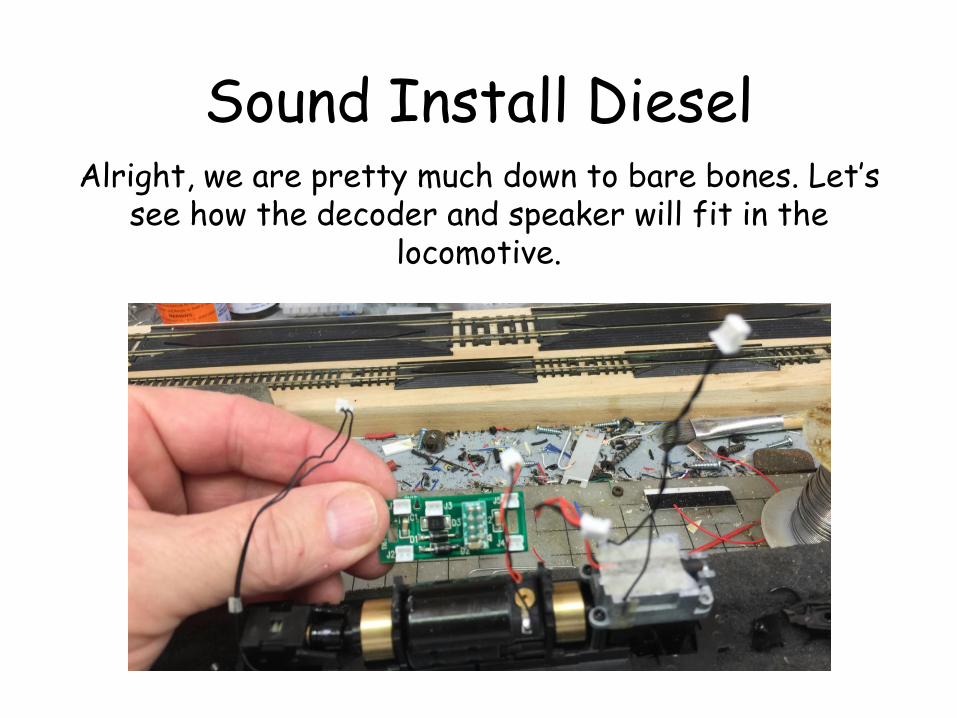
Sound Install Diesel Alright, we are pretty much down to bare bones. Let’s
see how the decoder and speaker will fit in the locomotive.

Sound Install Diesel Remember the top of the light assembly on the right was
very close to the top of the shell. So we need to make sure the speaker will fit without causing any problems. It
cannot sit on the rounded motor or flywheels, so I will have to create a platform for it.
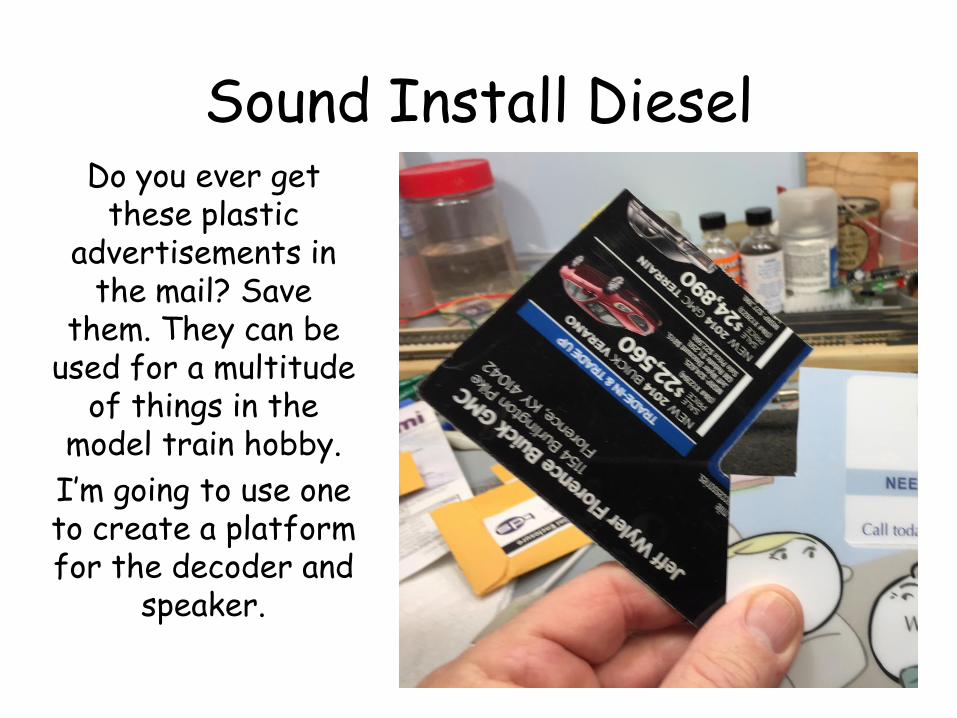
Sound Install Diesel Do you ever get
these plastic advertisements in
the mail? Save them. They can be
used for a multitude of things in the
model train hobby.
I’m going to use one to create a platform for the decoder and
speaker.

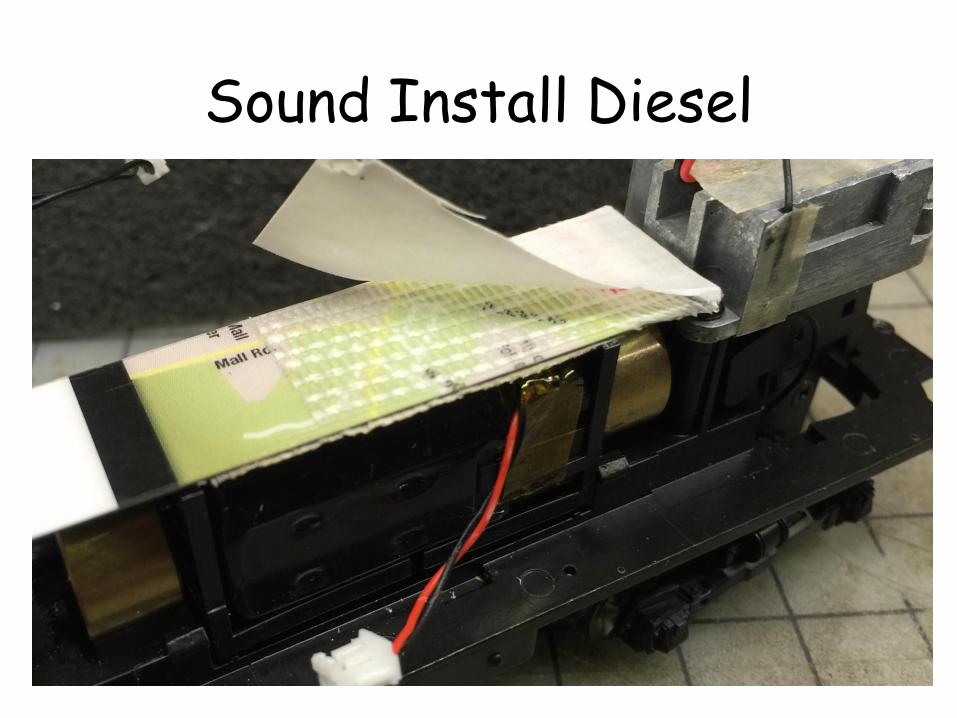
Sound Install Diesel A little bit of measuring and
cutting and we have a platform for our sound equipment. Notice I removed the tabs off the
motor mounts and have applied some
double stick tape to the bottom. Kapton
tape to hold and insulate the motor
leads.

Sound Install Diesel WOW! That looks like it’s going to be
very close. I’ll mount the speaker
and test fit the shell.
Orienting the speaker long ways with the hood will
“lessen” the height at the corners
where clearance may be an issue.

Sound Install Diesel
Sound Install Diesel

Sound Install Diesel Here I have all the components in place. Looking good!! LED bulbs already have resistors in line, don’t need to
add them! OOPS… Capacitor!!

Sound Install Diesel Here I have started soldering and heat shrinking decoder wires to their counterparts on the loco frame. Notice I
did find room and have the capacitor connected.
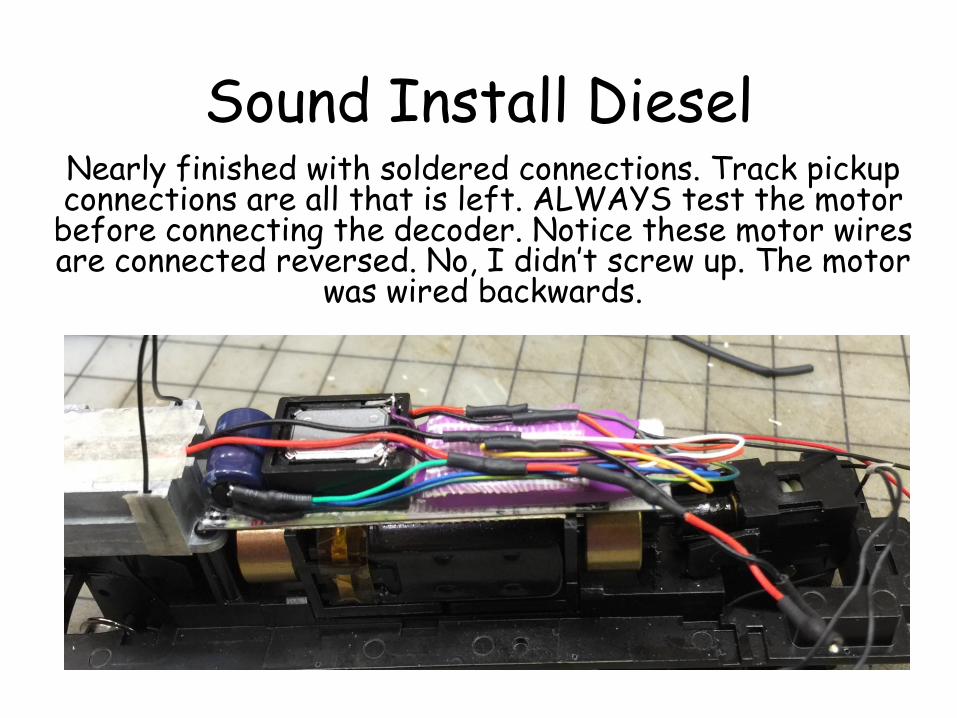
Sound Install Diesel Nearly finished with soldered connections. Track pickup connections are all that is left. ALWAYS test the motor
before connecting the decoder. Notice these motor wires are connected reversed. No, I didn’t screw up. The motor
was wired backwards.

Sound Install Diesel There’s the
finished tender. There’s a nice
opening for the sound to get out directed right at the locomotive.
A little black paint or permanent
marker and it will hardly be
noticeable.

Sound Install Diesel Finished up by securing the loose wires with dental floss and kapton tape. This is a very snug fit. I don’t want any
stray wires getting pinched.
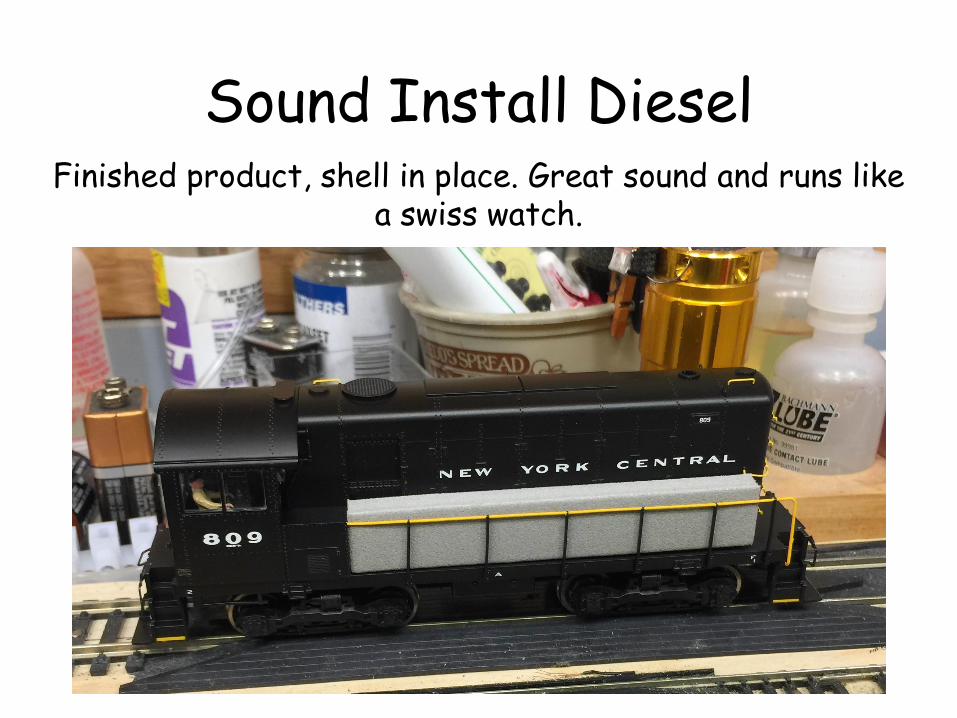
Sound Install Diesel Finished product, shell in place. Great sound and runs like
a swiss watch.