Embed Size (px)
Citation preview
Spring MVC
i
About the Tutorial
Spring MVC Framework is an open source Java platform that provides comprehensive
infrastructure support for developing robust Java based Web applications very easily and
very rapidly.
Spring Framework was initially written by Rod Johnson and was first released under the
Apache 2.0 license in June 2003. This tutorial is written based on the Spring Framework
Version 4.1.6 released in March 2015.
Audience
This tutorial is designed for Java programmers with a need to understand the Spring MVC
Framework in detail along with its architecture and actual usage. This tutorial is intended
to make you comfortable in getting started with the Spring MVC Framework and its various
functions.
Prerequisites
This tutorial is designed for Java programmers with a need to understand the Spring MVC
Framework in detail along with its architecture and actual usage. This tutorial will bring
you at the intermediate level of expertise from where you can take yourself to a higher
level of expertise.
Copyright and Disclaimer
Copyright 2017 by Tutorials Point (I) Pvt. Ltd.
All the content and graphics published in this e-book are the property of Tutorials Point (I)
Pvt. Ltd. The user of this e-book is prohibited to reuse, retain, copy, distribute or republish
any contents or a part of contents of this e-book in any manner without written consent
of the publisher.
We strive to update the contents of our website and tutorials as timely and as precisely as
possible, however, the contents may contain inaccuracies or errors. Tutorials Point (I) Pvt.
Ltd. provides no guarantee regarding the accuracy, timeliness or completeness of our
website or its contents including this tutorial. If you discover any errors on our website or
in this tutorial, please notify us at [email protected]
Spring MVC
ii
Table of Contents
About the Tutorial ............................................................................................................................................ i Audience ........................................................................................................................................................... i Prerequisites ..................................................................................................................................................... i Copyright and Disclaimer ................................................................................................................................. i Table of Contents ............................................................................................................................................ ii
1. Spring MVC – Overview ............................................................................................................................ 1 The DispatcherServlet ..................................................................................................................................... 1 Required Configuration ................................................................................................................................... 2 Defining a Controller ....................................................................................................................................... 4 Creating JSP Views ........................................................................................................................................... 5
2. Spring MVC – Environment Setup ............................................................................................................. 6
3. Spring MVC – Hello World ....................................................................................................................... 10
SPRING MVC – FORM HANDLING .............................................................................................. 14
4. Spring MVC – Form Handling .................................................................................................................. 15
5. Spring MVC - Page Redirection ................................................................................................................ 20
6. Spring MVC – Static Pages ....................................................................................................................... 23
SPRING MVC – FORM TAG LIBRARY .......................................................................................... 27
7. Spring MVC – Text Box ............................................................................................................................ 28
8. Spring MVC – Password .......................................................................................................................... 33
9. Spring MVC – TextArea ........................................................................................................................... 38
10. Spring MVC – Checkbox .......................................................................................................................... 43
11. Spring MVC – Checkboxes ....................................................................................................................... 49
12. Spring MVC – RadioButton ...................................................................................................................... 56
13. Spring MVC – RadioButtons .................................................................................................................... 64
14. Spring MVC – Dropdown ......................................................................................................................... 72
15. Spring MVC – Listbox .............................................................................................................................. 81
16. Spring MVC – Hidden Field ...................................................................................................................... 91
17. Spring MVC – Error Handling ................................................................................................................... 96
18. Spring MVC – File Upload ...................................................................................................................... 104
Spring MVC
iii
SPRING MVC – HANDLER MAPPING ........................................................................................ 110
19. Spring MVC – Bean Name URL Handler Mapping .................................................................................. 111
20. Spring MVC – Controller Class Name Handler Mapping ........................................................................ 117
21. Spring MVC – Simple URL Handler Mapping .......................................................................................... 123
SPRING MVC – CONTROLLER................................................................................................... 128
22. Spring MVC – Multi Action Controller ................................................................................................... 129
23. Spring MVC – Properties Method Name Resolver ................................................................................. 134
24. Spring MVC – Parameter Method Name Resolver ................................................................................. 139
25. Spring MVC – Parameterizable View Controller .................................................................................... 143
SPRING MVC – VIEW RESOLVER .............................................................................................. 147
26. Spring MVC – Internal Resource View Resolver..................................................................................... 148
27. Spring MVC – XML View Resolver ......................................................................................................... 152
28. Spring MVC – Resource Bundle View Resolver ...................................................................................... 156
29. Spring MVC – Multiple Resolver Mapping ............................................................................................. 159
SPRING MVC ─ INTEGRATION.................................................................................................. 163
30. Spring MVC ─ Hibernate Validator ........................................................................................................ 164
31. Spring MVC – Generate RSS Feed .......................................................................................................... 171
32. Spring MVC – Generate XML Example ................................................................................................... 176
33. Spring MVC – Generate JSON ................................................................................................................ 179
34. Spring MVC – Generate Excel ................................................................................................................ 182
35. Spring MVC – Generate PDF .................................................................................................................. 186
36. Spring MVC – Integrate LOG4J .............................................................................................................. 190
Spring MVC
1
The Spring Web MVC framework provides a model-view-controller architecture and ready
components that can be used to develop flexible and loosely coupled web applications.
The MVC pattern results in separating the different aspects of the application (input logic,
business logic, and UI logic), while providing a loose coupling between these elements.
The Model encapsulates the application data and in general, they will consist of POJO.
The View is responsible for rendering the model data and in general, it generates
HTML Output that the client's browser can interpret.
The Controller is responsible for processing User Requests and Building
Appropriate Model and passes it to the view for rendering.
The DispatcherServlet
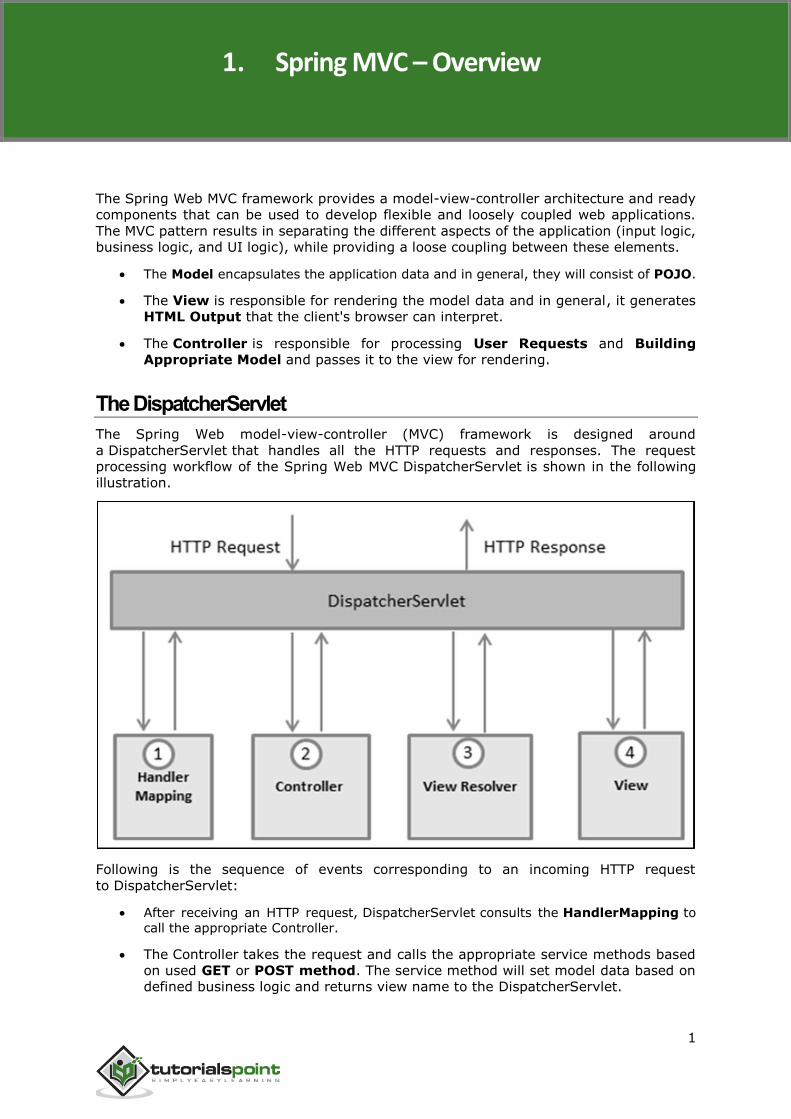
The Spring Web model-view-controller (MVC) framework is designed around
a DispatcherServlet that handles all the HTTP requests and responses. The request
processing workflow of the Spring Web MVC DispatcherServlet is shown in the following
illustration.
Following is the sequence of events corresponding to an incoming HTTP request
to DispatcherServlet:
After receiving an HTTP request, DispatcherServlet consults the HandlerMapping to
call the appropriate Controller.
The Controller takes the request and calls the appropriate service methods based
on used GET or POST method. The service method will set model data based on
defined business logic and returns view name to the DispatcherServlet.
1. Spring MVC – Overview
Spring MVC
2
The DispatcherServlet will take help from ViewResolver to pick up the defined
view for the request.
Once view is finalized, The DispatcherServlet passes the model data to the view,
which is finally rendered, on the browser.
All the above-mentioned components, i.e. HandlerMapping, Controller and ViewResolver are
parts of WebApplicationContext, which is an extension of the plain ApplicationContext
with some extra features necessary for web applications.
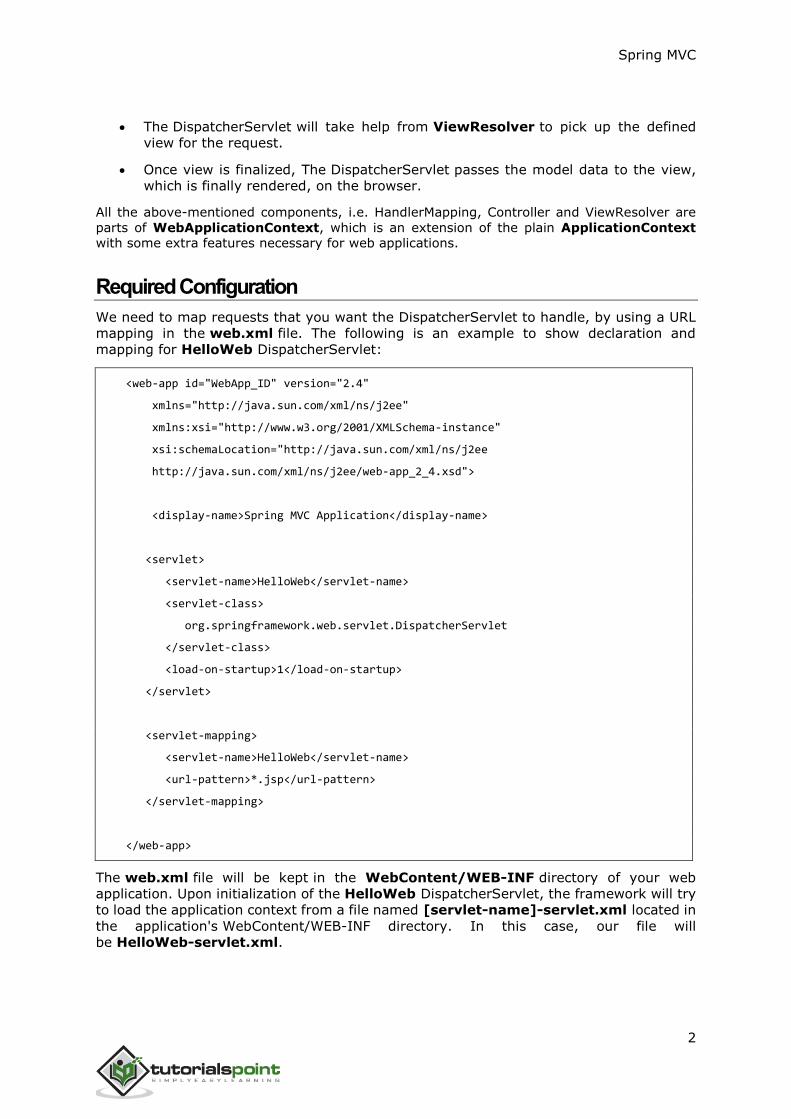
Required Configuration
We need to map requests that you want the DispatcherServlet to handle, by using a URL
mapping in the web.xml file. The following is an example to show declaration and
mapping for HelloWeb DispatcherServlet:
<web-app id="WebApp_ID" version="2.4"
xmlns="http://java.sun.com/xml/ns/j2ee"
xmlns:xsi="http://www.w3.org/2001/XMLSchema-instance"
xsi:schemaLocation="http://java.sun.com/xml/ns/j2ee
http://java.sun.com/xml/ns/j2ee/web-app_2_4.xsd">
<display-name>Spring MVC Application</display-name>
<servlet>
<servlet-name>HelloWeb</servlet-name>
<servlet-class>
org.springframework.web.servlet.DispatcherServlet
</servlet-class>
<load-on-startup>1</load-on-startup>
</servlet>
<servlet-mapping>
<servlet-name>HelloWeb</servlet-name>
<url-pattern>*.jsp</url-pattern>
</servlet-mapping>
</web-app>
The web.xml file will be kept in the WebContent/WEB-INF directory of your web
application. Upon initialization of the HelloWeb DispatcherServlet, the framework will try
to load the application context from a file named [servlet-name]-servlet.xml located in
the application's WebContent/WEB-INF directory. In this case, our file will
be HelloWeb-servlet.xml.

Spring MVC
3
Next, the <servlet-mapping> tag indicates which URLs will be handled by which
DispatcherServlet. Here, all the HTTP requests ending with .jsp will be handled by
the HelloWeb DispatcherServlet.
If you do not want to go with the default filename as [servlet-name]-servlet.xml and
default location as WebContent/WEB-INF, you can customize this file name and location
by adding the servlet listener ContextLoaderListener in your web.xml file as follows:
<web-app...>
<!-------- DispatcherServlet definition goes here----->
....
<context-param>
<param-name>contextConfigLocation</param-name>
<param-value>/WEB-INF/HelloWeb-servlet.xml</param-value>
</context-param>
<listener>
<listener-class>
org.springframework.web.context.ContextLoaderListener
</listener-class>
</listener>
</web-app>
Now, let us check the required configuration for HelloWeb-servlet.xml file, placed in
your web application's WebContent/WEB-INF directory.
<beans xmlns="http://www.springframework.org/schema/beans"
xmlns:context="http://www.springframework.org/schema/context"
xmlns:xsi="http://www.w3.org/2001/XMLSchema-instance"
xsi:schemaLocation="
http://www.springframework.org/schema/beans
http://www.springframework.org/schema/beans/spring-beans-3.0.xsd
http://www.springframework.org/schema/context
http://www.springframework.org/schema/context/spring-context-3.0.xsd">
<context:component-scan base-package="com.tutorialspoint" />
<bean class="org.springframework.web.servlet.view.InternalResourceViewResolver">
<property name="prefix" value="/WEB-INF/jsp/" />
<property name="suffix" value=".jsp" />
</bean>
</beans>
Spring MVC
4
Following are some important points about HelloWeb-servlet.xml file:
The [servlet-name]-servlet.xml file will be used to create the beans defined,
overriding the definitions of any beans defined with the same name in the global
scope.
The <context:component-scan...> tag will be used to activate the Spring MVC
annotation scanning capability, which allows to make use of annotations like
@Controller and @RequestMapping, etc.
The InternalResourceViewResolver will have rules defined to resolve the view
names. As per the above-defined rule, a logical view named hello is delegated to
a view implementation located at /WEB-INF/jsp/hello.jsp.
Let us now understand how to create the actual components i.e., Controller, Model and
View.
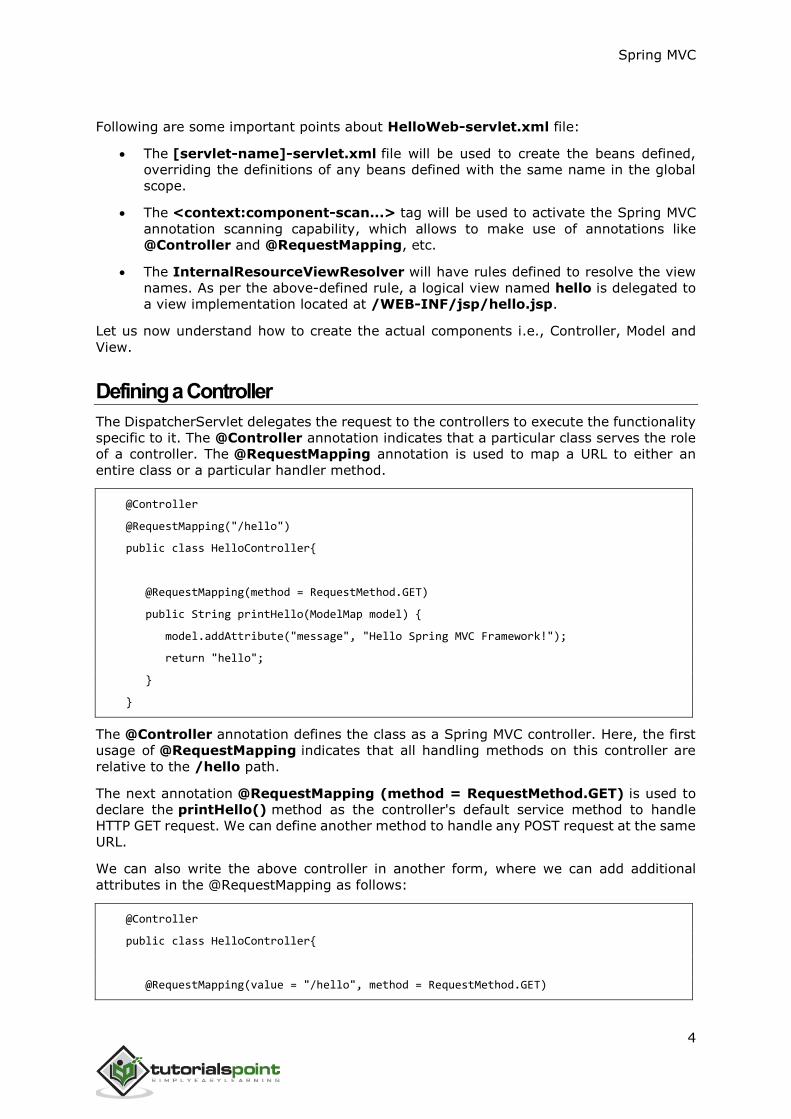
Defining a Controller
The DispatcherServlet delegates the request to the controllers to execute the functionality
specific to it. The @Controller annotation indicates that a particular class serves the role
of a controller. The @RequestMapping annotation is used to map a URL to either an
entire class or a particular handler method.
@Controller
@RequestMapping("/hello")
public class HelloController{
@RequestMapping(method = RequestMethod.GET)
public String printHello(ModelMap model) {
model.addAttribute("message", "Hello Spring MVC Framework!");
return "hello";
}
}
The @Controller annotation defines the class as a Spring MVC controller. Here, the first
usage of @RequestMapping indicates that all handling methods on this controller are
relative to the /hello path.
The next annotation @RequestMapping (method = RequestMethod.GET) is used to
declare the printHello() method as the controller's default service method to handle
HTTP GET request. We can define another method to handle any POST request at the same
URL.
We can also write the above controller in another form, where we can add additional
attributes in the @RequestMapping as follows:
@Controller
public class HelloController{
@RequestMapping(value = "/hello", method = RequestMethod.GET)
Spring MVC
5
public String printHello(ModelMap model) {
model.addAttribute("message", "Hello Spring MVC Framework!");
return "hello";
}
}
The value attribute indicates the URL to which the handler method is mapped and
the method attribute defines the service method to handle the HTTP GET request.
Following are some important points to be noted regarding the controller defined above:
You will define the required business logic inside a service method. You can call
another method inside this method as per the requirement.
Based on the business logic defined, you will create a model within this method.
You can set different model attributes and these attributes will be accessed by the
view to present the result. This example creates a model with its attribute
"message".
A defined service method can return a String, which contains the name of
the view to be used to render the model. This example returns "hello" as the logical
view name.
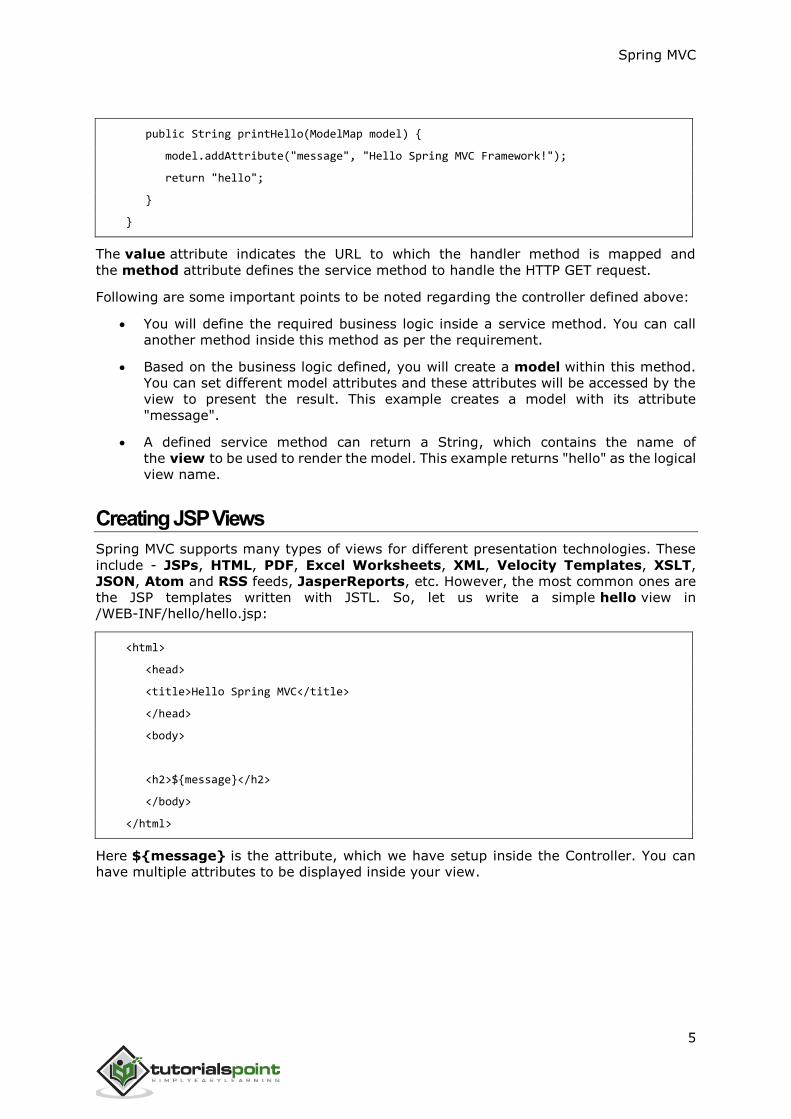
Creating JSP Views
Spring MVC supports many types of views for different presentation technologies. These
include - JSPs, HTML, PDF, Excel Worksheets, XML, Velocity Templates, XSLT,
JSON, Atom and RSS feeds, JasperReports, etc. However, the most common ones are
the JSP templates written with JSTL. So, let us write a simple hello view in
/WEB-INF/hello/hello.jsp:
<html>
<head>
<title>Hello Spring MVC</title>
</head>
<body>
<h2>${message}</h2>
</body>
</html>
Here ${message} is the attribute, which we have setup inside the Controller. You can
have multiple attributes to be displayed inside your view.
Spring MVC
6
This chapter will guide us on how to prepare a development environment to start your
work with the Spring Framework. This chapter will also teach us how to setup JDK,
Tomcat and Eclipse on your machine before you setup the Spring Framework:
Step 1 - Setup Java Development Kit (JDK)
You can download the latest version from Oracle's Java site: Java SE Downloads. You will
find instructions for installing JDK in downloaded files, follow the given instructions to
install and configure the setup. Once done with the setup, set PATH and JAVA_HOME
environment variables to refer to the directory that contains java and javac, typically
java_install_dir/bin and java_install_dir respectively.
If you are running Windows and installed the JDK in C:\jdk1.6.0_15, you would have to
put the following line in your C:\autoexec.bat file.
set PATH=C:\jdk1.6.0_15\bin;%PATH%
set JAVA_HOME=C:\jdk1.6.0_15
Alternatively, on Windows NT/2000/XP, you could also right-click on My Computer select
Properties Advanced Environment Variables. Then, you would update the PATH value
and click on the OK button.
On UNIX (Solaris, Linux, etc.), if the SDK is installed in /usr/local/jdk1.6.0_15 and you
use the C shell, then you should key-in the following command into your .cshrc file.
setenv PATH /usr/local/jdk1.6.0_15/bin:$PATH
setenv JAVA_HOME /usr/local/jdk1.6.0_15
Alternatively, if you use an Integrated Development Environment (IDE) like Borland
JBuilder, Eclipse, IntelliJ IDEA or Sun ONE Studio, then compile and run a simple
program to confirm that the IDE knows where Java is installed, otherwise do proper setup
as given in the documents of IDE.
Step 2 - Install Apache Common Logging API
You can download the latest version of Apache Commons Logging API from –
http://commons.apache.org/logging/. Once you have downloaded the installation, unpack
the binary distribution into a convenient location.
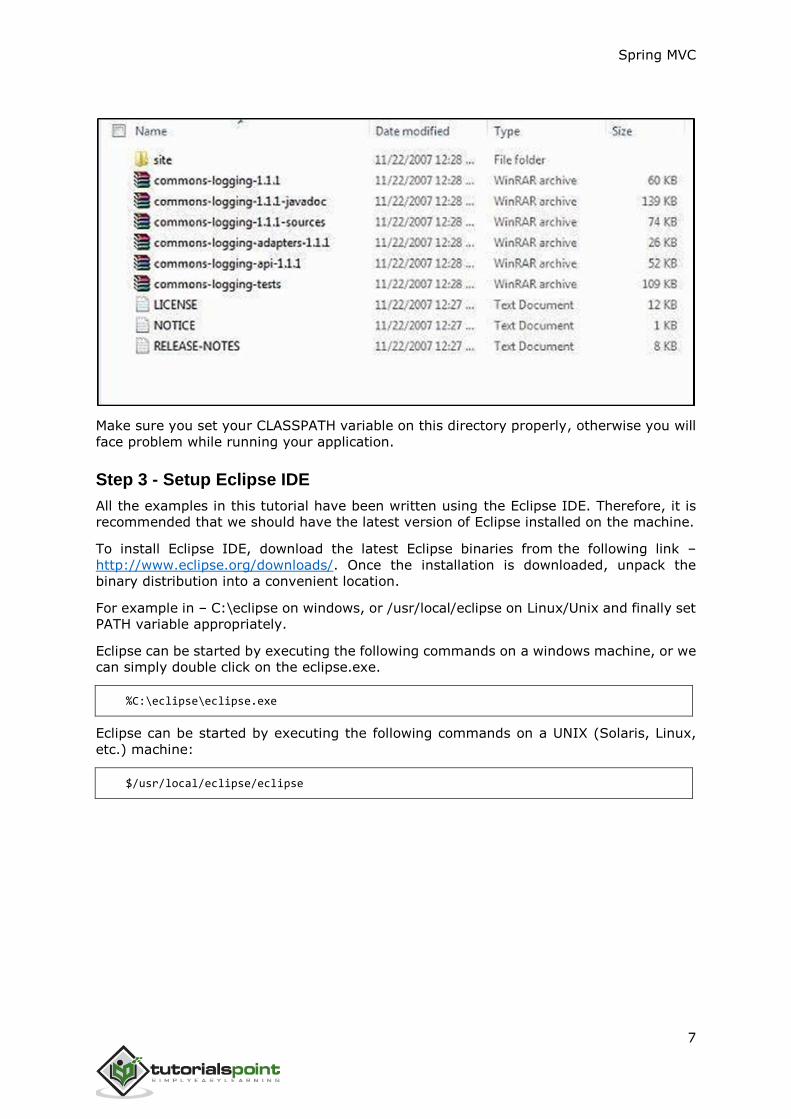
For example – C:\commons-logging-1.1.1 on windows, or /usr/local/commons-logging-
1.1.1 on Linux/Unix. This directory will have the following jar files and other supporting
documents, etc.
2. Spring MVC – Environment Setup
Spring MVC
7
Make sure you set your CLASSPATH variable on this directory properly, otherwise you will
face problem while running your application.
Step 3 - Setup Eclipse IDE
All the examples in this tutorial have been written using the Eclipse IDE. Therefore, it is
recommended that we should have the latest version of Eclipse installed on the machine.
To install Eclipse IDE, download the latest Eclipse binaries from the following link –
http://www.eclipse.org/downloads/. Once the installation is downloaded, unpack the
binary distribution into a convenient location.
For example in – C:\eclipse on windows, or /usr/local/eclipse on Linux/Unix and finally set
PATH variable appropriately.
Eclipse can be started by executing the following commands on a windows machine, or we
can simply double click on the eclipse.exe.
%C:\eclipse\eclipse.exe
Eclipse can be started by executing the following commands on a UNIX (Solaris, Linux,
etc.) machine:
$/usr/local/eclipse/eclipse

Spring MVC
8
After a successful startup, if everything is fine, then it should display the following screen.
Step 4 - Setup Spring Framework Libraries
Now if everything is fine, then we can proceed to setup the Spring Framework. Following
are the steps to download and install the framework on the machine.
Make a choice whether you want to install Spring on Windows or UNIX and then
proceed to the next step to download .zip file for windows and .tz file for Unix.
Download the latest version of Spring framework binaries from –
http://repo.spring.io/release/org/springframework/spring.
We have downloaded the spring-framework-4.3.1.RELEASE-dist.zip on the
Windows Machine and when we unzip the downloaded file, it will give out the
directory structure inside – E:\spring as follows.
Spring MVC
9
You will find all the Spring libraries in the directory E:\spring\libs. Make sure you set
your CLASSPATH variable on this directory properly; otherwise, we will face a problem
while running the application. If we use Eclipse, then it is not required to set the
CLASSPATH because all the setting will be done through Eclipse.
Once you are done with this last step, you are ready to proceed for your first Spring
Example, which you will see in the next chapter.
Spring MVC
10
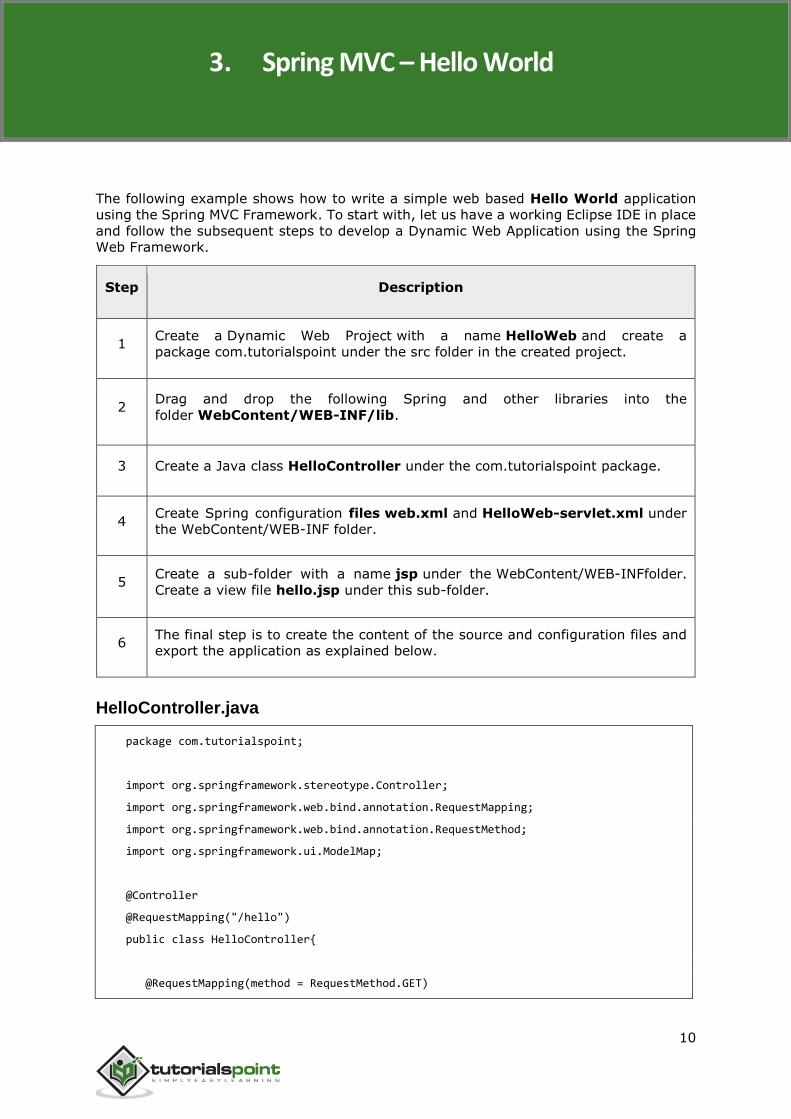
The following example shows how to write a simple web based Hello World application
using the Spring MVC Framework. To start with, let us have a working Eclipse IDE in place
and follow the subsequent steps to develop a Dynamic Web Application using the Spring
Web Framework.
Step Description
1 Create a Dynamic Web Project with a name HelloWeb and create a
package com.tutorialspoint under the src folder in the created project.
2 Drag and drop the following Spring and other libraries into the
folder WebContent/WEB-INF/lib.
3 Create a Java class HelloController under the com.tutorialspoint package.
4 Create Spring configuration files web.xml and HelloWeb-servlet.xml under
the WebContent/WEB-INF folder.
5 Create a sub-folder with a name jsp under the WebContent/WEB-INFfolder.
Create a view file hello.jsp under this sub-folder.
6 The final step is to create the content of the source and configuration files and
export the application as explained below.
HelloController.java
package com.tutorialspoint;
import org.springframework.stereotype.Controller;
import org.springframework.web.bind.annotation.RequestMapping;
import org.springframework.web.bind.annotation.RequestMethod;
import org.springframework.ui.ModelMap;
@Controller
@RequestMapping("/hello")
public class HelloController{
@RequestMapping(method = RequestMethod.GET)
3. Spring MVC – Hello World
Spring MVC
11
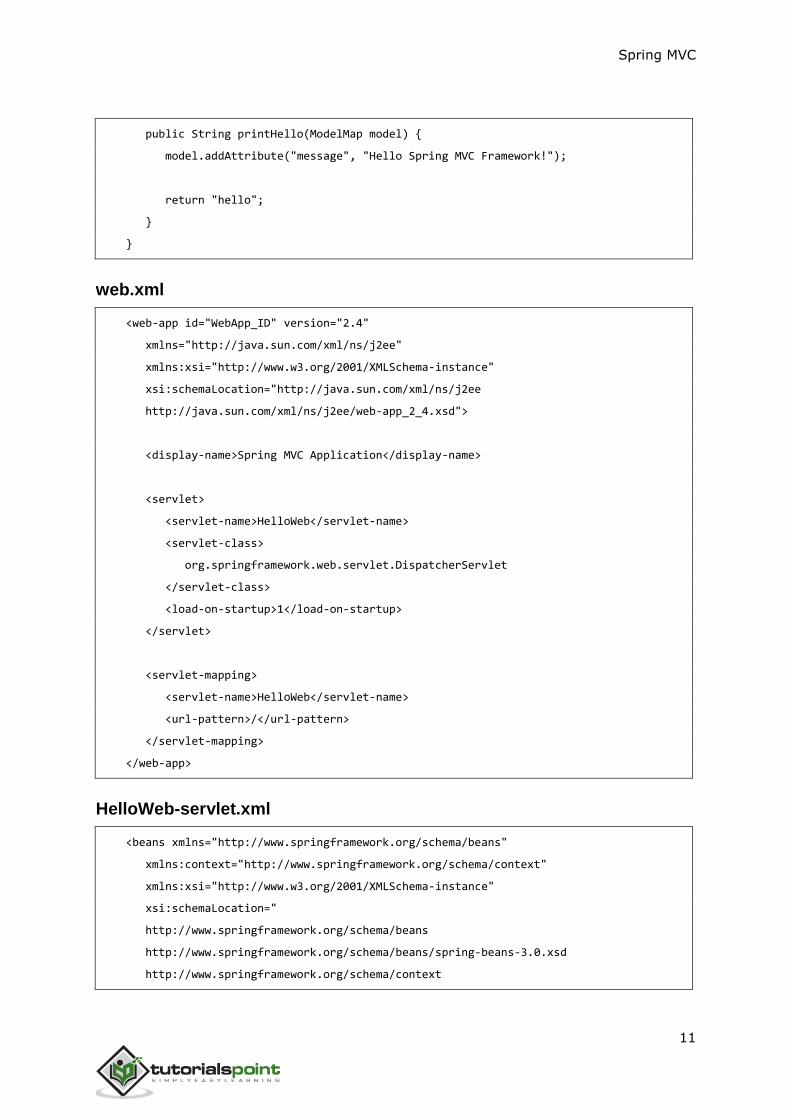
public String printHello(ModelMap model) {
model.addAttribute("message", "Hello Spring MVC Framework!");
return "hello";
}
}
web.xml
<web-app id="WebApp_ID" version="2.4"
xmlns="http://java.sun.com/xml/ns/j2ee"
xmlns:xsi="http://www.w3.org/2001/XMLSchema-instance"
xsi:schemaLocation="http://java.sun.com/xml/ns/j2ee
http://java.sun.com/xml/ns/j2ee/web-app_2_4.xsd">
<display-name>Spring MVC Application</display-name>
<servlet>
<servlet-name>HelloWeb</servlet-name>
<servlet-class>
org.springframework.web.servlet.DispatcherServlet
</servlet-class>
<load-on-startup>1</load-on-startup>
</servlet>
<servlet-mapping>
<servlet-name>HelloWeb</servlet-name>
<url-pattern>/</url-pattern>
</servlet-mapping>
</web-app>
HelloWeb-servlet.xml
<beans xmlns="http://www.springframework.org/schema/beans"
xmlns:context="http://www.springframework.org/schema/context"
xmlns:xsi="http://www.w3.org/2001/XMLSchema-instance"
xsi:schemaLocation="
http://www.springframework.org/schema/beans
http://www.springframework.org/schema/beans/spring-beans-3.0.xsd
http://www.springframework.org/schema/context
Spring MVC
12
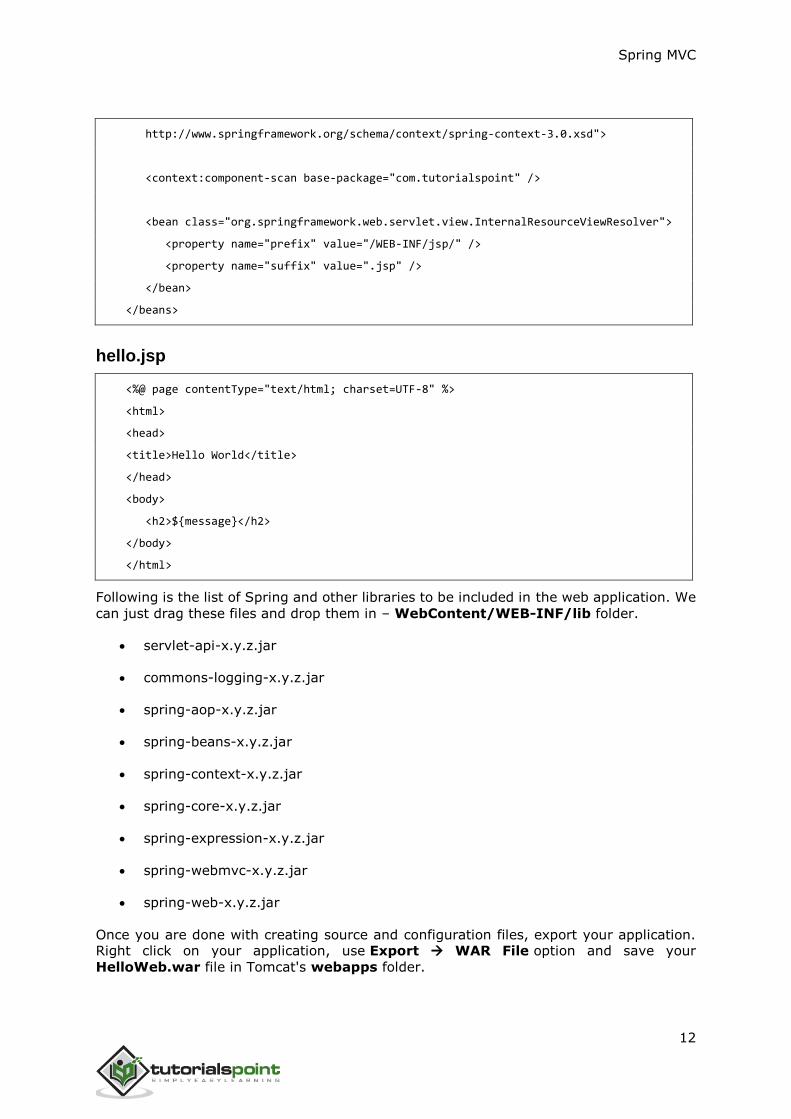
http://www.springframework.org/schema/context/spring-context-3.0.xsd">
<context:component-scan base-package="com.tutorialspoint" />
<bean class="org.springframework.web.servlet.view.InternalResourceViewResolver">
<property name="prefix" value="/WEB-INF/jsp/" />
<property name="suffix" value=".jsp" />
</bean>
</beans>
hello.jsp
<%@ page contentType="text/html; charset=UTF-8" %>
<html>
<head>
<title>Hello World</title>
</head>
<body>
<h2>${message}</h2>
</body>
</html>
Following is the list of Spring and other libraries to be included in the web application. We
can just drag these files and drop them in – WebContent/WEB-INF/lib folder.
servlet-api-x.y.z.jar
commons-logging-x.y.z.jar
spring-aop-x.y.z.jar
spring-beans-x.y.z.jar
spring-context-x.y.z.jar
spring-core-x.y.z.jar
spring-expression-x.y.z.jar
spring-webmvc-x.y.z.jar
spring-web-x.y.z.jar
Once you are done with creating source and configuration files, export your application. Right click on your application, use Export WAR File option and save your
HelloWeb.war file in Tomcat's webapps folder.
Spring MVC
13
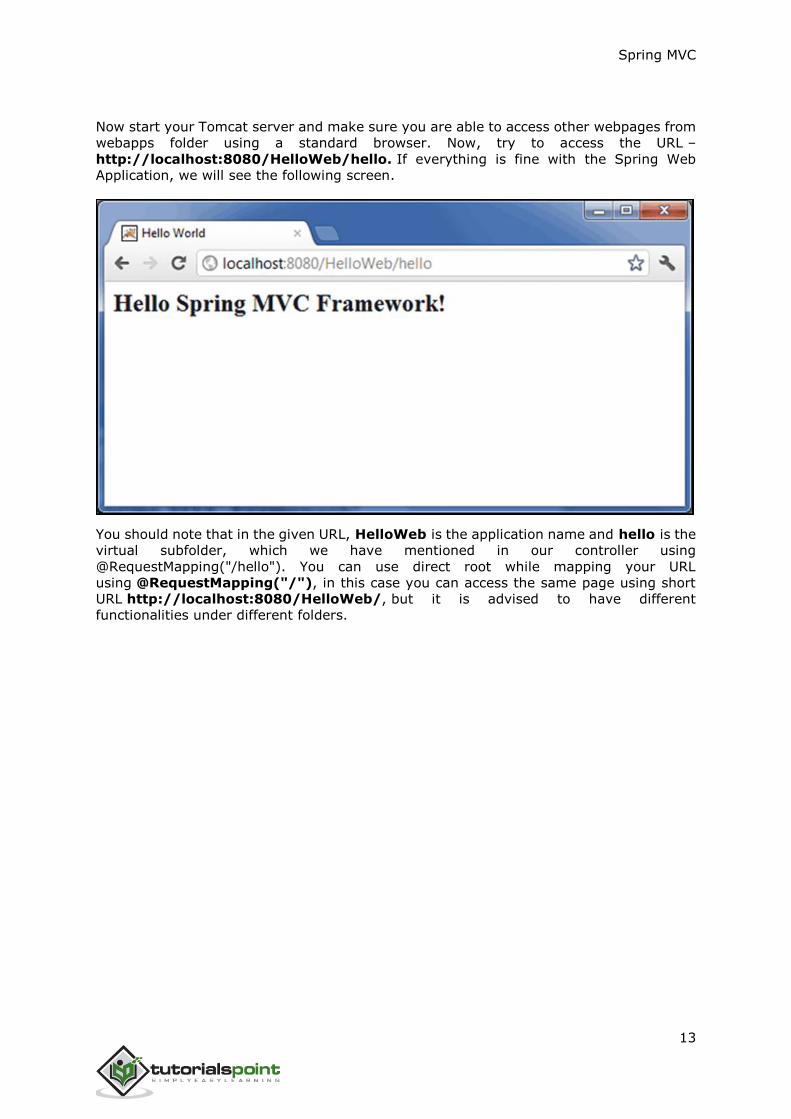
Now start your Tomcat server and make sure you are able to access other webpages from
webapps folder using a standard browser. Now, try to access the URL –
http://localhost:8080/HelloWeb/hello. If everything is fine with the Spring Web
Application, we will see the following screen.
You should note that in the given URL, HelloWeb is the application name and hello is the
virtual subfolder, which we have mentioned in our controller using
@RequestMapping("/hello"). You can use direct root while mapping your URL
using @RequestMapping("/"), in this case you can access the same page using short
URL http://localhost:8080/HelloWeb/, but it is advised to have different
functionalities under different folders.
Spring MVC
14
End of ebook preview
If you liked what you saw…
Buy it from our store @ https://store.tutorialspoint.com