Embed Size (px)
Citation preview
Missionmama.com 1
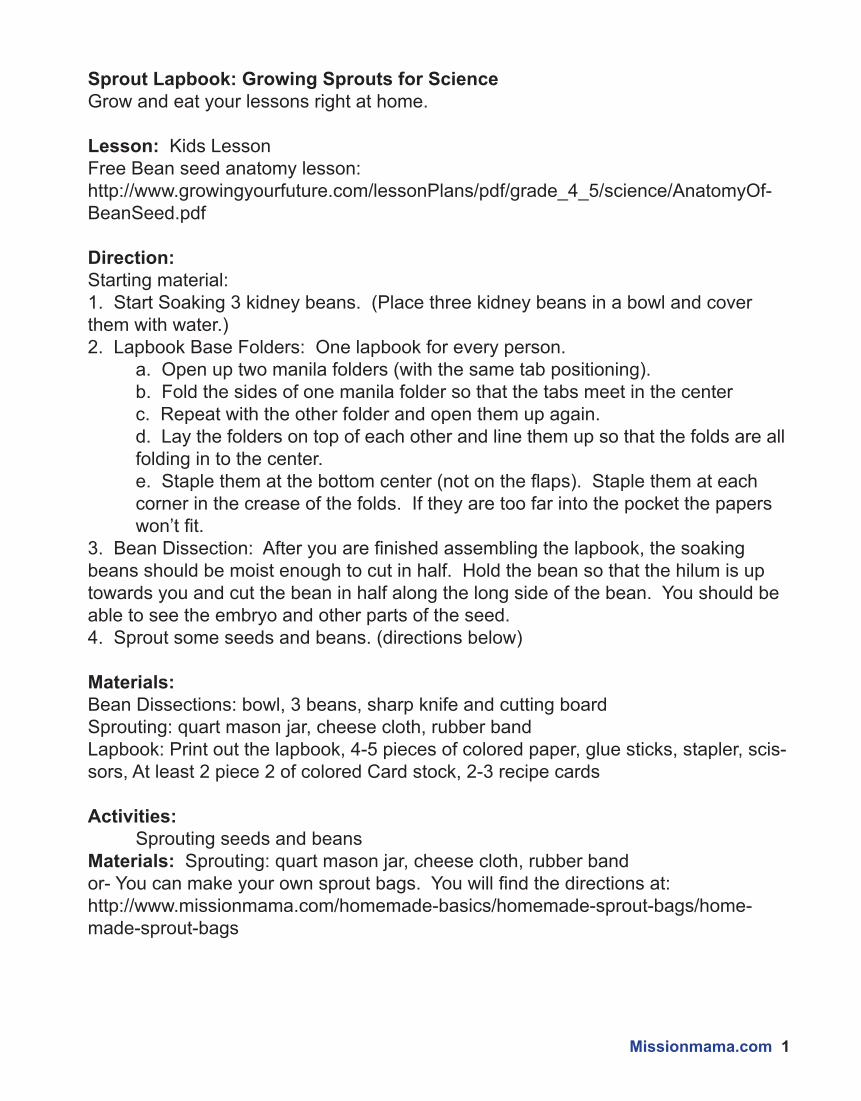
Sprout Lapbook: Growing Sprouts for ScienceGrow and eat your lessons right at home.
Lesson: Kids LessonFree Bean seed anatomy lesson:http://www.growingyourfuture.com/lessonPlans/pdf/grade_4_5/science/AnatomyOf-BeanSeed.pdf
Direction: Starting material:1. Start Soaking 3 kidney beans. (Place three kidney beans in a bowl and cover them with water.)2. Lapbook Base Folders: One lapbook for every person. a. Open up two manila folders (with the same tab positioning). b. Fold the sides of one manila folder so that the tabs meet in the center c. Repeat with the other folder and open them up again. d. Lay the folders on top of each other and line them up so that the folds are all folding in to the center. e. Staple them at the bottom center (not on the flaps). Staple them at each corner in the crease of the folds. If they are too far into the pocket the papers won’t fit.3. Bean Dissection: After you are finished assembling the lapbook, the soaking beans should be moist enough to cut in half. Hold the bean so that the hilum is up towards you and cut the bean in half along the long side of the bean. You should be able to see the embryo and other parts of the seed.4. Sprout some seeds and beans. (directions below) Materials: Bean Dissections: bowl, 3 beans, sharp knife and cutting boardSprouting: quart mason jar, cheese cloth, rubber bandLapbook: Print out the lapbook, 4-5 pieces of colored paper, glue sticks, stapler, scis-sors, At least 2 piece 2 of colored Card stock, 2-3 recipe cards
Activities: Sprouting seeds and beansMaterials: Sprouting: quart mason jar, cheese cloth, rubber band or- You can make your own sprout bags. You will find the directions at:http://www.missionmama.com/homemade-basics/homemade-sprout-bags/home-made-sprout-bags
2 Missionmama.com
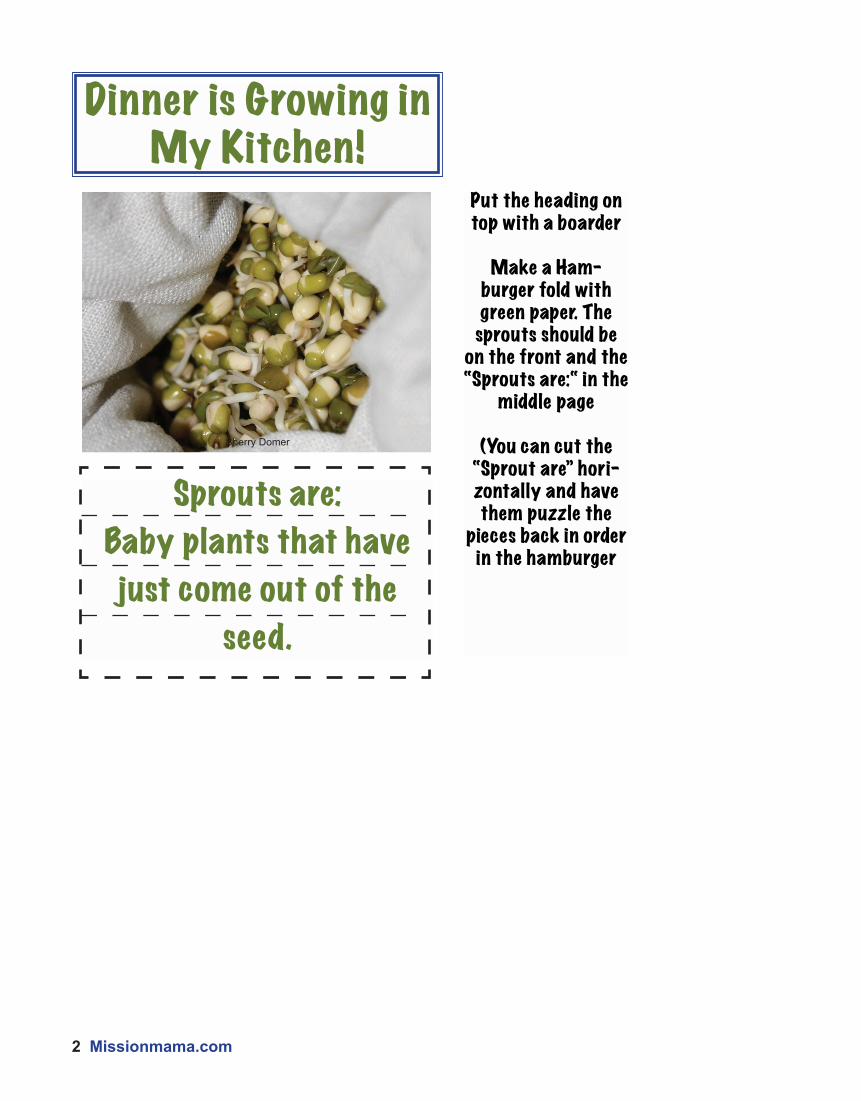
Sprouts are: Baby plants that have just come out of the
seed.
Dinner is Growing in My Kitchen!
Sherry Domer
Put the heading on top with a boarder
Make a Ham-burger fold with green paper. The
sprouts should be on the front and the “Sprouts are:“ in the
middle page
(You can cut the “Sprout are” hori-zontally and have them puzzle the
pieces back in order in the hamburger
Missionmama.com 3
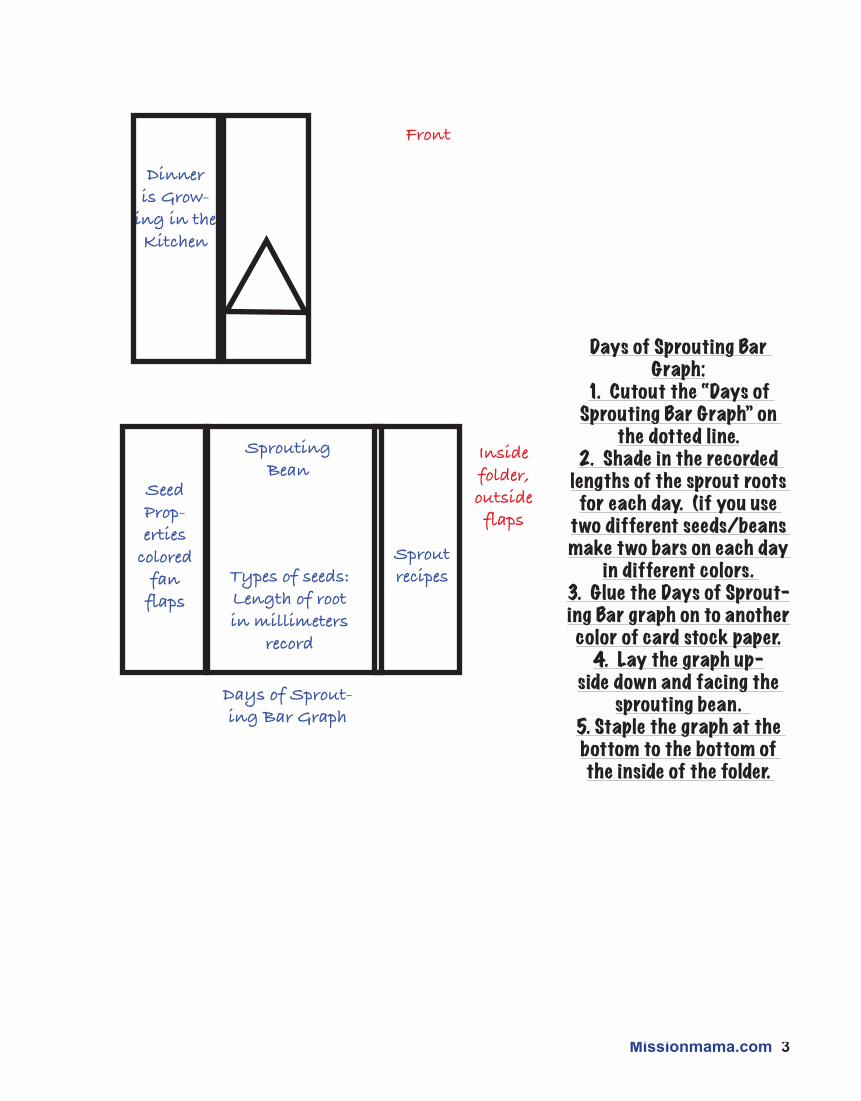
Front
Inside folder, outside flaps
Dinner is Grow-
ing in the Kitchen
Seed Prop-erties
colored fan
flaps
Sprouting Bean
Days of Sprout-ing Bar Graph
Days of Sprouting Bar Graph:
1. Cutout the “Days of Sprouting Bar Graph” on
the dotted line.2. Shade in the recorded
lengths of the sprout roots for each day. (if you use
two different seeds/beans make two bars on each day
in different colors. 3. Glue the Days of Sprout-ing Bar graph on to another color of card stock paper.
4. Lay the graph up-side down and facing the
sprouting bean. 5. Staple the graph at the bottom to the bottom of the inside of the folder.
Types of seeds:Length of root in millimeters
record
Sprout recipes
4 Missionmama.com
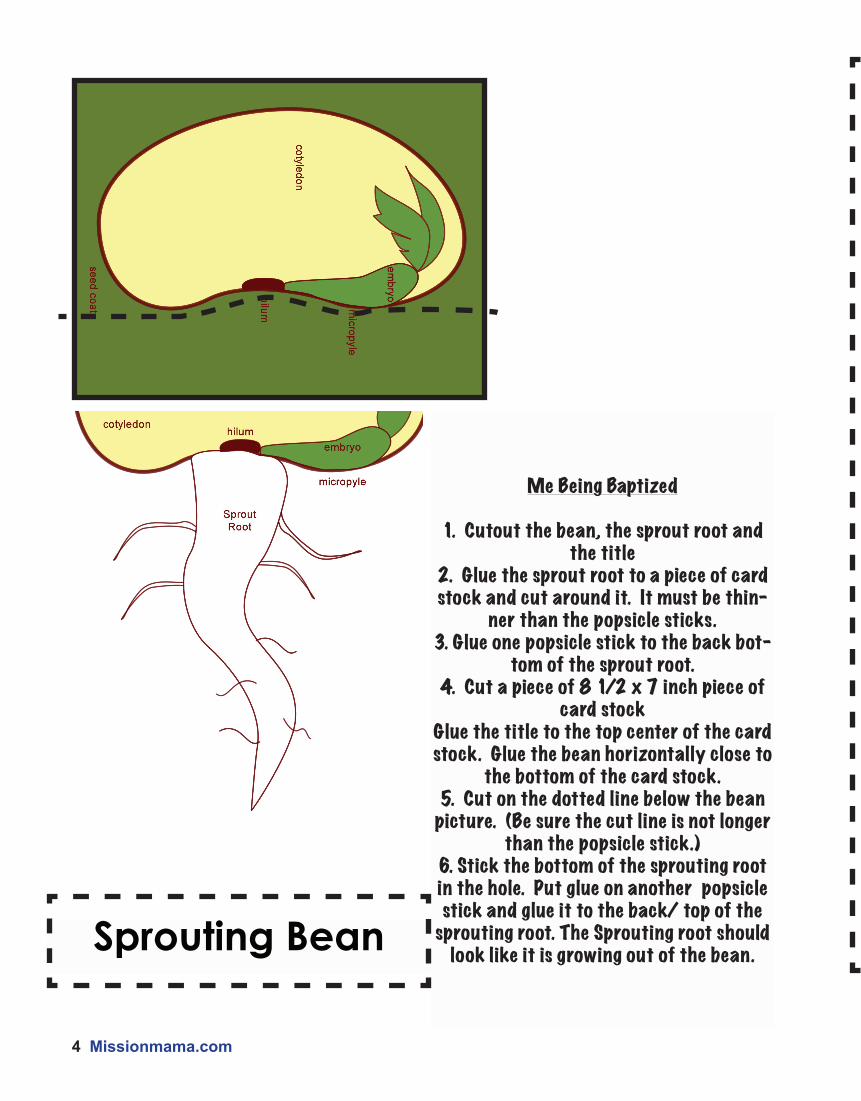
Me Being Baptized
1. Cutout the bean, the sprout root and the title
2. Glue the sprout root to a piece of card stock and cut around it. It must be thin-
ner than the popsicle sticks. 3. Glue one popsicle stick to the back bot-
tom of the sprout root. 4. Cut a piece of 8 1/2 x 7 inch piece of
card stockGlue the title to the top center of the card stock. Glue the bean horizontally close to
the bottom of the card stock.5. Cut on the dotted line below the bean
picture. (Be sure the cut line is not longer than the popsicle stick.)
6. Stick the bottom of the sprouting root in the hole. Put glue on another popsicle stick and glue it to the back/ top of the
sprouting root. The Sprouting root should look like it is growing out of the bean.Sprouting Bean
Missionmama.com 5
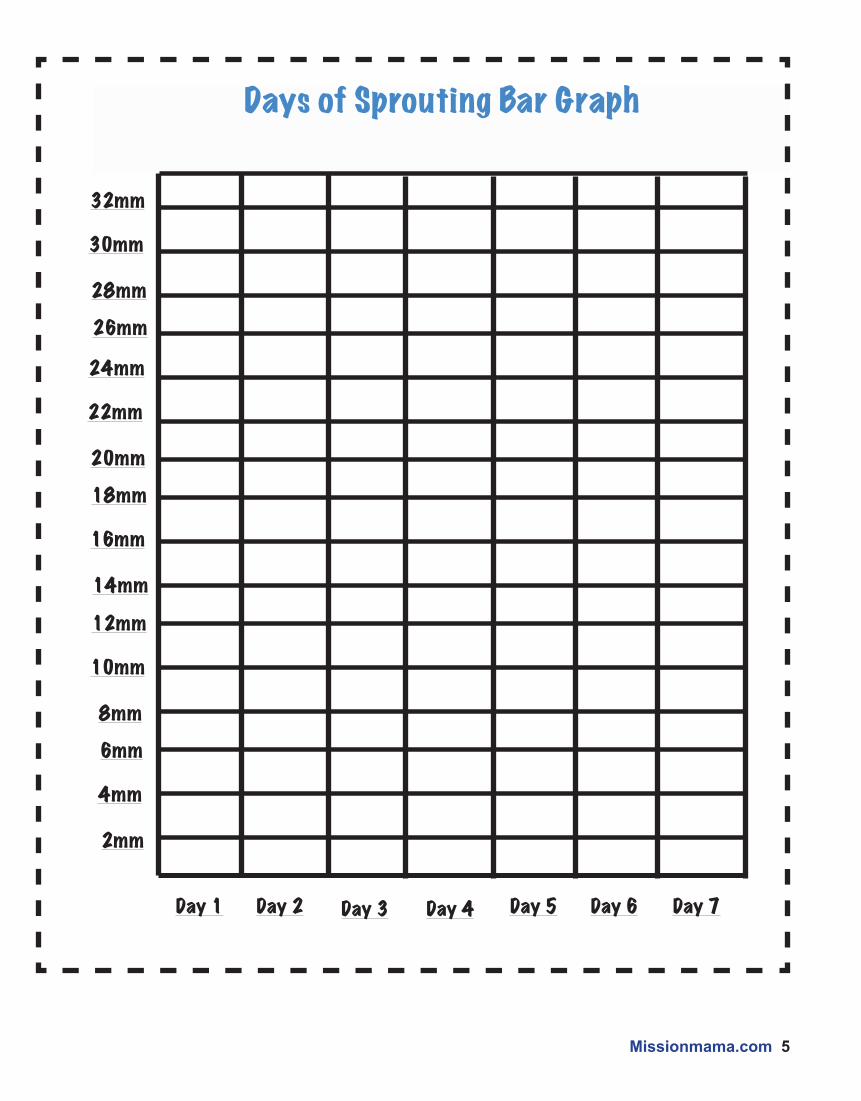
Days of Sprouting Bar Graph
Day 2 Day 3 Day 4 Day 5 Day 6 Day 7Day 1
2mm
4mm
6mm
8mm
10mm
12mm
14mm
16mm
18mm
20mm
22mm
24mm
26mm
28mm
30mm
32mm

6 Missionmama.com
How to Sprout your own Food:
*seeds or beans to sprout (organic)-get at health food store*a one quart canning jar * 6” x 6” piece of cheese cloth*rubber band to secure cloth
1. Place 2 Tbsp of seeds in a jar. Different types of seeds should be in different jars.
2. Soak your beans in the refrigerator for 24 hours (refer to the chart for different beans)
3. Sprain and rinse seeds/beans and place into the jar. Secure cheese cloth over the mouth of the jar with a rubber band. (Look at MissionMama.com for sprout bag instructions)
4. The first day is day one. Record how long the roots are in millimeters for each day.
When they are twice as long as the seed, in general you are done. Be sure to read
Type of seeds:
Day one: Day Five:Day Two: Day Six:Day Three: Day Seven:Day Four: Day Eight:

Missionmama.com 7
Hilu
m:
The
hilu
m
is the
we
re th
e
see
d a
ttac
he
d to
the
b
ig p
lan
t.
Hilum
Mic
rop
yle
: Th
is is
the
sm
all
ho
le t
ha
t a
llow
s w
ate
r to
co
me
into
th
e s
ee
d.
cotyledon: This part is feeds the little sprout while it
is breaking out of it’s shell and growing towards the sun-
light.Micropyle
cotyledon
The Bean Seed
Embryo: The embryo is the baby plant.
Directions: Cut out the triangle and glue it to a piece of colored paper. Cut around the dotted line again with no showing on the edge. Fold the flaps in toward the writ-ing on the dashed lines.On the color side, glue the cor-rect answers. (closest ones to the verse. Be sure the labels are all right side up with the direction you will put the triangle.)Cut out the heading add a boarder of the same colored paper. Place it under the duck on the front flap.
Seed Coat: The out side shell of the bean
8 Missionmama.com
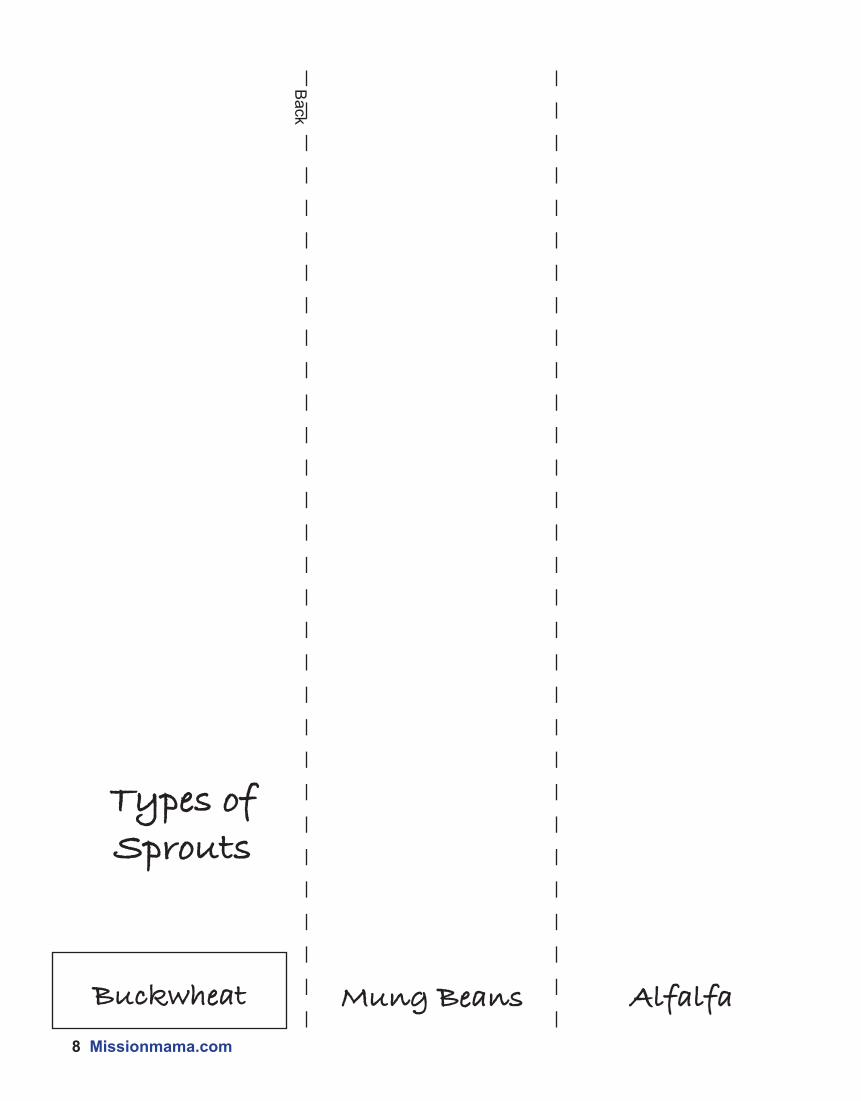
Types of Sprouts
Buckwheat Mung Beans Alfalfa
Back
Back

Missionmama.com 9
Back
Buckwheat
Days to harvest: 1-2 Flavor: mild and slimy when soaked, rinse wellNutrition: complete pro-tein,(8 amino acids), all B vit.Health: lecithin for cho-lesterol balance and brain food, rutin to reinforce week veins Uses: Breads, saladsCaution: do not let the sprouts green. The greens could be toxic.
Mung beans
Days to Harvest: 3-6Flavor: Crunchy and mildNutrition: 20% Protein, iron, Calcium, vit. CHealth: High in fiber and protein Uses: Salads,sandwiches, sprout bread
Alfalfa
Days to Harvest: 4-6 (Place in light for the last 2 day)Flavor: mildNutrition: A,B,C,E, and K, trace minerals, cal-cium and iron.Health: 450% higher in Saponins for cholesterol controlUses: Salads, sand-wiches, and soup topper* created a very large amount of sprouts com-pared to seed size
Missionmama.com 11
Back
Broccoli
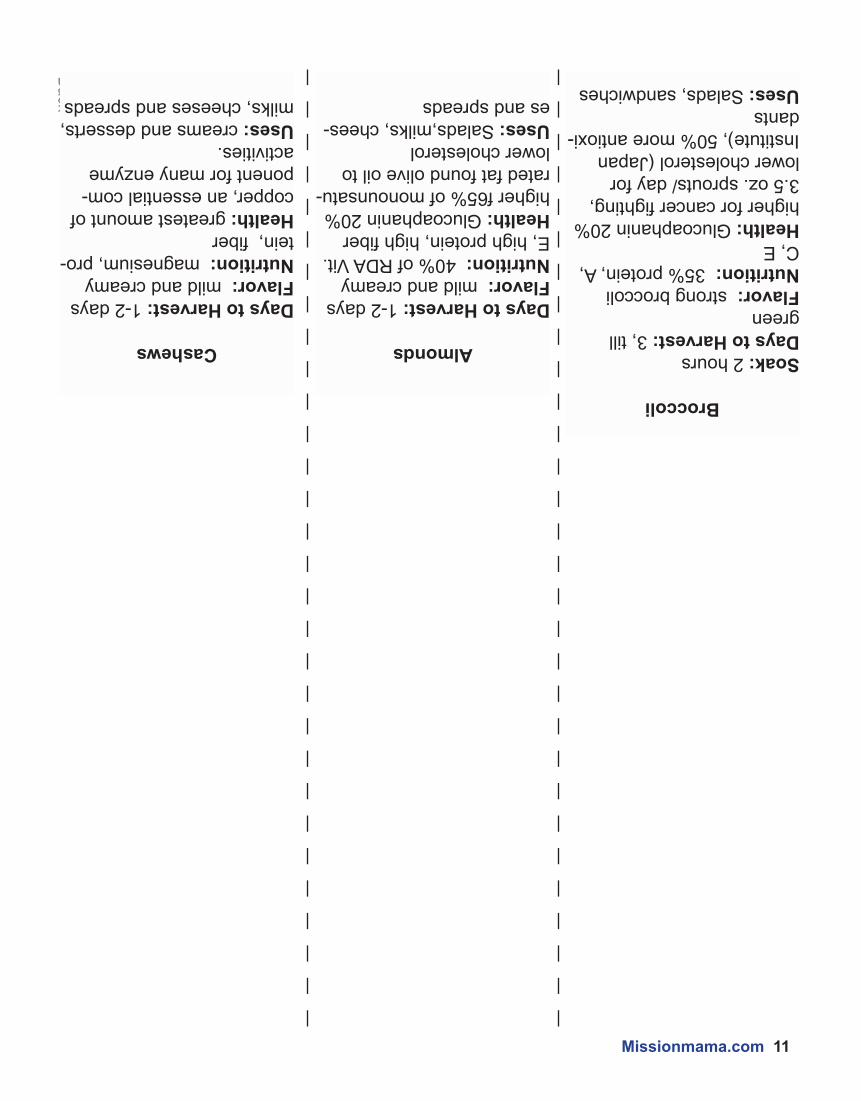
Soak: 2 hoursDays to Harvest: 3, till greenFlavor: strong broccoli Nutrition: 35% protein, A, C, EHealth: Glucoaphanin 20% higher for cancer fighting, 3.5 oz. sprouts/ day for lower cholesterol (Japan Institute), 50% more antioxi-dantsUses: Salads, sandwiches
Almonds
Days to Harvest: 1-2 daysFlavor: mild and creamy Nutrition: 40% of RDA Vit. E, high protein, high fiberHealth: Glucoaphanin 20% higher f65% of monounsatu-rated fat found olive oil to lower cholesterol Uses: Salads,milks, chees-es and spreads
Cashews
Days to Harvest: 1-2 daysFlavor: mild and creamy Nutrition: magnesium, pro-tein, fiberHealth: greatest amount of copper, an essential com-ponent for many enzyme activities.Uses: creams and desserts, milks, cheeses and spreads

12 Missionmama.com
Broccoli Alfalfa Buckwheat
Broccoli
Soak: 2 hoursDays to Harvest: 3, till greenFlavor: strong broccoli Nutrition: 35% protein, A, C, EHealth: Glucoaphanin 20% higher for cancer fighting, 3.5 oz. sprouts/ day for lower cholesterol (Japan Institute), 50% more antioxi-dantsUses: Salads, sandwiches
1
Alfalfa
Days to Harvest: 4-6 (Place in light for the last 2 day)Flavor: mildNutrition: A,B,C,E, and K, trace minerals, calcium and iron.Health: 450% higher in Saponins for cholesterol controlUses: Salads, sandwich-es, and soup topper* created a very large amount of sprouts com-pared to seed size
Buckwheat
Days to harvest: 1-2 Flavor: mild and slimy when soaked, rinse wellNutrition: complete pro-tein,(8 amino acids), all B vit.Health: lecithin for cho-lesterol balance and brain food, rutin to reinforce week veins Uses: Breads, saladsCaution: do not let the sprouts green. The greens could be toxic.
Almonds
Days to Harvest: 1-2 daysFlavor: mild and creamy Nutrition: 40% of RDA Vit. E, high protein, high fiberHealth: Glucoaphanin 20% higher f65% of monounsatu-rated fat found olive oil to lower cholesterol Uses: Salads,milks, chees-es and spreads
Almonds
Cashews
Days to Harvest: 1-2 daysFlavor: mild and creamy Nutrition: magnesium, protein, fiberHealth: greatest amount of copper, an essential component for many en-zyme activities.Uses: creams and des-serts, milks, cheeses and spreads
Cashews
Seed Properties1. Print off the front and back of the seed properties
sheets. Fold in hamburger folds. Put the title at the front bottom and the description in the middle.
2. Or print this one sheet and cut and paste them on to hamburger folded colored paper.
Mung beans
Days to Harvest: 3-6Flavor: Crunchy and mildNutrition: 20% Protein, iron, Calcium, vit. CHealth: High in fiber and protein Uses: Salads,sandwiches, sprout bread
Mung Beans
Missionmama.com 13
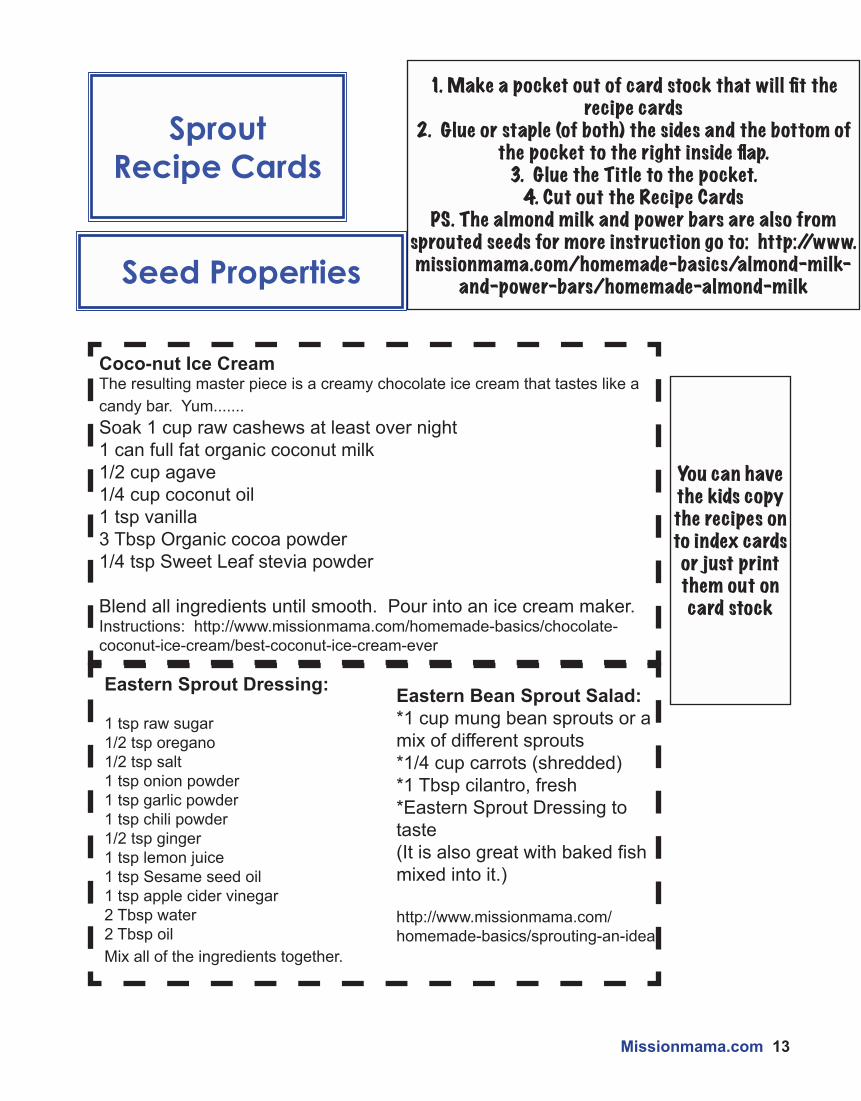
Coco-nut Ice CreamThe resulting master piece is a creamy chocolate ice cream that tastes like a candy bar. Yum.......Soak 1 cup raw cashews at least over night1 can full fat organic coconut milk1/2 cup agave1/4 cup coconut oil1 tsp vanilla 3 Tbsp Organic cocoa powder1/4 tsp Sweet Leaf stevia powder
Blend all ingredients until smooth. Pour into an ice cream maker.Instructions: http://www.missionmama.com/homemade-basics/chocolate-coconut-ice-cream/best-coconut-ice-cream-ever
1. Make a pocket out of card stock that will fit the recipe cards
2. Glue or staple (of both) the sides and the bottom of the pocket to the right inside flap.
3. Glue the Title to the pocket.4. Cut out the Recipe Cards
PS. The almond milk and power bars are also from sprouted seeds for more instruction go to: http://www.missionmama.com/homemade-basics/almond-milk-
and-power-bars/homemade-almond-milk
SproutRecipe Cards
Eastern Sprout Dressing:
1 tsp raw sugar1/2 tsp oregano1/2 tsp salt1 tsp onion powder1 tsp garlic powder1 tsp chili powder1/2 tsp ginger1 tsp lemon juice1 tsp Sesame seed oil1 tsp apple cider vinegar2 Tbsp water2 Tbsp oil Mix all of the ingredients together.
Eastern Bean Sprout Salad:*1 cup mung bean sprouts or a mix of different sprouts*1/4 cup carrots (shredded)*1 Tbsp cilantro, fresh*Eastern Sprout Dressing to taste(It is also great with baked fish mixed into it.)
http://www.missionmama.com/homemade-basics/sprouting-an-idea
You can have the kids copy the recipes on to index cards or just print them out on card stock
Seed Properties