Embed Size (px)
Citation preview

Starlight
By the Shiny Shadows:Ino Bonitsi (GR)Sebastiano Gallo Carmelo (IT)Marie Gröhn (SE)Remy Jacobs (NL)Caoimhe Lawlor (IRL)Anastasia Rizou (GR)

Night sky4 – 6 year olds
Introductory lesson

Aim of the lesson
Kids to be aware of the night sky

Objectives of the Lesson
Students should…
1. Know that the night sky is different from the day sky
2. Use their imagination and creativity
Allow parents to participate

During the activities, we document what kids
are doing and saying, in order to test their
progress.

Running of the first LessonActivity:Discuss about the painting “The StarryNight” of Vincent Van Gogh (1889)
What we will need:• 1 coloured copy of the painting “The Starry Night” in actual
size.• 1 easel
Questions:• What is this? • What can you see in the painting?• Open a discussion about a landscape in the night. How the
sky looks etc.
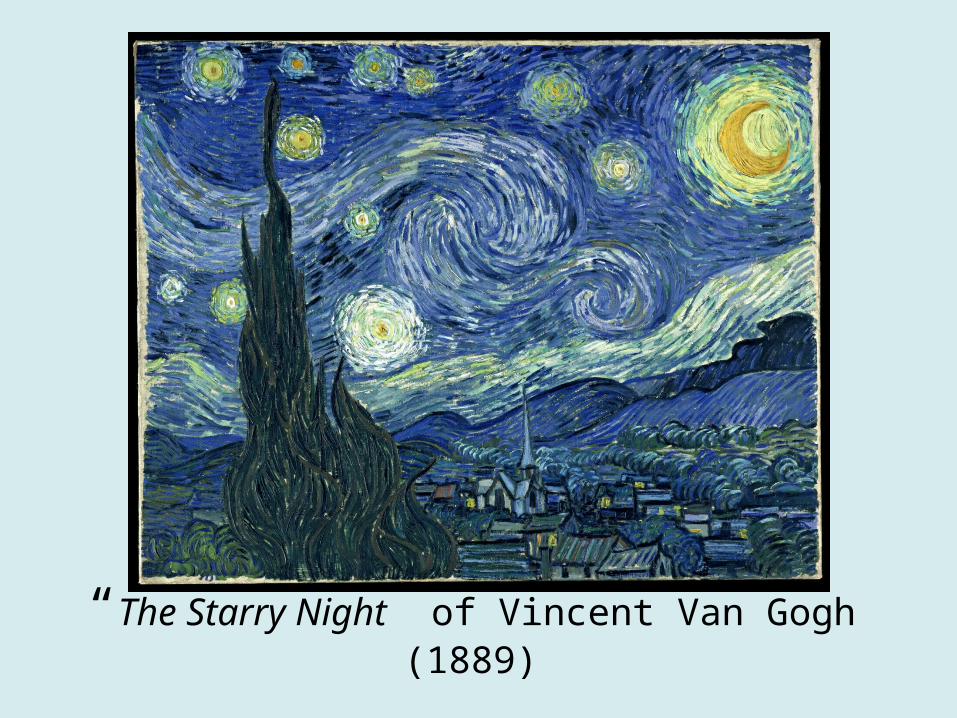
“The Starry Night” of Vincent Van Gogh (1889)

Didactical decisions
• The role of the teacher in this activity is to motivate children to observe and allow them to express themselves through the painting.
• Children are able to explain, answer and construct.

Sky observation
2nd activity
• Parents and kids spend time together watching the night sky.
• The next day kids describe their experience in the classroom and we find a way to connect their experiences with a story, so we read a book about night sky.

Didactical decisions
• The parents get involved in the activity of their children and learn how to discuss with them about a new subject.
• Children become able to describe and take into consideration different opinions.

Big painting for small painters
3rd activity• We propose to the kids to paint a very big
picture of a night landscape, out of what they have learned from the previous activities. At the same time, we have classical music in order to stimulate their creativity.
What we will need:• 1 large paper that covers the floor.• Finger paints• Classical music

Didactical decisions
• Children learn to cooperate with their classmates and have patience when they have to share the materials.
• Children will learn to combine previous experiences into the picture.

Story making
4th activity• We hang up the painting “The Starry Night” by
Van Gogh and the painting by the kids and we ask from them to give a title to the painting.
• We ask the children to make up their own story about their picture.
What we will need:• 1 notebook• 1 pen
Didactical decisions
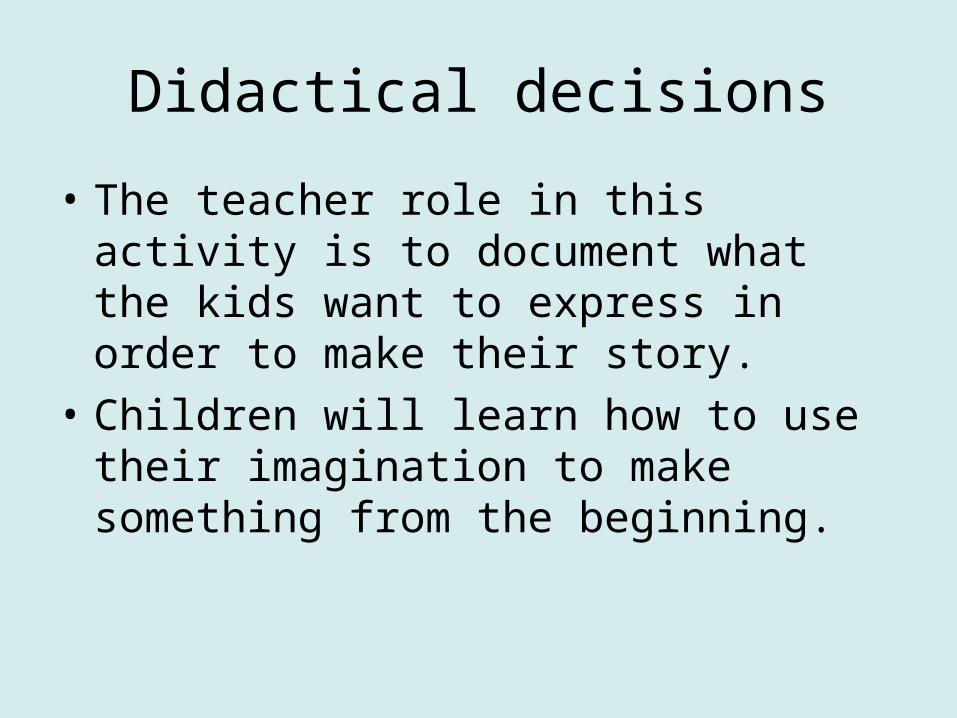
• The teacher role in this activity is to document what the kids want to express in order to make their story.
• Children will learn how to use their imagination to make something from the beginning.

Night SkyNight Sky6 -8 year olds
Aim of the Lesson
• To familiarise students with the night sky

Previous Knowledge
• Students will not have studied the topics of light or the night sky in school before.
• We would give the parents a list of questions to discuss with their children while observing the night sky.

Objectives of the Lesson
Students should know that . . .
1.The sky is full of stars
2.The moon is not a star
3.The sun is a star
4.The sun provides light for us to see
5.Stars are still there during the day

Sample Questions
• How many stars can you see?
• Can you count them?
• Which is the biggest one?
• Do the stars make any shapes?
• What do you think stars are?
• Do you think they are hot or cold?

Running of the First Lesson
• Brainstorm using questions from observation.
• Discuss briefly the morning sky and the differences between it and the night sky.
• Why is it brighter now?
• What can you see?
• Where are the stars?
• Conclude that the sun is star.
• Do we need the sun?

Activity
What we will need . .
• Enough dim flashlights for all students
• A classroom which can be made gradually darker (for example a window with blinds.)

Didactical Decisions
• The role of the teacher in this class is to draw information out of what the students already know
• ICT could be used in this class, but it would be a more beneficial for the students to experience the night sky and the morning sky for themselves
• 12 -15
Stars and light years12-15 year olds

12-15 year olds
• In this class we will link to the students previous study of stars by introducing the concept of light years as a measurement of distance.

Previous knowledge
Before this class, students should know that …
• Stars are very far away
• Stars emit light

Learning Outcomes
By the end of the lesson students should be able to
• Recall that the speed of light is 3 x 10⁸ m/s
• Describe what a light year is
• Calculate one light year
• Link light years to stars

Activity 1
• Brainstorm with students about light years. Eg who has heard of a light year before, what does it remind you of, what words do you associate with light year?
• What does light year mean when star gazing?
• Use PowerPoint slide to confirm these ideas.

YEARLIGHT

YEARLIGHT
The distance
travels
in one

Activity continued
• Separate the class into groups and challenge them to calculate the distance of one light year. Include hints if the students are struggling (units, how many days in a year, hours in a day etc)
• Use PowerPoint to correct their work and to ensure all students are comfortable and confident doing the calculations.
Activity 2 - Problem
• If the sun were to suddenly explode right now, we wouldn’t know about it for eight minutes. How far away from the Earth is our Sun?

Didactical Questions
• The role of the teacher in this class is to probe and encourage students
• The function of this experiments to try to put the size of the universe into perspective
Speed of light
15-18 year olds
15 to 18 years old
• Students will now learn to measure the speed of light and compare it to the literature value.
• The will be dealing with waves, wavelength and frequency.
Previous knowledge
Before this class, students should know that …
• Speed of light being 3 x10⁸ m/s
• Light being a form of energy
• Light behaving like a wave or a particle
• Conversions from GHz to Hz, and from cm to m

Learning Outcomes
By the end of the lesson students should be able to
• Explain that node to node is one wavelength
• Complete the appropriate calculations
• Describe an experiment to find the speed of light

Experiment Details
1. Remove revolving tray from microwave2. Place chocolate bar in microwave for
approximately 20 seconds until it starts to melt in places.
3. Using a ruler, measure the distance between the two spots.
4. Check the microwave frequency from the manual.
5. Multiply distance (in metres) x 2 and then by the frequency.


Activity 1• Complete the experiment as a demo but involve
the students in the measurement.
• Have a video of the experiment also in case the initial experiment didn’t work or the results weren’t clear.
• Once the experiment is complete, ask probing questions to ensure the students understand. A PowerPoint presentation could be used here to focus attention.For example . . .

• When you measured the distance why did we multiply by 2?
• What formula was used in this investigation?
• Describe this experiment in your own words . . .

Activity 2
• Hand out a worksheet for the students to complete.
• This worksheet continues with calculations involving speed, wavelength and frequency. They should conclude the speed of light is always around 3x10⁸ m/s
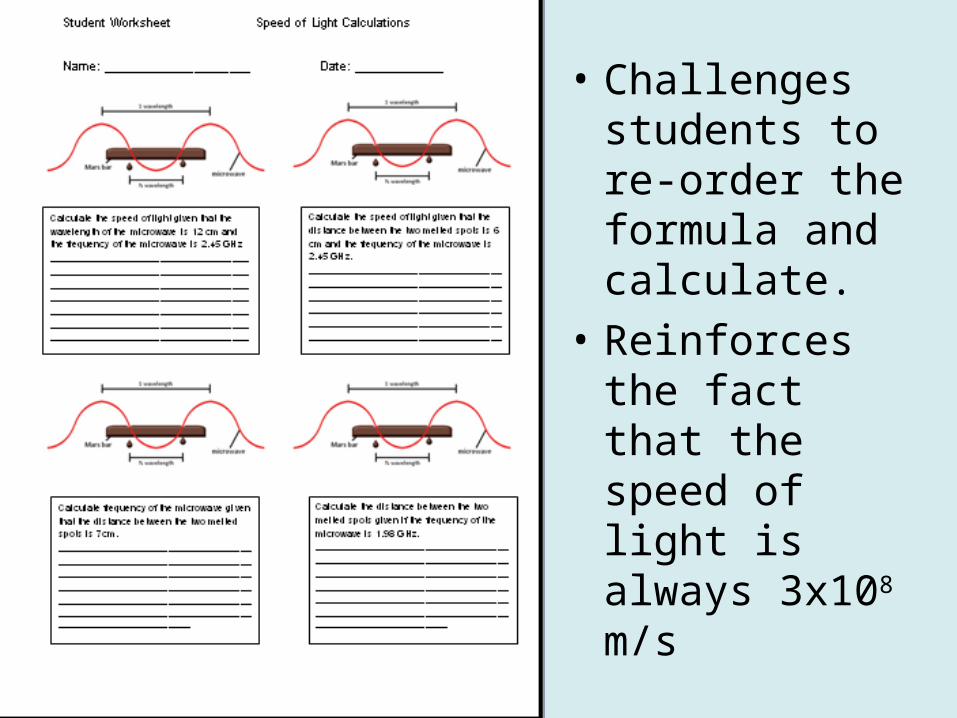
• Challenges students to re-order the formula and calculate.
• Reinforces the fact that the speed of light is always 3x10⁸
m/s

Didactical decisions
• The function of this experiment is to make science relatable – that students can complete an experiment in their kitchen and calculate simply a value that scientists took years to discover
• ICT is very important and useful here since experimental science can be temperamental.

Light spectroscopy
15-18 year olds

15 to 18 years old
• Students will now learn that light carries plenty of information which can be obtained by frequency analysis
• The students will get an understanding in how this analysis works

Previous knowledge
Before this class, students should know that …
• Light can behave as a wave and as a particle

Learning Outcomes
By the end of the lesson students should know
• How light spectroscopy works
• That starlight contains information about the matter of stars
• How to tell from spectroscopy plots what elements the stars contain
Activity 1: Filtering the night sky
• Demo about changing the spectrum of night sky photos to reveal more colour information
• Let the students play around with photos themselves

Theory: Light Filtering
• Demo with white light and colored transparent sheets: a filter!
• Theory about absorption of photons, Bohr model and energy levels
• Spectroscopy: filtering on many frequencies

Theory: Light absorption in stars
• Starlight emitted in the centre
• Filtering through different layers

Activity 2: Spectroscopy
• Hands on with spectroscopy plots
• Finding out which elements the stars contain
Didactical decisions
• Students get a multitude of examples of how information can be obtained using a frequency analysis of light.
• Students get hands-on experience using the methods presented.

Questions?

References
• http://www.null-hypothesis.co.uk/science/item/measure_speed_light_microwave_chocolate
• http://www.howstuffworks.com/question94.htm
• http://realfrance.files.wordpress.com/2010/04/vangogh-starry_night_ballance1.jpg