Embed Size (px)
Citation preview
Tenderfoot #9Explain the importance of the buddy system as it relates to
your personal safety on outings and in your neighborhood.
Describe what a bully is and how you should respond to one.

Buddy SystemThe buddy system is a way for scouts to look after each
other, especially during outdoor adventures. It’s a way of sharing the good
times and preventing the bad.
BulliesA bully is someone who wants
to hurt another person. •Ignore the bully•Tell the bully how hurtful it feels and ask the bully to stop•Agree with the bully and have a ready response•Hang out with friends, try not to be alone•Tell an adult you trust
Tenderfoot #9
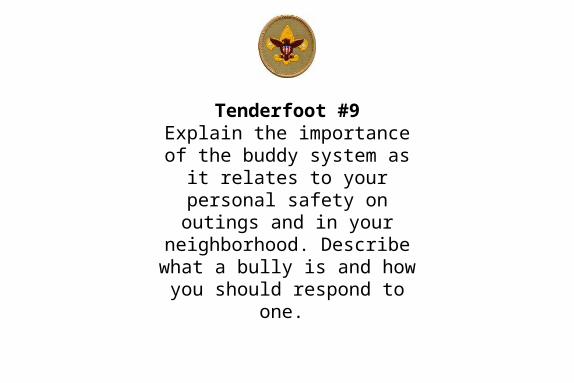
Tenderfoot #9Buddy System
The buddy system is a way ______ for scouts to share
the good times.
BulliesA bully is someone who wants
to hurt another person. •Ignore the bully•Tell the bully how hurtful it feels and ask the bully to stop•Disagree with the bully•Hang out with friends, try not to be alone•Tell no one
Tenderfoot #9Buddy System
The buddy system allows the adults to count the
scouts more quickly and to punish those that do not
stay with their buddy.
BulliesA bully is someone who wants
to hurt another person. •Ignore the bully•Tell the bully how hurtful it feels and ask the bully to stop•Agree with the bully and have a ready response•Try to be alone•Tell an adult you trust
Tenderfoot #5Explain the rules of safe hiking, both on the highway and cross-country, during the day and at night. Explain what to do if you
are lost.
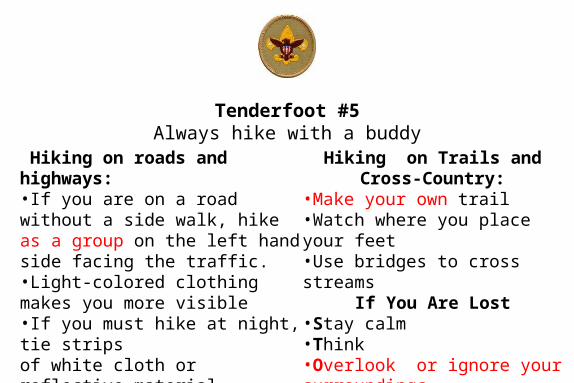
Tenderfoot #5Always hike with a buddy
Hiking on roads and highways:•If you are on a road without a side walk, hike single file on the left hand side facing the traffic.•Light-colored clothing makes you more visible•If you must hike at night, tie strips of white cloth or reflective material to your clothing and use a flashlight•Never hitchhike
Hiking on Trails and Cross-Country:
•Stay on the trails•Watch where you place your feet•Use bridges to cross streams
If You Are Lost•Stay calm•Think•Observe•Plan
Tenderfoot #5Always hike with a buddy
Hiking on roads and highways:•If you are on a road without a side walk, hike single file on the right hand side with the traffic.•Light-colored clothing makes you more visible•If you must hike at night, tie strips of white cloth or reflective material to your clothing and use a flashlight•Never hitchhike
Hiking on Trails and Cross-Country:
•Stay on the trails•Watch where you place your feet•You should wade across streams
If You Are Lost•Start to panic•Think•Observe•Plan
Tenderfoot #5Always hike with a buddy
Hiking on roads and highways:•If you are on a road without a side walk, hike as a group on the left hand side facing the traffic.•Light-colored clothing makes you more visible•If you must hike at night, tie stripsof white cloth or reflective material to your clothing and use a flashlight•Never hitchhike
Hiking on Trails and Cross-Country:
•Make your own trail•Watch where you place your feet•Use bridges to cross streams
If You Are Lost•Stay calm•Think•Overlook or ignore your surroundings•Plan
Second Class #7aTell what precautions must be
taken for a safe swim.
Second Class #7a1.Qualified supervision (age 21 and over)2.Physical fitness (Health History provided by all participants)3.Safe Area4.Lifeguards on Duty (one for every 10 people in the water)5.Lookout (on shore to keep an eye on the whole situation)6.Ability Groups (Non-swimmers, Beginners, and Swimmers)7.Buddy System (in the water and same ability group area)8.Discipline
Second Class #7a1.Qualified supervision (age 18 and over)2.Physical fitness (Health History provided by all participants)3.Safe Area4.Lifeguards on Duty (one for every 10 people in the water)5.Lookout (on shore to keep an eye on the whole situation)6.Ability Groups (Non-swimmers, Beginners, and Swimmers)7.Buddy System (in the beach area at the same time)8.Discipline
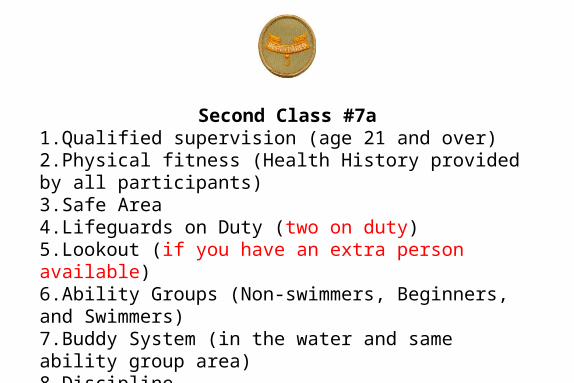
Second Class #7a1.Qualified supervision (age 21 and over)2.Physical fitness (Health History provided by all participants)3.Safe Area4.Lifeguards on Duty (two on duty)5.Lookout (if you have an extra person available)6.Ability Groups (Non-swimmers, Beginners, and Swimmers)7.Buddy System (in the water and same ability group area)8.Discipline
Second Class #8bExplain the three R's of personal
safety and protection.
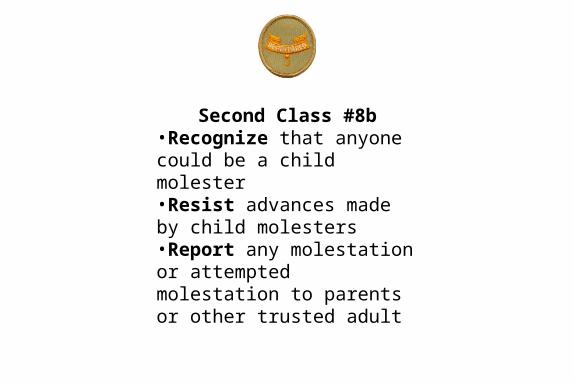
Second Class #8b•Recognize that anyone could be a child molester•Resist advances made by child molesters•Report any molestation or attempted molestation to parents or other trusted adult
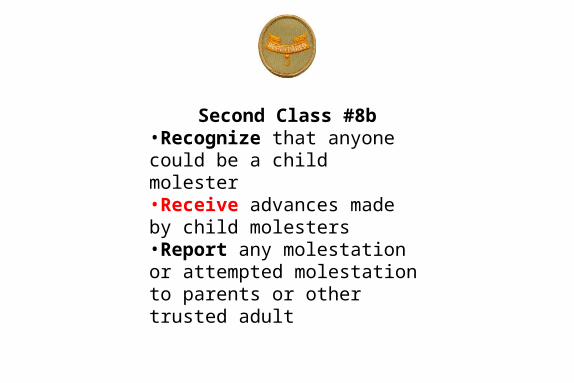
Second Class #8b•Recognize that anyone could be a child molester•Receive advances made by child molesters•Report any molestation or attempted molestation to parents or other trusted adult
Second Class #8b•Reject the idea that anyone could be a child molester•Resist advances made by child molesters•Report any molestation or attempted molestation to parents or other trusted adult
First Class #9aTell what precautions must be
taken for a safe trip afloat.
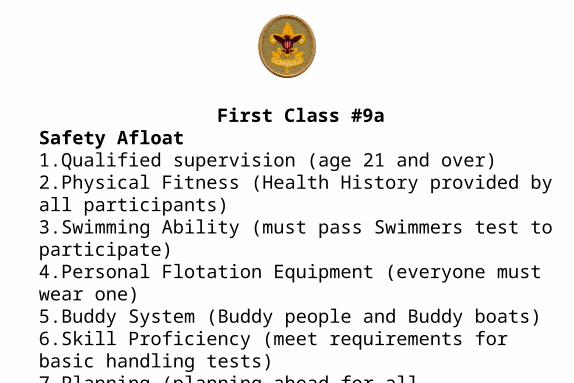
First Class #9aSafety Afloat1.Qualified supervision (age 21 and over)2.Physical Fitness (Health History provided by all participants)3.Swimming Ability (must pass Swimmers test to participate)4.Personal Flotation Equipment (everyone must wear one)5.Buddy System (Buddy people and Buddy boats)6.Skill Proficiency (meet requirements for basic handling tests)7.Planning (planning ahead for all contingencies)8.Equipment (have what you need and in good condition)9.Discipline
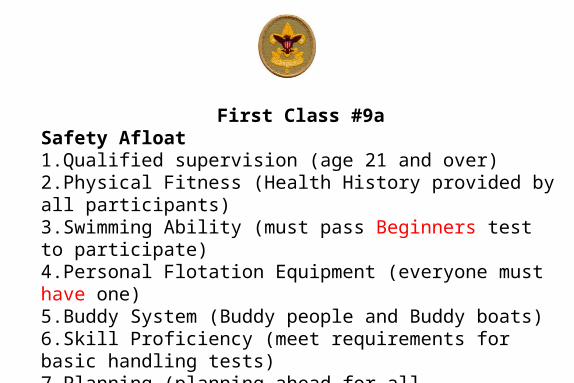
First Class #9aSafety Afloat1.Qualified supervision (age 21 and over)2.Physical Fitness (Health History provided by all participants)3.Swimming Ability (must pass Beginners test to participate)4.Personal Flotation Equipment (everyone must have one)5.Buddy System (Buddy people and Buddy boats)6.Skill Proficiency (meet requirements for basic handling tests)7.Planning (planning ahead for all contingencies)8.Equipment (have what you need and in good condition)9.Discipline
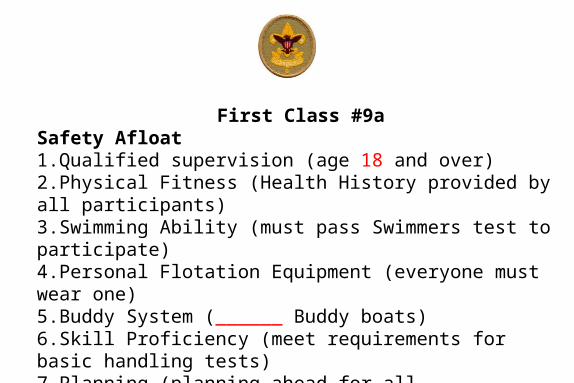
First Class #9aSafety Afloat1.Qualified supervision (age 18 and over)2.Physical Fitness (Health History provided by all participants)3.Swimming Ability (must pass Swimmers test to participate)4.Personal Flotation Equipment (everyone must wear one)5.Buddy System (______ Buddy boats)6.Skill Proficiency (meet requirements for basic handling tests)7.Planning (planning ahead for all contingencies)8.Equipment (have what you need and in good condition)9.Discipline
First Class #8dTell the five most common signals of a heart attack. Explain the steps (procedures) in cardiopulmonary
resuscitation (CPR).
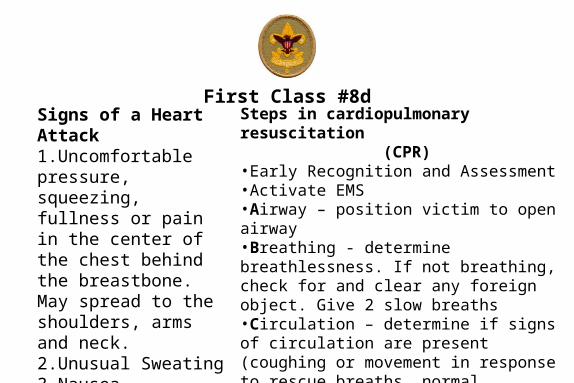
First Class #8dSigns of a Heart Attack1.Uncomfortable pressure, squeezing, fullness or pain in the center of the chest behind the breastbone. May spread to the shoulders, arms and neck. 2.Unusual Sweating3.Nausea4.Shortness of Breath5.A Feeling of Weakness
Steps in cardiopulmonary resuscitation (CPR)
•Early Recognition and Assessment•Activate EMS•Airway – position victim to open airway•Breathing - determine breathlessness. If not breathing, check for and clear any foreign object. Give 2 slow breaths•Circulation – determine if signs of circulation are present (coughing or movement in response to rescue breaths, normal breathing, or a pulse), if no signs of circulation, begin cycle 15 compressions and 2 ventilations

Signs of a Heart Attack1. Uncomfortable pressure,
squeezing, fullness or pain in the center of the chest behind the breastbone. May spread to the shoulders, arms and neck.
2. Unusual Sweating3. Nausea4. Shortness of Breath5. A Feeling of Weakness
Steps in cardiopulmonary resuscitation(CPR)
•Early Recognition and Assessment•Ignore EMS•Airway – position victim to open airway•Breathing - determine breathlessness. If breathing ______, give 2 slow breaths•Circulation – determine if signs of circulation are present (coughing or movement in response to rescue breaths, normal breathing, or a pulse), if no signs of circulation, begin cycle 15 compressions and 2 ventilations
First Class #8d
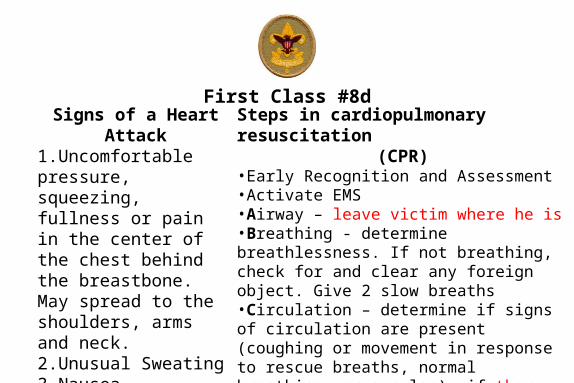
First Class #8dSigns of a Heart Attack1.Uncomfortable pressure, squeezing, fullness or pain in the center of the chest behind the breastbone. May spread to the shoulders, arms and neck. 2.Unusual Sweating3.Nausea4.Shortness of Breath5.A Feeling of Weakness
Steps in cardiopulmonary resuscitation(CPR)
•Early Recognition and Assessment•Activate EMS•Airway – leave victim where he is•Breathing - determine breathlessness. If not breathing, check for and clear any foreign object. Give 2 slow breaths•Circulation – determine if signs of circulation are present (coughing or movement in response to rescue breaths, normal breathing, or a pulse), if there are signs of circulation, begin cycle 15 compressions and 2 ventilations