Embed Size (px)
DESCRIPTION
The Diagnostic Pathfinder Case Editor. Creating a Case. Creating a New Case. A new case is created by clicking the “New Case” button or by selecting “New Case” from the Cases menu. Enter a name for the case in the text field, and hit Tab or Enter. - PowerPoint PPT Presentation
Citation preview
The Diagnostic Pathfinder
Case Editor
Creating a Case
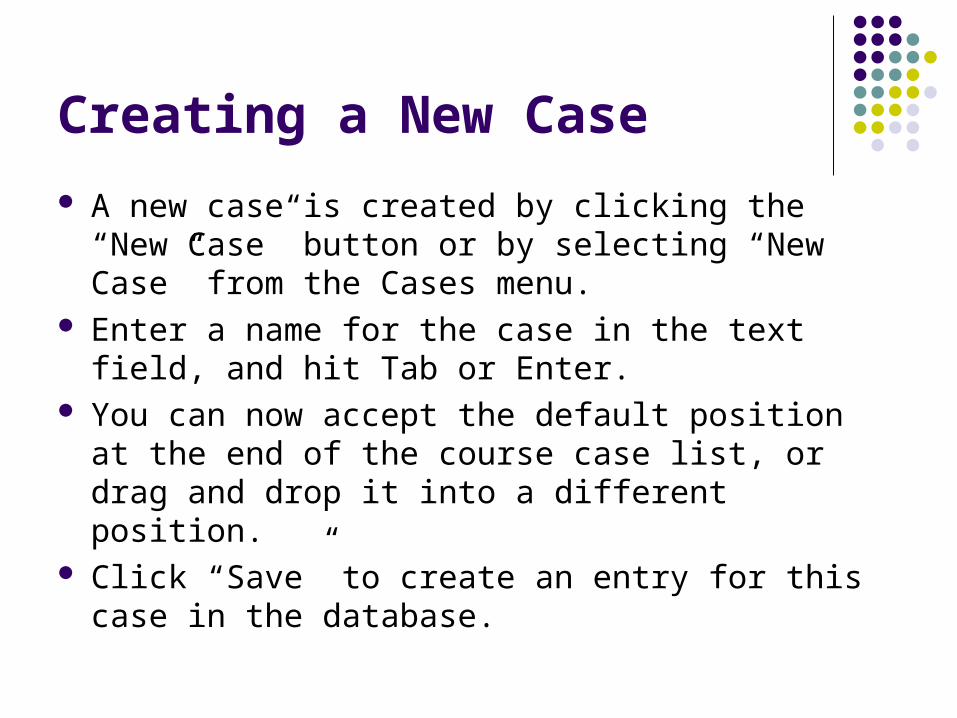
Creating a New Case
A new case is created by clicking the “New Case” button or by selecting “New Case” from the Cases menu.
Enter a name for the case in the text field, and hit Tab or Enter.
You can now accept the default position at the end of the course case list, or drag and drop it into a different position.
Click “Save” to create an entry for this case in the database.
Basic Case Data
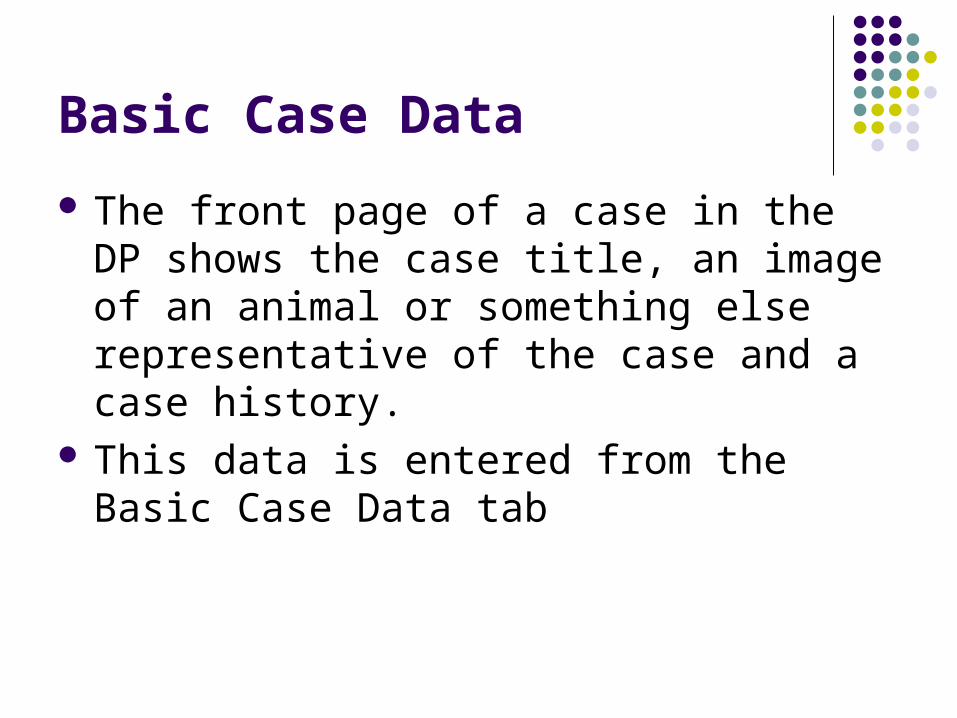
The front page of a case in the DP shows the case title, an image of an animal or something else representative of the case and a case history.
This data is entered from the Basic Case Data tab

Basic Case Data
Case Number Button Case Title Author Other Attributions Species Image History/Signalment/PE Diagnosis Due Date
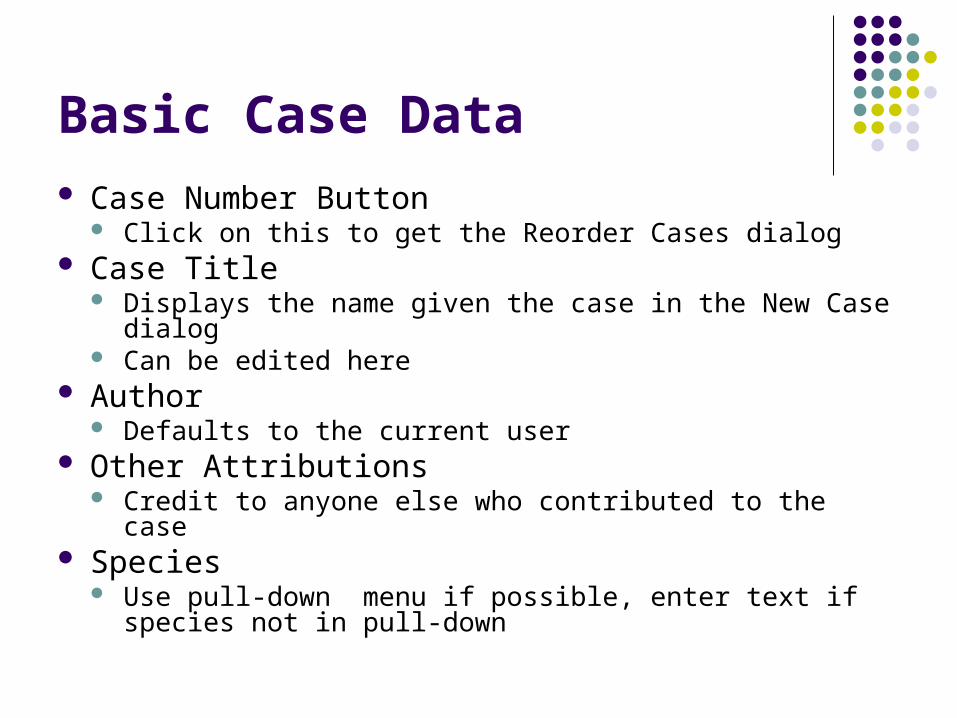
Basic Case Data Case Number Button
Click on this to get the Reorder Cases dialog Case Title
Displays the name given the case in the New Case dialog Can be edited here
Author Defaults to the current user
Other Attributions Credit to anyone else who contributed to the case
Species Use pull-down menu if possible, enter text if species not in
pull-down
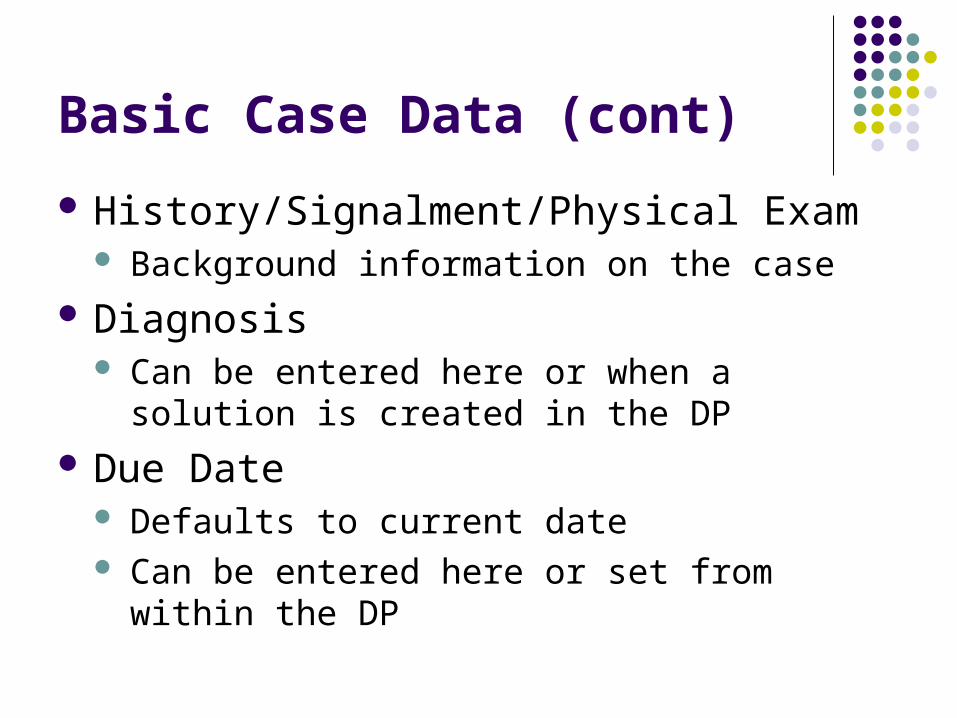
Basic Case Data (cont)
History/Signalment/Physical Exam Background information on the case
Diagnosis Can be entered here or when a solution is created
in the DP Due Date
Defaults to current date Can be entered here or set from within the DP

Selecting Images
Areas that can contain an image will allow you to select an image by clicking on the space.
You will be given the option to Choose from File or Choose from Database
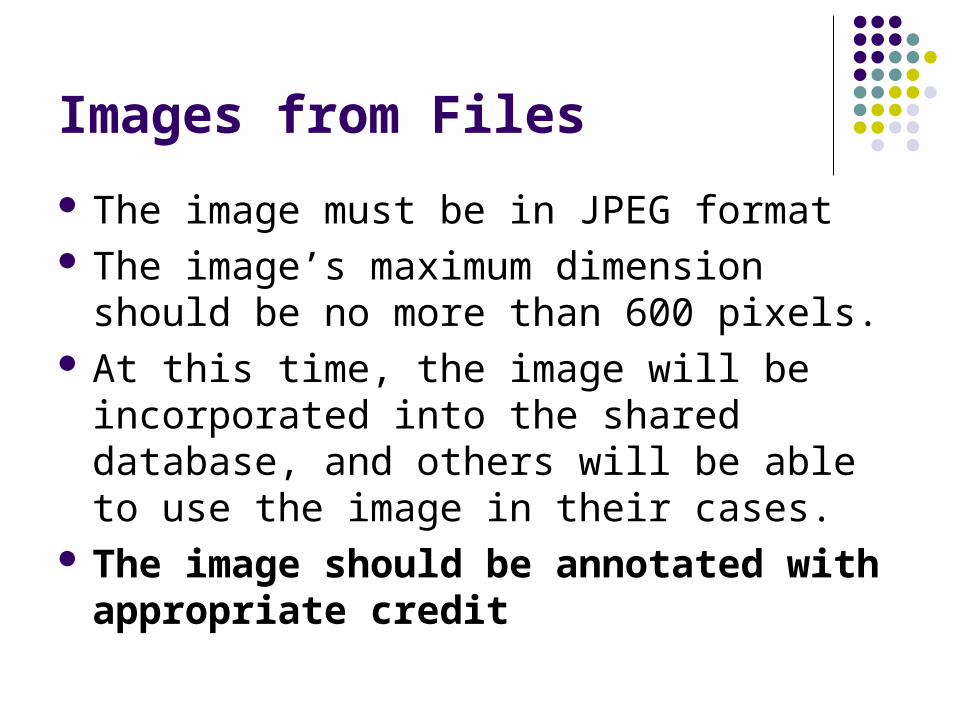
Images from Files
The image must be in JPEG format The image’s maximum dimension should be
no more than 600 pixels. At this time, the image will be incorporated
into the shared database, and others will be able to use the image in their cases.
The image should be annotated with appropriate credit
Images from the Database
The only information I have available to help users find images in the database is the original file name.
The selector will let you browse through the images and see what the images look like.
There is another way to get more information about many of the images, which we will see later.
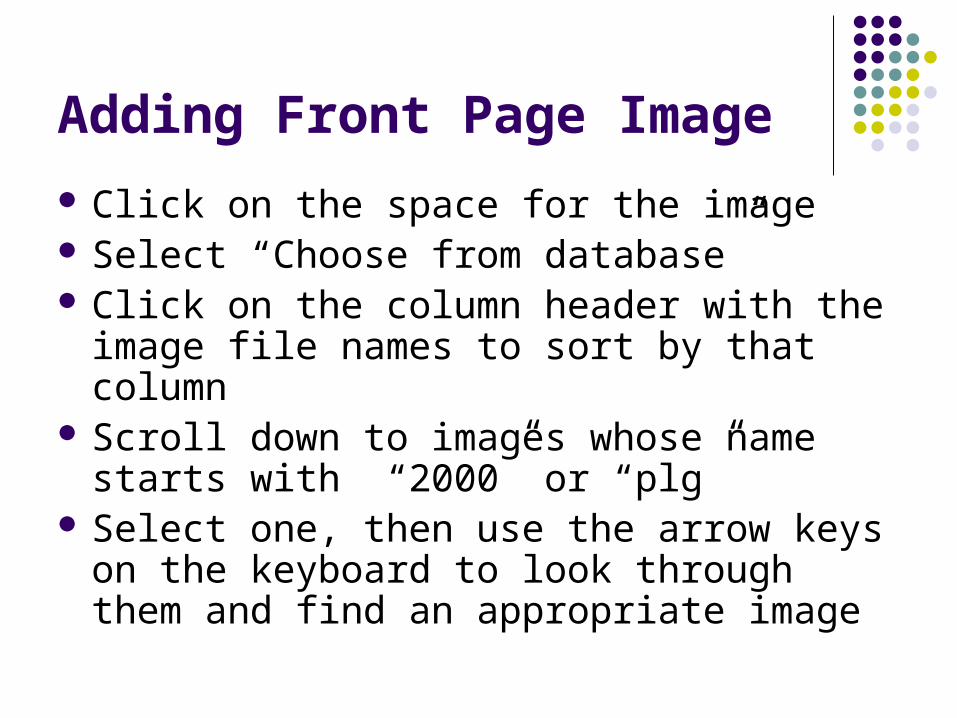
Adding Front Page Image
Click on the space for the image Select “Choose from database” Click on the column header with the image
file names to sort by that column Scroll down to images whose name starts
with “2000” or “plg” Select one, then use the arrow keys on the
keyboard to look through them and find an appropriate image

Lab Data Sheet
Test panels Entering values Auto-calculations Individual tests Custom tests Adding image links Adding web links Editing terminology Editing other fields
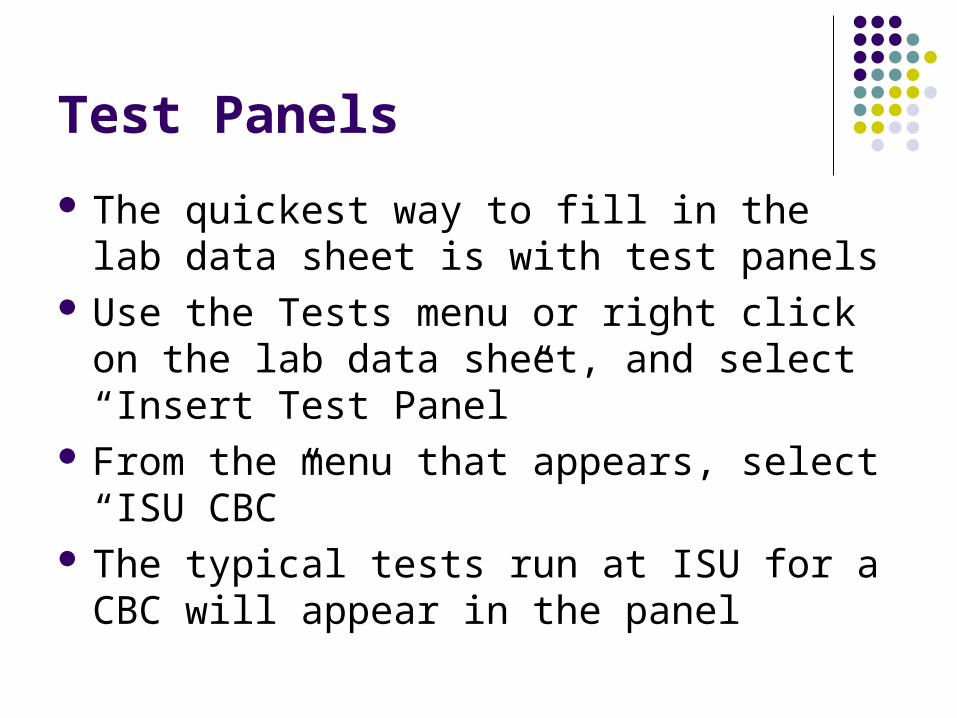
Test Panels
The quickest way to fill in the lab data sheet is with test panels
Use the Tests menu or right click on the lab data sheet, and select “Insert Test Panel”
From the menu that appears, select “ISU CBC”
The typical tests run at ISU for a CBC will appear in the panel
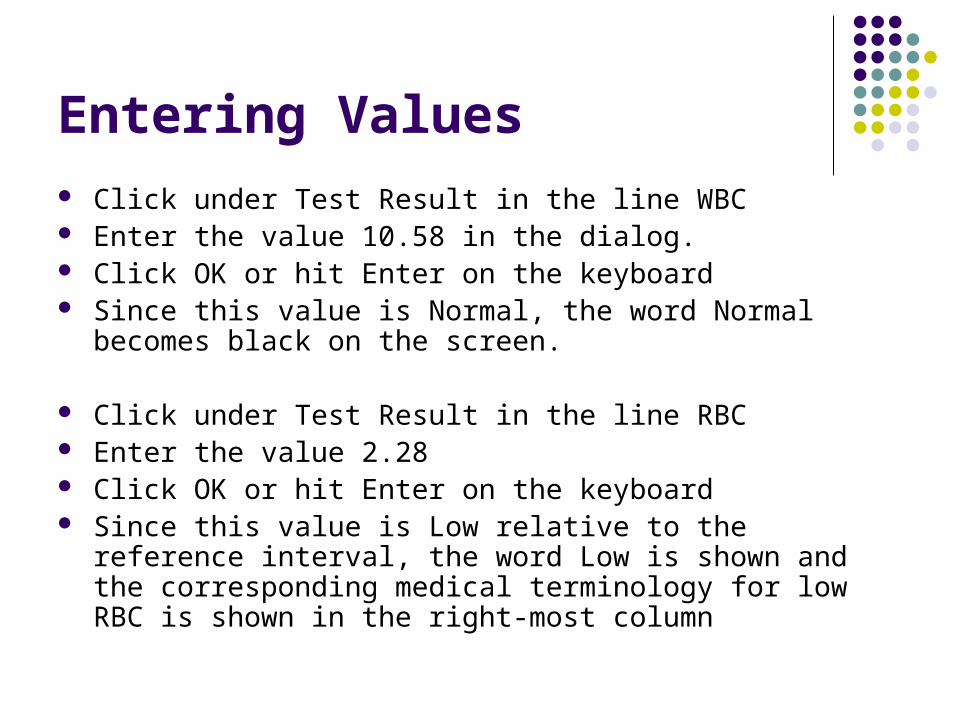
Entering Values Click under Test Result in the line WBC Enter the value 10.58 in the dialog. Click OK or hit Enter on the keyboard Since this value is Normal, the word Normal becomes black on
the screen.
Click under Test Result in the line RBC Enter the value 2.28 Click OK or hit Enter on the keyboard Since this value is Low relative to the reference interval, the word
Low is shown and the corresponding medical terminology for low RBC is shown in the right-most column
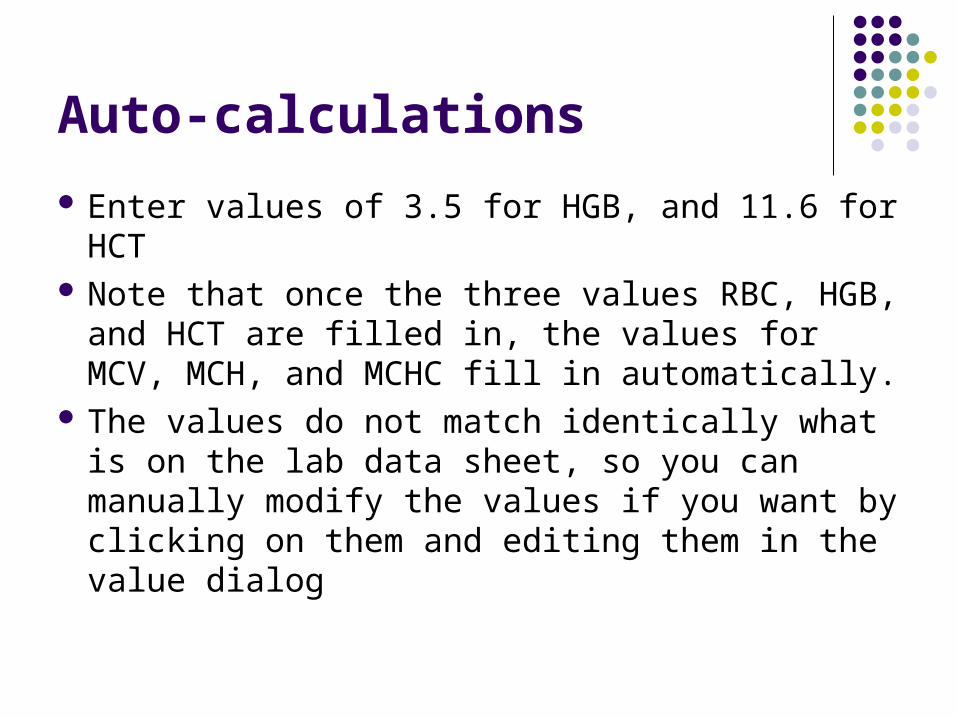
Auto-calculations
Enter values of 3.5 for HGB, and 11.6 for HCT
Note that once the three values RBC, HGB, and HCT are filled in, the values for MCV, MCH, and MCHC fill in automatically.
The values do not match identically what is on the lab data sheet, so you can manually modify the values if you want by clicking on them and editing them in the value dialog
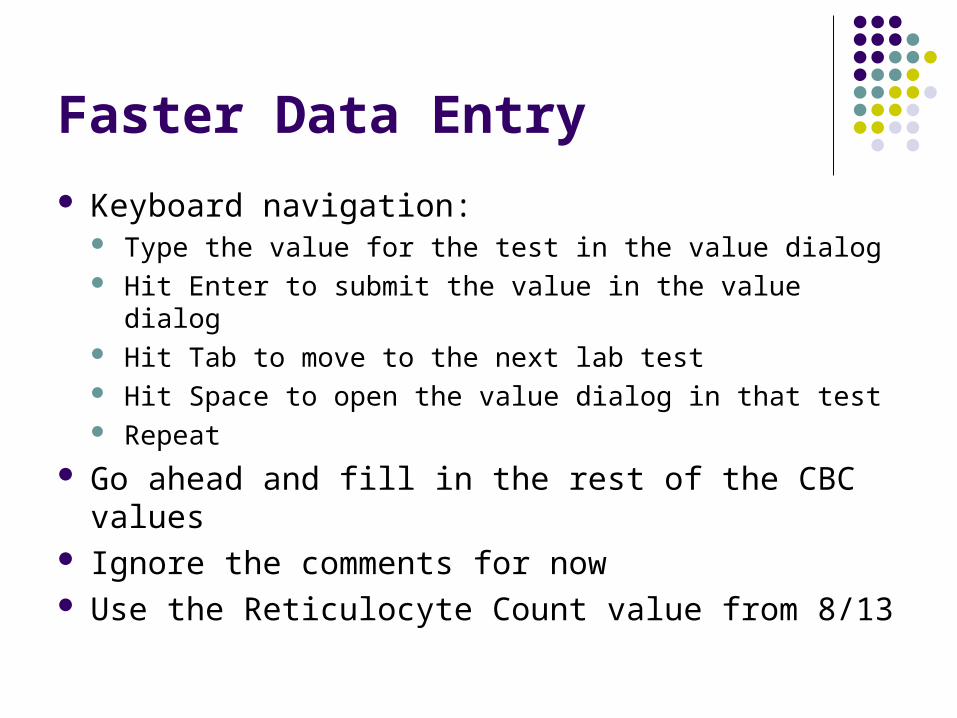
Faster Data Entry
Keyboard navigation: Type the value for the test in the value dialog Hit Enter to submit the value in the value dialog Hit Tab to move to the next lab test Hit Space to open the value dialog in that test Repeat
Go ahead and fill in the rest of the CBC values Ignore the comments for now Use the Reticulocyte Count value from 8/13
Adding an Individual Test
Click to the left of the test name button on the RBC test, to select that test
Right click on the lab sheet and select “Insert Individual Test” to see a list of all the ISU lab tests in the database
Select RBC Morph from the list in Hematology
Click in the text area of the new test, to get a dialog
Enter “slight anisocytosis and polychromasia”
Adding a Custom Test
There is no test to represent the comment under HGB
If we want that in the lab sheet, we can make a custom test

Adding a Custom Test
Click to the left of the test name button Right click and select “Insert Custom Test” and the
“Description” from the submenu that appears Name the test “HGB Note” and give it the
abbreviation “Note” When the test appears in the data sheet, click on
the text area to enter the note NOTE: By adding this data in this way, the students
will be required to record an observation about this comment when they do the case in the DP
Save the case!
We’ve done quite a bit of data entry, so we should save the case.
Click the button in the tool bar, use Ctrl-S from the keyboard, or use the Save Case option in the Cases menu to save the case
Oh no, my case wouldn’t save!
The program is making backups to your local computer whenever you modify the case, and at regularly scheduled intervals.
If your case does not save to the database, or the program freezes, do not panic!
Restoring from Backup
Close the program. Restart the program and use Restore from
Backup in the Tools menu The structure of the backup file names are
the case number, then the species, then the database name (usually Pathfinder_XX), then the number of the backup, with elements separated by underscores.
You want to restore from the latest backup
Try it!
Close the case Select “Restore Case from Backup” and see
what files appear. Select the one with the largest final number
and verify when it opens that it has what you had last put in.
Save the case to the database to get things synchronized again
Links to Image and Web Sites
The History field, Description/Comment fields, and Centered Text Headers can have links to images and web sites embedded in them.
The image links have an associated title and description and display in a viewer in the program.
The web site links cause the user’s preferred browser to open to the URL specified in the link.
Adding an Image Link
Click on the text area for the RBC MORPH comment.
In the dialog that appears, double-click on the word “polychromasia”
When it is highlighted, right-click on it Select “Add Image Link”
Adding an Image Link (cont)
A browser of existing image links that you may choose from appears
Scroll down to an image linked named “polychromasia” and click “OK” after you have viewed the image.
Click OK in the text editing dialog
Making a New Image Link
Highlight the text you want linked to the image (highlight anisocytosis)
Right-click to bring up the option to “Add Image Link”
In the dialog that appears, click the “New” button
Enter a title, species (if appropriate), and description, and select an image. (C105-BS.jpg from the database)
Making a New Image Link (cont)
Click “Save” to enter this image link information in the database The image link data is put into your library of image link
data. You can edit the image link data or delete it from your
library
If you want to share the image link data with others, click “Publish”. You do not have any control over a published image link,
but the fact that you created it will be retained
Editing a Public Image Link
If there is a public image link that is similar to what you want, but you just want to change some of the text, you can create a copy.
This copy is made in your image link library You can now edit this and use it in your
cases
Deleting or Editing an Image Link
Select exactly the same text that was selected to create the image link
Right-click to bring up the pull-down menu Select “Edit Image Link” or “Delete Image
Link” NOTE: “Delete Image Link” does not remove
the image link itself from the database, it merely removes the link to that information from the field on the lab sheet.
Adding a Web Link Open a web browser on your computer and do a
search for oxyglobin to find an appropriate web link for that term
Once you have the web site displayed in the browser, copy the URL for the site into your clipboard
Go back to the case editor, and click on the text for the HGB Note field.
Highlight the term “oxyglobin”, right click, and pick “Add Web Link”
In the dialog that appears, paste the URL you copied, using CTRL-V
Check the Case
Save your case to the database. Login to the DP if you are not currently
logged into it, and open your case. On the lab data sheet, click on the two links
you created you so can see how these links behave in the DP
Editing a Lab Test
Sometimes you may want to change the units, reference interval, or terminology for a test.
Units and reference intervals can be modified on a per-test basis. These changes will not be associated with the tests in the database, but will only apply to this one instance
Medical Terminology
When an abnormality occurs in the lab data, DP users must enter medical terminology for the abnormality before they can continue
To keep the cases consistent with your course material, medical terminology can be edited and saved to your preferences in the database.

Editing Terminology
In the RBC test, click on either the word “low” or the word “anemia”
This brings up a dialog that lets you change the pull-down menu and the associated terminology for the abnormal states
This dialog also lets you set the correct state for a test, if the auto-calculation is unable to determine the correct state.

Editing Terminology (cont) The pull-down menu
students will choose from will have the terms Normal, High, and Low
If the value is High, the preferred terminology is “polycythemia”, but “erythrocytosis will also be accepted.
If the value is low, only anemia will be accepted
The correct assessment is set at low
Editing Terminology (cont)
If you want to change the terminology for just this case, change it in the dialog and click OK
If you want to change the terminology for this case and all cases you create in the future, check the box to save as default terminology.
Currently, modified terminology cannot be applied to existing cases
Chemistry and Urinalysis
Click on the last item on the lab sheet. Add the ISU Chemistry Test Panel using the
Test menu or right clicking in the lab sheet and using the popup menu
Click on the last item on the lab sheet, if it is not already highlighted
Add the ISU Urinalysis Test Panel Save your case
Immunology Tests Insert the immunology tests by choosing “Insert
Individual Tests” Click on the Immunology tab Move the tests to the right side by double-clicking
tests in the immunology tab, or selecting them on the left and using the >> button to move them to the right.
Rearrange the tests on the left via drag and drop if desired
Click “Add Tests” If you want to change the heading to “General” to
match the lab sheet, do that by clicking on the text and modifying it in the dialog that appears
Mail-Out Tests
Add the heading “Mail-Out” by selecting the test at the bottom of the lab sheet, and choosing “Centered, Editable Text Header”
When the test appears, click on the text area and edit the text in the dialog
Headings generally look best when entered as all upper-case letters
Toxoplasmosis Test
This is probably best entered as a custom Description-type test
Select the last test in the lab sheet Insert a custom Description test Enter the whole name and an appropriate
abbreviation in the dialog fields Click on the text area in the lab sheet to add
the titer information
Hemobartonella Test
This test is not in the database at this time Since this is a test with a “negative/positive” result,
we will make it appear in the DP as a test with a pull-down menu for the students to select from
Custom tests with pull-down menus are Comparison to Reference Interval Comparison to Reference phrase Assessment Comparison with Adjusted Result (reference interval)
This test should be an assessment type

Hemobartonella Test (cont)
Select the last item in the lab sheet Choose “Insert Custom Test” and then
“Assessment” from the Tests menu or from the pop-up menu on the lab sheet
Provide an appropriate name and abbreviation
Enter “neg” or “negative” for the test result Save the case Open the case in the DP and verify that things
look right.
Expert Path Tab
The Expert Path tab displays the expert path, if one exists for the case
Since we haven’t created a solution yet, there is no expert path.
Expert paths are created and edited in the DP
Expert paths may be available when we copy a case from another course
Adding a Case from another Course
If you have access to more than one course and want to add a case from another course to this course, you can do that in the case editor.
There is also an easier way to do it in the Course Manager, which we will look at later
Adding a Case from another Course (cont)
Switch to the course “DP Workshop” using the course selector in the toolbar
Click on “Open Case” Open Case 1 When the case is opened, use the Cases
menu to select “Save As…” In the dialog that appears, use the course
selector to choose the course to put it into

Adding a Case from another Course (cont)
If you click OK now, the case will be added as the last case in the course.
If you want to reposition it, hit Tab or Enter, then use drag and drop in the pane listing the cases to position the case in the course.
Close the case Switch back to your own course Open the case you just added and look at the
Expert path tab
Generate Solution
If you want to modify the expert path, you must create your own solution in the course database.
Option 1: Start the DP and work through the case Option 2: Under the file menu in the Case Editor,
choose “Generate Solution” This takes the expert path and recreates it as your
solution in the course database. Now you can open the DP and will have a solution
already, so you can edit the existing solution rather than starting from scratch.
Error Log and Version Number
The report generator error log file is
C:\\DiagnosticPathfinder\CaseEditor\
CaseEditorErrorLog.txt
The version number of the program can be found in the error log or using About under the Help menu
It is also displayed on the Login Dialog

Things we did not cover
Details about custom tests Custom menus in tests Creating test panels Creating master test lists Changing units systems throughout a case Order cases dialog Delete cases dialog