Embed Size (px)
Citation preview


The Scalp Solution Method is is part of the Hair
Equilibrium Program from Hair Loss Revolution.
Copyright 2016

Introduction
In this module you will learn about The Scalp Solution
Method. This is the number one way that you can
stimulate new hair growth directly.
This method can be used effectively on any thinning or
receding part of your scalp. For diffuse hair loss though,
(which is more common in women and not the typical M
shaped pattern) this method can still work, but it is slightly
less effective due to the inaccessibility of the scalp.
However, diffuse hair loss is often easier to recover from
with diet and scalp exercise-based techniques.
The Scalp Solution can be effective by itself. If you did
nothing else but this, you would perhaps have a little
success, but unfortunately any re-growth would be short
term – since you would need to fix the underlying problem
that was causing hair loss in the first place otherwise the
new hairs would simply miniaturize and die again.
That is why the diet changes, microbiome optimization,
scalp exercises and other techniques are so important,
and I recommend you do those first before doing The
Scalp Solution Method – (see the other modules of the
Hair Equilibrium Program.)
The Microbiome Module is especially important for
helping this method work to its full potential.

The Scalp Solution is technically known as ‘hair follicle
neogenisis’ – that is, forcing new hair follicles to grow.
There are 3 parts to this method.
Step 1: Clean the scalp and make it an optimum growing
environment for new hair.
Step 2: Use the dermaroller to stimulate the scalp where
hair has been lost or is thinning.
Step 3: Apply the hair growth elixir to promote and feed
new hair growth.
Why Should You Use The Scalp Solution?
We use the Scalp Solution because unaided hair follicle
neogenesis is incredibly hard without some direct
stimulation.
Although you should have optimized your diet and
microbiome to keep all of your remaining hair, actually
enabling new hairs to penetrate through the scalp won’t
happen by itself – we need encourage new hair growth
more aggressively and mechanically.
This is how you can stimulate and at the same time
enable new hair follicles to grow through the scalp. But
you must have completed the other modules and
optimized your body for hair growth first.
Otherwise the new hairs that do grow will be quickly
miniaturized.
So, make sure you go through the other modules and
implement the techniques before moving on to this
advanced method.
Why Is It Important To Optimize Your Diet,
Lifestyle & Microbiome First?
If DHT is still attacking your hair follicles because of
autoimmune problems coming from an unhealthy
microbiome then the new hairs will have no chance of
growth. They will be attacked before they are even
visible.
If the building blocks (nutrients, minerals etc) for the hair
follicle are not available from the blood, the follicle will die
very quickly. And if there is a low blood supply (solved
using the scalp exercises) then no nutrition will reach the
follicle allowing it to grow.
It’s important to get all these parts of the equation right
first before trying the Scalp Solution otherwise you will
probably be disappointed.
In some cases it will still work, but that is usually when
the initial hair loss has been caused by some particularly
traumatic event, not because of typical pattern baldness
related reasons.

Step 1: Cleaning The Scalp
Over time a layer of sebum, also known as dermal plaque
builds up on the scalp. This is a result of dead skin, the
use of hair care products, low quality water and
contaminants, chemicals in shampoos and oils secreted
through the pores.
Why Do We Need To Get Rid Of The Plaque?
This layer of embedded sebum can be harmful to the hair
follicles, containing, amongst other things, DHT and
acids, which can decrease the health of the hair by
attacking or suffocating the hair.
For new hair growth, it’s important that the scalp itself is
in as good condition as possible. Also, since in the next
step you’ll be using the dermaroller to stimulate the scalp
it needs to be as clean as possible to have maximum
impact and low risk of infection.
These peels achieve 3 main things:
Removing DHT
DHT can be excreted through the pores and slowly
attacks the hair follicle, causing hair follicle
miniaturization. With the peel we can remove any DHT
giving the new hair follicles their best chance to grow.
Of course, over time the DHT will build up again (which is
why we use the microbiome method to decrease DHT

sensitivity) but it helps in this early stage to remove as
much as possible.
Removing microbes that could cause
infection/irritation with the dermaroller
This layer of plaque will generally just get in the way
when you go on to use the dermaroller and there is a
chance it would increase the likelihood of infection. The
dermaroller is more effective when your scalp is nice and
clean.
Unclogging and unblocking the pores, which allows
the scalp elixir to penetrate as deep as possible
The third step is using the homemade elixir to feed the
new hair growth, so it’s important that the elixir penetrates
as deep as possible into the scalp and root of the hair. If
the embedded sebum were still there it would stop the
elixir working to its full effect.
How To Get Rid Of The Plaque
Previously I recommended a salicylic acid peel to remove
this layer of dermal plaque – this can work well.
However, some people are not happy about using this
kind of product on their skin. Typically the salicylic acid
peel will work fine for you – but there is another option,
which will help to remove the dermal plaque gently and
naturally too.

The second option is to make your own peeling mixture,
which is now what I use instead of the salicylic acid. Just
like salicylic acid was originally used to help with wrinkles
by exfoliating the outer layer of skin, this mixture is also a
powerful exfoliate.
Using Salicylic Acid
It is safe to use salicylic acid on your scalp (as long as
you’re not allergic to it.) Most people don’t have any
problems, however it is wise to do a skin test first, and
then test your scalp around the hairline.
The root of the hair grows from 4mm deep down in the
skin’s surface so using this surface peel won’t affect the
hair at its root. With that said, go steadily.
Here are a few rules for using the peel:
- Do not leave the salicylic acid on your scalp for
longer than 15 minutes before washing it off.
- Wait at least 2 weeks before completing
subsequent peels
- Perform a skin test before using the acid on a
large area of skin
- Use the homemade exfoliate if you have any
problems or sensitivity with salicylic acid
- If you do feel a stinging sensation then wash off
the acid immediately
- If you do notice large amounts of peeling when
using the acid switch to the homemade exfoliate if
you want to do another peel.

When the peeling is done you shouldn’t notice any large
chunks of skin peeling off and your skin should not feel
itchy or painful. You should make sure of this with the
skin test first.
The easiest place to buy salicylic acid is online, although
some well stocked beauty and cosmetic shops may have
it. Amazon and eBay usually have a wide selection on
sale.
Choose a product with 10% concentration.
At this point, when using the salicylic acid you will also
want to apply a small amount of coconut oil to protect the
hair. Since the salicylic acid will contain an alcohol
solvent you can use the coconut oil to protect the hair
since the alcohol will have a slight drying effect on the
hair.
You can apply a small amount of coconut oil to the hair
strand before using the salicylic acid, or if you are
uncomfortable with this, then just use the homemade
exfoliate.
Twenty minutes before beginning a salicylic acid peel you
should apply the coconut oil to the area, but only to the
strands of hair. Try not to get the coconut oil on your
scalp, as this will reduce the effectiveness of the peel.
Only apply a small amount of oil, just enough to cover the
strand.
Now you can move on to carefully applying the salicylic
acid. The best way to do this is with a small plastic

pipette. Part your hair as much as possible so that the
scalp is exposed and carefully add the drops of acid to
the scalp.
The best way to add the drops is by gently touching the
scalp where you want to apply it – you won’t even have to
squeeze the pipette because a small drop will come out
when you touch it against your scalp.
This way, not too much liquid will come out. Try not to get
any on the hair follicle.
Create a light coverage of salicylic acid across the
affected area. For example your temples where the hair
line has receded.
Don’t worry too much if some acid goes on your hair, it
won’t damage it, and the coconut oil will also help protect
it.
Once the acid has been applied you can gently rub it in to
the scalp using the light touch of a finger.
If at any points you feel stinging or burning then
immediately wash off it off.
If it feels fine then leave it on for 10 minutes and then
wash off with cool water.
How To Tell If The Peel Has Worked

You should check your scalp over the next 10 days to see
that the peel has worked. Ideally you notice a light
peeling as the dead skin and sebum are removed.
If you notice no peeling at all then this may be a sign that
you need to complete another peel.
I recommend that you wash your hair only once using a
natural homemade shampoo, but do not use any other
products after completing the peel, such as gels or waxes
etc.
The ultimate sign that the peel has worked is that your
scalp looks fresher and the skin looks renewed (this is
why its used by people to make the skin on their face look
younger.)
If you notice no change then you should consider
completing another peel a week later. But do not do more
than 2 per month. If you’re happy that your scalp has
been sufficiently exfoliated then its time to move on to
using the dermaroller.
Making Your Own Exfoliate Peel
Salicylic acid can sometimes be hard to buy, it may not
always come in the right concentration and some people
are also sensitive to it or would rather use only natural
ingredients.
In these cases or if you just prefer to make your own, a
homemade exfoliate peel is the best way to go and is
now my default option.

To make this yourself you will need:
Himalyan or Celtic sea salt
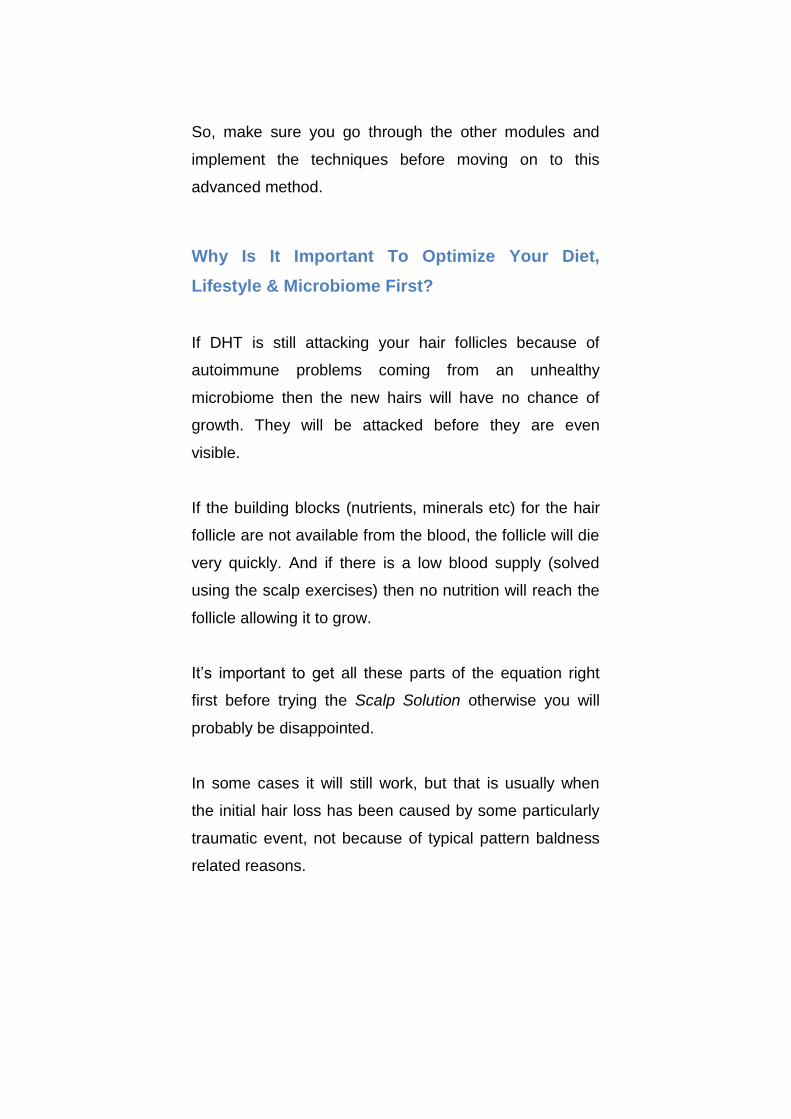
Powdered activated charcoal
Ginger
Cucumber
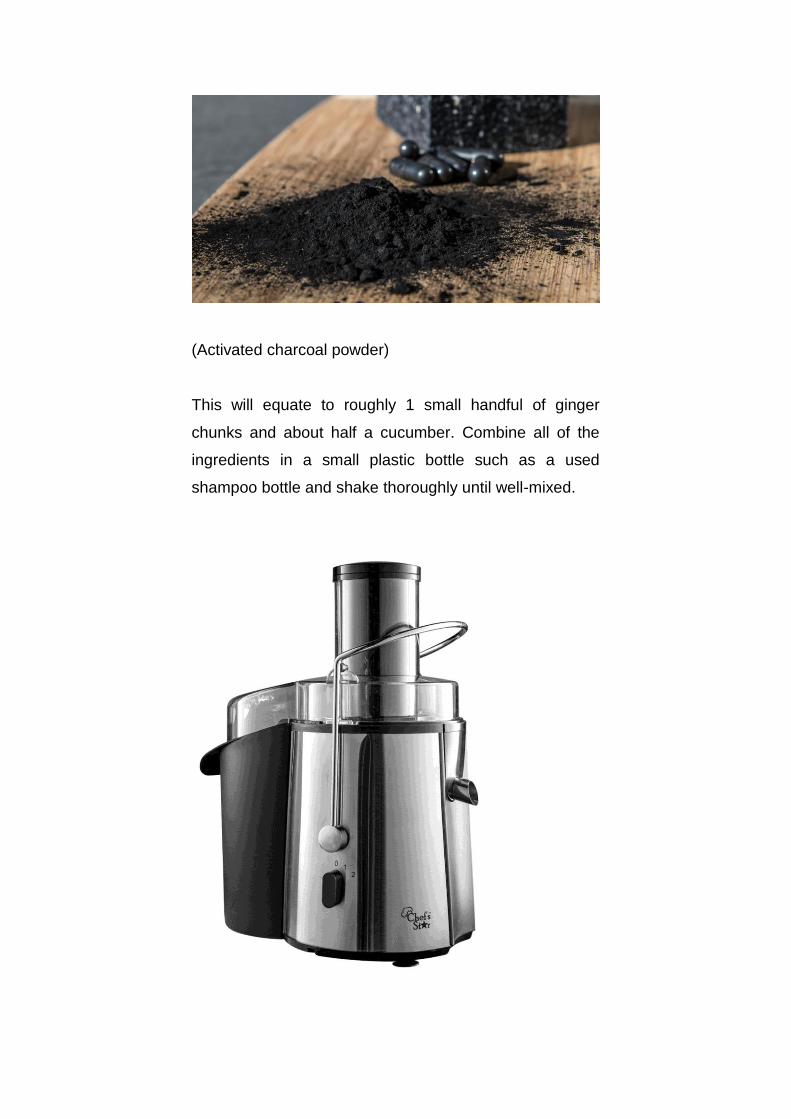
A juicing machine
You should have already acquired a juicer for the module
on alkalsing your body; this is an important step, so don’t
skip it. Vegetable juices are an important way to
rebalance the pH of your body.
Take half a tablespoon of salt, 1 teaspoon of powdered
activated charcoal and approximately 100ml of mixed
ginger and cucumber juice.
(Himalayan Salt)
(Activated charcoal powder)
This will equate to roughly 1 small handful of ginger
chunks and about half a cucumber. Combine all of the
ingredients in a small plastic bottle such as a used
shampoo bottle and shake thoroughly until well-mixed.

(A vegetable juicer)
Apply the mixture to the area of scalp that you want to
regrow and gently massage into the region. There is no
need to use coconut oil when you make your own
exfoliate.
Once gently massaged in, let the mixture sit on the skin
for 3-5 minutes before rinsing out with warm (but not hot)
water.
Why You Should Do A Skin Test
It’s important to do a skin test before applying the peel to
a larger area of the scalp. This will show you if you have
sensitivity to salicylic acid before trying it on a larger area,
which cause more damage.
I would recommend doing a skin sensitivity test for both
methods, although the salicylic acid peel is more likely to
cause problems.
Take a small amount of the salicylic acid or homemade
peel mixture and apply it to your neck just below your
jawline. This is a typically sensitive area of skin, so if
you’re fine here, you should be fine on your scalp.
Leave the mixture on for ten minutes and then wash off.
If it gets red and itchy at any point then wash it off
immediately. If the skin feels fine after ten minutes then
you should be fine. There may be some slight tingling but
this is nothing to worry about.

Observe the patch of skin over the next week to look for
any adverse reactions. If it goes red and itchy then you
may be allergic to it.
Regulating Scalp Oils
The overall health of your scalp is important for this
technique to work as well as it can. For this reason I want
to emphasize a few points about diet that will help to
regulate oiliness and dryness leading to optimum scalp
health.
An oily scalp happens because the body is trying to get
rid of harmful oils from inside the body, and it tries to
excrete them through the skin. These harmful oils come
from our food, which will be processed foods. Natural,
unprocessed plant based foods don’t contain these
greasy oils, so this kind of diet is perfect for cleaning up
the oils.
The oils will also be coming out of your skin because
other organs of elimination are overworked and not
operating at full capacity – these include the liver, kidneys
and colon.
My first recommendation would be to drink a full pint of
warm water with the juice of 1 lemon each morning. This
will help to flush through the colon, alkalise the body and
break up grease.

I would also recommend supplementing your diet with
Spirulina, chlorella and wheatgrass powder.
You can either mix these in with a smoothie or take them
in a capsule; the more the better. These will absorb and
help to eliminate harmful oils from your body.
(Spirulina and Chlorella powders)
Generally try to remove any processed foods from your
diet. Replace processed foods with plant-based foods
that contain healthy oils. Drink plenty of water.
If you have followed the dietary steps in the other
modules of the Hair Equilibrium Program (which you
should have before going through this module) then you
should be following a more healthy diet anyway.
Regulating Dandruff & Dryness
Most people try to fix their dry and flaky scalp using a
shampoo. This is not right way to do it, you need to fix the
underlying cause of dryness first.
A shampoo won’t help much, and can even make it worse
from all the chemicals in the shampoo.
I recommend you check out the ‘Shampoo Secrets’
ebook and find a homemade shampoo for dandruff.
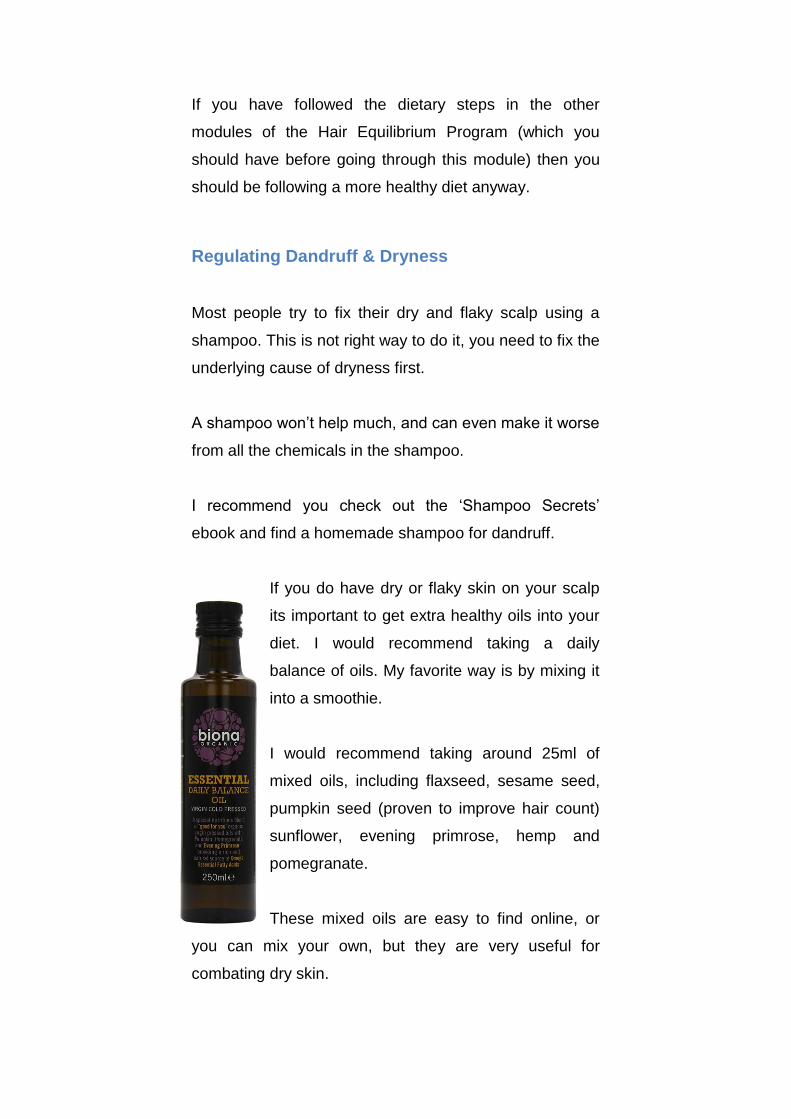
If you do have dry or flaky skin on your scalp
its important to get extra healthy oils into your
diet. I would recommend taking a daily
balance of oils. My favorite way is by mixing it
into a smoothie.
I would recommend taking around 25ml of
mixed oils, including flaxseed, sesame seed,
pumpkin seed (proven to improve hair count)
sunflower, evening primrose, hemp and
pomegranate.
These mixed oils are easy to find online, or
you can mix your own, but they are very useful for
combating dry skin.

Step 2: Using The Dermaroller
Why We Use The Dermaroller
The dermaroller is used to stimulate the scalp and
increase blood flow to the new hair follicles. The tiny pins
of the dermaroller penetrate just through the top layer of
the skin.
Tiny pin pricks are created in the scalp, this causes to the
body focus attention on that area and increase new cell
production in that area.
This stimulation of increased circulation and cell
production is what helps the new hair follicles to grow.
Much like when you trim a bush, or cut the grass this
stimulates the plant to grow more.
FAQs About The Dermaroller
Which dermaroller should I choose?
There are lots of different styles, shapes and sizes of
dermaroller, but they essentially all do the same thing.
Get one with a round roller and high quality metal pins.

Whats is the best size of dermaroller?
The best size dermaroller I’ve found to be around 0.5mm,
smaller than 0.25mm will have a reduced affect and
larger than 1mm could cause too much damage. 0.5mm
is the most common size so I would recommend that.
Can the skin get infected from the dermaroller?
It’s very important to properly wash the dermaroller
before you use it again. If the pins aren’t washed properly
then you increase the chances of infection.
Pour boiling water over the roller before using it, but
make sure it cools before applying to your scalp.
Infection is very rare, but irritation can occur. Use your
own judgment about whether the irritation is too bad to
continue.
If you have a scalp infection before using the dermaroller
then wait until this clears up before continuing.
Will the dermaroller pull any hairs out?

The tiny pins of the dermaroller are not long enough to
damage any exsisting hair follicles, however you should
keep an eye out that it isn’t causing any undue damage to
the scalp.
Typically you’ll be using the dermaroller on an area of
scalp that is already bald, or along the hairline where
there are less hairs.
If you’re using the dermaroller for diffuse hair loss than its
important to make sure hair doesn’t get caught in the
roller. You may have to do shorter strokes.
How do I clean the dermaroller?
It’s important that you clean the dermaroller each time
you use it. If the pins are dirty then you will increase your
chances of getting an infection or irritating the skin.
Take an antibacterial wash and mix with water in a mug.
Place the dermaroller inside the mug and leave for 1
minute and swish around.
Remove the dermaroller from the mug and rinse with
boiling water.
Dry it, and place it back in its case, or a clean container.
How To Use The Dermaroller
The dermaroller is used to mildly damage the scalp.
Since the body senses this damage it rushes to rebuild

and repair the scalp with massively increased blood flow,
which in turns helps the growth of dormant hair follicles.
The dermaroller has been used for beauty purposes for
decades, normally being used to decrease the
appearance of scars and stretch marks by stimulating
new cell production and increased circulation in the
affected area.
Take the dermaroller and move it firmly in strokes across
your scalp. You want to apply enough pressure to
penetrate the top layer of skin, but it shouldn’t bleed.
If you are to gentle the benefit will be less, if you push too
hard there will be bleeding. You want to be in the middle.
Use the dermaroller over the area your have used the
peel on.
You’ll want to use the dermaroller in multiple directions
over the same area so that there is good coverage of the
pinpricks evenly over the surface of the scalp.
Now we move on to applying the elixir. You will need to
wait 5 minutes after using the dermaroller and then
apply the scalp elixir.

Step 3: Applying The Scalp Elixir
The scalp elixir is the homemade liquid that is applied to
the scalp over the same area the dermaroller has been
used and the scalp has been peeled.
This liquid has been specifically designed to nourish the
new hair follicle as it grows out of the skin. It also helps to
block any DHT, which might attack the follicle.
The mixture is also designed to not block of clog the hair
follicles which would harm the new hair follicle.
It’s important to make the mixture right by following the
instructions so that the elixir works as designed.
The Ingredients & Why To Use Them
The elixir is made up of specifically chosen ingredients
that are very important to the process of hair growth.
The best place to find these ingredients is on Amazon or
eBay. Sometimes they will be available in a local shop
but most of the time you will need to order them online.
These ingredients will feed the dormant hair follicles,
block DHT, improve circulation and blood flow, and keep
the scalp clean during the process.
Emu Oil
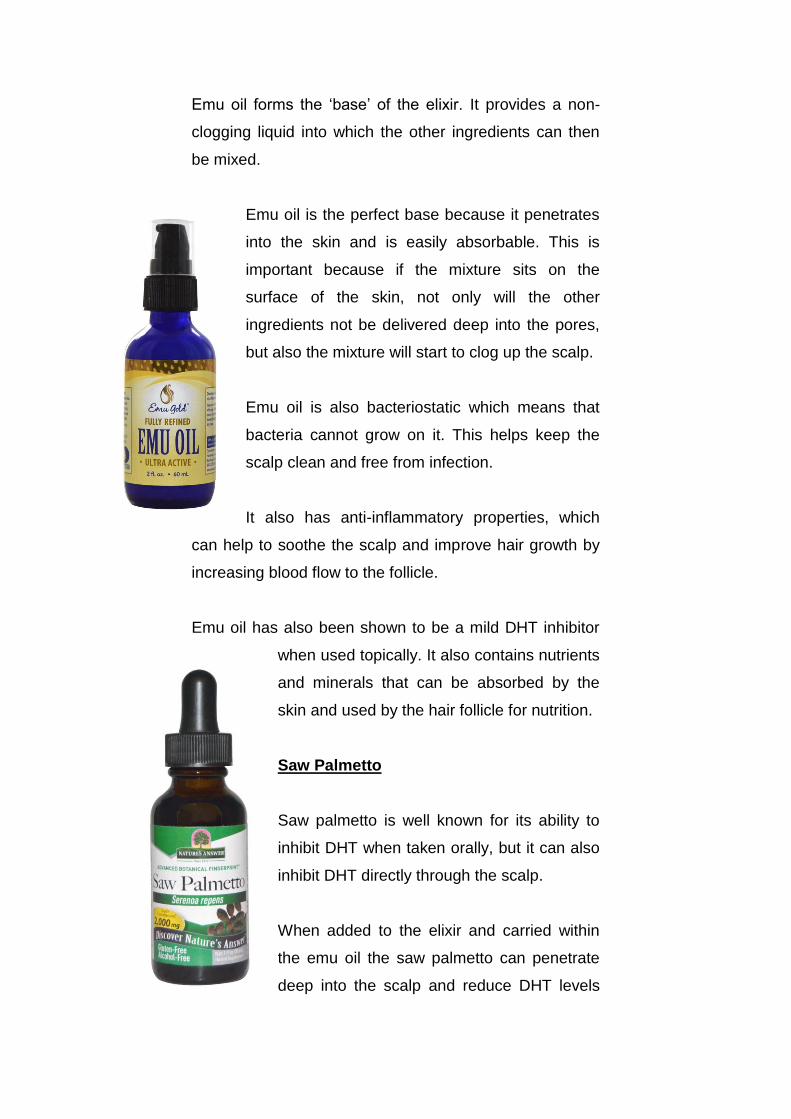
Emu oil forms the ‘base’ of the elixir. It provides a non-
clogging liquid into which the other ingredients can then
be mixed.
Emu oil is the perfect base because it penetrates
into the skin and is easily absorbable. This is
important because if the mixture sits on the
surface of the skin, not only will the other
ingredients not be delivered deep into the pores,
but also the mixture will start to clog up the scalp.
Emu oil is also bacteriostatic which means that
bacteria cannot grow on it. This helps keep the
scalp clean and free from infection.
It also has anti-inflammatory properties, which
can help to soothe the scalp and improve hair growth by
increasing blood flow to the follicle.
Emu oil has also been shown to be a mild DHT inhibitor
when used topically. It also contains nutrients
and minerals that can be absorbed by the
skin and used by the hair follicle for nutrition.
Saw Palmetto
Saw palmetto is well known for its ability to
inhibit DHT when taken orally, but it can also
inhibit DHT directly through the scalp.
When added to the elixir and carried within
the emu oil the saw palmetto can penetrate
deep into the scalp and reduce DHT levels

directly, giving the new hair follicles a better chance of
growth.
The best form of saw palmetto is a liquid form, or soft gel.
These can be harder to find though since it usually comes
as a powder. But it’s worth getting the gel/oil since it
tends to be more concentrated than the powder form.
There are also different types of supplements available. If
you see one you like with other ingredients such as
pumpkin seed oil, zinc or pygeum for example then feel
free to use those instead.
Apple Polyphenols
There have been some studies that
show apple polyphenols can be used
topically and have a similar hair
growth effect to minoxidil, without
any negative side effects.
Since these polyphenols are
naturally extracted antioxidants from
apples they improve the overall
health of the hair and scalp which in
turn helps new hair follicles to grow.
One study in Japan confirmed the effectiveness of apple
polyphenols for hair growth in a double blind study that
proved it was twice as effective as minoxidil.
When the apple polyphenol is mixed with the emu oil the
antioxidant potential can penetrate more deeply into the
scalp and pores so that it has more effect.
You can purchase apple polyphenols as a supplement
online – go for the most concentrated product you can
find. Most supplements will come as a powder which you
can just empty into the elixir and then mix thoroughly.
Magnesium Oil
New research has shown that ‘calcification’ and
hair loss are correlated. Calcification means
that a form of calcium has been deposited in
and around the pores of the scalp.
Although its unclear whether the calcium is a
cause of effect of hair loss, what is clear is that
while the tiny calcium deposits are still there it
makes it much harder for new hairs to grow.
The calcium restricts blood supply to the hair follicles and
can also increase the chances of having demodex mites,
which feed on the oils secreted around the pores of the
follicle.
Magnesium oil is extremely good at decalcification, which
means that the calcium deposits are dissolved and
removed from the scalp. This helps the scalp become
suppler, and a better overall environment for new hair
growth.
The quality of the oil you choose is extremely important.
You will need to find a product that has been taken from a
source that is not polluted with heavy metals. The best
source is magnesium chloride, found hundreds of meters
below the earth’s surface.

Make sure you check the quality and source of the
magnesium oil you use before using it in the elixir.
In addition to using magnesium oil in the elixir you should
also add a good magnesium supplement to your diet.
This will help with the decalcification process even more.
Most people are deficient in magnesium anyway so it will
be good for your overall health and hair health to take a
supplement.
If you take a magnesium supplement just before bed then
it will help with restful sleep, which can reduce stress and
tiredness (which contributes to hair loss).
There are a few different types of magnesium supplement
available, but magnesium-orotate and magnesium
chloride are the best forms to take. Take around 300mg
per day before bedtime during the months when you are
using the peel, dermaroller and elixir method.
Nettle Leaf extract
Nettle leaf extract is the
final component of the elixir.
We use this because of its
medically proven hair
growth properties. You
should be able to find a
high quality, concentrated
source of nettle leaf extract
online.

If you can’t find an oil form, you can always make your
own nettle tea and use this in the elixir, however it will be
less concentrated so it’s best to use an oil extract.
You can always use any left over oil in your homemade
shampoos at a later point.
Making The Mixture
So now you have the ingredients, you’ll need to mix them
together in the right amounts.
First you’ll want to take around 50ml of emu oil and put it
in a small plastic bottle. You can always use the bottle the
emu oil came in if it’s the right size. To the emu oil add
around 15 apple polyphenol capsules into the bottle and
shake well.
Next take around 15 capsules of liquid saw palmetto and
empty those into the bottle.
Next add around 5ml of magnesium oil and shake well.
Finally add in 10ml of nettle leaf extract or (10 capsules if
a powder) and shake the final mixture well until it is
thoroughly mixed inside the bottle.
Applying The Scalp Elixir
So you’ve completed the peel, and one week later you’ve
used the dermaroller over the same area. Now it’s time to
apply the scalp elixir to the same area.

Take your homemade elixir and squeeze a small amount
onto the scalp, then massage this thoroughly into the
scalp. Add another blob until its clear that your skin won’t
absorb anymore.
It is best to use the dermaroller and scalp elixir 1 hour
before going to bed and then leave it on over night.
Leaving 1 hour will give enough time for the elixir to
absorb into the scalp, then over night the mixture will feed
the hair follicles and the punctures from the dermaroller
will heal up.
Your scalp may feel uncomfortable initially, but any
discomfort should stop after 10-15 minutes. If any tingling
or discomfort continues then wash out the mixture
thoroughly and let the punctures heal.
You can use the dermaroller and elixir combination 5
days apart, for a maximum of 4 times per month, not
more.
The scalp needs time to heal and for the established
hairs to grow. Doing it more often than this will not speed
up the process. Don’t overdo it.
Washing Away The Scalp Elixir In The Morning
You should use a special mixture to wash away the elixir
from the scalp in the morning.
This serves a few purposes. Firstly it will remove the
scalp elixir, secondly it will inhibit DHT topically, thirdly it

will absorb and remove greases and oils and finally it will
provide nutrients and minerals to the roots.
Here’s how to make it.
Take some guava leaf tea, you will normally need to buy
this online and steep the tea in hot water for 5 minutes.
Get rid of the tea bag and let the water cool to room
temperature.
Now take 1 teaspoonful of bentonite clay and add it to the
cooled guava leaf tea and stir.
Rinse your hair and scalp with medium warm water under
the shower and then pour the glass of tea and bentonite
over your scalp and massage in.
Wash out thoroughly with cool water and towel dry. I
prefer to use cool water rather than hot.
Cool water improves circulation whereas hot water will
only damage and dry the scalp and strip away essential
oils that protect the hair.
The Homemade Shampoo To Use During The
Process
As part of the Scalp Solution it is important to use the
right shampoo to nourish the scalp and new follicles.
Typical off-the-shelf shampoos just won’t do. They
contain chemicals that will damage the delicate young
hair and they will also dry out the scalp and leave a
chemical residue.
So you will need to make your own. I recommend you do
this anyway instead of using shop bought shampoos, but
during the Scalp Solution this is even more important.
In the Shampoo Secrets module you will find many more
recipes, but this is the recipe that I recommend you use
when you wash your hair after the Scalp Solution.

There is no need to wash your hair too often. This is
unnatural, and will strip away natural oils from the hair
and scalp. Aim to wash your hair with the homemade
shampoo around 2 times per week.
Recipe:
- 1 teaspoon of baking soda (not baking powder)
- 1 tablespoon of organic apple cider vinegar
- 2 drops of tea tree oil
- 2 drops of magnesium oil
- 1 tablespoon of borage oil
This will make enough shampoo for 1 application so if
you want to make more than jus increase the quantity in
the same ratio.
If you want to use it immediately, mix
all of the ingredients in a glass and
then fill up with water to half a pint.
Wet your hair and then pour the
mixture over your hair and massage
in.
Let it sit on your hair and scalp for 2
minutes before washing out with cool
water. If you want to make enough
for more than 1 application then mix
it in a small plastic bottle and add the
water when you are ready.

Additional Step: Blood Flow Exercises
Now everything is coming together. Your diet and overall
health are optimized for hair growth. Your microbiome is
healthy and you’ve solved any autoimmune problems that
would cause DHT to attack the hair follicles.
You’ve also begun the Scalp Solution using the peel,
dermaroller, and scalp elixir.
You will want to give your hair every chance of survival by
boosting blood flow, which will carry with it the nutrients
and oxygen needed by the new hair follicle.
We do this with the scalp exercises and massages that
will have learnt about in the scalp exercises module. They
are very important to do during this period and will
significantly boost the success rate.
This will also reduce tension in the scalp, make the skin
more supple and open to new growth and increased
muscle usage will reduce the concentration of DHT.
I recommend that when doing the Scalp Solution you also
add in at least 10 minutes per day of scalp and head
massages/exercises to maximize the effects of the
dermaroller and elixir.
When performing the massage on yourself don’t press
too hard on the area you have just used the dermaroller
on. Find another area of your scalp where you can hold to
perform the massages.


![Welcome [] · HAIR AND SCALP THERAPY 20 minutes An amazing head and hair treatment that deeply hydrates the hair and scalp while releasing tension. An ultra-rich conditioning masque](https://img.pdfslide.net/doc/110x75/5f0c5b5a7e708231d434ffb1/welcome-hair-and-scalp-therapy-20-minutes-an-amazing-head-and-hair-treatment.jpg)