Embed Size (px)
Citation preview
The Works Museum
MUSEUM EXHIBIT GUIDE WELCOME TO THE WORKS MUSEUM! This guide is your introduction to the Museum space and what your group can see and do. Most groups will have workshop and Museum time, but every group’s schedule is different. We hope that every visit gives students a chance to become engineers for at least a day – and hopefully, long after their visit ends.
What to expect when you arriveWhen your group arrives at the Museum, please have bus drivers pull around to the back entrance to unload students and park. The Works staff will greet you at the door, and there is a bell you can ring if the staff person is not there yet.
Students will gather in the Group Lobby, where they can drop their coats if necessary. If you will be staying for lunch or a snack, those items may be left on the carts provided, and they will be moved to the cafeteria for you.
Your time will start more promptly if students are divided into equally numbered groups as they come inside. It helps if chaperones and students know if they are going to the museum first, or to a workshop, and know which workshop group they are with.
If a group is scheduled for workshops first, it will head to the classroom from the Group Lobby. If the group has Museum time scheduled, then one of our Visitor Experience staff will give your students a brief orientation including expectations for the Museum, safety rules, and guidelines to get the most out of the exhibits.
When in the Museum or in workshops, The Works Museum expects that teachers and chaperones will monitor their students’ behavior. Destructive or disrespectful behavior is not tolerated, and The Works Museum requests that teachers and chaperones help enforce an environment of cooperative and respectful learning.
Students are the engineers at The Works MuseumTeachers and chaperones are there to encourage student exploration and learning, not to build things or solve problems for students. Our workshop activities are targeted at specific age groups, and students are capable of completing these challenges.*
Students may make mistakes – this is encouraged! Mistakes are an important part of the engineering process. Engineers learn by doing and testing, and they make corrections as needed. It is more valuable for students to work through their own solutions, even if incorrect, than to be handed an answer by an adult.
*The Works Museum understands that some students have special needs and different abilities, and educators will do their best to accommodate and understand these needs.
© The Works Museum 2017 | Support for this teacher guide is generously provided by Xcel Energy Foundation.
The Works Museum | Museum Exhibit Guide, p. 2
WorkshopsPlease see the appropriate TEACHER RESOURCE GUIDE for your workshop.
Museum Experiences The Museum Experience Gallery is an open learning area. Students are free to explore on their own. Staff are located at the front desk area but are generally not present throughout the area.
The Museum houses some larger stand-alone attractions, and many experiences that share common themes. Teachers can encourage students to make learning connections between these different areas.
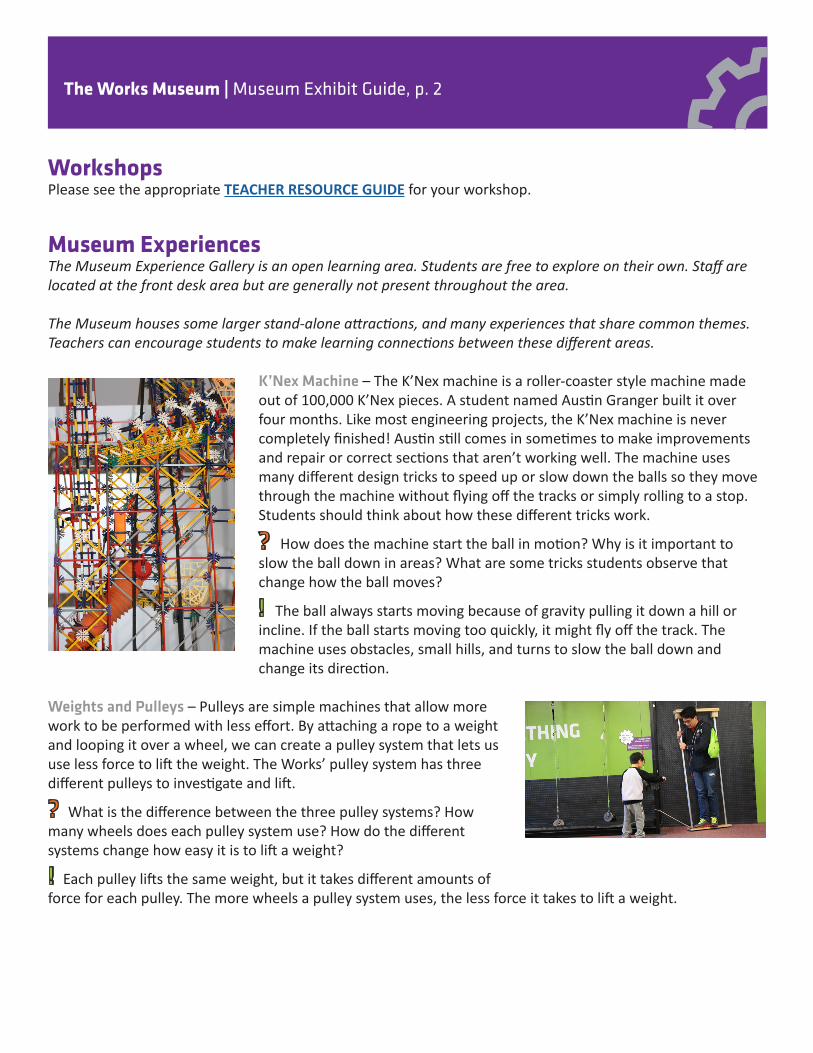
K’Nex Machine – The K’Nex machine is a roller-coaster style machine made out of 100,000 K’Nex pieces. A student named Austin Granger built it over four months. Like most engineering projects, the K’Nex machine is never completely finished! Austin still comes in sometimes to make improvements and repair or correct sections that aren’t working well. The machine uses many different design tricks to speed up or slow down the balls so they move through the machine without flying off the tracks or simply rolling to a stop. Students should think about how these different tricks work.
? How does the machine start the ball in motion? Why is it important to slow the ball down in areas? What are some tricks students observe that change how the ball moves?
! The ball always starts moving because of gravity pulling it down a hill or incline. If the ball starts moving too quickly, it might fly off the track. The machine uses obstacles, small hills, and turns to slow the ball down and change its direction.
Weights and Pulleys – Pulleys are simple machines that allow more work to be performed with less effort. By attaching a rope to a weight and looping it over a wheel, we can create a pulley system that lets us use less force to lift the weight. The Works’ pulley system has three different pulleys to investigate and lift.
? What is the difference between the three pulley systems? How many wheels does each pulley system use? How do the different systems change how easy it is to lift a weight?
! Each pulley lifts the same weight, but it takes different amounts of force for each pulley. The more wheels a pulley system uses, the less force it takes to lift a weight.
The Works Museum | Museum Exhibit Guide, p. 3
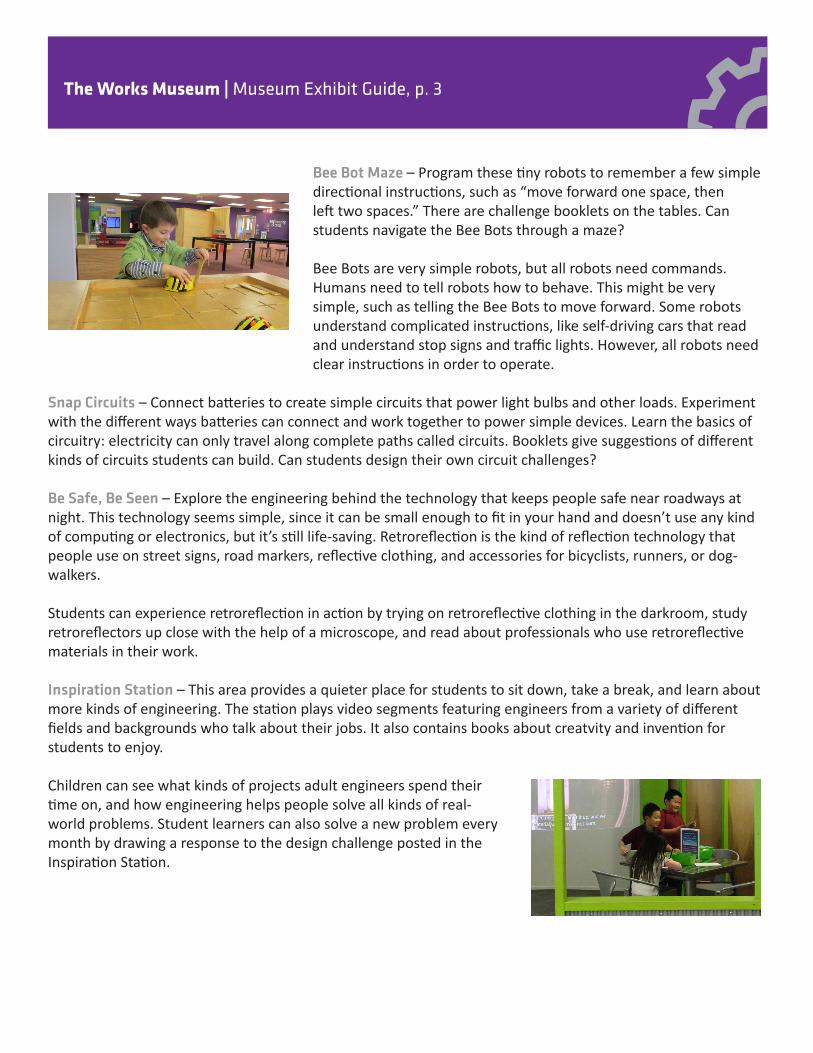
Bee Bot Maze – Program these tiny robots to remember a few simple directional instructions, such as “move forward one space, then left two spaces.” There are challenge booklets on the tables. Can students navigate the Bee Bots through a maze?
Bee Bots are very simple robots, but all robots need commands. Humans need to tell robots how to behave. This might be very simple, such as telling the Bee Bots to move forward. Some robots understand complicated instructions, like self-driving cars that read and understand stop signs and traffic lights. However, all robots need clear instructions in order to operate.
Snap Circuits – Connect batteries to create simple circuits that power light bulbs and other loads. Experiment with the different ways batteries can connect and work together to power simple devices. Learn the basics of circuitry: electricity can only travel along complete paths called circuits. Booklets give suggestions of different kinds of circuits students can build. Can students design their own circuit challenges?
Be Safe, Be Seen – Explore the engineering behind the technology that keeps people safe near roadways at night. This technology seems simple, since it can be small enough to fit in your hand and doesn’t use any kind of computing or electronics, but it’s still life-saving. Retroreflection is the kind of reflection technology that people use on street signs, road markers, reflective clothing, and accessories for bicyclists, runners, or dog-walkers.
Students can experience retroreflection in action by trying on retroreflective clothing in the darkroom, study retroreflectors up close with the help of a microscope, and read about professionals who use retroreflective materials in their work.
Inspiration Station – This area provides a quieter place for students to sit down, take a break, and learn about more kinds of engineering. The station plays video segments featuring engineers from a variety of different fields and backgrounds who talk about their jobs. It also contains books about creatvity and invention for students to enjoy.
Children can see what kinds of projects adult engineers spend their time on, and how engineering helps people solve all kinds of real-world problems. Student learners can also solve a new problem every month by drawing a response to the design challenge posted in the Inspiration Station.
The Works Museum | Museum Exhibit Guide, p. 4
Design and Build areaStudents can build with many kinds of materials and objects to understand strong and effective construction. By experimenting with multiple building challenges and activities, students learn more about structures, materials, patterns, symmetry, and the value of different types of connections.
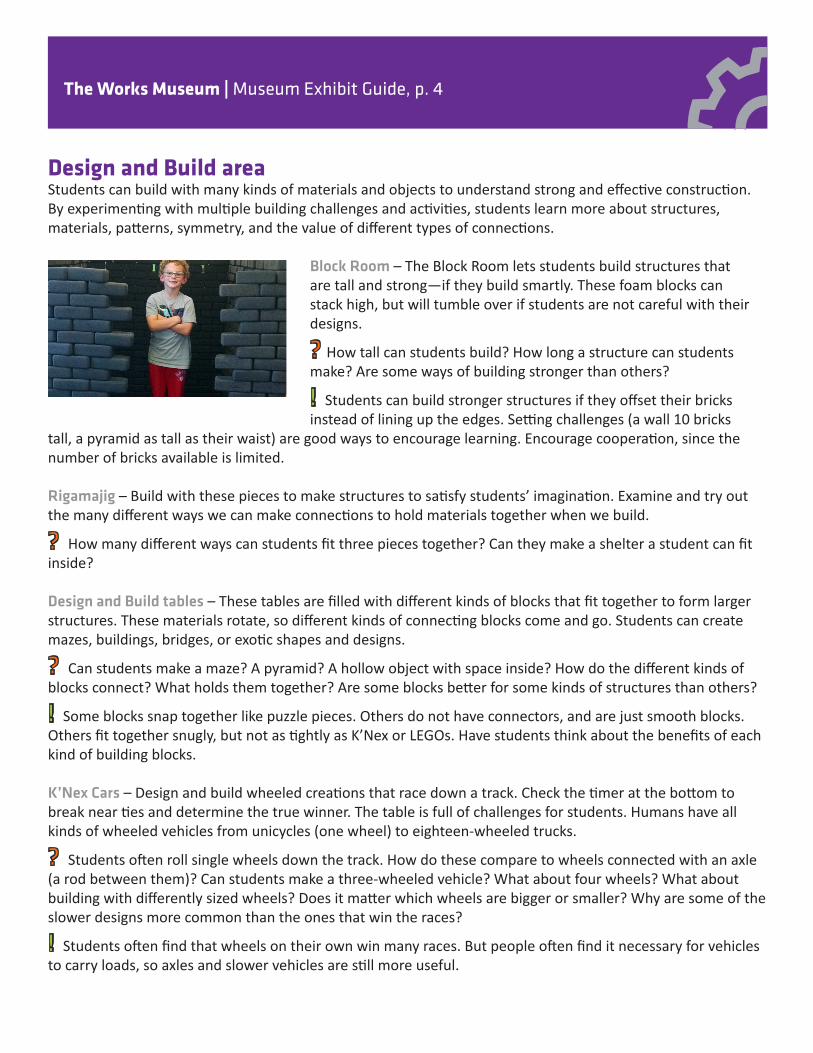
Block Room – The Block Room lets students build structures that are tall and strong—if they build smartly. These foam blocks can stack high, but will tumble over if students are not careful with their designs.
? How tall can students build? How long a structure can students make? Are some ways of building stronger than others?
! Students can build stronger structures if they offset their bricks instead of lining up the edges. Setting challenges (a wall 10 bricks
tall, a pyramid as tall as their waist) are good ways to encourage learning. Encourage cooperation, since the number of bricks available is limited.
Rigamajig – Build with these pieces to make structures to satisfy students’ imagination. Examine and try out the many different ways we can make connections to hold materials together when we build.
? How many different ways can students fit three pieces together? Can they make a shelter a student can fit inside?
Design and Build tables – These tables are filled with different kinds of blocks that fit together to form larger structures. These materials rotate, so different kinds of connecting blocks come and go. Students can create mazes, buildings, bridges, or exotic shapes and designs.
? Can students make a maze? A pyramid? A hollow object with space inside? How do the different kinds of blocks connect? What holds them together? Are some blocks better for some kinds of structures than others?
! Some blocks snap together like puzzle pieces. Others do not have connectors, and are just smooth blocks. Others fit together snugly, but not as tightly as K’Nex or LEGOs. Have students think about the benefits of each kind of building blocks.
K’Nex Cars – Design and build wheeled creations that race down a track. Check the timer at the bottom to break near ties and determine the true winner. The table is full of challenges for students. Humans have all kinds of wheeled vehicles from unicycles (one wheel) to eighteen-wheeled trucks.
? Students often roll single wheels down the track. How do these compare to wheels connected with an axle (a rod between them)? Can students make a three-wheeled vehicle? What about four wheels? What about building with differently sized wheels? Does it matter which wheels are bigger or smaller? Why are some of the slower designs more common than the ones that win the races?
! Students often find that wheels on their own win many races. But people often find it necessary for vehicles to carry loads, so axles and slower vehicles are still more useful.
The Works Museum | Museum Exhibit Guide, p. 5
Gears areaGears are wheels with teeth. By fitting gears together, we can turn multiple gears at a time. And by connecting gears with different numbers of teeth, we can spin wheels faster or slower. Sprockets look like gears, but their teeth fit into holes in chains or other objects. Check out the gear area at The Works Museum!
Transmission – Students get a close-up view of how cars change gears with this gear box. Engage different gears by sliding the lever to the left or right, and then turn the gear. Which gear set turns the silver knob faster?
Gear toy – Build your own system with these plastic gears and cranks. How many gears can students fit together? Can they make a smaller gear turn a bigger one? What about the other way around?
Bike exhibit – We see bicycles all the time around us, but when was the last time you thought about how they moved? By pedaling this bike, you can watch the gears go ‘round and ‘round. Students can also observe how gears work to move other objects. Which items go around because of the gears? Which go up and down? What is the difference between them?
Gear box with bell – Sometimes, gears perform simple tasks, like winding up a bell to ring. It takes many turns of the crank before the bell rings. Watch the gears carefully. How are the different pieces working together to ring the bell?
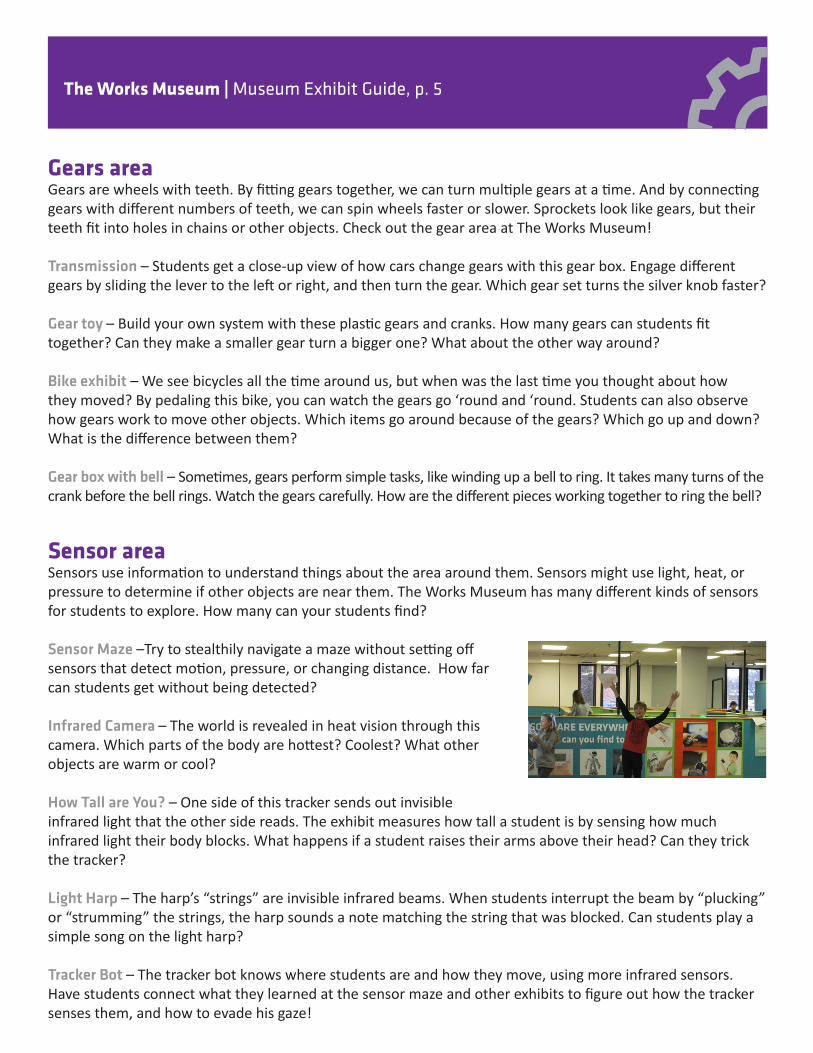
Sensor areaSensors use information to understand things about the area around them. Sensors might use light, heat, or pressure to determine if other objects are near them. The Works Museum has many different kinds of sensors for students to explore. How many can your students find?
Sensor Maze –Try to stealthily navigate a maze without setting off sensors that detect motion, pressure, or changing distance. How far can students get without being detected?
Infrared Camera – The world is revealed in heat vision through this camera. Which parts of the body are hottest? Coolest? What other objects are warm or cool?
How Tall are You? – One side of this tracker sends out invisible infrared light that the other side reads. The exhibit measures how tall a student is by sensing how much infrared light their body blocks. What happens if a student raises their arms above their head? Can they trick the tracker?
Light Harp – The harp’s “strings” are invisible infrared beams. When students interrupt the beam by “plucking” or “strumming” the strings, the harp sounds a note matching the string that was blocked. Can students play a simple song on the light harp?
Tracker Bot – The tracker bot knows where students are and how they move, using more infrared sensors. Have students connect what they learned at the sensor maze and other exhibits to figure out how the tracker senses them, and how to evade his gaze!
The Works Museum | Museum Exhibit Guide, p. 6
Light and optics areaLight is all around us. Without light, we cannot see at all. But the ways in which our eyes see shapes and colors and perceive motion, and the strange ways light can behave, can be puzzling to think about. Start thinking about all the strange things going on with the light we see every day.
Kaleidoscopes – Scientists and engineers use mirrors to help them with all kinds of tasks, from how cameras work to measuring the distance to the Moon. Kaleidoscopes show how we can reflect shapes and colors many times over to create beautiful views. Students can see how the world looks when reflected many times, and how moving these mirrors changes our view.
Illusion Hallway – Students can make their own illusions with this infinity mirror. When light hits a two-way mirror, some light bounces off like a regular mirror while the rest of the light passes through like a window. The illusion changes depending on where students stand to look at it.
? Where should you stand to make one light look like many lights? What happens if you move the two-way mirror far away from the regular mirror? What happens if you put them close together?
As the Picture Turns – People have played with animation for hundreds of years. Most animations involve tricking our eyes with quickly moving pictures. Make your own animation with this thaumatrope: two pictures moving so quickly that our eyes are tricked into seeing just one image.
Funhouse Mirrors – We are used to mirrors that show us our reflection more or less as we appear to other people. But by curving the glass, mirrors can show us very strange views of ourselves instead! Study the mirrors. Can students figure out which curves of the glass make objects appear taller, wider, shorter, or narrower than they expect?