Embed Size (px)
Citation preview

Tone Studyfor Saxophone
Ryan Lee Wakefield
1 Purpose ofthis Book
This book is designed to explore the many ways the sound of the saxophone can be change by the four areas of saxophone tone production; breath support, larynx control, oral cavity positions, and the embouchure.
The exercises in this book are meant to be played daily. Exercises include longtones, pitch bending, crescendo and decrescendo longtones, opposite octave key usage, and overtones. Once each exercise has been learned, choose a few each day to practice for a few minutes. Advanced students may find that they can practice out of this book for seseveral hours a day. This will be beneficial if those particular students can stay focused the entire time.

2Table ofContents
Part I- Embouchure StrengthLongtonesLongtones to low BbLongtones for as long as possible
Part II- Breath SupportCrescendo-Decrescendo LongtonesBreak-In LongtonesBreak-In LongtonesTop Teeth Off Mouthpiece ExerciseSneak-In Longtones
Part III- Larynx Control/Oral CavityOpposite Octave Key UsagePitch Bending with Tongue PositionPitch Bending with Larynx
PPart IV- Overtone ExercisesPreliminary Items to OvertonesOvertone ExercisesTuning and TranspositionEar Training Benefit to Longtones
345
6789
101112
13151821

3
Longtones are played exactly as they sound, long and drawn out for many beats. Notice that each whole note has a fermata over it and a breath mark after it, so be sure to follow the notation.
Each of these notes should sound similiar in tone color, and kept at the same dynamic.
Hold out each note Hold out each note for at least 8 beats at 60bpm, or 8 seconds.
Longtones
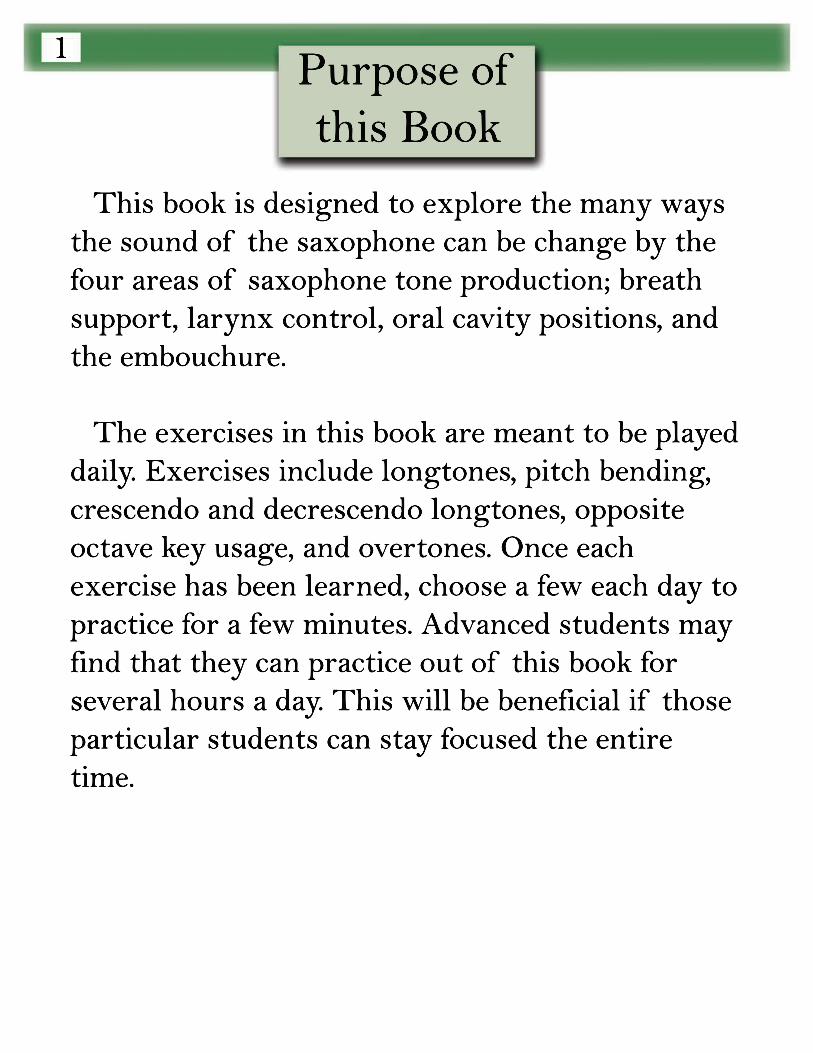
4Longtonesto Low Bb
Getting a solid, full sound on the low notes of the saxophone is important for the foundation of all other notes. This exercise should be played legato.
Use the fingering chart in “Foundations for Saxophone” if you need to look up any fingerings.

5
In music, you will find extended passages that require you to play for a very long time with one breath. Try to reach 30 beats at 60bpm for each note. Also, this figure above is an arrangment of the 12 notes into a specific pattern called the circle of fourths. Practice all longtone exercises around clockwise in this pattern from now on.
CFBEA
DGB
E
A
DG
Longtones asLong as Possible

6Crescendo-Decrescendo
Longtones
The crescendo and decrescendo should be as smooth as possible. Each beat of the measure should correspond to a dynamic level in this order first counting up then down.
1 2 3 4 5 6 6 5 4 3 2 1
Once this exercise is learned, start every practice session with it.

7
Start with air then...let the air break intothe note, and then die away
This exercise will help you learn how much air is required for each note of the saxophone to respond without the use of the tongue. No tonguing is needed for this exercise. The tongue can become a crutch that a saxophonist relies on to create the air stream needed for the saxophone sound. This exercise will help alleviate any issues caused by an embouchure that is too tight.
Break-InLongtones
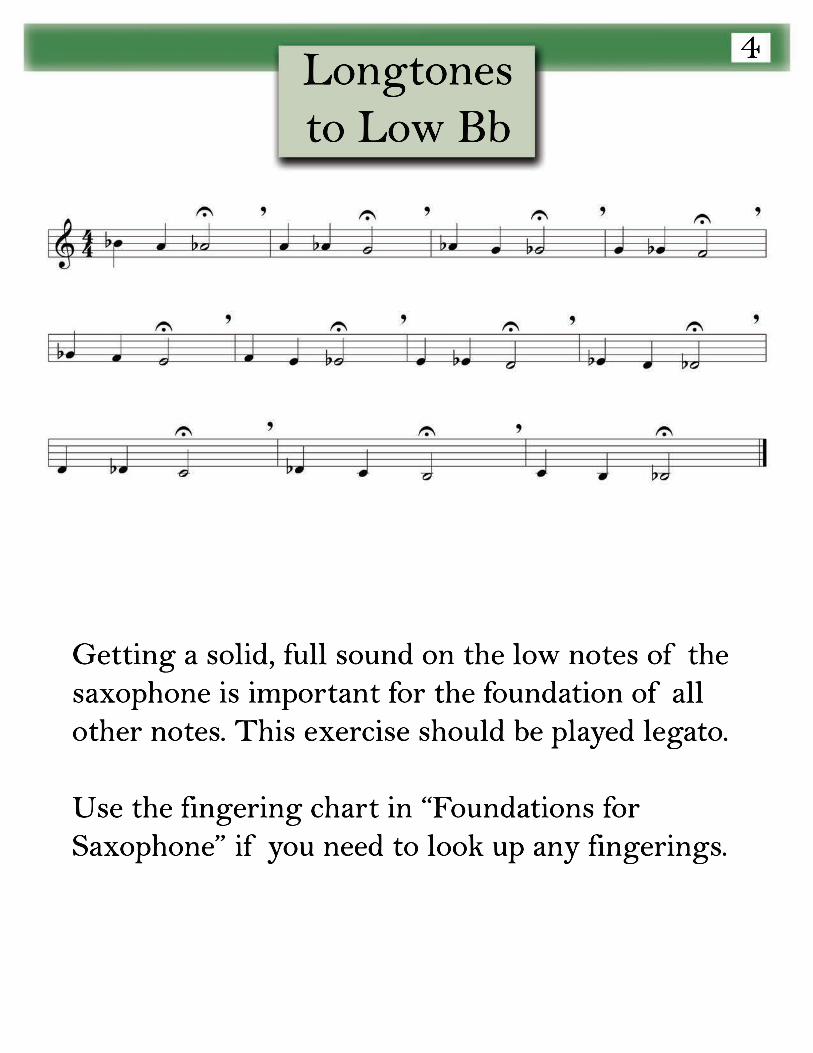
8Top Teeth Off
Mouthpiece Exercise
In this exercise, play with your top teeth off the mouthpiece. This will cause your bottom lip to have nothing to press against. Don’t try to over compensate for this loss of embouchure pressure by bunching up your bottom lip. The point of this exercise is to get use to using your airstream to create the sound of the saxophone and not over using your embouchure. After practicing this exericse, your sound will be louder overall. This is because, one, more air equals a louder sound and, two, since your embouchure isn’t constricting the reed, the reed vibvibrates more freely causing more overtones to be present in the sound.

9
The last two exercises dealt with not over using the embouchure and focusing on the airstream. After getting better at those exercises, try incorporating this one. Start with just air and by adjusting embouchure pressure and the airstream, create a seamless entrance and then evenly crescendo to a piano dynamic. Try to make the resulting sound as quiet as possible. It should sound like a piece electronic equipment humming (like a refrigerator). You can also then decrescendo evenly down to nothing.
Sneak-InLongtones

10
keep the octave key depressed throughout exercise
This is the first exercise in this book that requires you to use your larynx. The larynx is the part of your throat you use to sing different notes/pitches. Try singing sirens up and down to get a feel for your larynx. In this particular exercise, opening the octave key while playing low notes creates a leak in the pipe of the saxophone that will need to be compensated for by the airstream. An extremly large amount of air is required by this exercise as well as an extreme larynx position. The larnyx position is a gutteral/growling throat noise, but don’t actualdon’t actually create that sound with your throat, just mime it’s position.
OppositeOctave Key Usage

11
*bend a quarter step down then back up
*
Different tongue positions can create changes in pitch and timbre. Start this exercise with the tongue position of “EE” like the word heel and bend the pitch down by changing positions to the “OO” in pool. First, alternate saying these words to get a feel for their positions. Using the tongue in this way to change pitch works best with high notes. It works to a lesser extent with lower notes, but also creates a change in timbre. So the tongue can also used to create blended sound across the octave key break.
*
Pitch Bendingwith Tongue Position
12
* *
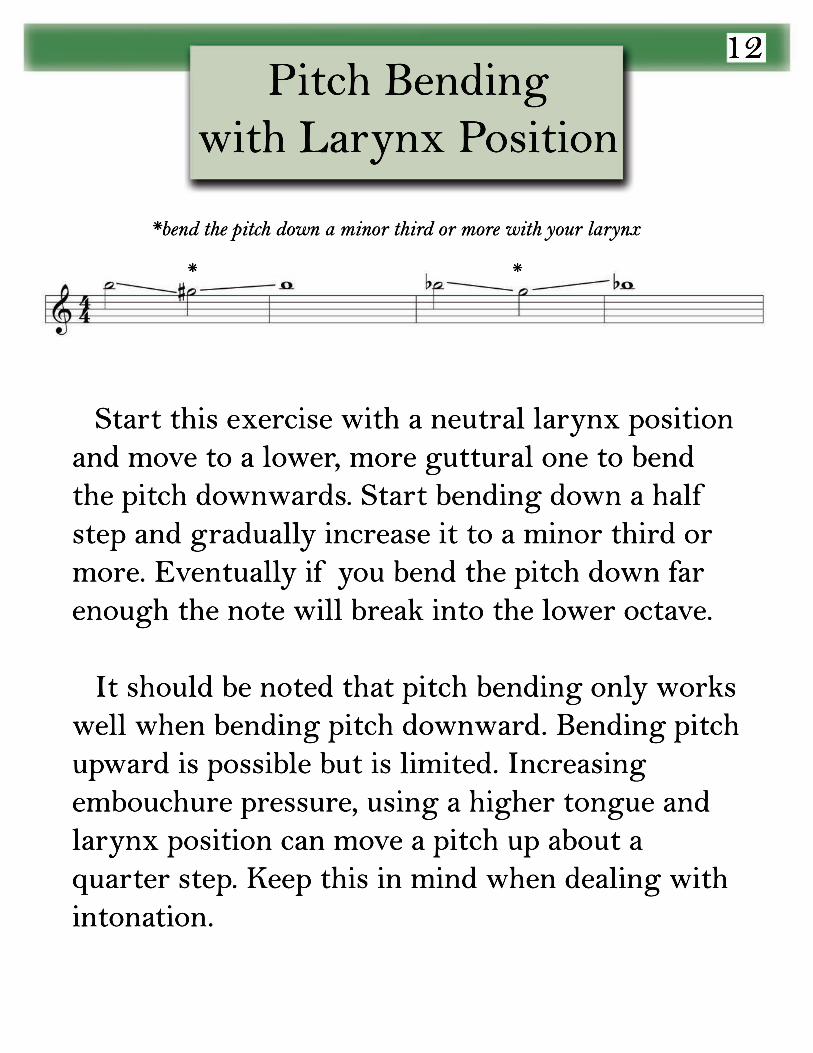
*bend the pitch down a minor third or more with your larynx
Start this exercise with a neutral larynx position and move to a lower, more guttural one to bend the pitch downwards. Start bending down a half step and gradually increase it to a minor third or more. Eventually if you bend the pitch down far enough the note will break into the lower octave.
It should be noted that pitch bending only works well when bending pitch downward. Bending pitch upward is possible but is limited. Increasing embouchure pressure, using a higher tongue and larynx position can move a pitch up about a quarter step. Keep this in mind when dealing with intonation.
Pitch Bendingwith Larynx Position

13Preliminary
Items to Overtones
First, it should be noted that overtones are an abstract concept. You can’t really hear them. But you can see them with a special device that places a single note on a graph. They look like this figure below.
Amplitude
Frequency
FundamentalTone
1st Overtone And so on...
Almost every sound naturally has overtones. Overtones physically occur; they are not a neurological phenomenon. Every sound has the same set of overtones, meaning overtones follow a pattern of intervals. Here’s the pattern from low Bb on the saxophone.
So every time you play a low Bb, all of these pitches are present in some degree. The degree depends on the timbre of the sound. But it’s actually the other way around. The amplitude of each overtone creates the unique timbre of every sound in nature. Computers can synthesize overtones by using sine waves (which are unique because sine waves don’t have overtones) in various amplitudes. That is how keyboard synthesizers work.
etc.

14
Alternate between these two fingerings for B flat while maintaining the same pitch. The fingering on the right is similiar to the fingering for low B flat (in grey) but sounds one octave higher because of the use of the octoctave key. The goal of this exercise is to sound B flat in the middle of the staff with the fingering for low B flat, without using the octave. Instead, change your larynx and oral cavity position.
Preliminary Overtone Exercise
Overtones also occur in vibrating bodies like guitar strings and the pipe of the saxophone. The saxophone octave key uses the phenomenon of overtones to switch notes up one octave. You can also manipulate the airstream to play other overtones off of any fundamental tone/note. The way a saxophone is built will also affect the amplitude of each overtone of any note.
If it isn’t clear yet why saxophonists practice playing overtones, here’s the reason. If a saxophonist can play overtones and bend their pitch around with the four areas of saxophone tone production, that saxophonist can create any timbre possible, have superiour intonation and dynamic control, and ultimately have every expressive technique a saxophonist could have in regards to sound.

15
1st Harmonic Exercise- Chromatic
The goal of this exercise is to get each harmonic to sound off ofthe fingering which is an octave lower, without using the octavekey. The octave key makes this exercise easy to do, but defeats thepurpose of practicing overtones.
The reason why to start with the octave key is to get accustom to theunique sound of using fingerings that use a lot of the pipe of thesasaxophone for higher notes. The unique sound is typically darker,muffled, and fuller. In order to play overtones exactly without splittingthem, you’ll need to have the sound you’re going for in your mind beforeyou play them. So, first practice with the octave key, and then without.
OvertonesExercises

16
2nd Harmonic
Again, alternate between these two fingerings, but go for the F each time. This exercise is more difficult than the last, but you should have a better idea of what you need to do with your larynx and oral cavity to achiachieve the sound.
Keep in mind, no one can tell you exactly how to form your larynx and oral cavity, because everyone is a little different in that area of his body.

17
Proceed with this exercise just like the previous one. The most challenging part of this exercise is the switch from the Eb fingering to the E fingering. This is due to the curve in the bow of the saxophone. However, it is a great test of your mastery over the four areas of saxophone tone production. If you can make this switch consistently, you know how to craft the sound of the saxophone and you are also ready to learn how to tune the saxophone.
2nd Harmonic Exercise- Chromatic

18
It might seem counter intuitive to only learn how to tune the saxophone now, especially since it takes several weeks of practice to get to this point. Learning how to manipulate the sound of the saxophone, however, is a prerequisite to tuning the saxophone.
First, you will need an electronic tuner. If you have a smart phone, there are many free apps available. It is, however, a good idea to have an separate device for tuning (not to mention one without ads).
The displThe display of the tuner will look like this.
Be sure the tuner is set to “440,” which means Concert A equals 440 Hertz, which is the standard of tuning. Don’t worry too much about that yet, just make sure the tuner is set to 440. Opposite the 440 marking, is which note you are currently playing. Note that saxophones are transposing instruments, and the tuner will show a different note than the one your are playing. This will be explained on the next page. The needle of the tuner will be vertical if you are plplaying in tune, leaning left if you’re flat, and leaning right if you’re sharp.
Tuning the Saxophone

19
Transposing InstrumentsSaxophones are transposing instruments. This means that the notes you read on the staff and fingering on the saxophone are different that the notes you play on a piano. Piano is considered to be in “Concert Key.” The alto saxophone and tenor saxophone are in E Flat and B Flat key, respectively. The reason why saxophones, among other instruments, are transposing is so a saxophonist can play any saxophone with the same fingerings and read music the same way on each saxophone as well. Here’s hHere’s how you transpose each saxophone from concert key.
B flat Concert is...
So for any Concert pitch, move down 3 half steps for alto saxophone, move up 2 half steps for tenor saxophone.
G onAlto Sax
C onTenor Sax
20
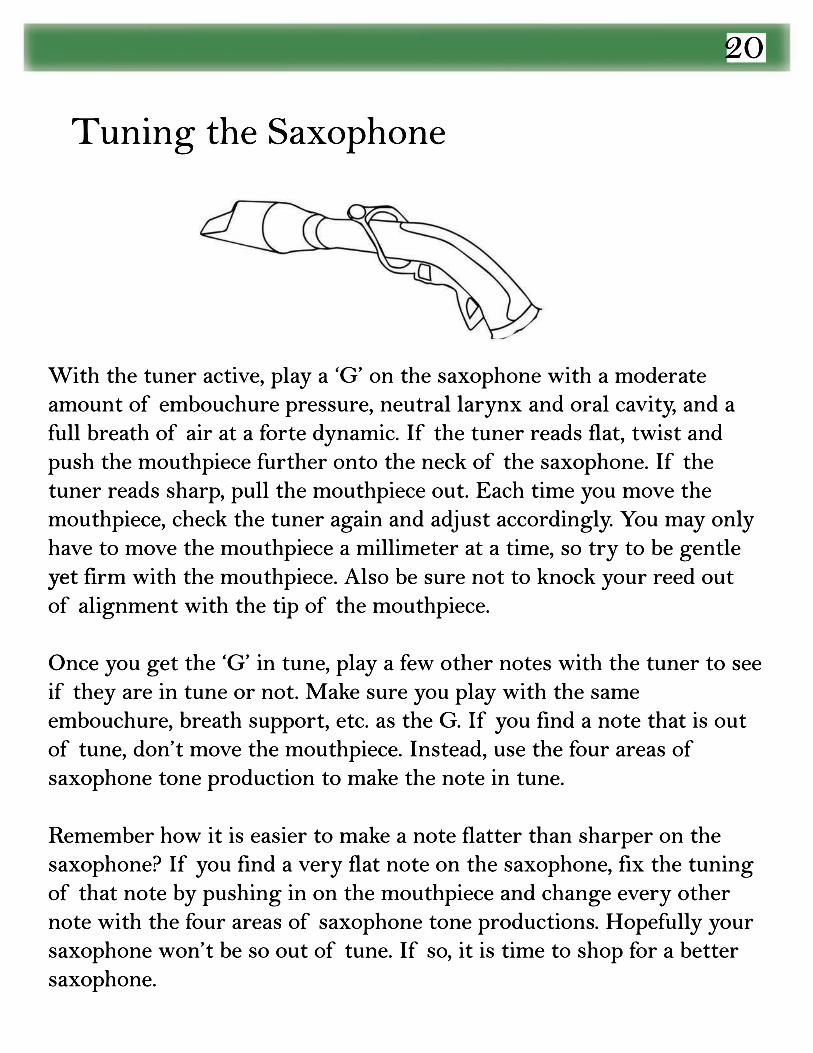
With the tuner active, play a ‘G’ on the saxophone with a moderate amount of embouchure pressure, neutral larynx and oral cavity, and a full breath of air at a forte dynamic. If the tuner reads flat, twist and push the mouthpiece further onto the neck of the saxophone. If the tuner reads sharp, pull the mouthpiece out. Each time you move the mouthpiece, check the tuner again and adjust accordingly. You may only have to move the mouthpiece a millimeter at a time, so try to be gentle yet fiyet firm with the mouthpiece. Also be sure not to knock your reed out of alignment with the tip of the mouthpiece.
Once you get the ‘G’ in tune, play a few other notes with the tuner to see if they are in tune or not. Make sure you play with the same embouchure, breath support, etc. as the G. If you find a note that is out of tune, don’t move the mouthpiece. Instead, use the four areas of saxophone tone production to make the note in tune.
Remember how it is easier to make a note flatter than sharper on the saxophone? If you find a very flat note on the saxophone, fix the tuning of that note by pushing in on the mouthpiece and change every other note with the four areas of saxophone tone productions. Hopefully your saxophone won’t be so out of tune. If so, it is time to shop for a better saxophone.
Tuning the Saxophone

21
Ear Training Benefit to Longtones
To get this point in practicing the sound of the saxophone, you would have spent a long time listening to the sound of saxophone. In this time, you may have pick up a special type of ear training known as timbre recognition ear training. You should know by now the particular timbre of each note of the saxophone, especially C# in the middle of staff with no keys depressed and D with many keys depressed. You also might be able to identify these notes by ear with no reference pitch. If so, here’s another thing another thing you might be able to do.
When listen to a piece of music played on another instrument besides the saxophone, try to imagine inside your mind what the music would sound like on the saxophone. Really try to hear the timbre of the saxophone. If you can do that, match the timbre of those notes to the actual notes on the saxophone. With that, you should be able to figure out what other musicians are playing without having to read written music.
IIf you can’t do this yet, practice more longtones and pay closer attention to the timbre of the saxophone.

22
Conclusion
After practicing through this book, you will have a much greater understanding of how the saxophone works. You will also have every tool you need to play with good intonation, match timbres with other instruments, and balance dynamics within an ensemble.
There are many more There are many more overtone exercises to work on. Overtones, however, are a means to an end. Overtone fingerings are used sparingly in music notation. They can be used as an interesting effect in a jazz or rock solo, but they are mostly used as an exercise to gain greater control over the saxophone.
Continue to work through this book daily. The four areas of saxophone tone production need daily attention to keep in shape.


![C'est comme ça [quatuor saxophones] - Free-scores.com · Saxophone soprano Saxophone alto Saxophone ténor Saxophone baryton p !](https://img.pdfslide.net/doc/110x75/5b4fc9eb7f8b9a206e8d243a/cest-comme-ca-quatuor-saxophones-free-saxophone-soprano-saxophone-alto.jpg)