Embed Size (px)
Citation preview
Fold
Fold
Fold
Fold
Fold
Fold
Fold
Fold
Fold
Fold
Fold
Fold
Fold
Fold
Fold
Fold
Toy Story Character Toys
Page 1 of 7
Fold
Fold
Fold
Fold
Fold
Fold
Fold
Fold
Fold
Fold
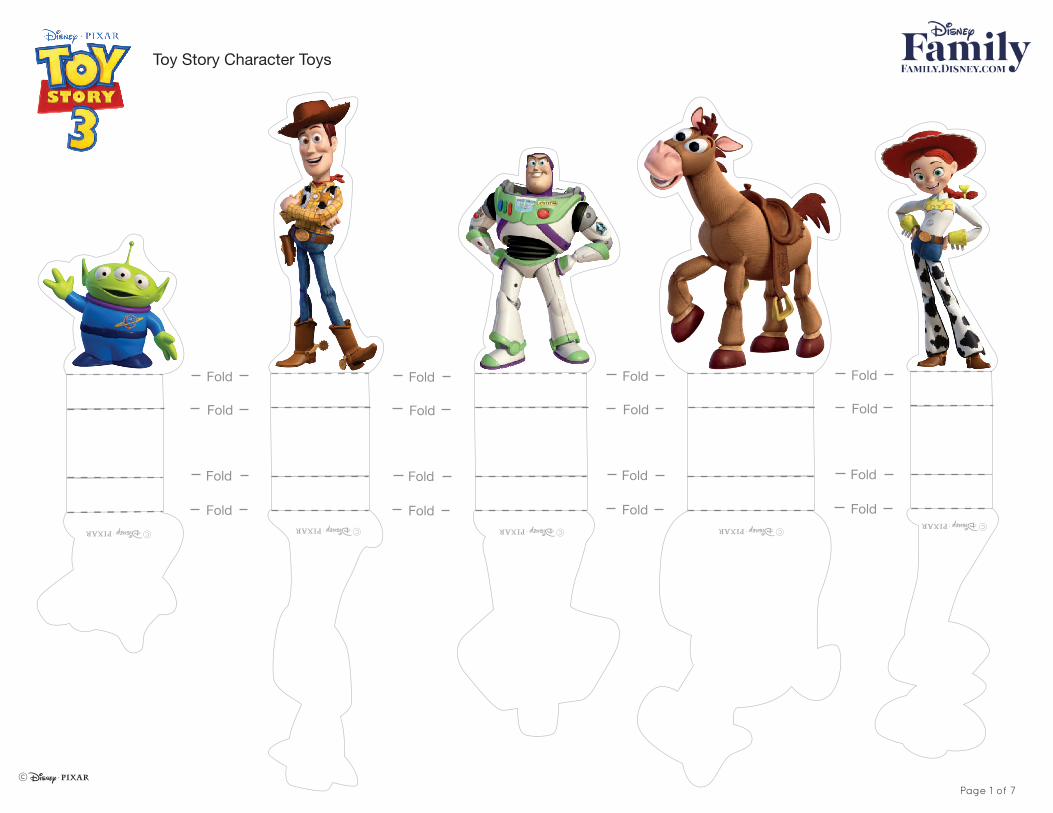
Toy Story Character Toys
Page 2 of 7
Fold
Fold
Fold
Fold
Fold
Fold
Fold
Fold
Fold
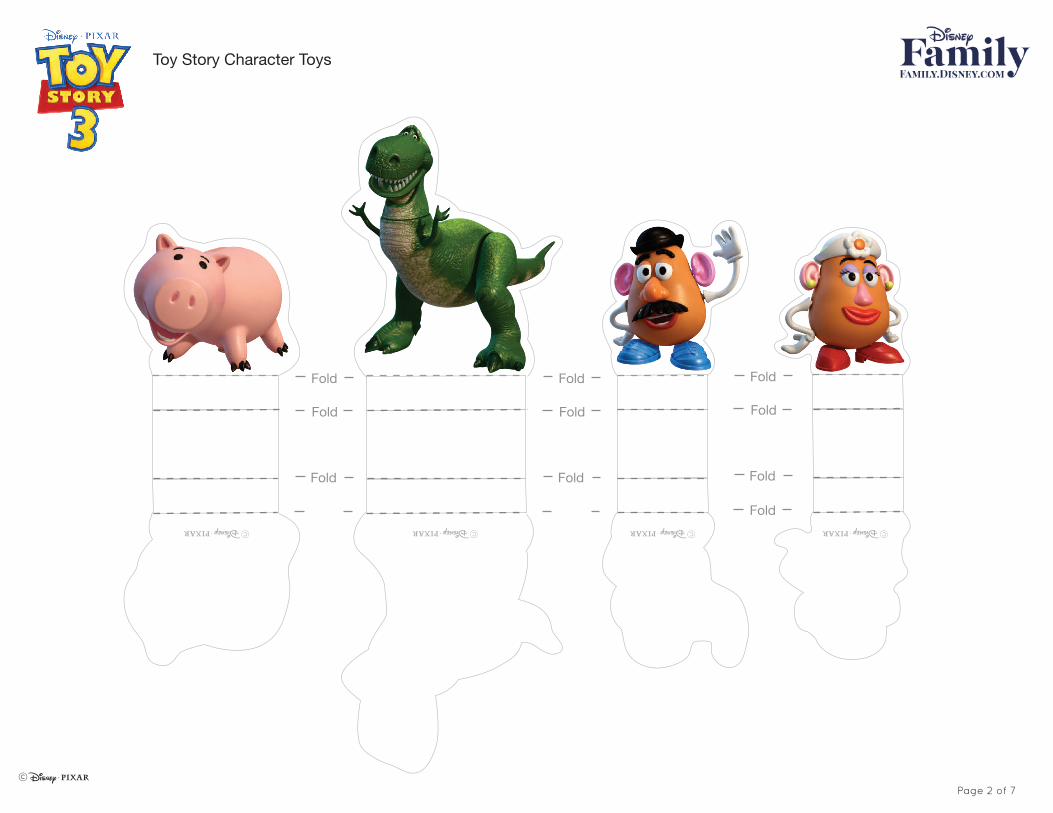
Toy Story Character Toys
Page 3 of 7
Fold
Fold
Fold
Fold
Fold
Fold
Fold
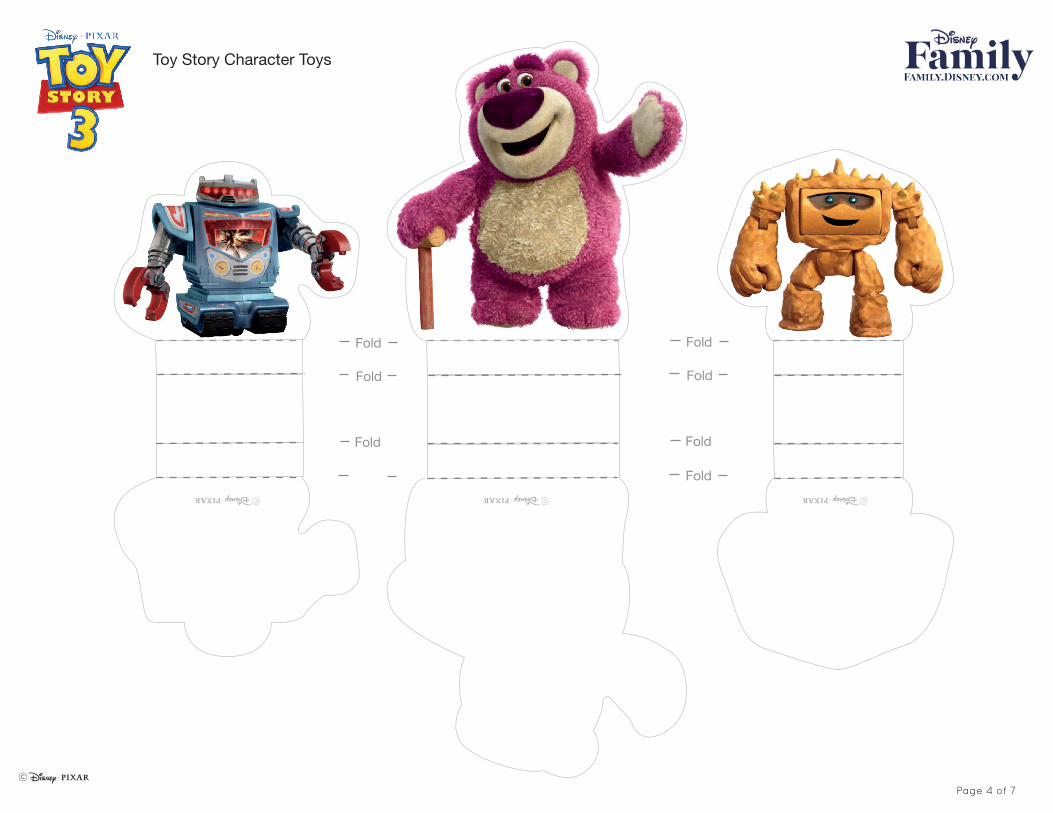
Toy Story Character Toys
Page 4 of 7
Fold
Fold
Fold
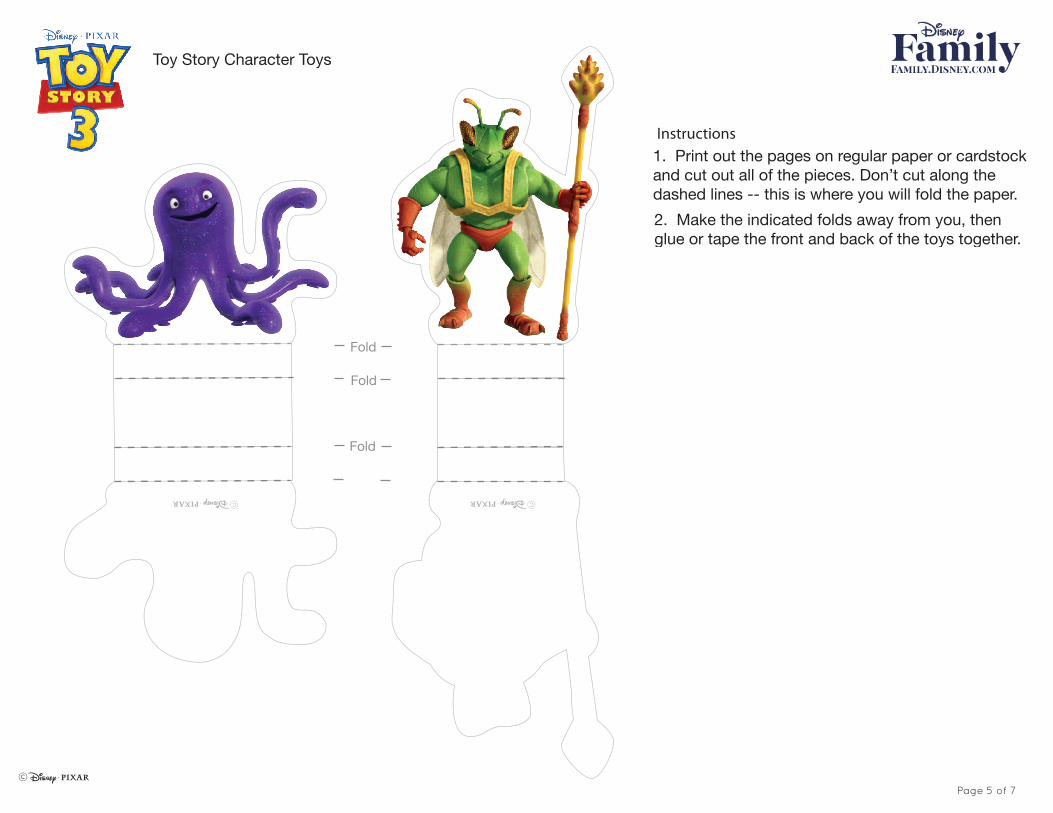
Instructions1. Print out the pages on regular paper or cardstockand cut out all of the pieces. Don’t cut along the dashed lines -- this is where you will fold the paper.
2. Make the indicated folds away from you, thenglue or tape the front and back of the toys together.
Toy Story Character Toys
Page 5 of 7
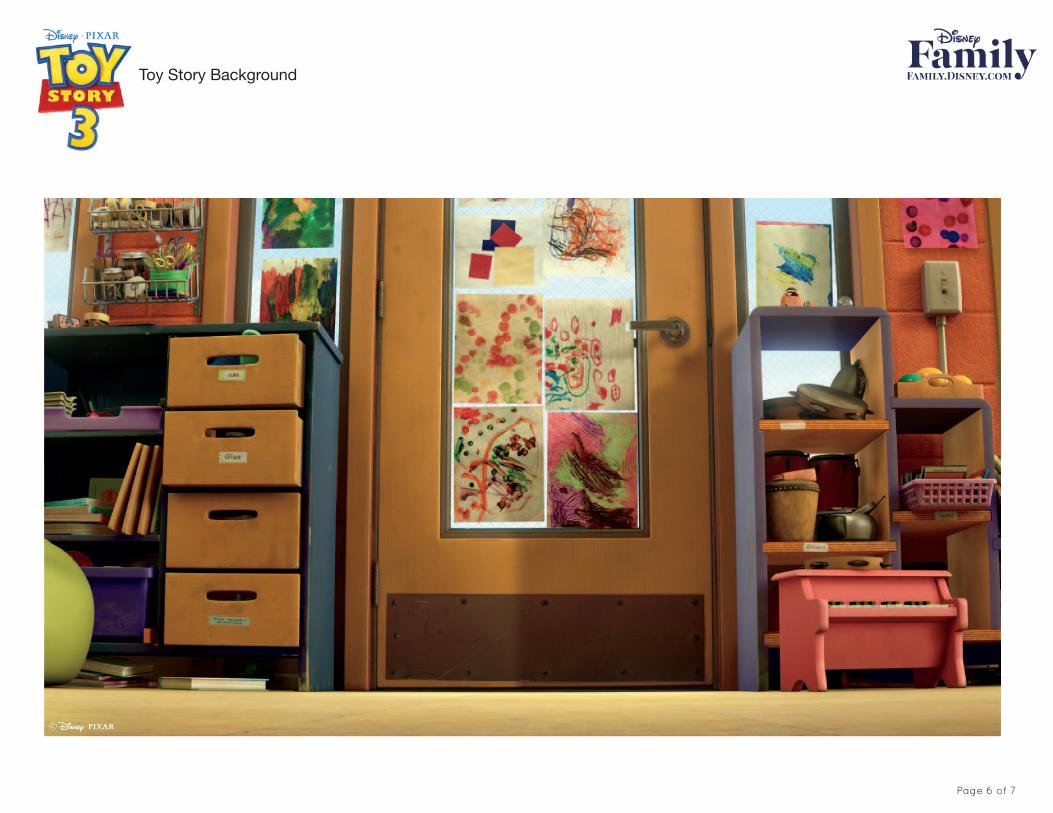
Toy Story Background
Page 6 of 7
Back-stand
Back-stand
Tab
TabTab
Tab
Glue Glue
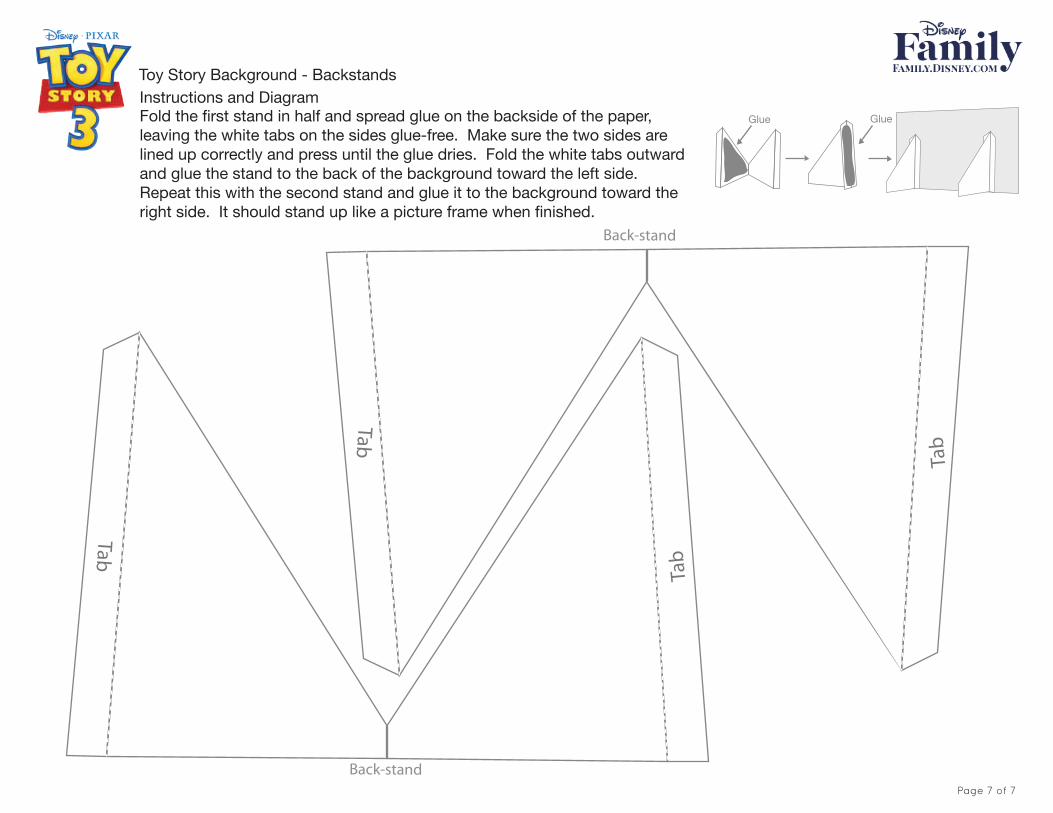
Instructions and DiagramToy Story Background - Backstands
Fold the first stand in half and spread glue on the backside of the paper, leaving the white tabs on the sides glue-free. Make sure the two sides are lined up correctly and press until the glue dries. Fold the white tabs outward and glue the stand to the back of the background toward the left side. Repeat this with the second stand and glue it to the background toward the right side. It should stand up like a picture frame when finished.
Page 7 of 7