Embed Size (px)
Citation preview

TWOTIPS
Judy Walsh
Art Conservation Department
SUNY-- Buffalo State College
Solvent removal of stains using a passive wicking system
Tip # 1

The object sits in contact with solvent that can only evaporate along a paper wick.
THEORY

The combination of a long exposure time and strong wicking action of the evaporating solvent draws the stain out of the paper into the wick at the drying interface.
THEORY

• Using your latent Origami skills, create a folded mylar tray about a ½” bigger than your object on all sides.
PRACTICE:

• Tape the corners.

• Line the bottom of the tray with a thin blotter.

• In the fume hood, wet the blotter with the appropriate solvent.

• Create a wick by creasing a piece of Whatman filter paper that will sit below the stain, and extend above the edge of the tray at the side closest to the stain.

• Place your object on the blotter. *
• * Of course I presume you have tested, and have determined that the item is able to withstand this treatment, etc…
(Stain)

• Cover as much of the blotter and object as you can with mylar.
• Wait.

• As the solvent evaporates up the filter paper wick, it carries the soluble stain with it, creating a tide line of resinous staining at the drying line on the Whatman paper.

From above it eventually looks like this, as the stain moves into the Whatman filter paper wick.

• Avoids manipulation of object and disruption of surface that can be problems with localized suction.
• Works good.
Advantages:

A simple extension for a suction disk that is useful in treating
bound items.
Tip # 2
This one was invented by the Paper Majors in the Class of 2012 : Lauren Calcote, Gwenanne
Edwards, Saori Kawasumi and Kesha Talbert
Tip # 2

Extend the suction from a platen through a flexible channel to get deeper into the gutter of a bound volume.
THEORY
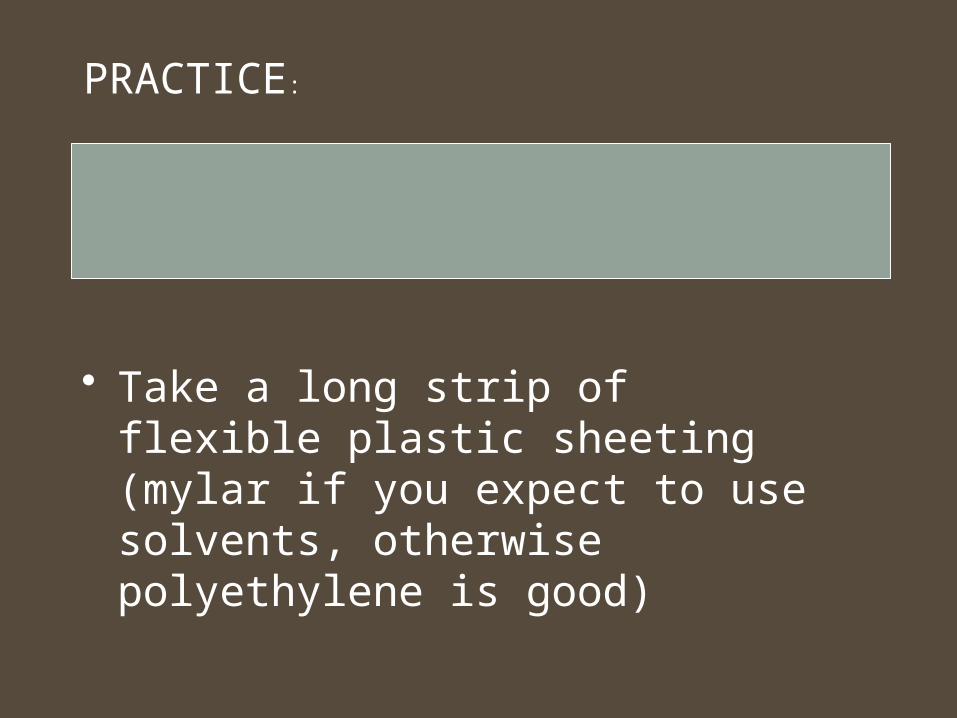
• Take a long strip of flexible plastic sheeting (mylar if you expect to use solvents, otherwise polyethylene is good)
PRACTICE:

• Fold in half to find the center.
PRACTICE:

• Cut two holes in the plastic.
PRACTICE:
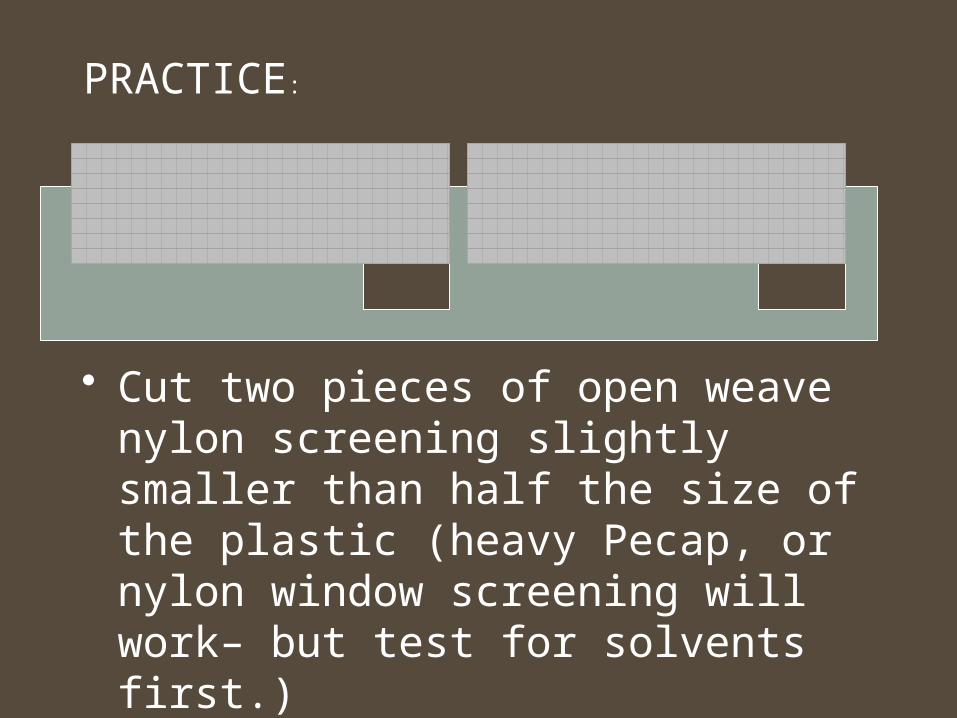
• Cut two pieces of open weave nylon screening slightly smaller than half the size of the plastic (heavy Pecap, or nylon window screening will work– but test for solvents first.)
PRACTICE:

• And a sheet of heavier weight polyester web– pellon, Remay, etc. cut to the same size.
PRACTICE:
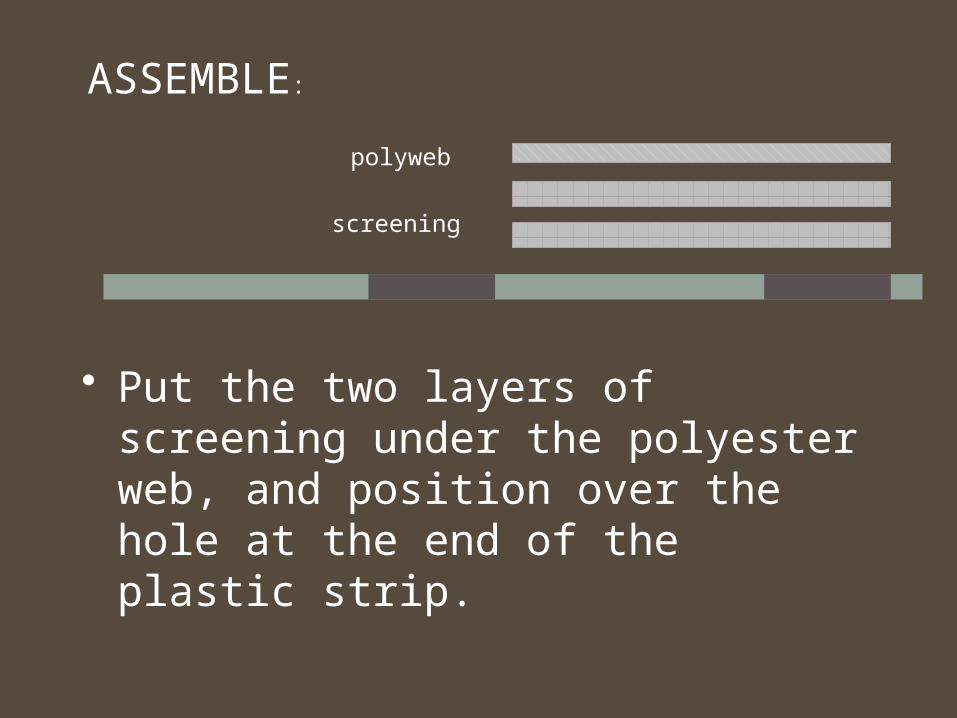
• Put the two layers of screening under the polyester web, and position over the hole at the end of the plastic strip.
ASSEMBLE:
screening
polyweb

• Fold the plastic strip over the screening and web,
ASSEMBLE:

• Fold the plastic strip over the screening and web,
ASSEMBLE:

• Fold the plastic strip over the screening and web, and seal the three open edges. You can use double-sided tape between the layers, or pressure sensitive tape on the outsides of the plastic.
ASSEMBLE:

• Position the bottom
cut-out above a suction platen
and test. The air should rush through the cut-out on the top of extended plastic sleeve.
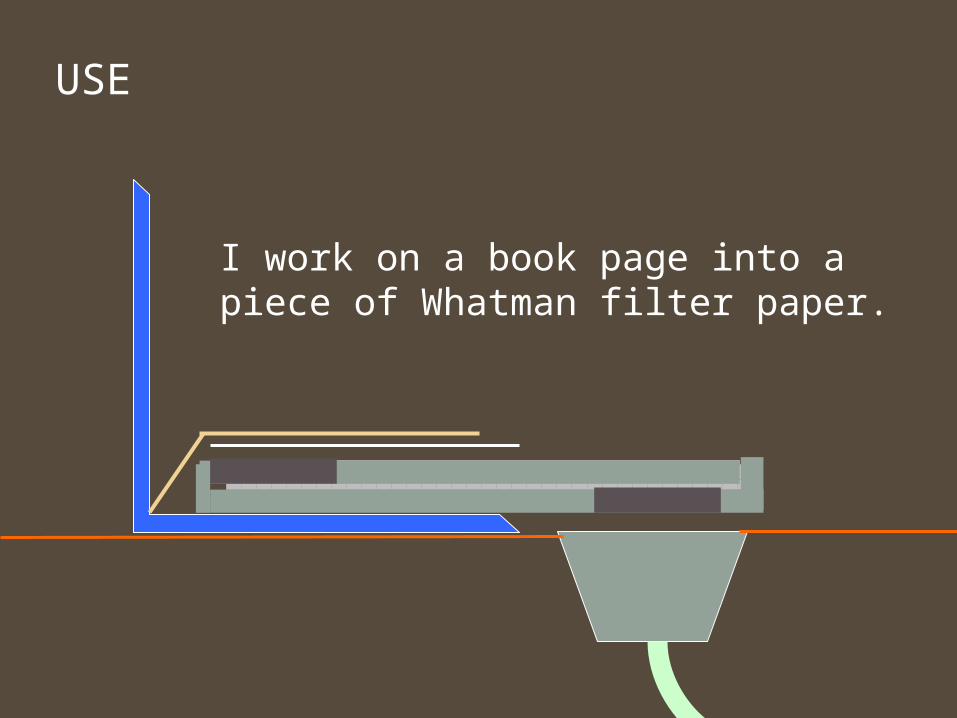
USE
USE
I work on a book page into a piece of Whatman filter paper.
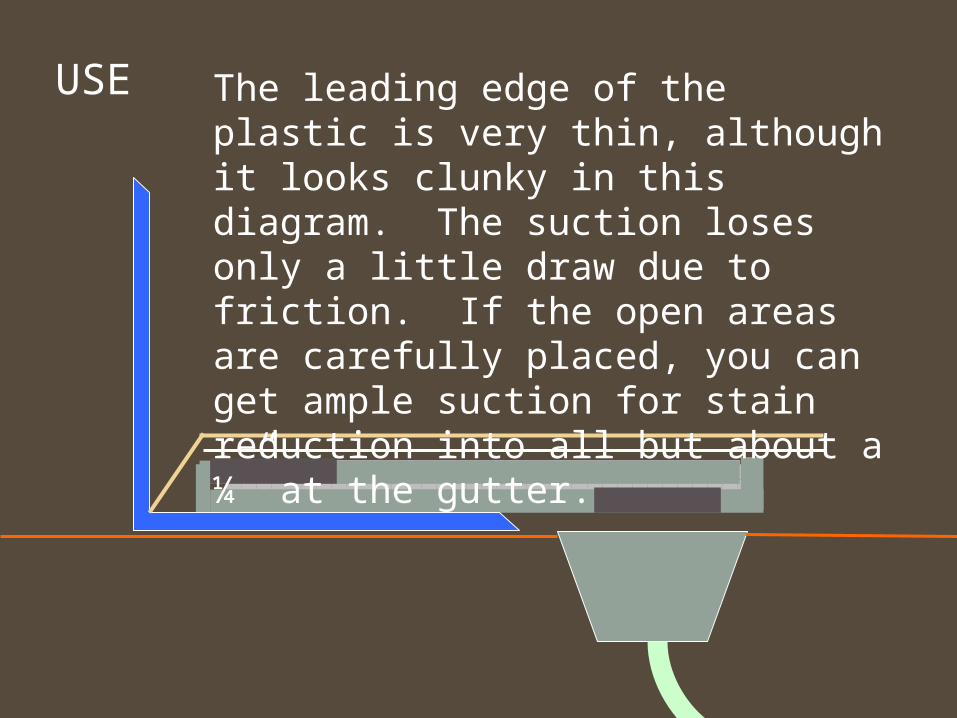
USE The leading edge of the plastic is very thin, although it looks clunky in this diagram. The suction loses only a little draw due to friction. If the open areas are carefully placed, you can get ample suction for stain reduction into all but about a ¼” at the gutter.

Advantages
• Safely extends reach of suction devices.
• Cheap to custom make for each project.
• Works good.

Sorry I am not there to answer your questions
(and see the other tips.)
You could e-mail me:
Huge “Thanks!” to Sarah for reading this for me!