Embed Size (px)
Citation preview
Types of Microscopes
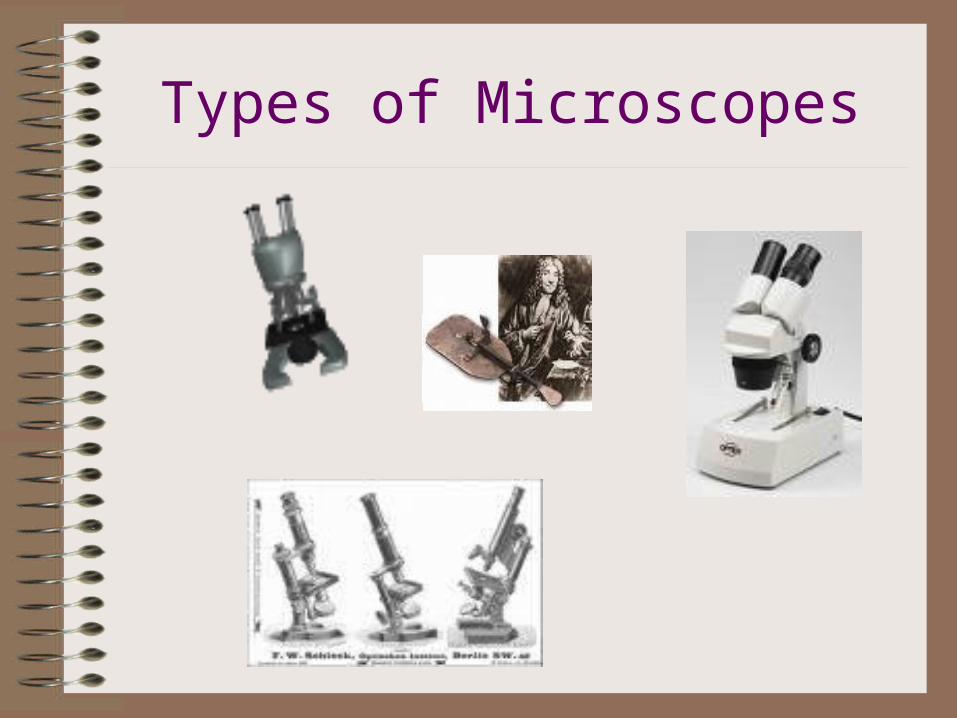
Light Microscope
• the models found in most schools, use compound lenses and light to magnify objects. The lenses bend or refract the light, which makes the object beneath them appear closer.
Stereoscope
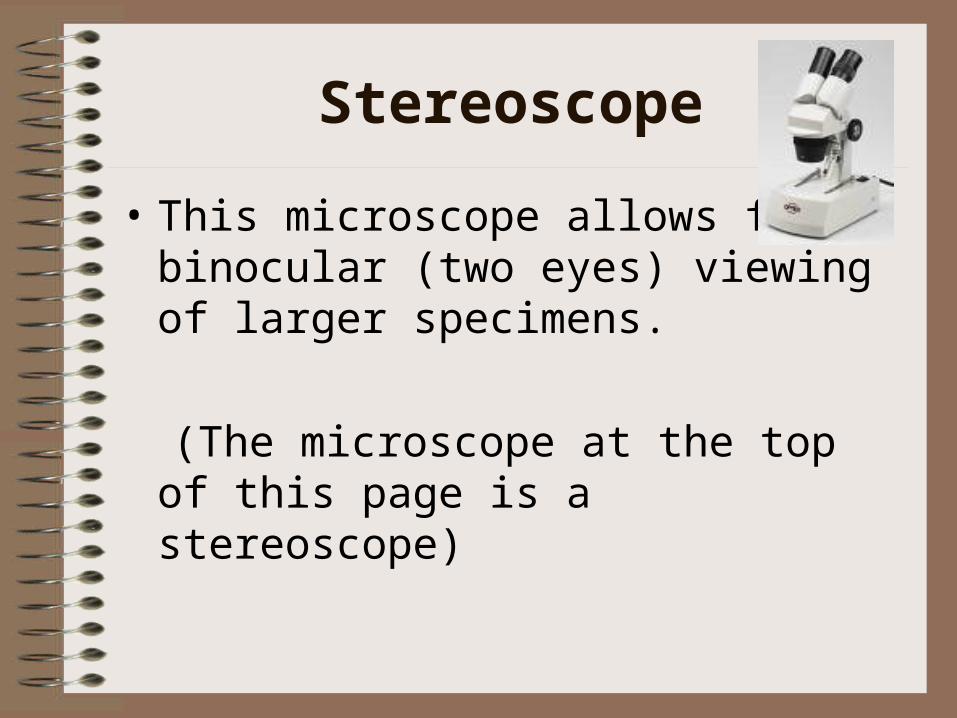
• This microscope allows for binocular (two eyes) viewing of larger specimens.
(The microscope at the top of this page is a stereoscope)
Scanning Electron Microscope
• Allow scientists to view a universe too small to be seen with a light microscope. SEM’s don’t use light waves; they use electrons (negatively charged electrical particles) to magnify objects up to two million times.
SEM IMAGES
• CAN YOU FIGURE OUT WHAT YOU ARE LOOKING AT?
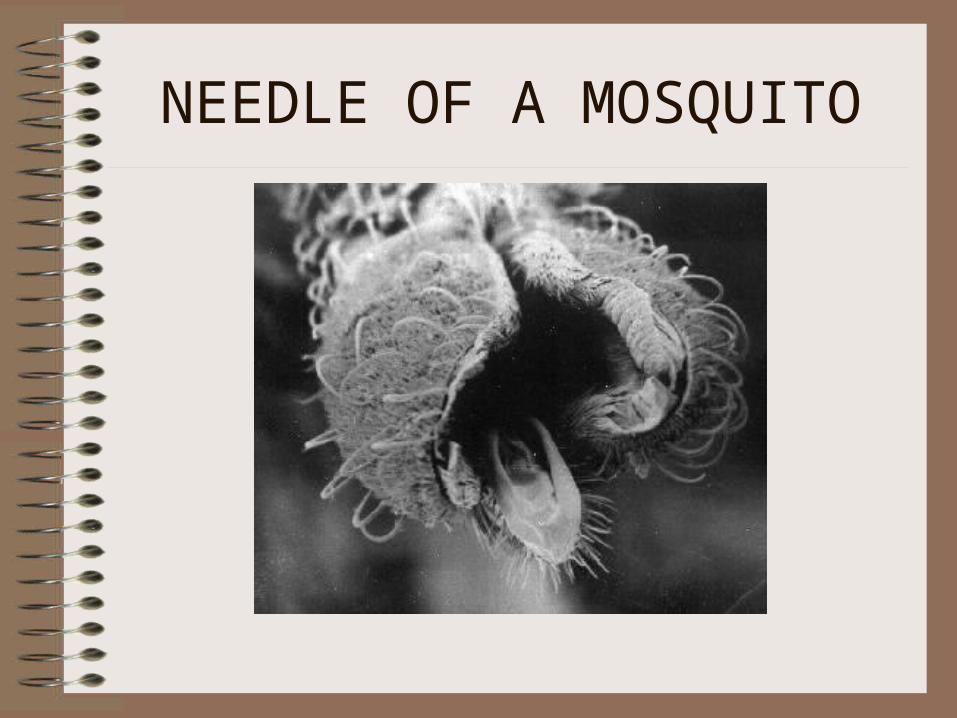
NEEDLE OF A MOSQUITO
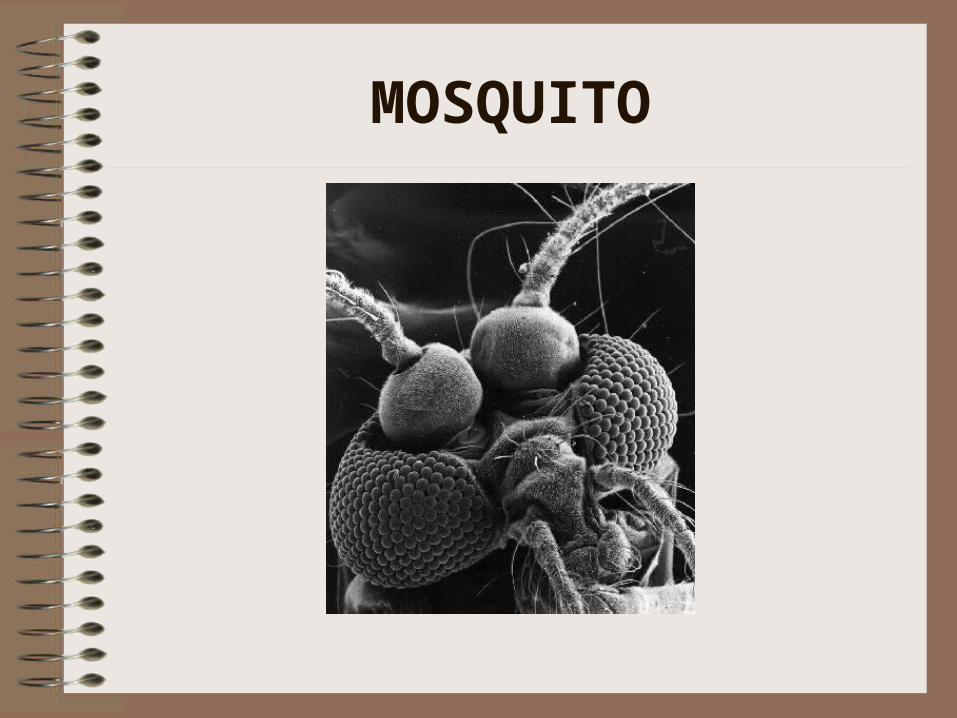
MOSQUITO
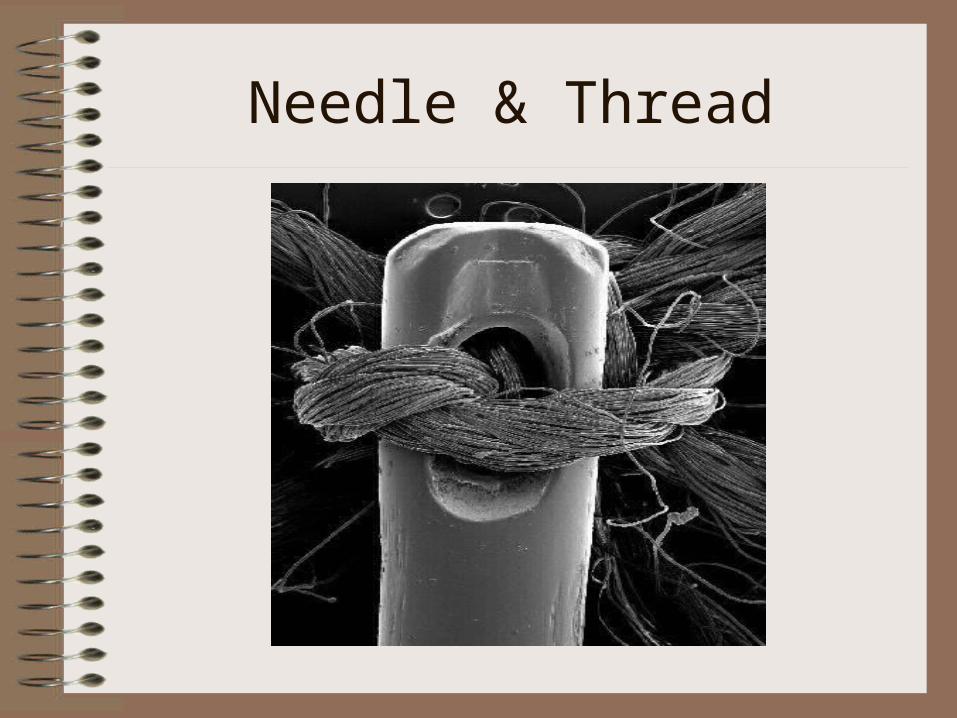
Needle & Thread
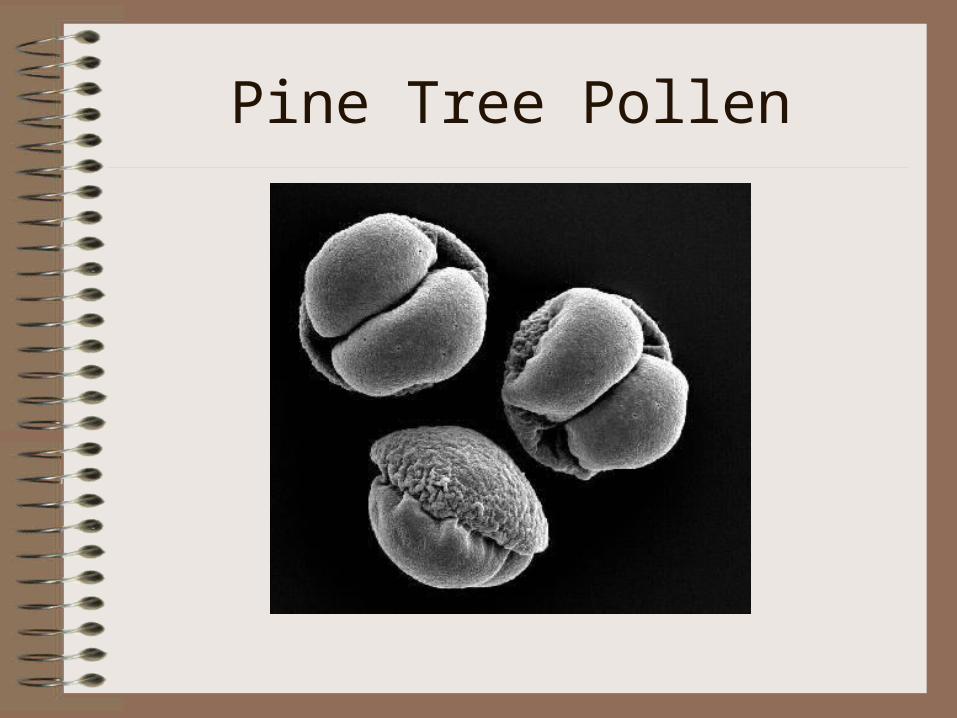
Pine Tree Pollen
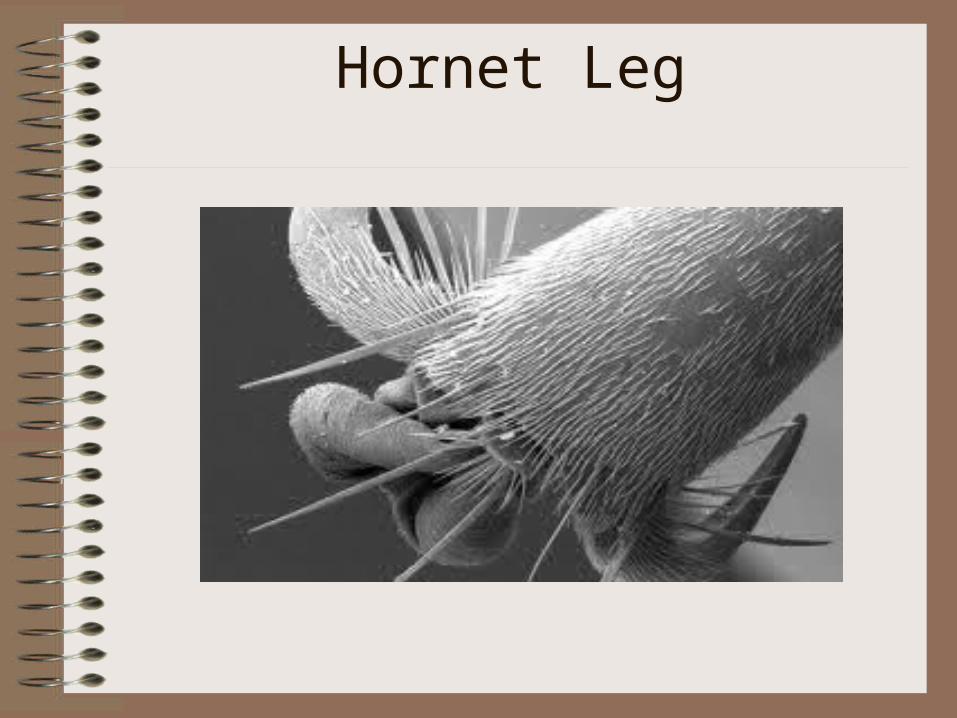
Hornet Leg

Dental Plaque
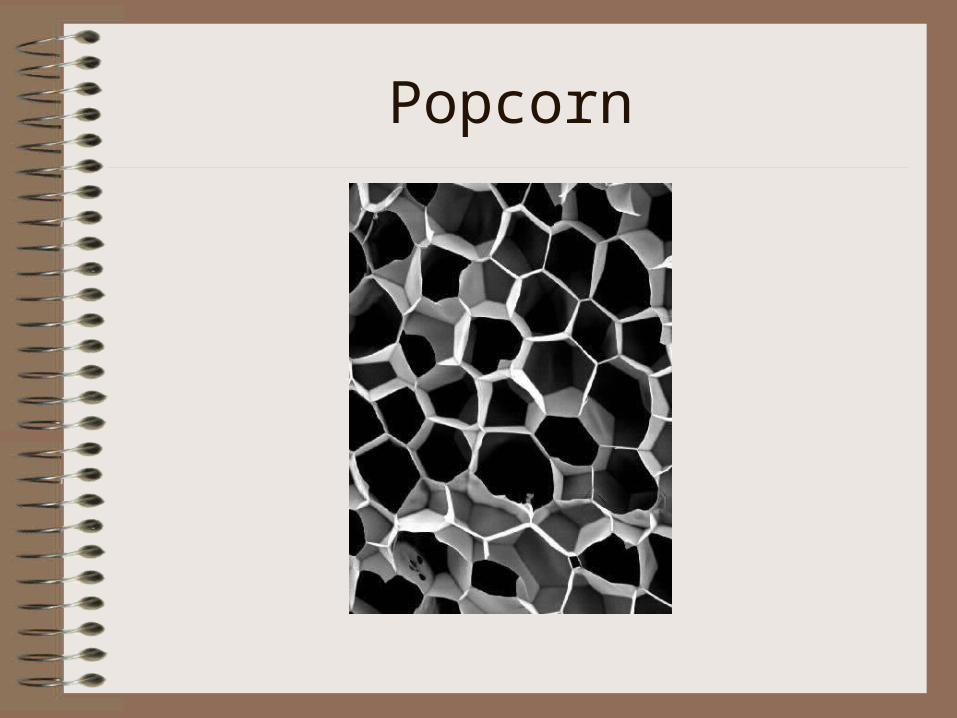
Popcorn
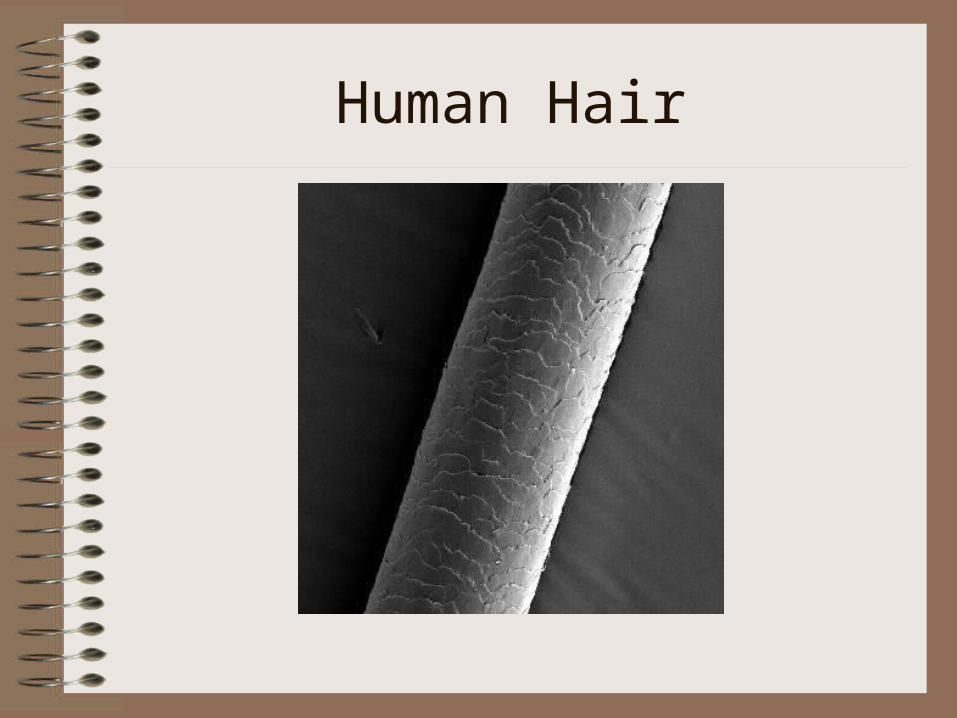
Human Hair

Ant

Pollen Grains
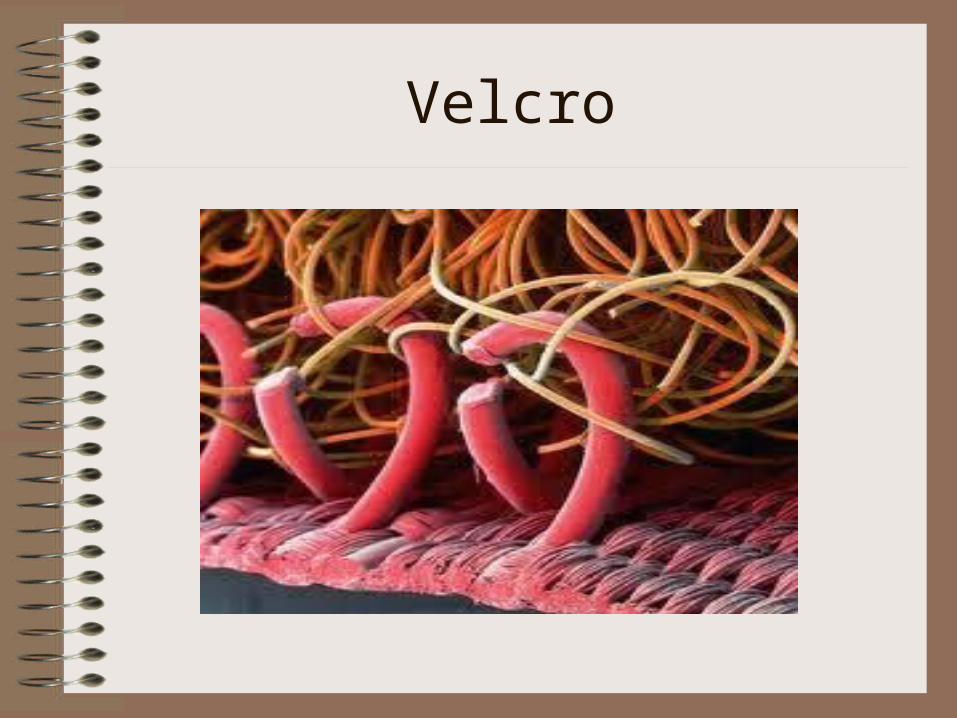
Velcro
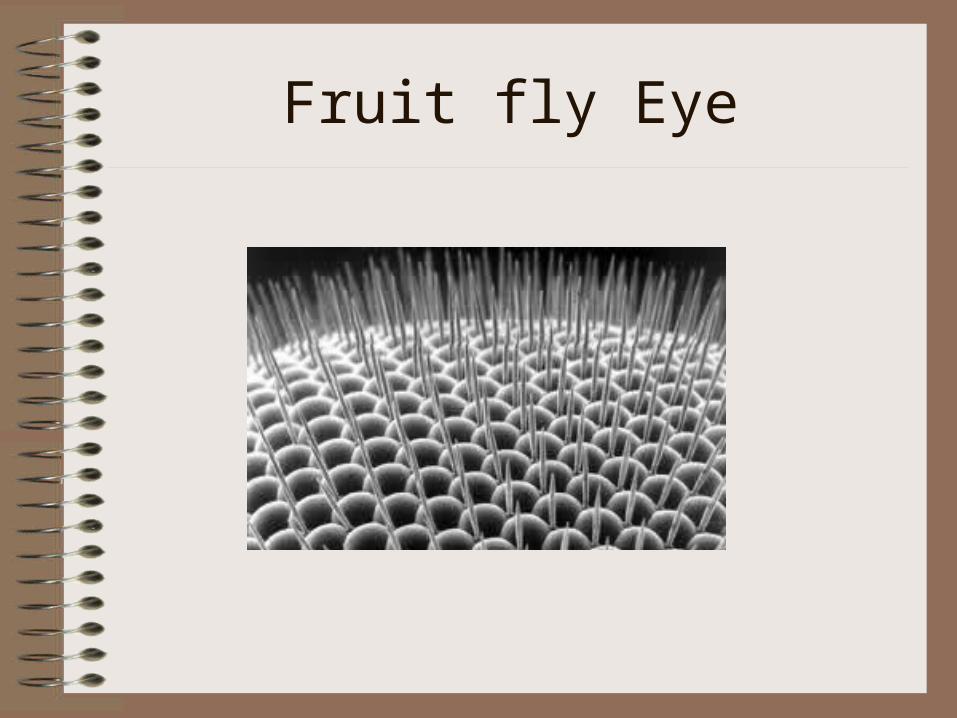
Fruit fly Eye

Butterfly Tongue

Avian Flu Virus
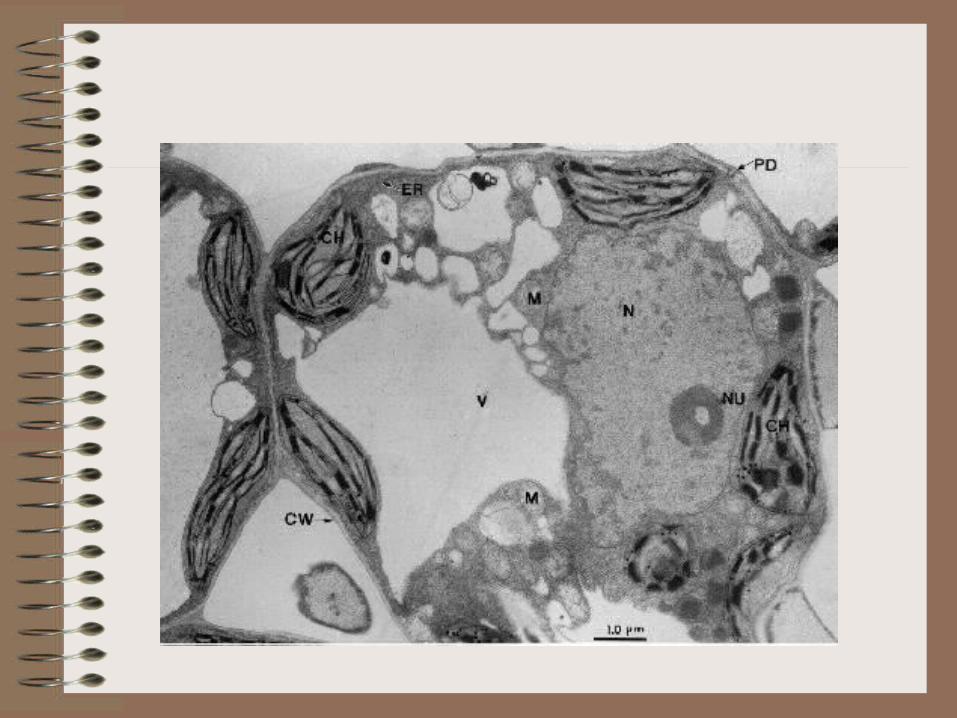
Transmission Electron Microscope
• Also uses electrons, but instead of scanning the surface (as with SEM's) electrons are passed through very thin specimens.
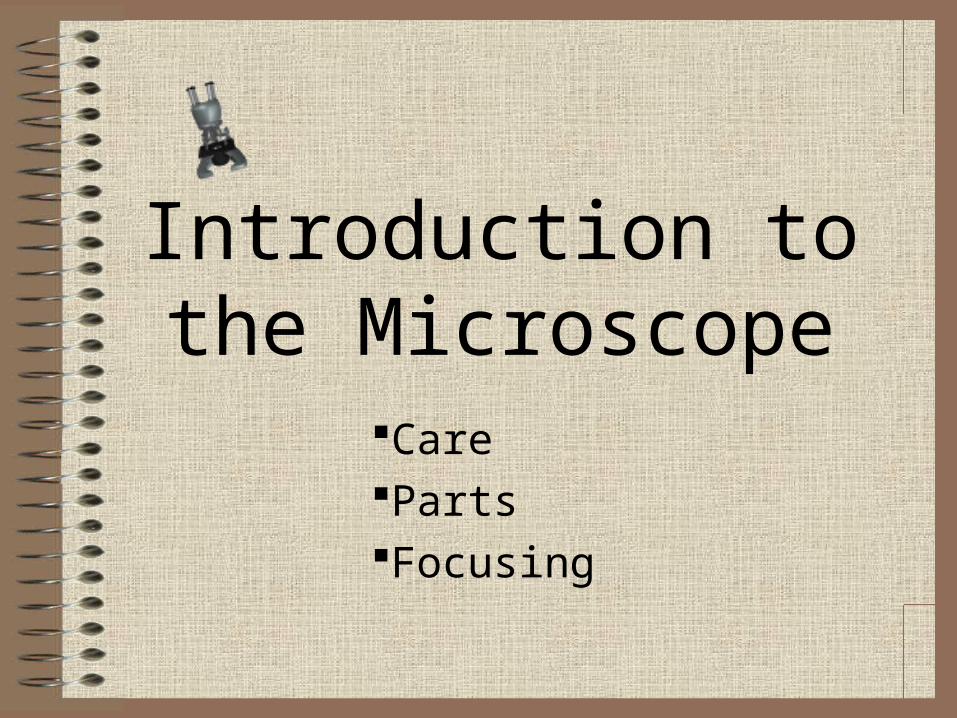
Introduction to the Microscope
CarePartsFocusing
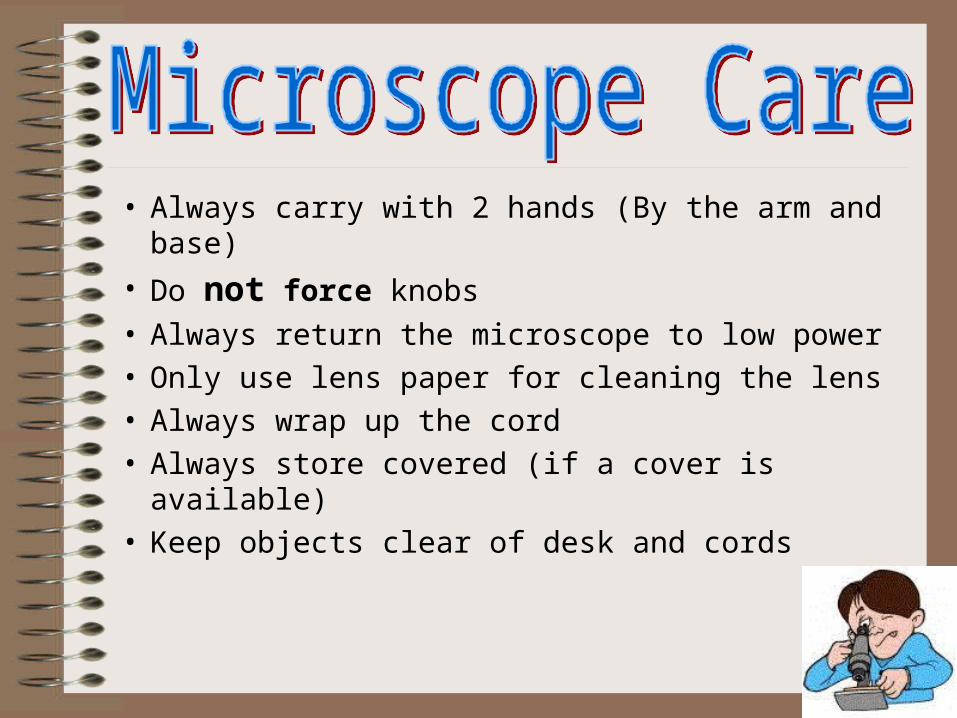
• Always carry with 2 hands (By the arm and base)
• Do not force knobs
• Always return the microscope to low power• Only use lens paper for cleaning the lens• Always wrap up the cord• Always store covered (if a cover is available)• Keep objects clear of desk and cords
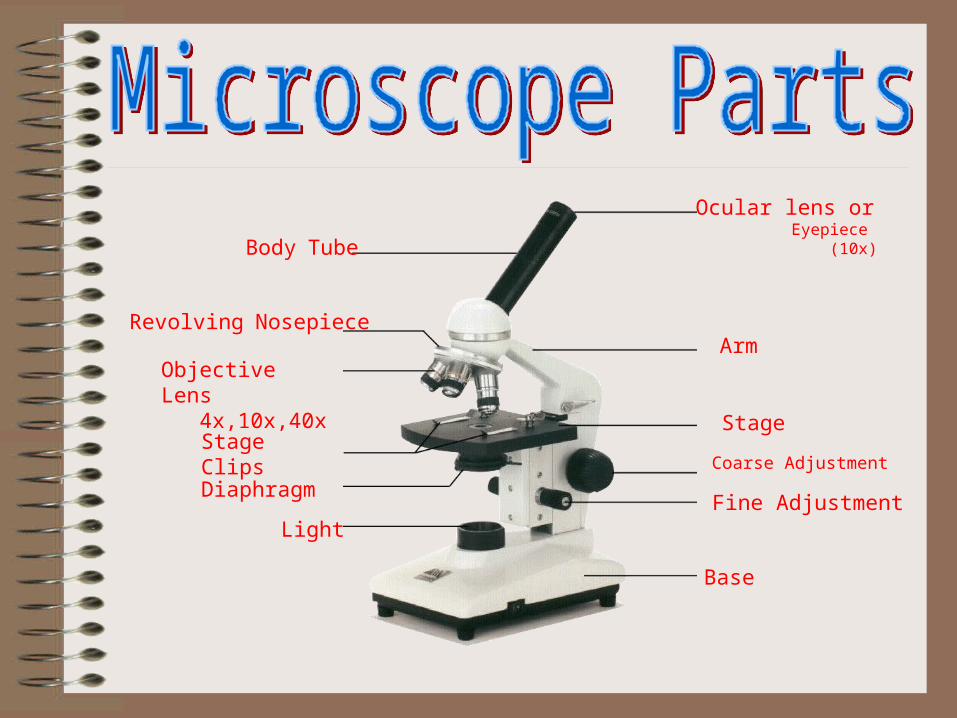
Ocular lens or Eyepiece (10x)Body Tube
Revolving NosepieceArm
Objective Lens 4x,10x,40x
StageStage Clips
Coarse Adjustment
Fine Adjustment
Base
Diaphragm
Light

What’s my power?
To calculate the power of magnification, multiply the power of the ocular lens (eyepiece) by the power of the objective lens being used.
What are the powers of magnification for each of the objectives we have on
our microscopes?
Fill in the table on your worksheet.
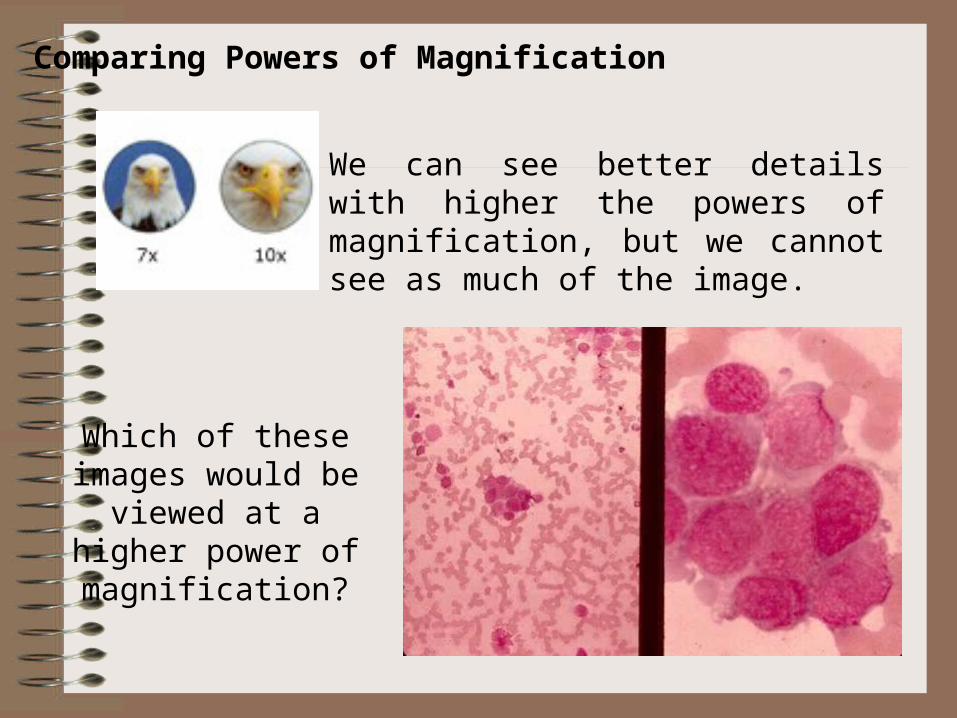
Comparing Powers of Magnification
We can see better details with higher the powers of magnification, but we cannot see as much of the image.
Which of these images would be viewed at a
higher power of magnification?
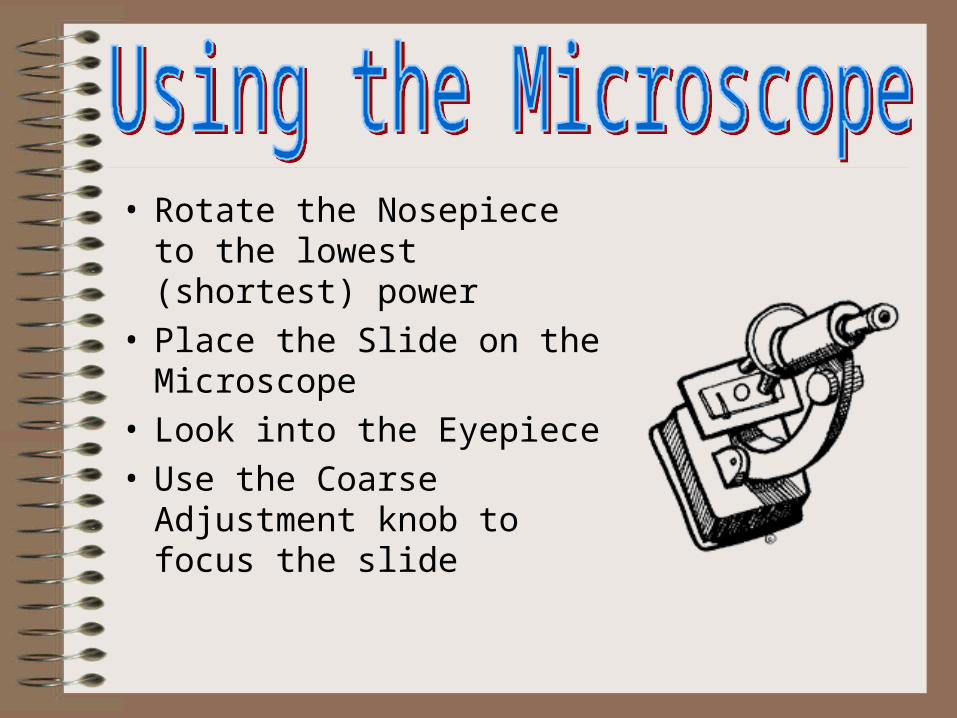
• Rotate the Nosepiece to the lowest (shortest) power
• Place the Slide on the Microscope
• Look into the Eyepiece• Use the Coarse Adjustment
knob to focus the slide
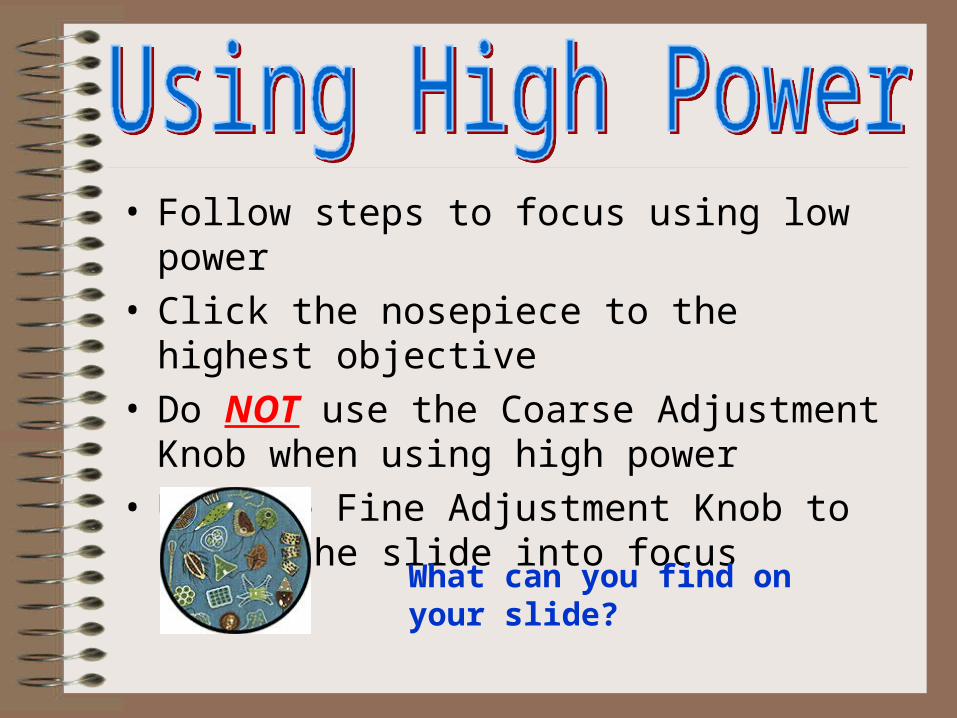
• Follow steps to focus using low power• Click the nosepiece to the highest objective• Do NOT use the Coarse Adjustment Knob when
using high power• Use the Fine Adjustment Knob to bring the slide
into focus
What can you find on your slide?
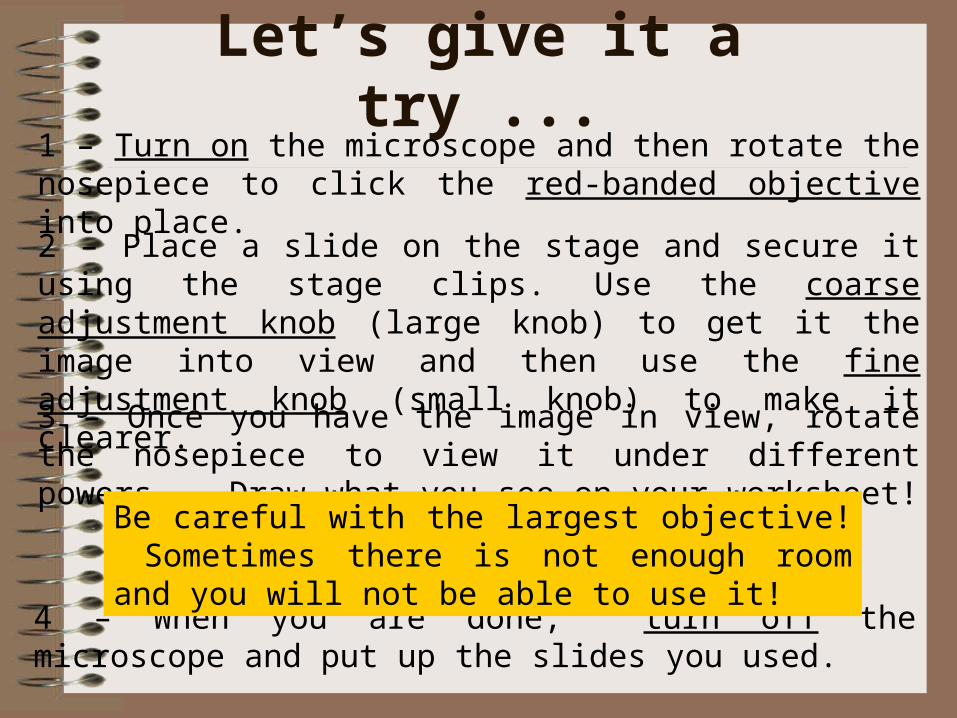
Let’s give it a try ...1 – Turn on the microscope and then rotate the nosepiece to click the red-banded objective into place.
2 – Place a slide on the stage and secure it using the stage clips. Use the coarse adjustment knob (large knob) to get it the image into view and then use the fine adjustment knob (small knob) to make it clearer.
4 – When you are done, turn off the microscope and put up the slides you used.
3 – Once you have the image in view, rotate the nosepiece to view it under different powers. Draw what you see on your worksheet!
Be careful with the largest objective! Sometimes there is not enough room and you will not be able to use it!
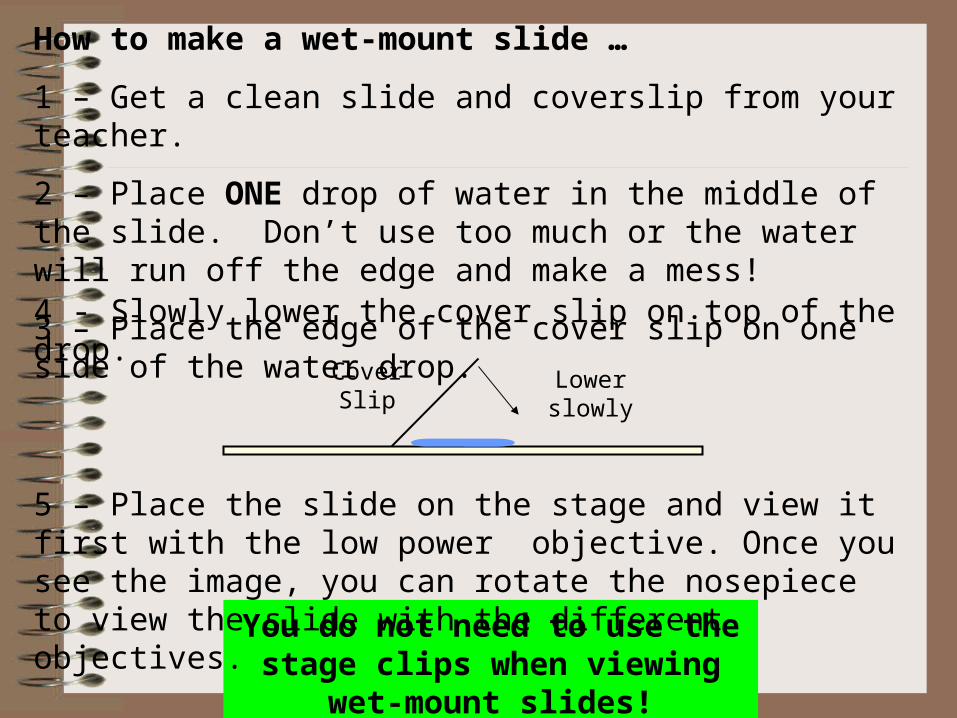
How to make a wet-mount slide …
1 – Get a clean slide and coverslip from your teacher.
2 – Place ONE drop of water in the middle of the slide. Don’t use too much or the water will run off the edge and make a mess!
3 – Place the edge of the cover slip on one side of the water drop.
You do not need to use the stage clips when viewing wet-mount slides!
5 – Place the slide on the stage and view it first with the low power objective. Once you see the image, you can rotate the nosepiece to view the slide with the different objectives.
4 - Slowly lower the cover slip on top of the drop.
Cover Slip
Lower slowly


![Lenses Lenses are curved surfaces that refract light as it passes through. [optics/dazle/photos/finished_lenses/lenses_1_to_4_1.jpg]](https://img.pdfslide.net/doc/110x75/56649d8b5503460f94a72b00/lenses-lenses-are-curved-surfaces-that-refract-light-as-it-passes-through.jpg)