Embed Size (px)
Citation preview
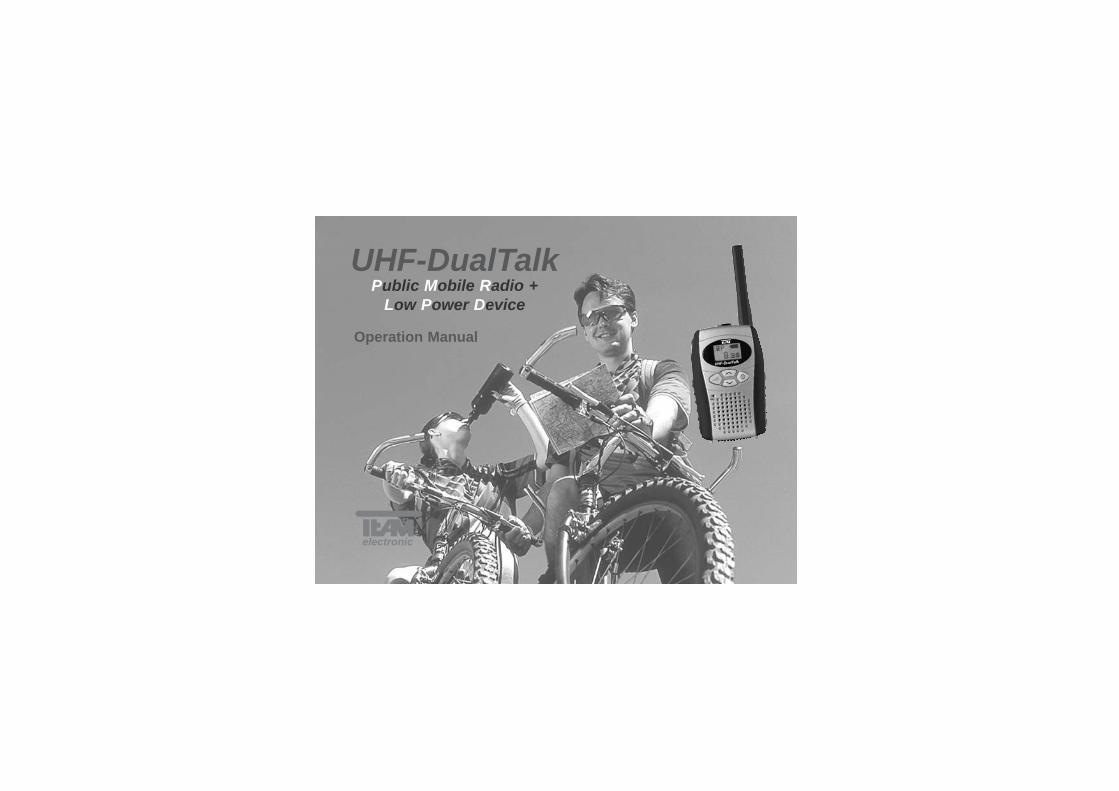
Operation Manual
electronic
UHF-DualTalkPublic Mobile Radio +
Low Power Device

1
2
34
5
4
6
7
8
9
10
electronic
2
UHF-DualTalkPMR + LPD Radio
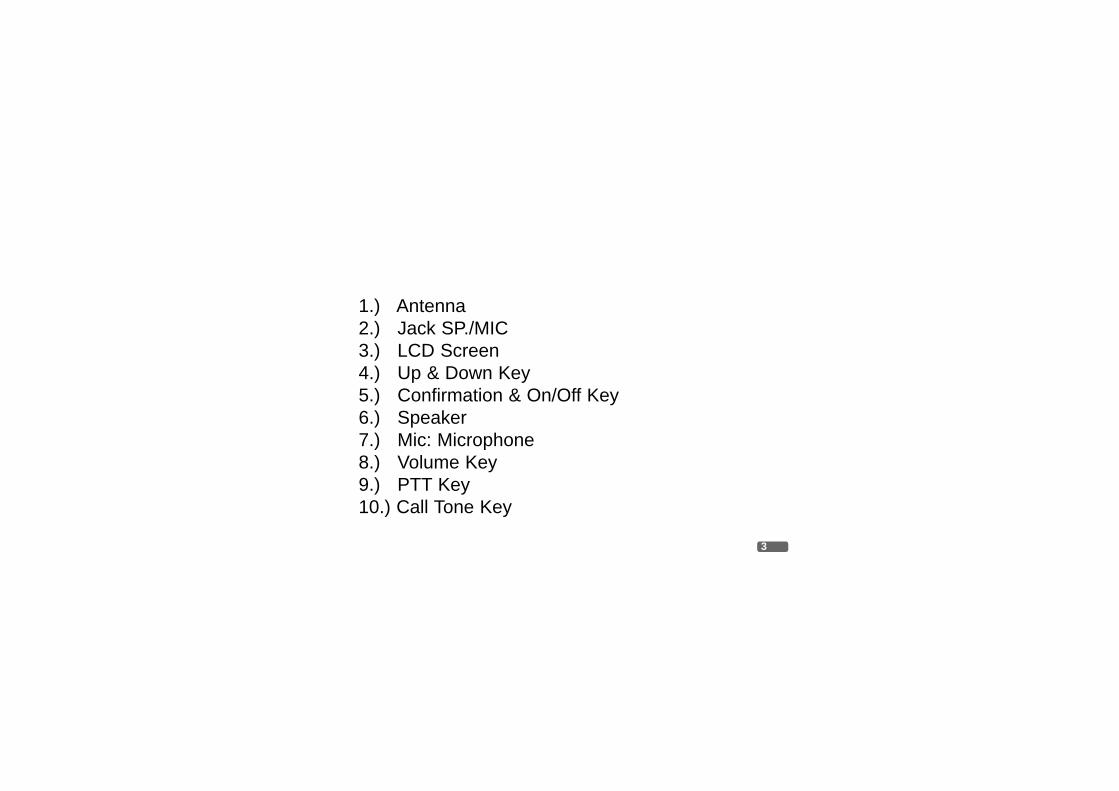
1.) Antenna2.) Jack SP./MIC3.) LCD Screen4.) Up & Down Key5.) Confirmation & On/Off Key6.) Speaker7.) Mic: Microphone8.) Volume Key9.) PTT Key10.) Call Tone Key
3

PageControls & Connectors ............................. 2 - 3LC-Display ..................................................... 5
Set Up……………………………………………. 61) Inserting the batteries .................................. 62) Switching On/Off: ........................................ 63) LCD illumination .......................................... 74) Key lock function .................................……. 75) Automatic abortion of functions ................... 76) Up ▲ and Down ▼ keys .............................. 87) Socket for external ear- & microphone ....... 88) Battery indication........................................... 89) Power save function...................................... 910) Receipt tones............................................... 9
Operation……………………………………….. 101) Band and channel selection........................ 102) Channel selection within the actual band… 113) Activation of the CTCSS function &
selection of the CTCSS tone ...................... 114) Volume adjustment .................................... 125) Squelch adjustment ............................…… 136) Setting of the VOX function ....................... 137) Selection of the call melody ...................... 15 Specifictions are subject to change without any
prior notice or obligation.
Contens English
4
Page8) Monitor function ..............................…….159) Activating of the channel scan function..... 16
10) Transmitting…………………………….......17
Additional Information
Safety…………………………………………. 18
Service………………………………………... 19
Conformity……………………………………. 19
Accessories………………………………22 - 23
Frequency tables………………………..20 - 21

English
5
A Appears if normal PMR status is activated or if Vox is switched on.
D Indicates the actual condition of the batteries.
F Indicates the selected PMR channel 1 - 8.
C Appears if key lock function is activated
B Indicates the selected frequency band, i.e. PMR or LPD.
G Indicates the selected CTCSS Code 1 - 38.
E Indicates receiving signals or for transmitting mode.R T
LC-Display
A B C D
E F G
Main Screen
oI
Setting up the TEAM UHF-DualTalk
1) Inserting the batteriesTurn the unit in that way that the rear panel lies in front of you. Rotate the belt clip aquarter turn counter-clockwise, so that the battery compartment lid is accessible now.The locking of the battery compartment lid is located at the bottom side of the unit.Push the locking aside and turn it down. Then you can take the lid off. Now insert 4 alkaline or rechargeable AAA ( = Micro ) cells into the battery compart-ment according to the polarity signs inside. If you use rechargeable cells we recom-mend the NiMH type. To close the battery compartment put the lid onto the compartment in that way that thetwo guide bolts at the top of the lid grip into the two corresponding guide holes at thetop of the battery compartment. Then secure the lid by pushing the locking on it untilit snaps in. Finally rotate the belt clip back into its original position
2) Switching On/OffDepress the confirmation CONFIRM and On/Off key ( 5 ) for about 1 or 2 secondsto switch the transceiver on. A short receipt tone sounds from the loudspeaker ( 6 )and the display illumination lights up in green. For a short period the graphic display( 3 ) shows all points. Now the unit is either in PMR reception mode or in LPD recep-tion mode. The display will show the main screen which indicates also the actualband. To switch the unit off depress the confirmation and On/Off key ( 5 ) againfor about 1 or 2 seconds. The loudspeaker gives a short tone and all symbols disap-pear from the display. The last settings remain memorised, even if the batteries areremoved.
English
6

English
7
Note: The On/Off operation of the confirmation and On/Off key ( 5 ) is disabled afterthe last confirmation. This factory setting has been made to avoid an unwantedOn/Off switching of the unit. The disabling of the On/Off function will be cancelledafter the key ( 5 ) is released once for a short time.
3) LCD illuminationThe LC display illumination is switched on at every pressure on any key, and it will beautomatically shut off after 10 seconds.
4) Key lock functionThe key lock function is activated from the main screen. The unit can be in PMRmode or in LPD mode. Depress and hold the confirmation key ( 5 ). While you holdthis key, press also the Up key ( 4 ). Then two short confirmation tones soundfrom the speaker ( 6 ), and the key symbol ( position C ) appears in the display.Now all keys except the PTT key ( 9 ) are ignored. The speaker gives two short tonesat every pressure on any locked key, except the confirmation key ( 5 ).To stop the key lock function depress and hold the confirmation key ( 5 ). While youhold this key, press also the Up key s ( 4 ). Then one single short confirmation tonesounds from the speaker, and the key symbol disappears in the display. Now all keysare unlocked again.
5) Automatic abortion of functionsIf you select a function in the main screen, you have to insert all necessary entries wit-hin 5 seconds, otherwise the function will be aborted and not executed. Instead the
▼
display returns to the main screen.
6) Up and Down keysIf you depress briefly the keys Up and Down ( 4 ), the corresponding values ( volume, channel ) are changed for one step up or down. If you hold these keys for1 or 2 seconds, the values change quickly into the corresponding direction. Somevalues run in a ring like system, others remain constantly after they have reached thehighest or lowest value. In this case you will hear from the speaker a triple confirma-tion tone.
7) Socket for external earphone-microphoneThe socket ( 2 ) ( ø 2.5 mm ) on the top side of the unit can be used to connect anexternal earphone-microphone, e.g. ORM-MS. While the socket is used the internalspeaker ( 6 ) and the internal microphone Mic ( 7 ) are switched off.
8) Battery indicationIn case of completely charged batteries the battery symbol ( position D ) is filled-in. At 4.9 V supply voltage one third of the filling disappears, at 4.6 V one other third,and at 4.1 V there is only the frame remaining. Now it is time to change or charge thebatteries, otherwise errors of functions and displayed information may occur. The cur-rent consumption in transmit mode amounts to 270 mA ( PMR mode ), 110 mA ( LPDmode ), in reception mode with closed squelch 40 mA and in power save mode 15 mA.
English
8
▼
▼ ▼
▼
English
9) Power save functionThe power save mode is only active in reception mode. If the squelch is not openedby a signal for at least 20 seconds, and if there is no key entry during this time, theunit falls into the power down mode. In this mode the receive section is supplied onlyperiodically for a short time, so that the current consumption goes down from 40 mAto 15 mA. On receiving of a signal or pressing any key the power save mode swit-ches itself off again.
10) Receipt tonesIf a signal is found on the actual channel in PMR or LPD operation the receipt tonesare switched off. Otherwise every pressure of a key is indicated by a short tone.
Operation of the TEAM UHF-DualTalk
The TEAM UHF-DualTalk offers you the possibility to communicate in a band of yourchoice of two radio bands in the 70-cm-band ( UHF ). One band is the PMR band( 446.00625 MHz – 446.09375 MHz ) and the other one the LPD band ( 433.075 MHz– 434.775 MHz ). The TX output power is automatically matched to the allowed maxi-mum value of the actual selected band. This is 500 mW radiated TX output power inPMR operation and 10 mW radiated TX output power in LPD operation. The actualselected band is indicated by the letter on the upper left corner of the main screen.The “P” means PMR mode and the “L” means LPD mode.If the unit receives an audible signal of a station the symbol ( E ) appears in thelower left corner of the display.
R
9
1) Band and channel selectionTo select another radio band depress out of the keys Down ( 4 ) 7 times or Up once. The display shows the writing . Then depress briefly the confir-mation and On/Off key ( 5 ). Then the display shows the writings . On theleft side of the writing “CH“ you see an arrow, which can be moved with the help of theUp/Down keys ( 4 ) either to the left side of the writing “Band“ or back to the left sideof the writing “CH“. For the activation of the band selection put the arrow to the leftside of the writing “Band“ and then depress the confirmation key ( 5 ). Then the dis-play shows the writings or , depending on which one of the two bands theactual band is. With the help of the keys ( 4 ) you can toggle between both indicati-ons. Then depress the confirmation key ( 5 ) for the final selection of the indicatedband. Now the display shows or , depending on which one of the twobands you selected before. The “8“ stands for the number of the actual channel of theactual band. By the help of the Up/Down keys ( 4 ) the channels 1 to 8 of the PMRband or the channels 1 to 69 of the LPD band can be changed in the wanted direc-tion in a ring like system. Press the confirmation key ( 5 ) to select the desired chan-nel, and the display will return to the main screen. Now the channel number appearsat the position ( F ) and the frequency band at the position ( B ). The symbol “P”means PMR mode and the “L” means LPD mode. The channel number of the not sel-ected band remains stored.
English
10
▼
▼
CH
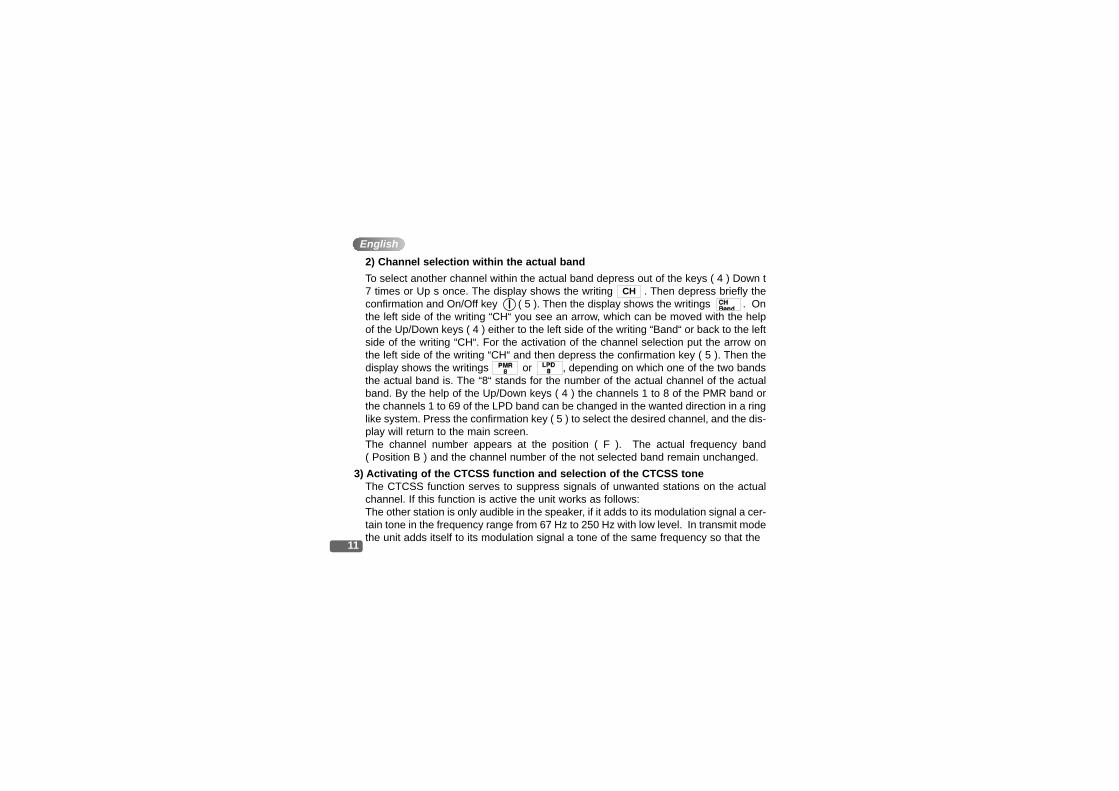
2) Channel selection within the actual band
To select another channel within the actual band depress out of the keys ( 4 ) Down t7 times or Up s once. The display shows the writing . Then depress briefly theconfirmation and On/Off key ( 5 ). Then the display shows the writings . Onthe left side of the writing “CH“ you see an arrow, which can be moved with the helpof the Up/Down keys ( 4 ) either to the left side of the writing “Band“ or back to the leftside of the writing “CH“. For the activation of the channel selection put the arrow onthe left side of the writing “CH“ and then depress the confirmation key ( 5 ). Then thedisplay shows the writings or , depending on which one of the two bandsthe actual band is. The “8“ stands for the number of the actual channel of the actualband. By the help of the Up/Down keys ( 4 ) the channels 1 to 8 of the PMR band orthe channels 1 to 69 of the LPD band can be changed in the wanted direction in a ringlike system. Press the confirmation key ( 5 ) to select the desired channel, and the dis-play will return to the main screen.The channel number appears at the position ( F ). The actual frequency band ( Position B ) and the channel number of the not selected band remain unchanged.
3) Activating of the CTCSS function and selection of the CTCSS toneThe CTCSS function serves to suppress signals of unwanted stations on the actualchannel. If this function is active the unit works as follows:The other station is only audible in the speaker, if it adds to its modulation signal a cer-tain tone in the frequency range from 67 Hz to 250 Hz with low level. In transmit modethe unit adds itself to its modulation signal a tone of the same frequency so that the
English
11
CH

muting device of the counter station can open also. If the function is inactive you canhear every station on the channel, and in transmit mode no tone is added to the modu-lation signal.To select the CTCSS function depress out of the keys ( 4 ) Down 6 times orUp 2 times. The display shows .Then depress briefly the confirmation andOn/Off key ( 5 ). Then the display shows the writing , where the “22“ stands forthe actual CTCSS tone code. By the help of the Up/Down keys ( 4 ) the code num-bers 0 to 38 can be changed in the wanted direction in a ring like system. Press theconfirmation key ( 5 ) to select the desired code number, and the display will returnto the main screen. If the code number is different from zero, it will be visible in themain screen at the position ( G ). That means that the CTCSS function has beenactivated with the CTCSS tone corresponding to the code number.If the selected code is “00“, there will be no code number visible in the lower right cor-ner ( position G ) of the main screen. That means that the CTCSS function is swit-ched off now. In the table in the annex you find the corresponding CTCSS frequen-cies to the code numbers.
4) Volume adjustmentTo adjust the volume level of the reproduction of incoming signals depress the volu-me key ( 8 ). The display shows a loudspeaker symbol with one or severalpoints or bars . The number of those points or bars shows the actual settingof the volume adjustment. By the help of the Up/Down keys ( 4 ) this setting can bechanged and watched in the display. The volume level of the tones depends of the
English
12
CodeCode
22
▼
▼
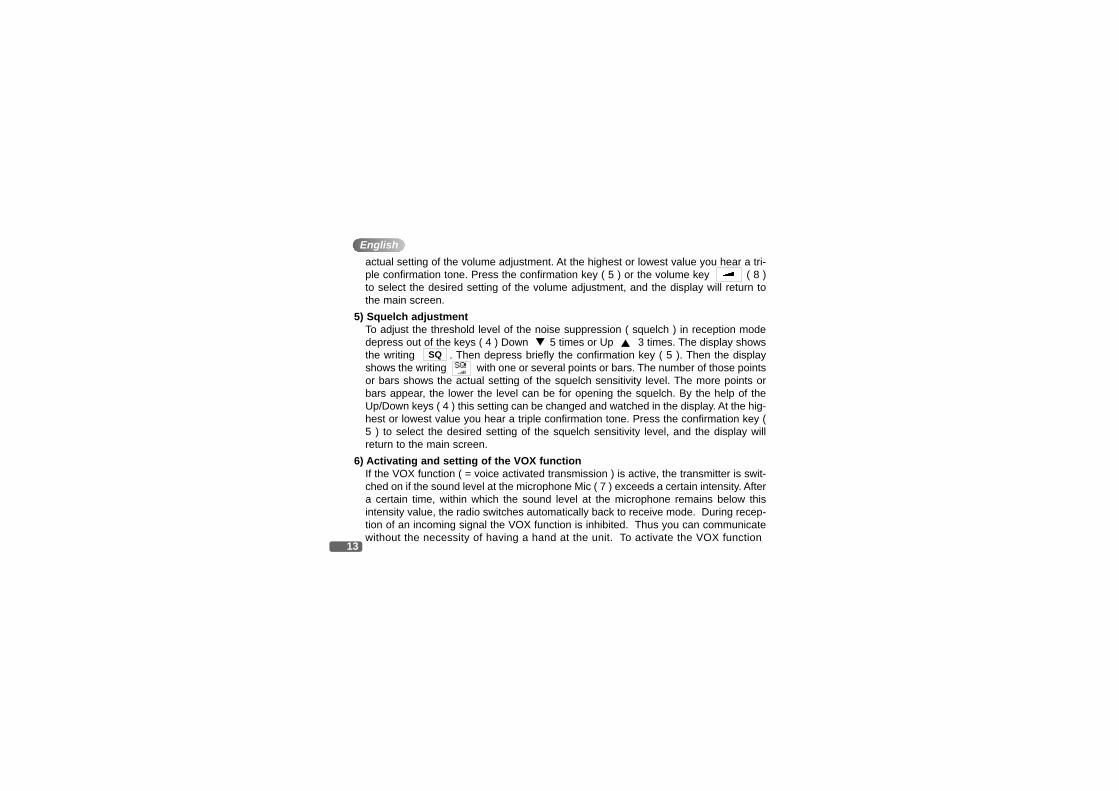
actual setting of the volume adjustment. At the highest or lowest value you hear a tri-ple confirmation tone. Press the confirmation key ( 5 ) or the volume key ( 8 )to select the desired setting of the volume adjustment, and the display will return tothe main screen.
5) Squelch adjustmentTo adjust the threshold level of the noise suppression ( squelch ) in reception modedepress out of the keys ( 4 ) Down 5 times or Up 3 times. The display showsthe writing . Then depress briefly the confirmation key ( 5 ). Then the displayshows the writing with one or several points or bars. The number of those pointsor bars shows the actual setting of the squelch sensitivity level. The more points orbars appear, the lower the level can be for opening the squelch. By the help of theUp/Down keys ( 4 ) this setting can be changed and watched in the display. At the hig-hest or lowest value you hear a triple confirmation tone. Press the confirmation key (5 ) to select the desired setting of the squelch sensitivity level, and the display willreturn to the main screen.
6) Activating and setting of the VOX functionIf the VOX function ( = voice activated transmission ) is active, the transmitter is swit-ched on if the sound level at the microphone Mic ( 7 ) exceeds a certain intensity. Aftera certain time, within which the sound level at the microphone remains below thisintensity value, the radio switches automatically back to receive mode. During recep-tion of an incoming signal the VOX function is inhibited. Thus you can communicatewithout the necessity of having a hand at the unit. To activate the VOX function
English
13
▼
▼
SQ
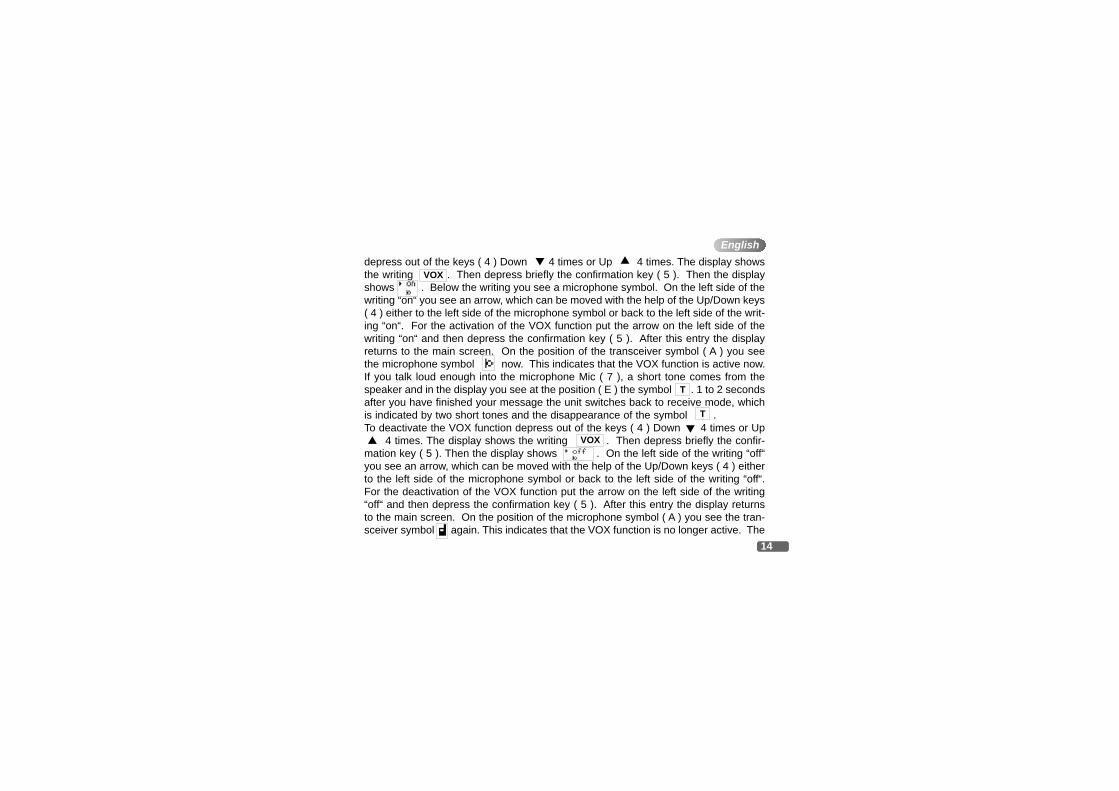
depress out of the keys ( 4 ) Down 4 times or Up 4 times. The display showsthe writing . Then depress briefly the confirmation key ( 5 ). Then the displayshows . Below the writing you see a microphone symbol. On the left side of thewriting “on“ you see an arrow, which can be moved with the help of the Up/Down keys( 4 ) either to the left side of the microphone symbol or back to the left side of the writ-ing “on“. For the activation of the VOX function put the arrow on the left side of thewriting “on“ and then depress the confirmation key ( 5 ). After this entry the displayreturns to the main screen. On the position of the transceiver symbol ( A ) you seethe microphone symbol now. This indicates that the VOX function is active now.If you talk loud enough into the microphone Mic ( 7 ), a short tone comes from thespeaker and in the display you see at the position ( E ) the symbol . 1 to 2 secondsafter you have finished your message the unit switches back to receive mode, whichis indicated by two short tones and the disappearance of the symbol . To deactivate the VOX function depress out of the keys ( 4 ) Down 4 times or Up
4 times. The display shows the writing . Then depress briefly the confir-mation key ( 5 ). Then the display shows . On the left side of the writing “off“you see an arrow, which can be moved with the help of the Up/Down keys ( 4 ) eitherto the left side of the microphone symbol or back to the left side of the writing “off“.For the deactivation of the VOX function put the arrow on the left side of the writing“off“ and then depress the confirmation key ( 5 ). After this entry the display returnsto the main screen. On the position of the microphone symbol ( A ) you see the tran-sceiver symbol again. This indicates that the VOX function is no longer active. The
English
14
T
T
VOX
VOX
▼
▼
▼ ▼
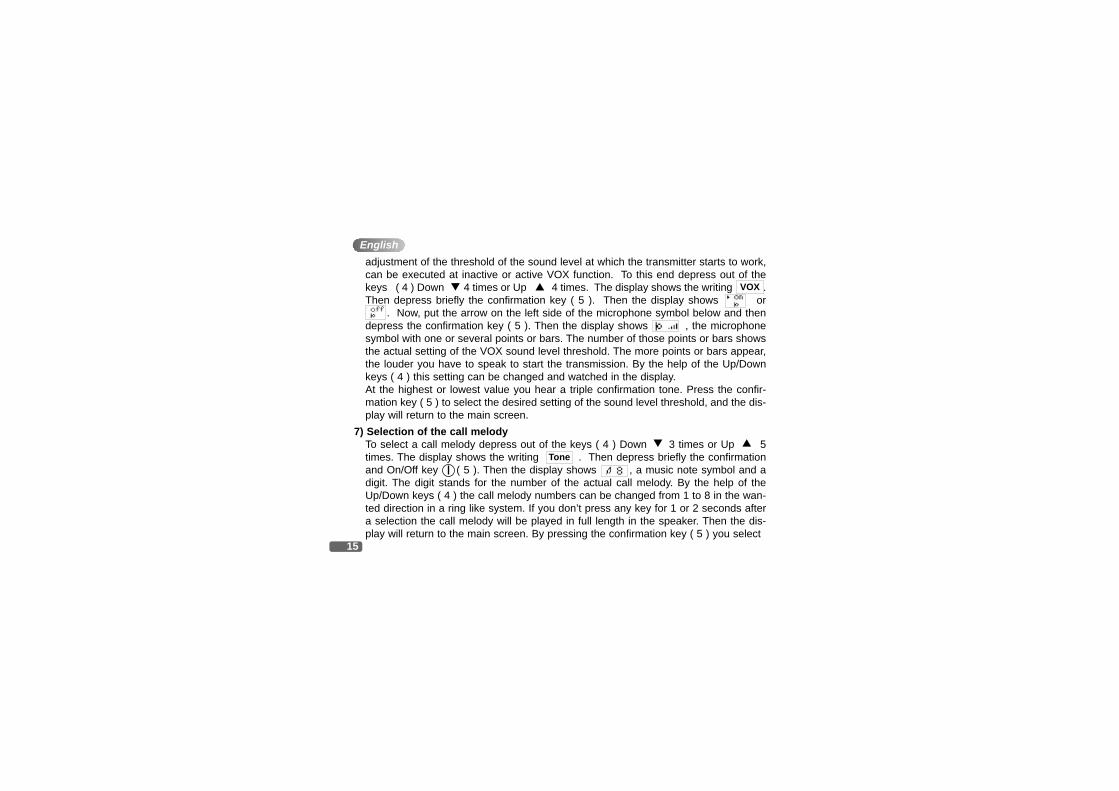
adjustment of the threshold of the sound level at which the transmitter starts to work,can be executed at inactive or active VOX function. To this end depress out of thekeys ( 4 ) Down 4 times or Up 4 times. The display shows the writing .Then depress briefly the confirmation key ( 5 ). Then the display shows or
. Now, put the arrow on the left side of the microphone symbol below and thendepress the confirmation key ( 5 ). Then the display shows , the microphonesymbol with one or several points or bars. The number of those points or bars showsthe actual setting of the VOX sound level threshold. The more points or bars appear,the louder you have to speak to start the transmission. By the help of the Up/Downkeys ( 4 ) this setting can be changed and watched in the display.At the highest or lowest value you hear a triple confirmation tone. Press the confir-mation key ( 5 ) to select the desired setting of the sound level threshold, and the dis-play will return to the main screen.
7) Selection of the call melodyTo select a call melody depress out of the keys ( 4 ) Down 3 times or Up 5times. The display shows the writing . Then depress briefly the confirmationand On/Off key ( 5 ). Then the display shows , a music note symbol and adigit. The digit stands for the number of the actual call melody. By the help of theUp/Down keys ( 4 ) the call melody numbers can be changed from 1 to 8 in the wan-ted direction in a ring like system. If you don’t press any key for 1 or 2 seconds aftera selection the call melody will be played in full length in the speaker. Then the dis-play will return to the main screen. By pressing the confirmation key ( 5 ) you select
English
15
Tone
▼
▼
▼
▼
VOX
the desired call melody at once, and the display will return to the main screen earlier.
8) Monitor functionThe noise suppression ( squelch ) in reception mode is designed to cut off the distur-bing noise, which the receiver produces on free channels, and to let pass only thespeech signals of a counter station to the speaker. In case of very weak signals it mayoccur, that the squelch remains closed. If you want to make also these signalsaudible, you can inhibit the squelch ( monitor function ). To this end depress out ofthe keys ( 4 ) Down 2 times or Up 6 times. The display shows the writing
. Then depress briefly the confirmation key ( 5 ). Now the squelch is alwaysopen and you can hear on free channels a noise. In the display you can see ,where the “8“ stands for the actual channel number in the actual band. This is themain screen for monitor operation. In this condition you can only adjust the volumelevel setting ( 4 ) or the squelch sensitivity setting ( 5 ). To adjust the volume level ofthe reproduction of incoming signals depress the volume key ( 8 ). See Para 4 for thefurther instructions. To adjust the squelch sensitivity setting for incoming signalsdepress out of the keys ( 4 ) Down once or Up once. See Para 5 for thefurther instructions. To reactivate the squelch, depress in the main screen for monitoroperation the confirmation key ( 5 ), and the display will return to the normal mainscreen.
9) Activating of the channel scan functionIn channel scan mode the unit looks for occupied channels on which the squelchopens. At the same time it examines whether the demodulated reception signal
English
16
MONon?
MON8
▼
▼
▼
▼
contains also a CTCSS tone. If the unit has found one, it identifies its correspondingcode number and shows it in the display at the position ( G ). To activate the scanfunction depress out of the keys ( 4 ) Down once or Up 7 times. The displayshows the writing . Then depress briefly the confirmation key ( 5 ). Then thedisplay shows . On the left side of the writing “UP“ you see an arrow, whichcan be moved with the help of the Up/Down keys ( 4 ) either to the left side of the writ-ing “DOWN“ or back to the left side of the writing “UP“. For the final activation of thechannel scan function put the arrow to one of both writings and then depress the con-firmation key ( 5 ). The display returns to the main screen, but without a CTCSS codenumber. According to the chosen direction the channel scan starts stepping upwardsor downwards. The unit stops on every occupied channel, where the squelch opens,for 10 seconds. If there is in the demodulated signal also a CTCSS tone, it will showalso the corresponding CTCSS code number. 10 seconds later or after the signal hasdropped below the squelch threshold the channel scan function continues searching.By pressing the confirmation key ( 5 ) the channel scan function is terminated and theunit remains on the actual channel. If the unit has been on an occupied channelwhere a CTCSS coded station has made a transmission, the display will take over thisCTCSS code. If the station had no CTCSS code or the channel was free, the unitkeeps the CTCSS setting which has been active before starting the channel scan.
10) TransmittingFor speech transmission depress and hold the transmit key PTT ( 9 ) on the left sideof the unit. In the display appears the symbol ( E ). If the channel scan function
English
17T
▼
▼ Scan
on?UPDOWN
▼
had been active, it would be terminated now. The sensitivity of the built-in micropho-ne Mic ( 7 ) has been set to give good results speaking normally at a distance of 2inches. Speaking too loudly will cause distortions and make the signal difficult tounderstand. On completion of the transmission release the transmit key PTT ( 9 ) andthe unit will revert to receiving mode and in the display the will disappear. For callmelody transmission on the actual channel depress the call tone key CALL ( 10 )above the PTT key. The unit transmits the actual call melody in full length, no matterhow long you press the call tone key CALL ( 10 ). It is only audible at the counter sta-tion. In the display appears ( position E ). Speech transmission is impossible now.After finishing transmission the unit switches back to receiving mode with a shortmelody in the speaker ( 6 ) and in the display will disappear.
SafetyThe unit radiates in transmit mode RF energy. To reduce the exposure at the lowestpossible value, and to benefit as much as possible of the features of the unit, youshould take into account the following advice:
In transmission mode keep the unit in a vertical position at a distance of 2 to 3 inchesfrom your face. Keep the antenna ( 1 ) at a distance of at least 1 inch away from yourhead and your body. If you carry the unit on your body and if the unit is in transmitmode, make sure that the antenna ( 1 ) is kept at a distance of at least 1 inch awayfrom your body.
English
18
T
T
T
ServiceThe condition of the batteries must be tested from time to time. Worn out batteriesmust be removed from the unit immediately. They can leak and damage the device.The batteries should always be replaced as a complete set. Worn out batteries do notbelong in the waste bin, but must be returned to a suitable collecting depot or to a spe-cial dealer, for the sake of the environment. There are no user adjustable or user ser-viceable parts inside the radio. The casing must not be opened. Independent repairsor adjustments must not be carried out, since each modification or unauthorised inter-vention will immediately cancel all and any guarantee or repair claims, they are alsolikely to result in nonconformity to ETS regulations which will render the set to beco-me illegal. In the event a defect becoming apparent, contact a properly equipped andauthorised TEAM dealer or TEAM directly.
ConformityThe transceiver TEAM UHF-DualTalk complies with the rules of the EuropeanDirective R&TTE and meets the European Telecommunication Standards ETSI EN301 489-5, ETSI EN 300 296-1/-2, ETSI EN 300 220-3/-1 and EN 60065. This product is meant for distribution and sale in the following European countries:
Austria, France, Germany, Greece, Netherlands, Sweden, Great Britain.
English
19
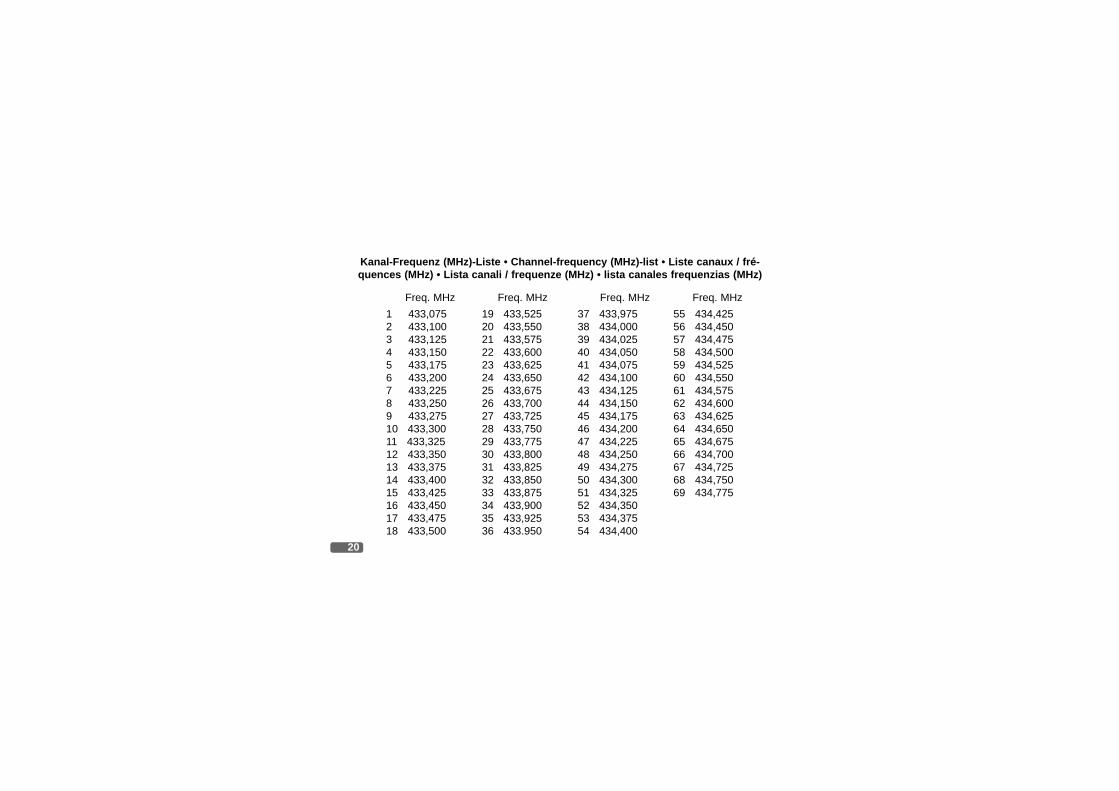
Kanal-Frequenz (MHz)-Liste • Channel-frequency (MHz)-list • Liste canaux / fré-quences (MHz) • Lista canali / frequenze (MHz) • lista canales frequenzias (MHz)
1 433,075 19 433,525 37 433,975 55 434,4252 433,100 20 433,550 38 434,000 56 434,4503 433,125 21 433,575 39 434,025 57 434,4754 433,150 22 433,600 40 434,050 58 434,5005 433,175 23 433,625 41 434,075 59 434,5256 433,200 24 433,650 42 434,100 60 434,5507 433,225 25 433,675 43 434,125 61 434,5758 433,250 26 433,700 44 434,150 62 434,6009 433,275 27 433,725 45 434,175 63 434,62510 433,300 28 433,750 46 434,200 64 434,65011 433,325 29 433,775 47 434,225 65 434,67512 433,350 30 433,800 48 434,250 66 434,70013 433,375 31 433,825 49 434,275 67 434,72514 433,400 32 433,850 50 434,300 68 434,75015 433,425 33 433,875 51 434,325 69 434,77516 433,450 34 433,900 52 434,35017 433,475 35 433,925 53 434,37518 433,500 36 433.950 54 434,400
Freq. MHz Freq. MHz Freq. MHz Freq. MHz
20

21
CTCSS-Code Freq. Hz
20 131.821 136.522 141.323 146.224 151.425 156.726 162.227 167.928 173.829 179.930 186.231 192.832 203.533 210.734 218.135 225.736 233.637 241.838 250.3
Kanalnummer / Channel Nr.Numéro du canal / Numerodel canale / Numero del canal
Freq. MHz
1 446.00625 MHz
2 446.01875 MHz
3 446.03125 MHz
4 446.04375 MHz
5 446.05625 MHz
6 446.06875 MHz
7 446.08125 MHz
8 446.09375 MHz
CTCSS-Code Freq. Hz
1 67.02 71.93 74.44 77.05 79.76 82.57 85.48 88.59 91.510 94.811 97.412 100.013 103.514 107.215 110.916 114.817 118.818 123.019 127.3
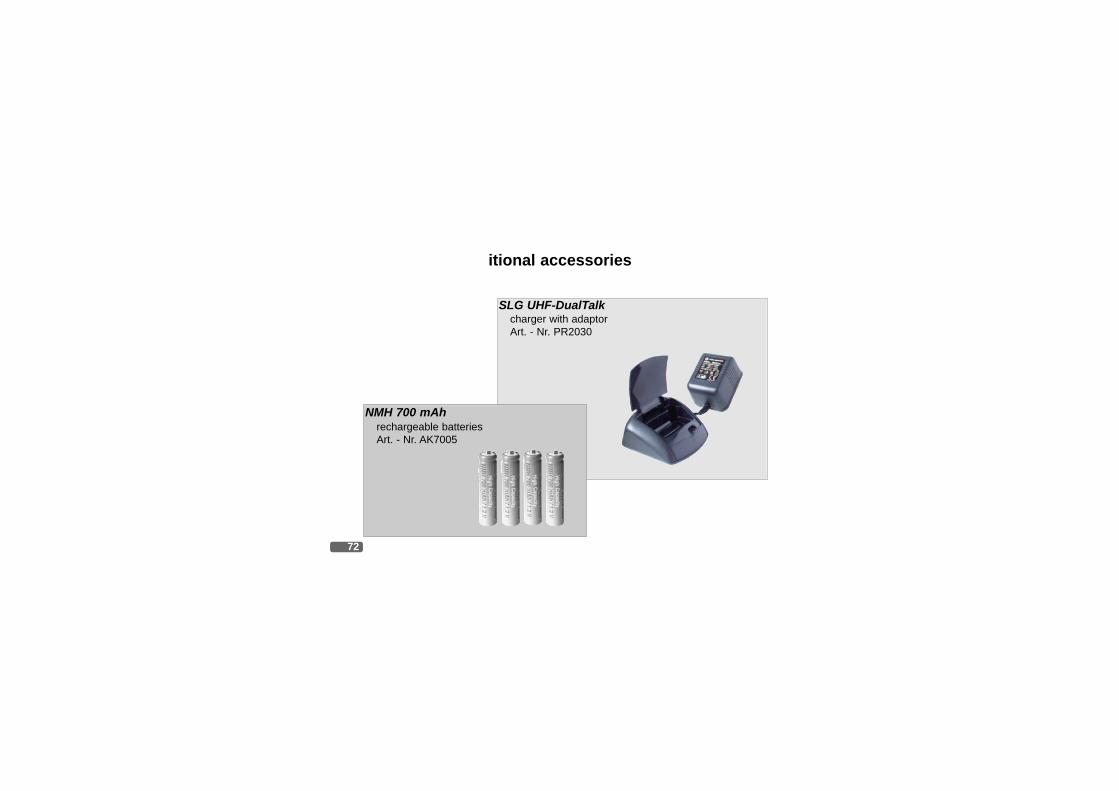
SLG UHF-DualTalkcharger with adaptor Art. - Nr. PR2030
NMH 700 mAhrechargeable batteries Art. - Nr. AK7005
72
itional accessories
73
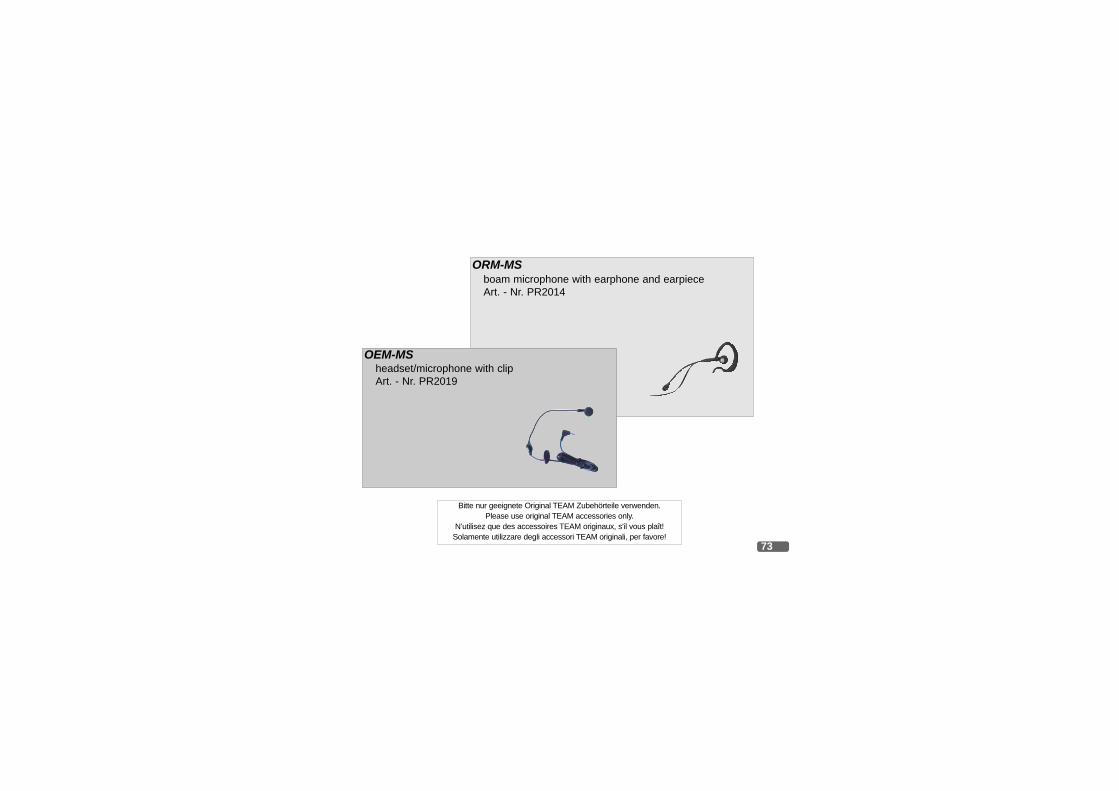
ORM-MSboam microphone with earphone and earpieceArt. - Nr. PR2014
Bitte nur geeignete Original TEAM Zubehörteile verwenden.Please use original TEAM accessories only.
N’utilisez que des accessoires TEAM originaux, s’il vous plaît! Solamente utilizzare degli accessori TEAM originali, per favore!
OEM-MSheadset/microphone with clip Art. - Nr. PR2019

TEAM UHF-DualTalkfor sale and use in :
• Austria • France • Germany • Greece •• Netherlands • Sweden • U.K. •
0359Nachdruck oder Vervielfältigung auch Auszugsweise nur mit ausdrücklicher
Genehmigung von TEAM Electronic GmbH.
electronic
TEAM Electronic GmbHBolongarostrasse 88D-65929 Frankfurt / Main
Telefon 069 / 300 950 0Fax 069 / 31 43 82eMail [email protected] Page www.team-electronic.de