Embed Size (px)
Citation preview
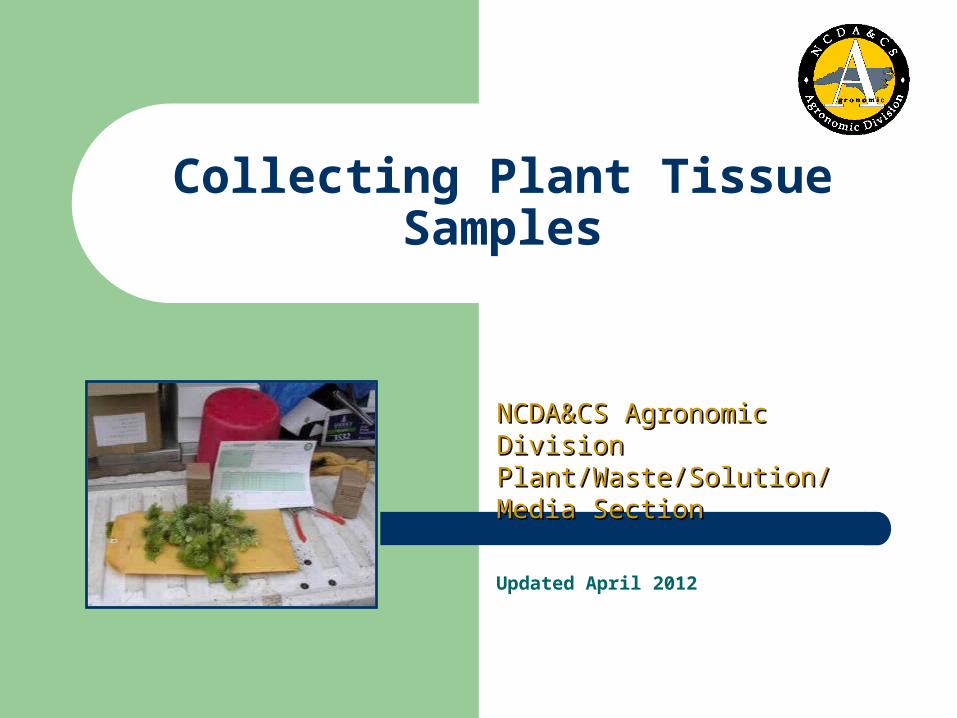
Updated April 2012
Collecting Plant Tissue Samples
NCDA&CS Agronomic DivisionNCDA&CS Agronomic DivisionPlant/Waste/Solution/Media Plant/Waste/Solution/Media SectionSection
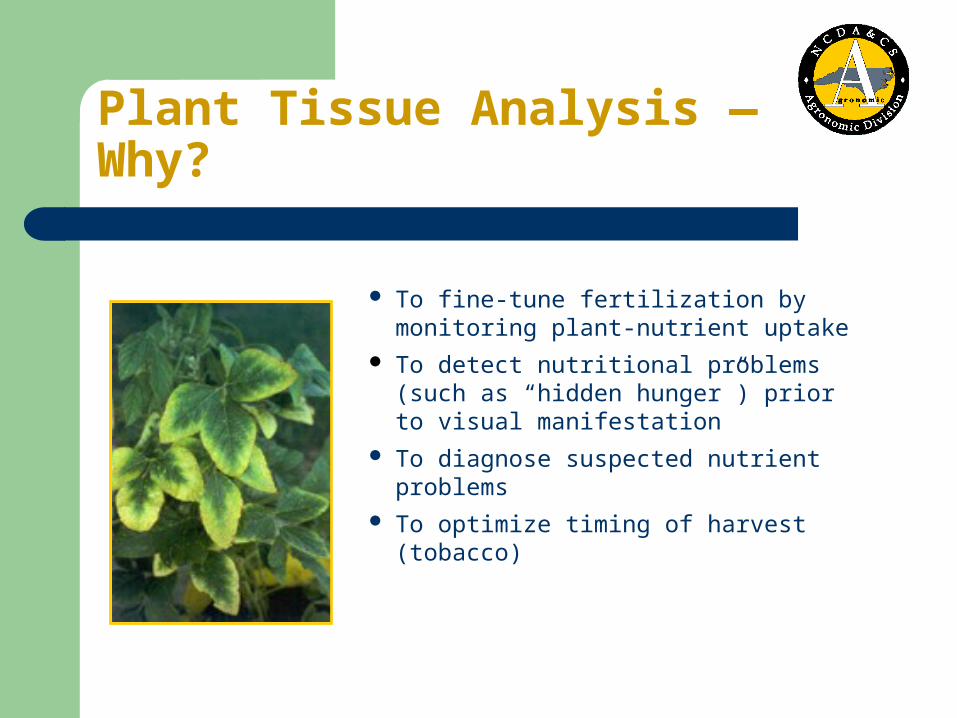
Plant Tissue Analysis — Why?
To fine-tune fertilization by monitoring plant-nutrient uptake
To detect nutritional problems (such as “hidden hunger”) prior to visual manifestation
To diagnose suspected nutrient problems
To optimize timing of harvest (tobacco)
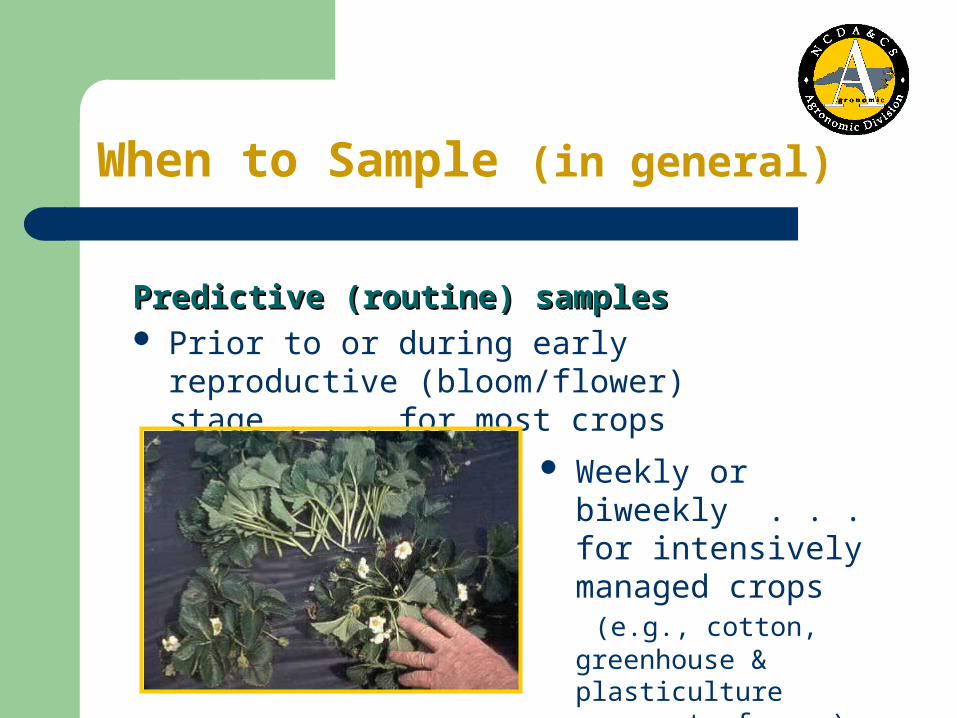
When to Sample (in general)
Predictive (routine) samplesPredictive (routine) samples Prior to or during early reproductive
(bloom/flower) stage . . . for most crops
Weekly or biweekly . . . for intensively managed crops (e.g., cotton, greenhouse & plasticulture crops, turfgrass)

When to Sample (in general)
Diagnostic (problem) samplesDiagnostic (problem) samples Whenever you suspect that a plant growth problem
(slow growth, poor color) is related to nutrition
When to Sample (specifically)
The correct time to sample varies by crop.
Crop-specific sampling recommendations are available in Appendix A of the NCDA&CS Plant Tissue Analysis Guide, which is available online at
www.ncagr.gov/agronomi/pdffiles/plantguide.pdfwww.ncagr.gov/agronomi/pdffiles/plantguide.pdf
Plant Part to Sample
Depends on crop and stage of growth
Is usually the Most Recent Mature Leaf (MRML)
– horticultural cropshorticultural crops, like blackberry, muscadine grape, pepper, sweetpotato, Irish potato, trellis and greenhouse tomato, cucumber & strawberry
– agronomic cropsagronomic crops, like soybean & peanut
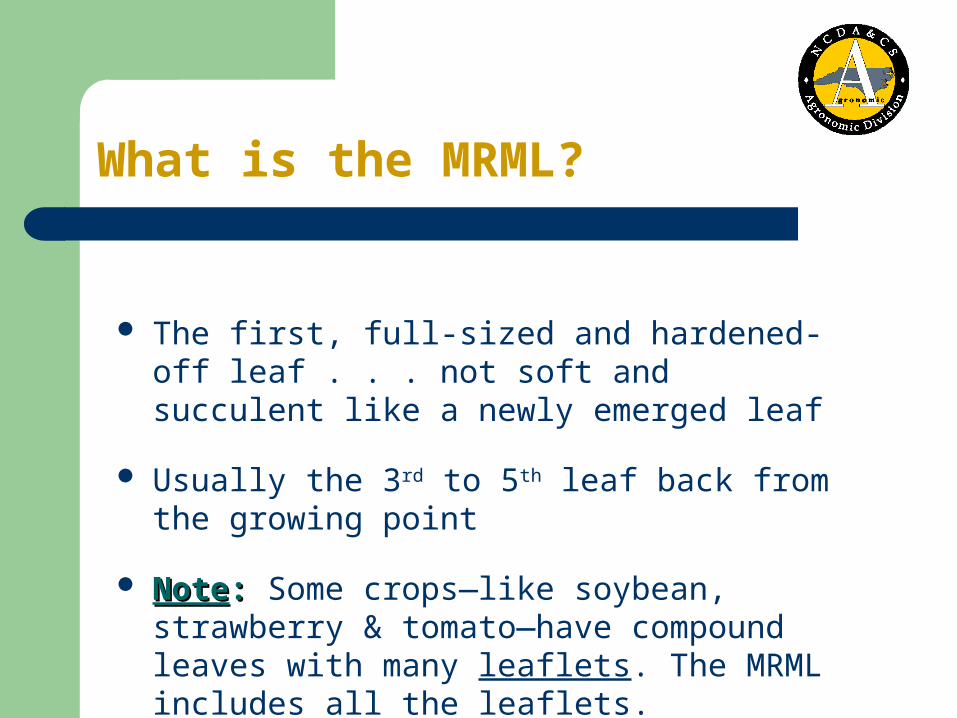
What is the MRML?
The first, full-sized and hardened-off leaf . . . not soft and succulent like a newly emerged leaf
Usually the 3rd to 5th leaf back from the growing point
NoteNote:: Some crops—like soybean, strawberry & tomato—have compound leaves with many leaflets. The MRML includes all the leaflets.
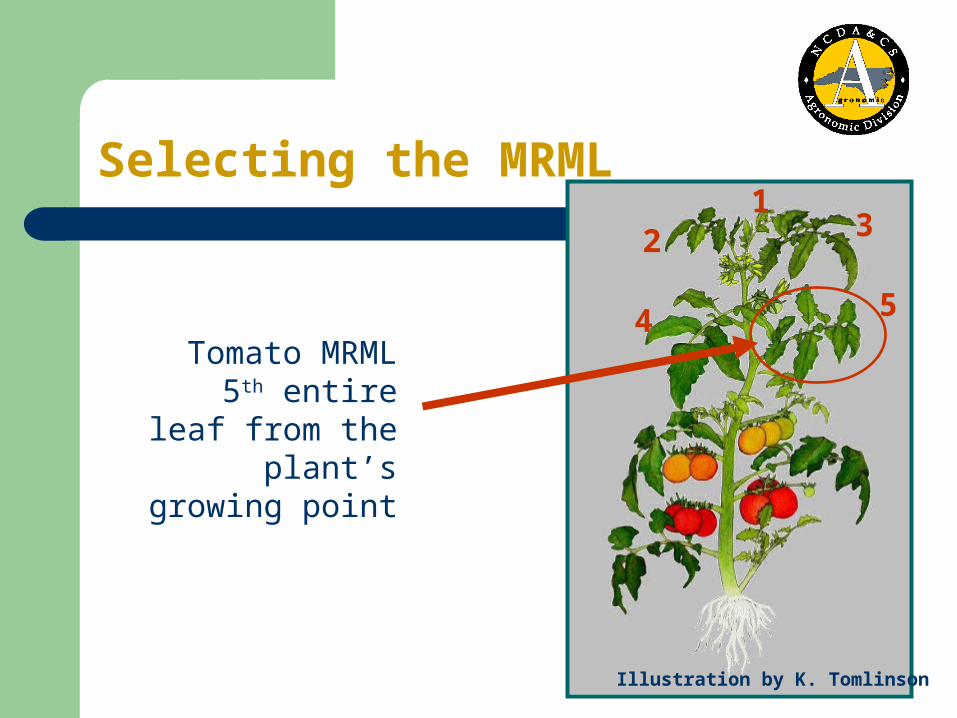
Selecting the MRML
Tomato MRML5th entire leaf
from the plant’s growing point
Illustration by K. Tomlinson
12 3
4 5
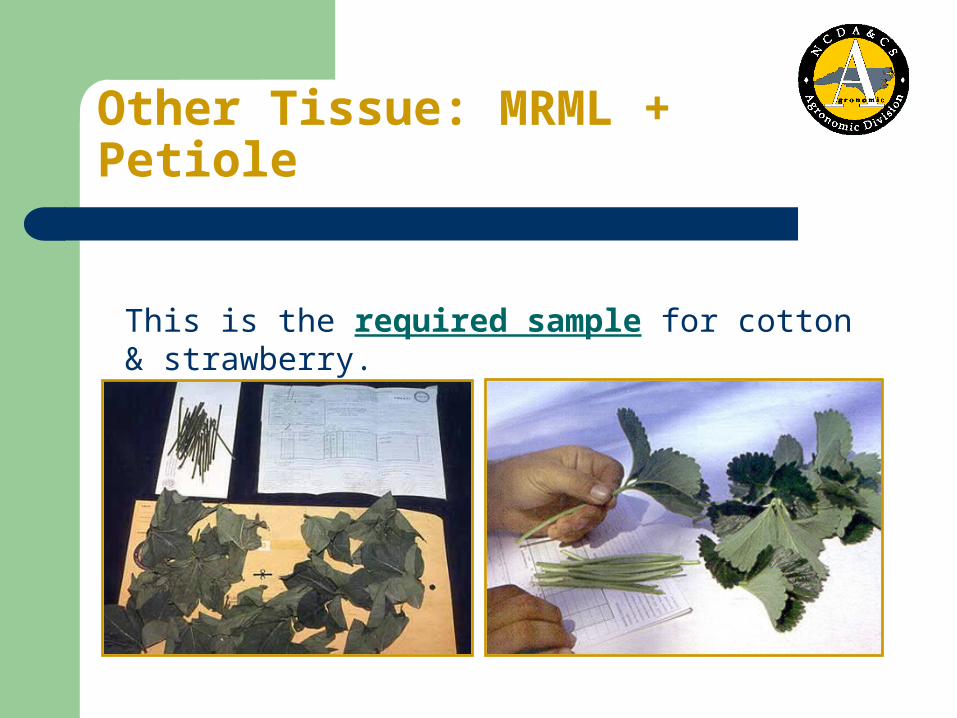
Other Tissue: MRML + Petiole
This is the required sample for cotton & strawberry.
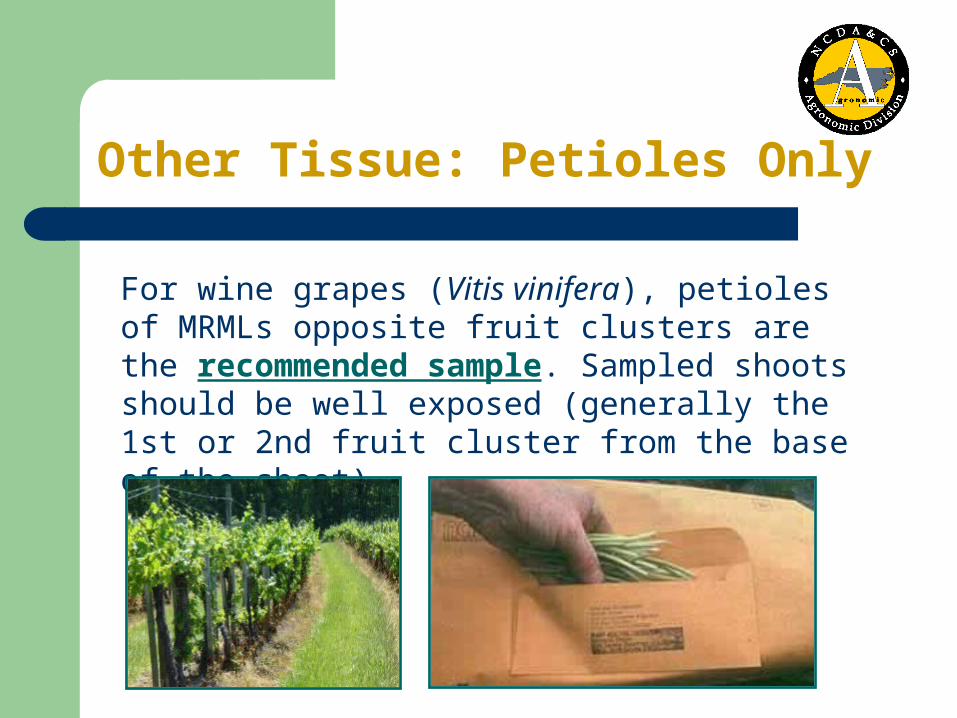
Other Tissue: Petioles Only
For wine grapes (Vitis vinifera), petioles of MRMLs opposite fruit clusters are the recommended sample. Sampled shoots should be well exposed (generally the 1st or 2nd fruit cluster from the base of the shoot).
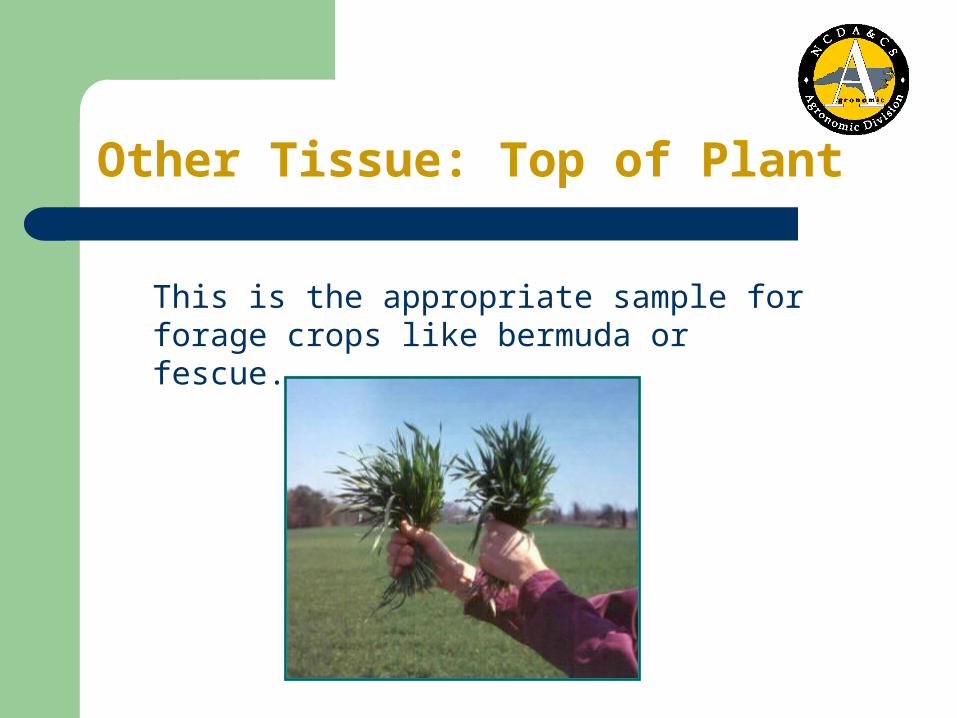
Other Tissue: Top of Plant
This is the appropriate sample for forage crops like bermuda or fescue.
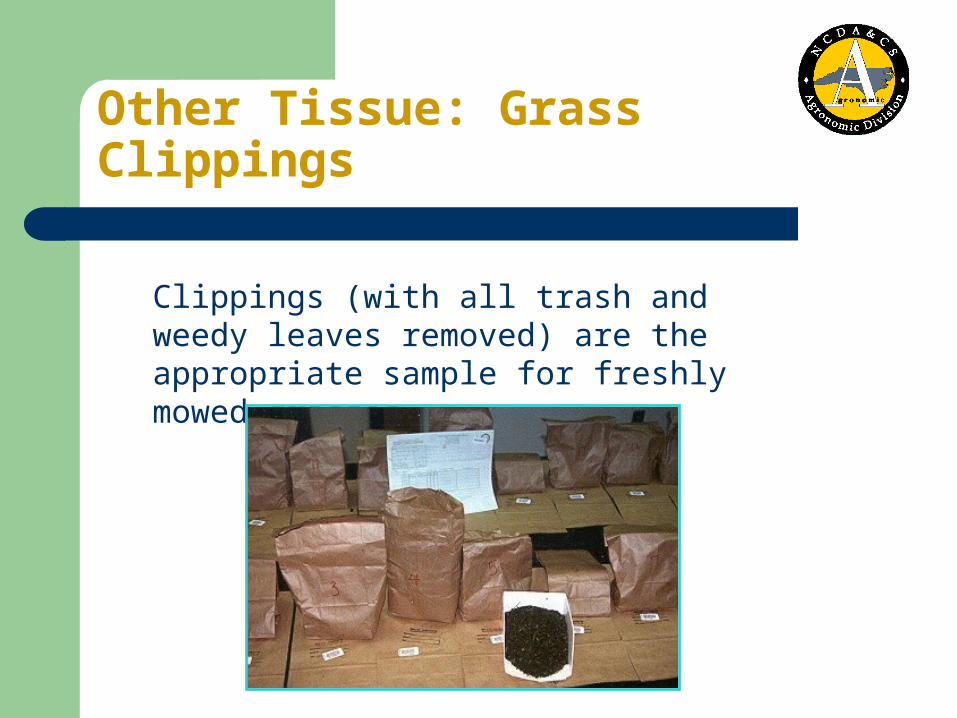
Other Tissue: Grass Clippings
Clippings (with all trash and weedy leaves removed) are the appropriate sample for freshly mowed grasses.
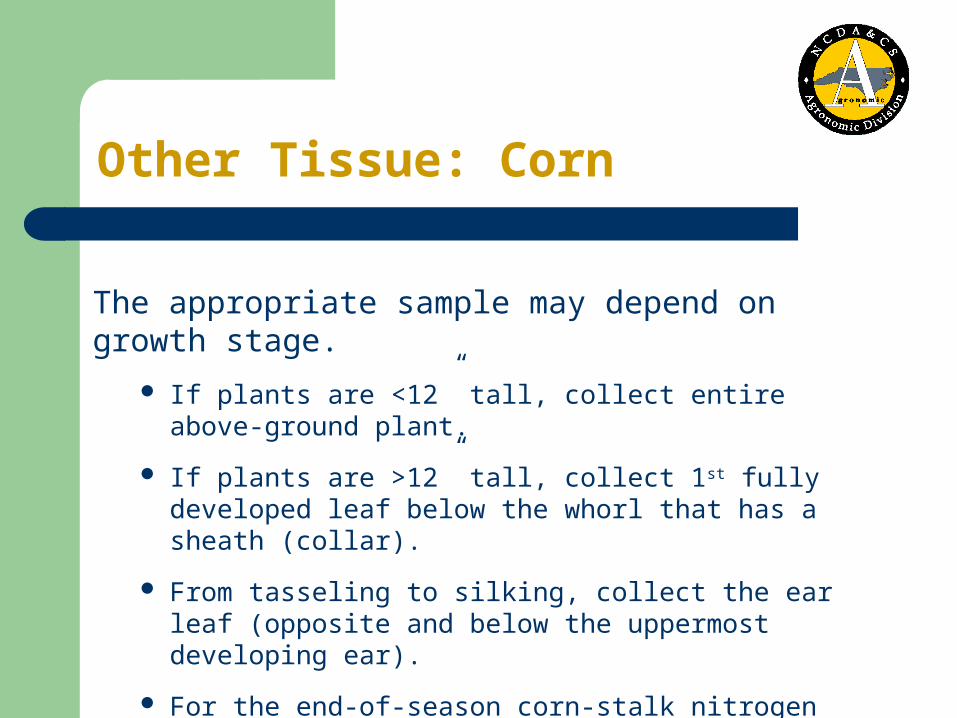
Other Tissue: Corn
The appropriate sample may depend on growth stage.
If plants are <12” tall, collect entire above-ground plant.
If plants are >12” tall, collect 1st fully developed leaf below the whorl that has a sheath (collar).
From tasseling to silking, collect the ear leaf (opposite and below the uppermost developing ear).
For the end-of-season corn-stalk nitrogen test, collect the 8-inch section of stalk 6 to 14” above the soil line one to three weeks after black layer has formed.
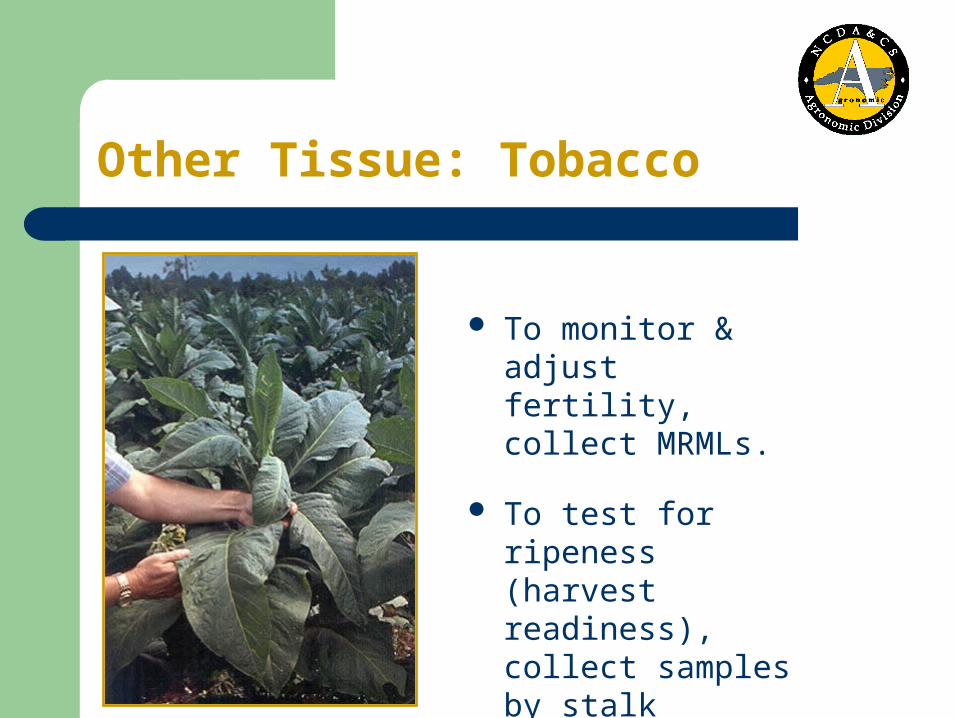
Other Tissue: Tobacco
To monitor & adjust fertility, collect MRMLs.
To test for ripeness (harvest readiness), collect samples by stalk position: lower, middle or upper.
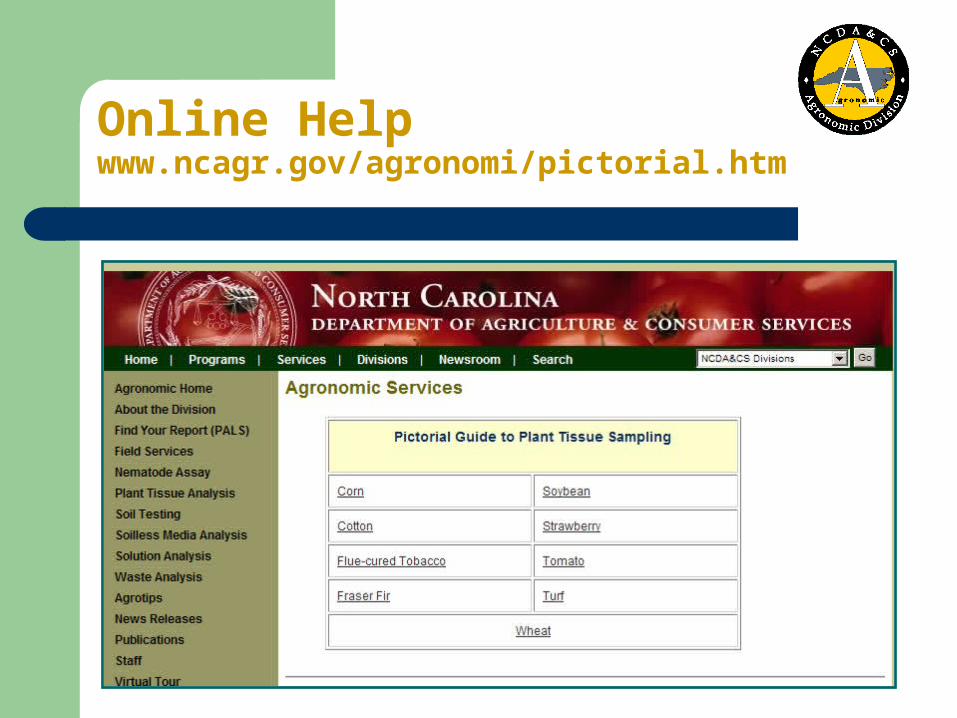
Online Helpwww.ncagr.gov/agronomi/pictorial.htm
Best Practices for Predictive (routine) Samples
Collect tissue randomly so the analysis will reflect the average nutritional status of an entire area.
For each sample, collect tissue from 8–12 areas in a field (preferrably 25–30 and up to 50 leaves).
Collect all tissue for a given sample from a uniform area (same crop history, soil type, management practices, topography & visual appearance).
Do not combine different cultivars or varieties.
Best Practices for Diagnostic (problem) Samples
Collect two separate tissue samples: one from an area of “good” plants and one from an area of “bad” plants.
Collect two separate soil samples: one from an area of “good” plants and one from an area of “bad” plants.
Comparison of results from “good” and “bad” areas helps to diagnose problems.
Tissue Sample Quantity
Enough to represent the sample area adequately
12 to 15 leaves for most crops (depends on size)
– However, the sample also needs to provide the best representation of the field — so we recommend 25–30 leaves + petioles for cotton & strawberry and up to 50 petioles for vinifera grapes.
– For small-leaved plants like azalea, collect 30 to 50.
– For large-leaved crops like tobacco, collect about 6.
½ to 1 pint for grasses
Tissue Sample Quality
Rainfall tends to keep plant tissue surfaces free of dust & contaminants.
If plants are dusty or have been recently sprayed, you should
– brush or wipe leaves with a damp cloth or
– rinse (only briefly!) to remove contaminants.
Best Sample Handling
Strive to get samples to the lab within 12 to 24 hrs, if possible.
Refrigerate or air-dry samples if they cannot be delivered right away.
Read & follow these guidelines www.ncagr.gov/agronomi/pdffiles/tissuehandling.pdf.
Plant Sample Information Form
Find the most recent version of the form online www.ncagr.gov/agronomi/pdffiles/isplant.pdf.
Print, fill out completely & submit along with samples and payment.
Refer to www.ncagr.gov/agronomi/2010plantform.ppt for detailed instructions.

If you still have questions . . .
Contact your NCDA&CS regional agronomist. Find county assignments and contact info at www.ncagr.gov/agronomi/rahome.htm.
Phone the NCDA&CS Agronomic Division at 919.733.2655, and ask for an agronomist in the Plant/Waste/Solution/Media Section.