Embed Size (px)
Citation preview

Use & Care Guide


TABLE OF CONTENTS
WARRANTY INFORMATION.......................................pg.3
IRONING CENTER CARE............................................pg.4
REPLACEMENT PARTS................................................pg.5 - Ordering a new cover & pad - Replacement parts
IRONING CENTER USE...............................................pg.6
IRONING TIPS............................................................pg.8
IMPORTANT SAFETY INSTRUCTIONS
When using the ironing center, basic precautions should always be adhered to, including the following:
• Read all instructions. • Use ironing center only for intended use. • Never yank cord to disconnect from outlet; instead grasp plug and pull to disconnect. • To reduce the risk of electrical shock, DO NOT disassemble or attempt to repair the ironing center. If you are unfamiliar with electrical wiring, please contactaqualifiedelectrician.Incorrectreassemblyorrepaircouldcausea riskoffire,electricalshock,orinjurytopersonswhentheironingcenteris used. • Close supervision is necessary for any appliance being used by or near children. • To reduce the likelihood of circuit overload, do not operate another appliance on the same circuit. If using the same circuit, please contact a qualifiedelectrician.
SAVE THESE INSTRUCTIONS
Premier Storage Systems220 W. Jackson St Morton, IL 61550
1-800-536-9495 or [email protected]

WARRANTY
ONE-YEAR LIMITED WARRANTY from the date of purchase is placed on all defective parts returned to the factory for replacement excluding light bulbs,installedunits,finishedorstaineddoors,andthecover&padset.
KEEP THIS BOOK AND YOUR SALES SLIP FOR FUTURE REFERENCE
Write down the following information about your ironing center to better help you obtain assistance if needed.
Dealer Name
Address
Phone
Date of Purchase
Part Number
Production Date
Warranty Number
4 - WARRENTY

IRONING CENTER CARE
Installing or Changing the Light BulbForelectricalmodelswithabuilt-inspotlightfixture,usea maximum 30-watt bulb. We recommend a 30R20 with
standard base and a 21/2” bulb diameter.
Cabinet Touch-Up KitsNeed to touch-up the paint on your cabinet following installation?
Touch-Up Kits can be obtained by contacting our customer service department at 1-800-536-9495. These kits are great for touching up small nicks or marks on the cabinet that came about in the installation process.
Irons for Your UnitThehotironstoragehasbeendesignedtoacceptthemajorityofsteam/dryirons on the market today, including many premium models. However, due to the large number of irons available, and the ever changing size, we are unabletoprovideacomprehensivelistofironsthatfitinsideyourunit.
For your convenience, IRON-A-WAY offers a premium Maytag iron for purchasethatfitwellinsideourironingcenters.Formoreinformation,orto
order, please contact our customer service department at 1-800-536-9495.
Caring for Your Swivel BoardIfyourunitcontainsanadjustableswivelboard,werecommendperiodicallyusingaTeflonmulti-uselubricantspraytokeepyourboardturninglikenew!
Applying lubricant: 1. With the board in an upright position, lightly spray the lubricant into the two
openings that contain the swivel springs.
2. After spaying, lower the board, then swivel it to the left and right until the lubricant is fully worked into and between the swivel plates.
IRONING CENTER CARE - 5

If you are in need of a new cover and pad set for your ironing board, simply choose one of the following:
Mail: Complete and mail the enclosed reorder form.
Phone: Call 1-800-536-9495 to speak to customer service.
Web: Place an order online a ironaway.com
Ordering a Replacement Cover & Pad
Replacement or Service PartsIf you are in need of any replacement or service parts, please download a
diagram for your unit at ironaway.com to locate the correct part number. Most parts may be ordered online. For additional help or order assistance, please call
our customer service department toll free at 1-800-536-9495.
REPLACEMENT PARTS
6 - REPLACEMENT PARTS

IRONING CENTER USE
Using Your Fixed Position Ironing Board1. Open the door as wide as possible2. (Fixed position only) With one hand, hold the ironing board in an upright position and withtheotherhand,raisetheboardretainer(fixedpositiononly)toanuprightposition,releasing the board. 3. Hold onto the nose of the board, pulling it forward, lowering it to the normal ironing position.
Using Your Adjustable Swivel Board
Adjusting Your Board to the Higher Position1. Put the board in a straight (horizontal) position.2. With one hand, hold the front of the ironing board, and with the other hand, place your thumb near the rear of the ironing board while grasping the axle rod with your fingers.3. Lift the axle rod and slide it the back of the side brackets by slightly raising the nose of the ironing board. 4. Lift the back of the ironing board to the upper level to lock into place.Note: To return the board to its regular position, lift the nose of the board and guide it as the ironing board returns to the lower position.
Swiveling Your Ironing Board- If desired, your ironing board can be swiveled in either direction by pushing on the nose of the board.-Rotatingstopsareavailableatfivepositions.-Swiveltensioncanbeadjustedbyturningthenutontheundersideoftheboard.- When ironing in a swivel position, ironing board must be returned to a straight, uprightposition before ironing board can be put in upright position.
1. Open the door as wide as possible2. Hold onto the nose of the board, pulling it forward, lowering it to the normal ironing position.
Lowering Your Ironing Board
IRONING CENTER USE - 7

1. Remove the electrical cover that is resting on the bottom storage shelf to expose the outlet on the bottom of the raceway. Your iron plug and cord will be placed through the small hole in the shelf, allowing the plug to connect to the outlet.
2. Plug the iron cord into the outlet.
3. Determine a convenient length (approx. 48”) of electric cord and leave this amount outside the opening in the bottom storage shelf. Use the cord clip on the underneath side of the shelf to hold in place. Place the remainder of the cord between the bottom end of the raceway and the top of the storage shelf, covering this portion by replacing the cord cover.
4. To activate power, turn the timer knob past the 5-minute mark (or press the on/off rocker switch if your unit has this feature.)5. Begin ironing after your iron has reached the desired heat setting.
6.Whenyouarefinishedironing,turnyourtimerorswitchtotheoffposition.
7. Place the iron in the hot iron storage compartment in upright position, with the hot plate facing the inside wall of the cabinet (insulated heat shield).
8. Return ironing board to upright position. The automatic disconnect switch will be depressed and the power will be disconnected from the unit, allowing the iron to remain plugged into the unit.
Ironing with Your Electrical Features
Models with a Cord Cover
1. Plug the iron cord into the outlet
2. Determine a convenient length (approx. 48”) of electric cord, then wrap the remaining cord around the electric cord wrap located underneath the bottom storage shelf. Use the cord clip on the underneath side of the shelf to hold in place.
3. To activate power, turn the timer knob past the 5-minute mark (or press the on/off rocker switch if your unit has this feature.)
5. Begin ironing after your iron has reached the desired heat setting.
6.Whenyouarefinishedironing,turntheyourtimerorswitchtotheoffposition.
7. Place the iron in the iron storage compartment in upright position, the hot plate facing the inside wall of the cabinet (insulated heat shield).
8. Return ironing board to upright position. The automatic disconnect switch will be depressed and the power will be disconnect from the unit, allowing the iron to remain plugged into the unit.
Models with a Cord Wrap
8 - IRONING CENTER USE

If your ironing center has a hot iron rest feature, use therestplatetoholdtheironwhileyouadjustyourgarment. The hot plate of the iron faces the back of the cabinet.
Using Your Hot Iron Rest
IRONING CENTER USE - 9
IRONING TIPS
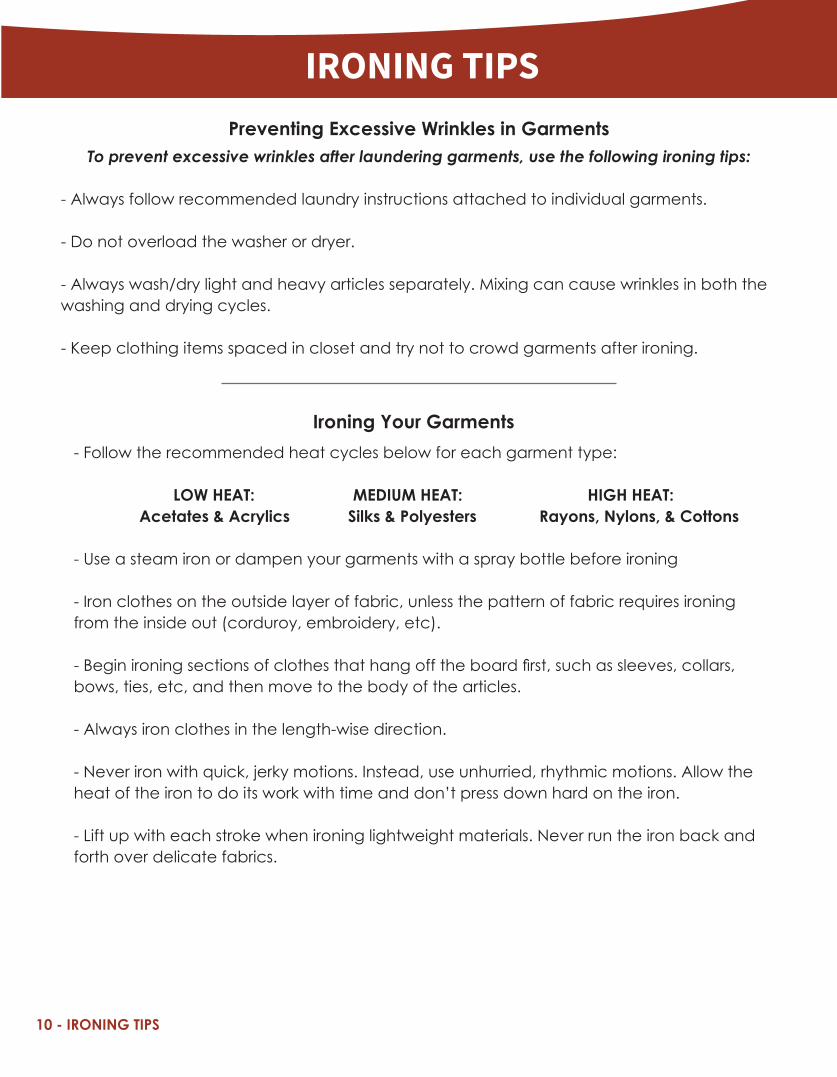
To prevent excessive wrinkles after laundering garments, use the following ironing tips:
- Always follow recommended laundry instructions attached to individual garments.
- Do not overload the washer or dryer.
- Always wash/dry light and heavy articles separately. Mixing can cause wrinkles in both the washing and drying cycles.
- Keep clothing items spaced in closet and try not to crowd garments after ironing.
Preventing Excessive Wrinkles in Garments
Ironing Your Garments- Follow the recommended heat cycles below for each garment type:
LOW HEAT: MEDIUM HEAT: HIGH HEAT: Acetates & Acrylics Silks & Polyesters Rayons, Nylons, & Cottons
- Use a steam iron or dampen your garments with a spray bottle before ironing
- Iron clothes on the outside layer of fabric, unless the pattern of fabric requires ironing from the inside out (corduroy, embroidery, etc).
-Beginironingsectionsofclothesthathangofftheboardfirst,suchassleeves,collars,bows, ties, etc, and then move to the body of the articles.
- Always iron clothes in the length-wise direction.
-Neverironwithquick,jerkymotions.Instead,useunhurried,rhythmicmotions.Allowtheheat of the iron to do its work with time and don’t press down hard on the iron.
- Lift up with each stroke when ironing lightweight materials. Never run the iron back and forth over delicate fabrics.
10 - IRONING TIPS