Embed Size (px)
Citation preview
1
Hiller Pharma SFA System User Manual
Login..............................................................................................................2 Customer .......................................................................................................4 Quotation .....................................................................................................14 Sales Order..................................................................................................24 Schedule......................................................................................................34 Invoice/Payment ..........................................................................................44 Report ..........................................................................................................55 Product/Enquiry ...........................................................................................56 Website........................................................................................................67 Setting .........................................................................................................70 Admin ..........................................................................................................74 Logout..........................................................................................................80
Updated on March 2002
2
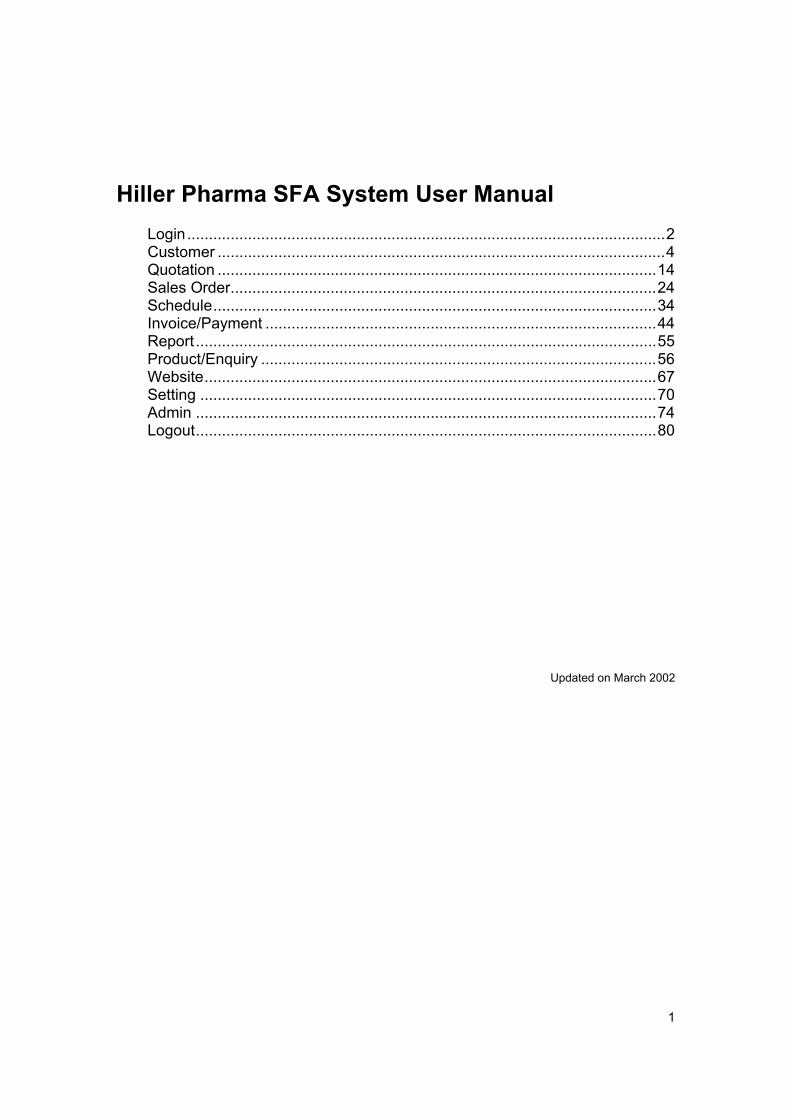
Login
Login
User login is required to access all the function available on the system. The login page requires the user name and password only. Successfully login will bring user to the change password page. User can select all the available functions on the top blue menu afterward. If login fails, please retry the user name and password. Please note that user name and password are both case sensitive.
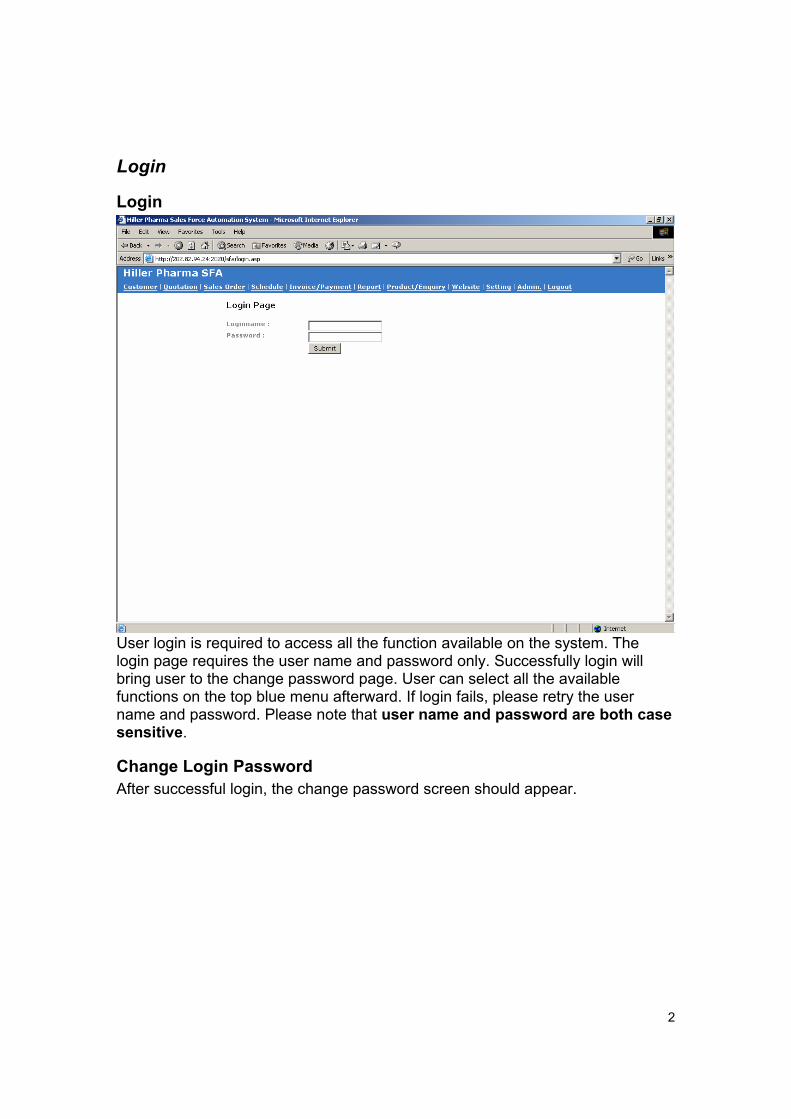
Change Login Password After successful login, the change password screen should appear.
3
Click on change password to renew the login password.
4
Customer
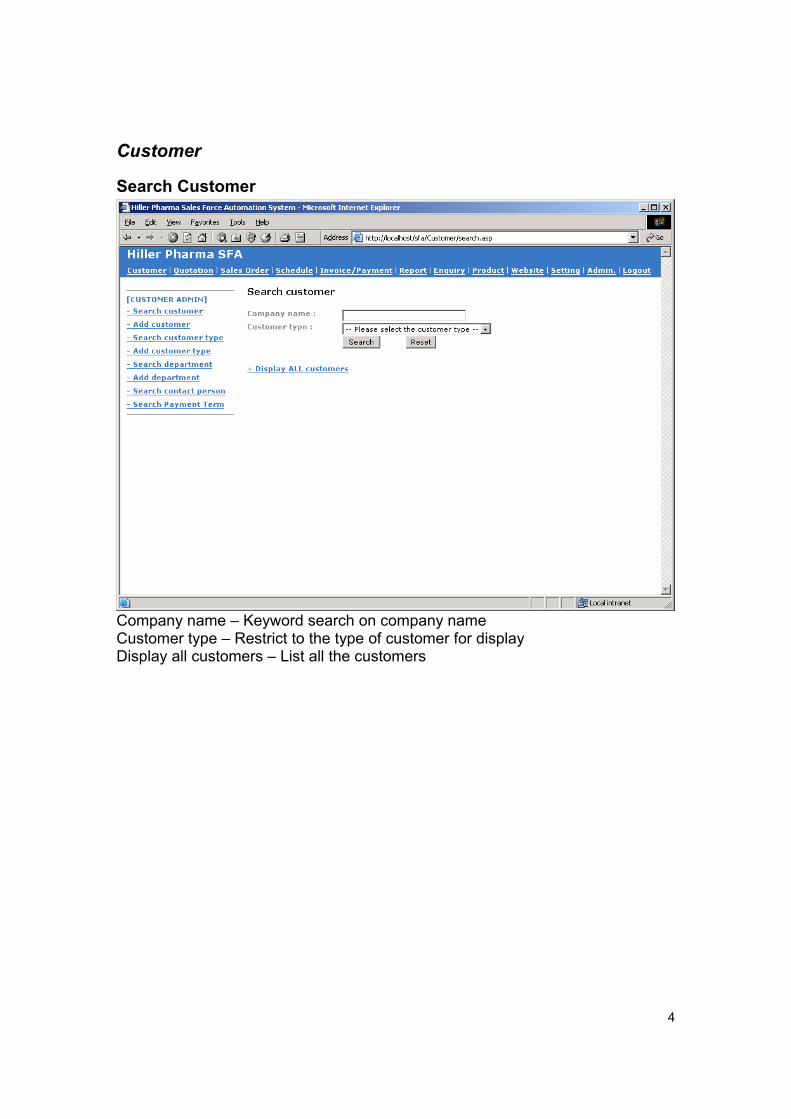
Search Customer
Company name – Keyword search on company name Customer type – Restrict to the type of customer for display Display all customers – List all the customers
5
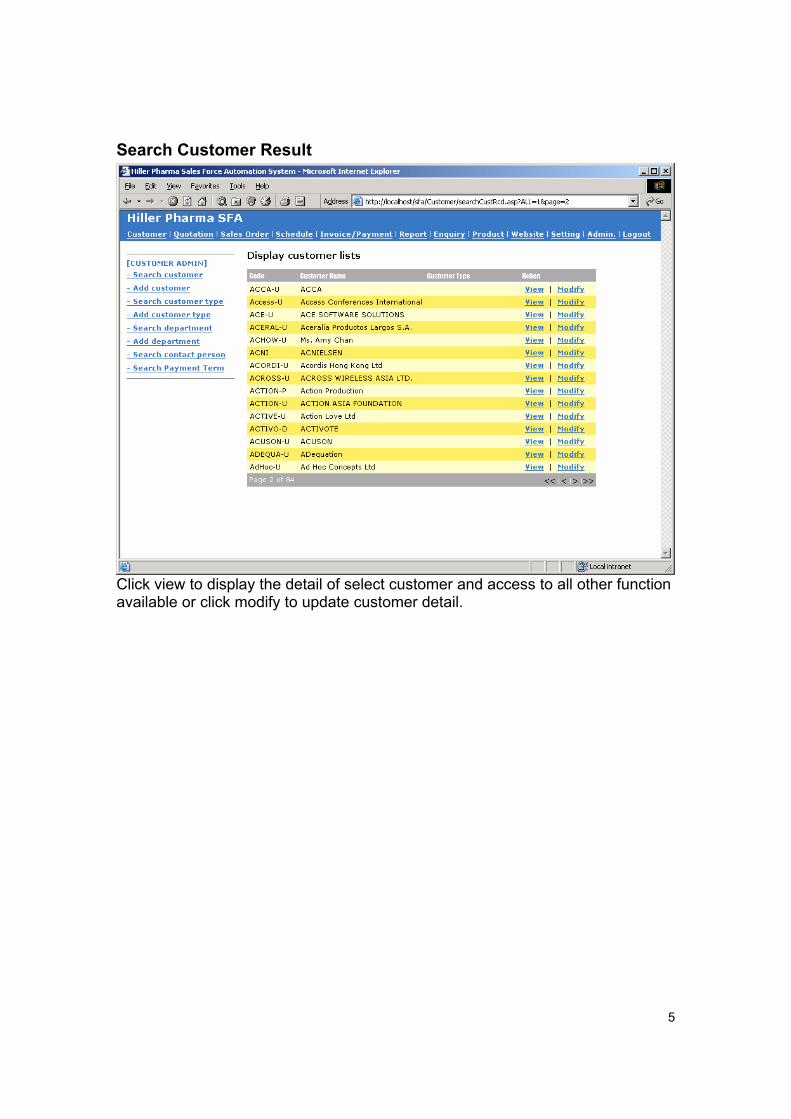
Search Customer Result
Click view to display the detail of select customer and access to all other function available or click modify to update customer detail.
6
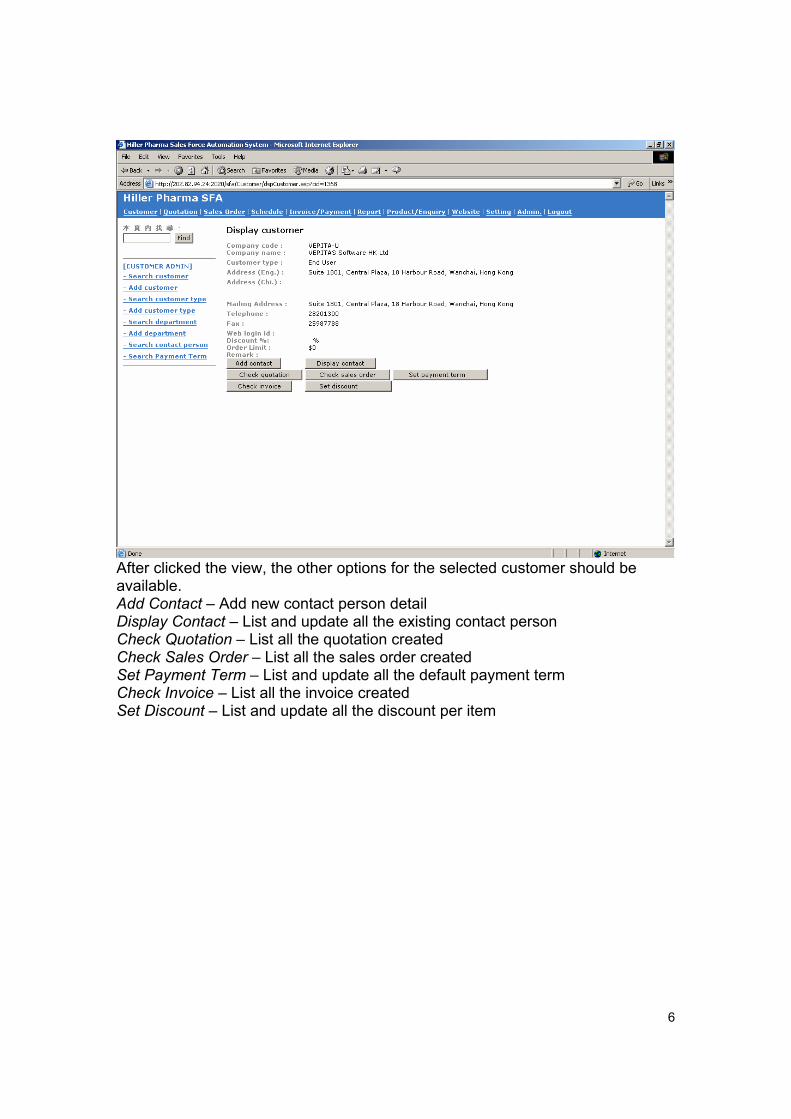
After clicked the view, the other options for the selected customer should be available. Add Contact – Add new contact person detail Display Contact – List and update all the existing contact person Check Quotation – List all the quotation created Check Sales Order – List all the sales order created Set Payment Term – List and update all the default payment term Check Invoice – List all the invoice created Set Discount – List and update all the discount per item
7
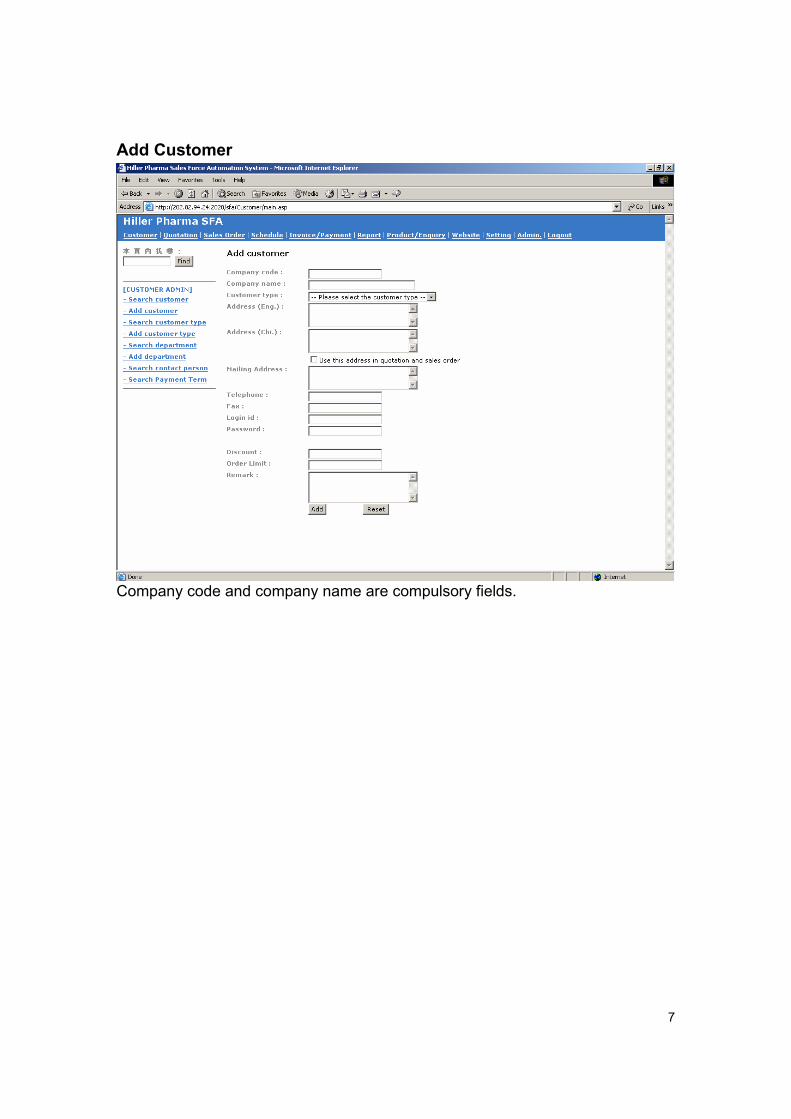
Add Customer
Company code and company name are compulsory fields.
8
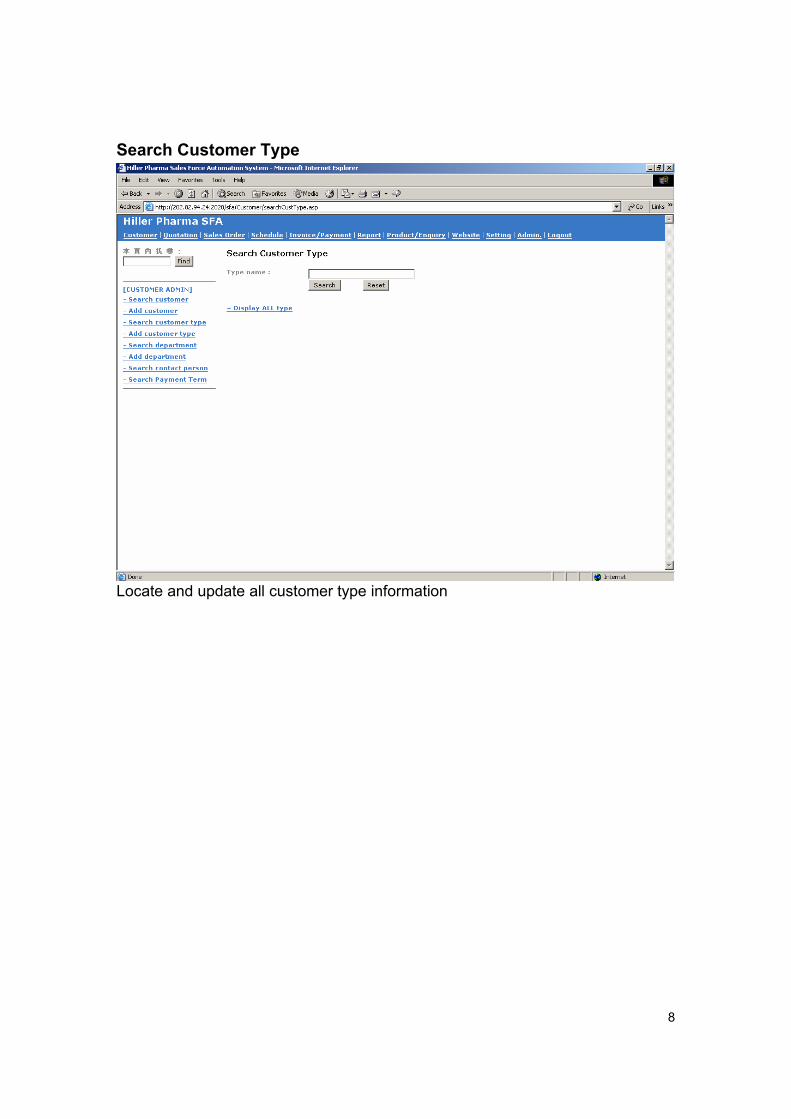
Search Customer Type
Locate and update all customer type information
9
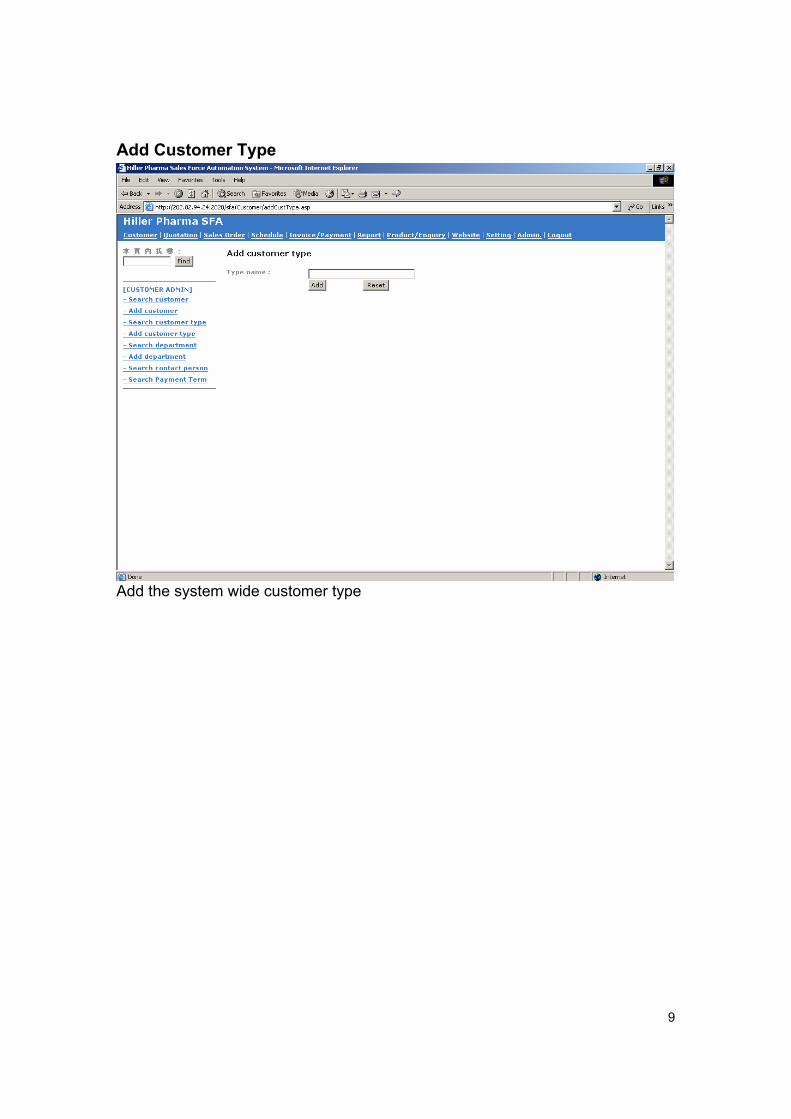
Add Customer Type
Add the system wide customer type

10
Search Department
Locate and update all the departments
11
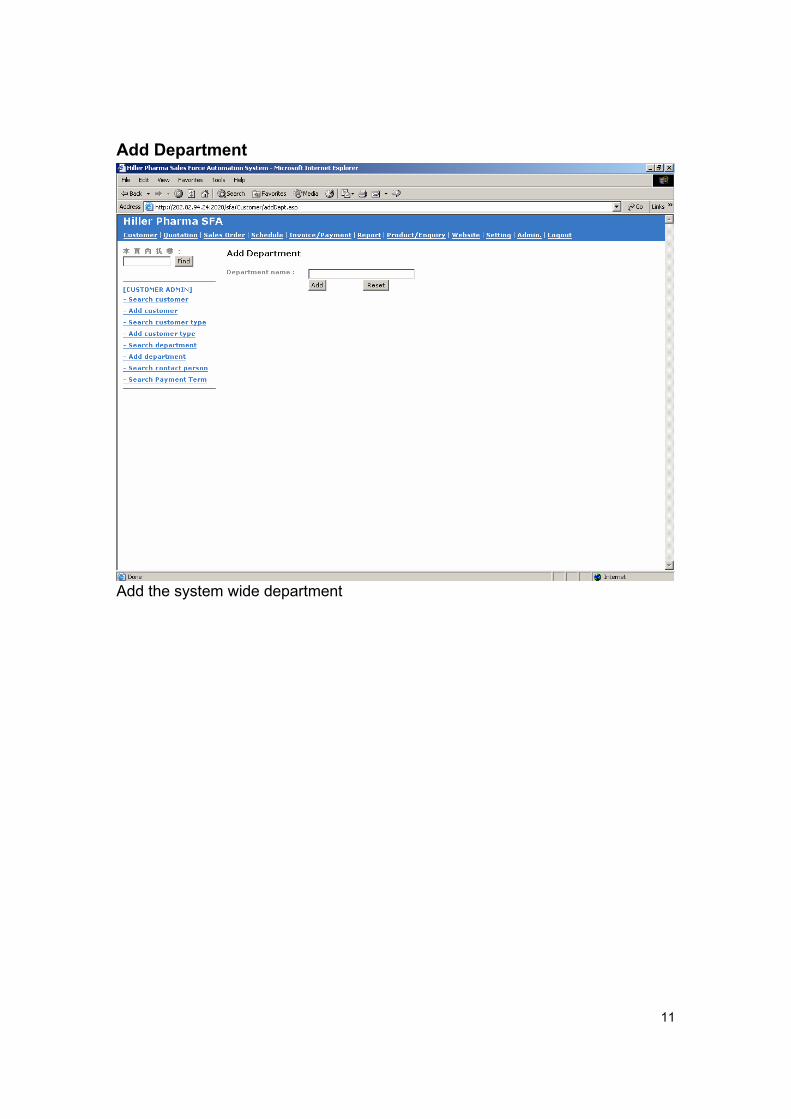
Add Department
Add the system wide department
12
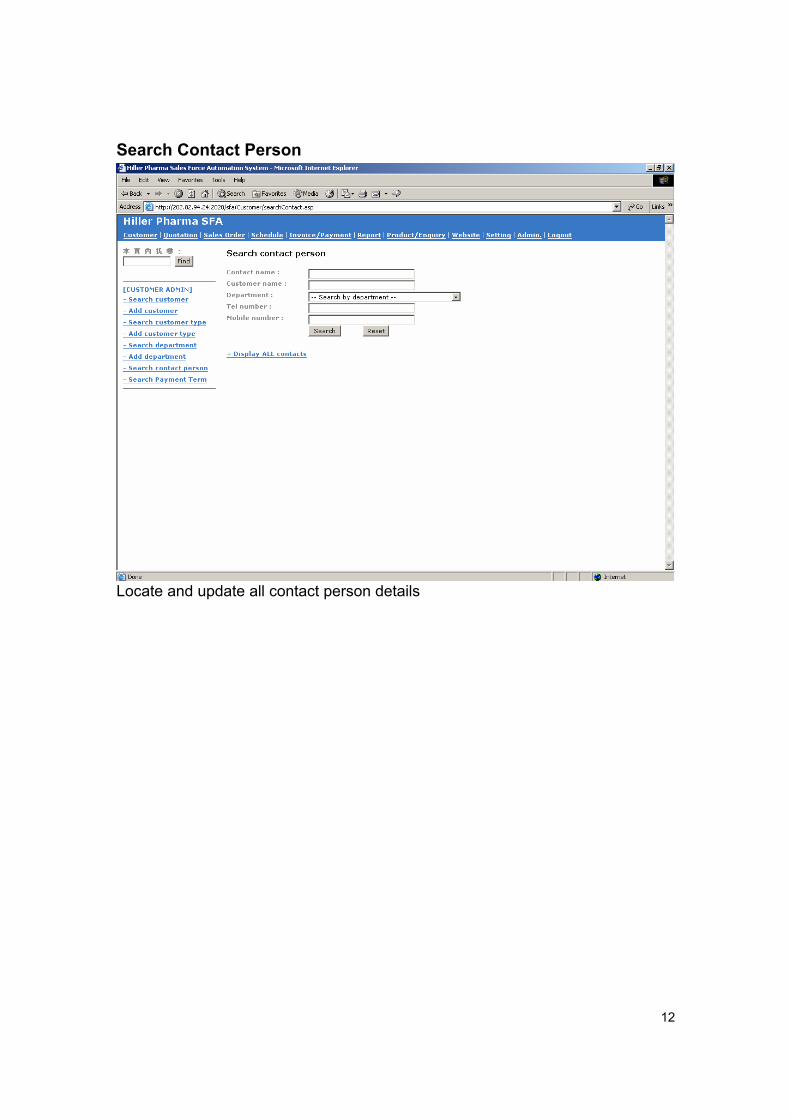
Search Contact Person
Locate and update all contact person details
13
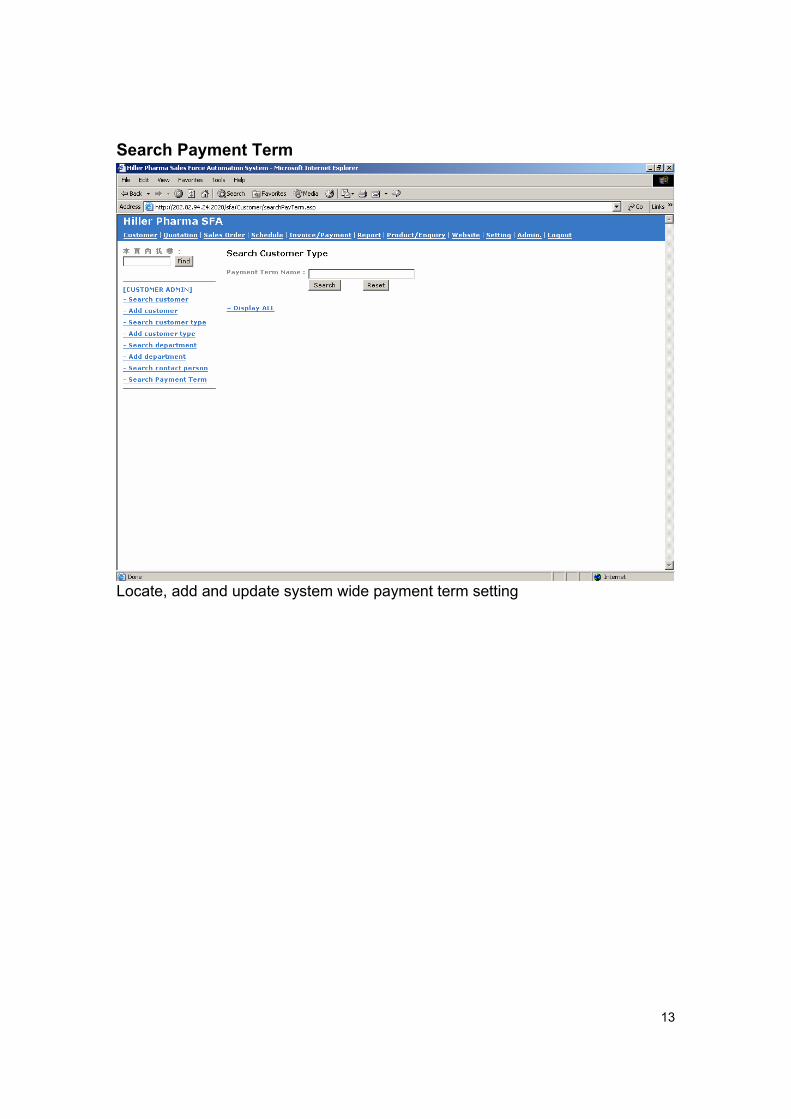
Search Payment Term
Locate, add and update system wide payment term setting
14
Quotation
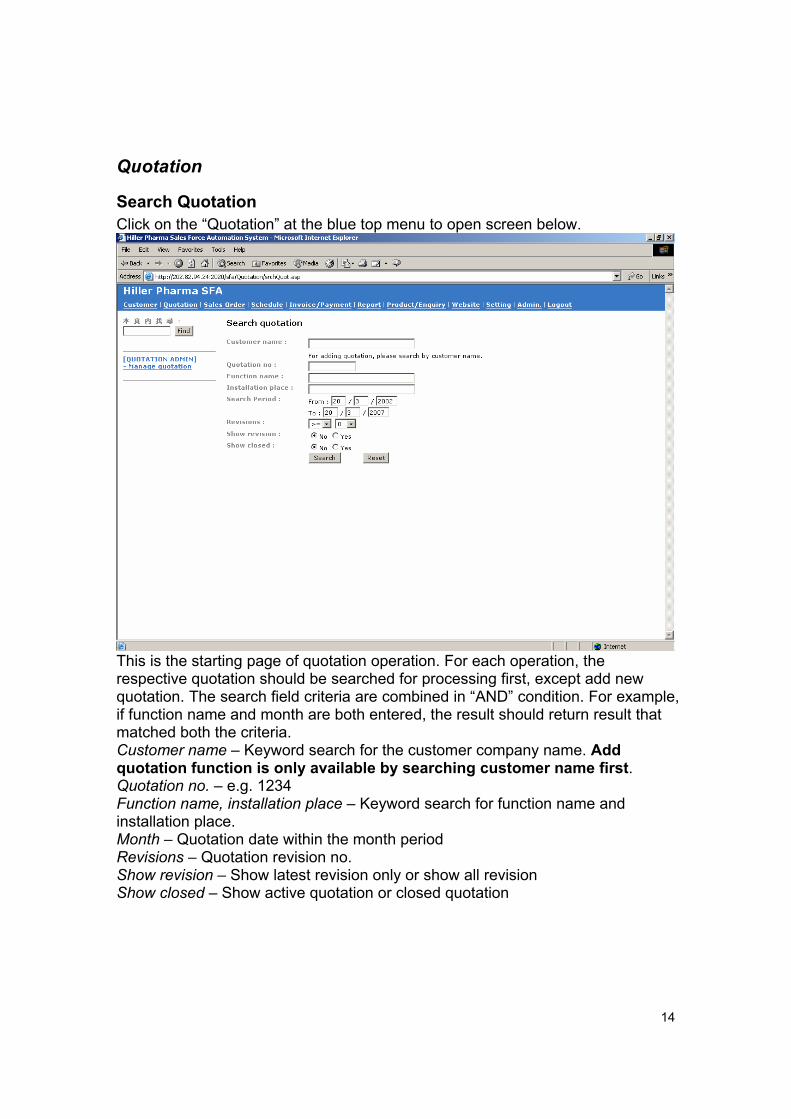
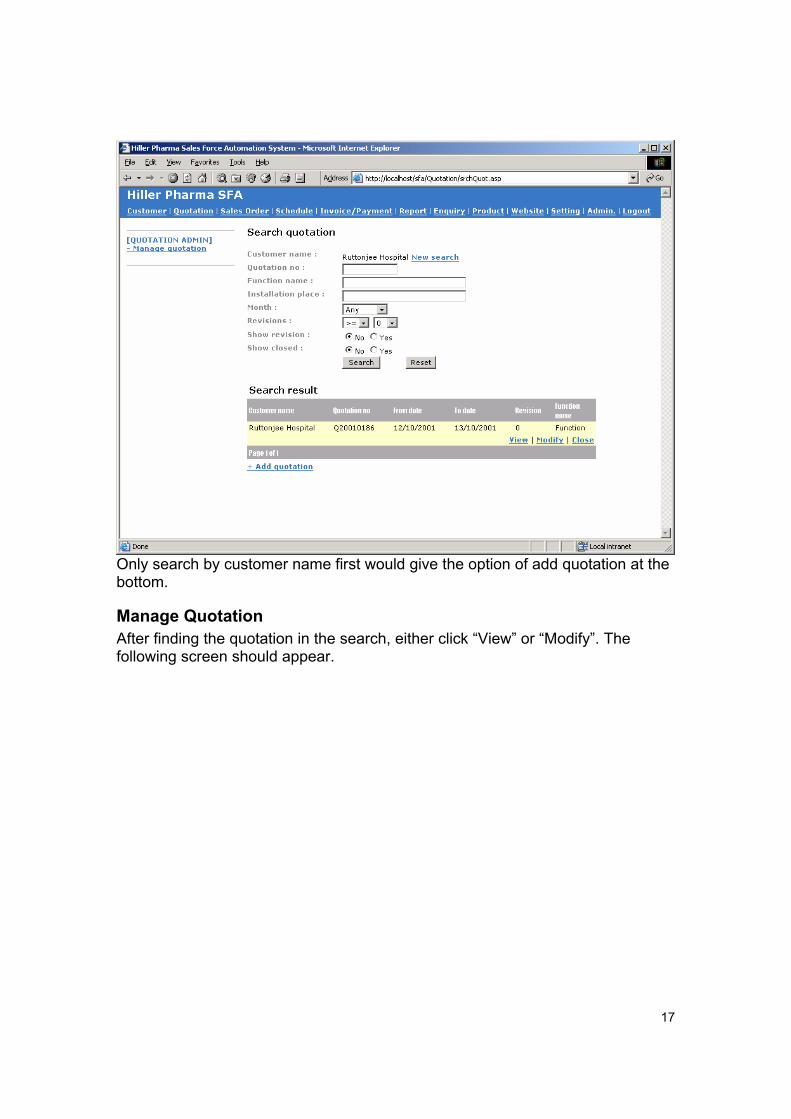
Search Quotation Click on the “Quotation” at the blue top menu to open screen below.
This is the starting page of quotation operation. For each operation, the respective quotation should be searched for processing first, except add new quotation. The search field criteria are combined in “AND” condition. For example, if function name and month are both entered, the result should return result that matched both the criteria. Customer name – Keyword search for the customer company name. Add quotation function is only available by searching customer name first. Quotation no. – e.g. 1234 Function name, installation place – Keyword search for function name and installation place. Month – Quotation date within the month period Revisions – Quotation revision no. Show revision – Show latest revision only or show all revision Show closed – Show active quotation or closed quotation
15
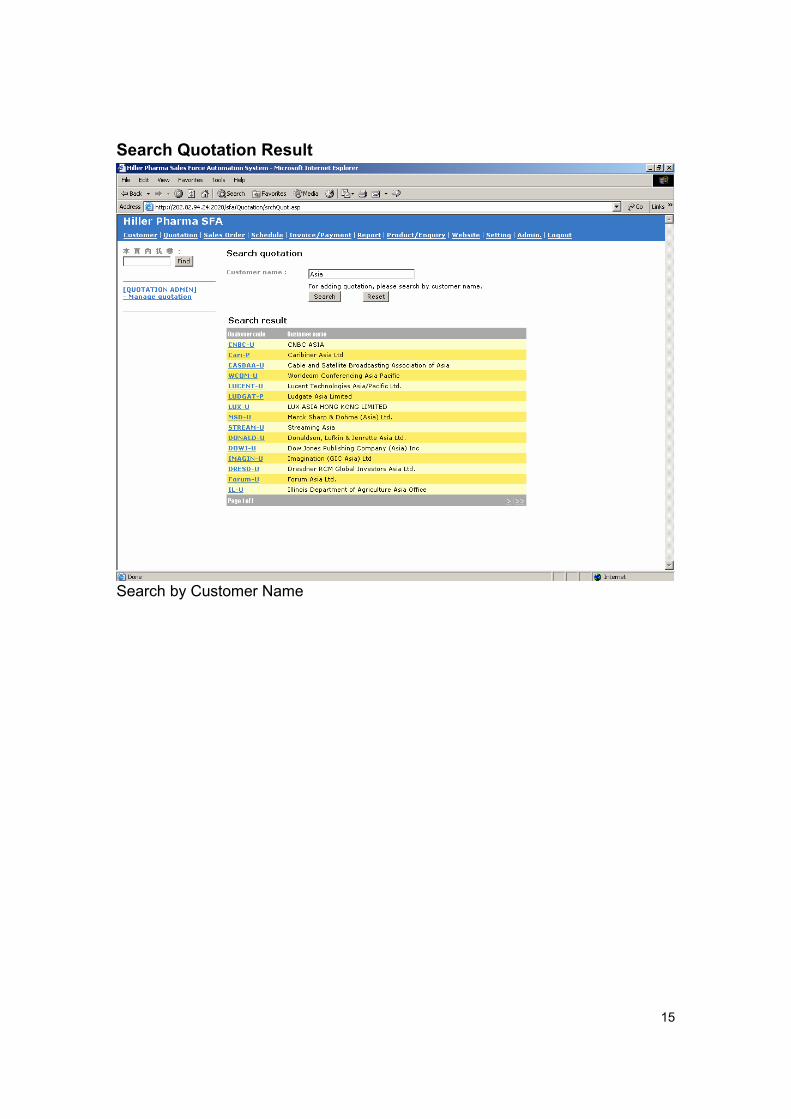
Search Quotation Result
Search by Customer Name
16
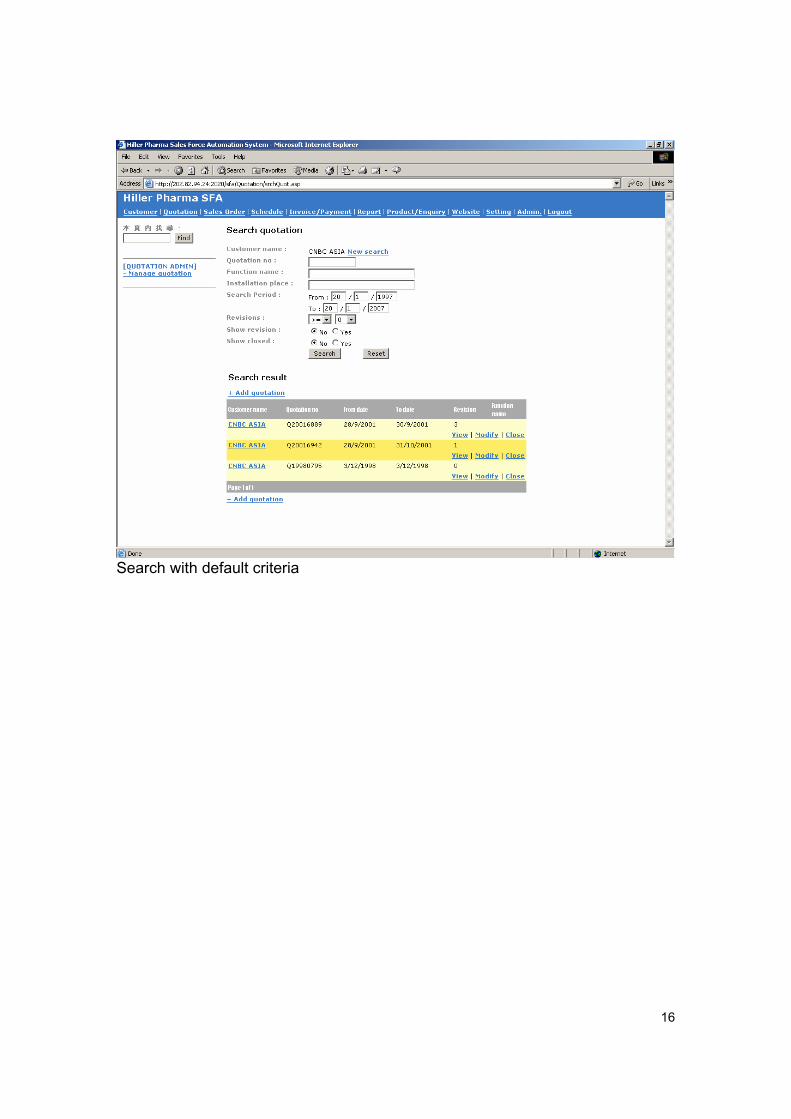
Search with default criteria
17
Only search by customer name first would give the option of add quotation at the bottom.
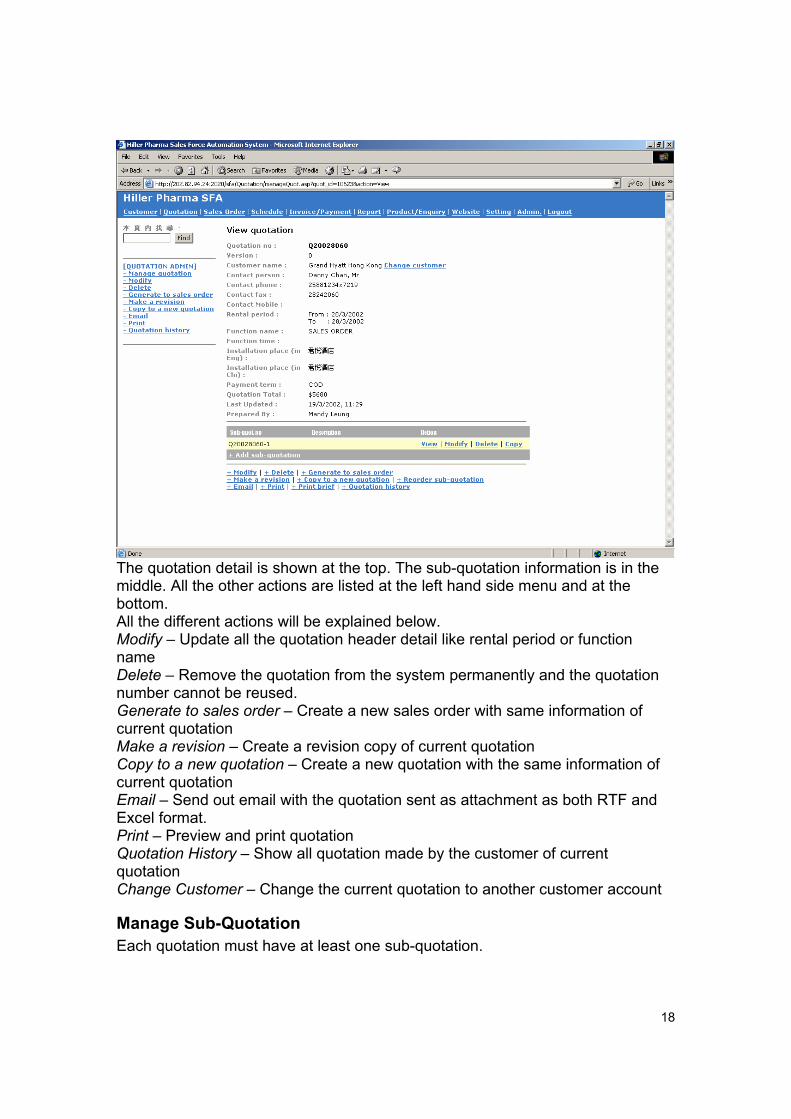
Manage Quotation After finding the quotation in the search, either click “View” or “Modify”. The following screen should appear.
18
The quotation detail is shown at the top. The sub-quotation information is in the middle. All the other actions are listed at the left hand side menu and at the bottom. All the different actions will be explained below. Modify – Update all the quotation header detail like rental period or function name Delete – Remove the quotation from the system permanently and the quotation number cannot be reused. Generate to sales order – Create a new sales order with same information of current quotation Make a revision – Create a revision copy of current quotation Copy to a new quotation – Create a new quotation with the same information of current quotation Email – Send out email with the quotation sent as attachment as both RTF and Excel format. Print – Preview and print quotation Quotation History – Show all quotation made by the customer of current quotation Change Customer – Change the current quotation to another customer account
Manage Sub-Quotation Each quotation must have at least one sub-quotation.

19
Quotation information is shown at the top. The following is sub-quotation information. The three gray sections are item, package and accessories within the quotation. View quotation – Back to the view quotation Modify – Update all the sub-quotation detail Delete - Remove the sub-quotation from the system permanently Copy - Create a new sub-quotation with the same information of current sub-quotation you select to copy. Reset date – Reset the rental period of all items including items, packages and accessories in detail.
20
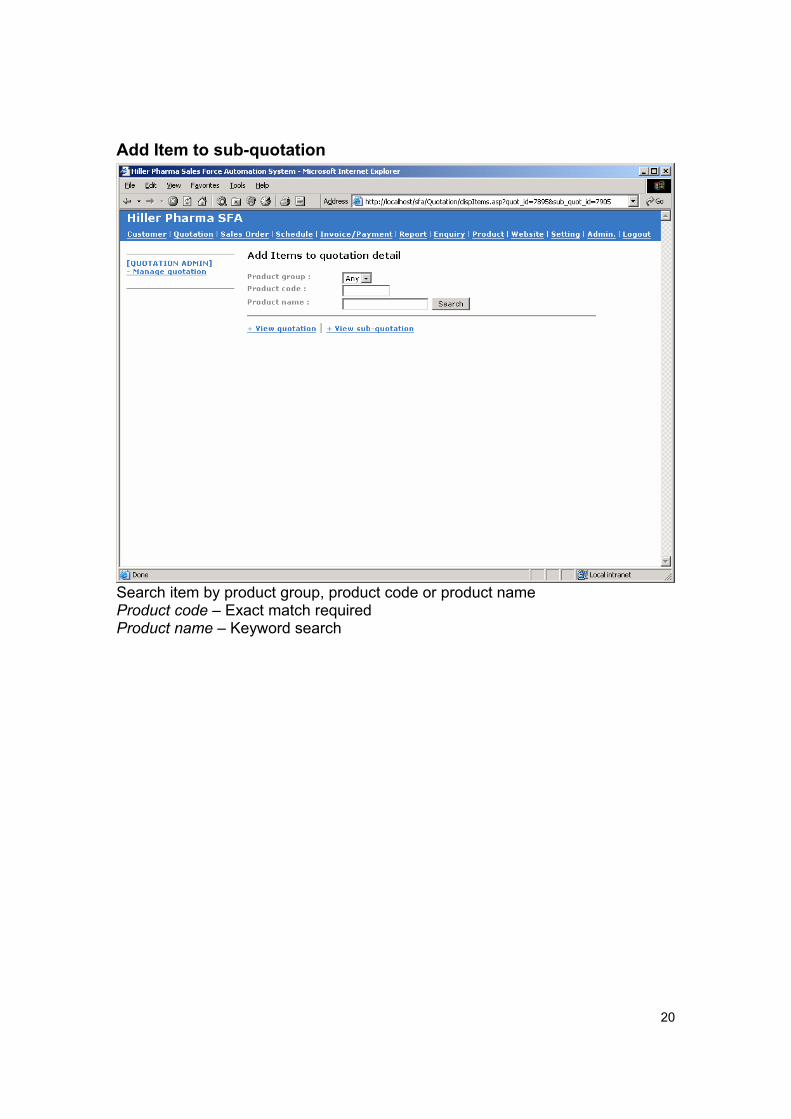
Add Item to sub-quotation
Search item by product group, product code or product name Product code – Exact match required Product name – Keyword search
21
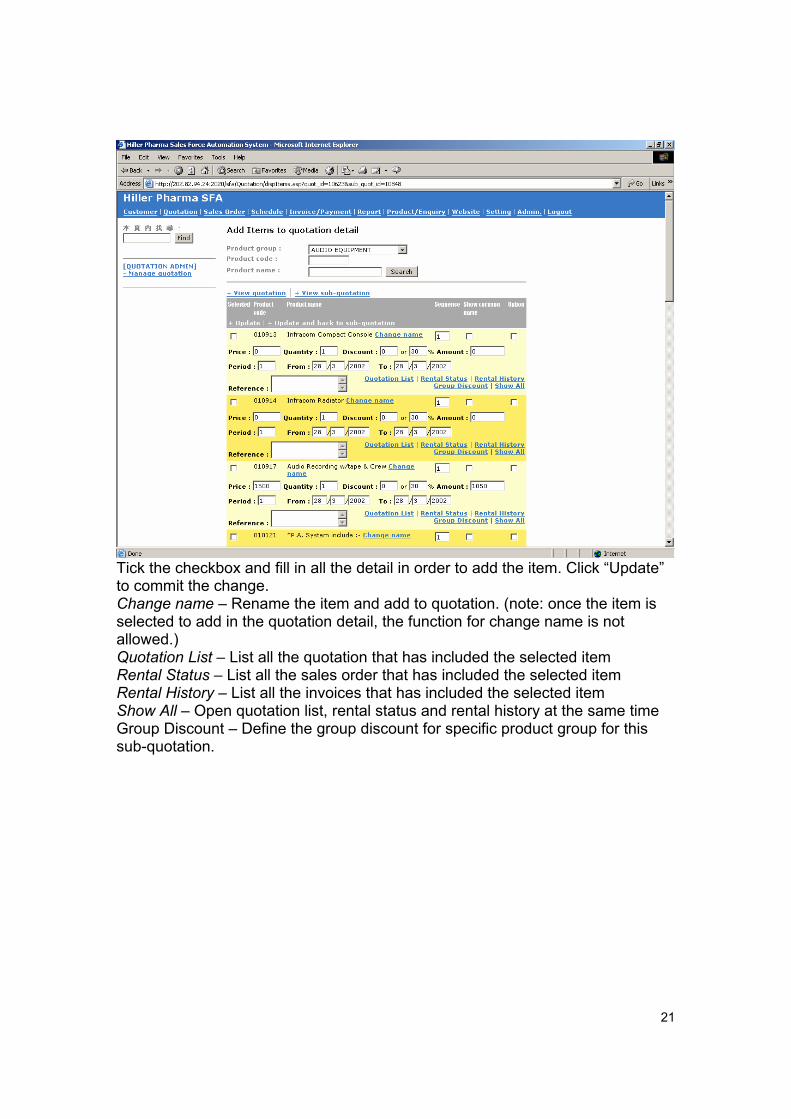
Tick the checkbox and fill in all the detail in order to add the item. Click “Update” to commit the change. Change name – Rename the item and add to quotation. (note: once the item is selected to add in the quotation detail, the function for change name is not allowed.) Quotation List – List all the quotation that has included the selected item Rental Status – List all the sales order that has included the selected item Rental History – List all the invoices that has included the selected item Show All – Open quotation list, rental status and rental history at the same time Group Discount – Define the group discount for specific product group for this sub-quotation.
22
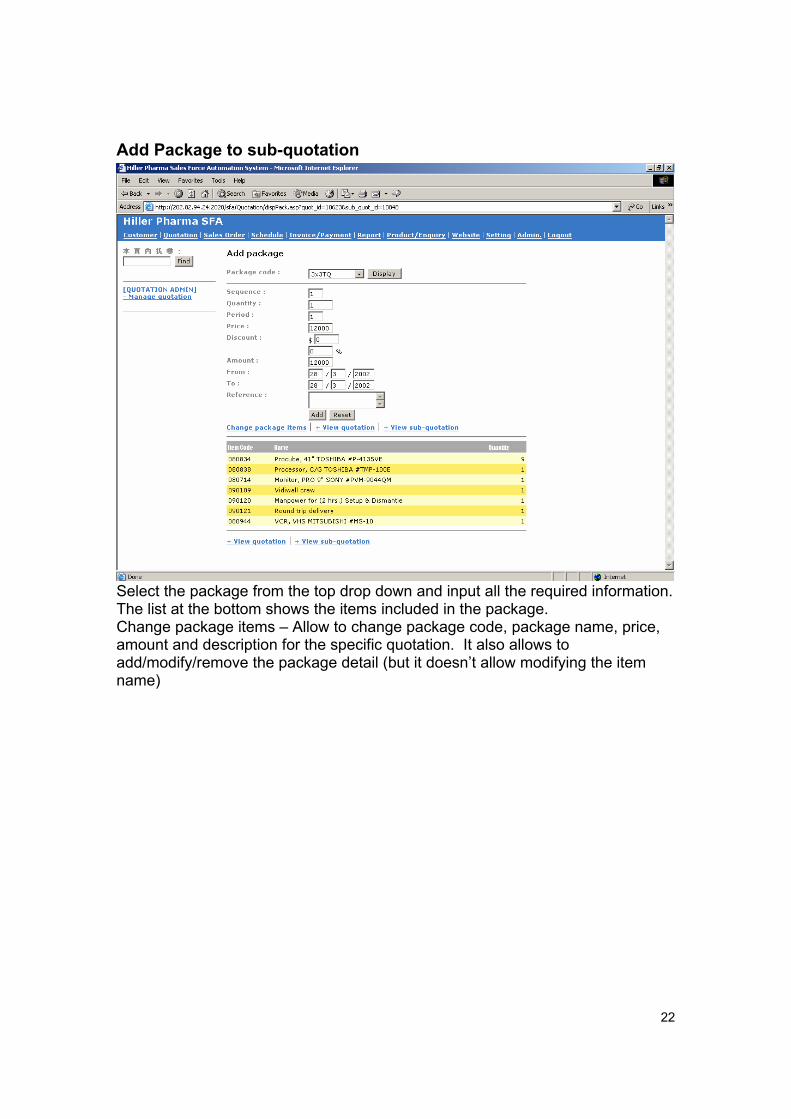
Add Package to sub-quotation
Select the package from the top drop down and input all the required information. The list at the bottom shows the items included in the package. Change package items – Allow to change package code, package name, price, amount and description for the specific quotation. It also allows to add/modify/remove the package detail (but it doesn’t allow modifying the item name)
23
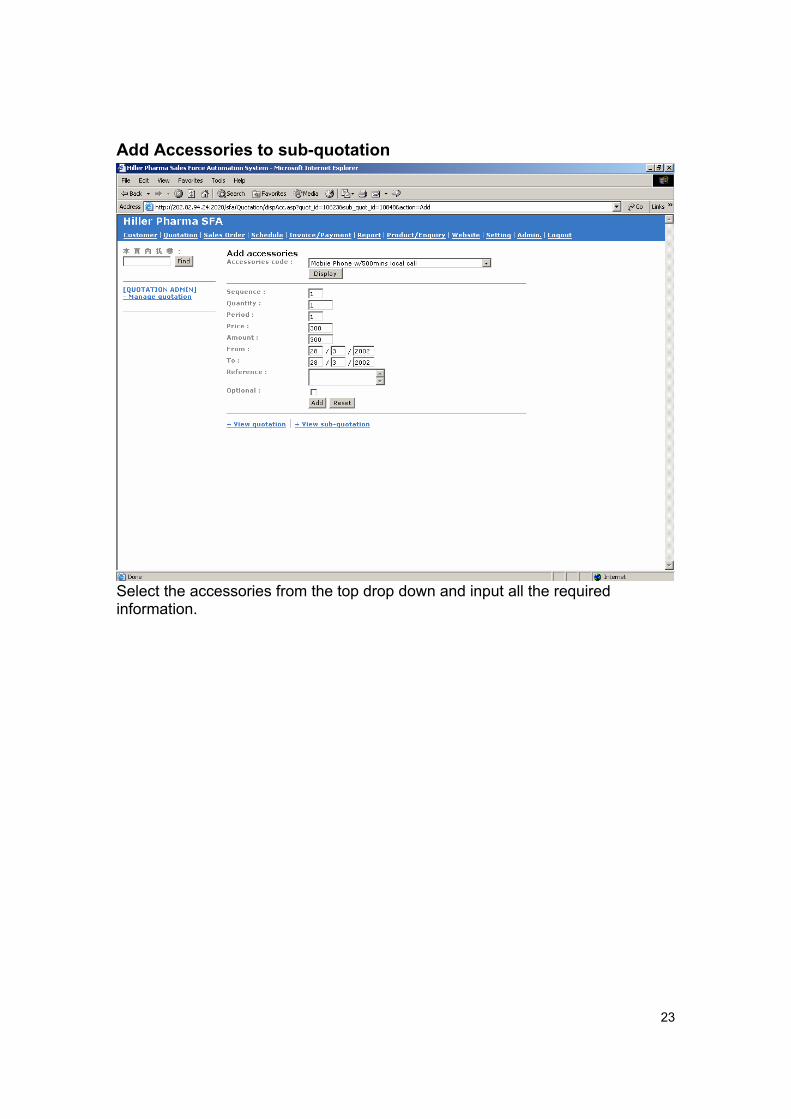
Add Accessories to sub-quotation
Select the accessories from the top drop down and input all the required information.
24
Sales Order
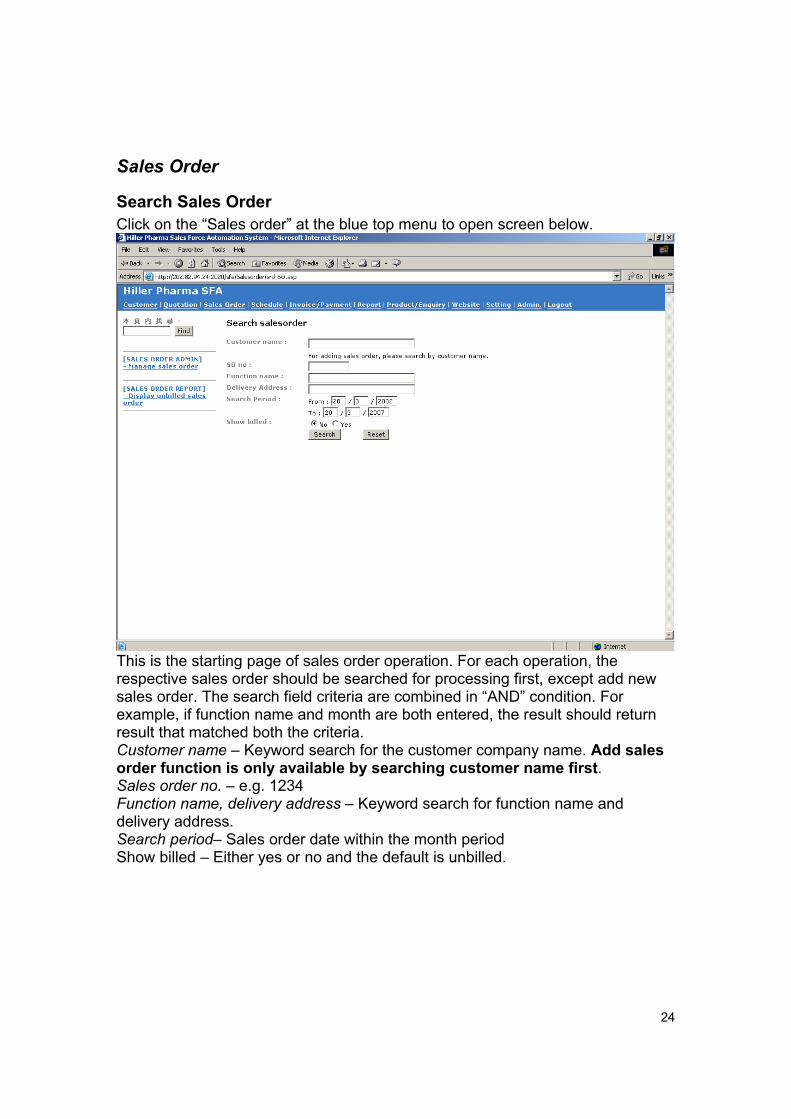
Search Sales Order Click on the “Sales order” at the blue top menu to open screen below.
This is the starting page of sales order operation. For each operation, the respective sales order should be searched for processing first, except add new sales order. The search field criteria are combined in “AND” condition. For example, if function name and month are both entered, the result should return result that matched both the criteria. Customer name – Keyword search for the customer company name. Add sales order function is only available by searching customer name first. Sales order no. – e.g. 1234 Function name, delivery address – Keyword search for function name and delivery address. Search period– Sales order date within the month period Show billed – Either yes or no and the default is unbilled.
25
Search Sales Order Result
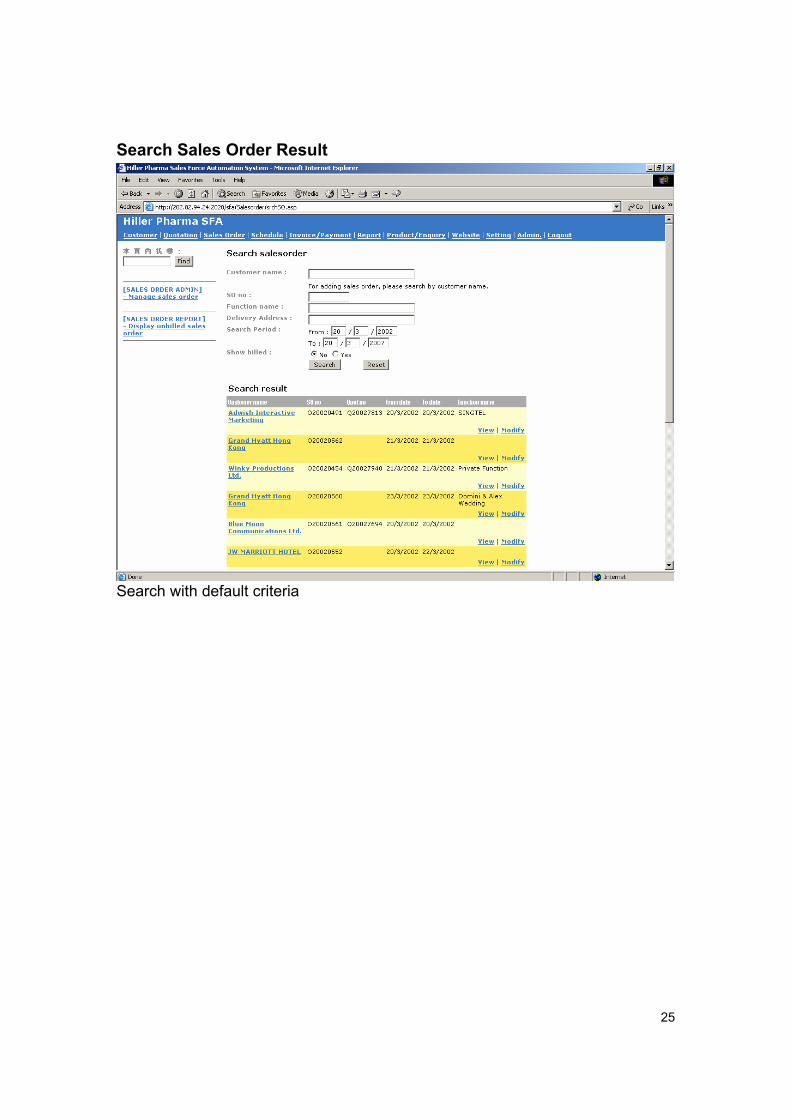
Search with default criteria
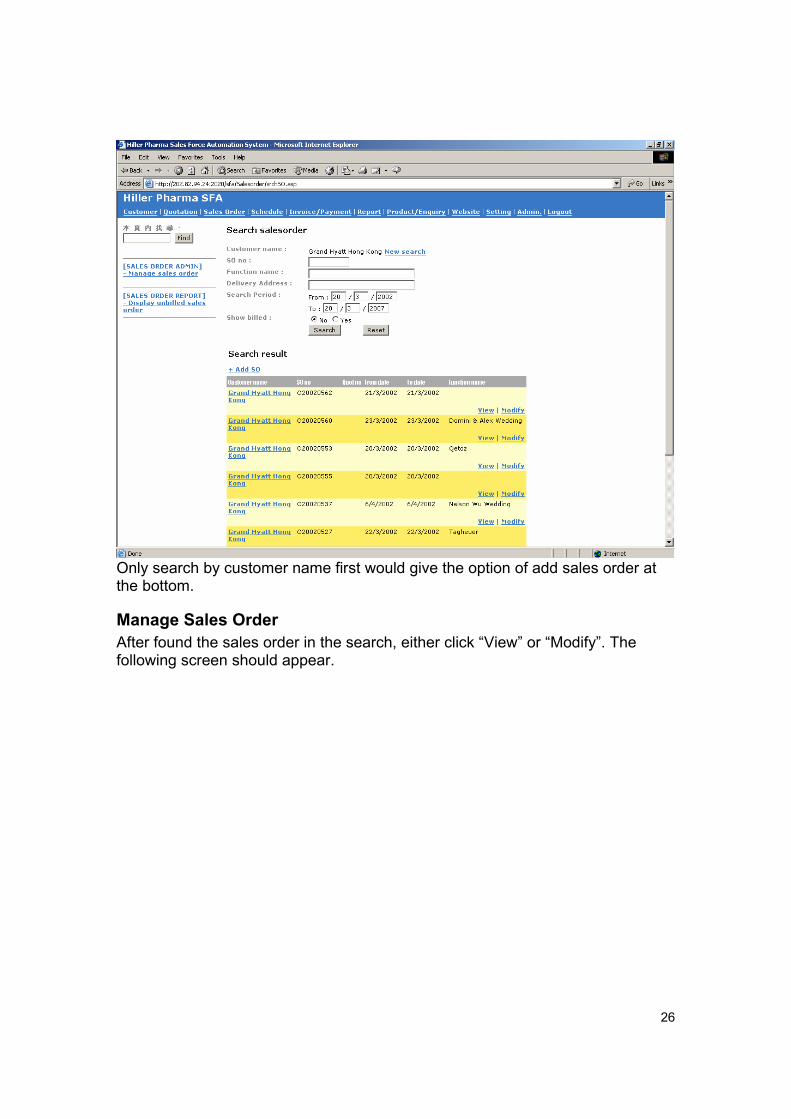
26
Only search by customer name first would give the option of add sales order at the bottom.
Manage Sales Order After found the sales order in the search, either click “View” or “Modify”. The following screen should appear.
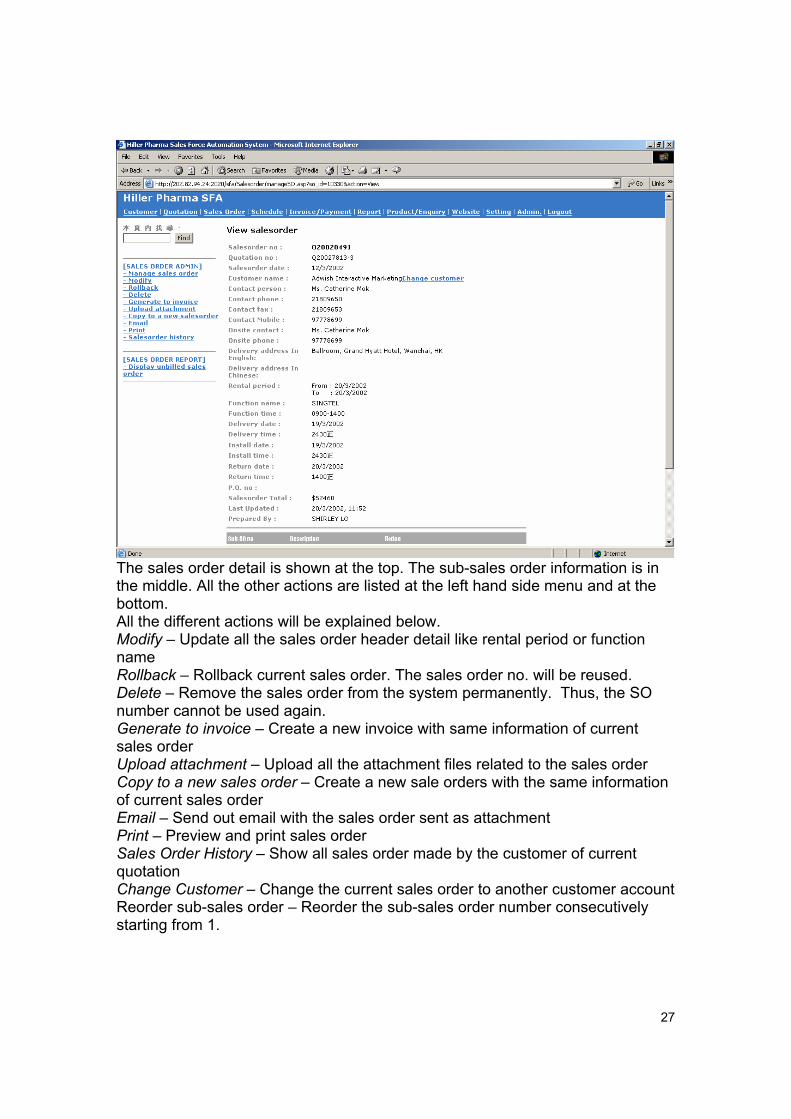
27
The sales order detail is shown at the top. The sub-sales order information is in the middle. All the other actions are listed at the left hand side menu and at the bottom. All the different actions will be explained below. Modify – Update all the sales order header detail like rental period or function name Rollback – Rollback current sales order. The sales order no. will be reused. Delete – Remove the sales order from the system permanently. Thus, the SO number cannot be used again. Generate to invoice – Create a new invoice with same information of current sales order Upload attachment – Upload all the attachment files related to the sales order Copy to a new sales order – Create a new sale orders with the same information of current sales order Email – Send out email with the sales order sent as attachment Print – Preview and print sales order Sales Order History – Show all sales order made by the customer of current quotation Change Customer – Change the current sales order to another customer account Reorder sub-sales order – Reorder the sub-sales order number consecutively starting from 1.
28
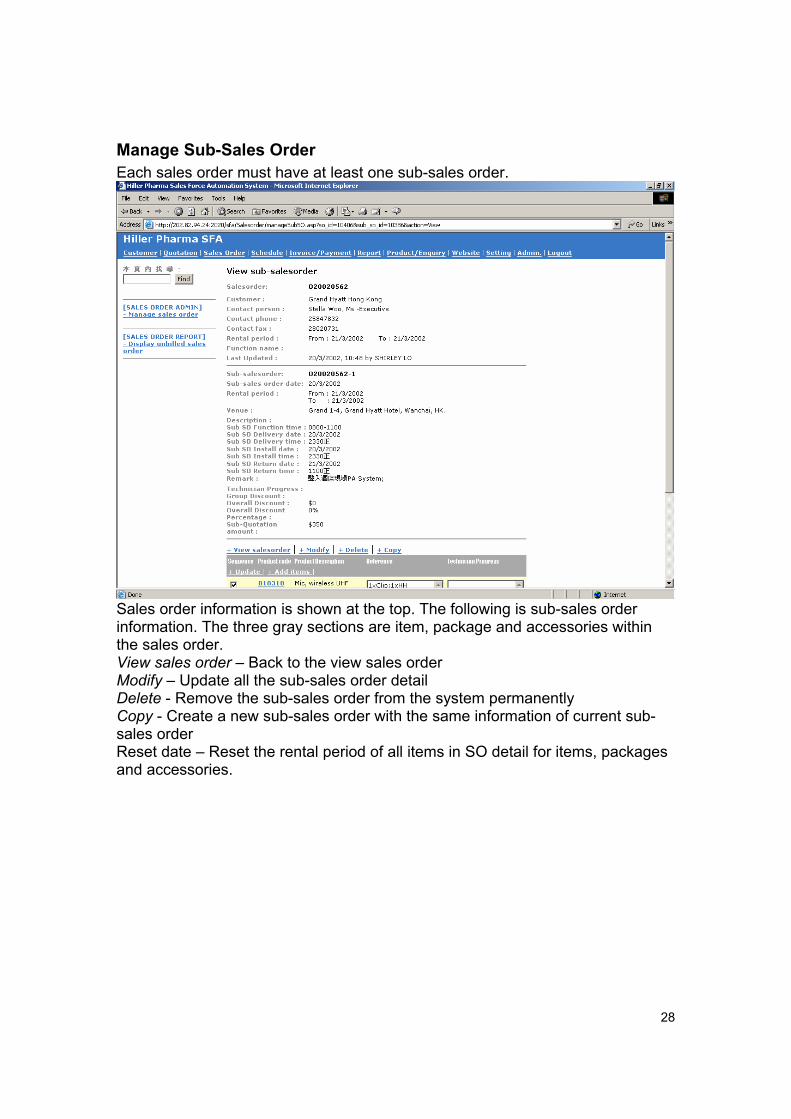
Manage Sub-Sales Order Each sales order must have at least one sub-sales order.
Sales order information is shown at the top. The following is sub-sales order information. The three gray sections are item, package and accessories within the sales order. View sales order – Back to the view sales order Modify – Update all the sub-sales order detail Delete - Remove the sub-sales order from the system permanently Copy - Create a new sub-sales order with the same information of current sub-sales order Reset date – Reset the rental period of all items in SO detail for items, packages and accessories.
29
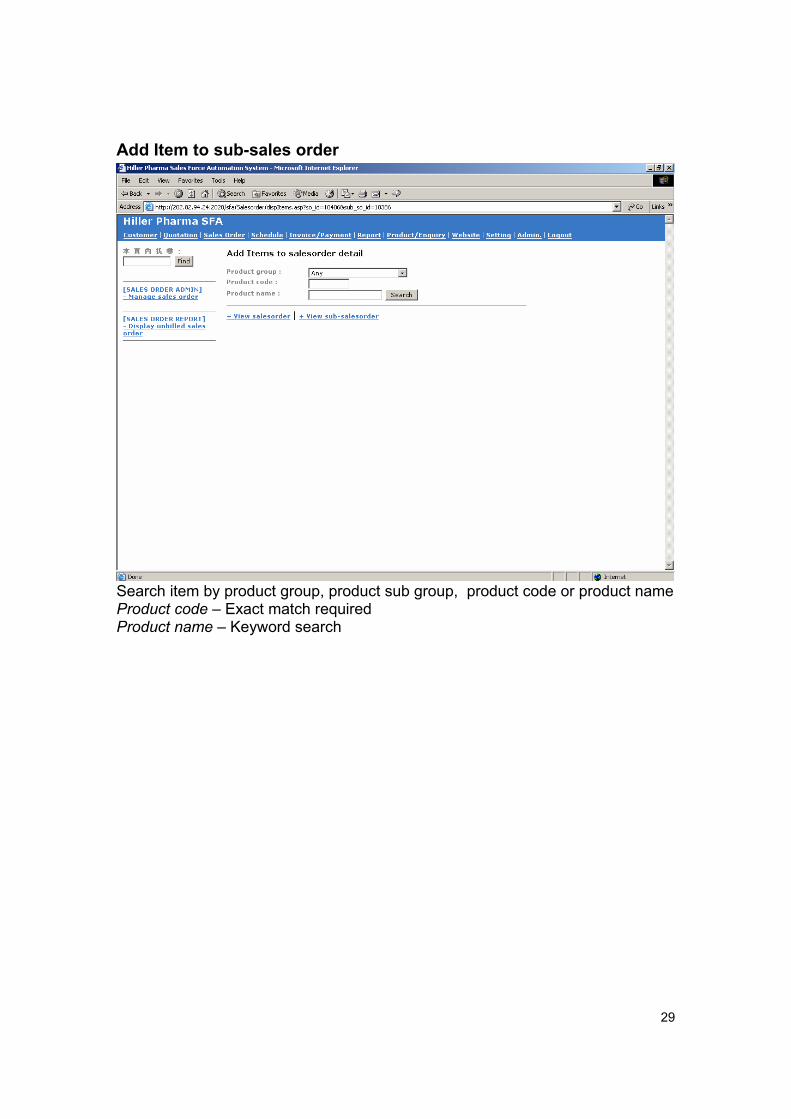
Add Item to sub-sales order
Search item by product group, product sub group, product code or product name Product code – Exact match required Product name – Keyword search
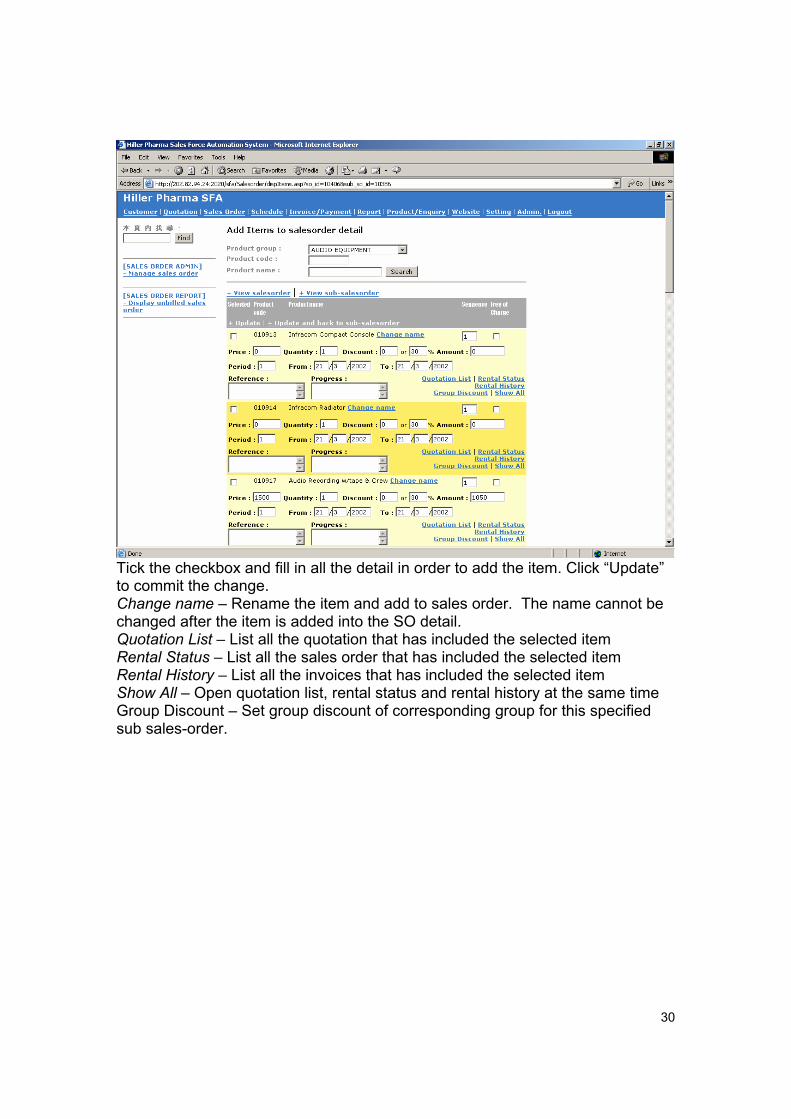
30
Tick the checkbox and fill in all the detail in order to add the item. Click “Update” to commit the change. Change name – Rename the item and add to sales order. The name cannot be changed after the item is added into the SO detail. Quotation List – List all the quotation that has included the selected item Rental Status – List all the sales order that has included the selected item Rental History – List all the invoices that has included the selected item Show All – Open quotation list, rental status and rental history at the same time Group Discount – Set group discount of corresponding group for this specified sub sales-order.
31
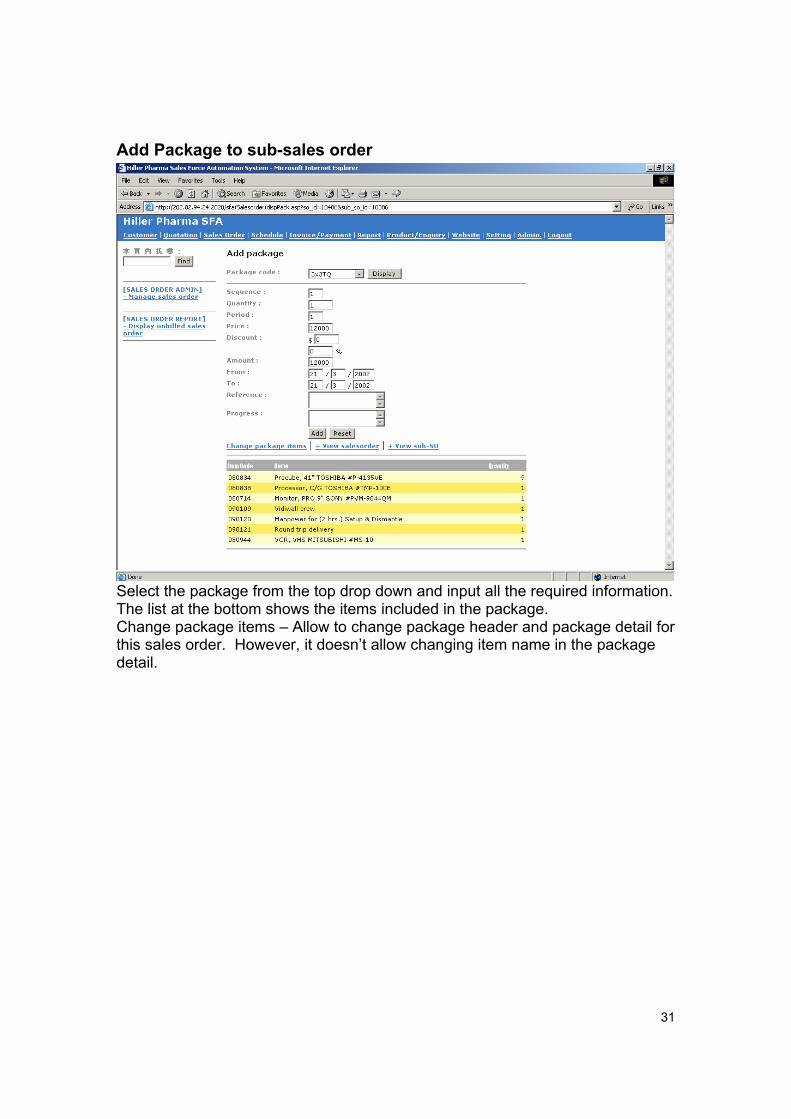
Add Package to sub-sales order
Select the package from the top drop down and input all the required information. The list at the bottom shows the items included in the package. Change package items – Allow to change package header and package detail for this sales order. However, it doesn’t allow changing item name in the package detail.
32
Add Accessories to sub-sales order
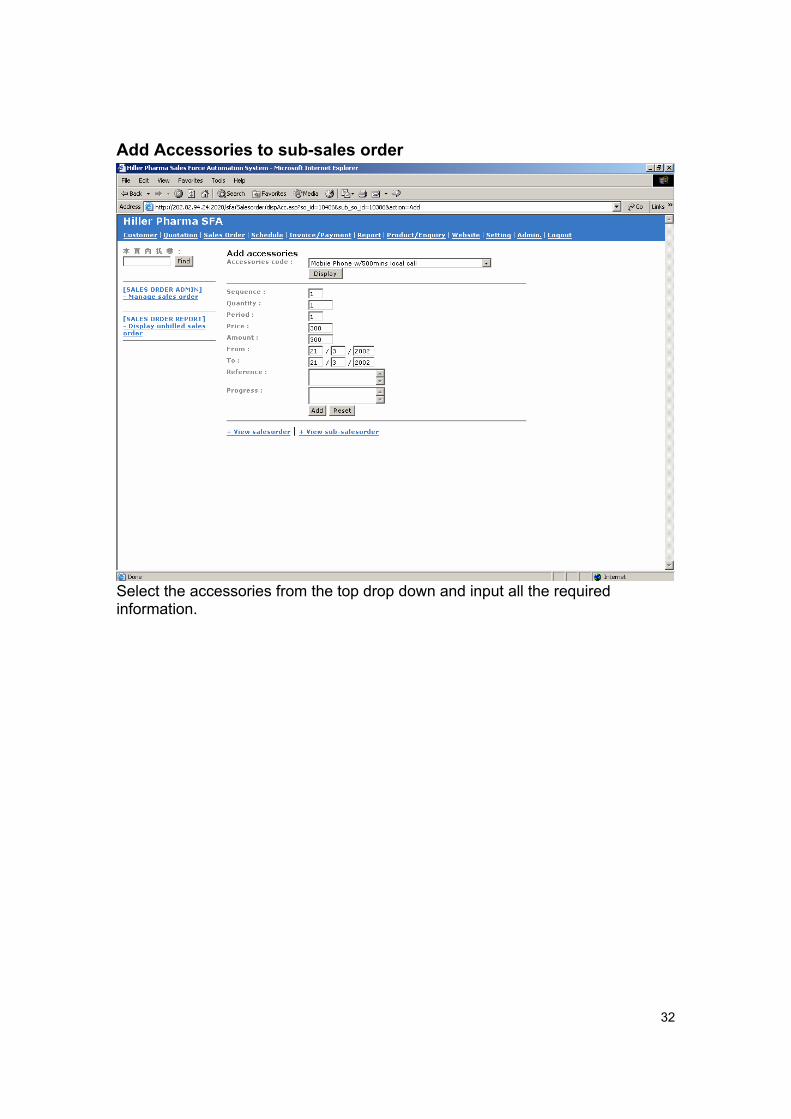
Select the accessories from the top drop down and input all the required information.
33
Display Unbilled Sales Order
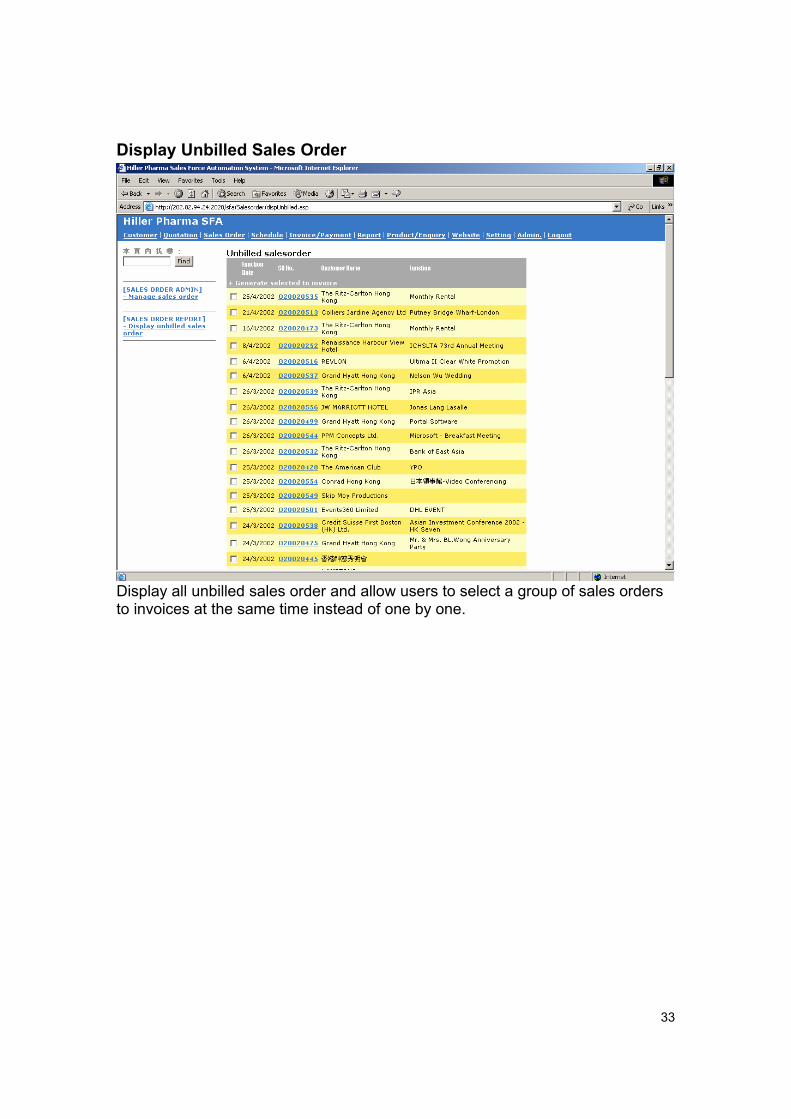
Display all unbilled sales order and allow users to select a group of sales orders to invoices at the same time instead of one by one.
34
Schedule
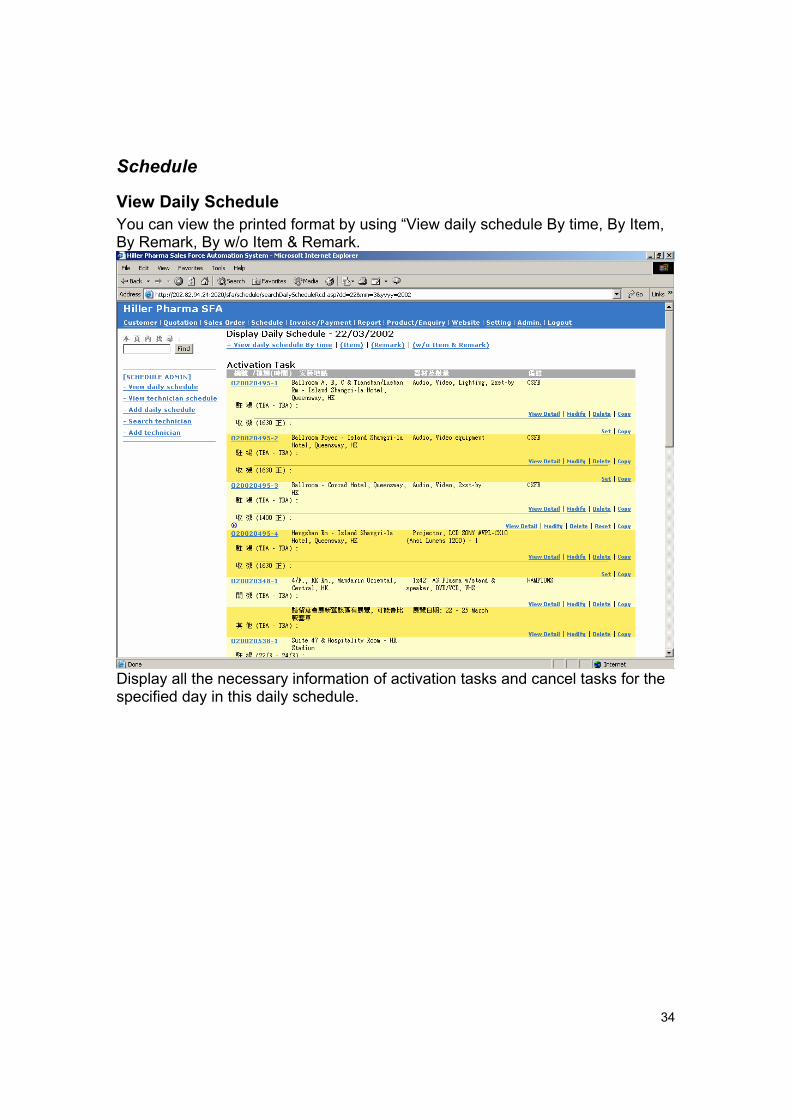
View Daily Schedule You can view the printed format by using “View daily schedule By time, By Item, By Remark, By w/o Item & Remark.
Display all the necessary information of activation tasks and cancel tasks for the specified day in this daily schedule.
35
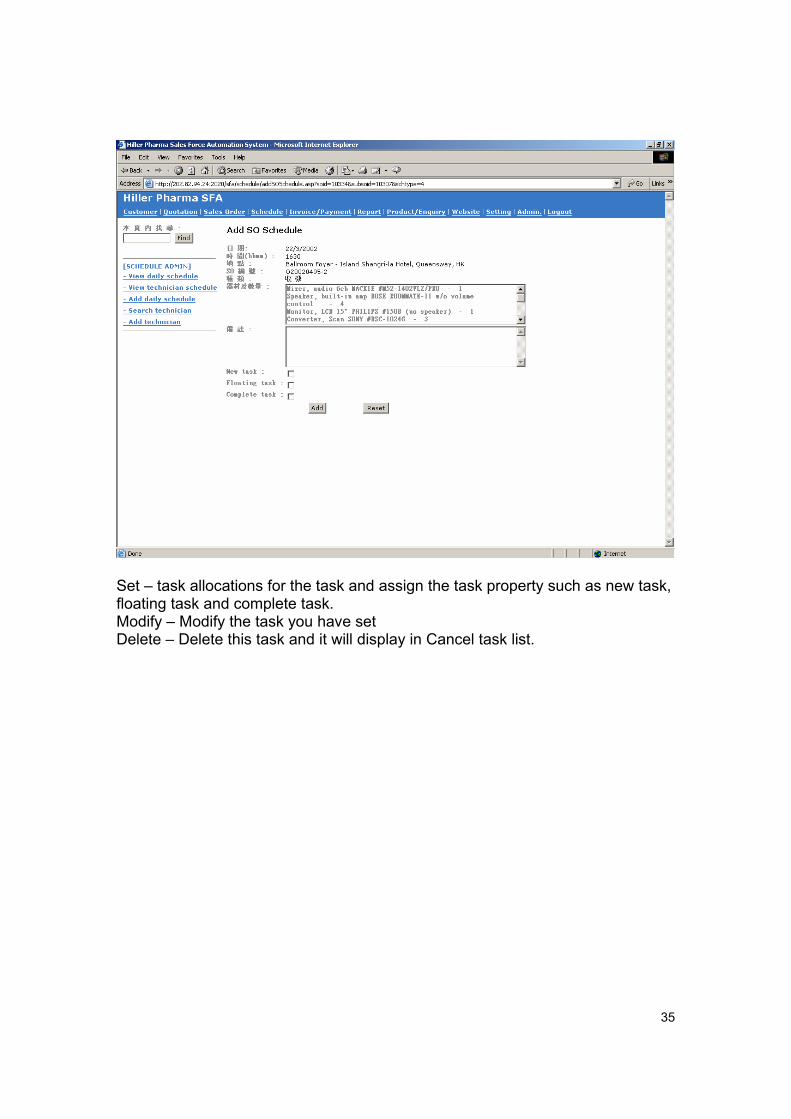
Set – task allocations for the task and assign the task property such as new task, floating task and complete task. Modify – Modify the task you have set Delete – Delete this task and it will display in Cancel task list.
36
37
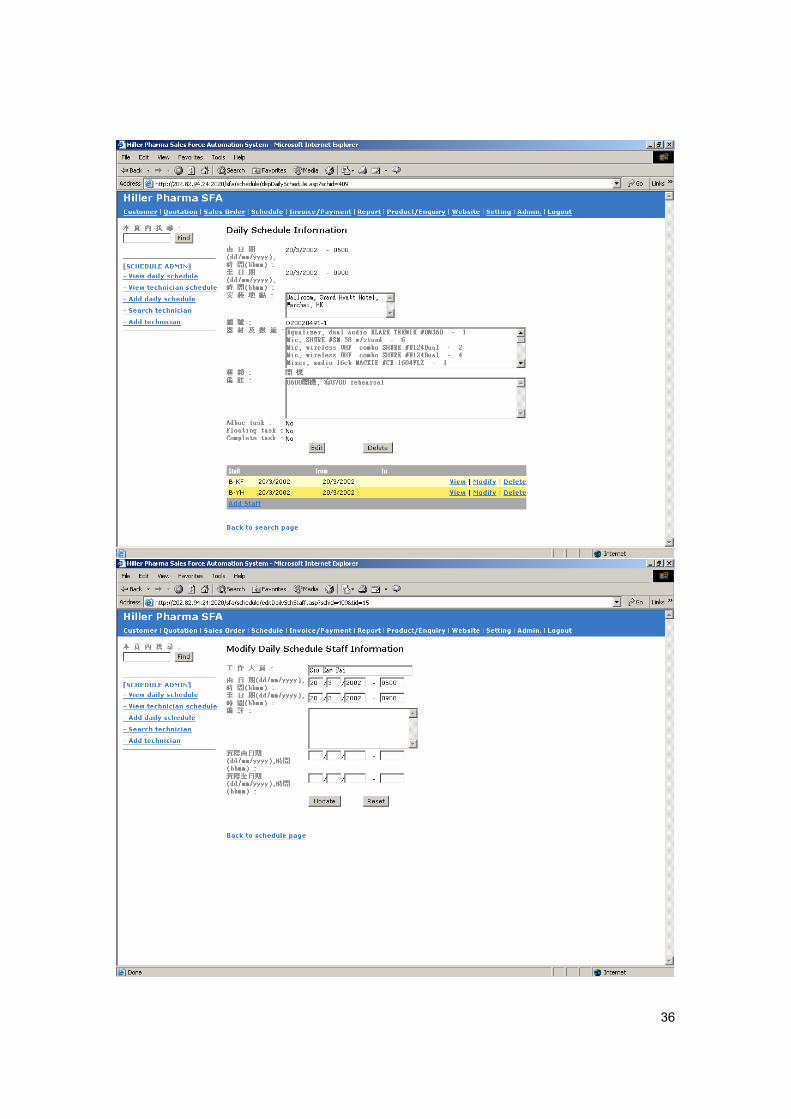
View Detail – Technician allocation and management for that task by pressing Add Staff link. You can assign and modify the estimated working date/time (from/to) in Daily Schedule Staff Information Page. Moreover, it can delete the technician from this task. Technician can also input the actual working hour for this task afterwards.
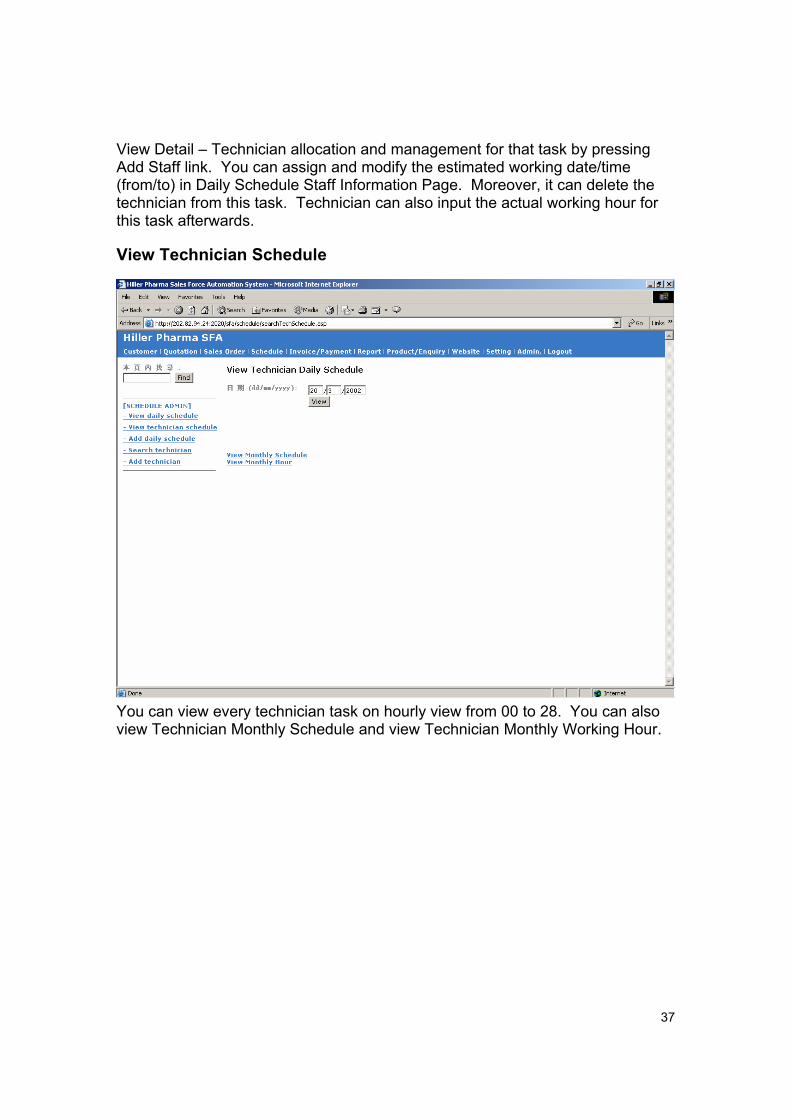
View Technician Schedule
You can view every technician task on hourly view from 00 to 28. You can also view Technician Monthly Schedule and view Technician Monthly Working Hour.

38
Technician Daily Schedule – You can also export the schedule into excel file by save as the file extension with .xls.
39
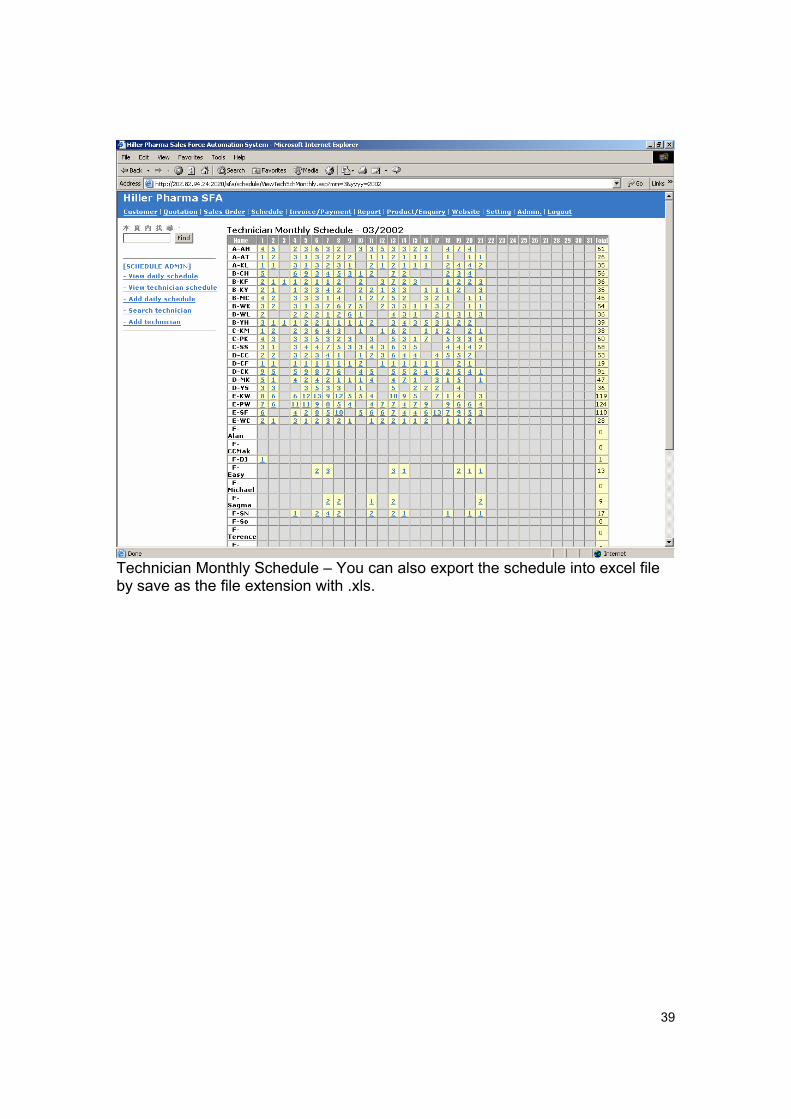
Technician Monthly Schedule – You can also export the schedule into excel file by save as the file extension with .xls.
40
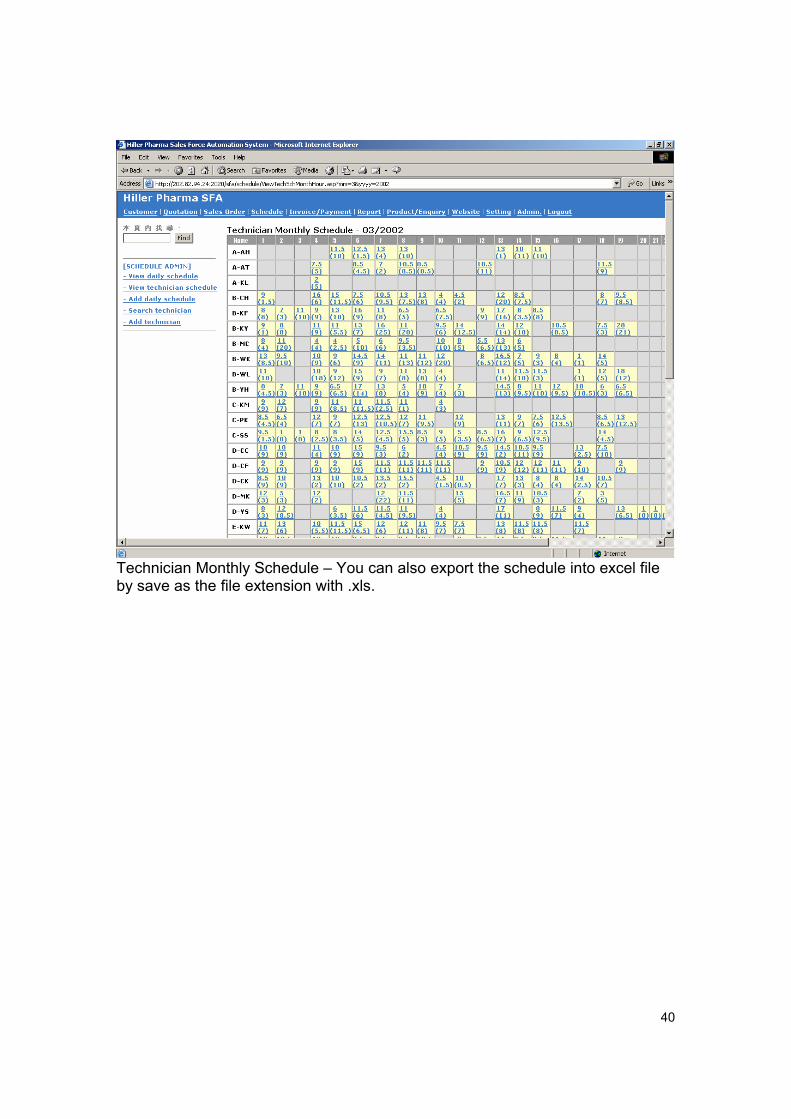
Technician Monthly Schedule – You can also export the schedule into excel file by save as the file extension with .xls.
41
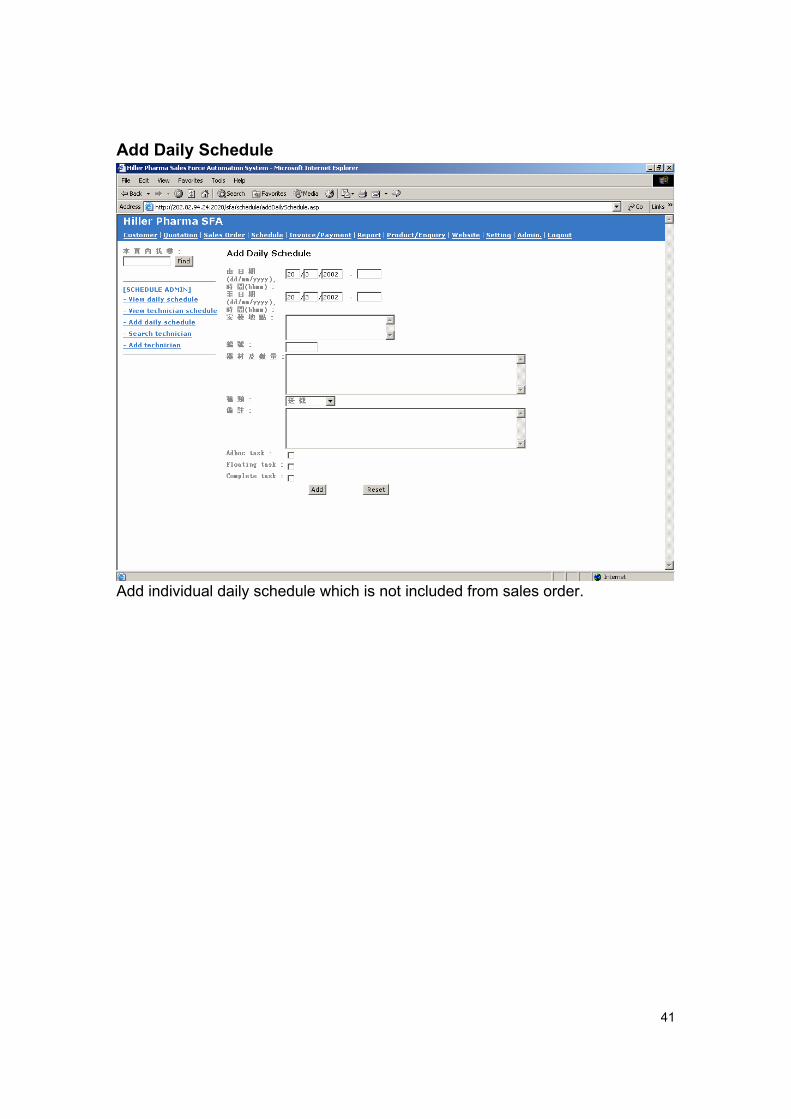
Add Daily Schedule
Add individual daily schedule which is not included from sales order.
42
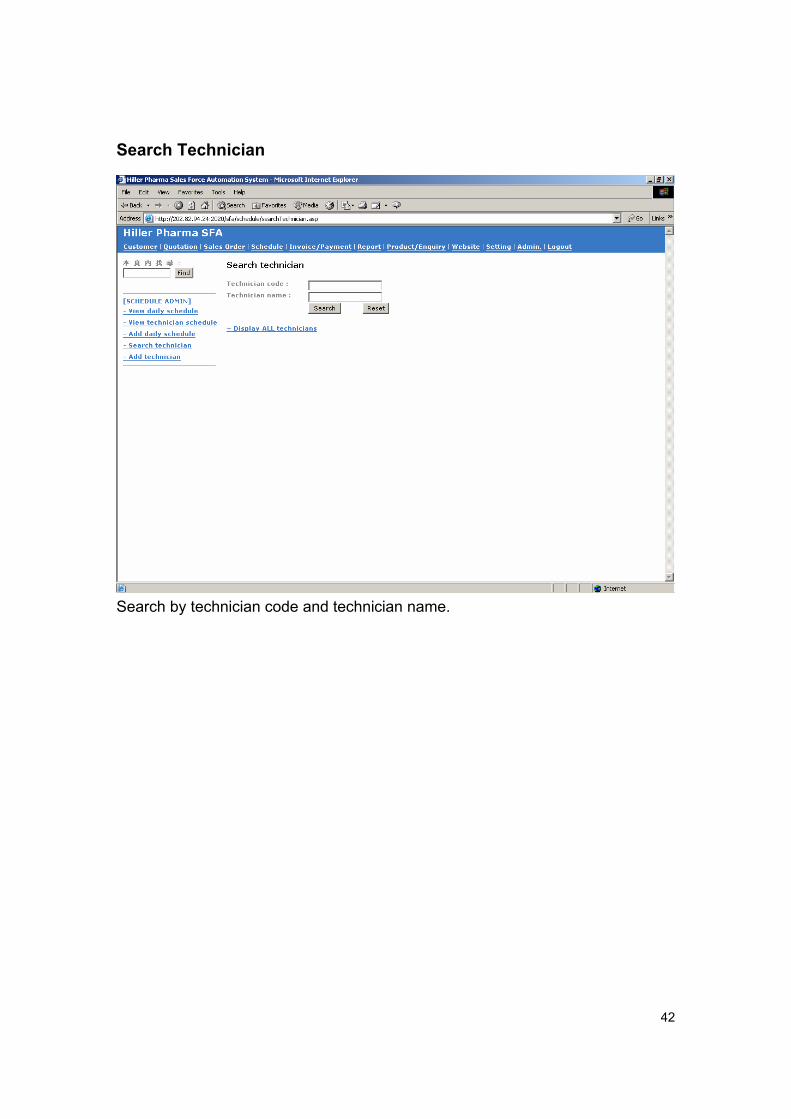
Search Technician
Search by technician code and technician name.
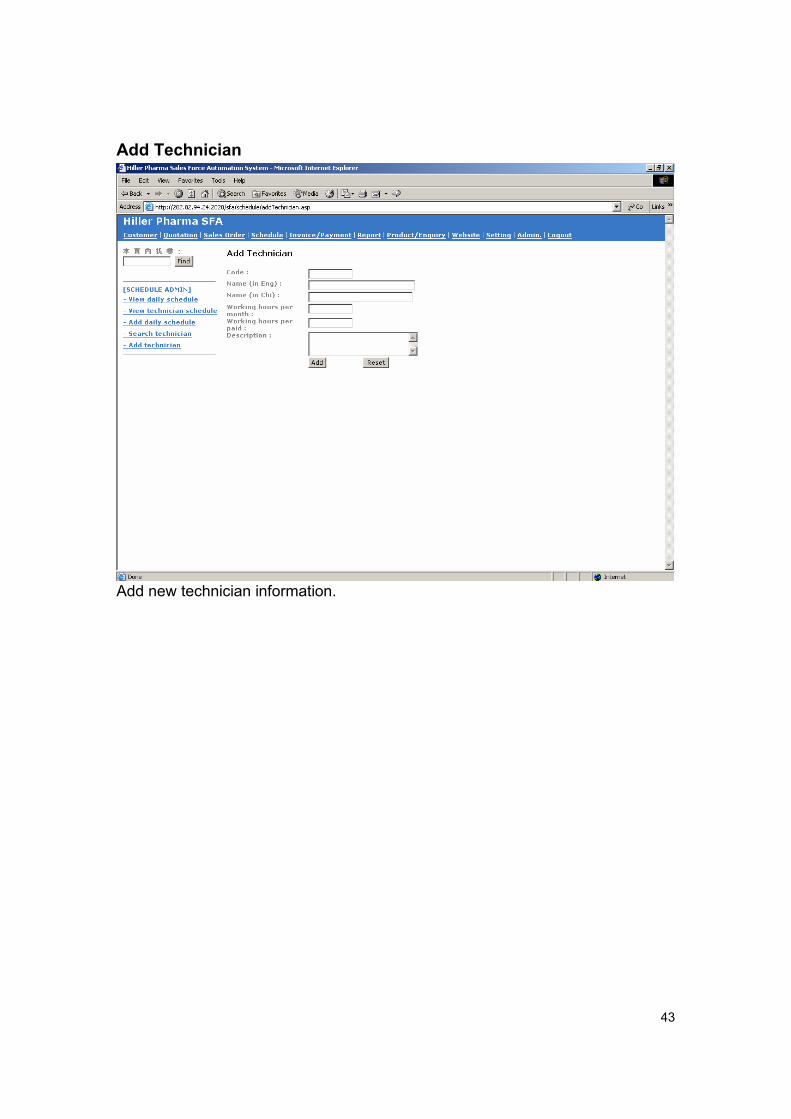
43
Add Technician
Add new technician information.
44
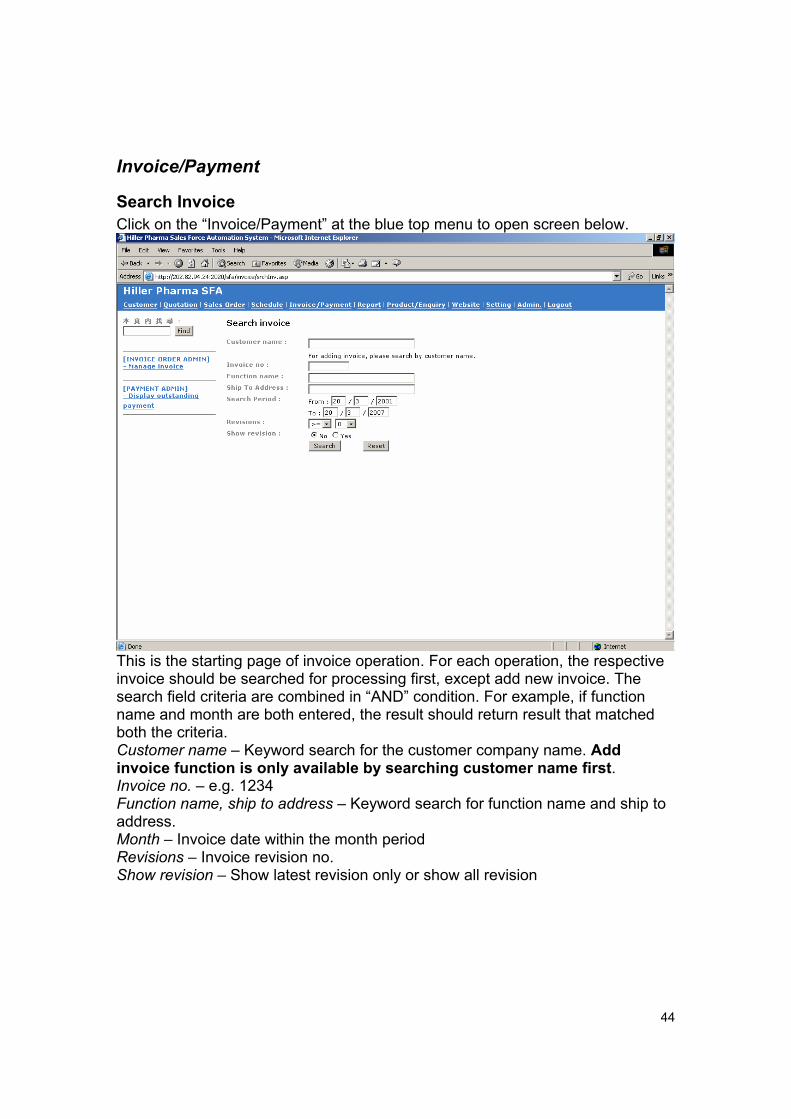
Invoice/Payment
Search Invoice Click on the “Invoice/Payment” at the blue top menu to open screen below.
This is the starting page of invoice operation. For each operation, the respective invoice should be searched for processing first, except add new invoice. The search field criteria are combined in “AND” condition. For example, if function name and month are both entered, the result should return result that matched both the criteria. Customer name – Keyword search for the customer company name. Add invoice function is only available by searching customer name first. Invoice no. – e.g. 1234 Function name, ship to address – Keyword search for function name and ship to address. Month – Invoice date within the month period Revisions – Invoice revision no. Show revision – Show latest revision only or show all revision
45
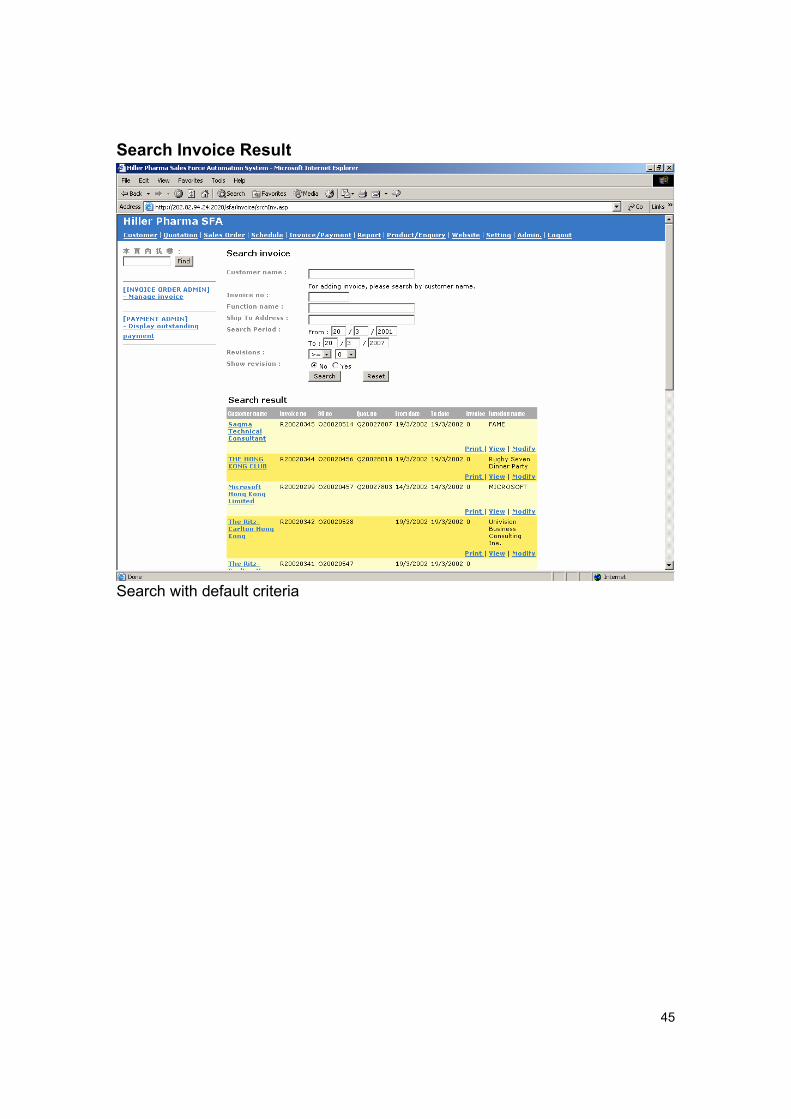
Search Invoice Result
Search with default criteria
46
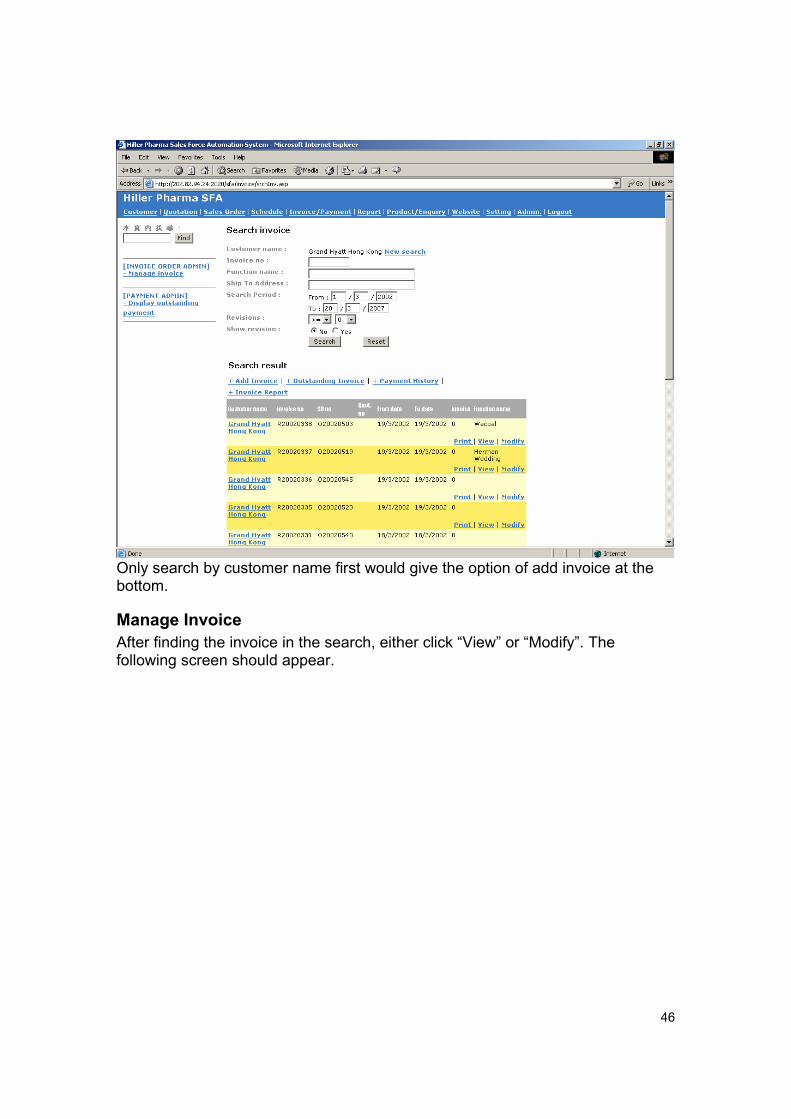
Only search by customer name first would give the option of add invoice at the bottom.
Manage Invoice After finding the invoice in the search, either click “View” or “Modify”. The following screen should appear.
47
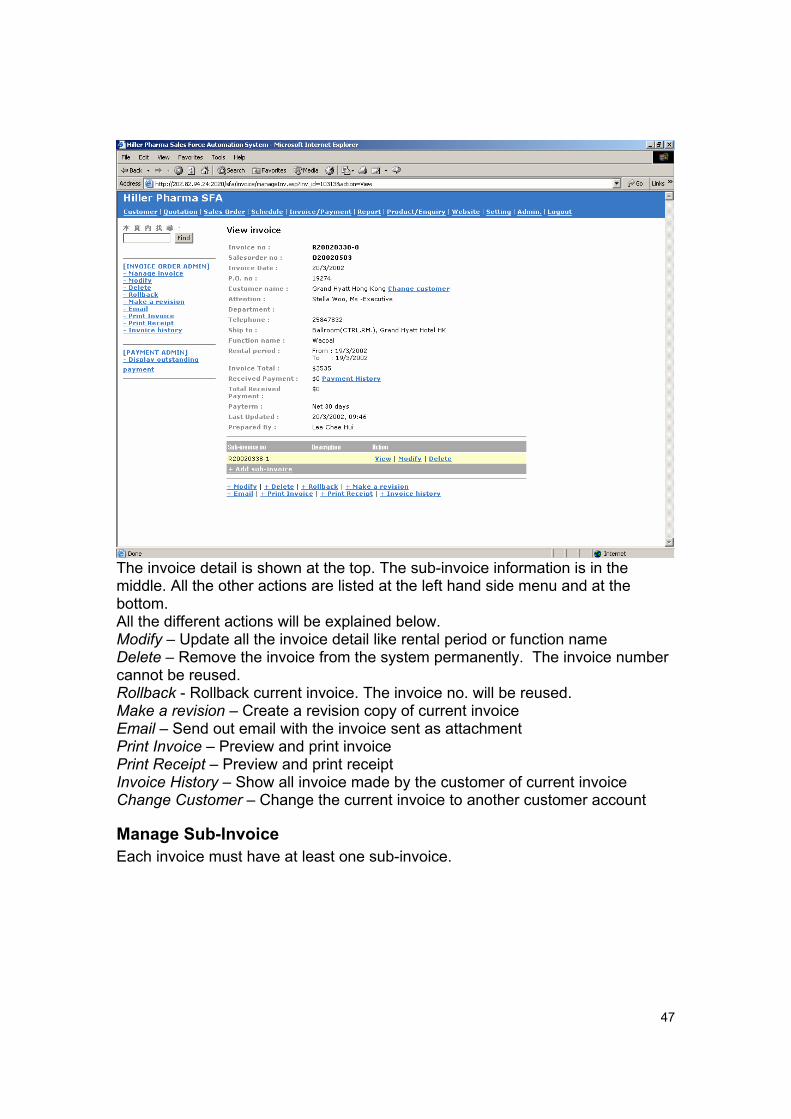
The invoice detail is shown at the top. The sub-invoice information is in the middle. All the other actions are listed at the left hand side menu and at the bottom. All the different actions will be explained below. Modify – Update all the invoice detail like rental period or function name Delete – Remove the invoice from the system permanently. The invoice number cannot be reused. Rollback - Rollback current invoice. The invoice no. will be reused. Make a revision – Create a revision copy of current invoice Email – Send out email with the invoice sent as attachment Print Invoice – Preview and print invoice Print Receipt – Preview and print receipt Invoice History – Show all invoice made by the customer of current invoice Change Customer – Change the current invoice to another customer account
Manage Sub-Invoice Each invoice must have at least one sub-invoice.
48
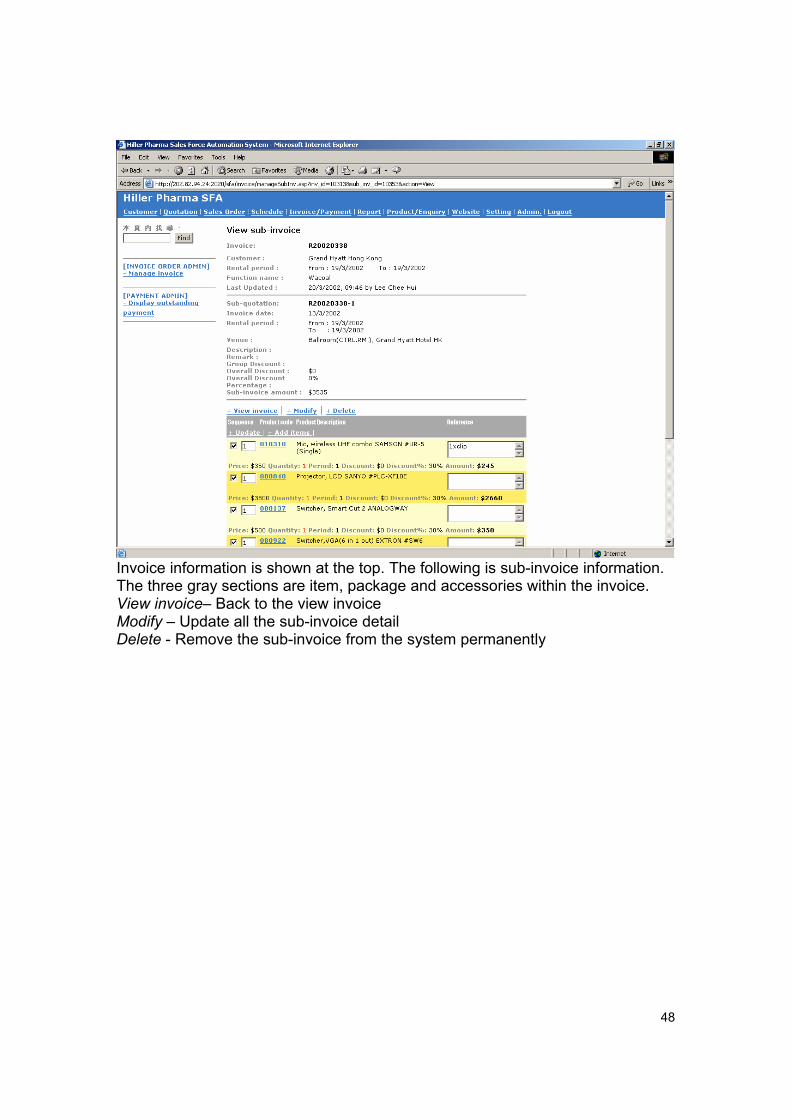
Invoice information is shown at the top. The following is sub-invoice information. The three gray sections are item, package and accessories within the invoice. View invoice– Back to the view invoice Modify – Update all the sub-invoice detail Delete - Remove the sub-invoice from the system permanently
49
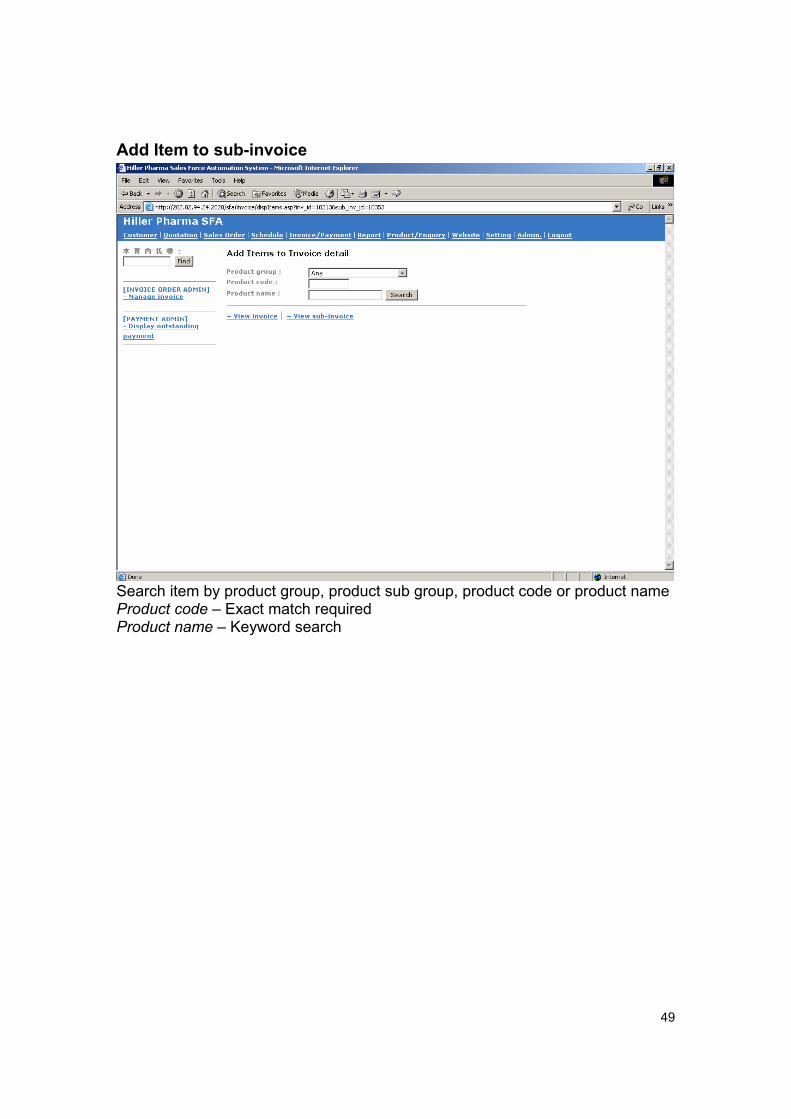
Add Item to sub-invoice
Search item by product group, product sub group, product code or product name Product code – Exact match required Product name – Keyword search

50
Tick the checkbox and fill in all the detail in order to add the item. Click “Update” to commit the change. Change name – Rename the item and add to invoice Quotation List – List all the quotation that has included the selected item Rental Status – List all the sales order that has included the selected item Rental History – List all the invoices that has included the selected item Show All – Open quotation list, rental status and rental history at the same time Group Discount – Set the group discount for the specified product group for this sub invoice.
51
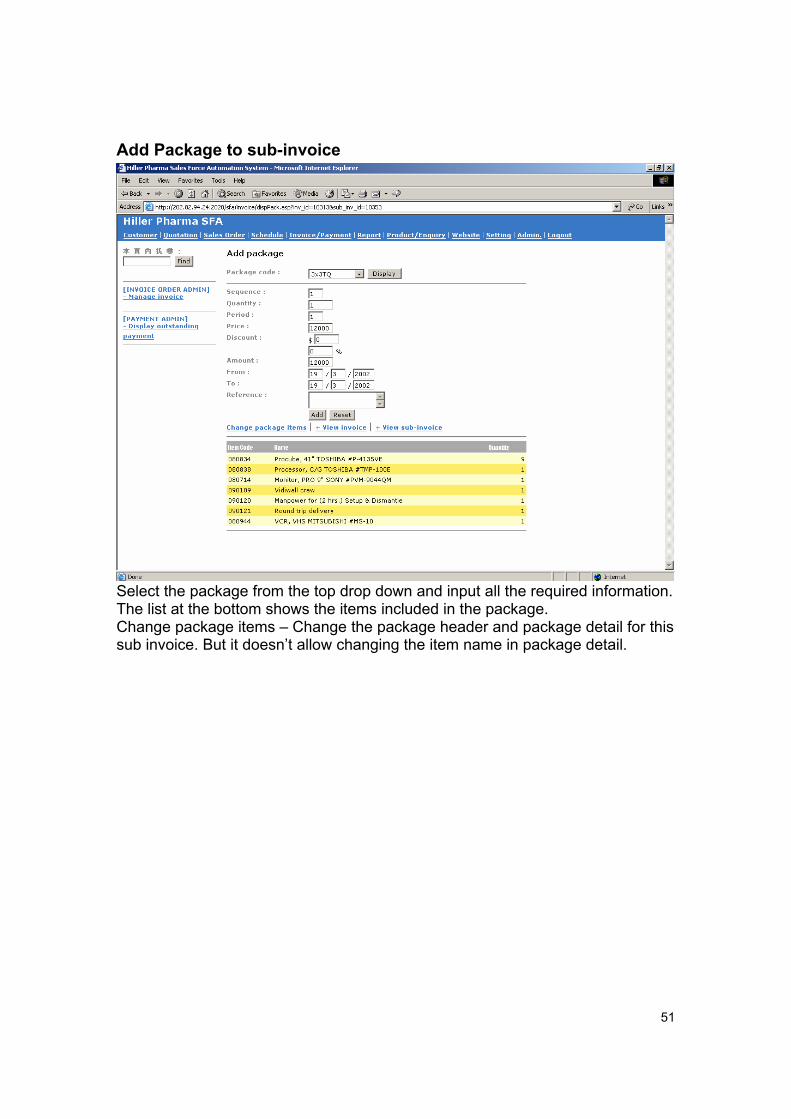
Add Package to sub-invoice
Select the package from the top drop down and input all the required information. The list at the bottom shows the items included in the package. Change package items – Change the package header and package detail for this sub invoice. But it doesn’t allow changing the item name in package detail.

52
Add Accessories to sub-invoice
Select the accessories from the top drop down and input all the required information.
53
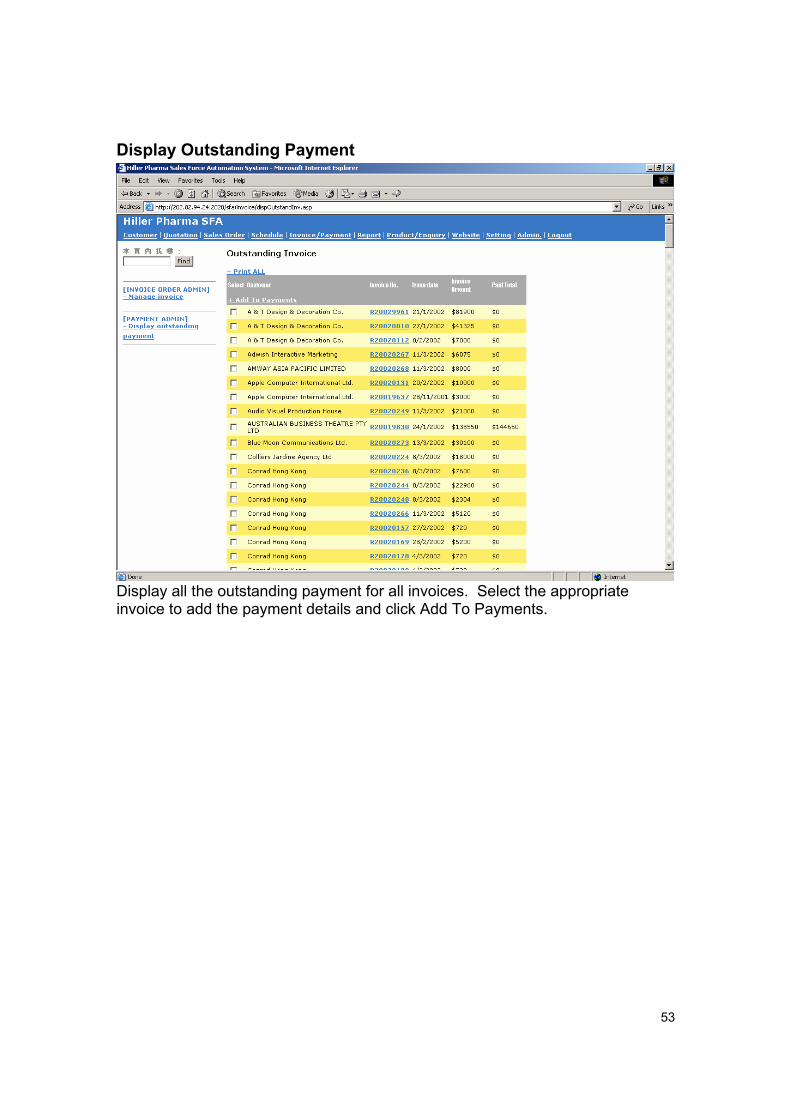
Display Outstanding Payment
Display all the outstanding payment for all invoices. Select the appropriate invoice to add the payment details and click Add To Payments.
54
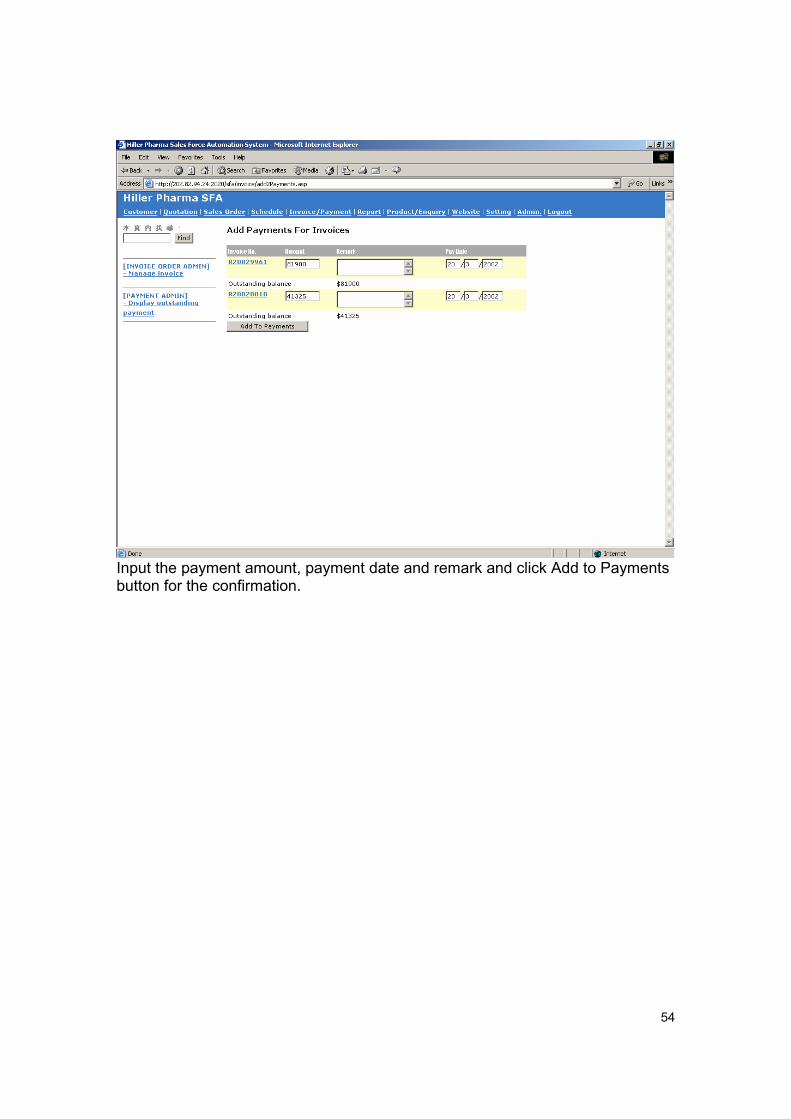
Input the payment amount, payment date and remark and click Add to Payments button for the confirmation.
55
Report
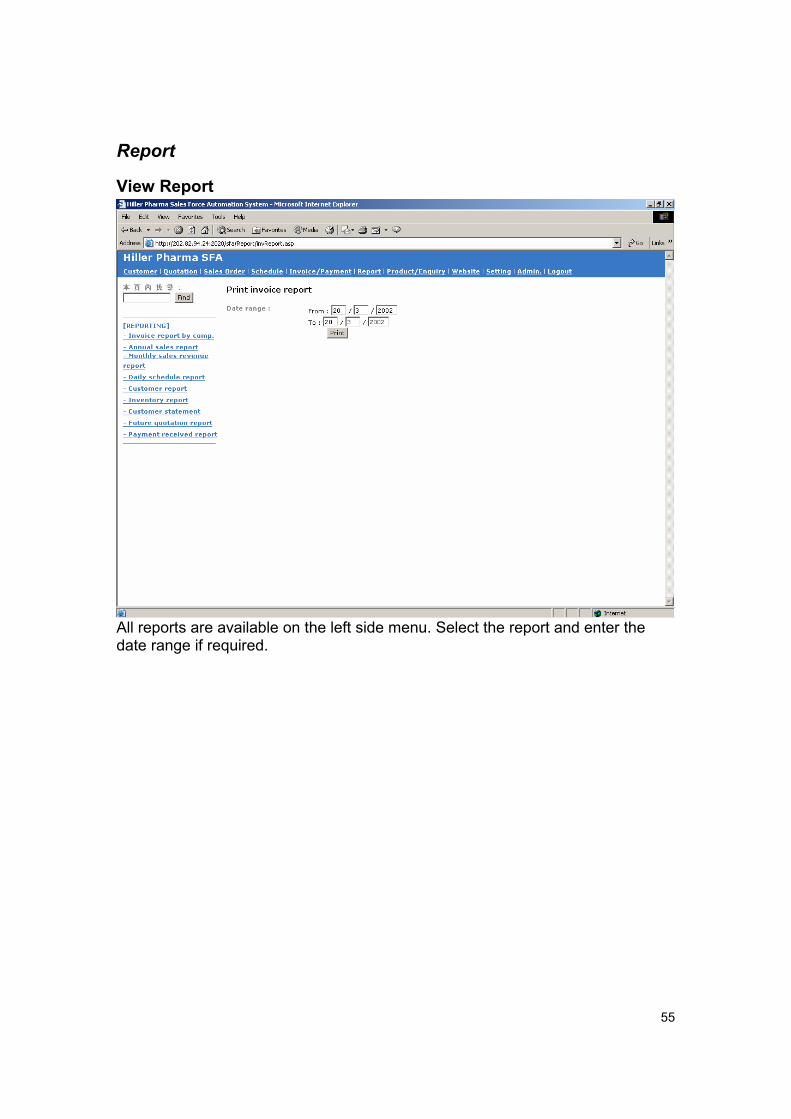
View Report
All reports are available on the left side menu. Select the report and enter the date range if required.
56
Product/Enquiry
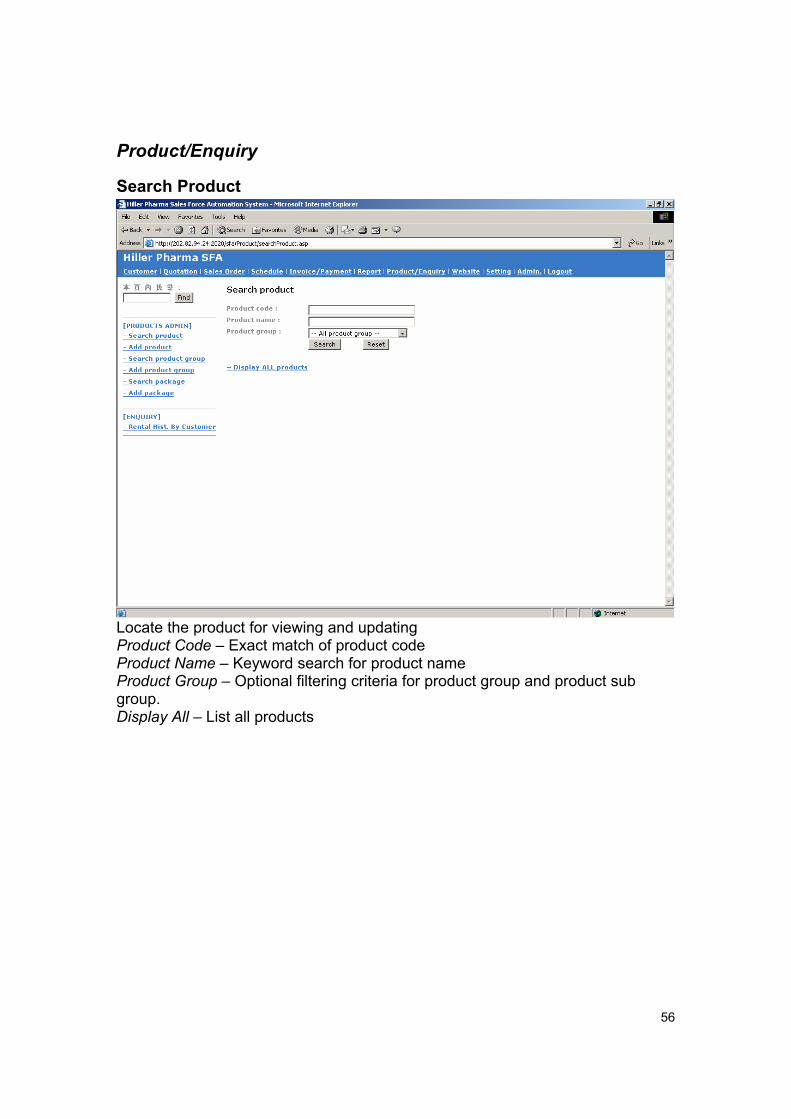
Search Product
Locate the product for viewing and updating Product Code – Exact match of product code Product Name – Keyword search for product name Product Group – Optional filtering criteria for product group and product sub group. Display All – List all products

57
Search Product Result
View Detail – Display detail of selected product Modify – Update detail of selected product Delete – Delete the product from system View Items – Display list of individual items of selected product Add Item – Add individual item of selected product Quotation List – List all the quotation that has included the selected item Rental Status – List all the sales order that has included the selected item Rental History – List all the invoices that has included the selected item
58
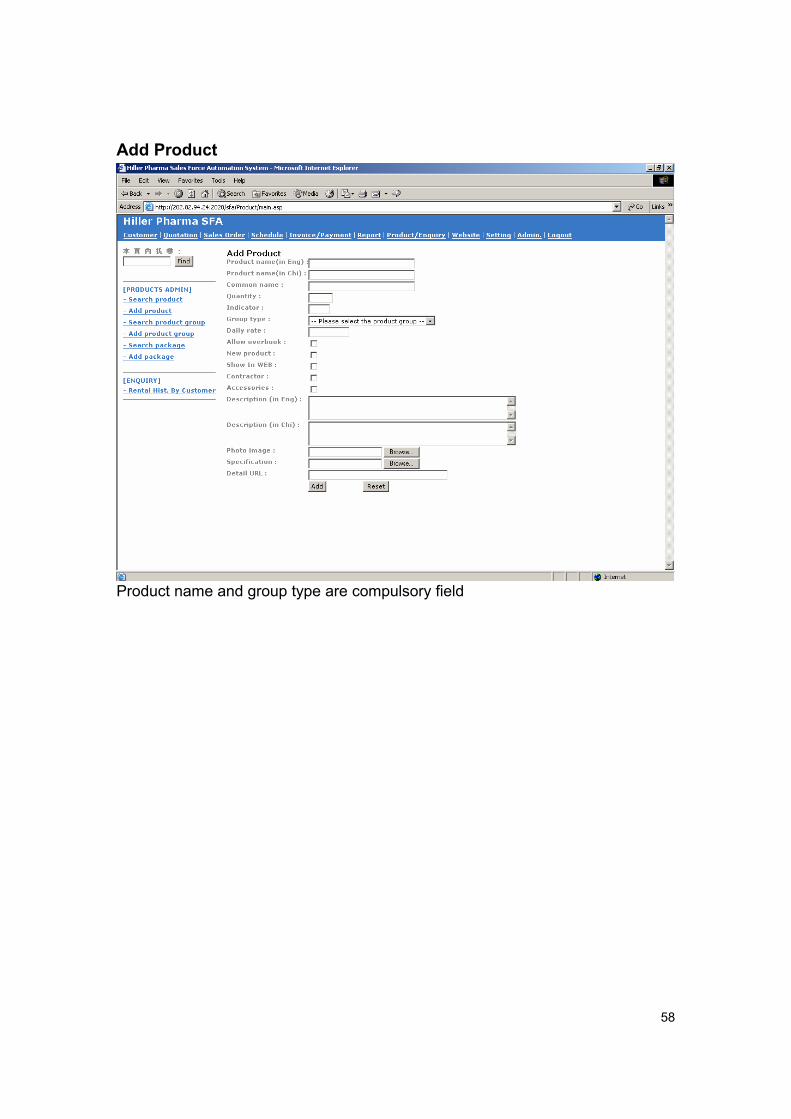
Add Product
Product name and group type are compulsory field
59
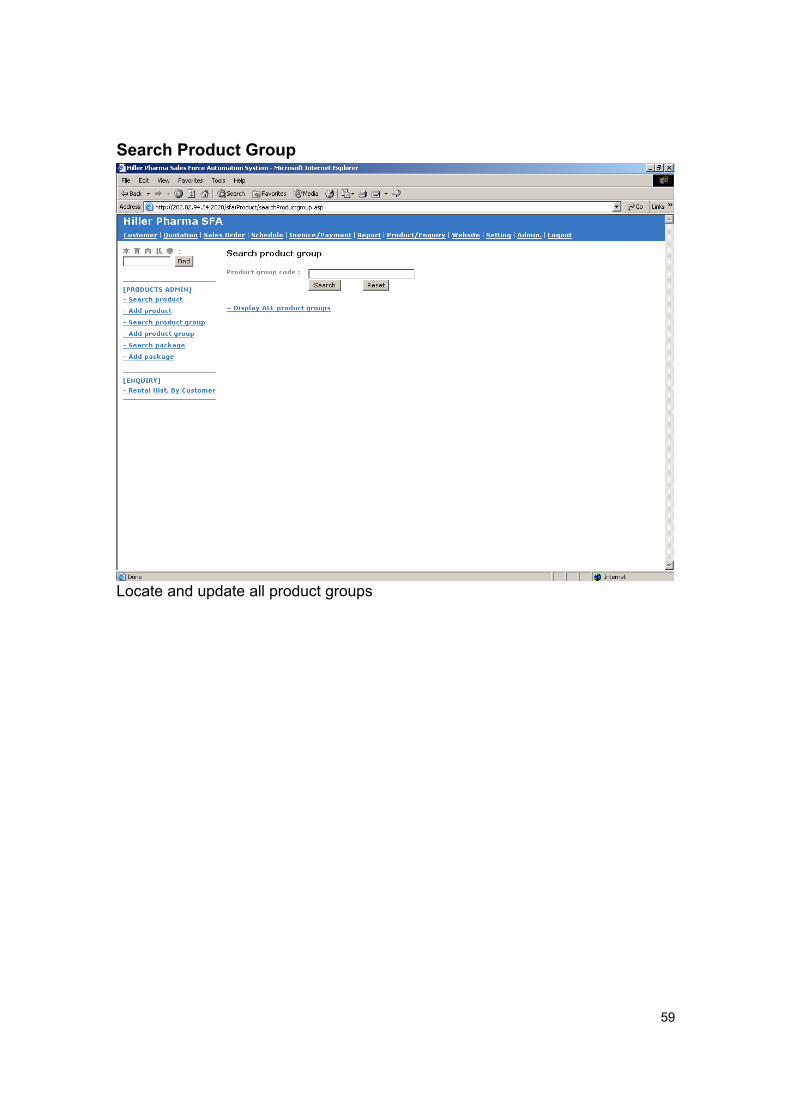
Search Product Group
Locate and update all product groups
60
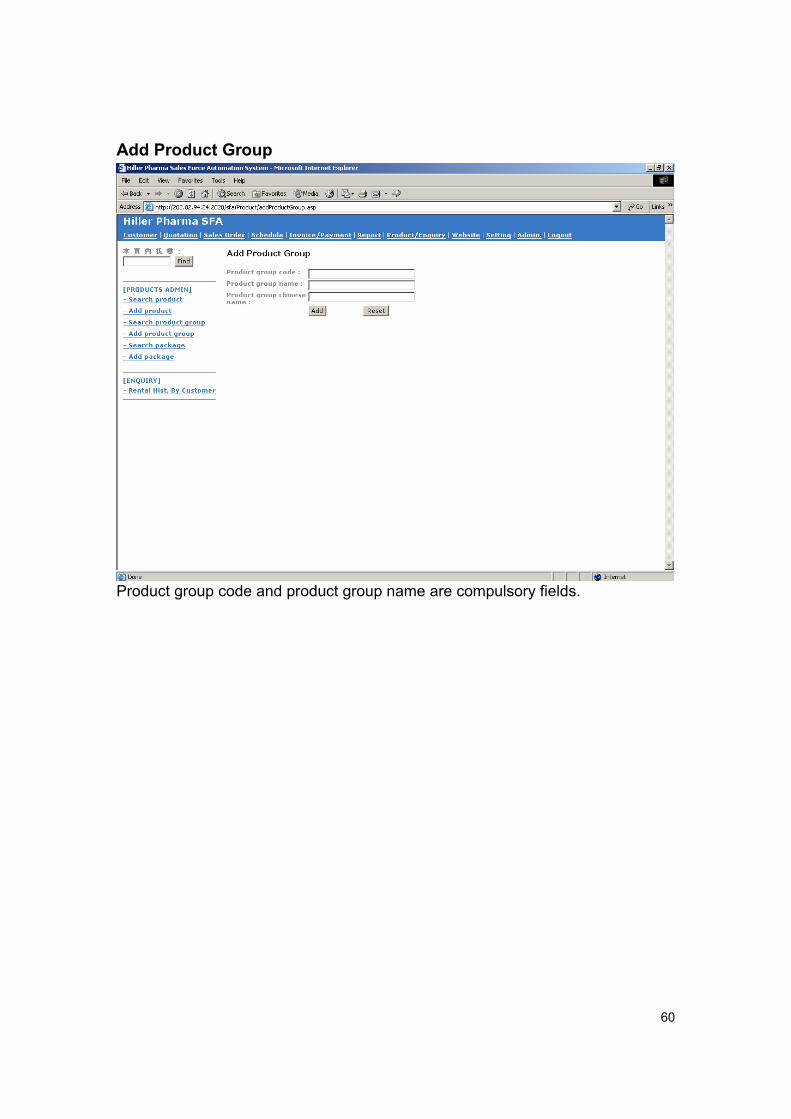
Add Product Group
Product group code and product group name are compulsory fields.
61
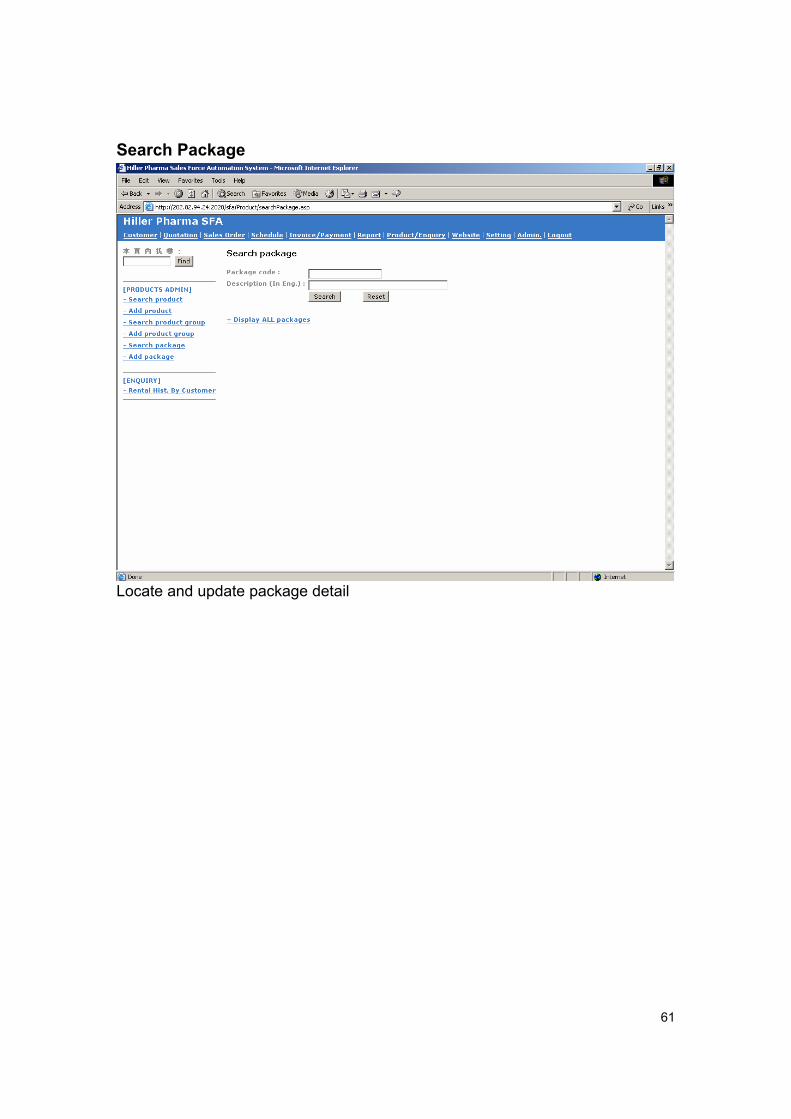
Search Package
Locate and update package detail
62
Search Package Result
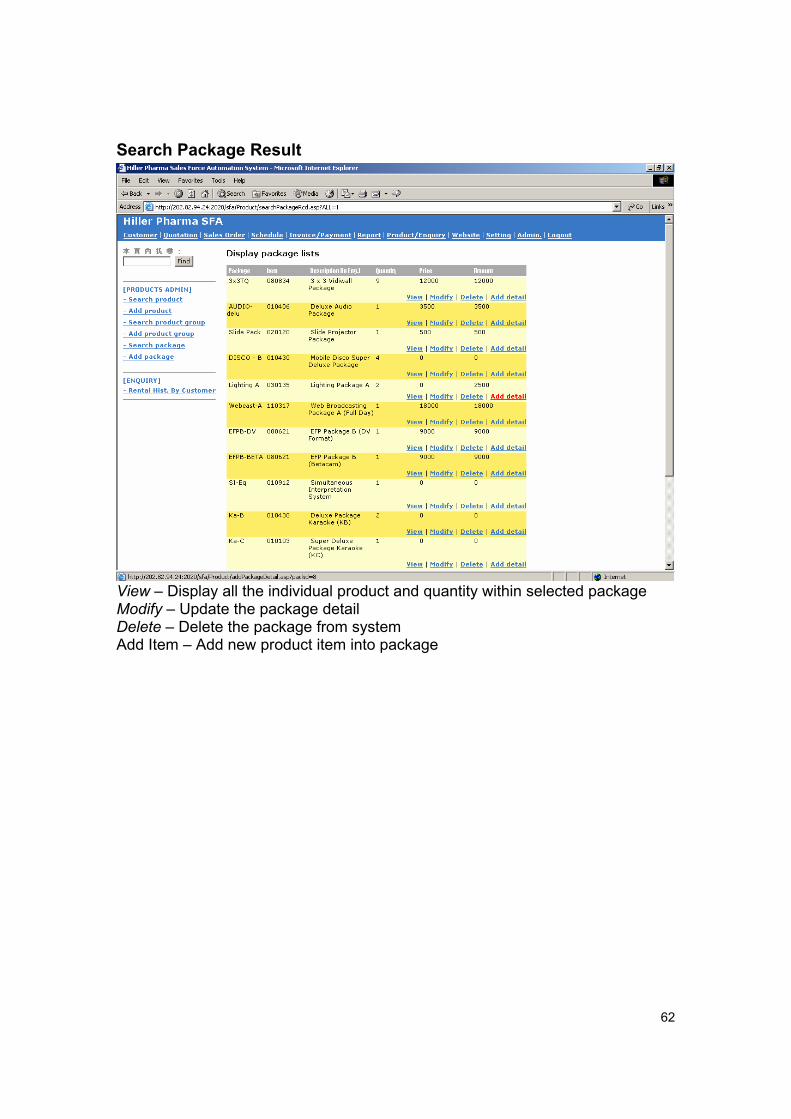
View – Display all the individual product and quantity within selected package Modify – Update the package detail Delete – Delete the package from system Add Item – Add new product item into package

63
Add Package
Package code and description in English are compulsory fields.
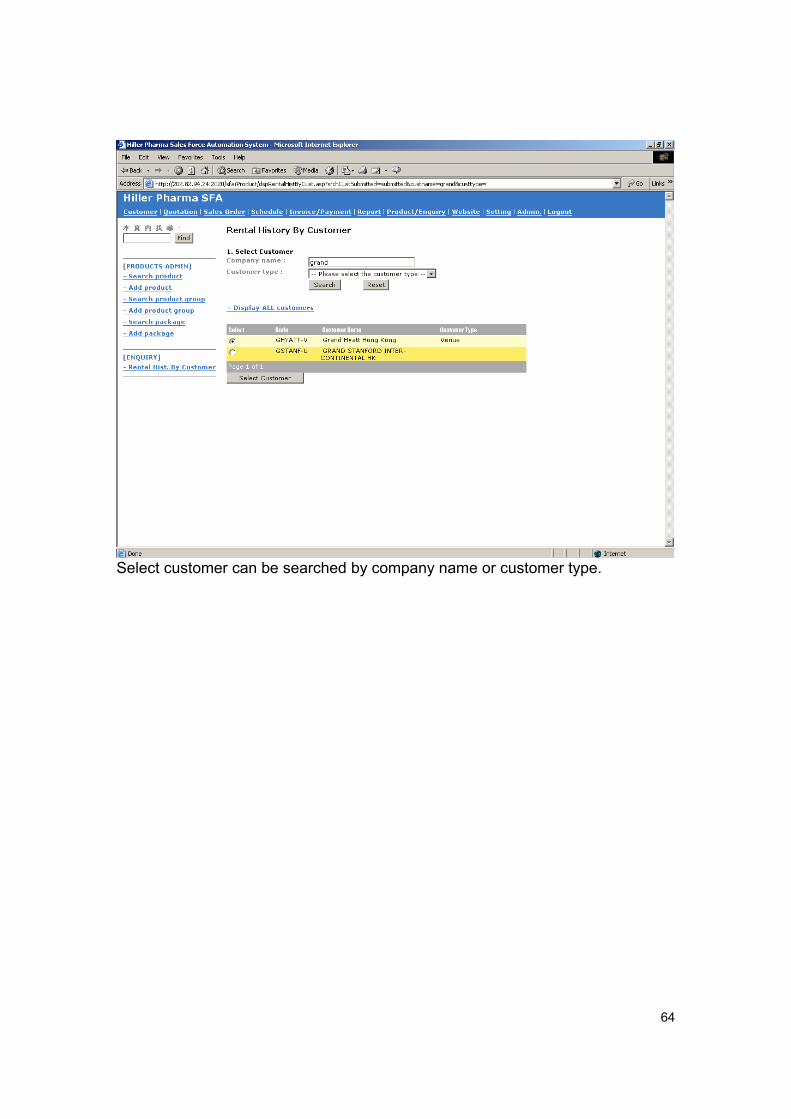
Rental History By Customer Search rental history based on the customer and specified product. The first step is to select customer and then select product.
64
Select customer can be searched by company name or customer type.
65
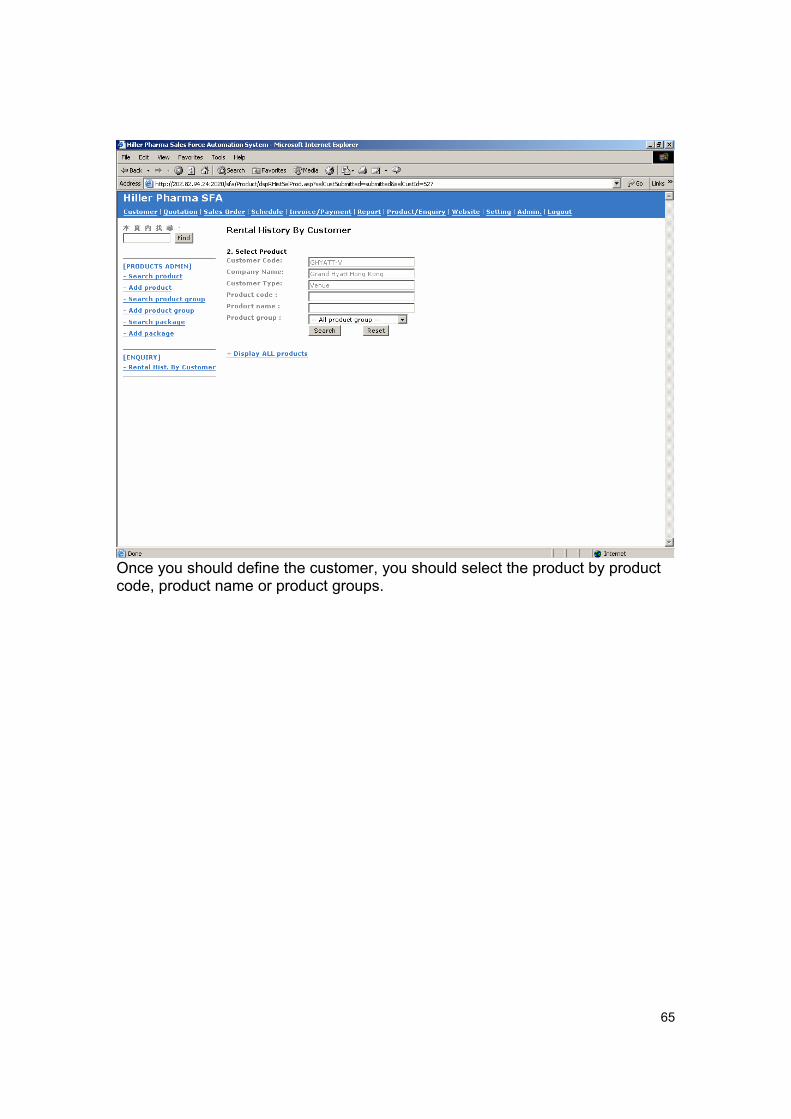
Once you should define the customer, you should select the product by product code, product name or product groups.
66
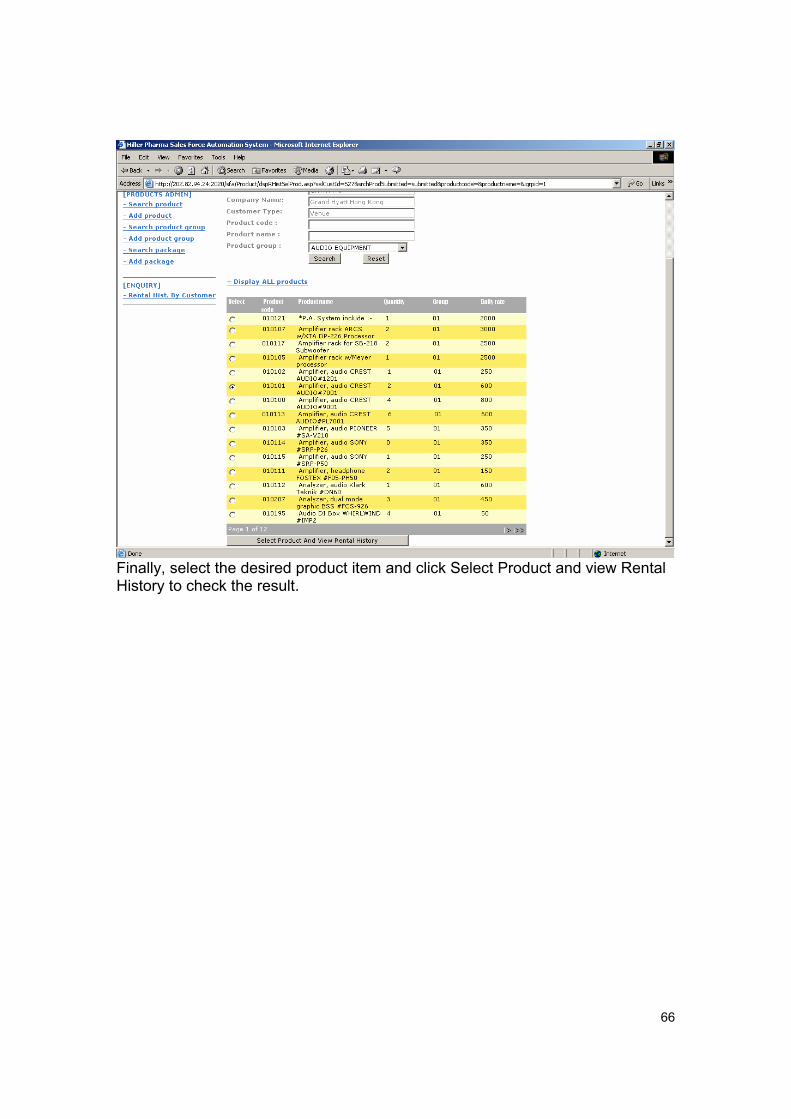
Finally, select the desired product item and click Select Product and view Rental History to check the result.
67
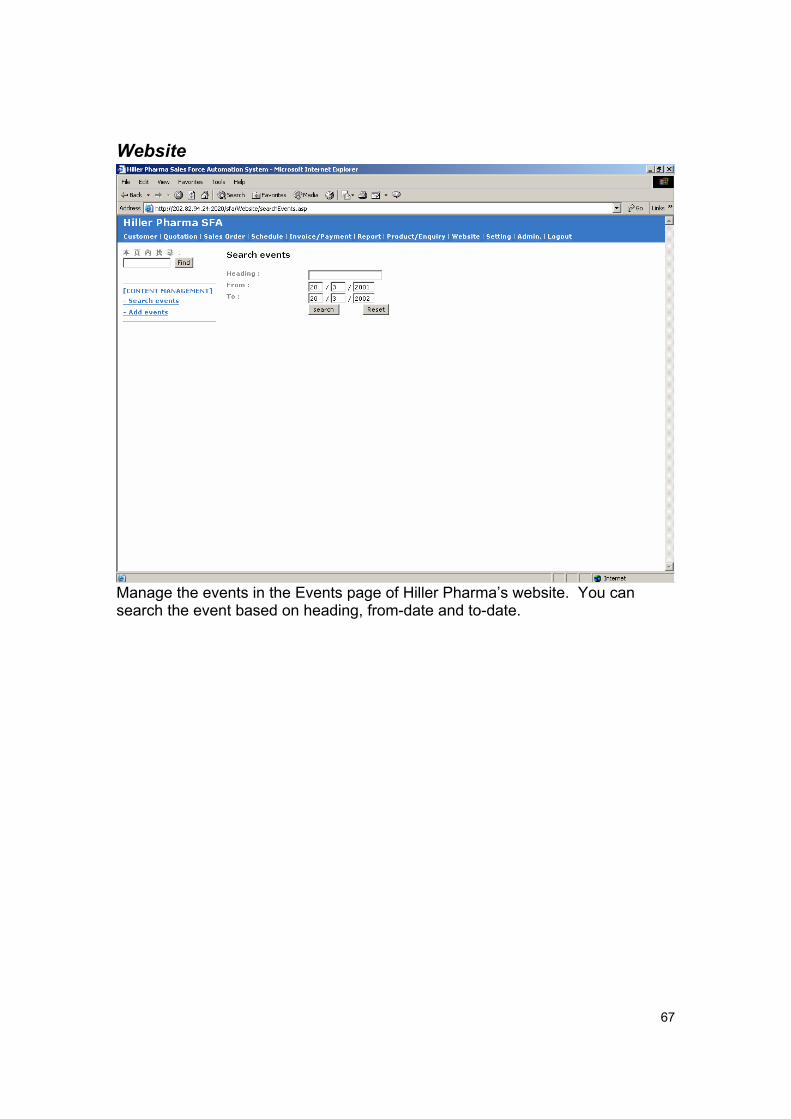
Website
Manage the events in the Events page of Hiller Pharma’s website. You can search the event based on heading, from-date and to-date.
68
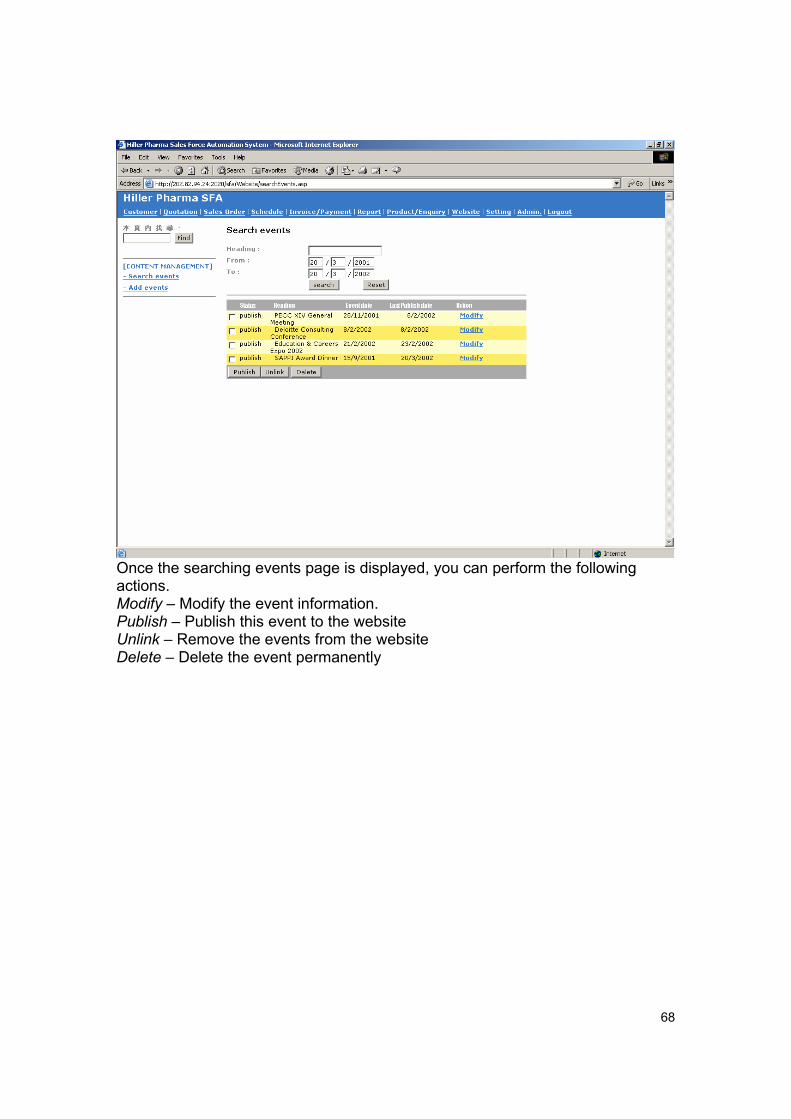
Once the searching events page is displayed, you can perform the following actions. Modify – Modify the event information. Publish – Publish this event to the website Unlink – Remove the events from the website Delete – Delete the event permanently
69
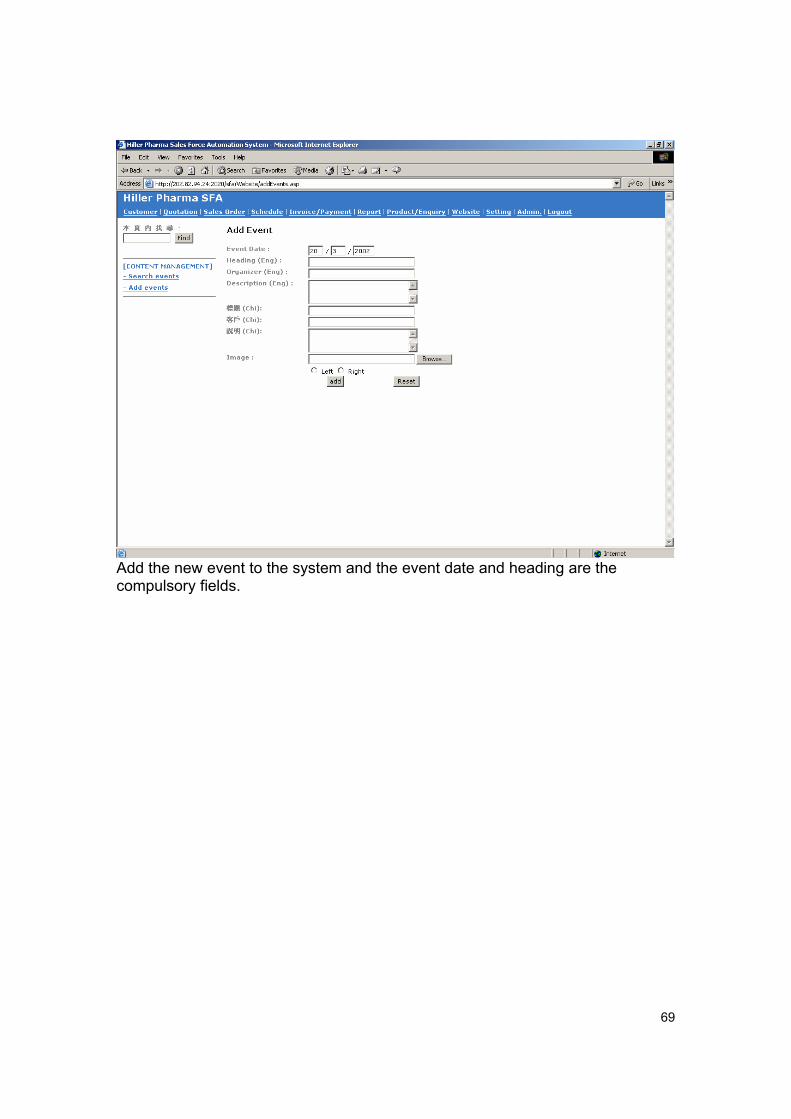
Add the new event to the system and the event date and heading are the compulsory fields.

70
Setting
Search Remark
List and update all the system wide remark
71
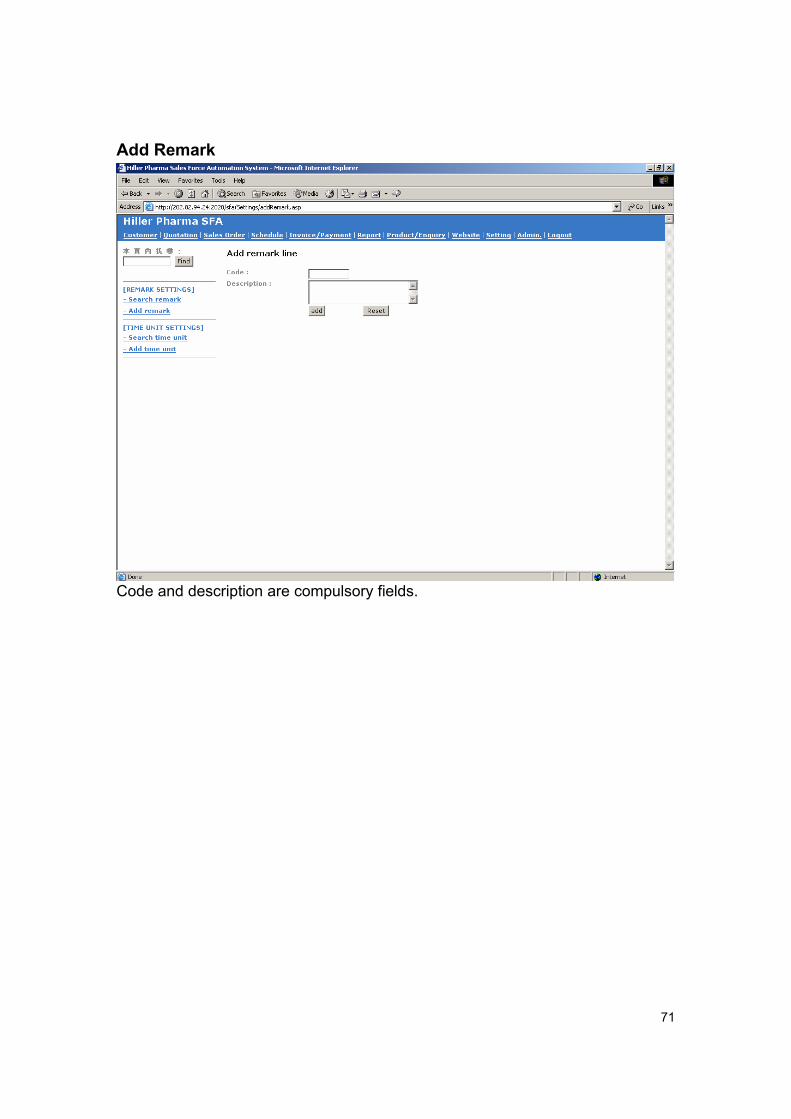
Add Remark
Code and description are compulsory fields.
72
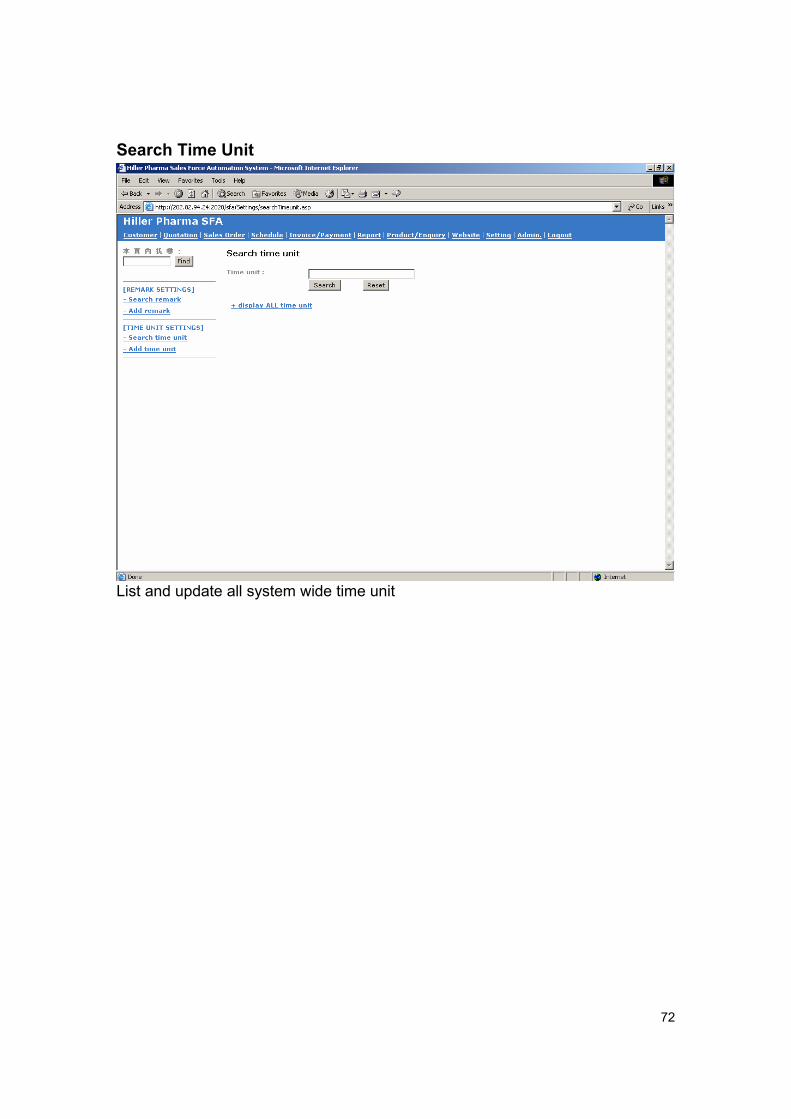
Search Time Unit
List and update all system wide time unit
73
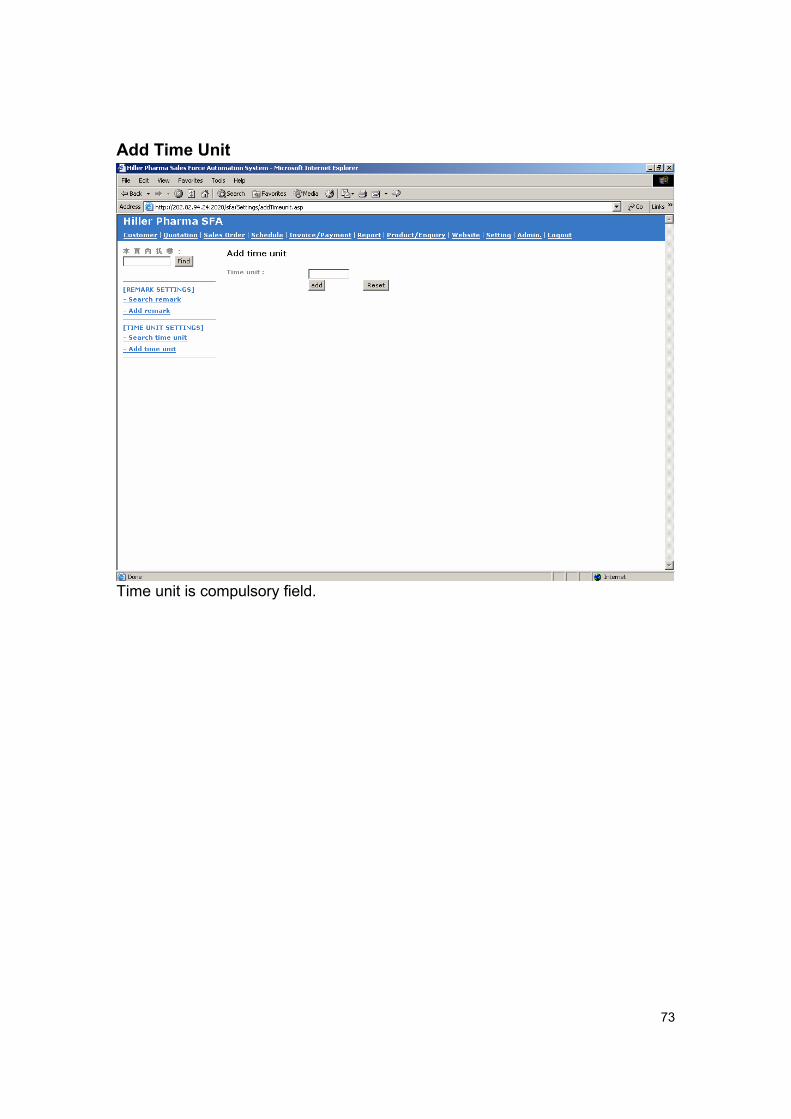
Add Time Unit
Time unit is compulsory field.
74
Admin
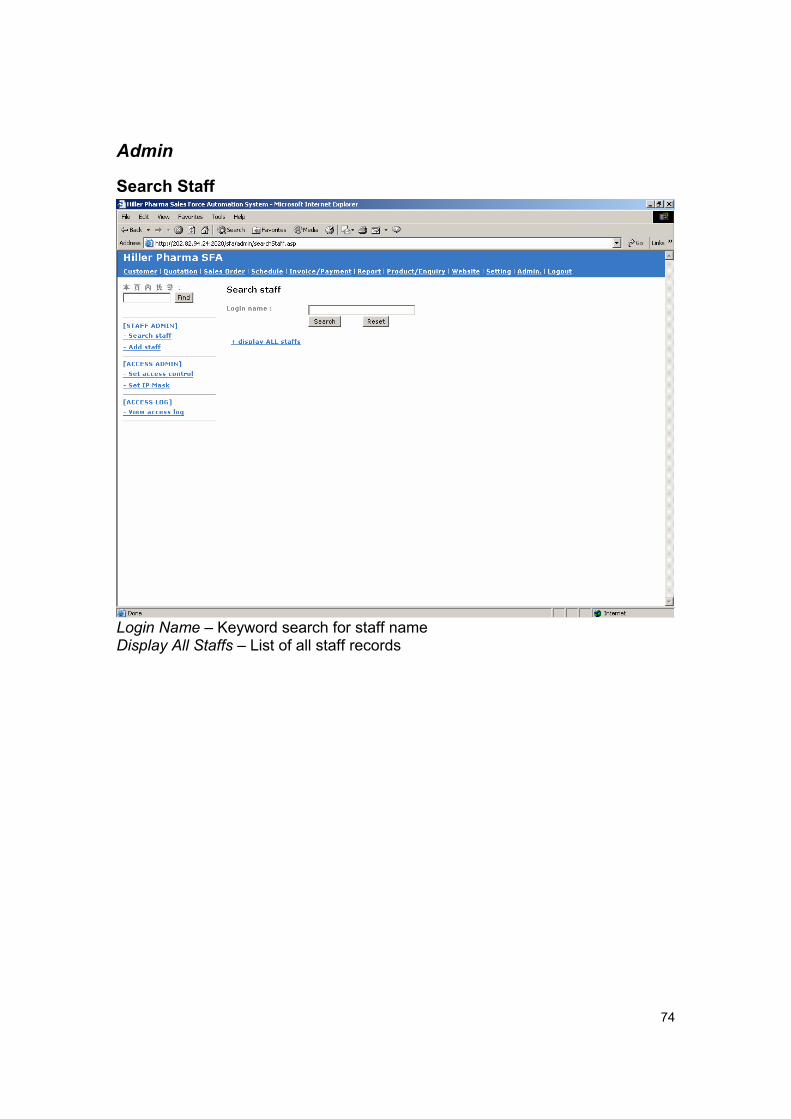
Search Staff
Login Name – Keyword search for staff name Display All Staffs – List of all staff records
75
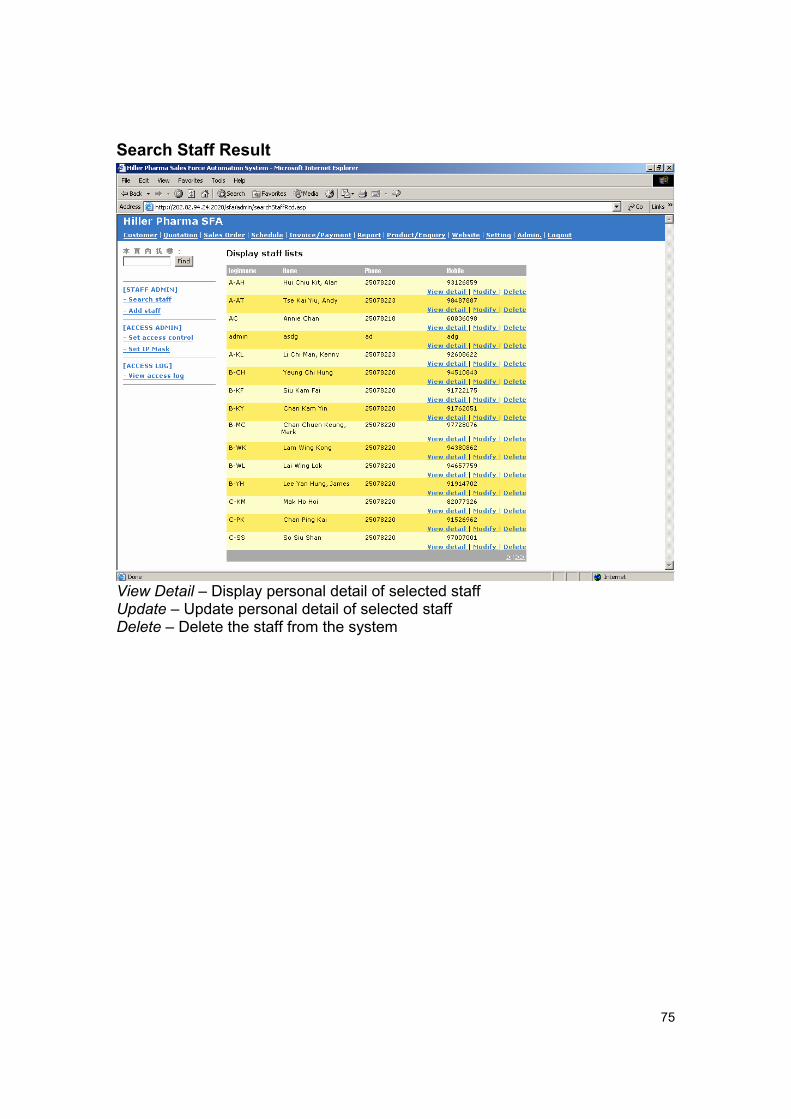
Search Staff Result
View Detail – Display personal detail of selected staff Update – Update personal detail of selected staff Delete – Delete the staff from the system
76
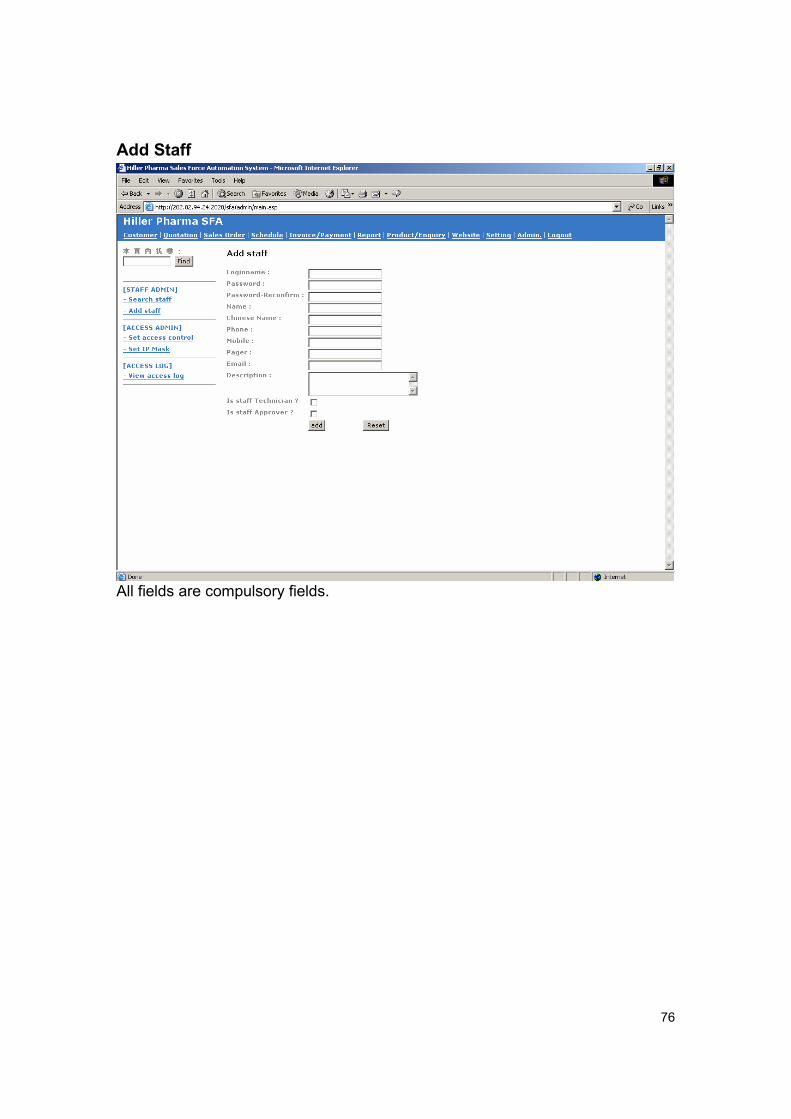
Add Staff
All fields are compulsory fields.

77
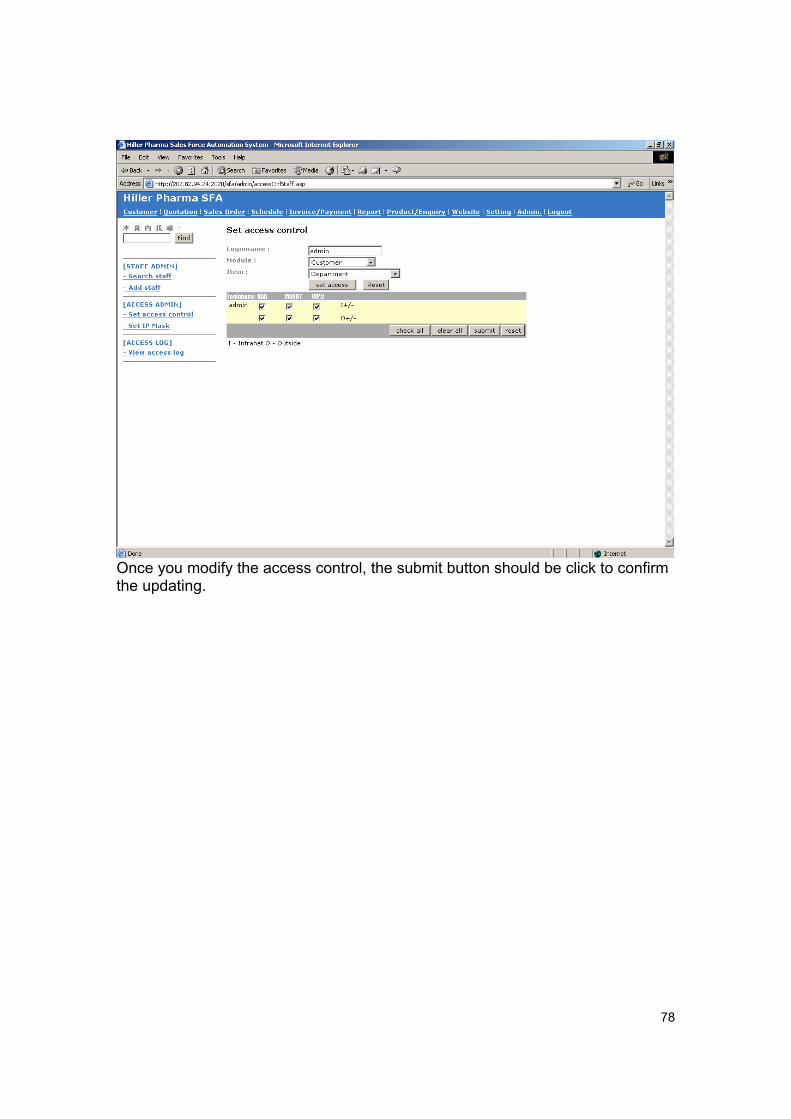
Set Access Control
You should specify the login name before assigning the access control of the staff. Also, you should specify the module and the item that you want to set.
78
Once you modify the access control, the submit button should be click to confirm the updating.
79
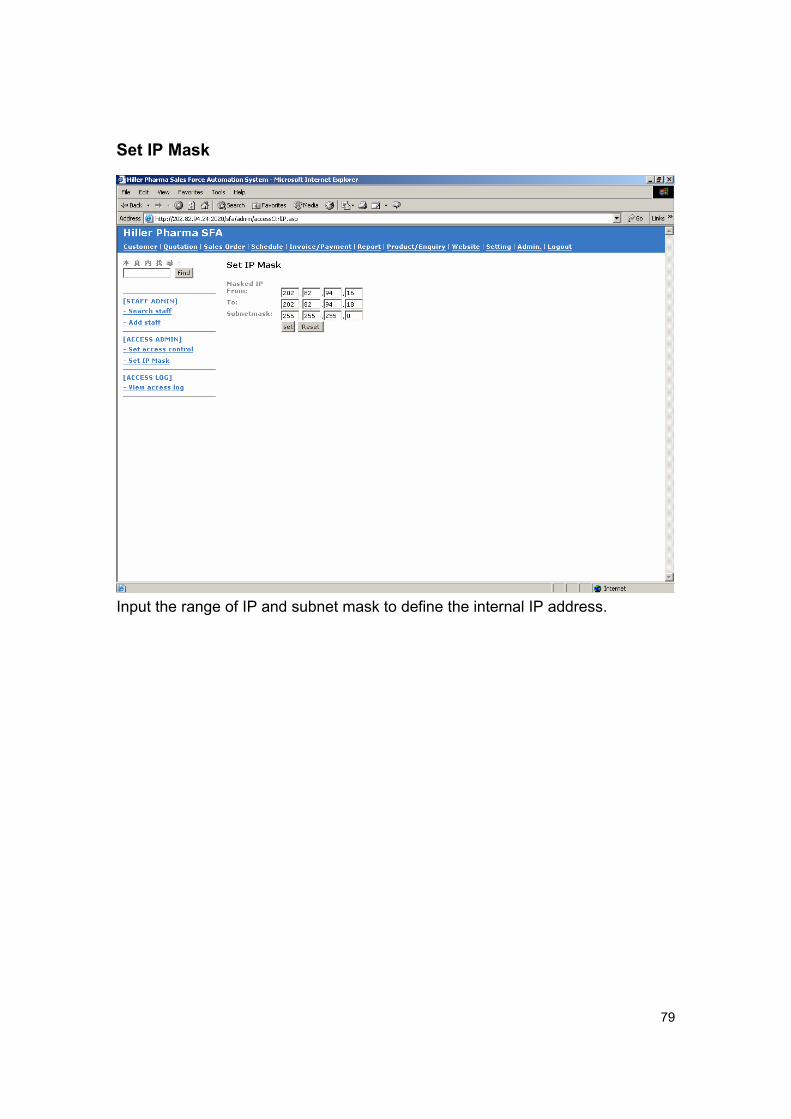
Set IP Mask
Input the range of IP and subnet mask to define the internal IP address.
80
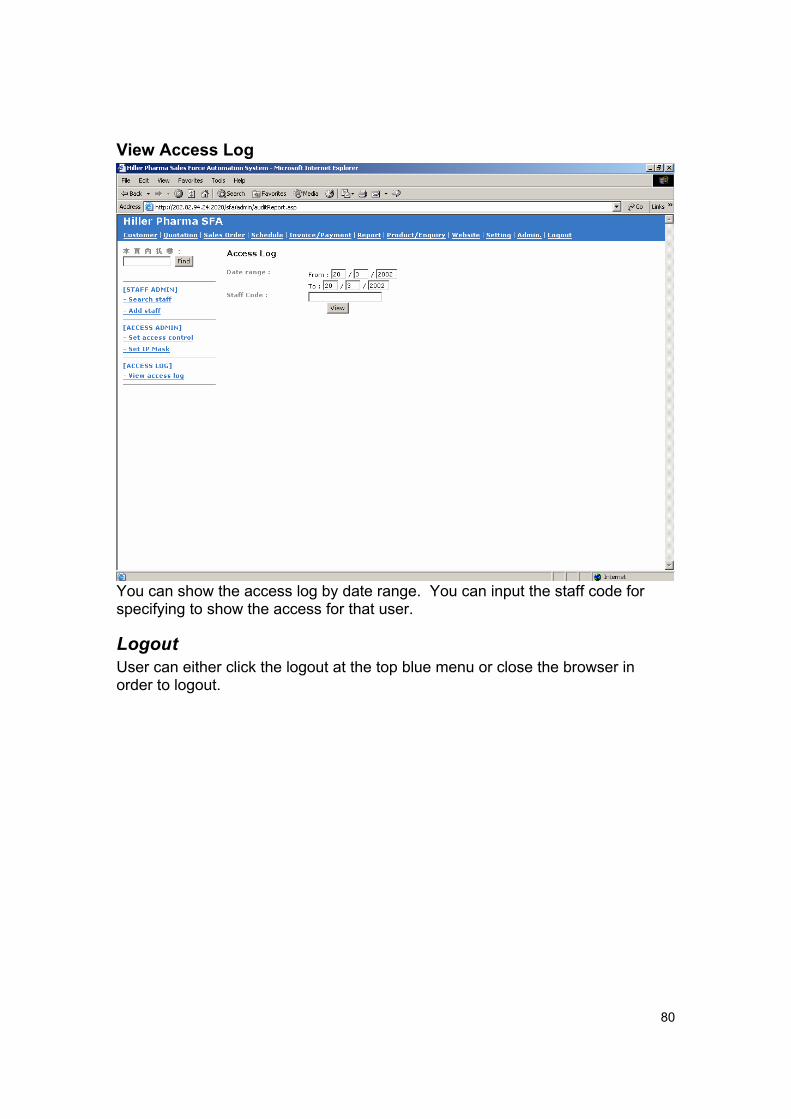
View Access Log
You can show the access log by date range. You can input the staff code for specifying to show the access for that user.
Logout User can either click the logout at the top blue menu or close the browser in order to logout.