Embed Size (px)
Citation preview
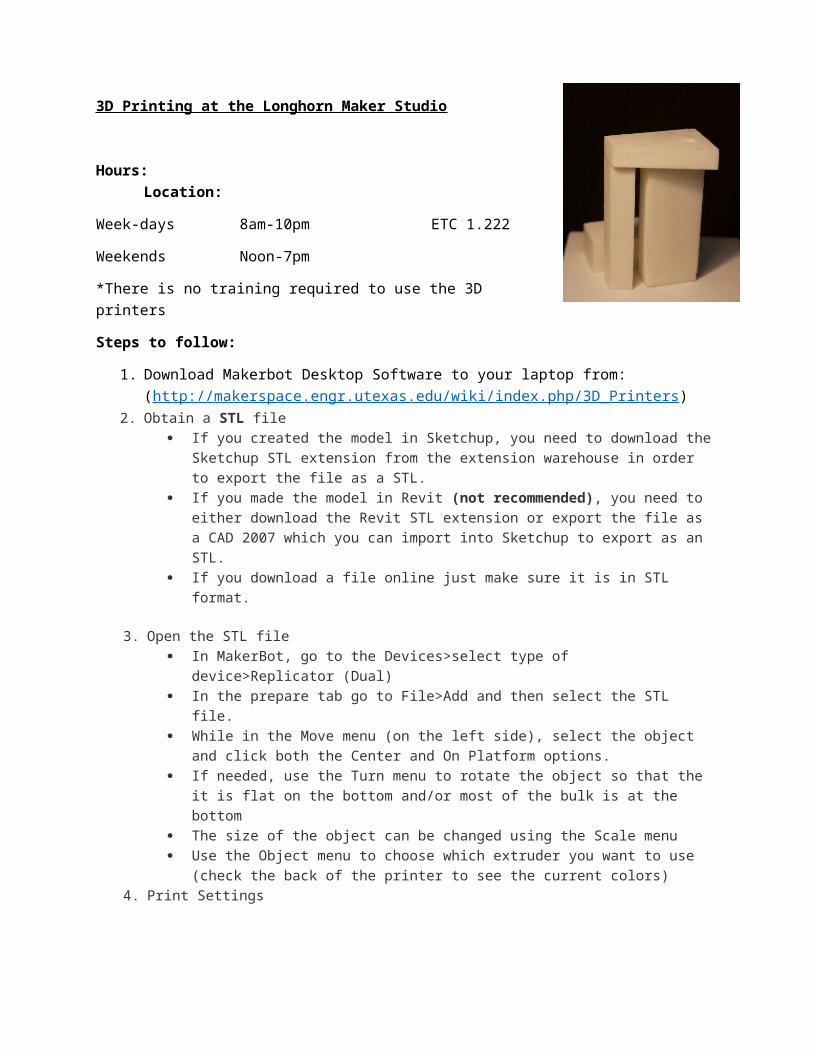
3D Printing at the Longhorn Maker Studio
Hours: Location:
Week-days 8am-10pm ETC 1.222
Weekends Noon-7pm
*There is no training required to use the 3D printers
Steps to follow:
1. Download Makerbot Desktop Software to your laptop from: (http://makerspace.engr.utexas.edu/wiki/index.php/3D_Printers)
2. Obtain a STL file If you created the model in Sketchup, you need to download the Sketchup STL
extension from the extension warehouse in order to export the file as a STL. If you made the model in Revit (not recommended), you need to either download
the Revit STL extension or export the file as a CAD 2007 which you can import into Sketchup to export as an STL.
If you download a file online just make sure it is in STL format.
3. Open the STL file In MakerBot, go to the Devices>select type of device>Replicator (Dual) In the prepare tab go to File>Add and then select the STL file. While in the Move menu (on the left side), select the object and click both the Center
and On Platform options. If needed, use the Turn menu to rotate the object so that the it is flat on the bottom
and/or most of the bulk is at the bottom The size of the object can be changed using the Scale menu Use the Object menu to choose which extruder you want to use (check the back of
the printer to see the current colors)4. Print Settings
Raft- select color-matched if you want to use the raft. It will help the object stick to the plate if it has thin features
Support- select color-matched if supports are needed for your object. The supports are necessary if the object has any overhanging segments
i. Infill-This determines how solid the part will be; generally 10%ii. Shell-This determines how many layers will be at the edges; use two unless
the part has tall, slender pieces in which you should use 3 Since ABS is the only plastic offered in the studio the extruders should be at 240°C
and the plate should be at 110°C5. Export Print File
Save the file to the SD card in the printer.
6. Prepare the printer Insert the SD card into the printer Select “Print from SD” on the main menu Choose the print file from the menu
In order to produce a decent 3D model you must consider the following:
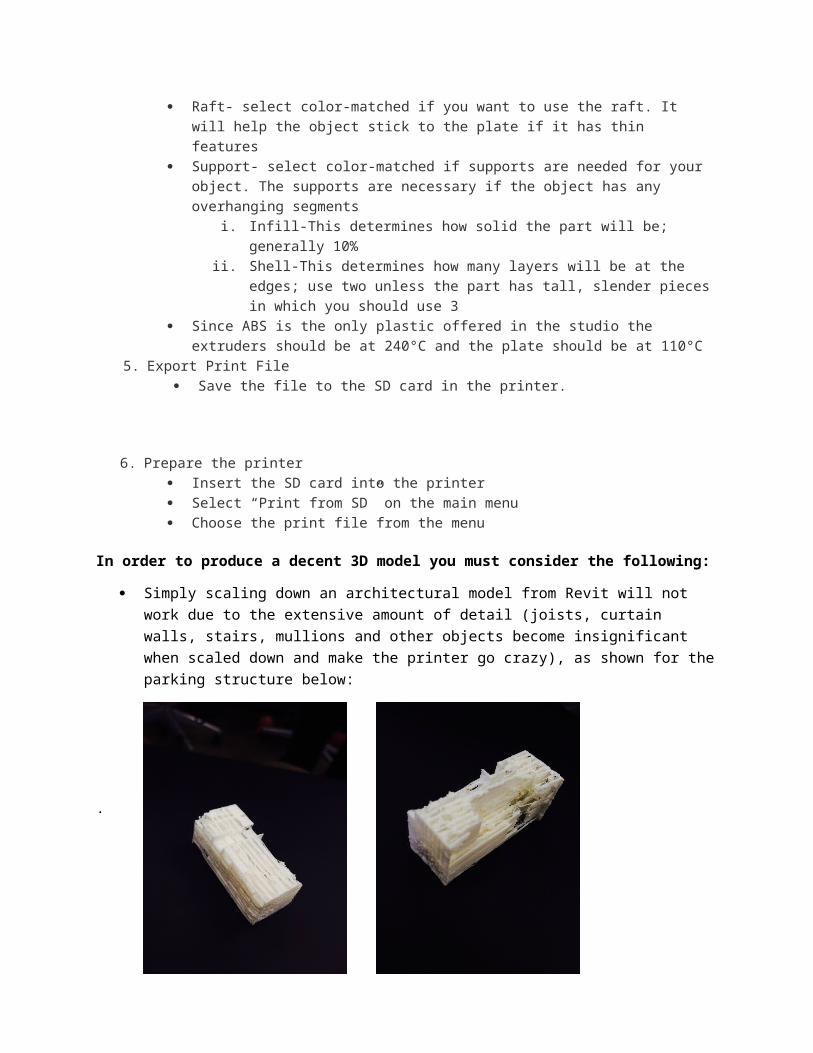
Simply scaling down an architectural model from Revit will not work due to the extensive amount of detail (joists, curtain walls, stairs, mullions and other objects become insignificant when scaled down and make the printer go crazy), as shown for the parking structure below:
.
Revit files may be exported into Sketchup to be cleaned up (simplified) but for best quality, 3D printed models should be modeled for the purpose of 3D printing
Make sure you have enough time to finish printing before the studio closes because printers can’t be left running over night and there is no way pick up where you left off.
If using Sketchup as your modeling software, Models must be “Solid” to be 3D printable, meaning all faces should be closed. To make a “solid” object, select the object and make it a component. To make sure the component is solid, right click on the component and view the entity info. If there is a volume displayed in the entity info it means your object is solid, if no volume is displayed it means your object has defects. Defects include but are not limited to stray edges, holes and internal faces.
For additional questions visit the makerspace website which can be found by simply googling “ut makerspace” or ask the TA’s in the studio, they are very knowledgeable and can walk you through any of the processes.


![CONCRETE PRODUCTS · some of the advantages to using precast stairs and landings. T-]OISTS Quinn T-joists act as an alternative solution when site restrictions prohibit the use of](https://img.pdfslide.net/doc/110x75/5f93ee1969391d7d111cad93/concrete-products-some-of-the-advantages-to-using-precast-stairs-and-landings-t-oists.jpg)