Embed Size (px)
Citation preview
Drive Vaccine PC Restore Plus
Remote Management Console
User Guide
August 14, 2007Version 8.1

Remote Management Console User Guide – DV PCR+
Table of ContentsLegal Notices...............................................................................................................4
All Information Subject To Change.........................................................................4Trademarks or Service Marks.................................................................................4Copyright...............................................................................................................4License and Warranty............................................................................................4What You May Do...................................................................................................4What You May Not Do............................................................................................4Limited Warranty...................................................................................................4Disclaimer of Damages..........................................................................................5
Introduction..................................................................................................................6What is DV PCR+?.....................................................................................................6Benefits of DV PCR+.................................................................................................6What is the Remote Management Console?..............................................................6
What is the use for a Remote Management Console? ...........................................6Remote Management Console (RMC) ....................................................................7Remote Management Server Service.....................................................................7Highlights...............................................................................................................7
System Requirements..................................................................................................8DV PCR+ RMC system requirements:........................................................................8INSTALL.....................................................................................................................8
Setup RMSS and RMC On Different Computers......................................................9Uninstall..................................................................................................................10Console registration................................................................................................10
Managing the RMSS...................................................................................................11Start and Stop RMSS...............................................................................................11Changing the RMSS Serice Port...............................................................................12
Managing The RMC Console.......................................................................................13Tasks You MAy Manage with The RMC console:......................................................13
Customize Console View......................................................................................13Large Icon View:...............................................................................................13Detailed View:...................................................................................................14
Edit Console Administrators ................................................................................14Change console administrator password..........................................................14Create a new console administrator.................................................................14Delete a console administrator.........................................................................14
Edit Client Groups................................................................................................15System Groups....................................................................................................15Custom Groups....................................................................................................15
Create new custom groups...............................................................................15Rename/Delete custom groups.........................................................................15Add/remove client PCs to/from custom groups.................................................17Import/Export custom groups settings..............................................................17
Task Scheduler....................................................................................................17Console Logs........................................................................................................18
Manage DV PCR+ Clients........................................................................................19Restore Clients to Baseline..................................................................................19Update the Client’s Baseline................................................................................20Restart Clients.....................................................................................................20Shutdown Clients.................................................................................................20
Remote Management Console User Guide – DV PCR+
Wakeup Clients....................................................................................................20Activate DV PCR+ Clients....................................................................................20
Activating DV PCR+ clients over an Internet connection..................................20Activating DV PCR+ clients without an Internet connection.............................22
Support Options.........................................................................................................23
Remote Management Console User Guide – DV PCR+
LEGAL NOTICESAll Information Subject To Change
The information contained in this document is subject to change without notice. Horizon Datasys Inc. assumes no responsibility or obligation of any kind for any errors contained herein or in connection with the furnishing, performance, or use of this document.Trademarks or Service Marks
Horizon Datasys Inc. holds all the registered trademarks Drive Vaccine™, Drive Vaccine PC Restore Plus™, Drive Vaccine PC Restore +™ and DV PCR+ are all trademarks of in the U.S.A. Other brands and products are trademarks of their respective holders.Copyright
This document is a copyright © 2007 of Horizon Datasys Inc, with all rights reserved. No part of this document may be reproduced in any form, including photocopying or translation to another language, without the prior written consent of Horizon Datasys Inc.License and Warranty
The software that accompanies this license (the “software”) is the property of Horizon Datasys Inc. (HDS) and is protected by international copyright laws. HORIZON DATASYS INC. holds the trademark of Drive Vaccine PC Restore Plus. You will have certain rights to use the software after your acceptance of this license.
What You May Do
Install only one copy of the software under one license.Make only one copy of the software for archival purposes.Transfer the software on permanent basis to another entity, provided that you retain no copies of the software.
What You May Not Do
Rent or lease any portion of the software.Reverse engineer, decompile, disassemble, modify, translate, make any attempts to cover the source code of the software or create derivative works from the software.Use a previous version or copy of the software after you have received a replacement set or an upgraded version of the software.Limited Warranty
Horizon Datasys Inc. warrants that the media on which the software is distributed will be free from defects for a period of thirty (30) days from the delivery date of the

Remote Management Console User Guide – DV PCR+
software. HORIZON DATASYS INC. does not warrant that the software will meet your requirements or that the software will be error-free.
Disclaimer of Damages
IN NO EVENT WILL HORIZON DATASYS INC. BE LIABLE TO YOU FOR ANY SPECIAL, CONSEQUENTIAL, INDIRECT OR SIMILAR DAMAGES, INCLUDING ANY LOST PROFITS OR LOST DATA ARISING OUT OF THE USE OR INABILITY TO USE THE SOFTWARE, EVEN IF HORIZON DATASYS INC. HAS BEEN ADVISED OF THE POSSIBILITY OF SUCH DAMAGES. IN NO CASE SHALL HORIZON DATASYS INC. LIABILITY EXCEED THE PURCHASE PRICE FOR THE SOFTWARE.
THESE DISCLAIMERS AND LIMITATIONS APPLY REGARDLESS OF WHETHER YOU ACCEPT THE SOFTWARE OR NOT.
Remote Management Console User Guide – DV PCR+
INTRODUCTION
WHAT IS DV PCR+?DV PCR+ is software that reverts your PC hard drive to a fixed image upon a certain events (e.g. user logoff or 1st boot of the day or Thursdays at 9am, etc.) occurring.
Anything that a user does is reverted, including erasing files, installing software, downloading programs or tampering with registry settings or getting infected by a virus. Your PC will return to pristine configuration and functional. This is, essentially a time machine that returns you to one fixed point in time.
If you want the ability to return to multiple points in time, you do not need Drive Vaccine PC Restore Plus. You need a different product, also made by Horizon Datasys called Rollback Rx Pro.
To learn more about DV PCR+, please see the DV PCR+ User Guide.
BENEFITS OF DV PCR+ Reduces computer maintenance by up to 90%. Very fast refreshes computers to their optimal working state. Allows users free access to all functions, making for better relationships Virus infections are fully reversed in moments Reduces irritation with any learning mistakes. Eliminates re-imaging of computers. Higher uptime on computers Simplifies the maintenance and upgrades Prevents identify theft and keyboard logging.
WHAT IS THE REMOTE MANAGEMENT CONSOLE?What is the use for a Remote Management Console?
DV PCR+ is managed through a console. If you have an individual client installation of DV PCR+, you manage it through the console that comes integrated into the DV PCR+ software.
However, if you are administering a whole network of DV PCR+ installations, going from machine to machine can be an onerous job. This is even more so if you are managing an implementation with several remote sites.
The Enterprise version of DV PCR+ comes with a Remote Management Console, which can be used by a Network Administrator to administer a wide network of DV PCR+ machines. It has capabilities that are pointless in an individual or small implementation.
The DV PCR+ RMC consists of two major components: the Remote Management Console (RMC) and Remote Management Server Service (RMSS).
Horizon DataSys www.horizondatasys.com
Remote Management Console User Guide – DV PCR+
Remote Management Console (RMC)
The RMC is the graphic interface for you to view and manage DV PCR+ clients. RMC establish connections to DV PCR+ clients through the RMSS. Please read this User's Guide carefully before you setup and start to explore the RMC.
The RMC will provide the System Administrator with the following functions: View all clients PCs in a graphic interface. Arrange client PCs in groups for easier management. Remotely restore client PCs to snapshots over the Internet. Remotely take snapshots for client PC over the Internet. Remotely change DV PCR+ client settings. Remotely monitor DV PCR+ client properties and space information. Remotely restart, shutdown or wakeup client PCs. Remote control Windows XP Pro client PCs. Create console based schedule tasks to automatically manage client PCs.
Remote Management Server Service
The RMSS maintains connection protocols between the RMC and the client PCs. RMSS works as a native Windows system service without any user interface. It is started, stopped or restarted in Windows Control Panel->Services. If RMSS is not operational, RMC will not be operational. You will neither be able to log into the RMC nor will DV PCR+ clients be able to connect to RMC.
The RMSS and RMC may be installed on either the same or on different computersHighlights
Cleanly partitioned client & server architecture. Scalable architecture – you may have multiple Remote Management Consoles
on multiple Remote Management Servers. Works over Internet connection and proxy servers. Requires very little network bandwidth for transmitting client commands; the
work is done by DV PCR+ clients. User-friendly administrator's console. Manage multiple DV PCR+ clients simultaneously. Command line switches for integrating RMC with existing help desk solutions. Create console schedules for automatic tasks.
Horizon DataSys www.horizondatasys.com
Remote Management Console User Guide – DV PCR+
SYSTEM REQUIREMENTS
DV PCR+ RMC SYSTEM REQUIREMENTS:
Intel® Pentium® III or equivalent processor Windows XP Professional, Home Edition, or Microsoft® Windows® 2000; or
Windows Vista™* 64MB of RAM 1GB of available hard-disk space CD/DVD ROM if you need to setup from a CD Internet connection if you want to activate the program over Internet
connection
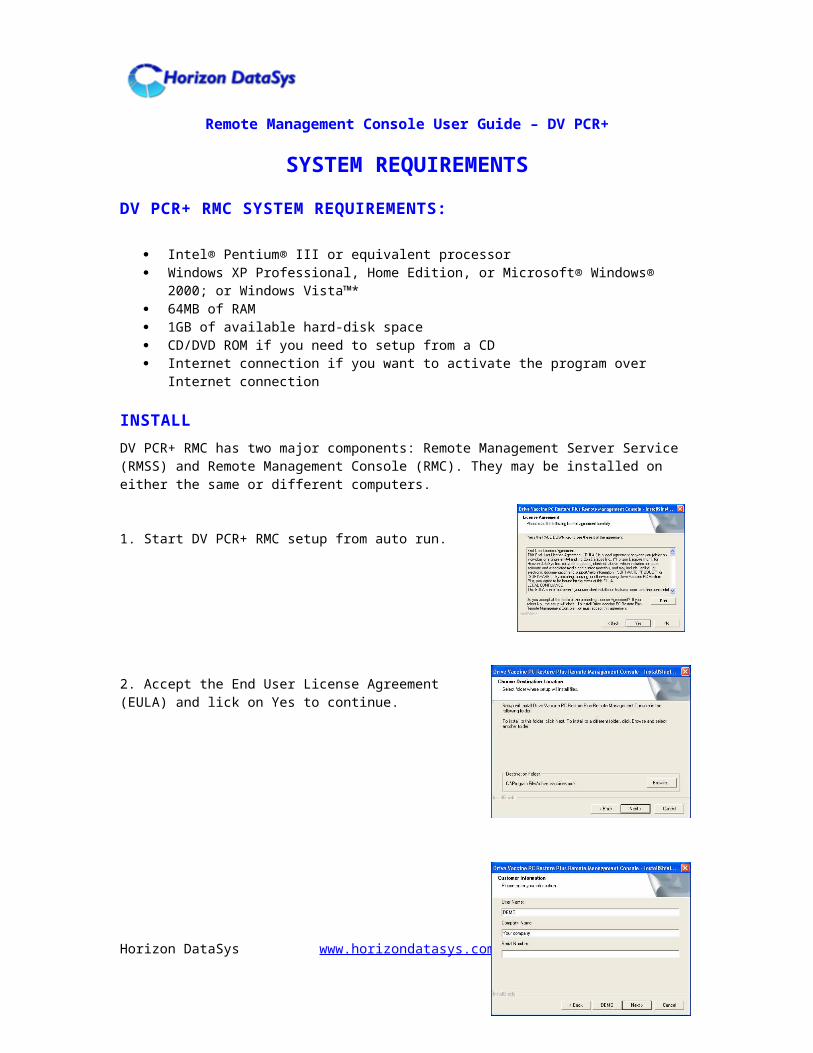
INSTALLDV PCR+ RMC has two major components: Remote Management Server Service (RMSS) and Remote Management Console (RMC). They may be installed on either the same or different computers.
1. Start DV PCR+ RMC setup from auto run.
2. Accept the End User License Agreement (EULA) and lick on Yes to continue.
3. Enter the Product ID for the RMC that you received with the purchase of DV PCR+ Enterprise. Note: This is not the same Product Id as the DV PCR+ Client.
To setup DV PCR+ RMC in demo mode, click on Demo to generate a Demo ID. The RMC demo mode has no time limit, but you may only connect to three clients.
Horizon DataSys www.horizondatasys.com
Remote Management Console User Guide – DV PCR+
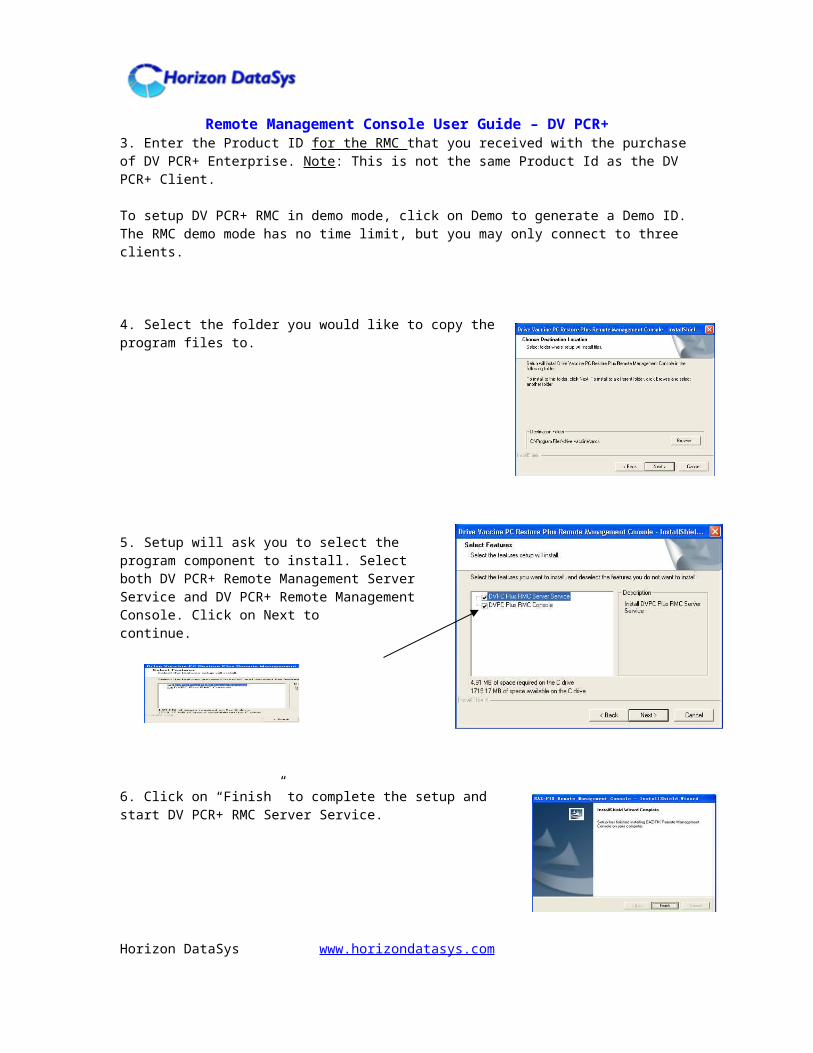
4. Select the folder you would like to copy the program files to.
5. Setup will ask you to select the program component to install. Select both DV PCR+ Remote Management Server Service and DV PCR+ Remote Management Console. Click on Next to continue.
6. Click on “Finish” to complete the setup and start DV PCR+ RMC Server Service.
Setup RMSS and RMC On Different Computers
You may install the Server Service and Console on different computers. For example, you could install the RMC Server Service on a network server and the Console on your personal laptop. You then connect the Console on your laptop to the network server to manage DV PCR+ clients.
To install Remote Management Server Service and Remote Management Console on different computers, make an appropriate choice in setup step 5 above.
Horizon DataSys www.horizondatasys.com
Remote Management Console User Guide – DV PCR+
UNINSTALLUninstall DV PCR+ RMC with one of the following options:
1. Uninstall DV PCR+ RMC from Start->Programs->DV PCR+ Remote Management Console->Uninstall DV PCR+ RMC
2. Windows Control Panel->Add/Remove Programs->DV PCR+ RMC
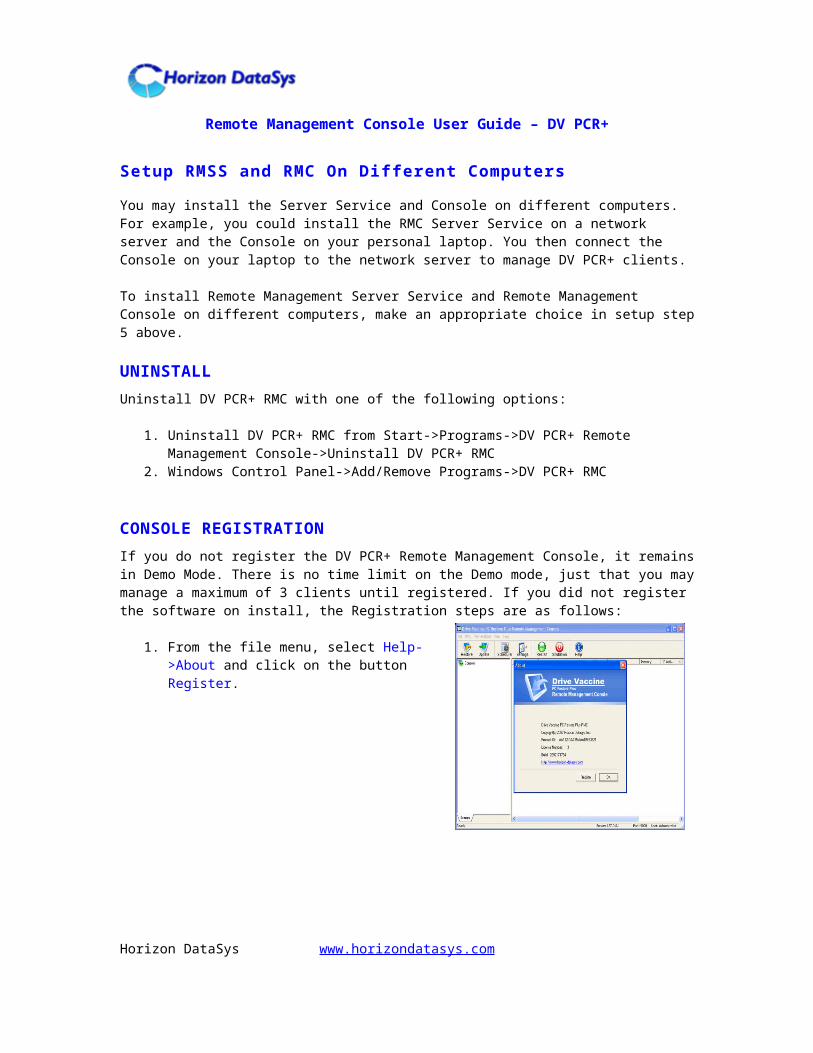
CONSOLE REGISTRATIONIf you do not register the DV PCR+ Remote Management Console, it remains in Demo Mode. There is no time limit on the Demo mode, just that you may manage a maximum of 3 clients until registered. If you did not register the software on install, the Registration steps are as follows:
1. From the file menu, select Help->About and click on the button Register.
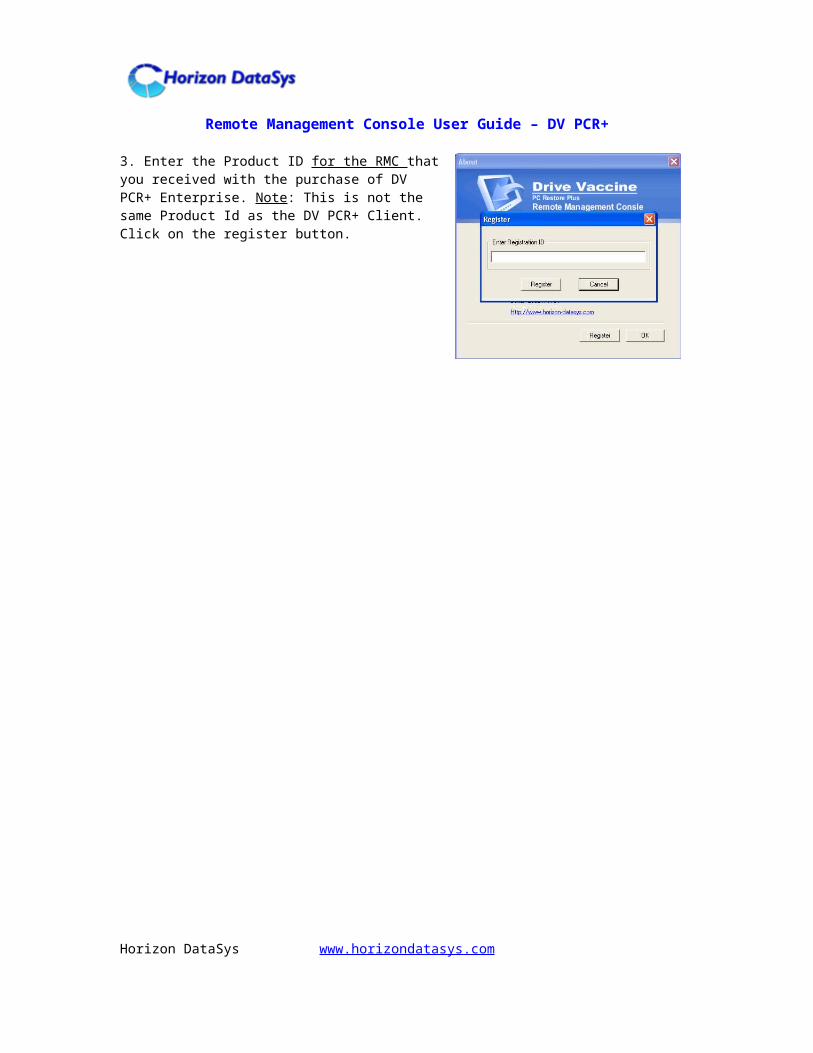
3. Enter the Product ID for the RMC that you received with the purchase of DV PCR+ Enterprise. Note: This is not the same Product Id as the DV PCR+ Client. Click on the register button.
Horizon DataSys www.horizondatasys.com
Remote Management Console User Guide – DV PCR+
MANAGING THE RMSS
START AND STOP RMSSThe RMSS is the core component responsible for maintaining network connections between the RMC and the DV PCR+ client PCs. Without RMSS operational:
DV PCR+ clients cannot connect to RMC You cannot log into the RMC.
RMSS is a native Windows System Service. It has no interface. This implies that it is started and stopped in Windows Control Panel->Services. Restart the RMSS will fix most, if not all connection related issues.
To start or stop RMSS:
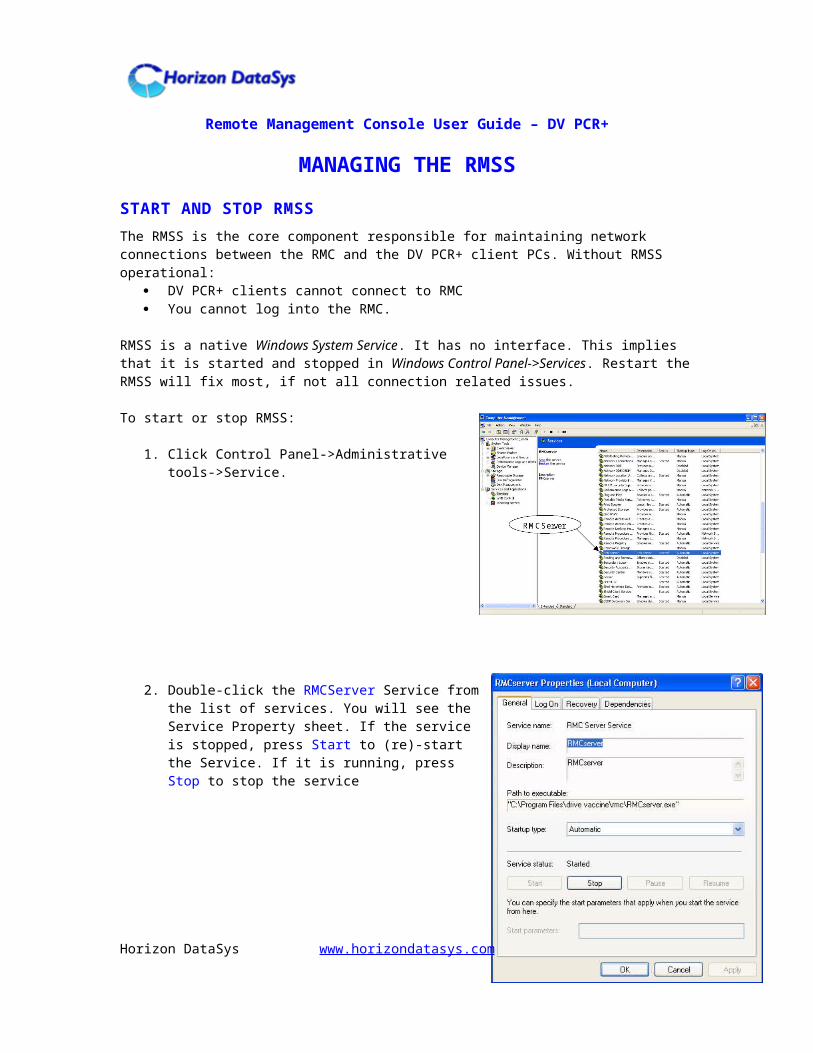
1. Click Control Panel->Administrative tools->Service.
2. Double-click the RMCServer Service from the list of services. You will see the Service Property sheet. If the service is stopped, press Start to (re)-start the Service. If it is running, press Stop to stop the service
Horizon DataSys www.horizondatasys.com
Remote Management Console User Guide – DV PCR+
CHANGING THE RMSS SERICE PORT
By default DV PCR+ RMC Server Service uses the TCP port 9000 for client connections. Port 9000 on your computer network might have been taken by another application. To change RMC Server Service to use another TCP Port:
Open CONFIG.TXT in c:/Program Files/Drive Vaccine PC Restore Plus/RMC folder with a text editor.
Modify the parameter "TCP_PORT=" to your port choice. Save the file. Restart RMC Server Service.
Horizon DataSys www.horizondatasys.com
Remote Management Console User Guide – DV PCR+
MANAGING THE RMC CONSOLETo start the console, go to Start-> Programs-> PC Restore Plus RMC. You will see the screen on the right. Enter the password and press the Logon button.
Everything you do within DV PCR+ RMC console may be divided into two categories:
1. Tasks to manage the RMC console 2. Tasks to manage connected client
PCs.
TASKS YOU MAY MANAGE WITH THE RMC CONSOLE:1. Customize console view 2. Edit Console Administrator(s) 3. Edit Client Groups 4. Import/Export console groups 5. Create scheduled tasks 6. View console logs
Customize Console View
To change the DV PCR+ RMC console views, click on the View menu in the RMC console. You may set the view setting to:
View all DV PCR+ clients View only online DV PCR+ clients Arrange client PC view by Computer name, System type, Status, Client type.
You can view client PCs in DV PCR+ RMC console in one of the following two options:1. Large Icon View2. Detailed View
Large Icon View: Displays the client PCs as icons in the RMC console, each icon has the client
PC's name. The icon with a black monitor indicates the client PC is currently offline, the
icon with blue monitor indicates the client PC is currently online. To select multiple client PC icons, click your mouse at an area above the icons
and then drag the mouse over the icons, or hold down the Ctrl key while you click on the client PC icons.
You can drag and drop the client icons to any area of the RMC console.
Horizon DataSys www.horizondatasys.com
Remote Management Console User Guide – DV PCR+
Detailed View: Displays the clients PCs in a detailed list in the RMC console. Detailed view shows the following information of the client PCs: Computer
name, Network, O.S., O.S. Service Pack, Memory, IP Address, Status, Client Type, Disk Size, Free Space, Last Snapshot.
To customize the detailed view list, right click the list header and select/de-select header settings.
The icon with a gray monitor indicates the client PC is currently offline, the icon with blue monitor indicates the client PC is currently online.
To select multiple client PC icons, click your mouse at an area above the icons and then drag the mouse over the icons, or hold down the Ctrl key while you click on the client PC icons.
Edit Console Administrators
To access DV PCR+ RMC console, you need an administrator’s user name and password. The default RMC Console administrator is "Administrator" with no password.
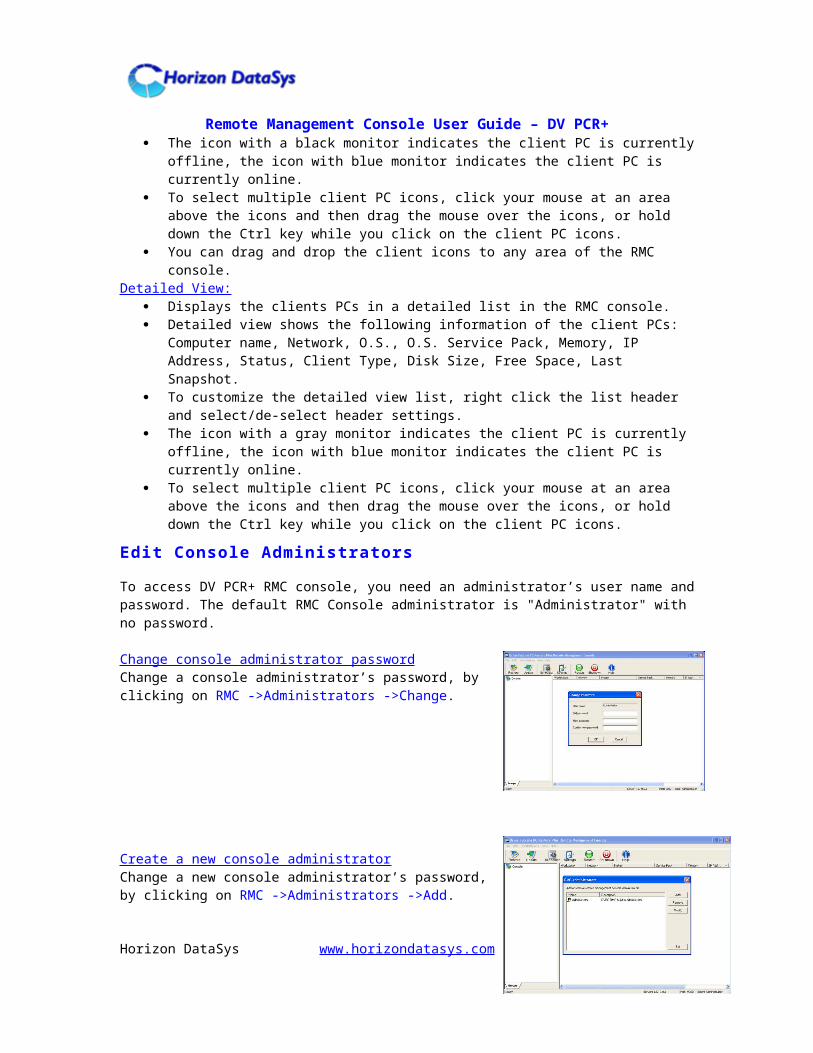
Change console administrator password Change a console administrator’s password, by clicking on RMC ->Administrators ->Change.
Create a new console administrator Change a new console administrator’s password, by clicking on RMC ->Administrators ->Add.
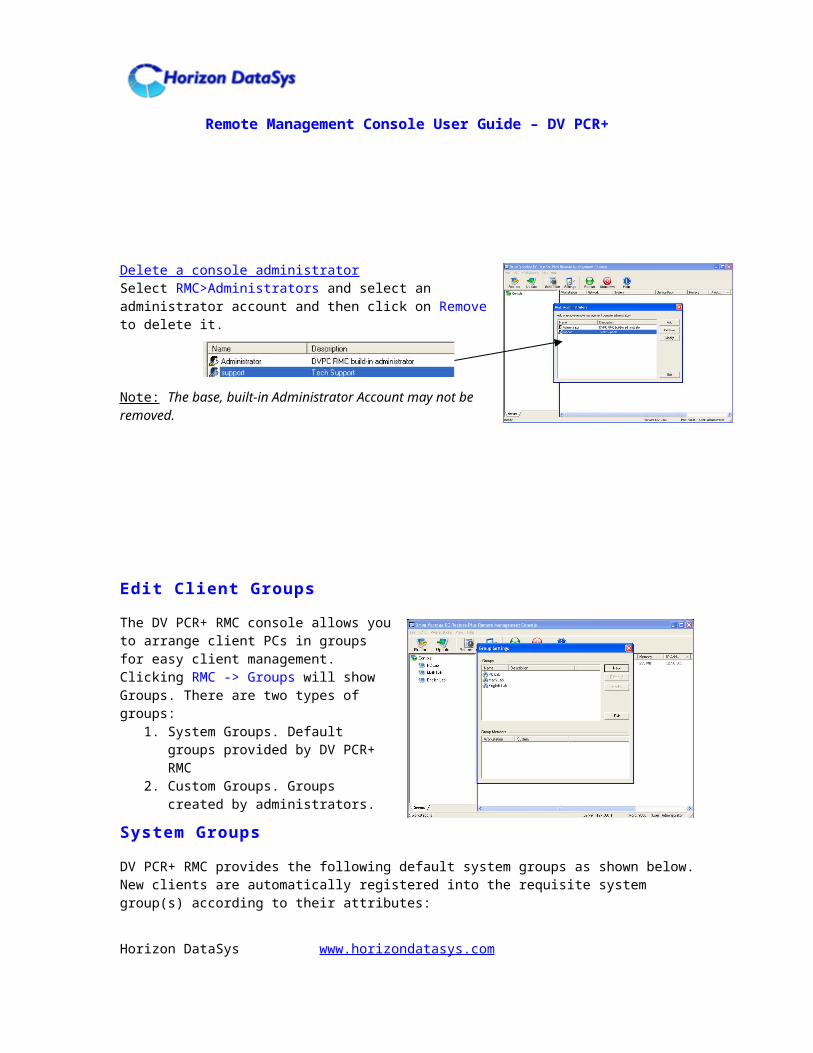
Delete a console administrator Select RMC>Administrators and select an administrator account and then click on Remove to delete it.
Note: The base, built-in Administrator Account may not be removed.
Horizon DataSys www.horizondatasys.com

Remote Management Console User Guide – DV PCR+
Edit Client Groups
The DV PCR+ RMC console allows you to arrange client PCs in groups for easy client management. Clicking RMC -> Groups will show Groups. There are two types of groups:
1. System Groups. Default groups provided by DV PCR+ RMC
2. Custom Groups. Groups created by administrators.
System Groups
DV PCR+ RMC provides the following default system groups as shown below. New clients are automatically registered into the requisite system group(s) according to their attributes:
1. All clients2. Windows 9x clients3. Windows NT/XP clients4. Low space clients5. Registered clients6. Unregistered clients
Custom Groups
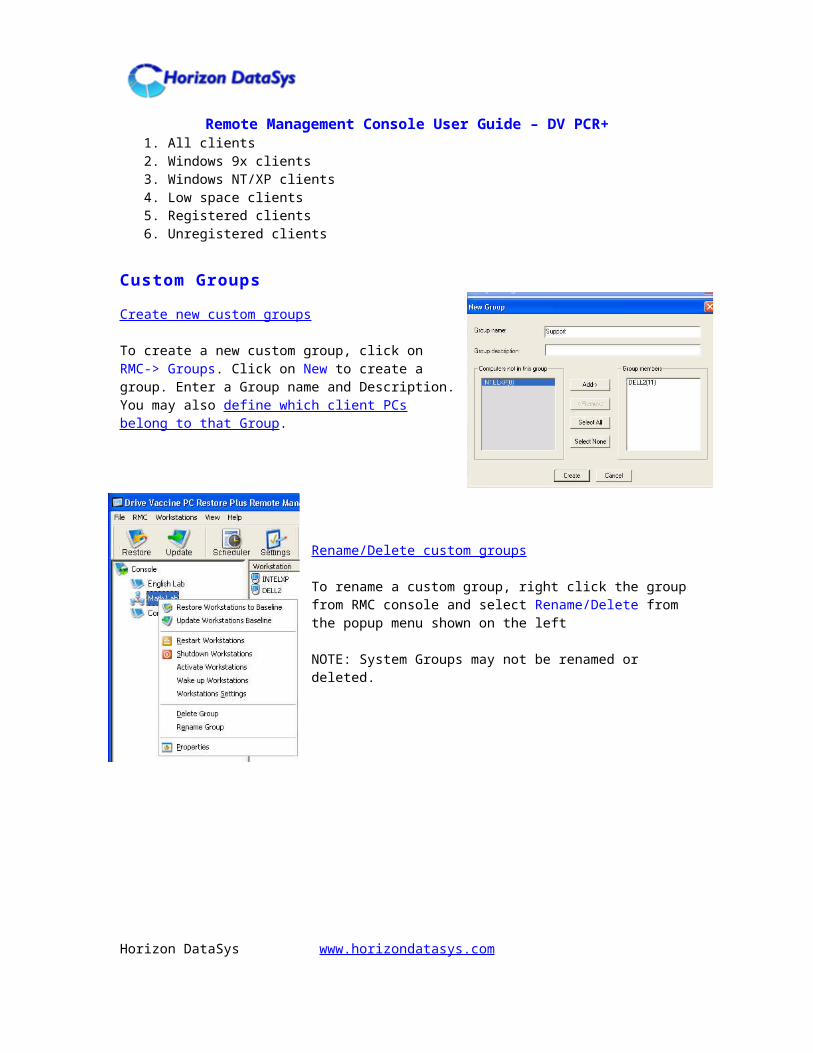
Create new custom groups
To create a new custom group, click on RMC-> Groups. Click on New to create a group. Enter a Group name and Description. You may also define which client PCs belong to that Group.
Rename/Delete custom groups
Horizon DataSys www.horizondatasys.com
Remote Management Console User Guide – DV PCR+
To rename a custom group, right click the group from RMC console and select Rename/Delete from the popup menu shown on the left
NOTE: System Groups may not be renamed or deleted.
Horizon DataSys www.horizondatasys.com
Remote Management Console User Guide – DV PCR+
Add/remove client PCs to/from custom groups A client PC could be a member of multiple groups; e.g. PC1001 can be a member of the “Development” group and the “QA” group.
Client PCs may be added to, or removed from, custom groups. To do so: click on RMC-> Groups. Select a group in the group list and click on Modify.
On the displayed form, drag and drop client PC icons to the group.
Import/Export custom groups settings You may export group settings to backup files or import group settings from backup files. To do so, select File->Import Group Settings or Export Group Settings.
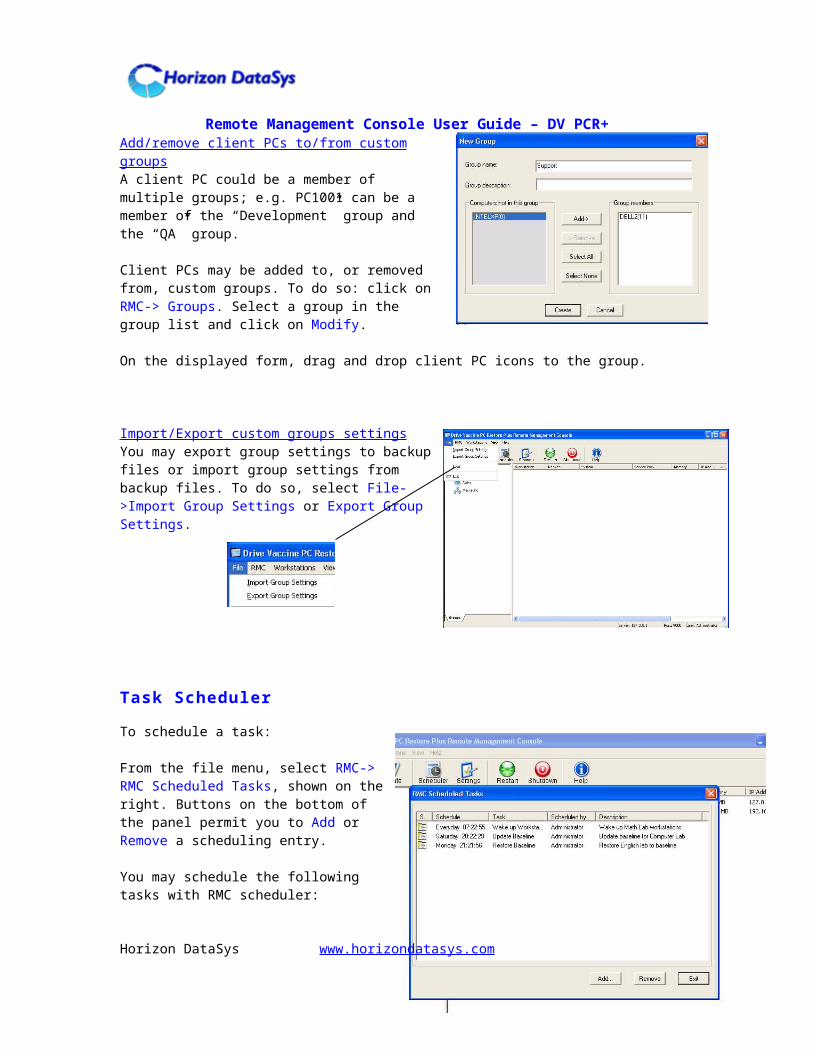
Task Scheduler
To schedule a task:
From the file menu, select RMC-> RMC Scheduled Tasks, shown on the right. Buttons on the bottom of the panel permit you to Add or Remove a scheduling entry.
You may schedule the following tasks with RMC scheduler:
Rollback clients Snapshot clients Defrag clients Restart clients Shutdown clients Wakeup clients
Horizon DataSys www.horizondatasys.com
Remote Management Console User Guide – DV PCR+
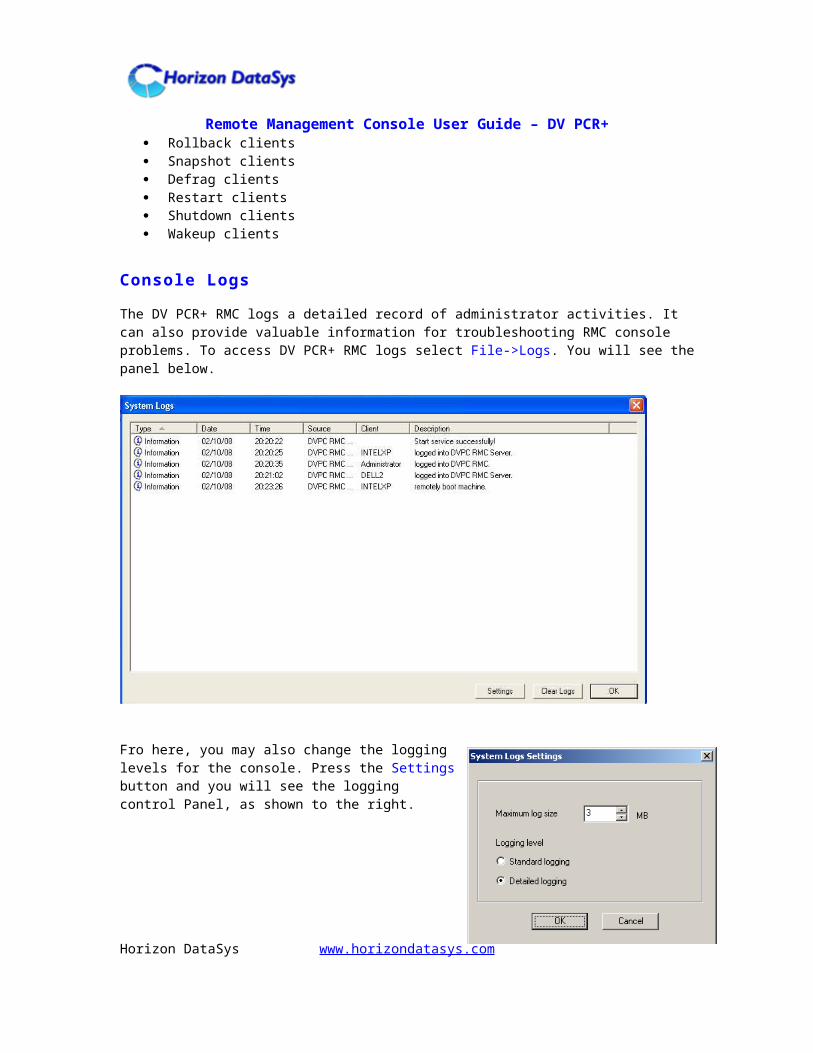
Console Logs
The DV PCR+ RMC logs a detailed record of administrator activities. It can also provide valuable information for troubleshooting RMC console problems. To access DV PCR+ RMC logs select File->Logs. You will see the panel below.
Fro here, you may also change the logging levels for the console. Press the Settings button and you will see the logging control Panel, as shown to the right.
Horizon DataSys www.horizondatasys.com
Remote Management Console User Guide – DV PCR+
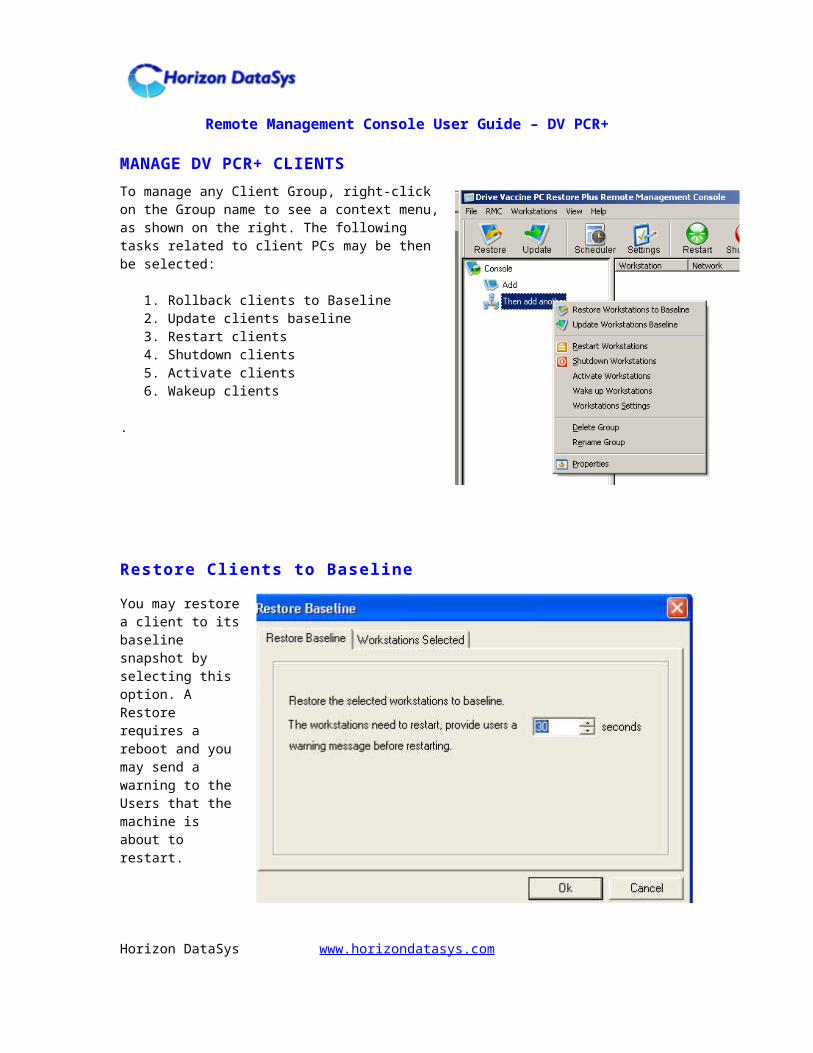
MANAGE DV PCR+ CLIENTSTo manage any Client Group, right-click on the Group name to see a context menu, as shown on the right. The following tasks related to client PCs may be then be selected:
1. Rollback clients to Baseline2. Update clients baseline3. Restart clients4. Shutdown clients5. Activate clients6. Wakeup clients
.
Restore Clients to Baseline
You may restore a client to its base-line snapshot by selecting this option. A Restore requires a reboot and you may send a warning to the Users that the machine is about to restart.
Note: You might, alternatively, use the RMC scheduler task to rollback clients.
Update the Client’s Baseline
Horizon DataSys www.horizondatasys.com
Remote Management Console User Guide – DV PCR+
Use this option to update client’s baseline to the current status. Once again, you will see a confirmation/warning panel, as seen in the Restore Clients to Baseline option above.
Restart Clients
This option will restart Clients; depending on how the DV PCR+ client has been configured, this will generally return the client to the baseline. You will see a confirmation/warning panel, similar to the one seen in the Restore Clients to Baseline option above.
Shutdown Clients
This option will shut down Clients. You will see a confirmation/warning panel, similar to the one seen in the Restore Clients to Baseline option above.
Wakeup Clients
This option will wake up offline clients.
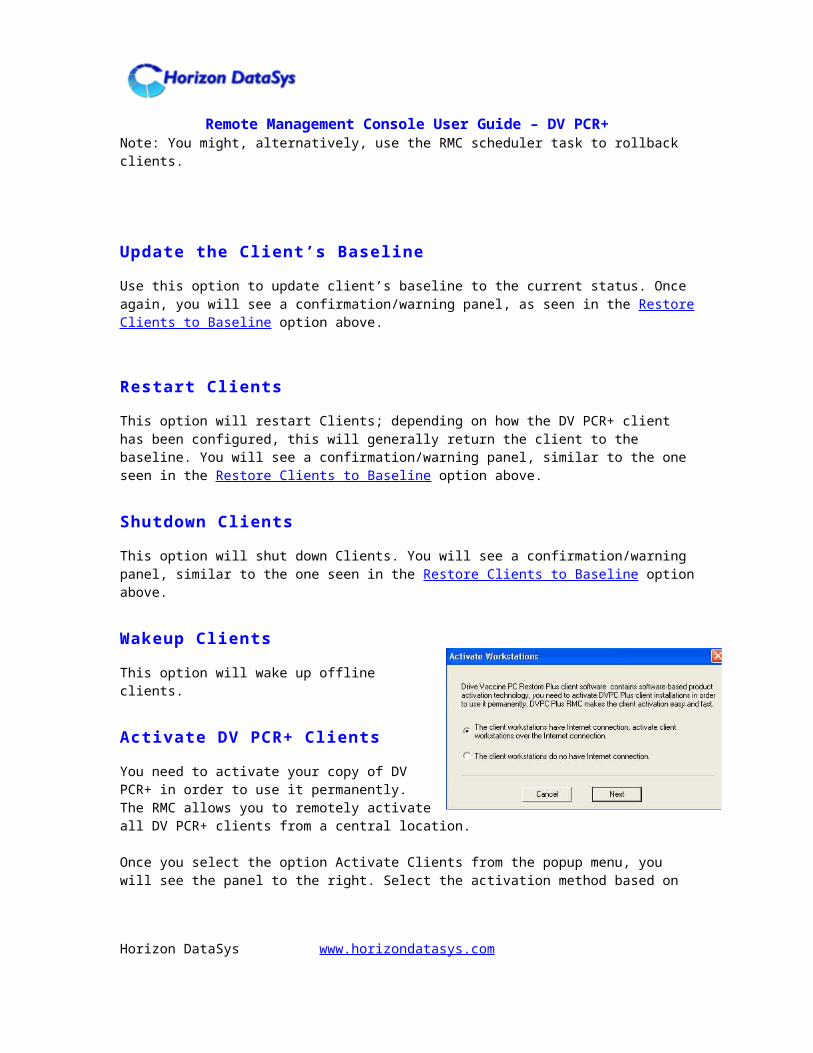
Activate DV PCR+ Clients
You need to activate your copy of DV PCR+ in order to use it permanently. The RMC allows you to remotely activate all DV PCR+ clients from a central location.
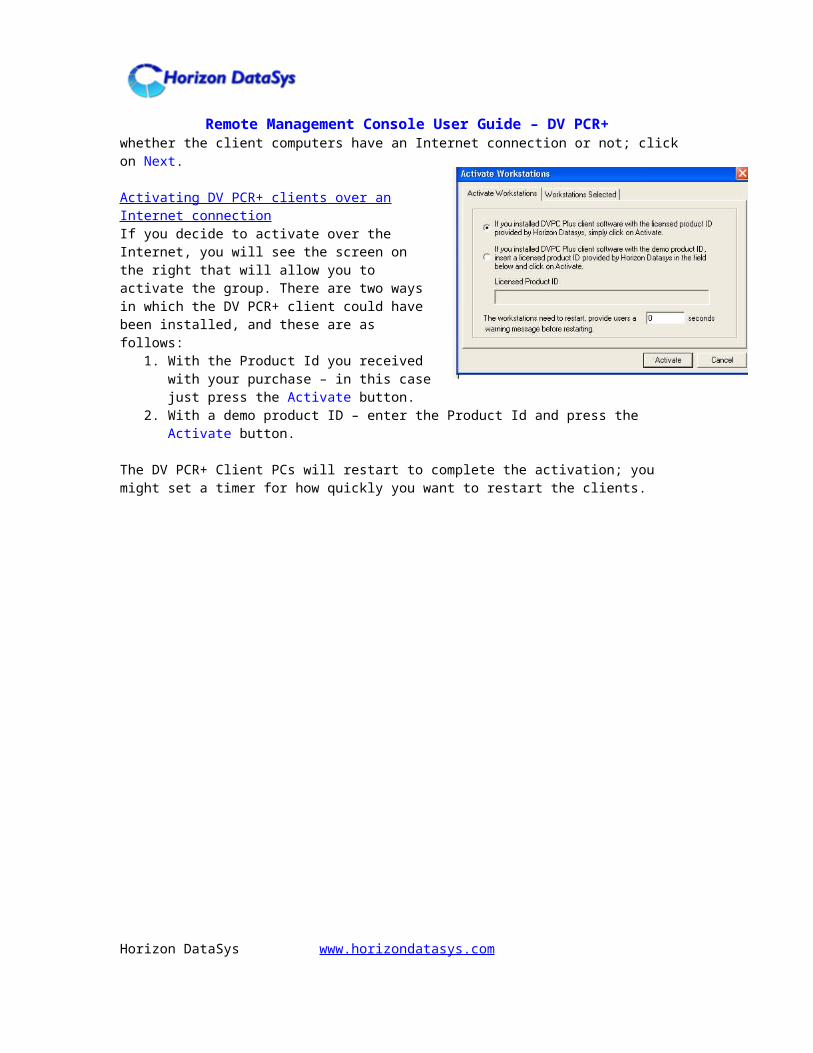
Once you select the option Activate Clients from the popup menu, you will see the panel to the right. Select the activation method based on whether the client computers have an Internet connection or not; click on Next.
Activating DV PCR+ clients over an Internet connectionIf you decide to activate over the Internet, you will see the screen on the right that will allow you to activate the group. There are two ways in which the DV PCR+ client could have been installed, and these are as follows:
1. With the Product Id you received with your purchase – in this case just press the Activate button.
2. With a demo product ID – enter the Product Id and press the Activate button.
The DV PCR+ Client PCs will restart to complete the activation; you might set a timer for how quickly you want to restart the clients.
Horizon DataSys www.horizondatasys.com
Remote Management Console User Guide – DV PCR+
Horizon DataSys www.horizondatasys.com
Remote Management Console User Guide – DV PCR+
Activating DV PCR+ clients without an Internet connection Once you chose this option you will see the screen on the right.
There are three steps to activate the clients without using the Internet:
1. Click on the “Collect Data” button to collect the base client-side information required for activation.
2. Send the information to Horizon Datasys to generate a license file.
3. Activate the clients with the license file provided by EAZ Solution.
As usual, the client machines will need to restart and you may put in a delay before the shutdown.
NOTE: You need a separate product code an Activation code for the RMC. This is NOT the same Product ID or Activation code provided for the client side DV PCR+.
Horizon DataSys www.horizondatasys.com
Remote Management Console User Guide – DV PCR+
SUPPORT OPTIONSHorizon Datasys is committed to provide excellent support and service to our valued customers. Our goal is to provide you with professional assistance in the use of our software through the variety of methods including documentations, online or personal contacts.
In our experience, most questions can be answered in our Knowledge Base or in our technical white papers. Please check your questions in the F.A.Q. before proceeding with other support options.
If you were not able to find answers to your questions in the DV PCR+ FAQ and knowledge base, please start a Support Ticket from the Support Portal at www.horizondatasys.com.
Horizon DataSys www.horizondatasys.com